
Baking Delicious Palmiers: The Sweet Puff Pastry Swirl Technique

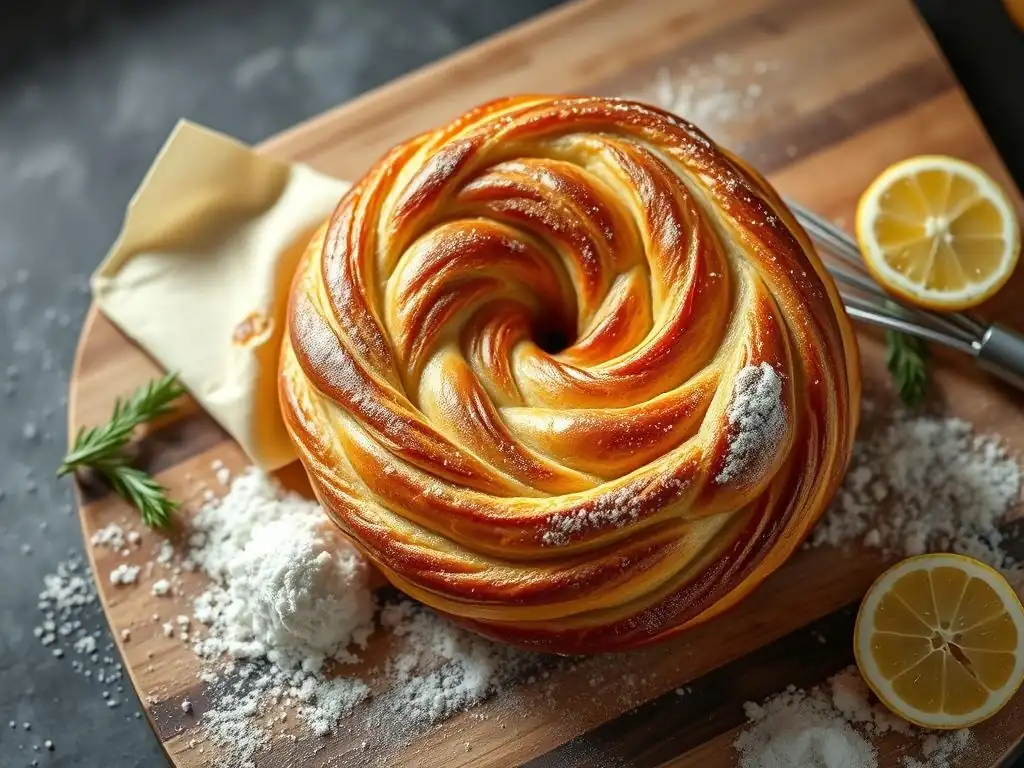
Welcome to BakeWithEase, where even the most intricate pastries become effortlessly achievable! Ever wondered how to create those perfectly caramelized, delightfully flaky palmiers you see in bakeries? Our guide, " Baking Delicious Palmiers: The Sweet Puff Pastry Swirl Technique", is your key. Uncover the secrets to our easy puff pastry palmiers recipe and transform simple ingredients into a stunning treat. Ready to unlock the magic of perfectly swirled, golden-brown palmiers? Let's get baking!
- Introduction to Palmiers
- The Puff Pastry Palmiers Recipe: A Step-by-Step Guide
- Step 1: Preparing the Puff Pastry
- Step 2: Creating the Palmier Swirl
- Step 3: Cutting and Shaping
- Step 4: Baking
- Step 5: Cooling and Serving
- Troubleshooting
- Variations
- Storing
- Conclusion: Mastering the Art of Puff Pastry Palmiers
-
Frequently Asked Questions
- What exactly are palmiers and what makes them so appealing?
- Can I really make palmiers with store-bought puff pastry?
- What kind of sugar works best for creating the caramelized crust on palmiers?
- Are there any flavor variations I can try with this palmiers recipe?
- How do I ensure my palmiers are evenly baked and don't burn?
- Final Reflection: The Enduring Allure of the Simple Palmier
- Unleash Your Inner Pastry Chef: Master the Palmier!
Introduction to Palmiers
What are Palmiers and Why You'll Love Them
Palmiers, often called elephant ears, butterfly cookies, or palm hearts, are delightful French pastries made from puff pastry and sugar. As the pastry bakes, the sugar caramelizes, creating a wonderfully crisp and flaky texture with a sweet, slightly crunchy exterior. Their distinctive heart or palm leaf shape comes from a specific rolling and folding technique, which is surprisingly approachable for intermediate bakers looking for an easy puff pastry palmiers recipe.
These elegant treats are incredibly versatile and perfect for countless occasions. They require minimal ingredients – essentially just puff pastry and sugar – making them an accessible project even for those new to working with puff pastry. Their simple yet sophisticated appearance and irresistible buttery crunch make them a popular choice for fika breaks, dessert platters, or simply enjoying with a cup of coffee or tea. Mastering this easy puff pastry palmiers recipe opens the door to a world of simple, yet impressive, baking.
Mastering the Palmier Technique
The core of creating perfect palmiers lies in understanding how to handle and fold puff pastry correctly. Puff pastry relies on layers of dough and butter to create its signature airy, flaky structure when baked. The magic happens when the butter melts and creates steam, pushing the layers apart. For palmiers, the key technique involves liberally coating the pastry in sugar, which not only adds sweetness but also aids in caramelization and contributes to the crispness.
The rolling and folding process is crucial for achieving the characteristic palmier shape. It involves rolling the pastry into a rectangle, folding the sides inwards multiple times towards the center, and then folding the entire log in half. This specific sequence of folds creates many thin layers that expand dramatically during baking, resulting in the beautiful swirls and flaky texture we all love. This easy puff pastry palmiers recipe emphasizes these fundamental steps to ensure success.
The Puff Pastry Palmiers Recipe: A Step-by-Step Guide
Ingredients
Making palmiers requires surprisingly few ingredients, highlighting the elegance of simple baking. The primary components are puff pastry sheets and granulated sugar. For a standard batch using one sheet of store-bought puff pastry (typically around 14 ounces or 400 grams), you'll generally need about 1/2 to 3/4 cup (100-150 grams) of granulated sugar. Some recipes might also call for a small amount of melted butter to help the sugar adhere, though often the natural moisture of the pastry is sufficient.
Beyond the basics, you can experiment with adding flavorings to the sugar, such as cinnamon, vanilla bean seeds, or citrus zest, which we'll explore in the variations section. Using high-quality puff pastry, whether store-bought or homemade, is essential as it forms the foundation of this easy puff pastry palmiers recipe. Ensure your sugar is fine granulated sugar for even coating and optimal caramelization.
Equipment Needed
To successfully bake palmiers, you don't need a vast array of specialized tools, but a few key pieces of equipment will make the process much smoother. You'll definitely need a rolling pin to roll out the puff pastry to the desired thickness. A sharp knife or a pizza cutter is essential for slicing the rolled pastry log into uniform pieces. Uniformity is key for even baking, so aim for consistent slice thickness.
Other helpful tools include a large baking sheet, preferably lined with parchment paper or a silicone baking mat to prevent sticking and aid in achieving that lovely caramelized bottom. A ruler can be beneficial for measuring the pastry and ensuring straight folds. Finally, a wire cooling rack is necessary for cooling the baked palmiers, allowing air circulation to maintain their crispness. This basic set of tools makes tackling this easy puff pastry palmiers recipe straightforward.
Step 1: Preparing the Puff Pastry
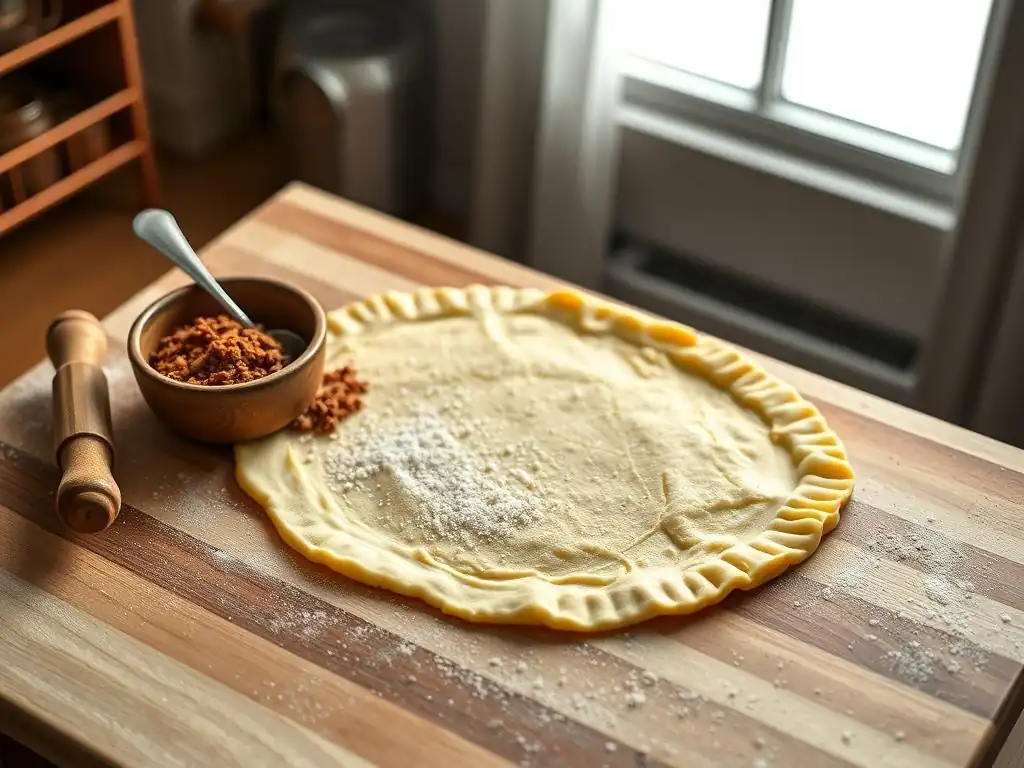
Choosing Puff Pastry: Store-Bought vs. Homemade
The choice between store-bought and homemade puff pastry significantly impacts the complexity and time required for your easy puff pastry palmiers recipe. Homemade puff pastry, while offering superior flavor and flakiness due to fresh butter and careful lamination, is a time-consuming process involving multiple folds and chilling periods over several hours or even days. It's a rewarding endeavor for dedicated bakers but moves the recipe out of the "easy" category for many.
Store-bought puff pastry is a fantastic, convenient option that makes palmiers truly an easy puff pastry palmiers recipe. High-quality frozen brands available in most grocery stores provide a reliable base with decent layers. A standard package typically contains one or two sheets, each weighing around 14 to 17 ounces (approx. 400-500 grams). For beginners or busy bakers, starting with good store-bought pastry is highly recommended to focus on the shaping technique itself.
How to Thaw Puff Pastry Correctly
Properly thawing puff pastry is a critical step for success with your easy puff pastry palmiers recipe. The most recommended method is to thaw it slowly in the refrigerator overnight. This gentle thawing keeps the butter layers cold and distinct, which is essential for creating flaky layers during baking. Thawing in the fridge typically takes about 8-12 hours for a standard frozen sheet.
If you're short on time, you can thaw puff pastry at room temperature, but this requires careful monitoring. Place the frozen sheet on a flat surface and let it sit for about 30-40 minutes, or until it's pliable but still cold to the touch. Avoid letting it become warm or soft, as the butter can melt into the dough, ruining the layers. Never use a microwave to thaw puff pastry, as this will melt the butter unevenly and compromise the pastry's structure.
Step 2: Creating the Palmier Swirl
The Sugar Coating: Achieving Caramelization
The liberal coating of sugar is what transforms simple puff pastry into the sweet, caramelized delight of a palmier. Granulated sugar is typically spread generously over the rolled-out pastry surface. As the palmiers bake at a relatively high temperature, this sugar melts and caramelizes, creating a crisp, golden-brown crust that contrasts beautifully with the flaky interior. Using enough sugar is key – don't be shy!
For an easy puff pastry palmiers recipe, ensure the sugar is evenly distributed across the entire surface of the pastry sheet. You might even lightly press the sugar into the dough with a rolling pin to help it adhere before folding. This ensures that every layer gets some sugar, contributing to maximum caramelization and flavor throughout the swirls. Approximately 1/4 cup of sugar per side is a good starting point for a standard sheet.
Rolling and Folding: The Key to Shape
Once the puff pastry is thawed and sugared, the unique rolling and folding technique begins. Start by laying the sugared pastry flat. Imagine a line down the center of the rectangle, parallel to the longer sides. You will fold each of the longer sides inwards towards this center line. Fold one side about halfway, then fold the other side about halfway, so their edges meet in the middle.
Next, fold the entire pastry log in half along the center line where the two folded edges meet. This sequence of folds - two inward folds followed by a final fold in half - creates the multiple layers that will expand into the classic palmier shape during baking. This precise folding is fundamental to achieving the desired structure and is a signature step in any easy puff pastry palmiers recipe.
Tips for a Tight and Even Swirl
Achieving tight, even swirls is crucial for the aesthetic appeal and consistent texture of your palmiers. After applying the sugar and performing the initial folds, gently but firmly roll the folded pastry log to press the layers together and ensure the sugar is well-integrated. Use a ruler or your eye to help guide your folds so they meet neatly in the center line.
Before slicing, it's highly recommended to chill the folded pastry log for at least 30 minutes, or even up to 2 hours, in the refrigerator. This firms up the butter and dough, making it much easier to cut clean, uniform slices without squishing the layers. A cold log allows for precise cuts, which directly translates to well-formed, even palmiers after baking, simplifying this step in your easy puff pastry palmiers recipe.
Step 3: Cutting and Shaping
Achieving Uniform Slices
Cutting the rolled and chilled pastry log into uniform slices is essential for ensuring that all your palmiers bake evenly. If slices are of varying thickness, some will burn while others remain underbaked. Aim for slices that are approximately 1/2 inch (about 1.2 - 1.5 cm) thick. Using a sharp chef's knife or a serrated knife works well; a sharp pizza cutter can also provide clean cuts.
To make cutting easier and prevent distortion of the shape, ensure the pastry log is sufficiently chilled, as mentioned earlier. Make decisive, clean cuts rather than sawing back and forth, which can compress the layers. Lay the log on a flat surface and slice straight down. For an easy puff pastry palmiers recipe, focusing on consistent slice thickness is one of the most impactful steps for a successful outcome.
Shaping for a Classic Look
Once sliced, the individual palmiers are ready to be placed on the baking sheet. The classic palmier shape, resembling a heart or a palm leaf, naturally forms as the pastry bakes and the layers expand. You don't typically need to do much specific shaping at this stage, other than perhaps gently pressing the cut sides flat if they became slightly distorted during slicing.
Place the slices cut-side down on your prepared baking sheet, leaving ample space between them (at least 2-3 inches or 5-7 cm), as they will spread significantly during baking. Some bakers like to give the top of each slice a light press with their hand to encourage a flatter shape, but this is optional. The heat of the oven does most of the work in transforming the neat little swirls into the familiar palmier form in this easy puff pastry palmiers recipe.
Step 4: Baking
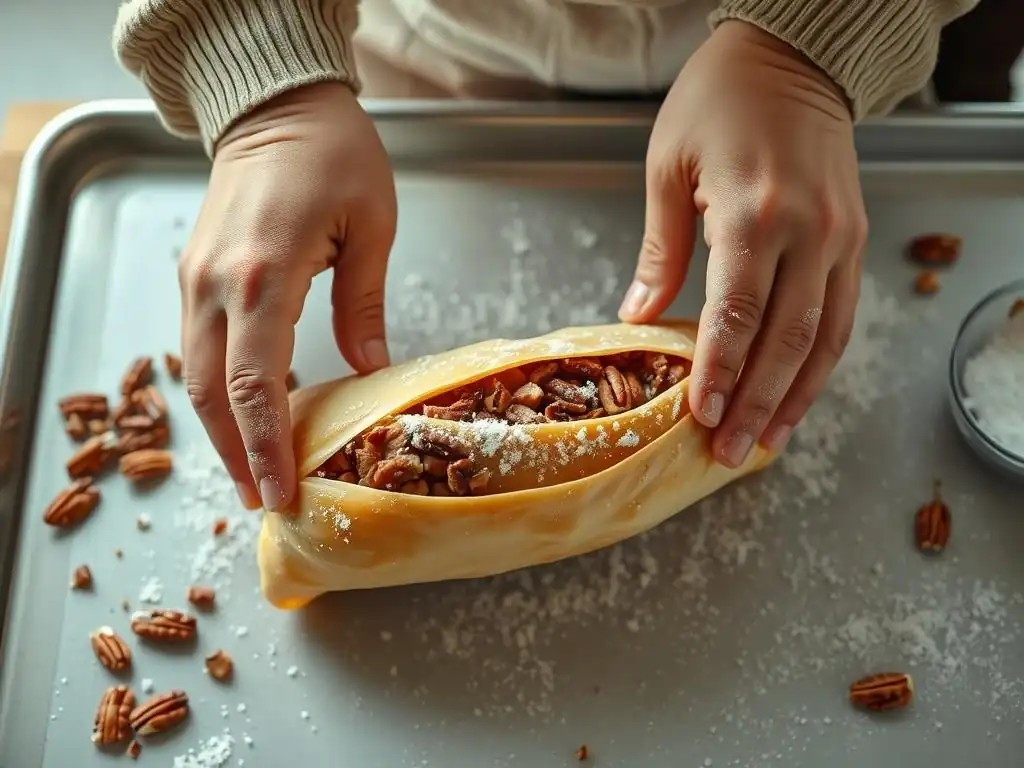
Oven Temperature and Baking Time
Baking palmiers requires a relatively hot oven to achieve maximum puff and crispness. A common temperature is around 400°F (200°C). This high heat helps the layers separate quickly and encourages the sugar to caramelize effectively. Preheat your oven thoroughly before placing the palmiers inside to ensure the temperature is stable.
The baking time can vary depending on your oven and the thickness of your palmiers, but it typically ranges from 12 to 18 minutes. Bake them until they are golden brown and caramelized on the bottom. Around the halfway point (after about 6-9 minutes), it's crucial to carefully flip each palmier using a spatula. This ensures even browning and caramelization on both sides, a key step for a truly successful easy puff pastry palmiers recipe.
Achieving Golden-Brown Perfection
The sign of a perfectly baked palmier is its beautiful golden-brown color and crisp texture. The edges should be deeply caramelized, and the layers should be visibly separated and flaky. The bottom side, which was initially in contact with the baking sheet, is often the first to caramelize due to direct heat transfer, which is why flipping is so important.
Keep a close eye on the palmiers during the last few minutes of baking, as the sugar can go from perfectly golden to burnt very quickly. If they seem to be browning unevenly, you can rotate the baking sheet. Once they reach that ideal rich, golden hue on both sides, they are ready to be removed from the oven, completing the baking step for this easy puff pastry palmiers recipe.
Step 5: Cooling and Serving
Cooling to Maintain Crispness
Once baked to golden perfection, it's vital to cool the palmiers correctly to ensure they stay wonderfully crisp. As soon as they come out of the oven, carefully transfer them from the hot baking sheet to a wire cooling rack using a spatula. Leaving them on the hot baking sheet will continue to cook them and can make the bottoms soggy due to trapped steam.
Allow the palmiers to cool completely on the wire rack. This allows air to circulate around them, releasing steam and helping them firm up into that signature crisp texture. This cooling period is essential for the sugar caramel to fully set and harden, contributing to the delightful crunch of this easy puff pastry palmiers recipe. Avoid stacking them while they are warm.
Serving Suggestions
Palmiers are utterly delicious enjoyed simply on their own. Their buttery, flaky texture and sweet caramelized sugar make them a perfect accompaniment to a hot beverage like coffee, tea, or hot chocolate. They are also a lovely addition to a dessert table or cookie platter, offering an elegant yet simple option.
For a little extra touch, you can dust cooled palmiers with a light sprinkle of powdered sugar just before serving, though the caramelized sugar provides ample sweetness. They pair wonderfully with fresh berries or a dollop of whipped cream, though purists often prefer them unadorned to fully appreciate the delicate pastry and sugar. This easy puff pastry palmiers recipe yields a treat versatile enough for any sweet moment.
Troubleshooting
Palmiers Not Crispy Enough
If your palmiers turn out chewy or not as crisp as desired, several factors could be at play. One common reason is underbaking; they may look golden but haven't baked long enough for the sugar to fully caramelize and the pastry layers to dry out and crisp up. Try baking them for a few more minutes, ensuring both sides are deeply golden brown, around the color of peanut brittle.
Another cause could be insufficient oven temperature or not preheating the oven properly. Puff pastry needs high heat to puff quickly and create steam that separates layers; if the oven is too cool, the butter can melt out before the layers set. Ensure your oven is accurately calibrated to 400°F (200°C) and preheat it for at least 15-20 minutes. High humidity can also slightly affect crispness, but proper baking time is usually the main factor in this easy puff pastry palmiers recipe.
Palmiers Too Dark or Burnt
On the flip side, palmiers can quickly go from perfectly caramelized to burnt, especially the sugar. This often happens if the oven is too hot or if they are baked for too long. Every oven is different, so it's important to watch them closely, particularly during the last few minutes of baking. If the tops are browning too quickly, you can loosely tent the baking sheet with foil, but be mindful this might slightly reduce crispness.
Uneven heat distribution in the oven can also lead to some palmiers burning while others are perfect. Rotating the baking sheet halfway through the baking time (when you flip the palmiers) helps ensure more even browning across the batch. If you find your oven consistently runs hot, you might try reducing the temperature slightly, perhaps to 375°F (190°C), and extending the baking time slightly to achieve that perfect golden color without burning the sugar in this easy puff pastry palmiers recipe.
Palmiers Unfolding During Baking
If your palmiers lose their shape and spread out excessively or completely unfold while baking, it's usually related to how the pastry log was prepared before slicing. The most common reason is not chilling the rolled and folded log sufficiently before cutting. A cold log holds its shape much better when sliced, and the layers are more likely to stay intact during the initial phase of baking.
Another factor could be that the pastry wasn't rolled tightly enough during the folding process. Ensure each fold is relatively snug and that the final roll after folding helps to press the layers together firmly. While they will naturally expand, they shouldn't completely flatten or unravel if the log was tight and cold when sliced for your easy puff pastry palmiers recipe. Try chilling the log for a full hour or more next time.
Variations
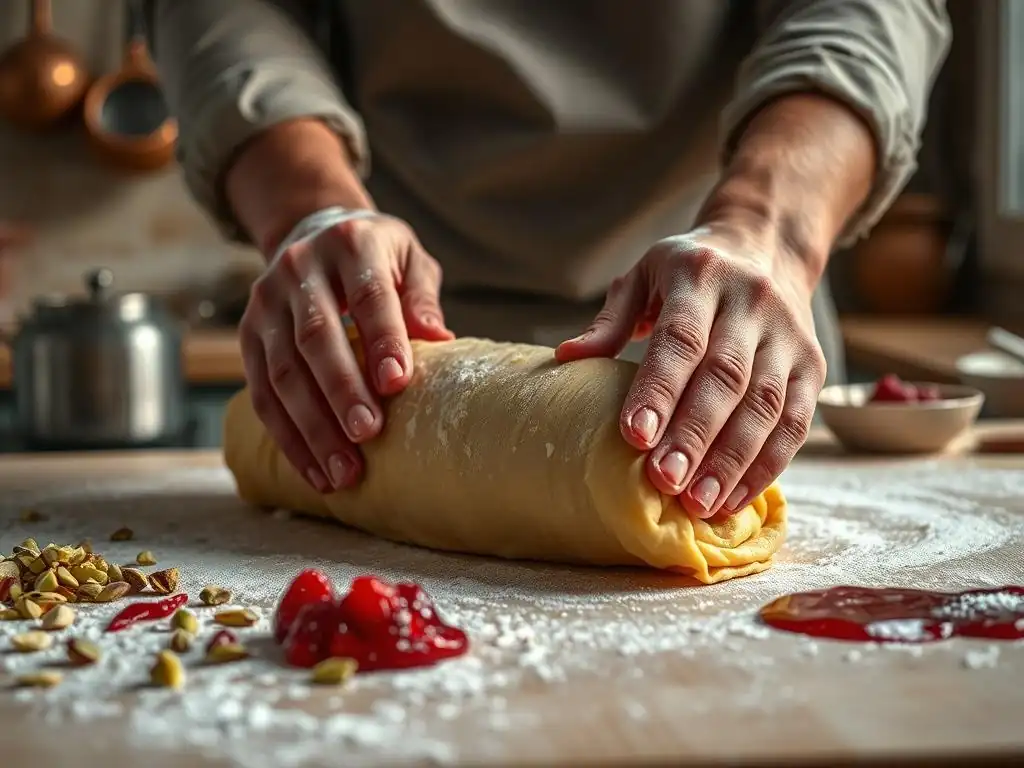
Cinnamon Sugar Palmiers
Adding cinnamon to the sugar coating is a simple yet incredibly popular variation that elevates the classic palmier. For a standard sheet of puff pastry and about 1/2 to 3/4 cup of sugar, start by mixing in about 1 to 2 teaspoons of ground cinnamon. You can adjust the amount based on your preference for a stronger or milder cinnamon flavor.
Mix the cinnamon thoroughly with the granulated sugar before spreading it over the rolled-out puff pastry. Proceed with the rolling, folding, slicing, and baking steps as described in the easy puff pastry palmiers recipe. The cinnamon adds a warm, aromatic spice note that complements the buttery pastry and caramelized sugar beautifully, creating a familiar and comforting flavor profile.
Chocolate Palmiers
For chocolate lovers, incorporating cocoa powder or finely chopped chocolate is a delicious way to vary the easy puff pastry palmiers recipe. You can mix a couple of tablespoons of unsweetened cocoa powder into the sugar mixture before coating the pastry. This yields a subtle chocolate flavor within the crisp, sweet layers.
Alternatively, you can sprinkle finely chopped chocolate (like bittersweet or semi-sweet) or mini chocolate chips over the sugared pastry before folding. Be careful not to overload it, as too much chocolate can melt out and potentially burn on the baking sheet. The melted chocolate will mingle with the caramelized sugar, creating pockets of rich, fudgy flavor within the flaky palmier.
Savory Palmiers: Cheese and Herb Pairings
While traditionally sweet, the palmier technique works wonderfully for savory variations as well, transforming the easy puff pastry palmiers recipe into a versatile appetizer or snack. Instead of sugar, coat the rolled-out puff pastry with grated cheese, such as Parmesan, Gruyère, or cheddar. You can use a generous amount, similar to the sugar quantity.
Add finely chopped fresh herbs like rosemary, thyme, or chives, or sprinkle with spices like black pepper, paprika, or garlic powder over the cheese. Roll and fold the pastry as usual, slice, and bake until golden and crisp. These savory palmiers are fantastic served warm and offer a sophisticated twist on the sweet classic, perfect for pairing with drinks or adding to a charcuterie board.
Storing
Best Practices for Storing
To keep your baked palmiers crisp and fresh, proper storage is key. Once they are completely cooled on the wire rack, transfer them to an airtight container. A cookie tin or a plastic container with a tight-fitting lid works well. Ensure there is no residual warmth when you store them, as this can create condensation inside the container, making the palmiers soft.
Store the airtight container at room temperature. Avoid refrigerating palmiers, as the cold environment can affect their texture and make them less crisp. If you have made a large batch using your easy puff pastry palmiers recipe, you might consider storing them in layers separated by parchment paper to prevent them from sticking together.
How Long Do Palmiers Stay Fresh?
When stored correctly in an airtight container at room temperature, baked palmiers will typically stay fresh and crisp for about 2 to 3 days. After this time, they may start to lose some of their crispness, although they will still be edible. The caramelized sugar helps preserve them to some extent, but the delicate pastry layers are susceptible to moisture in the air.
If you need to store them for longer, you can freeze baked palmiers. Allow them to cool completely, then freeze in a single layer on a baking sheet until solid (about 1-2 hours). Transfer the frozen palmiers to a freezer-safe airtight container or zip-top bag, separating layers with parchment paper. They can be frozen for up to 1-2 months. To enjoy, simply thaw at room temperature or gently reheat in a low oven (around 300°F or 150°C) for a few minutes to regain crispness.
Conclusion: Mastering the Art of Puff Pastry Palmiers
Baking palmiers is a rewarding process that demonstrates how simple ingredients and a specific technique can create something truly special. This easy puff pastry palmiers recipe guides you through the essential steps, from preparing the pastry and applying the sugar to perfecting the iconic swirl and achieving that coveted golden-brown crispness in the oven. It's a project that builds confidence in handling puff pastry and yields delicious results.
With just a few basic tools and careful attention to steps like proper thawing, generous sugaring, precise folding, and even baking, you can consistently produce beautiful, flaky palmiers. Whether you stick to the classic sugar version or explore exciting variations like cinnamon or savory cheese, mastering this easy puff pastry palmiers recipe adds a versatile and elegant treat to your baking repertoire, perfect for sharing or savoring yourself.
Frequently Asked Questions
What exactly are palmiers and what makes them so appealing?
Palmiers are delicious, crispy cookies made from puff pastry and sugar. Their appeal lies in their simplicity and the satisfying sweetness and flakiness with each bite.
Can I really make palmiers with store-bought puff pastry?
Absolutely! Using store-bought puff pastry is the key to the "easy" in this easy palmiers recipe. It significantly reduces the preparation time, making them a quick treat.
What kind of sugar works best for creating the caramelized crust on palmiers?
Granulated sugar is typically used, but coarse sugar or turbinado sugar can add a nice crunch and texture to the caramelized crust. The key is to ensure even distribution.
Are there any flavor variations I can try with this palmiers recipe?
Yes! You can add spices like cinnamon, nutmeg, or even cocoa powder to the sugar mixture. Also, try using brown sugar for a richer, caramel-like flavor.
How do I ensure my palmiers are evenly baked and don't burn?
Ensure your oven is properly preheated and monitor the palmiers closely. Baking them on a parchment-lined baking sheet helps prevent sticking and promotes even browning.
Final Reflection: The Enduring Allure of the Simple Palmier
The seemingly simple palmier, with its delicate layers and addictive crunch, speaks volumes about the power of accessible elegance in baking. This seemingly straightforward pastry, achievable even for novice bakers, offers a surprisingly profound experience: the satisfaction of creating something beautiful and delicious from readily available ingredients. It's a testament to the fact that culinary artistry doesn't always require complexity.
The palmier's enduring appeal lies not just in its taste, but in its ability to evoke feelings of comfort and nostalgia. It's a recipe easily shared and adapted, passed down through generations, and enjoyed in countless variations. The simple act of shaping the dough, watching it puff and brown in the oven, connects us to a long tradition of baking and the joy of creating something from scratch. Baking is at once child's play and adult joy. And love, of course.
– Paul Hollywood. This quote perfectly encapsulates the magic found in even the simplest baked goods, like our palmier.
Now, I invite you to take what you've learned here and embark on your own palmier journey. Don't be afraid to experiment – try different sugars, add spices, or even incorporate nuts or chocolate. The beauty of this recipe lies in its adaptability. Most importantly, savor the process, embrace the imperfections, and enjoy the sweet reward of a perfectly crafted, effortlessly elegant palmier. The experience, as much as the final product, is what truly matters.
Unleash Your Inner Pastry Chef: Master the Palmier!
Thanks for taking the time to explore the delightful world of palmiers with us! We hope you've gained a newfound appreciation for this simple yet elegant pastry. Ready to put your new skills to the test?
- Bake a batch of palmiers today! Experiment with different flavor combinations – maybe add some cinnamon sugar or chopped nuts?
- Share your palmier creations on social media using #BakeWithEasePalmiers – we'd love to see them!
- Consider trying a variation: Have you ever attempted chocolate palmiers?
What unique twist will you add to your next palmier masterpiece?