
Pain au Chocolat with Sourdough Discard: A Unique Intermediate Twist

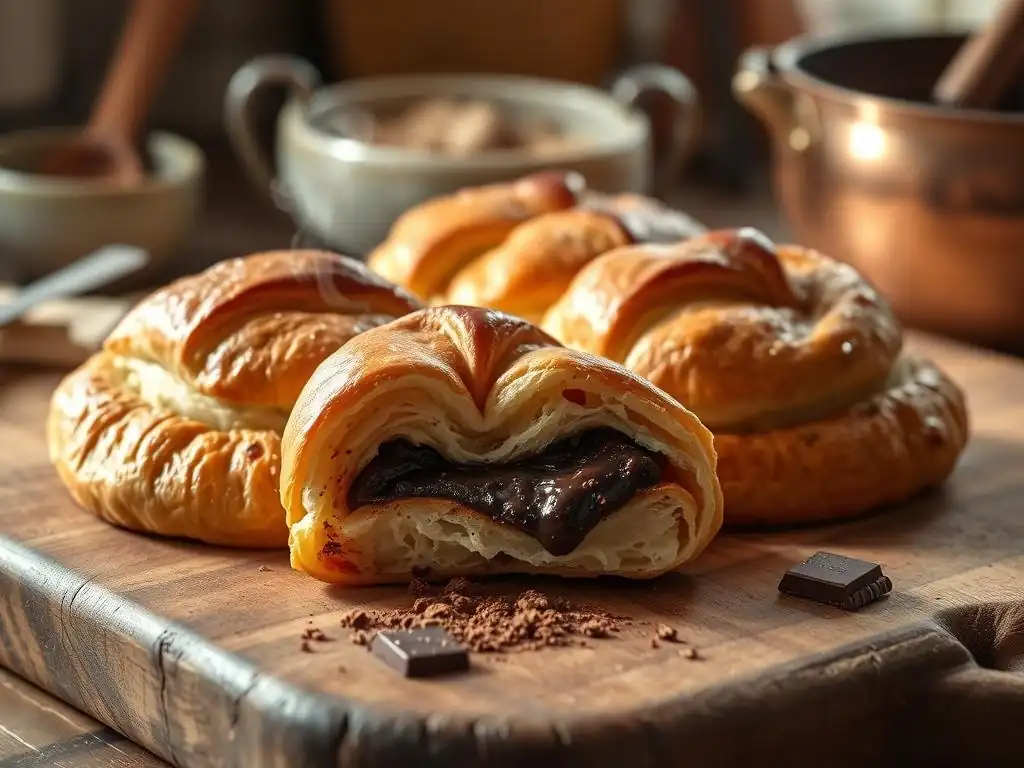
Welcome to BakeWithEase, your companion on the delicious journey of baking!
Ever wondered if that sourdough discard could be more than just discard? Prepare to be amazed! This website is dedicated to helping you master the art of baking with ease, from simple cookies to complex pastries. Today, we're diving into a unique intermediate challenge: a sourdough pain au chocolat recipe that elevates the classic to a whole new level. But how does that tangy discard transform a buttery, flaky treat? Let's find out and unlock a symphony of flavors you won't soon forget...
- Sourdough Pain au Chocolat: A Detailed Guide
- Introduction: Elevating Pain au Chocolat with Sourdough
- Understanding Sourdough Starter for Pain au Chocolat
- The Ultimate Sourdough Pain au Chocolat Recipe: Step-by-Step Guide
- Troubleshooting Your Sourdough Pain au Chocolat
- Mastering the Sourdough Pain au Chocolat: Advanced Techniques
- Serving and Enjoying Your Homemade Sourdough Pain au Chocolat
- Conclusion: Your Journey to Sourdough Pain au Chocolat Mastery
- Frequently Asked Questions
- Final Reflection: The Unexpected Joy of Sourdough Pain au Chocolat
- Unleash Your Inner Boulanger: Elevate Your Baking!
Sourdough Pain au Chocolat: A Detailed Guide
Introduction: Elevating Pain au Chocolat with Sourdough
Why Sourdough Enhances Pain au Chocolat
Traditional pain au chocolat, a beloved French viennoiserie, is known for its delicate, flaky layers and rich buttery flavor enveloping two pieces of dark chocolate. Introducing sourdough into this classic recipe brings a fascinating complexity. The natural fermentation process of a sourdough starter contributes a subtle tanginess that balances the sweetness of the chocolate and the richness of the butter, creating a more nuanced flavor profile than yeast-only versions. Furthermore, sourdough can improve the texture, often resulting in a crumb that is both tender and slightly chewy, providing a delightful contrast to the crisp, shatteringly flaky exterior.
Using sourdough discard in your pain au chocolat recipe also offers a practical benefit: it's a fantastic way to utilize excess starter that would otherwise be discarded during feeding. Instead of throwing away flour and water, you incorporate this active or inactive starter into your dough, adding depth of flavor and unique characteristics. This approach not only reduces waste but also transforms a standard pain au chocolat into a more complex bake, appealing to those who appreciate the distinct qualities sourdough brings to baked goods.
An Intermediate Viennoiserie Project
Baking sourdough pain au chocolat is definitely an intermediate-level project, building upon foundational baking skills. It requires patience, attention to detail, and a good understanding of dough handling, fermentation, and lamination. Unlike simple yeasted doughs that rise quickly, sourdough requires longer fermentation times, demanding careful scheduling and temperature control. The lamination process itself – incorporating a butter block and folding the dough multiple times – is a technique that requires practice to achieve perfect layers without the butter melting or breaking through the dough.
This recipe serves as an excellent stepping stone for bakers looking to expand their viennoiserie repertoire beyond simpler pastries. Mastering the sourdough pain au chocolat involves understanding the interplay between the active starter, gluten development, cold temperatures required for lamination, and precise proofing. It's a project that offers significant rewards in terms of flavor and texture, providing a true sense of accomplishment once you pull those golden, flaky pastries from the oven.
Understanding Sourdough Starter for Pain au Chocolat
What is Sourdough Starter and How Does it Affect Baking?
A sourdough starter is a living culture of wild yeast and lactic acid bacteria, typically a mixture of flour and water. When fed regularly, these microorganisms ferment the flour, producing carbon dioxide gas (which makes dough rise) and a complex array of organic acids (like lactic and acetic acid), which contribute to the characteristic tangy flavor and aroma of sourdough baked goods. Unlike commercial yeast, which primarily produces carbon dioxide rapidly, sourdough fermentation is slower and produces byproducts that enhance flavor, improve dough structure, and can even slightly improve the shelf life of the final product.
In the context of a sourdough pain au chocolat recipe, the starter's activity level is important, though discard (inactive starter) can also be used for flavor. An active, bubbly starter will contribute more leavening power, while discard primarily adds flavor. The acids produced by the starter also interact with the gluten in the flour. While this can sometimes make dough slightly stickier or more extensible, it also contributes to a more complex gluten structure over longer fermentation times, potentially leading to a more open crumb structure within the rich layers of the pain au chocolat.
Benefits of Using Sourdough in Viennoiseries
Incorporating sourdough into viennoiseries like pain au chocolat offers several distinct advantages. Firstly, as mentioned, the unique tangy flavor profile from the lactic and acetic acids cuts through the richness of the butter and chocolate, creating a more balanced and sophisticated taste. This is particularly appealing to palates that find traditional pastries overly sweet or heavy. Secondly, the slower, more complex fermentation process can lead to improved dough handling characteristics over long periods, making the dough more extensible for lamination when properly chilled.
Beyond flavor, sourdough can also positively impact the final texture. The prolonged fermentation can contribute to a finer, more consistent crumb structure within the laminated layers, enhancing the overall mouthfeel. Some bakers also find that sourdough-based pastries can develop a slightly crispier, more robust crust during baking. While the primary leavening in many enriched viennoiseries still comes from commercial yeast (often used alongside sourdough for a reliable rise), even using sourdough discard solely for flavor provides these benefits without relying on the starter for significant lift.
The Tangy Flavor Profile: A Sourdough Pain au Chocolat Advantage
The signature tang of sourdough comes from the organic acids produced during fermentation. Lactic acid contributes a milder, yogurt-like sourness, while acetic acid provides a sharper, vinegar-like bite. The ratio of these acids depends on factors like the starter's hydration, temperature, and feeding schedule. In a sourdough pain au chocolat, this tang doesn't overpower the classic flavors but rather acts as a counterpoint. Imagine the sweet intensity of melted chocolate and the rich, savory depth of browned butter; the subtle acidity of the sourdough cuts through this richness, preventing the pastry from feeling heavy.
This tangy advantage is particularly noticeable after the pain au chocolat has cooled slightly, allowing the flavors to meld and the acidity to become more prominent. It transforms the familiar treat into something more complex and intriguing. For those who love the depth of flavor in sourdough bread, experiencing that same complexity in a delicate pastry like pain au chocolat is a delightful revelation. It elevates the simple combination of dough, butter, and chocolate into a more gourmet experience.
The Ultimate Sourdough Pain au Chocolat Recipe: Step-by-Step Guide
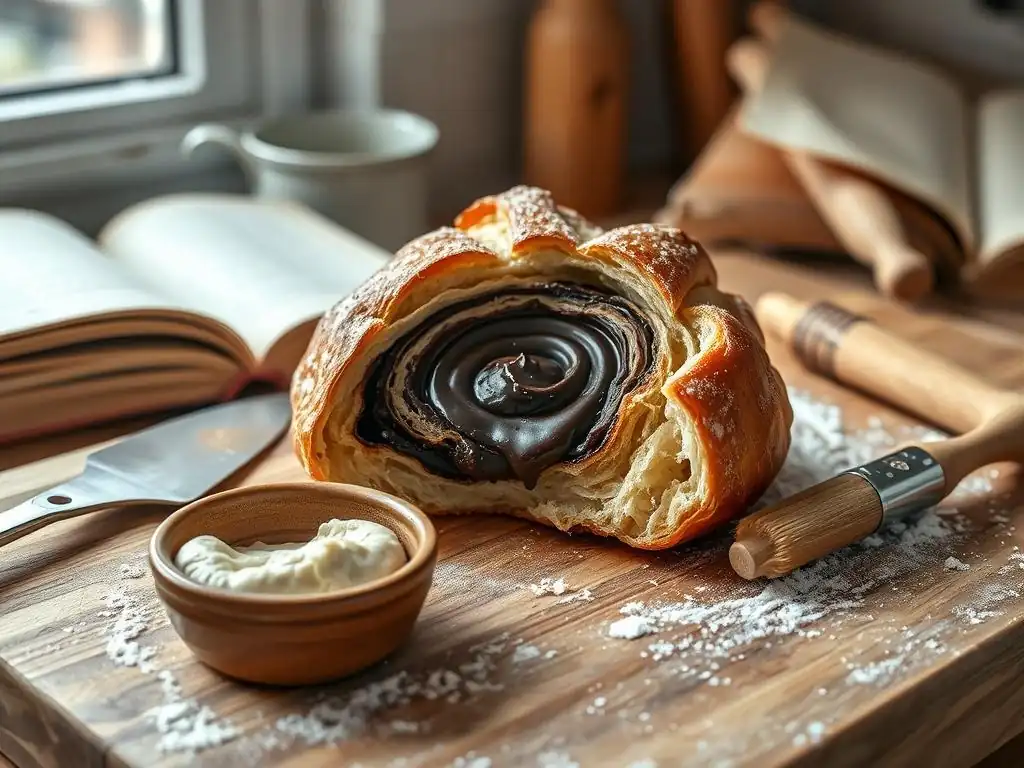
Ingredients for Sourdough Pain au Chocolat
Here's a list of ingredients you'll need for this sourdough pain au chocolat recipe:
- Strong Bread Flour: Approximately 500 grams
- Milk: Around 150-180 ml (whole milk recommended)
- Granulated Sugar: 50-60 grams
- Salt: 10-12 grams
- Active Sourdough Starter (or Discard): 100-150 grams (at 100% hydration)
- Instant Yeast: 5-7 grams (optional, for a faster, more reliable rise alongside sourdough)
- Unsalted Butter (softened): 30-40 grams (for the dough)
- Unsalted Butter (cold): 250-300 grams (for the butter block)
- Chocolate Batons (Pain au Chocolat Chocolate): 12-16 pieces (approx. 5-7g each)
- Egg: 1 large (for egg wash)
- Water or Milk: 1 tablespoon (for egg wash)
Flour Selection for Optimal Texture
Choosing the right flour is crucial for creating a sourdough pain au chocolat with the desired flaky yet tender texture. A strong bread flour, typically with a protein content ranging from 12% to 14%, is highly recommended. The higher protein level means more gluten-forming proteins (gliadin and glutenin). When hydrated and kneaded, these proteins develop a strong, elastic gluten network capable of trapping the gases produced by the sourdough starter and yeast (if using), allowing the dough to rise and providing structure.
This strong gluten network is also essential for withstanding the rigorous process of lamination. The dough needs to be strong enough to be rolled out thinly multiple times without tearing, yet elastic enough to spring back slightly and create distinct layers when folded around the butter block. Using an all-purpose flour with lower protein (around 10-11%) might result in a dough that is weaker, more prone to tearing during lamination, and may not support the rise as well, potentially leading to a less airy and less flaky final product.
The Role of Butter in Lamination
Butter is arguably the most critical component for achieving the signature flaky layers of sourdough pain au chocolat. For lamination, you need a significant amount of cold, unsalted butter. The butter is incorporated into the dough as a solid block, and through repeated rolling and folding (the lamination process), it is spread into thin, even layers between the dough layers. During baking, the water content in the butter turns to steam, which forces the dough layers apart, creating hundreds of thin, airy pockets separated by crispy, caramelized butter layers.
The quality and temperature of the butter are paramount. High-quality butter with a relatively high-fat content (ideally 82% or higher) and a good plasticity is best. It needs to be cold but pliable enough to roll out without cracking. If the butter is too hard, it will break into pieces; if too soft or warm, it will melt into the dough, resulting in a dense, cake-like texture rather than distinct layers. Maintaining the butter and dough at consistently cold temperatures throughout the lamination process is the key to success.
Importance of High-Quality Chocolate Batons
While the dough and lamination create the structure, the chocolate batons (also known as chocolatines or bâtons de chocolat) provide the iconic filling and a significant portion of the flavor in pain au chocolat. Using high-quality chocolate is essential. Look for batons specifically made for baking, often containing around 50-60% cocoa solids. These are designed to melt smoothly within the pastry during baking without burning, providing a rich, slightly bitter counterpoint to the sweet dough.
Low-quality chocolate or standard chocolate chips may contain stabilizers or melt inconsistently, potentially leading to a grainy texture or even burning during the baking process. Using batons ensures you have the correct shape and amount of chocolate for each pastry, guaranteeing that classic cross-section with molten chocolate pockets. A good quality chocolate will melt into a luxurious pool, enhancing the overall experience of biting into a warm sourdough pain au chocolat.
Preparing the Sourdough Dough
Mixing and Kneading Techniques for Sourdough Dough
Preparing the sourdough dough for pain au chocolat begins with combining the liquid ingredients (milk, sourdough starter, and optional yeast) with the dry ingredients (flour, sugar, salt). The softened butter is typically added towards the end of the mixing process. Unlike lean bread doughs, enriched doughs like this benefit from moderate kneading. The goal is to develop enough gluten to create a smooth, elastic dough that can withstand lamination, but not so much that it becomes overly tough.
Mixing can be done by hand or with a stand mixer fitted with a dough hook. With a mixer, mix on a low speed until the ingredients are just combined, then increase to a medium speed for about 8-10 minutes, or until the dough pulls away from the sides of the bowl and is smooth and elastic. It should pass the windowpane test (a small piece of dough can be stretched thinly without tearing).
If mixing by hand, this will take longer, perhaps 15-20 minutes of folding and kneading. The dough for sourdough pain au chocolat will be relatively soft and slightly sticky due to the enrichment and the starter.
First Fermentation: Bulk Fermentation Tips
The first fermentation, or bulk fermentation, is where the sourdough starter (and yeast) begins its work, producing gases and developing flavor. Since this dough is enriched and potentially includes sourdough, the bulk fermentation will be slower than a typical yeasted dough. After kneading, place the dough in a lightly oiled bowl, cover it, and let it ferment in a cool place. A temperature around 20-24°C (68-75°F) is suitable. The duration can vary significantly depending on the activity of your starter and the room temperature, typically ranging from 2 to 4 hours or even longer.
During bulk fermentation, perform a few sets of stretch and folds (every 30-60 minutes for the first 1.5-2 hours) to help build strength and structure in the dough. The dough should increase in volume by about 50-75% and become visibly gassy.
Once it has reached this stage, the most crucial step for viennoiserie dough is a long, cold rest in the refrigerator, ideally for 8-12 hours, or even up to 24 hours. This cold rest is essential for two reasons: it slows down fermentation to make the dough manageable for lamination, and it allows the flavors from the sourdough starter to develop more fully, contributing to a better sourdough pain au chocolat.
Lamination: Creating the Flaky Layers
Lamination is the heart of viennoiserie and the technique that creates those beautiful, flaky layers in your sourdough pain au chocolat. It involves enclosing a cold butter block within the dough and then repeatedly rolling and folding the dough to create alternating layers of dough and butter. This recipe typically requires two or three "turns" or folds.
Butter Block Preparation for Lamination
Preparing the butter block correctly is vital for successful lamination. Take the cold butter (250-300g) and shape it into a flat rectangle, typically about 15x20 cm (6x8 inches) or a size that fits your dough rectangle. You can do this by placing the butter between two sheets of parchment paper and rolling it with a rolling pin or by pounding it gently with the pin and then shaping it with your hands or a bench scraper. The goal is a uniformly thick rectangle of pliable, but still cold, butter.
The butter should be cold but not hard and brittle. If it's too hard, it will break when you roll the dough. If it's too soft, it will melt into the dough. The ideal consistency is similar to firm clay. Ensure the edges are relatively sharp and the thickness is even across the block. This prepared butter block will be placed onto the rolled-out dough.
The Folding Process: Turns and Rests Explained
After the cold dough has rested, roll it out into a rectangle roughly twice the size of your butter block. Place the butter block on one half of the dough rectangle, leaving a small border around the edges. Fold the other half of the dough over the butter block, sealing the edges to fully enclose the butter. This is the first step.
Now begins the sequence of rolling and folding, known as "turns." A common method is the "letter fold" or "tri-fold." Roll the dough-butter packet into a long rectangle. Brush off any excess flour.
Fold one-third of the dough rectangle over the middle section, then fold the remaining third over that, like folding a letter. This completes one turn, creating three layers of dough and two layers of butter. Wrap the folded dough tightly in plastic wrap and refrigerate for at least 30-60 minutes to allow the gluten to relax and the butter to firm up.
Repeat this process for a second turn, rolling the dough out again (always starting with the folded edge to your side) and performing another letter fold. For richer pastries, a third turn can be done after another rest. Two turns yield 9 layers of dough and 8 layers of butter, while three turns result in 27 dough layers and 26 butter layers, contributing to the incredible flakiness of a well-executed sourdough pain au chocolat.
Achieving Perfect Layers: Avoiding Common Mistakes
Achieving perfect layers in your sourdough pain au chocolat requires careful execution during lamination. One common mistake is not keeping the dough and butter cold enough. If they warm up, the butter will soften and integrate into the dough instead of remaining in distinct layers. Work quickly, use a cold surface if possible, and ensure adequate rest periods in the refrigerator between turns (at least 30-60 minutes, longer if needed).
Another pitfall is uneven rolling or tearing the dough. Roll gently and evenly, applying pressure gradually. If the dough resists, let it rest for a few minutes before continuing. If you see butter peeking through (known as "blowouts"), dust the spot with a little flour and try to proceed carefully, or patch small tears with a piece of dough. Overworking the dough or using too much flour during rolling can also negatively impact the final texture. The goal is smooth, even layers of dough and butter throughout the lamination process.
Shaping and Proofing Your Sourdough Pain au Chocolat
Cutting and Shaping the Pain au Chocolat
Once the lamination is complete and the dough has had its final cold rest, it's time to shape your sourdough pain au chocolat. Lightly flour your work surface and roll the dough out into a large rectangle, typically about 30-40 cm (12-16 inches) wide and 40-50 cm (16-20 inches) long, aiming for a thickness of around 3-4 mm (about 1/8 inch). Ensure the rectangle is uniform in thickness.
Using a sharp knife or a pizza cutter, trim the edges to create straight lines. Then, cut the large rectangle into smaller rectangles, approximately 8-10 cm (3-4 inches) wide and 18-20 cm (7-8 inches) long. Place one chocolate baton along one short edge of a dough rectangle, about 1-2 cm from the edge. Roll the dough over the baton once, then place a second baton just below the fold and continue rolling the dough tightly to enclose both batons. Place the shaped pain au chocolat seam-side down on a baking sheet lined with parchment paper.
Proofing for a Light and Airy Texture
Proofing is the final rise before baking, where the shaped sourdough pain au chocolat pastries increase in volume due to the production of carbon dioxide by the remaining active yeast and sourdough starter. Proper proofing is critical for a light and airy texture. The ideal proofing temperature is warm but not hot, typically around 24-26°C (75-80°F). Avoid proofing in a too-warm environment, as this can melt the butter layers before the dough has fully risen, leading to a dense, greasy result.
Proofing time can vary significantly depending on the temperature and the activity of your starter and yeast (if used), usually taking from 2 to 4 hours. The pastries are ready when they look visibly puffy and have increased in size by about 75-100%. You should be able to gently indent the dough with your finger, and the indentation should spring back slowly, not immediately (under-proofed) or remain permanently (over-proofed). Placing the baking sheet in a turned-off oven with the light on can create a suitable proofing environment.
Baking Your Sourdough Pain au Chocolat to Perfection
Oven Temperature and Baking Time Guidelines
Baking sourdough pain au chocolat requires a hot oven to ensure the pastries rise quickly and the layers separate before the butter melts completely. Preheat your oven to a relatively high temperature, typically between 190°C and 210°C (375°F and 410°F). The exact temperature may vary depending on your oven.
The baking time for pain au chocolat usually ranges from 12 to 20 minutes. The duration depends on the size of your pastries and your oven's characteristics. It's helpful to bake one test pastry first if you're unsure. The pastries are done when they are a deep golden brown color all over, including the sides and bottom.
Achieving a Golden-Brown Crust
A beautiful golden-brown crust is a hallmark of a perfectly baked pain au chocolat. This color indicates that the sugars in the dough have caramelized, contributing to flavor and creating a crisp exterior. To enhance the color and shine, apply an egg wash (a beaten egg mixed with a little water or milk) to the surface of the pastries just before baking. Brush gently to avoid deflating the proofed dough.
Baking at the correct temperature is key. If the oven is too cool, the pastries might spread rather than rise, and the crust might be pale and soft. If the oven is too hot, the outside might burn before the inside is cooked through and the layers have fully separated. Keep a close eye on the pastries during the last few minutes of baking.
Cooling and Storing Your Baked Pain au Chocolat
Once your sourdough pain au chocolat pastries are beautifully golden brown and baked through, carefully remove them from the oven. Transfer them from the hot baking sheet to a wire rack immediately to cool. Cooling on a rack allows air circulation, preventing the bottoms from becoming soggy from residual heat.
While the aroma is irresistible, it's best to let them cool for at least 15-20 minutes before eating. This allows the melted chocolate to set slightly and the internal structure of the pastry to stabilize. Enjoying them warm is fantastic, but be mindful of the hot melted chocolate. Freshly baked pain au chocolat is always best consumed on the same day. If you have leftovers, store them at room temperature in an airtight container for a day, or freeze them for longer storage. Reheat gently in a warm oven (around 170°C/325°F) for a few minutes to revive the flakiness.
Troubleshooting Your Sourdough Pain au Chocolat
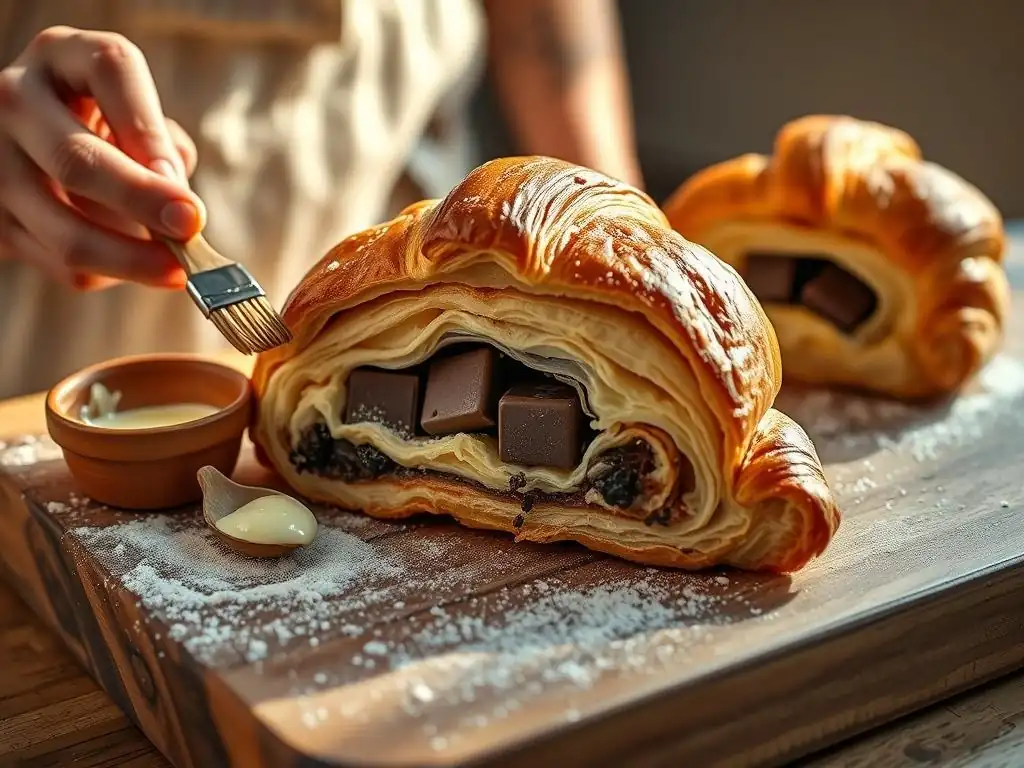
Common Issues and How to Fix Them
Baking sourdough pain au chocolat can present some challenges, especially if you're new to lamination or working with sourdough. Understanding common issues and how to address them is key to success. Patience and practice are your best tools.
Dough is Too Sticky
A sticky dough is a frequent issue, particularly with enriched doughs or those containing sourdough starter, which can sometimes increase hydration. If your dough is excessively sticky after mixing and kneading, resist the urge to add large amounts of flour. Instead, try kneading for a few more minutes; sometimes stickiness improves as gluten develops. Ensure you weighed your ingredients accurately, as too much liquid is a common cause.
During lamination, a slightly sticky dough can be managed by using minimal flour on your work surface and rolling pin. Too much flour will get incorporated into the dough and can make the layers tougher. If the dough is still unmanageable, a longer cold rest in the refrigerator can help firm it up, making it easier to handle. Ensure your starter hydration is accounted for in the total liquid amount.
Butter is Leaking During Lamination
Butter leaking out ("blowouts") during lamination is a sign that either the butter or the dough is too warm, or you are rolling too aggressively. The butter should be pliable but cold. If it's too soft, it will squeeze out under pressure. If the dough is too warm, it won't provide enough resistance to keep the butter contained.
If you notice butter leaking, stop rolling immediately. Gently dust the area with a tiny amount of flour and press the dough together to seal the tear. Wrap the dough tightly and return it to the refrigerator for at least 30-60 minutes (or longer) to chill thoroughly before attempting to roll again. Work quickly and gently when rolling after the rest. Ensure your kitchen environment isn't excessively warm.
Pain au Chocolat is Not Rising Properly
If your sourdough pain au chocolat isn't rising well during proofing or baking, several factors could be at play. If you relied solely on sourdough starter for leavening and it wasn't active enough, the rise will be minimal. Using a small amount of instant yeast alongside the sourdough (as suggested in the recipe) helps ensure a more reliable rise.
Another common issue is improper proofing. If the environment is too cold, proofing will be very slow or stall. If it's too hot, the butter can melt before the dough fully proofs, collapsing the structure. Over-proofing can also lead to collapse during baking as the gluten structure becomes too weak to hold the gas. Ensure your proofing environment is warm (24-26°C) but not hot, and monitor the pastries closely, using the poke test to gauge readiness. Finally, an oven that isn't preheated properly or isn't hot enough will hinder the initial oven spring, resulting in flatter pastries.
Tips for Baking Sourdough Pain au Chocolat in Different Climates
Baking with sourdough and laminated dough is significantly impacted by climate, particularly temperature and humidity. In warm, humid climates, doughs ferment faster, and butter softens quickly. It's crucial to keep ingredients, dough, and butter very cold. Use chilled flour and liquids, and extend refrigeration times between lamination turns (to 60-90 minutes or more). Consider working in a cooler part of the day or using air conditioning. Proofing may also need to be done in a cooler spot, perhaps the refrigerator for a very slow, controlled rise overnight (cold proofing).
In cold, dry climates, fermentation will be slower, and doughs can dry out easily. You may need to slightly increase the liquid in your dough or use a higher hydration starter. Fermentation and proofing will take longer; find a warm spot for these stages, like a proofing box or a turned-off oven with the light on.
Be mindful that butter can be very hard in cold temperatures, making it difficult to roll; let your butter block sit out for just a few minutes before lamination to reach the right pliable consistency, but watch it carefully. Adjusting fermentation and proofing times based on your ambient temperature is key to a successful sourdough pain au chocolat recipe.
Mastering the Sourdough Pain au Chocolat: Advanced Techniques
Experimenting with Different Flours
Once you've mastered the basic sourdough pain au chocolat recipe using bread flour, you can experiment with different flours to alter the texture and flavor. Substituting a small percentage (e.g., 10-20%) of the bread flour with whole wheat or spelt flour can add nutty undertones and increase the fiber content, though it may slightly reduce the delicate flakiness. These flours absorb more liquid, so you might need to slightly increase the hydration.
Alternatively, using a portion of high-protein pastry flour or even a small amount of rye flour can introduce different complexities. Rye, in particular, contributes a distinct tang that can complement the sourdough flavor profile. Keep in mind that substituting flours, especially those with lower gluten or higher absorption rates, will affect dough handling and potentially require adjustments to mixing, kneading, and hydration. Start with small substitutions and observe how the dough behaves throughout the lamination process.
Adding Flavor Variations to Your Sourdough Pain au Chocolat (Orange Zest, Cinnamon)
While classic sourdough pain au chocolat is sublime on its own, adding flavor variations can create exciting new dimensions. Citrus zest, particularly orange zest, pairs beautifully with chocolate. You can finely grate the zest of one orange and incorporate it into the dough during the initial mixing stage. The oils in the zest will infuse the dough with a bright, aromatic quality that complements both the chocolate and the subtle tang of the sourdough.
Another popular variation is adding a touch of spice. A pinch of ground cinnamon or cardamom mixed into the dough or even sprinkled lightly over the butter block before folding can add warmth and complexity. Be mindful not to add too much spice, as you don't want to overpower the delicate flavors of the butter, chocolate, and sourdough. These small additions can transform a standard sourdough pain au chocolat into a uniquely flavored pastry experience.
Creating Unique Chocolate Combinations
The classic pain au chocolat uses dark chocolate batons, but there's plenty of room for creativity with the chocolate filling. Instead of or in addition to dark chocolate, consider using milk chocolate batons for a sweeter, creamier result. White chocolate batons can offer a different kind of sweetness and a contrasting color.
You could also experiment with flavored chocolates, such as chocolate with a hint of coffee, orange, or even chili (for a daring kick). Another idea is to use chopped chocolate pieces instead of batons, though batons are specifically designed for this application and hold their shape well during baking. For a truly decadent twist, you could even include a small amount of a firm ganache or a nut butter alongside the chocolate batons, provided they can withstand the baking temperature without excessive spreading. Just ensure your chosen chocolate is of high quality and designed for baking.
Serving and Enjoying Your Homemade Sourdough Pain au Chocolat
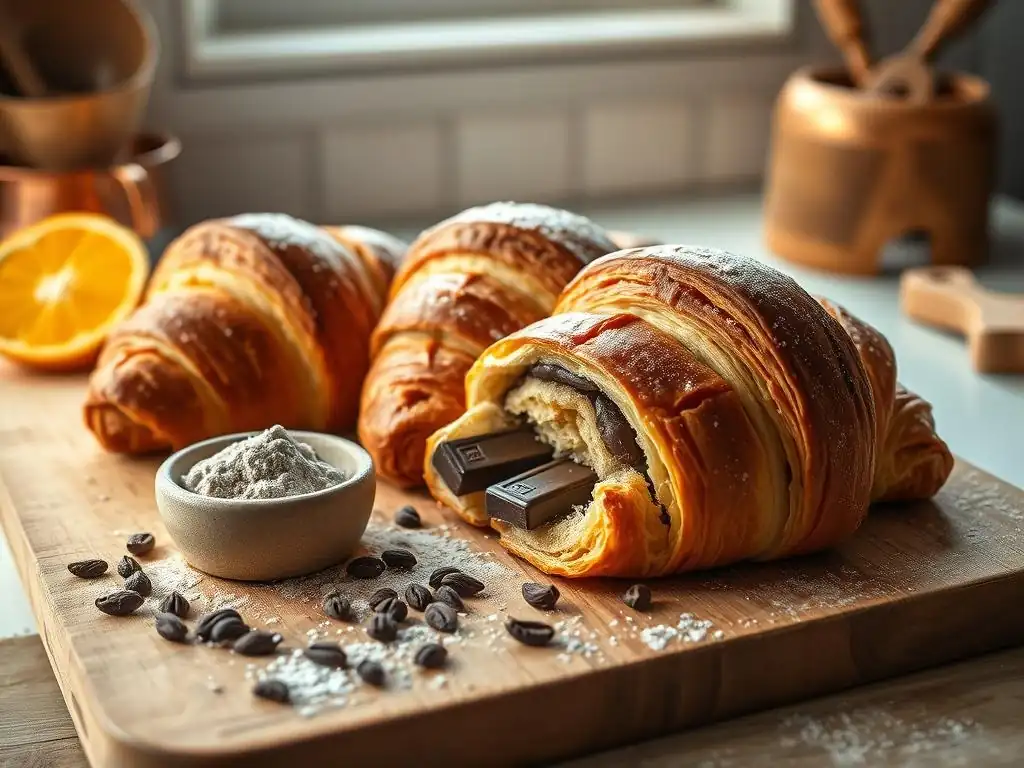
Pairing Suggestions: Coffee, Tea, and More
A freshly baked sourdough pain au chocolat is a treat best enjoyed with a complementary beverage. The classic pairing is a strong cup of coffee, such as an espresso or a rich filter coffee. The slight bitterness and robust flavor of the coffee cut through the richness of the pastry and chocolate, creating a balanced and satisfying experience.
For tea lovers, a strong black tea like Earl Grey or a classic English Breakfast provides a similar counterpoint to the pastry's richness. Green tea or herbal infusions can offer a lighter, more refreshing pairing, especially if the sourdough tang is pronounced. Beyond hot drinks, a glass of cold milk is a simple yet comforting pairing, particularly appealing with the chocolate filling. For a more adult pairing, consider a glass of sweet fortified wine like a Muscat or a Rutherglen Tokay, which can echo the sweetness of the chocolate while providing complexity.
The Perfect Way to Enjoy Freshly Baked Pain au Chocolat
There's arguably no better way to enjoy a sourdough pain au chocolat than when it's still warm from the oven. The layers are at their crispiest, and the chocolate is perfectly melted and gooey. Allow it to cool for just 15-20 minutes on a wire rack after baking to prevent burning your mouth and allow the structure to set slightly.
Serve it simply, perhaps on a small plate, allowing its visual appeal – the golden layers, the slight puffiness, the visible chocolate – to be part of the experience. Take a moment to appreciate the aroma before biting in. Hear the delicate crunch of the flaky layers, feel the tender interior, and savor the combination of tangy sourdough, rich butter, and molten chocolate. Sharing them with friends or family adds another layer of enjoyment to this rewarding baking project.
Conclusion: Your Journey to Sourdough Pain au Chocolat Mastery
Embrace the Challenge: A Rewarding Baking Experience
Embarking on the journey to bake sourdough pain au chocolat is a testament to your dedication as an intermediate baker. It requires learning new techniques, practicing precision in lamination, and understanding the nuances of working with sourdough. While there might be challenges along the way – perhaps a sticky dough, a slight butter leak, or less-than-perfect layers on your first attempt – each bake is a learning opportunity.
The reward for this effort is truly exceptional. Holding a warm, golden-brown sourdough pain au chocolat that you created from scratch, feeling its delicate weight, and finally biting into those crisp, flaky layers and rich melted chocolate is incredibly satisfying. The complex flavor profile, elevated by the subtle tang of the sourdough, makes this pastry stand out. It's a project that builds confidence and expands your baking skills significantly.
One of the greatest joys of baking is sharing your creations. Your homemade sourdough pain au chocolat, with its unique tangy twist, is sure to impress friends and family. Package them beautifully for gifts, bring them to a brunch, or simply enjoy them together over a leisurely morning coffee.
Don't hesitate to document your baking process and the final results! Share photos of your flaky layers and golden crusts. Discuss your experience with fellow bakers – what worked well, what challenges you faced, and any variations you tried. The baking community thrives on shared knowledge and inspiration. Your successful sourdough pain au chocolat recipe journey can inspire others to take on this rewarding intermediate project and discover the delights of this elevated classic pastry.
Frequently Asked Questions
What makes this Pain au Chocolat recipe unique?
This recipe utilizes sourdough discard, adding a subtle tang and depth of flavor not found in traditional recipes. It's also considered an intermediate-level recipe, offering a slight challenge.
Is this recipe suitable for beginner bakers?
While the recipe aims for simplicity, the use of sourdough discard and lamination techniques makes it better suited for bakers with some experience. Beginners may find it challenging.
What if I don't have sourdough discard?
You can either start a sourdough starter or seek out alternative recipes that don't require it. Using active sourdough starter is not recommended for this specific recipe.
Can I substitute any of the ingredients?
While some substitutions are possible, it's best to follow the recipe closely for optimal results. Ingredient quality, especially butter, significantly affects the final outcome.
How long does it take to make this Sourdough Pain au Chocolat?
The process, including dough preparation, proofing, and baking, can take several hours, possibly spread over two days. Allow ample time for proofing and chilling to achieve the desired texture.
Final Reflection: The Unexpected Joy of Sourdough Pain au Chocolat
The marriage of classic French pastry with the tangy depth of sourdough starter isn't just a culinary trend; it's a testament to the enduring power of experimentation in the kitchen. This recipe, designed to elevate the humble pain au chocolat, demonstrates that even seemingly disparate elements can harmonize beautifully, creating a richer, more complex flavor profile than either could achieve alone. The surprising success of incorporating sourdough discard adds a layer of sustainability, transforming waste into a delicious ingredient.
The journey of baking, much like life itself, is filled with unexpected twists and turns. This recipe, born from a desire to utilize sourdough discard effectively, has become a personal favorite, showcasing the potential for creativity within the constraints of resourcefulness. The best things in life are unexpected.
This simple sentiment rings true when considering the delightful outcome of this seemingly unconventional approach to a beloved classic. The process of perfecting this recipe, from initial experimentation to the final, flaky, chocolatey perfection, has been a rewarding exploration of flavor and technique.
Now, it's your turn. Don't be afraid to experiment in your own kitchen! Embrace the unexpected, and see what culinary wonders you can create by combining seemingly disparate ingredients and techniques. Try this recipe, adapt it to your own preferences, and discover the joy of transforming simple ingredients into something truly extraordinary. The world of baking awaits your unique touch – go forth and create!
Unleash Your Inner Boulanger: Elevate Your Baking!
Thanks for joining us on this delicious journey into sourdough discard baking! We hope you gained valuable insights into creating wonderfully complex and flavorful pain au chocolat. Ready to take your baking skills to the next level?
- Bake your own sourdough discard pain au chocolat: The recipe is ready to be used! Don't let those precious discards go to waste. This is your chance to create something truly special.
- Share your baking masterpiece: Post a picture of your creations on social media using #BakeWithEaseSourdough and inspire others!
- Explore our other sourdough recipes on BakeWithEase.com – discover even more ways to use your discard!
Ready to transform your kitchen into a Parisian patisserie? What unique twist will you add to your next batch of pain au chocolat?