
Creating Textured Buttercream Finishes: Comb Techniques

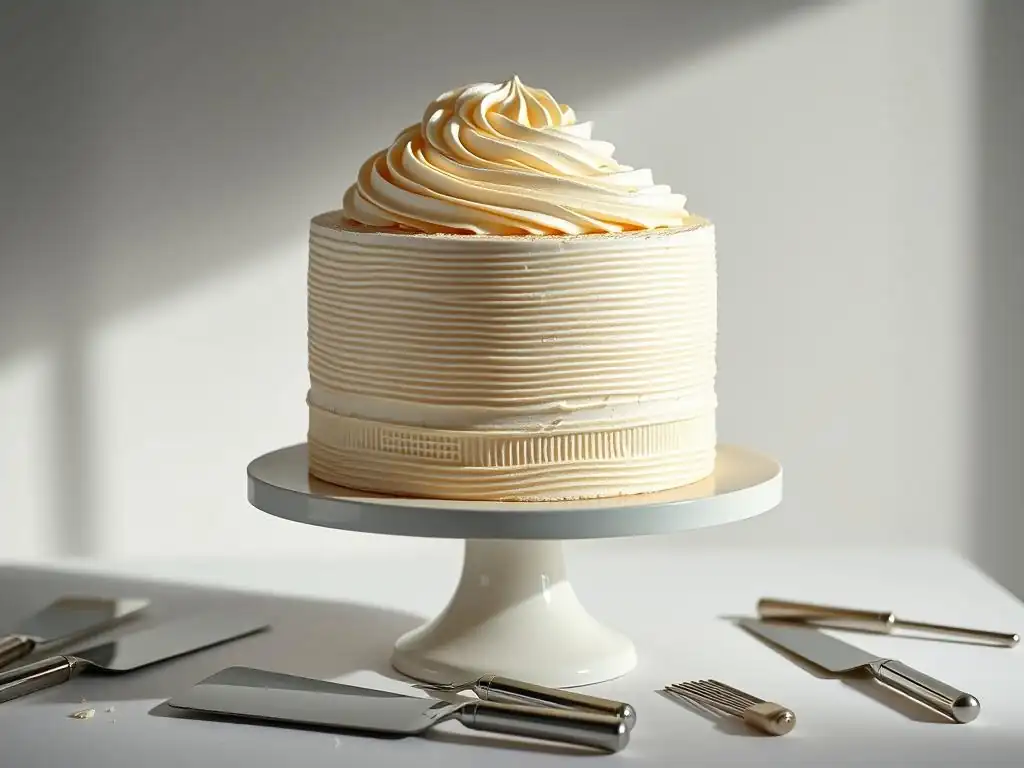
Welcome to BakeWithEase, your guide to delightful baking adventures! Ever wondered how to achieve those stunning, textured buttercream finishes you see in magazines? This week, we're diving deep into textured buttercream frosting techniques, specifically focusing on easy comb techniques that will elevate your cakes from simple to spectacular. Get ready to unlock the secrets to creating professional-looking designs with minimal effort, and discover how this intermediate baking skill can transform your desserts. Intrigued? Let's get started!
- Introduction to Textured Buttercream Frosting with Combs
- Understanding Buttercream Consistency for Comb Techniques
- Essential Tools for Creating Textured Buttercream Finishes
- Step-by-Step Guide: Applying Buttercream and Creating Texture with Combs
- Different Textured Buttercream Effects with Comb Techniques
- Troubleshooting Common Issues with Buttercream Comb Techniques
- Tips for Mastering Textured Buttercream Comb Techniques
- Caring for Your Buttercream Combs
- Conclusion: Elevate Your Baking with Easy Textured Buttercream
-
Frequently Asked Questions
- How do comb techniques create texture in buttercream frosting?
- Are comb techniques suitable for all types of buttercream frosting?
- What tools are needed for creating textured buttercream finishes with combs?
- How do I prevent air bubbles from ruining my textured buttercream finish?
- Can I use different colored buttercreams to enhance the textured effect?
- Final Reflection: Mastering the Art of Textured Buttercream
- Unleash Your Inner Cake Artist: Master the Buttercream Comb!
Introduction to Textured Buttercream Frosting with Combs
Textured buttercream frosting techniques using combs offer a fantastic way to add visual interest and professional flair to your cakes. Whether you're a beginner or looking to refine your skills, using simple tools like buttercream combs can transform a plain frosted cake into a stunning centerpiece. These techniques are surprisingly easy to learn and execute, making them accessible for home bakers of all levels.
Why Choose Comb Techniques for Buttercream Texture?
Choosing comb techniques for adding texture to your buttercream is a straightforward and effective method. Unlike intricate piping or fondant work, creating textured buttercream finishes with combs requires minimal specialized skill and can be done relatively quickly. This makes it an ideal approach for bakers who want maximum visual impact with manageable effort.
The simplicity of the tool allows for a wide range of designs, from classic stripes to modern waves, all achievable with just a few passes around the cake. For instance, a standard metal comb with ½-inch teeth can create elegant vertical lines on a 6-inch cake in under 5 minutes of texturing time.
Furthermore, these textured buttercream frosting techniques are incredibly forgiving. Small imperfections in the initial application of buttercream can often be smoothed over or even hidden within the textured pattern itself. This ease of correction reduces stress and increases confidence, particularly for those new to cake decorating.
Compared to achieving a perfectly smooth buttercream finish, which often requires extensive practice and very precise temperature control, creating a textured finish with a comb is often seen as an easier entry point into sophisticated cake decoration. Many bakers find they can achieve pleasing results on their first or second try using a comb, whereas a flawless smooth finish might take dozens of attempts.
Elevating Your Cakes: The Beauty of Textured Buttercream
Textured buttercream elevates a simple cake from ordinary to extraordinary by adding depth, dimension, and a touch of artistry. The interplay of light and shadow on the textured surface creates a dynamic visual effect that is impossible to achieve with a flat finish. A cake with clean, crisp lines from a comb can look incredibly sophisticated, perfect for formal occasions, while a cake with soft, wavy textures might evoke a more romantic or whimsical feel.
This visual appeal significantly enhances the perceived value and professionalism of your baked goods. Consider a birthday cake: a simple chocolate cake with smooth frosting is nice, but the same cake adorned with a delicate wave texture using a comb immediately feels more special and handcrafted.
Beyond aesthetics, textured buttercream can also offer a different eating experience. While primarily visual, the texture affects how the light catches the frosting, potentially making it appear richer or lighter depending on the pattern. It also provides a slightly varied surface for additional decorations like sprinkles, edible glitter, or small candies, which can nestle within the grooves of the texture. For example, pressing fine edible glitter into the grooves of horizontal lines creates a sparkling effect that is far more pronounced than on a flat surface. This makes textured buttercream a versatile foundation for further decorative efforts.
Understanding Buttercream Consistency for Comb Techniques
Achieving the right buttercream consistency is paramount for successful textured buttercream frosting techniques. If your buttercream is too stiff, it will be difficult to spread smoothly and the comb will drag or tear the surface. If it's too soft, the texture won't hold its shape, and the lines will sag or blur. Finding that sweet spot where the buttercream is spreadable yet firm enough to maintain defined lines is key.
Achieving the Perfect Buttercream Texture for Sharp Lines
For crisp, sharp lines when using buttercream combs, your buttercream needs to be smooth, pliable, and relatively firm. A good test is to scoop some buttercream with a spoon: it should hold its shape without slumping immediately, but still be easy to stir.
If it's too stiff, add a tiny amount of liquid (like milk, cream, or even water), starting with just half a teaspoon for a standard batch (e.g., enough for an 8-inch cake) and mixing thoroughly. If it's too soft, you can refrigerate it for 10-15 minutes to firm it up, or if it's a significant issue, beat in a tablespoon or two of sifted powdered sugar.
Temperature plays a crucial role in consistency. Buttercream that was perfect at room temperature might become too soft in a warm kitchen or too stiff if chilled for too long. Aim for a temperature where the buttercream feels cool to the touch but is easily spreadable with an angled spatula. This consistency allows the comb to glide smoothly over the surface, cutting into the buttercream just enough to create clean, defined lines without pulling or sticking. Many bakers find a temperature around 70-72°F (21-22°C) is ideal for achieving this balance with most standard buttercream recipes.
Types of Buttercream Suitable for Texturing (American, Swiss, Italian)
Several types of buttercream are suitable for creating textured finishes with combs, each offering slightly different characteristics. American buttercream, made from butter and powdered sugar, is the most common and often the easiest to work with for beginners because its consistency is primarily controlled by the ratio of sugar to butter and the amount of liquid added. It tends to be quite firm, which is excellent for holding sharp textures, though it can be prone to air bubbles if not mixed properly.
Meringue-based buttercreams like Swiss Meringue Buttercream (SMBC) and Italian Meringue Buttercream (IMBC) are also excellent choices. They are typically smoother and silkier than American buttercream, which allows the comb to glide effortlessly. SMBC and IMBC are less sweet and have a more stable structure, making them less likely to sag, especially in warmer conditions. However, they require a bit more technique to make initially. French buttercream, made with egg yolks, is generally too soft and rich to hold sharp comb textures effectively, making it less suitable for this specific technique.
Adjusting Buttercream Consistency for Optimal Results
Adjusting your buttercream's consistency is an ongoing process, even during decoration. If you notice your buttercream becoming too soft as you work (perhaps due to warm hands or room temperature), pop the bowl into the refrigerator for 5-10 minutes to firm it up slightly. If it becomes too stiff, give it a quick beat with your mixer (or by hand) to loosen it, potentially adding a tiny splash of milk or cream if needed.
Humidity can also affect buttercream consistency. In humid conditions, powdered sugar-based buttercreams can become stickier or softer. You might need to add a little extra powdered sugar to compensate. Conversely, in dry conditions, it might stiffen up faster, requiring a bit more liquid. Pay attention to how the buttercream feels and performs as you work, and make small adjustments as necessary. For example, if working on a hot summer day, you might need to keep your buttercream chilled between application steps to maintain the ideal firmness for crisp textured buttercream frosting techniques easy to achieve.
Essential Tools for Creating Textured Buttercream Finishes
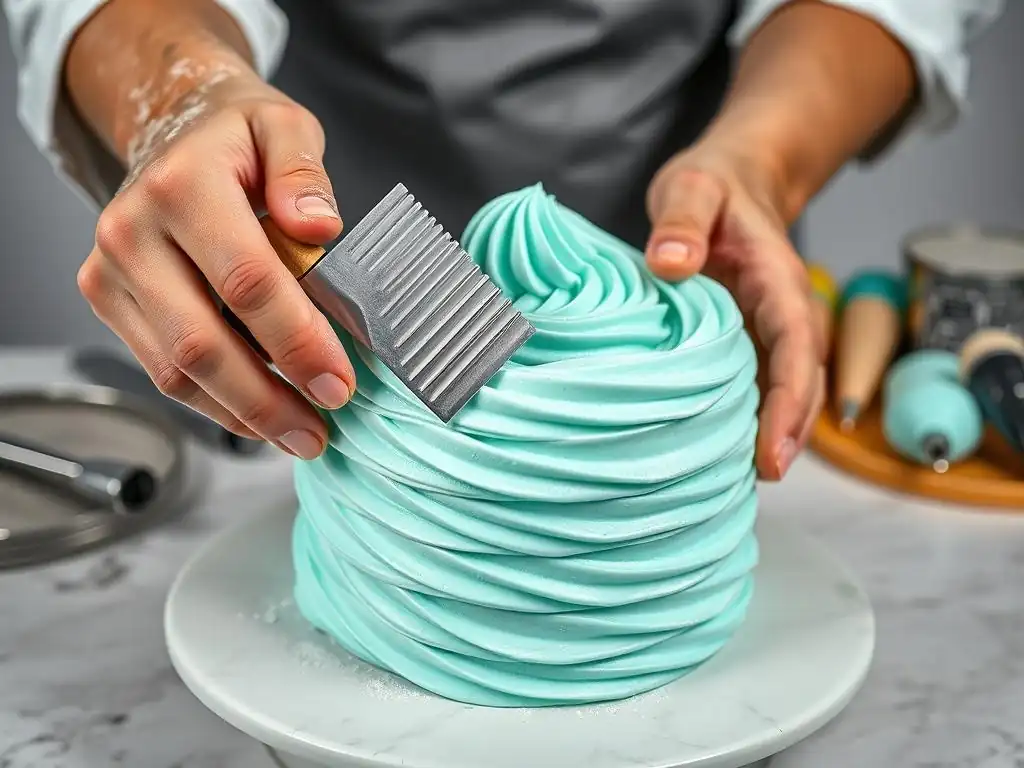
Having the right tools is crucial for successfully creating textured buttercream finishes with ease. While the technique itself is straightforward, the quality and type of your tools can significantly impact the final result. Fortunately, the essential tools required are minimal and relatively inexpensive, making this a very accessible decorating method.
Buttercream Combs: Choosing the Right Size and Pattern
Buttercream combs, also known as icing scrapers or texture combs, are the primary tools for creating these finishes. They come in various materials (plastic, metal, acrylic), sizes, and patterns. Metal combs are often preferred for their rigidity, which helps create sharper lines, and they can be chilled easily if needed. Plastic or acrylic combs are lighter and more budget-friendly. Size matters: a taller comb is necessary for a taller cake to create a continuous pattern without needing to overlap sections awkwardly.
The patterns available are numerous, ranging from simple lines (fine, medium, wide) to waves, zigzags, and more complex geometric designs. For beginners exploring textured buttercream frosting techniques easy to master, starting with a basic set that includes a few different line widths and perhaps a simple wave pattern is a good idea. Look for combs with a straight, flat edge on one side and a textured edge on the other, offering dual functionality. A set of 3-4 combs with varying patterns can cost as little as $10-20 online or at baking supply stores.
Angled Spatulas: Smoothing and Applying Buttercream
Angled spatulas are indispensable for applying the buttercream to the cake before texturing and for smoothing the top edge. An angled spatula allows you to keep your hand away from the cake surface, preventing accidental smudges and making it easier to achieve a smooth, even layer of buttercream. Having at least two sizes is helpful: a smaller one (4-6 inches) for detailed work and smoothing the top, and a larger one (8-10 inches) for applying buttercream to the sides.
When applying buttercream, use the angled spatula to scoop a generous amount onto the side of the cake and spread it evenly, working your way around. For texturing, you'll need a smooth, even base layer first. The angled spatula is also perfect for creating a sharp top edge after the side texture is complete, by pulling excess buttercream from the edge towards the center of the cake's top surface. A good quality set of angled spatulas is a foundational tool for any baker interested in cake decorating.
Turntables: Achieving Even Texture Around the Cake
A cake turntable is arguably essential for creating consistent textured buttercream finishes, especially on round cakes. Trying to texture a cake by moving around it manually will almost inevitably result in uneven lines and varying depths of texture. A turntable allows you to keep the comb stationary while rotating the cake smoothly against it, ensuring the pattern is applied evenly around the entire circumference.
Turntables range from basic plastic models to heavy-duty metal ones with smooth bearings. While a professional-grade metal turntable offers the smoothest rotation and stability, a simple plastic one is perfectly adequate for most home bakers and can be purchased for under $20. The key is smooth, consistent rotation. Practice rotating the turntable at a steady speed before applying the comb to the cake. This consistent motion is critical for achieving uniform lines with your textured buttercream frosting techniques.
Bench Scrapers: For a Smooth Buttercream Base
While not strictly for texturing, a bench scraper (or straight icing scraper) is invaluable for creating a smooth, even base layer of buttercream on the sides of the cake before you apply the comb. A smooth base ensures that when you use the comb, the texture is applied evenly and doesn't reveal bumps or inconsistencies underneath.
Use the bench scraper after applying the buttercream with an angled spatula. Hold the bench scraper straight against the side of the cake, perpendicular to the turntable, and rotate the cake smoothly. This will shave off excess buttercream and fill in gaps, leaving you with a relatively smooth canvas. This step is often done before the final application of buttercream that you will texture, or immediately after the final layer is applied but before the comb touches the cake. A metal bench scraper is usually preferred for its rigidity and sharp edge, making it efficient at smoothing.
Step-by-Step Guide: Applying Buttercream and Creating Texture with Combs
Mastering textured buttercream frosting techniques easy and achievable by following a simple step-by-step process. Patience and preparation are key to getting beautiful results. This guide breaks down the process from the initial crumb coat to refining the final texture.
Step 1: Crumb Coating Your Cake
The first crucial step is applying a crumb coat. This is a thin layer of buttercream spread all over the cake to seal in any loose crumbs. Skipping this step can lead to crumbs getting mixed into your final, textured layer, resulting in a messy finish. Apply a very thin layer using an angled spatula, ensuring the entire cake surface (top and sides) is covered. It doesn't need to be perfectly smooth, just covered.
Once the crumb coat is applied, chill the cake in the refrigerator for at least 20-30 minutes, or until the buttercream is firm to the touch. This firm base is essential; it locks the crumbs in place and provides a stable surface for applying the thicker, final layer of buttercream that you will texture. A well-chilled crumb coat makes the subsequent steps significantly easier and helps achieve a cleaner final look.
Step 2: Applying the Final Layer of Buttercream
After the crumb coat is firm, it's time to apply the final, thicker layer of buttercream. This layer needs to be thick enough to allow the comb to create a defined texture without exposing the crumb coat underneath. Using your angled spatula, apply a generous amount of buttercream to the sides of the cake, working from the bottom up or top down. Don't worry about making it perfectly smooth at this stage; just ensure even coverage, aiming for a thickness of roughly ¼ to ½ inch.
Ensuring a Smooth and Even Buttercream Surface
Before using the comb, you need a relatively smooth and even surface on the sides. Use a bench scraper or the straight edge of your buttercream comb. Hold the scraper/comb perpendicular to the cake and gently press against the side, rotating the turntable. This step helps remove excess buttercream and creates a more uniform base layer, making the texturing process much simpler and more consistent. You might need to do this a couple of times, filling in any gaps with more buttercream as needed.
Step 3: Using Buttercream Combs to Create Texture
Now for the fun part: creating the texture! Choose your desired comb pattern. Hold the comb against the side of the cake. For vertical lines, hold it straight up and down. For horizontal lines, hold it parallel to the base of the cake. For wavy or diagonal lines, angle the comb as desired. Ensure the entire height of the cake side is covered by the comb if possible.
Holding and Angling the Comb for Different Effects
The angle and pressure you apply to the comb will influence the depth and definition of the texture. Hold the comb firmly but gently against the buttercream. Apply even pressure from top to bottom (for vertical) or consistently around the cake (for horizontal). Experiment slightly with the angle – holding the comb at a slight angle away from the cake can sometimes create a cleaner line by allowing excess buttercream to push away. Practice on a small test patch or even an overturned bowl first to get a feel for the pressure needed for your specific buttercream consistency.
Rotating the Turntable for Consistent Texture
With the comb held in place against the cake, slowly and steadily rotate the turntable. The key here is consistent speed. A smooth, continuous rotation will result in clean, unbroken lines. If you stop and start, you might create noticeable joins in the pattern. Let the comb do the work; it's designed to cut into the buttercream and create the groove. Continue rotating until you've come full circle and the pattern meets neatly where you started. For tall cakes requiring two passes, overlap the comb slightly on the second pass to blend the texture seamlessly.
Step 4: Refining the Textured Buttercream Finish
Once the texture is applied to the sides, you'll likely have a ridge of excess buttercream built up around the top edge of the cake. Use your angled spatula to gently swipe this excess buttercream towards the center of the cake's top surface, creating a sharp, clean edge where the textured side meets the smooth top.
Fixing Imperfections and Smoothing Edges
If you notice any small imperfections in the texture, such as a missed spot or a slightly uneven line, you can often carefully go back over that section with the comb, ensuring you align it with the existing pattern. For more significant issues, it might be best to scrape off the buttercream from that section, reapply, smooth, and re-texture. Don't be afraid to scrape and redo if needed; it's part of the learning process for textured buttercream frosting techniques easy to improve upon. Finally, clean up any smudges on the cake board with a clean cloth or paper towel.
Different Textured Buttercream Effects with Comb Techniques
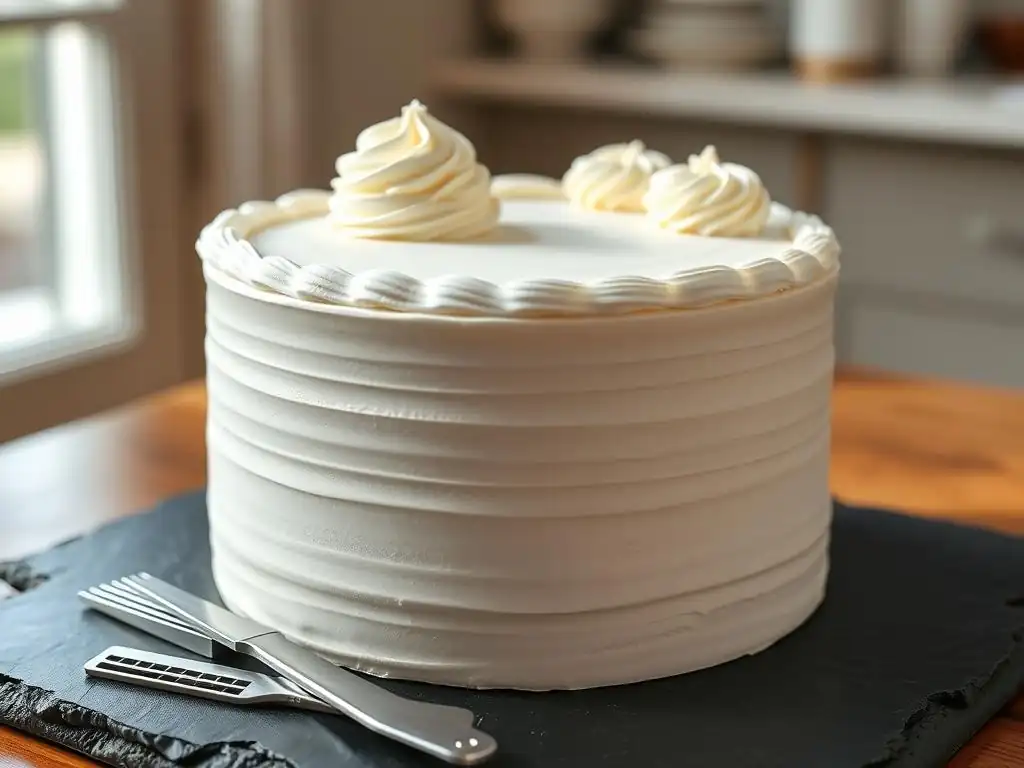
Buttercream combs offer a surprising variety of textured finishes, allowing you to customize the look of your cake to suit any occasion or theme. Exploring different patterns and techniques unlocks a world of design possibilities, making textured buttercream frosting techniques easy to adapt for various styles.
Horizontal Lines: A Classic and Elegant Design
Horizontal lines are perhaps the most classic and easiest textured buttercream finish to achieve with a comb. By holding a comb parallel to the base of the cake and rotating the turntable, you create clean, parallel grooves around the circumference. The width of the lines depends on the comb you choose – fine teeth create a subtle texture, while wider teeth result in a more pronounced pattern. This design adds a sense of sophistication and visual rhythm to the cake.
To create horizontal lines, ensure your cake is centered on the turntable. Hold the comb firmly against the side, with the bottom edge of the comb resting gently on the cake board or just above it. Apply even pressure and rotate the turntable at a steady speed. This simple motion yields elegant, uniform lines perfect for everything from wedding cakes to everyday celebrations. For instance, using a comb with ½-inch spacing on a 3-layer cake creates approximately 6-8 distinct horizontal ridges, adding beautiful dimension.
Vertical Lines: Adding Height and Drama
Vertical lines create a sense of height and drama, drawing the eye upwards. To achieve this effect, hold the comb perpendicular to the cake board, running from the bottom edge of the cake to the top. Apply even pressure across the height of the cake and rotate the turntable. This requires a comb that is at least as tall as your cake. If your comb isn't tall enough, you'll need to apply the texture in sections, which can be tricky to blend seamlessly.
When applying vertical lines, ensure the comb is held straight up and down. Any tilting will result in slanted lines. Consistent pressure is key across the entire height of the comb. This technique is particularly effective on taller cakes, accentuating their stature. A comb with triangular teeth used vertically can create a striking ribbed effect, adding significant visual interest and a modern feel to the cake's appearance.
Wavy Textures: Creating a Soft and Romantic Look
Wavy textures offer a softer, more organic, and romantic aesthetic compared to crisp lines. These are created using combs with curved or wavy teeth. The technique is similar to creating straight lines: hold the comb against the side of the cake and rotate the turntable. The shape of the comb's teeth dictates the shape of the wave.
To make the waves more pronounced or subtle, you can experiment with the pressure applied and the speed of rotation. A slower rotation with slightly more pressure might create deeper waves, while a faster rotation with lighter pressure could result in a more delicate ripple. Wavy textures are beautiful on cakes for baby showers, anniversaries, or any occasion where a gentle, flowing design is desired. Using a comb with a gentle S-curve pattern on a pale pink buttercream can evoke the look of soft fabric drapes.
Geometric Patterns: For a Modern and Unique Finish
Beyond simple lines and waves, many combs feature more complex geometric patterns like zigzags, scallops, or even intricate repeating motifs. These combs allow you to create truly unique and modern textured buttercream finishes. The process is the same: hold the patterned comb against the side and rotate the turntable.
Working with geometric patterns often requires a bit more precision to ensure the pattern aligns perfectly when you come full circle. Some combs are designed to interlock seamlessly. These patterns can add a bold statement to your cake, making it a focal point. Using a zigzag comb creates a dynamic, energetic look, while a comb with a repeating diamond pattern can add a touch of sophisticated detail. Exploring the variety of patterns available in buttercream comb sets is a great way to find new textured buttercream frosting techniques easy to implement for striking results.
Troubleshooting Common Issues with Buttercream Comb Techniques
Even with the right tools and technique, you might encounter a few common issues when creating textured buttercream finishes. Knowing how to troubleshoot these problems will help you achieve better results and build your confidence in using textured buttercream frosting techniques easy to manage.
Uneven Texture: Causes and Solutions
Uneven texture is often caused by inconsistent pressure on the comb, uneven application of the base buttercream layer, or an unsteady rotation of the turntable. If your base layer of buttercream isn't smooth and even (refer back to Step 2 and the use of a bench scraper), the comb will cut deeper in some spots than others.
To fix uneven texture, you may need to re-smooth the section or the entire side of the cake with a bench scraper, apply a little more buttercream where needed, and then re-texture. Ensure you are applying consistent pressure across the entire height of the comb and rotating the turntable smoothly and at a constant speed. Practice rotating the turntable without the comb first to get a feel for a steady pace. Sometimes, simply chilling the cake for 10-15 minutes can firm up the buttercream enough to allow for a smoother re-application of the comb.
Air Bubbles: Preventing and Removing Them
Air bubbles are a common frustration, especially with American buttercream. They appear as small holes or pockmarks on the surface, ruining the smooth base needed for clean textures. Air bubbles are usually introduced during the mixing process if the buttercream is whipped at too high a speed.
To prevent air bubbles, mix your buttercream on low speed for several minutes at the end, after all ingredients are incorporated. This "degassing" process helps push the air out. If you find bubbles in your applied buttercream, you can try smoothing over them with an angled spatula before texturing. For stubborn bubbles, a warm angled spatula (dipped in hot water and dried) can sometimes help smooth them out. If bubbles appear during texturing, you might need to scrape, smooth, and re-texture the area. Ensuring your buttercream isn't too stiff also helps prevent trapping air.
Buttercream Sticking to the Comb: Tips and Tricks
Buttercream sticking to the comb, pulling the texture with it, usually indicates the buttercream is too soft, too warm, or the comb isn't clean. If your buttercream is too soft, it will cling to the comb rather than allowing the comb to cut cleanly through it.
Chill your cake in the refrigerator for 10-15 minutes to firm up the buttercream slightly before attempting to texture. Ensure your comb is clean and dry before each pass. If working with very soft buttercream or in a warm environment, you can also chill the comb itself in the freezer for a few minutes. A cold comb is less likely to have buttercream stick to it. Alternatively, lightly coating the comb with a tiny amount of shortening can sometimes help it glide more smoothly, though test this first as it can sometimes leave a residue.
Addressing Buttercream Softening in Warm Temperatures
Warm temperatures in your kitchen or from handling the cake too much can cause the buttercream to soften, making it difficult to achieve sharp textures that hold their shape. Soft buttercream will result in smudged lines or textures that quickly droop.
If your buttercream is softening as you work, immediately place the cake back in the refrigerator for 15-20 minutes to allow the buttercream to firm up. Work in a cool environment if possible. You can also chill your tools, like the comb and bench scraper. Consider using a recipe that is more stable in warmer temperatures, such as Swiss or Italian Meringue Buttercream, which are less prone to melting than American buttercream. Breaking down the texturing process into smaller sections, chilling the cake between each section, can also help maintain the ideal consistency.
Tips for Mastering Textured Buttercream Comb Techniques
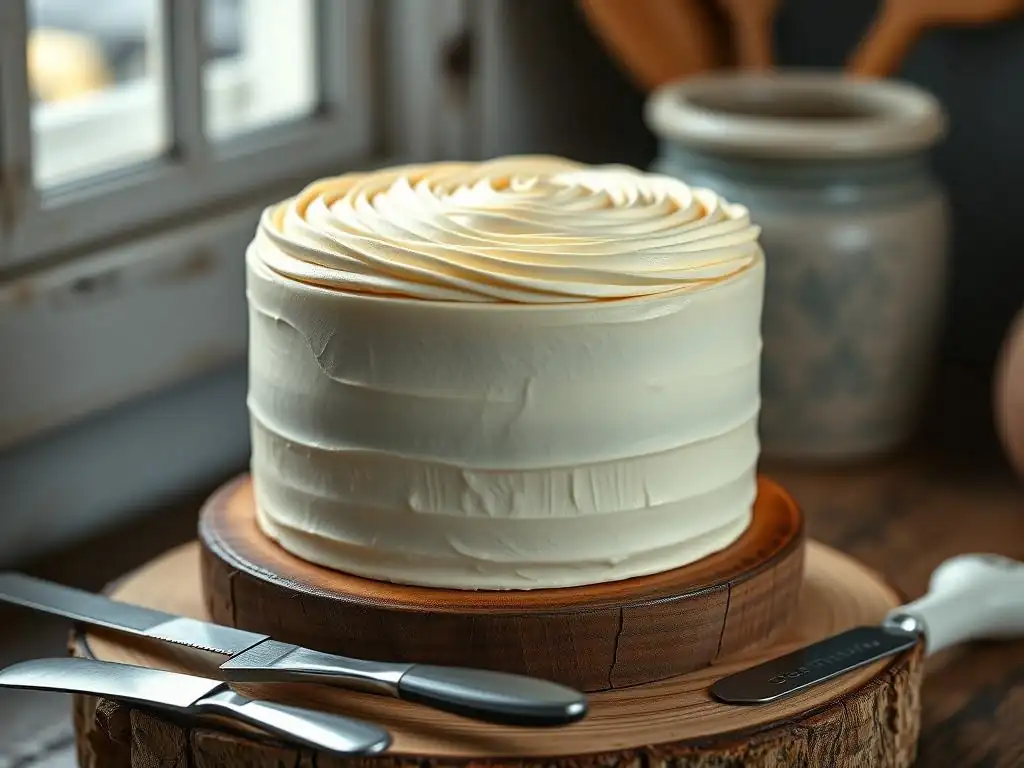
Mastering textured buttercream frosting techniques easy and rewarding with a little practice and attention to detail. These tips will help you refine your skills and achieve consistently beautiful results on your cakes.
Practice Makes Perfect: Experimenting with Different Combs and Techniques
Don't expect perfection on your first try. The best way to master buttercream comb techniques is through practice. Use leftover buttercream to practice on the side of a bowl, an overturned cake pan, or even a dummy cake. Experiment with different comb patterns, angles, and pressures. See how varying your turntable speed affects the texture.
Try creating different effects – horizontal, vertical, wavy, and geometric. This hands-on experimentation will give you a feel for how the buttercream responds and what works best with your chosen recipe and tools. Practicing on a small scale allows you to make mistakes and learn without the pressure of working on a finished cake. For example, dedicate 15 minutes of practice time with a simple line comb; you'll notice a significant improvement in consistency after just a few attempts.
Cold Cake is Key: Ensuring a Firm Base for Buttercream Application
As mentioned earlier, a cold cake is crucial. The cake layers themselves should be fully cooled before you even apply the crumb coat. Chilling the cake after the crumb coat, and ideally after applying the final layer of buttercream but before texturing, provides a firm foundation. A firm cake doesn't shift or crumble as you apply pressure with the comb, and a firm buttercream layer ensures the comb cuts cleanly without dragging the entire layer.
Aim for the cake and buttercream to be cool to the touch but not frozen solid. If the buttercream is too hard, it will be difficult to texture. A quick chill of 15-30 minutes in the refrigerator is usually sufficient to get the buttercream to the ideal firmness for texturing. This simple step significantly increases your chances of success with textured buttercream frosting techniques easy to implement on a stable surface.
Light Pressure: Achieving Consistent and Clean Lines
One of the most common mistakes is applying too much pressure with the comb. This can dig too deep into the buttercream, expose the cake underneath, or create uneven lines. Use light, consistent pressure – just enough to allow the comb's teeth to create the desired groove.
Think of it more like guiding the comb along the surface rather than pressing it firmly into the buttercream. The weight of the comb itself is often sufficient, with just a little added pressure from your hand. Practice on your test surface until you find the minimum pressure needed to create a clean line. Maintaining this light, even pressure as you rotate the cake is vital for uniform texture around the entire cake.
Using Contrasting Buttercream Colors for Added Depth
For an extra layer of visual interest, try using two contrasting colors of buttercream. Apply a base layer of one color, chill it until firm, and then apply a thin second layer of a different color on top. When you use the comb, it will cut through the top layer, revealing the contrasting color underneath in the grooves.
This technique adds significant depth and pop to your textured finish. For example, applying a thin layer of dark blue buttercream over a light blue base and texturing with a fine comb creates a striking dimensional effect. This advanced application of textured buttercream frosting techniques easy to adapt for two-tone effects takes your decorating skills to the next level.
Caring for Your Buttercream Combs
Proper care and maintenance of your buttercream combs will ensure they last for years and perform well every time you use them. Keeping them clean and stored correctly is simple but important.
Cleaning and Storing Your Combs Properly
After each use, clean your buttercream combs immediately. Buttercream can harden and be difficult to remove if left on the comb for too long. Use warm, soapy water and a brush (like a pastry brush or even an old toothbrush) to get into the grooves and remove all traces of buttercream. Rinse thoroughly with clean water.
Dry your combs completely before storing them, especially metal ones, to prevent rust. Air drying on a dish rack is usually sufficient, or you can carefully towel dry them. Store your combs in a clean, dry place. Many comb sets come with a case or can be stored in a plastic container to keep them organized and protected from damage.
Preventing Rust and Damage
Metal combs are prone to rust if not dried properly after washing. Ensure they are bone dry before storing. Avoid using abrasive scrub pads or harsh chemicals that could damage the material or the edges of the teeth, which are crucial for creating clean textures.
Plastic and acrylic combs are less susceptible to rust but can scratch or warp if not stored properly. Avoid storing them under heavy items or in places where they might get bent. Treat your tools with care, and they will serve you well in creating beautiful textured buttercream frosting techniques easy to execute whenever inspiration strikes.
Conclusion: Elevate Your Baking with Easy Textured Buttercream
Adding texture to your buttercream with combs is a simple yet highly effective way to elevate the appearance of your cakes. These textured buttercream frosting techniques easy to learn open up a world of creative possibilities, allowing you to add professional-looking finishes with minimal effort. From classic lines to modern geometric patterns, the versatility of buttercream combs makes them an essential tool in any baker's kit.
The Versatility of Comb Techniques
The versatility of comb techniques lies in the sheer variety of patterns available and the ease with which you can change the look of your cake. A single comb can create different effects depending on how you hold it (horizontal, vertical, angled) and the pressure you apply. Owning just a few combs provides a wide range of design options, making this technique incredibly cost-effective for the visual impact it delivers. Whether you need a sophisticated look for a formal event or a fun, playful texture for a child's birthday, there's a comb technique that fits.
Mastering the Art of Cake Decorating with Buttercream
Mastering textured buttercream comb techniques is a significant step in developing your cake decorating skills. It teaches you about buttercream consistency, smooth application, and the importance of steady hands and a reliable turntable. These foundational skills are transferable to other decorating methods. By becoming comfortable with textured buttercream frosting techniques easy to execute, you build confidence and are better equipped to tackle more complex cake designs in the future. So grab your comb, prepare your buttercream, and start creating beautiful, textured cakes that are sure to impress!
Frequently Asked Questions
How do comb techniques create texture in buttercream frosting?
Comb techniques use specialized tools with varying patterns to impress designs into the surface of the buttercream. This creates visual interest and dimension on cakes.
Are comb techniques suitable for all types of buttercream frosting?
While generally versatile, comb techniques work best with stable buttercreams like American or Swiss meringue. Soft or runny buttercreams may not hold the defined texture well.
What tools are needed for creating textured buttercream finishes with combs?
You primarily need buttercream combs (available in various patterns), a turntable, and an offset spatula. Optional: a bench scraper for smoothing before combing.
How do I prevent air bubbles from ruining my textured buttercream finish?
Ensure your buttercream is properly mixed to minimize air. After frosting the cake, use a bench scraper to smooth the surface and eliminate any trapped air before applying the comb.
Can I use different colored buttercreams to enhance the textured effect?
Absolutely! Using different colored buttercreams beneath the top layer, or strategically applying color after combing, can highlight the texture and create visually stunning effects.
Final Reflection: Mastering the Art of Textured Buttercream
The pursuit of the perfect buttercream finish is a journey, not a destination, and the techniques explored here offer a roadmap for bakers of all skill levels. Creating visually stunning cakes is no longer confined to professional pastry chefs; with practice and the right tools, anyone can achieve breathtaking textured buttercream designs. The ease and accessibility of these comb techniques democratize cake decorating, making intricate designs achievable for home bakers.
The impact of simple yet effective decorating techniques like these extends far beyond the individual cake. It's about the joy of creation, the satisfaction of transforming a simple cake into a work of art, and the ability to share that joy with others. The best things in life are homemade.
This sentiment rings truer than ever when considering the personal touch and unique artistry that textured buttercream brings to baking. It's a testament to the power of simple tools and a little creativity to elevate the everyday.
Now, it's your turn. Don't be afraid to experiment! Grab a comb, some buttercream, and let your creativity flow. Try different combs, varying pressures, and explore various patterns. The beauty of these techniques lies in their adaptability and the endless possibilities they unlock. Each cake you decorate becomes a canvas for your unique expression, a testament to your skill and a delicious reward for your efforts. Embrace the process, learn from each attempt, and most importantly, have fun!
Unleash Your Inner Cake Artist: Master the Buttercream Comb!
Thanks for taking the time to explore the world of textured buttercream finishes with us! We hope you've gained valuable techniques to elevate your baking. Now it's time to put your newfound skills into practice!
- Create your masterpiece! Try out the comb techniques you learned today on your next cake – experiment with different combs and pressures to discover your unique style. Don't be afraid to get messy!
- Share your creations! Show us your textured buttercream wonders on social media using #BakeWithEaseComb and tag us @BakeWithEase. We can't wait to see what you bake!
- Challenge yourself: Try adapting these techniques to other frostings or even clay! The possibilities are endless!
What incredible texture will you create next?