
Reusing Leftover Buttercream: Storage and Reviving Tips

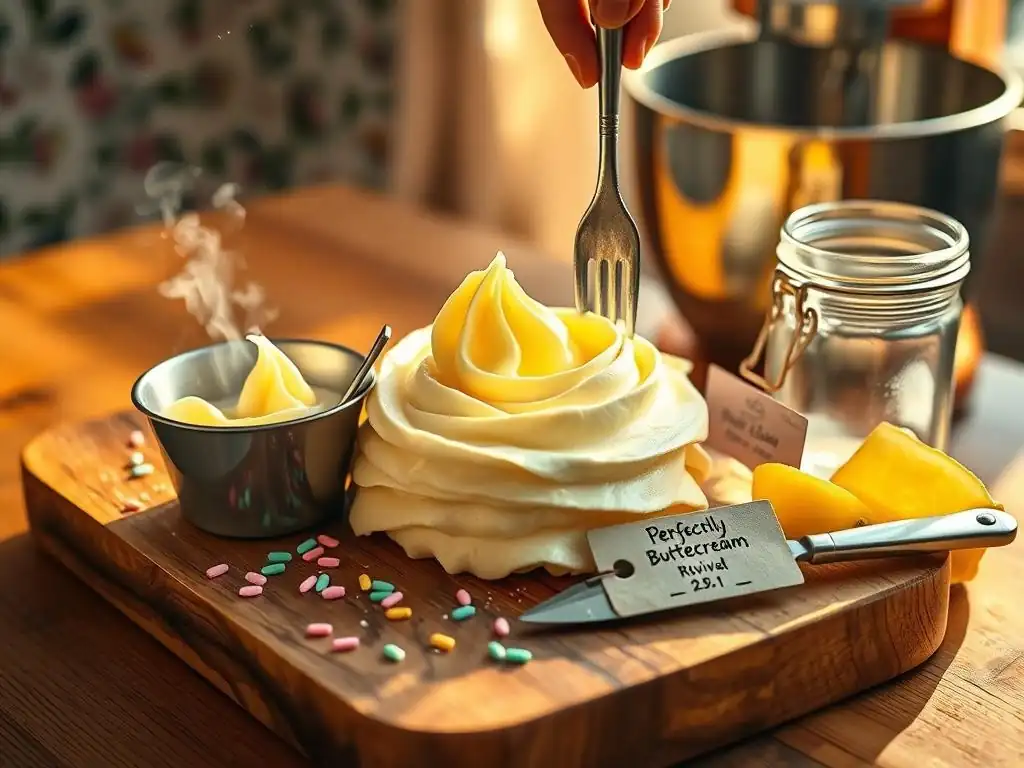
Welcome to BakeWithEase, your trusted companion on your baking journey! Ever wondered if you could actually save that leftover buttercream frosting? You're in the right place. Dive in to discover our comprehensive guide on How to Revive Buttercream, unlocking its full potential and minimizing waste. But that's just the beginning... read on to explore our storage secrets and reviving techniques, perfect for intermediate bakers looking to elevate their skills and reduce baking mishaps.
- Introduction: Mastering Buttercream Reuse for Effortless Baking
- Properly Storing Leftover Buttercream for Maximum Freshness
- Identifying Signs of Spoiled Buttercream: Knowing When to Toss It
- How to Revive Buttercream: Step-by-Step Guide to Restoring Its Glory
- Troubleshooting Common Buttercream Reviving Problems
- Creative Ideas for Using Revived Buttercream
- Tips and Tricks for Successful Buttercream Revival
- Conclusion: Enjoying Delicious Treats While Reducing Waste with BakeWithEase
-
Frequently Asked Questions
- How long can buttercream be stored before needing to be revived?
- What's the best way to store leftover buttercream to maintain its quality?
- What are the common signs that buttercream needs to be revived?
- Can I revive buttercream that has been stored in the freezer?
- What liquids can I use to revive buttercream that's too thick?
- Final Reflection: The Sweet Science of Buttercream Revival
- Unlock Your Buttercream's Potential!
Introduction: Mastering Buttercream Reuse for Effortless Baking
BakeWithEase: Your Guide to Sustainable Baking Practices
At BakeWithEase, we believe that baking should be both enjoyable and efficient. Part of mastering the craft involves smart practices, like making the most of your ingredients and reducing waste. Leftover buttercream is a common occurrence after frosting cakes, cupcakes, or piping decorations. Instead of discarding it, learning how to properly store and revive it can save you time, money, and reduce food waste, aligning perfectly with a more sustainable approach in your kitchen.
Embracing sustainable baking practices doesn't mean compromising on quality or flavor. It means being mindful of ingredient usage and finding smart ways to extend their life. A batch of buttercream that took effort and ingredients to create can be given a second (or even third!) life for another baking project. This not only makes your baking more cost-effective – imagine saving roughly $2-$5 worth of ingredients per batch of leftover frosting – but also ensures you always have a sweet standby ready for impromptu treats or minor baking needs.
Properly Storing Leftover Buttercream for Maximum Freshness
Understanding Buttercream Composition and Its Impact on Storage
Buttercream is primarily composed of fat (butter or shortening), sugar (powdered sugar), and liquid (milk, cream, water, or flavoring). The high sugar and fat content act as natural preservatives to some extent, inhibiting microbial growth compared to frostings with less sugar or fat. However, the presence of liquid, especially dairy, means buttercream is still perishable and requires proper storage to prevent spoilage and maintain its quality.
The specific type of buttercream (American, Swiss Meringue, Italian Meringue, French, etc.) can slightly influence its shelf life and how it behaves after storage. American buttercream, being mostly sugar and butter, tends to be quite stable. Meringue-based buttercreams (Swiss and Italian), containing egg whites, might have a slightly shorter shelf life but often freeze and thaw beautifully due to the stable meringue base. French buttercream, made with egg yolks, is richer and potentially more perishable, often benefiting from stricter storage guidelines. Understanding these components helps you anticipate how your specific buttercream might react to refrigeration or freezing.
Best Containers for Buttercream Storage: Air-Tight is Key
To maximize the freshness of your leftover buttercream, using air-tight containers is crucial. Exposure to air is the primary cause of oxidation and absorption of refrigerator odors, which can significantly degrade the quality and flavor of your frosting. Plastic containers with tight-fitting lids or glass jars with sealed lids are excellent choices.
When storing buttercream, press plastic wrap directly onto the surface of the frosting before sealing the container. This creates an extra barrier against air and helps prevent a crust from forming on the surface. For example, storing 2 cups of leftover frosting in a 2-cup capacity airtight container, ensuring minimal headspace and covering the surface with plastic wrap, can extend its refrigerator life from just a few days in an open bowl to potentially two weeks.
Refrigerator Storage: Maintaining Buttercream Quality Short-Term
For leftover buttercream you plan to use within a week or two, refrigeration is the standard storage method. Place the airtight container of buttercream in the refrigerator. The cold temperature significantly slows down bacterial growth and helps maintain the structural integrity of the fat and sugar mixture.
While refrigerated, the buttercream will firm up considerably due to the chilling of the fat. This is completely normal. It's important to note that even in the refrigerator, buttercream can absorb odors from other foods, so ensuring your container is truly airtight is paramount. Typically, American buttercream can last safely in the refrigerator for up to 2 weeks, while meringue-based buttercreams might be best used within 7-10 days.
Freezer Storage: Long-Term Preservation of Your Buttercream
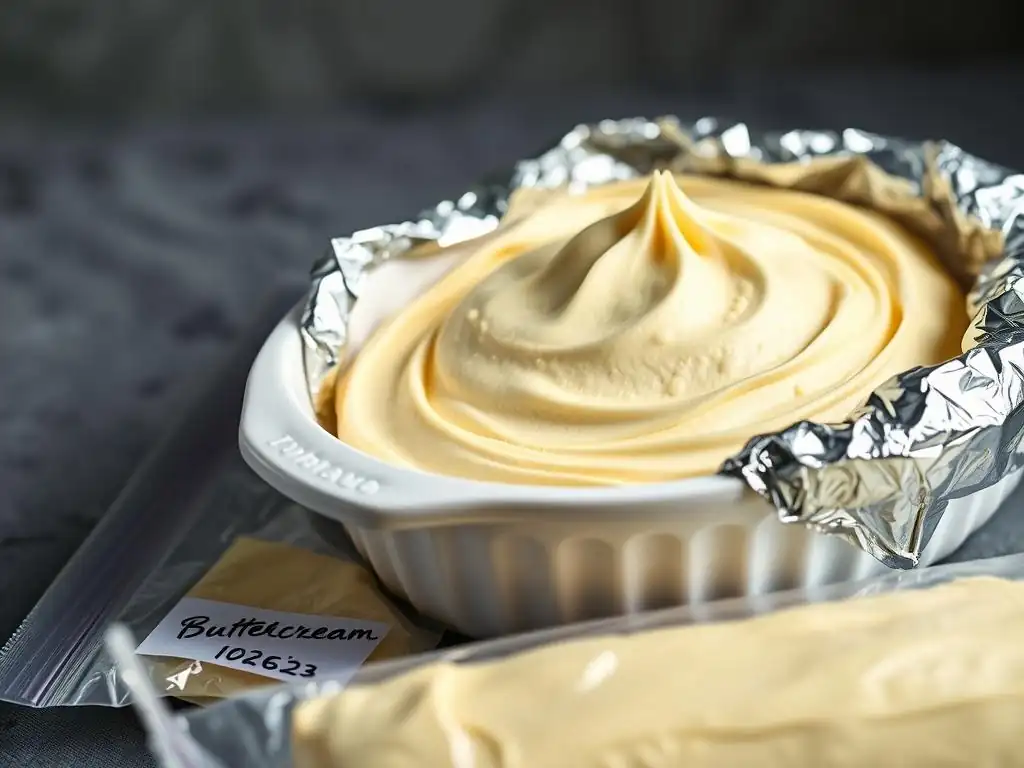
If you don't anticipate using your leftover buttercream within the next couple of weeks, freezing is an excellent option for longer-term storage. Buttercream freezes very well, making it a fantastic way to save frosting for future projects. Properly stored, most types of buttercream can last in the freezer for 3 to 6 months, sometimes even longer, though quality may slightly diminish over time.
To freeze, follow the same steps as for refrigeration: place the buttercream in an airtight container, press plastic wrap onto the surface, and seal tightly. For added protection against freezer burn, you can place the sealed container inside a freezer bag, squeezing out as much air as possible before sealing the bag. Freezing allows you to build up a stash of various buttercream colors and flavors, ready to be thawed and revived for spontaneous baking sessions.
Labeling and Dating: Avoiding Buttercream Confusion
One of the most critical steps in storing leftover buttercream, whether in the fridge or freezer, is proper labeling. Without a clear label, you might forget what type of buttercream is in the container, what flavor it is, or most importantly, when you stored it. This can lead to confusion and potentially using frosting past its prime.
Use masking tape and a permanent marker to clearly label each container with the type of buttercream (e.g., Vanilla American Buttercream, Chocolate Swiss Meringue), the date it was made or stored, and potentially the flavor. For instance, a label might read: "Vanilla ABC - 10/26/2023". This simple practice takes less than a minute but saves guesswork and ensures you're using your stored buttercream within its optimal timeframe, making the process of how to revive buttercream much more reliable.
Identifying Signs of Spoiled Buttercream: Knowing When to Toss It
Visual Inspection: Checking for Mold and Discoloration
Before even thinking about how to revive buttercream, it's essential to check if it's still good to use. The first step is a visual inspection. Look for any signs of mold growth, which might appear as fuzzy or discolored spots, often green, black, or white. While less common in high-sugar buttercreams, it can happen, especially if moisture was introduced or storage wasn't airtight.
Also, check for significant discoloration that isn't uniform. Slight yellowing of butter-based frosting over time is somewhat normal due to oxidation, but dramatic or uneven color changes could indicate spoilage. If you see anything suspicious, it's best to err on the side of caution and discard the buttercream. For example, a perfectly white vanilla buttercream that has developed large grey patches should be tossed.
Smell Test: Detecting Off-Putting Odors in Buttercream
The smell test is another reliable way to check for spoilage. Fresh buttercream should smell sweet and pleasant, with the aroma of its flavorings (vanilla, chocolate, etc.). If you detect any sour, cheesy, rancid, or otherwise unpleasant odors, the buttercream has likely gone bad.
Buttercream made with dairy can develop sour smells if it's past its prime. Butter can also go rancid, producing a distinct, sharp, unpleasant odor. Even if the buttercream looks okay, a bad smell is a strong indicator that it should not be consumed. Trust your nose – if it smells wrong, it probably is.
Texture Check: Recognizing Uncharacteristic Buttercream Consistency
While storage in the fridge or freezer will naturally change buttercream's texture (making it hard when cold), significant changes at room temperature can signal spoilage. Fresh buttercream, once brought to room temperature and potentially re-whipped, should be smooth and creamy. If it remains excessively grainy, watery, or has a slimy consistency after warming up and attempting to revive it, it might be spoiled.
Excessive separation that doesn't re-emulsify after proper warming and mixing can also be a sign, although sometimes this is just a stubborn case of separation that requires more effort to fix. However, combined with visual cues or off smells, a consistently uncharacteristic texture confirms that the buttercream is no longer usable. For instance, if your buttercream, even after warming, feels gritty and smells slightly sour, it's time to discard it.
How to Revive Buttercream: Step-by-Step Guide to Restoring Its Glory
The Importance of Bringing Buttercream to Room Temperature
Before you can effectively how to revive buttercream that has been refrigerated or frozen, it is absolutely essential to bring it back to room temperature. Cold buttercream is stiff and solid due to the chilled fat. Attempting to mix it while cold will result in a lumpy, broken texture and can even damage your mixer. The fat needs to soften and become pliable again for it to properly emulsify with the sugar and liquid components.
Depending on the amount of buttercream and the room temperature, this process can take several hours. A standard batch (enough for a 2-layer cake, roughly 3-4 cups) might take 2-4 hours to reach room temperature on the counter. For frozen buttercream, it's best to thaw it in the refrigerator overnight first, which can take 12-24 hours for a typical batch, and then let it sit at room temperature for an additional 1-2 hours until fully softened. Speeding this up (like microwaving) can unevenly melt the fat and make revival more difficult.
Reviving Stiff Buttercream: Adding Liquid for Smoothness
Even after coming to room temperature, stored buttercream can sometimes be quite stiff or feel a bit dense, especially American buttercream. This is often due to a slight loss of moisture over time or simply the way the fat re-solidified. The key to restoring its smooth, spreadable consistency is to add a small amount of liquid.
Start by placing the room-temperature buttercream in the bowl of a stand mixer fitted with the paddle attachment, or in a large bowl if using a hand mixer. Begin mixing on low speed to break it up, then increase to medium speed. If the buttercream remains stiff and doesn't become creamy after a couple of minutes, it's time to add liquid.
Using Milk, Cream, or Water to Rehydrate Buttercream
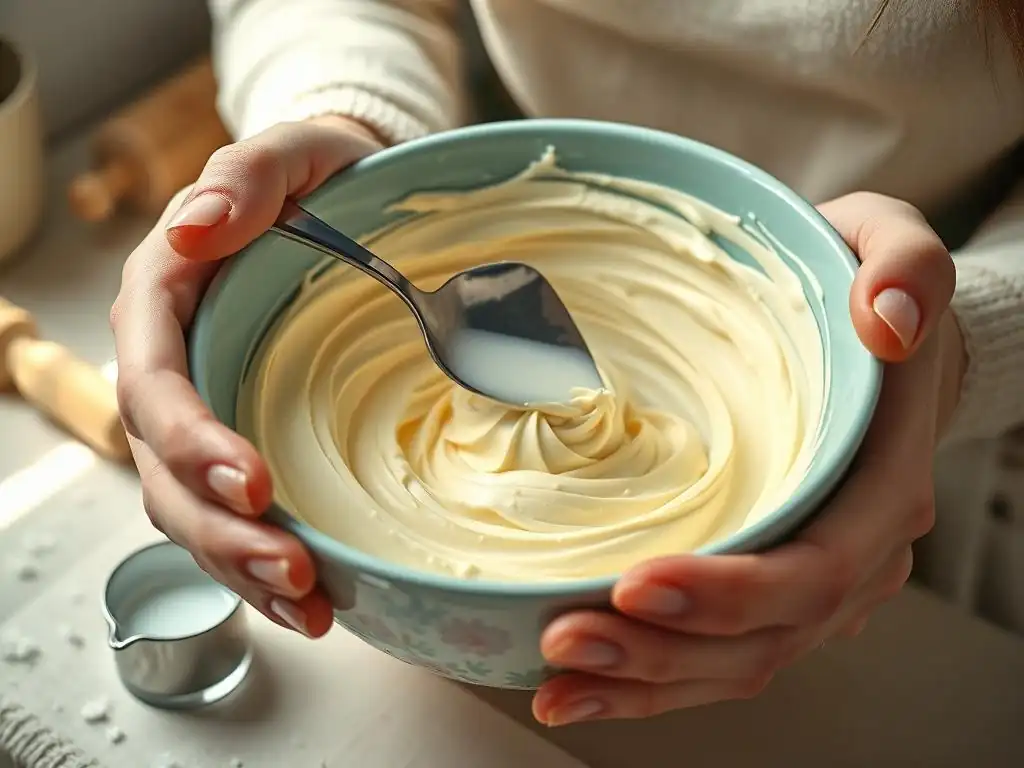
The best liquids to use for rehydrating stiff buttercream are milk, heavy cream, or even water. Start by adding just one teaspoon of your chosen liquid at a time while the mixer is running on low to medium speed. Allow the liquid to incorporate fully before deciding if more is needed.
Continue adding liquid, a teaspoon at a time, and mixing until the buttercream reaches your desired consistency – smooth, creamy, and easily spreadable or pipeable. For a batch of 3-4 cups of buttercream, you might need anywhere from 1 teaspoon to 1 tablespoon (or even slightly more) of liquid. Using milk or cream will add a bit more richness, while water is a neutral option. Be patient and add slowly; it's easier to add more liquid than to fix buttercream that's become too runny.
Reviving Separated Buttercream: Achieving Emulsion
Sometimes, especially after freezing or if it wasn't perfectly emulsified initially, buttercream can appear separated or curdled after coming to room temperature. This looks like a broken mixture with visible liquid or grainy chunks. This doesn't necessarily mean it's spoiled; it often just means the fat and liquid components have temporarily separated. The goal here is to re-emulsify the mixture.
There are a couple of effective methods to achieve this, primarily involving temperature adjustment or vigorous mixing. Don't panic if your buttercream looks curdled; this is a common issue when learning how to revive buttercream from storage. With a little technique, you can usually bring it back together beautifully.
The Gentle Heat Method for Re-Emulsifying Buttercream
One effective way to fix separated buttercream is using gentle heat. Take a small portion (about 1/4 to 1/2 cup) of the separated buttercream and gently warm it. You can do this by placing it in a microwave-safe bowl and microwaving for just 5-10 seconds at a time, stirring in between, until it's slightly melted but not hot (lukewarm is ideal).
Alternatively, you can place the small portion in a heatproof bowl set over a pan of barely simmering water (a double boiler setup), stirring until slightly melted. Once this small amount is warmed and slightly liquidy, add it back to the main batch of separated buttercream in your mixer bowl. Begin mixing on low speed, then increase to medium-high. The slightly melted portion helps to "shock" the rest of the buttercream into re-emulsifying, bringing it back to a smooth consistency.
The Whisking Method for Re-Emulsifying Buttercream
Another approach, particularly effective for meringue-based buttercreams, is vigorous whisking. If using a stand mixer, switch from the paddle attachment to the whisk attachment. Start mixing the room-temperature, separated buttercream on low speed, gradually increasing to high speed.
Whip the buttercream on high speed for several minutes, scraping down the sides of the bowl occasionally. The high-speed whisking incorporates air and helps the fat and liquid bind back together into a smooth, emulsified frosting. Continue whisking until the buttercream is light, fluffy, and no longer looks separated. This method is often all that's needed for Swiss or Italian meringue buttercreams that appear curdled after thawing.
Adjusting Flavor and Consistency After Reviving Buttercream
After successfully reviving your buttercream and achieving a smooth texture, it's a good practice to taste it and check the consistency one last time before using it. Sometimes, flavors can mellow slightly in storage, or the process of adding liquid might slightly dilute the taste.
If the flavor seems less intense, you can add a little more vanilla extract, cocoa powder, or whatever flavoring was originally used. Start with a small amount (e.g., 1/4 teaspoon of extract) and mix well, then taste again.
If the consistency is still not quite right for your application (e.g., too stiff for spreading, too soft for piping), you can make minor adjustments. For too-stiff buttercream, add another tiny splash of liquid; for too-soft buttercream, you can try chilling it briefly in the fridge for 15-20 minutes to firm up, or for American buttercream, beat in a tablespoon or two of extra powdered sugar (though this can make it sweeter).
Troubleshooting Common Buttercream Reviving Problems
Buttercream is Still Too Stiff After Adding Liquid
If you've added liquid to your room-temperature buttercream and mixed it, but it remains stubbornly stiff or dense, there are a few potential reasons. It might not be fully at room temperature yet, especially in the center of the batch. Or, you might simply need to add a bit more liquid than you initially thought.
Ensure the buttercream is genuinely soft throughout. If it's still cool to the touch, let it sit longer. If it feels soft but won't smooth out, continue adding liquid (milk, cream, or water) one teaspoon at a time, mixing thoroughly after each addition, until the desired consistency is reached. Be patient; sometimes, it just takes a little more mixing and a touch more liquid to loosen it up properly.
Buttercream is Too Runny After Adding Liquid
Accidentally adding too much liquid is a common mishap when learning how to revive buttercream. If your buttercream becomes too runny after adding liquid, don't worry, it's usually fixable. The simplest solution depends on the type of buttercream.
For American buttercream, the easiest fix is to add a tablespoon or two of extra powdered sugar and mix it in. This will help absorb the excess liquid and thicken the frosting. Add sugar gradually until the desired consistency is achieved. For meringue-based buttercreams (Swiss or Italian), adding more sugar isn't the solution as it will make it gritty. Instead, try chilling the buttercream in the refrigerator for 15-20 minutes to firm up the fat, then re-whip it vigorously. If it's still too soft, you may need to gently warm a small portion and re-emulsify as described earlier.
Buttercream Tastes Different After Reviving
Sometimes, after being stored and revived, buttercream might taste slightly different than when it was fresh. This can be due to absorbing odors from the refrigerator, slight oxidation of the fats, or the added liquid diluting the original flavor.
If the taste is just slightly bland, add a bit more of the original flavoring (e.g., vanilla extract, almond extract, citrus zest). If it has absorbed fridge odors, sometimes adding a strong flavoring like cocoa powder or a citrus zest can help mask it, or using it in a recipe where the buttercream is mixed with other ingredients (like a cake filling) can make it less noticeable. If the taste is genuinely off, sour, or rancid, it's a sign of spoilage, and the buttercream should be discarded. Always taste a small amount before committing to using a whole batch.
Creative Ideas for Using Revived Buttercream
Frosting Cakes and Cupcakes: Classic Applications
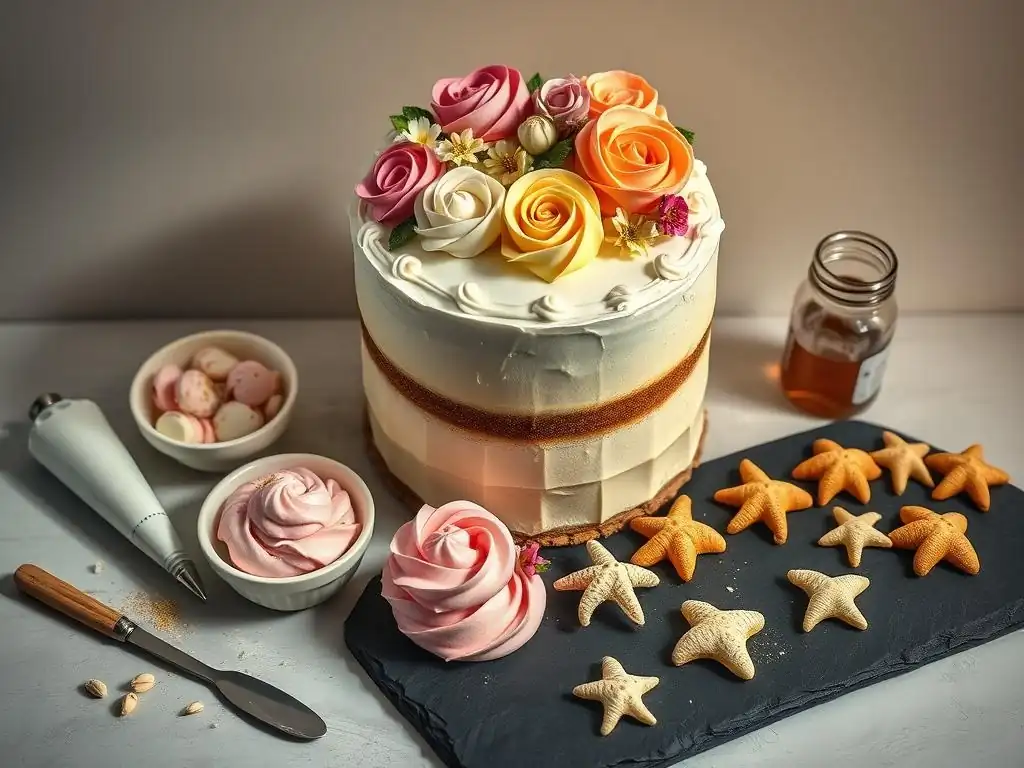
The most obvious and classic use for revived buttercream is, of course, frosting cakes and cupcakes. Once you've successfully brought your stored buttercream back to its smooth, spreadable consistency, it's perfect for topping your baked goods. A batch of revived vanilla buttercream can easily frost a dozen cupcakes or a small 6-inch cake.
Using revived buttercream for these classic applications is a fantastic way to utilize leftovers without anyone being able to tell the difference from fresh frosting, provided it was stored and revived correctly. This is particularly useful for last-minute baking or when you only need a small amount of frosting for a single layer cake or a few cupcakes.
Filling Pastries and Desserts: Adding a Touch of Sweetness
Beyond frosting, revived buttercream is excellent for filling various pastries and desserts. Think beyond the cake! It can be used as a delicious filling for sandwich cookies, like classic whoopie pies or homemade Oreos.
You can also use it to fill choux pastries like éclairs or cream puffs (though you might want to lighten it slightly with whipped cream for éclairs). Revived buttercream can also be spread between cake layers as a filling, used in trifles, or even swirled into brownie batter before baking for a marbled effect. A cup of revived chocolate buttercream could fill approximately 20-25 sandwich cookies.
Creating Buttercream Decorations: Piping Techniques
If your revived buttercream reaches a firm-enough consistency, it's also perfect for practicing or creating piped decorations. Whether you're piping simple rosettes on cupcakes, writing messages on a cake, or creating more intricate designs, successfully revived buttercream works just as well as fresh.
Ensure you've achieved the correct piping consistency – it should hold its shape but still be smooth enough to flow through a piping tip without breaking. You might find that American buttercream is naturally well-suited for piping after being revived and potentially having a little extra powdered sugar added if needed for stiffness. Experiment with different piping tips using your revived batch to practice your skills!
Tips and Tricks for Successful Buttercream Revival
Use a Stand Mixer for Best Results
While you can attempt to revive small amounts of buttercream with a hand mixer or even by hand, a stand mixer is highly recommended for the best and easiest results, especially for larger quantities. The power and consistent speed of a stand mixer fitted with the paddle or whisk attachment (depending on the method) can quickly bring reluctant buttercream back together.
The stand mixer allows for hands-free operation, letting you add liquid or warm portions gradually while the machine does the hard work of re-emulsifying and smoothing the frosting. This is particularly helpful when learning how to revive buttercream that is very stiff or separated.
Don't Overmix the Buttercream
Once your buttercream has become smooth and creamy after adding liquid or re-emulsifying, stop mixing. Overmixing buttercream, especially American buttercream, can incorporate too much air, leading to a less stable structure and potentially a greasy texture.
Mix only until the desired consistency is achieved – typically a minute or two on medium-high speed after adding the final bit of liquid or incorporating the warmed portion. For meringue buttercreams, you might whip longer to incorporate air for fluffiness, but stop once it's smooth and holds peaks.
Taste-Test Regularly During the Reviving Process
As mentioned earlier, tasting your buttercream throughout the reviving process is crucial. After it's come to room temperature, taste it before adding anything. After adding liquid and mixing, taste again to check consistency and flavor.
Regular taste-testing ensures you are on the right track and allows you to make minor adjustments to liquid or flavorings as needed. This prevents you from over-diluting or over-flavoring the batch and guarantees that your revived buttercream will be delicious when used on your final baked goods.
Conclusion: Enjoying Delicious Treats While Reducing Waste with BakeWithEase
Frequently Asked Questions
How long can buttercream be stored before needing to be revived?
Buttercream can typically be stored in the refrigerator for up to one week or in the freezer for up to three months. Reviving is usually needed after these storage periods.
What's the best way to store leftover buttercream to maintain its quality?
Store buttercream in an airtight container in the refrigerator or freezer. This prevents it from absorbing odors and drying out, preserving its texture and flavor.
What are the common signs that buttercream needs to be revived?
Common signs include a stiff consistency, a separated appearance, or a grainy texture. These issues are often due to temperature changes during storage.
Can I revive buttercream that has been stored in the freezer?
Yes, you can! Thaw it completely in the refrigerator, then follow the reviving techniques such as re-whipping or adding a small amount of liquid.
What liquids can I use to revive buttercream that's too thick?
Small amounts of milk, cream, or even water can be used to thin out and revive buttercream. Add it gradually while whipping until you achieve the desired consistency.
Final Reflection: The Sweet Science of Buttercream Revival
Reusing leftover buttercream isn't just about saving money; it's about minimizing waste and maximizing deliciousness. The art of reviving buttercream, as explored in this article, speaks to a larger conversation about resourcefulness and mindful consumption in the culinary world. We've learned that with a little know-how, perfectly good frosting doesn't have to end up in the trash.
The impact of this simple skill extends beyond the individual kitchen. By embracing techniques like proper storage and effective revival methods, we contribute to a more sustainable approach to baking. Waste not, want not
– a timeless adage that perfectly encapsulates the spirit of this exploration. This isn't just about buttercream; it's about a mindful approach to all our resources, a shift towards valuing the ingredients we use and minimizing our environmental footprint.
Now, consider your own baking practices. Do you find yourself discarding perfectly good frosting? I encourage you to put the techniques outlined in this article into practice. Experiment with different storage methods, try the revival techniques, and rediscover the joy of transforming leftover buttercream into something delightful. Let's make every crumb count, and every batch of buttercream a testament to our creativity and resourcefulness.
Unlock Your Buttercream's Potential!
Thanks for taking the time to explore our tips on reusing leftover buttercream! We hope you learned some valuable techniques to avoid food waste and maximize your baking creations. Now, let's put that knowledge into action!
- Revive and Repurpose: Take that leftover buttercream and transform it into a new dessert! Try frosting cupcakes, making a quick buttercream-filled cookie, or even adding it to your morning coffee for a delightful twist.
- Share Your Success: Show us your buttercream creations! Tag us on social media with your photos and share your baking journey. We love seeing what you create.
- Explore New Recipes: Head over to our recipe section (on bakewithease.com, of course!) for more delicious ideas using buttercream – from classic cakes to innovative treats.
What delicious adventure will your leftover buttercream embark on today?