
Demystifying Sourdough: A Beginner's Journey to a Bubbly Starter

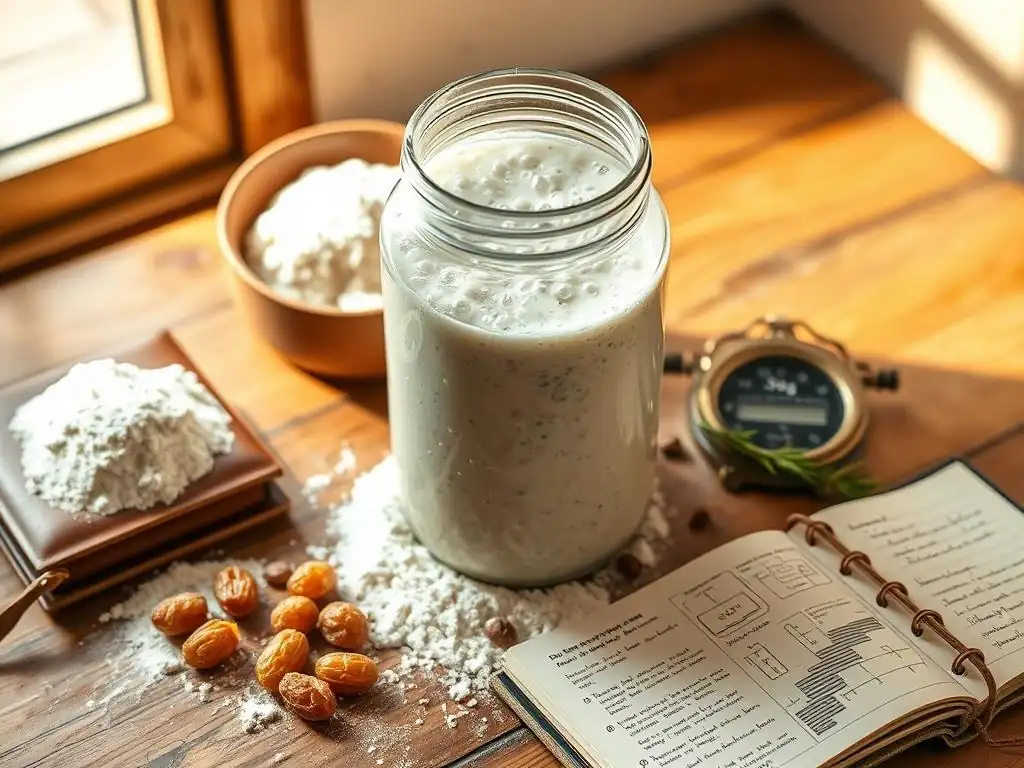
Welcome to BakeWithEase, your haven for all things baking! Ever dreamt of creating that perfect, tangy loaf? Our Sourdough Starter Beginner's Guide is your first step on this exciting journey. We'll demystify the process, transforming what seems complex into a rewarding and achievable baking adventure. Ready to cultivate your very own bubbling starter? Let's get baking!
- Sourdough Starter Beginner’s Guide: Welcome to the World of Sourdough
- Setting Up Your Sourdough Starter: A Step-by-Step Guide for Beginners
- The Sourdough Starter Feeding Schedule: Nurturing Your Culture
- Troubleshooting Common Sourdough Starter Problems for Beginners
- Using Your Active Sourdough Starter: Baking Your First Loaf
- Maintaining Your Sourdough Starter: Long-Term Care and Storage
- Beyond the Basics: Exploring Advanced Sourdough Techniques
- Sourdough Starter Beginner’s Guide: Common Mistakes to Avoid
- Sourdough Starter Beginner’s Guide: Resources and Further Learning
-
Frequently Asked Questions
- What exactly is a sourdough starter, and why is it so important?
- How long does it typically take to create a viable sourdough starter?
- What ingredients are needed to begin making a sourdough starter?
- How often should I feed my sourdough starter, and what does "feeding" actually involve?
- How do I know when my sourdough starter is ready to use for baking?
- Final Reflection: The Enduring Magic of Sourdough
- Unleash Your Inner Baker: Start Your Sourdough Adventure Today!
Sourdough Starter Beginner’s Guide: Welcome to the World of Sourdough
Why Bake Sourdough? Flavor, Health, and Craft
Embarking on the journey of baking sourdough bread offers a unique blend of rewards, starting with its unparalleled flavor profile. Unlike bread made with commercial yeast, sourdough boasts a complex, tangy taste that deepens with fermentation, thanks to the wild yeast and lactic acid bacteria present in the starter.
This distinctive flavor is often described as slightly sour, earthy, and incredibly satisfying, providing a depth that complements a wide range of meals. Beyond taste, the craft itself is deeply rewarding; nurturing a sourdough starter beginner’s guide from scratch and transforming simple ingredients into a beautiful loaf is a tangible accomplishment that connects you to ancient baking traditions.
Furthermore, sourdough bread can offer potential health benefits. The long fermentation process involved in making sourdough can break down phytic acid, an anti-nutrient found in grains that can inhibit mineral absorption. This process can make the nutrients in the bread more bioavailable.
Additionally, the presence of lactic acid bacteria can act as a prebiotic, feeding beneficial bacteria in your gut. While not a miracle cure, many people find sourdough easier to digest than conventionally leavened bread, making it a popular choice for those with mild sensitivities. It's a truly holistic baking experience, engaging taste buds, supporting potential wellness, and fostering a sense of accomplishment.
What is a Sourdough Starter and Why is it Important?
At its core, a sourdough starter is a living, fermented culture typically made from just two ingredients: flour and water. This simple mixture becomes a thriving ecosystem of wild yeast and various strains of lactic acid bacteria (LAB) collected from the environment and the flour itself.
Unlike commercial yeast, which is a single, specific strain cultivated for rapid leavening, a sourdough starter is a diverse community. The wild yeast provides the lift by producing carbon dioxide gas, causing the dough to rise, while the LAB produces lactic and acetic acids, which give sourdough its characteristic tangy flavor and contribute to the bread's structure and keeping qualities.
The importance of the starter cannot be overstated; it is the heart and soul of sourdough baking. It acts as the natural leavening agent, completely replacing commercial yeast. A healthy, active starter is crucial for achieving a good rise and developing the signature flavor and texture of sourdough bread.
Think of your starter as a pet that needs regular feeding and care to thrive. Nurturing this culture is the first and most fundamental step in any sourdough starter beginner’s guide, as without a strong starter, successful sourdough baking is impossible. It's a testament to the power of natural fermentation and the patience it requires.
Setting Up Your Sourdough Starter: A Step-by-Step Guide for Beginners
Gathering Essential Equipment for Your Sourdough Journey
Starting your sourdough starter beginner’s guide requires only a few basic tools, most of which you likely already have in your kitchen. The most crucial item is a container to house your starter. A glass jar, such as a wide-mouth mason jar or a large pickle jar, is ideal because it allows you to easily observe the activity within the starter, like bubble formation and rise.
Aim for a jar that can hold at least 1 quart (about 1 liter) to accommodate the starter as it grows and becomes active. Avoid using metal containers, as they can sometimes react with the acidic starter over time, though stainless steel is generally considered safe for short periods.
You will also need a non-metal spoon or spatula for mixing – a rubber spatula or wooden spoon works perfectly. Precision is key in baking, especially when starting out, so a digital kitchen scale is highly recommended. Measuring ingredients by weight (grams are standard in sourdough) ensures consistent ratios of flour, water, and starter, which is vital for success.
While not strictly essential initially, a thermometer can be helpful for monitoring ambient kitchen temperature, as it significantly impacts starter activity. Lastly, a loose-fitting lid or piece of cloth secured with a rubber band is necessary to cover the jar, allowing gases to escape while preventing contaminants from entering.
Choosing the Right Flour for Your Sourdough Starter
The type of flour you choose significantly impacts the initial activity and characteristics of your sourdough starter beginner’s guide. Many experienced bakers recommend starting with organic or unbleached all-purpose flour or bread flour. These flours tend to contain more natural microbes compared to bleached varieties, providing a better starting point for cultivating your wild culture. Avoid using self-rising flour or flour with additives. While all-purpose is a common starting point, some find that using a portion of whole wheat or rye flour can help jumpstart activity in the early days.
Rye flour, in particular, is known for being rich in nutrients and enzymes that wild yeast and bacteria love, often leading to a very active starter relatively quickly. You might choose to start with 50% rye and 50% all-purpose, or even 100% rye for the first few days before transitioning to your preferred flour mix. Consistency in the type of flour used for feeding is important once your starter is established, as frequent changes can sometimes stress the culture. Ultimately, the "right" flour is one that is unbleached and allows your starter to thrive in your specific environment.
Day 1: Mixing Your First Batch – The Initial Sourdough Starter Recipe
Starting your sourdough starter beginner’s guide is surprisingly simple. You will combine equal weights of flour and water. For example, a common starting point is 50 grams of flour and 50 grams of lukewarm water (around 70-80°F or 21-27°C). It's important to use non-chlorinated water, as chlorine can inhibit the microbial growth you're trying to encourage. Filtered water, bottled spring water, or tap water left out for 24 hours to allow the chlorine to dissipate are good options.
In your clean glass jar, weigh out the flour and water. Mix them thoroughly with a spatula or spoon until no dry clumps of flour remain. The mixture will be thick and paste-like. Scrape down the sides of the jar to keep it tidy. Cover the jar loosely with a lid or cloth, allowing air exchange.
Place the jar in a warm spot, ideally between 70-80°F (21-27°C), away from direct sunlight or drafts. Now, the waiting begins. For the first 24-48 hours, you simply observe. You might see little to no activity, which is completely normal. This initial mix is the foundation of your future bubbly, active starter.
The Sourdough Starter Feeding Schedule: Nurturing Your Culture
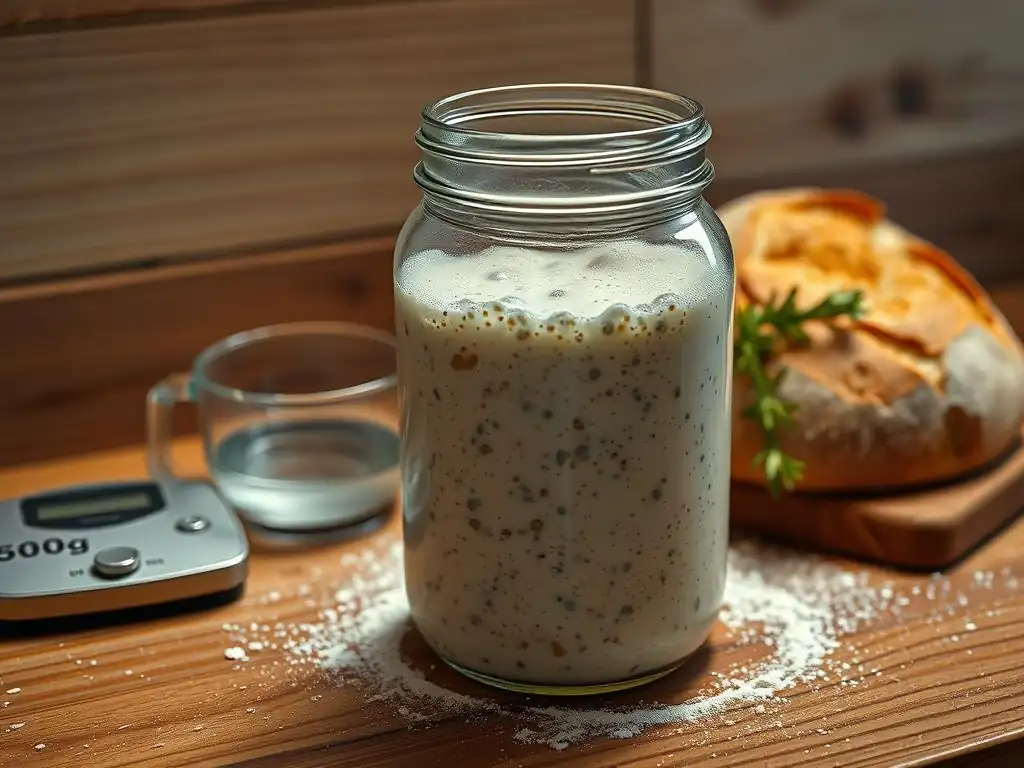
Daily Feeding: The Key to a Healthy Sourdough Starter
Once your sourdough starter beginner’s guide shows initial signs of life – perhaps a few small bubbles on the surface or a slightly fermented smell, usually around day 2 or 3 – it's time to begin the regular feeding schedule. Daily feeding is crucial in the early stages to establish a strong, active culture and later, to maintain a starter kept at room temperature for frequent baking.
A typical feeding involves discarding a portion of the starter and then feeding the remainder with fresh flour and water. Discarding is necessary to manage the volume of the starter and ensure that the microbes have enough fresh "food" to consume without being overwhelmed by their own waste products.
A common feeding ratio for a young starter is 1:1:1 by weight (starter:flour:water). For example, you might keep 50 grams of your existing starter and feed it with 50 grams of fresh flour and 50 grams of fresh water. Mix this thoroughly in a clean jar.
The discarded portion, especially in the early days before it's truly active, can simply be composted or thrown away. As your starter matures and becomes more vigorous, typically after 1-2 weeks, you can adjust feeding ratios or frequency depending on how often you plan to bake, but daily feeding is the standard for nurturing a new starter to full strength.
Understanding Ratios: The Importance of Flour and Water
Understanding feeding ratios is fundamental to maintaining a healthy sourdough starter beginner’s guide. Ratios determine how much food (flour) and hydration (water) you provide relative to the amount of existing starter. The 1:1:1 ratio (equal parts starter, flour, and water by weight) is excellent for daily feeding at room temperature, promoting steady activity. Feeding at this ratio means the food source will likely be consumed within 12-24 hours, signaling it's time to feed again.
Other common ratios include 1:2:2 or even 1:5:5 (starter:flour:water). Using a higher ratio of fresh flour and water to starter provides more food, which can extend the time between feedings. This is useful if you need to leave your starter for longer periods at room temperature, perhaps up to 24 hours or slightly more depending on the temperature.
For example, feeding 25 grams of starter with 100 grams of flour and 100 grams of water (a 1:4:4 ratio) will sustain the culture for a longer duration than a 1:1:1 feeding. Experimenting with ratios, once your starter is established, allows you to tailor the feeding schedule to your baking habits and kitchen environment.
Recognizing Signs of Activity: Is Your Sourdough Starter Alive?
Knowing what to look for is key to determining if your sourdough starter beginner’s guide is developing properly. The most obvious sign of activity is the formation of bubbles. In the first few days, these might be small and scattered, but as the culture strengthens, you'll see more vigorous bubbling throughout the mixture and on the surface.
Another clear indicator is growth in volume. After feeding, a healthy starter will rise in its jar, often doubling or even tripling in size before gradually falling as the food is consumed. You can mark the level of the starter after feeding with a rubber band or marker to easily track its rise.
The smell of your starter also tells a story. In the early days, it might smell unpleasant, like gym socks or cheese, which is normal as different microbial populations compete. As the wild yeast and lactic acid bacteria take over, the smell should become more pleasant and complex – tangy, slightly acidic, perhaps yeasty or even fruity, reminiscent of yogurt or ripe fruit.
A strong, vinegary smell often indicates the starter is hungry and producing more acetic acid. Observing these changes in bubbles, rise, and smell over the first 1-2 weeks will confirm your sourdough starter beginner’s guide is alive and developing into a strong culture ready for baking.
Troubleshooting Common Sourdough Starter Problems for Beginners
Mold vs. Hooch: Identifying and Addressing Issues
Two common sights can cause alarm for a sourdough starter beginner’s guide: hooch and mold. Hooch is a liquid that may separate and pool on top of your starter. It can range in color from pale yellow to dark gray or black. Hooch is simply alcohol, a byproduct of the yeast consuming the flour's sugars.
Its presence indicates your starter is hungry and needs feeding. While it looks unappealing, hooch is not harmful. You can choose to pour it off (which results in a tangier starter) or stir it back in (which results in a less tangy starter). Just discard a portion and feed as usual.
Mold, however, is a different story and is cause for concern. Mold typically appears as fuzzy patches on the surface of the starter, often green, black, orange, or pink. Unlike hooch, mold means the starter has been contaminated with unwanted fungi. Unfortunately, if you see mold, it's generally recommended to discard the entire starter and begin again, ensuring your equipment is thoroughly clean. Preventing mold involves using clean jars and utensils, feeding regularly to keep the desirable microbes dominant, and storing the starter in a suitable environment.
Dealing with a Sluggish Starter: Tips and Tricks
It's common for a sourdough starter beginner’s guide to go through phases of sluggishness, especially in the first week or two, or if the temperature fluctuates. If your starter isn't bubbling or rising much after feeding, don't despair. First, consider the temperature of your kitchen. If it's cool (below 70°F or 21°C), try finding a warmer spot – perhaps near a router, on top of the refrigerator, or in an oven with the light on (but off the oven itself!). A warmer environment speeds up microbial activity.
Another factor could be the flour or water quality. Ensure you are using unbleached flour and non-chlorinated water. Sometimes switching to a portion of rye or whole wheat flour for a few feedings can give the starter a boost due to the higher nutrient content. You can also try feeding it a slightly higher ratio of flour and water (e.g., 1:2:2) to provide more food. Be patient; sometimes a sluggish phase is just part of the natural development process. Consistent feeding and a warm environment are usually the best remedies for a slow sourdough starter beginner’s guide.
The Importance of Temperature: Creating the Ideal Environment
Temperature is one of the most significant factors influencing the activity of your sourdough starter beginner’s guide. Wild yeast and bacteria are microorganisms, and their metabolic rate is highly dependent on temperature. An ideal temperature range for cultivating and maintaining an active starter is typically between 75°F and 80°F (24°C to 27°C). Within this range, the microbes are most active, leading to faster fermentation, more vigorous bubbling, and quicker rises after feeding.
Temperatures below this range will slow down the activity. While a starter can survive in cooler temperatures (like refrigeration, which is around 40°F or 4°C), it will be sluggish and require less frequent feeding. Conversely, excessively high temperatures (above 85°F or 30°C) can potentially harm the culture, favoring undesirable bacteria or even killing the yeast. Finding a consistently warm spot in your home, or using aids like a proofing box or simply the oven with the light on, can make a significant difference in the health and predictability of your sourdough starter beginner’s guide.
Using Your Active Sourdough Starter: Baking Your First Loaf
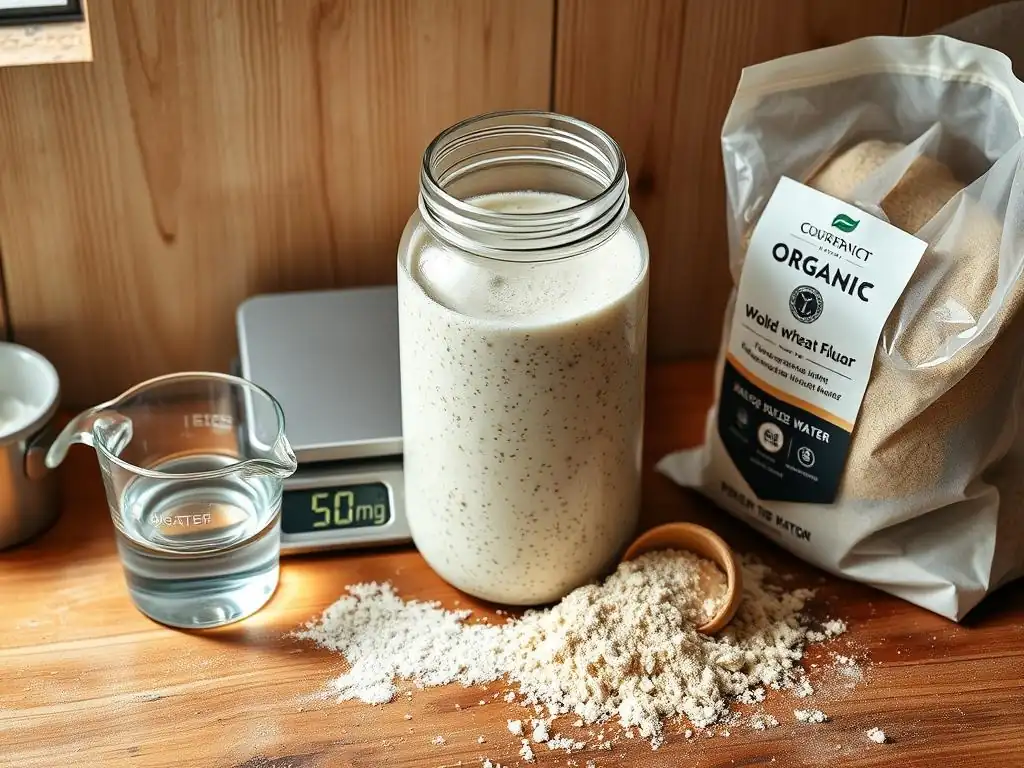
Knowing When Your Starter is Ready: The Float Test
Before you can bake your first loaf using your sourdough starter beginner’s guide, you need to confirm that it is sufficiently active and strong enough to leaven bread. A widely used and reliable test for readiness is the "float test." To perform the float test, take a small spoonful of your starter at its peak activity – this is typically several hours after feeding, when it has risen significantly and is full of bubbles.
Gently drop this spoonful of starter into a glass of room-temperature water. If the starter floats on the surface, it is active and bubbly enough to lift your dough. If it sinks to the bottom, it likely needs more time to develop or another feeding to reach peak strength. A starter that consistently passes the float test, smells pleasantly tangy, and reliably doubles (or more) in size after feeding is usually ready for baking, marking a significant milestone in your sourdough starter beginner’s guide journey.
Basic Sourdough Bread Recipe: A Beginner's Guide
Baking your first loaf with your active sourdough starter beginner’s guide is an exciting step. A basic recipe typically involves mixing your active starter with flour, water, and salt. For example, a simple ratio might be around 100g active starter, 500g bread flour, 350g water, and 10g salt.
These quantities are just an illustration; specific recipes will vary. The process generally follows several stages: mixing the dough, allowing it to rest (autolyse), adding salt and kneading/folding to develop gluten, a long bulk fermentation period (the first rise, usually several hours at room temperature), shaping the dough, a final proofing period (which can be at room temperature or in the refrigerator), and finally, baking at a high temperature, often in a Dutch oven to create a good crust.
This sequence allows the starter's microbes time to ferment the dough, producing gas for rise and acids for flavor and structure. Unlike fast-acting commercial yeast, sourdough fermentation is a slow process, often taking 4-12 hours for bulk fermentation depending on temperature and starter strength, and another 2-12 hours for proofing. Patience is key. Following a detailed sourdough starter beginner’s guide recipe designed specifically for novice bakers will walk you through each step, ensuring you understand the timing and techniques required to transform your bubbly starter into a delicious loaf of bread.
Measuring and Mixing: Incorporating Your Starter into the Dough
Accurate measurement is paramount when incorporating your active sourdough starter beginner’s guide into your bread dough. Use your digital scale to weigh out the required amount of starter directly into your mixing bowl, along with the specified amount of water. Gently stir or whisk the starter into the water until it is mostly dispersed. This helps distribute the yeast and bacteria evenly throughout the liquid before adding the flour.
Next, add your weighed flour and salt (though some recipes add salt later during kneading or folding). Use a spatula or your hands to mix everything together until no dry flour remains and you have a shaggy dough. At this point, the dough will likely be sticky and not smooth – this is normal.
Cover the bowl and let the dough rest for 20-30 minutes (this is often part of the autolyse phase if the recipe includes it). This rest period allows the flour to hydrate and the gluten development to begin, making the subsequent kneading or folding steps much easier. Properly incorporating the active starter ensures that its leavening power is distributed throughout the dough, setting the stage for a successful rise.
Maintaining Your Sourdough Starter: Long-Term Care and Storage
Daily vs. Infrequent Baking: Adjusting Your Feeding Schedule
Once your sourdough starter beginner’s guide is mature and consistently active, your feeding schedule will depend primarily on how often you plan to bake. If you bake frequently, say every day or every couple of days, keeping your starter at room temperature with daily feedings is ideal. This ensures you always have a vigorous starter ready to use without much notice. A standard 1:1:1 feeding ratio is often sufficient for daily maintenance at room temperature.
However, if you bake less often, perhaps only once a week or every few weeks, keeping your starter at room temperature with daily feeding is wasteful (due to the daily discard) and unnecessary. In this case, storing your starter in the refrigerator is a far more practical approach. Refrigeration dramatically slows down the microbial activity, meaning your starter will require much less frequent feeding, significantly reducing waste and maintenance effort while still keeping your culture viable for when you need it.
Storing Your Starter in the Refrigerator: Slowing Down Activity
Storing your mature sourdough starter beginner’s guide in the refrigerator is the most common method for home bakers who don't bake daily. To prepare your starter for refrigeration, give it a regular feeding (e.g., 1:1:1 ratio) and let it sit at room temperature for 1-2 hours after feeding to kickstart activity. Then, simply place the covered jar in your refrigerator. The cold temperature (around 40°F or 4°C) puts the microbes into a dormant state, drastically slowing down their consumption of flour.
When refrigerated, a starter typically only needs to be fed once every week or two. You might notice some hooch forming on top, which is normal and expected when feeding is infrequent. Before feeding, you can pour off the hooch or stir it in. Discard a portion and feed the remainder with fresh flour and water, just as you would for a room-temperature feeding. This low-maintenance storage method is perfect for keeping your sourdough starter beginner’s guide alive and healthy between baking sessions.
Reviving a Refrigerated Starter: Bringing it Back to Life
When you're ready to bake after storing your sourdough starter beginner’s guide in the refrigerator, you'll need to revive it and bring it back to peak activity. Take your starter out of the refrigerator and let it come to room temperature for an hour or two. Then, discard a portion (leaving perhaps 25-50 grams) and feed it with fresh flour and water using your standard feeding ratio (e.g., 1:1:1 or 1:2:2).
Leave the fed starter at room temperature. Depending on how long it was in the fridge and your kitchen temperature, it might take one or two feedings, spaced 12-24 hours apart, to get it back to its vigorous, bubbly state, reliably doubling or tripling in size and passing the float test. Plan ahead, allowing 1-2 days for revival before you intend to mix your dough. This process ensures your sourdough starter beginner’s guide has the necessary strength and activity to properly leaven your bread.
Beyond the Basics: Exploring Advanced Sourdough Techniques

Different Flour Types: Experimenting with Flavor Profiles
Once you've mastered the basics with your sourdough starter beginner’s guide and baked a few successful loaves, you can begin experimenting with different types of flour, both in your starter and your bread dough. Using a portion of whole wheat, rye, or spelt flour in your starter can alter its microbial balance, potentially leading to a more active culture or introducing unique flavors. For instance, a starter fed with rye tends to be very vigorous and imparts a deeper, earthier flavor to the bread.
In your bread dough, incorporating different flours opens up a world of texture and flavor possibilities. Substituting a percentage of bread flour with whole wheat, rye, or even specialty flours like Einkorn or Kamut will change the handling properties of the dough and significantly impact the final taste and crumb structure of your loaf. Using a sourdough starter beginner’s guide is just the starting point; exploring various flours allows you to truly customize your sourdough baking and discover new favorite bread styles.
Hydration Levels: Mastering Dough Consistency
Hydration refers to the ratio of water to flour in your dough, typically expressed as a percentage (water weight divided by flour weight, multiplied by 100). Your sourdough starter beginner’s guide is usually maintained at 100% hydration (equal parts flour and water by weight), but bread dough hydration levels can vary significantly. A typical beginner sourdough recipe might have a hydration level around 65-70%. As you gain experience, you might explore higher hydration doughs, perhaps 75% or even 80%+.
Higher hydration doughs are wetter and stickier, making them more challenging to handle, but they can result in a more open, airy crumb structure and a crispier crust. Lower hydration doughs are stiffer and easier to work with, producing a denser crumb. Experimenting with hydration levels, even just a few percentage points difference, will teach you a lot about dough handling and how water affects gluten development and the final bread texture. It's a key area for growth beyond simply maintaining a sourdough starter beginner’s guide.
Autolyse and Bulk Fermentation: Enhancing Flavor and Texture
Two techniques that significantly enhance sourdough quality are autolyse and bulk fermentation. Autolyse involves mixing just the flour and water from your recipe and letting it rest for 20 minutes to several hours before adding the starter and salt. This rest allows the flour to fully hydrate and enzymes to begin breaking down proteins, which helps with gluten development with less kneading. It's a simple step that can improve dough extensibility and the final crumb.
Bulk fermentation, the first rise of the dough after all ingredients are mixed, is where the magic of your sourdough starter beginner’s guide truly happens. This long, slow fermentation period (typically 4-12 hours at room temperature, with periodic "stretch and folds") allows the yeast to produce gas and the bacteria to develop those complex acids that define sourdough flavor.
Learning to read your dough during bulk fermentation – understanding when it's sufficiently risen and developed – is a critical skill that comes with practice and observation. Mastering these techniques moves you from simply using a starter to actively managing the fermentation process for superior results.
Sourdough Starter Beginner’s Guide: Common Mistakes to Avoid
Overfeeding and Underfeeding: Finding the Balance
One of the most common pitfalls for a sourdough starter beginner’s guide is getting the feeding balance wrong. Underfeeding occurs when you don't provide enough fresh flour and water relative to the amount of starter you keep. The microbes quickly consume all the food, become dormant, and produce excessive hooch and strong acidic smells. Consistently underfed starters can become weak.
Conversely, overfeeding involves keeping too small an amount of starter relative to the fresh flour and water added. While this isn't necessarily harmful, it can slow down the development of a young starter as the microbial population is constantly being diluted.
For an established starter, extreme overfeeding (like feeding 1 gram of starter with 100 grams of flour and 100 grams of water daily at room temp) is wasteful and inefficient, as the microbes can't build up enough population density to become vigorously active within a typical feeding cycle. Finding the right feeding ratio (often 1:1:1 or 1:2:2 for room temperature) and frequency based on your starter's activity and ambient temperature is key.
Using Tap Water: The Importance of Filtered Water
The quality of the water you use to make and feed your sourdough starter beginner’s guide is more important than you might think. Tap water in many areas contains chlorine or chloramine, disinfectants added to make the water safe for drinking. Unfortunately, these chemicals can also inhibit or even kill the beneficial wild yeast and bacteria you are trying to cultivate in your starter.
Using filtered water, bottled spring water, or simply leaving tap water out in an open container for 24 hours allows chlorine to dissipate (this doesn't work for chloramine, which requires a filter). Switching to non-chlorinated water can often revive a sluggish starter or help a new sourdough starter beginner’s guide establish itself more quickly and reliably. It's a simple change that can make a significant difference in the health and activity of your culture.
Impatience: Allowing Time for Fermentation
Perhaps the most significant mistake a sourdough starter beginner’s guide can make is being impatient. Unlike baking with commercial yeast, which can yield a loaf in a few hours, sourdough baking is a slow craft governed by the natural fermentation cycles of wild microbes. Creating a viable starter takes time, typically 1-2 weeks of consistent feeding before it's strong enough to reliably leaven bread.
Similarly, the bread-making process itself involves long fermentation periods – hours for the bulk rise and often hours more for the final proof. Trying to rush these steps by using excessive heat or cutting corners will result in underdeveloped flavor, poor rise, and an inferior crumb structure. Learning to observe your starter and your dough, rather than strictly adhering to time cues, is crucial. Sourdough teaches patience; embrace the slower pace and trust the process to develop the best flavor and texture.
Sourdough Starter Beginner’s Guide: Resources and Further Learning
Recommended Books and Online Resources
Continuing your education is key to mastering sourdough baking beyond the initial sourdough starter beginner’s guide. Many excellent books offer comprehensive guides to starter maintenance, bread recipes, and advanced techniques. Look for titles that cover the science behind sourdough, provide troubleshooting tips, and offer a range of recipes from basic loaves to enriched doughs and other baked goods using discard.
Online resources are also invaluable. Numerous reputable baking blogs and websites offer detailed tutorials, videos, and recipes specifically tailored for sourdough beginners. These resources can provide visual guidance for techniques like kneading, shaping, and scoring, and often include helpful charts for adjusting fermentation times based on temperature. Exploring different sources allows you to find approaches and recipes that resonate with you and fit your lifestyle.
Joining Online Communities and Forums
Connecting with other bakers can be incredibly helpful as you navigate your sourdough starter beginner’s guide journey. Online communities, such as forums and social media groups dedicated to sourdough baking, are fantastic places to ask questions, share your experiences, and learn from others' successes and failures.
These communities are often filled with passionate bakers of all skill levels who are happy to offer advice, troubleshoot problems (like a sluggish starter or a flat loaf), and provide encouragement. Seeing photos of other bakers' starters and loaves can also be inspiring and help you gauge your own progress. Don't hesitate to reach out and become part of the vibrant online sourdough community.
Finally, an important part of your sourdough starter beginner’s guide journey is celebrating your accomplishments! Successfully creating and maintaining a bubbly starter is a significant achievement. Baking your first loaf, regardless of how it looks, is a milestone worth celebrating.
Share photos of your starter's progress, your dough's rise, and your finished loaves with friends, family, or your online baking community. The act of sharing your homemade sourdough is rewarding in itself, and the feedback and encouragement you receive will fuel your passion to continue learning and baking. Every bake is a learning experience, and enjoying the fruits of your labor is the ultimate reward.
Frequently Asked Questions
What exactly is a sourdough starter, and why is it so important?
A sourdough starter is a living culture of wild yeast and bacteria. It's essential because it replaces commercial yeast in sourdough bread, providing its characteristic tangy flavor and unique texture.
How long does it typically take to create a viable sourdough starter?
Creating a viable starter usually takes 7-14 days of consistent feeding. The process involves cultivating the wild yeast and bacteria, which takes time to establish and become sufficiently active for baking.
What ingredients are needed to begin making a sourdough starter?
You only need two ingredients: unbleached flour and water. These provide the necessary food and moisture for the wild yeast and bacteria to flourish and create a strong, active starter.
How often should I feed my sourdough starter, and what does "feeding" actually involve?
Initially, feed your starter once every 24 hours. Feeding involves discarding a portion of the starter and then adding equal parts flour and water to replenish its food supply, promoting continued growth and activity.
How do I know when my sourdough starter is ready to use for baking?
A starter is ready when it doubles in size within a few hours after feeding. It should also have a bubbly texture and a slightly sour, tangy aroma, indicating active fermentation.
Final Reflection: The Enduring Magic of Sourdough
The seemingly simple act of nurturing a sourdough starter resonates deeply with our modern desire for connection to nature and a slower pace of life. It's more than just baking bread; it's a tangible representation of patience, observation, and the rewarding results of consistent effort. The journey from a simple mixture of flour and water to a lively, bubbling starter is a testament to the power of natural processes.
The influence of sourdough extends far beyond the kitchen table. It represents a growing movement away from mass-produced goods and towards a more mindful approach to food production. This connection to the process, to the living organism that is the starter itself, fosters a deeper appreciation for the ingredients and the craft of baking. Bread is the staff of life,
they say, and with sourdough, that staff is imbued with a unique history and personality, shaped by your own hands and care.
Now, consider your own journey. Will you embark on the adventure of creating your own sourdough starter? The process might seem daunting at first, but the rewards – the satisfying tang, the unique texture, the pride in crafting something from scratch – are immeasurable. Remember the patience, the observation, and the joy of nurturing something alive. Embrace the unexpected, learn from the failures, and savor the successes. The world of sourdough awaits.
Unleash Your Inner Baker: Start Your Sourdough Adventure Today!
Thanks for joining us on this journey into the wonderful world of sourdough! We hope you've gained a newfound appreciation for the magic behind this ancient baking technique. Now it's time to put your knowledge into practice.
Here's how you can take the next step:
- Begin your sourdough starter today! Follow the simple steps outlined in the article, and document your progress—you'll be amazed at the transformation.
- Share your sourdough journey: Connect with our BakeWithEase community on social media and share your photos and experiences. We love seeing your baking triumphs (and learning from your adventures! ).
- Explore different sourdough recipes: Once your starter is bubbly and active, delve into the vast world of sourdough breads, pastries, and more. The possibilities are endless!
Ready to transform your kitchen into a sourdough haven? What unique sourdough creation will you bake first?