
Freeze Your Starter: How to Store Sourdough for Later Use

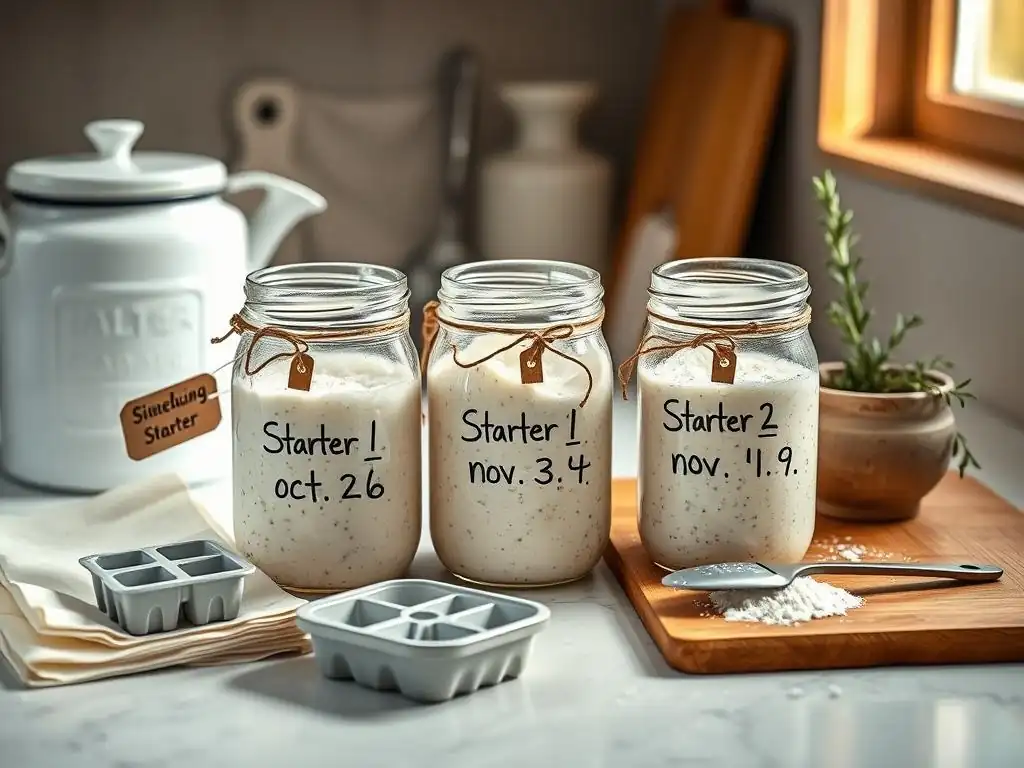
Welcome to BakeWithEase, your partner in baking brilliance! Ever wondered if you could pause your sourdough journey? Our latest guide reveals expert sourdough starter freezing techniques to help you manage your baking schedule without sacrificing flavor. Discover how to maintain a vibrant starter, even when life gets busy. Ready to unlock the secrets? Let's get started!
- Preserving Your Culture: Freezing Sourdough Starter for Future Bakes
- Introduction to Sourdough Starter Cryopreservation
- Preparing Your Sourdough Starter for Sub-Zero Storage
- Step-by-Step Guide: The Sourdough Starter Freezing Process
- Thawing and Reactivating Your Frozen Sourdough Starter
- Tips for Maximizing Success with Frozen and Revived Starter
- Long-Term Sourdough Starter Viability: Maintaining Quality Over Time
- Sourdough Starter Freezing: Common Questions and Solutions
- Conclusion: Unlock Baking Flexibility with Frozen Sourdough Starter
- Frequently Asked Questions
- Final Reflection: The Enduring Legacy of Your Sourdough Starter
- Unleash Your Inner Baker: Keep Your Sourdough Thriving!
Preserving Your Culture: Freezing Sourdough Starter for Future Bakes
Introduction to Sourdough Starter Cryopreservation
Why Freeze Your Sourdough Starter? Backup, Convenience, and Travel
Life happens, and sometimes maintaining a regularly fed sourdough starter just isn't feasible. Whether you're planning a long vacation, need a break from daily feeding, or simply want a safety net in case your active starter goes awry, freezing offers a reliable solution. Think of it as creating an insurance policy for your beloved microbial culture.
This method preserves the unique characteristics of your starter, ensuring that you can return to baking with its distinct flavor profile whenever you're ready, without having to start a new culture from scratch, which can take anywhere from 7 to 14 days or even longer to establish properly. Mastering the Sourdough starter freezing techniques guide allows you to pause your baking journey without losing your progress.
Beyond acting as a backup, freezing provides incredible convenience. Imagine spontaneously deciding to bake a loaf after weeks away – a frozen starter, once revived, makes this possible relatively quickly compared to building a new one. It's also invaluable for travelers; instead of finding a starter-sitter, you can simply tuck your culture into the freezer.
Furthermore, if you have a particularly successful or unique starter, freezing allows you to share it easily with friends or family without the stress of keeping it alive during transport. These practical benefits make understanding how to store sourdough in the freezer an essential skill for any dedicated sourdough baker.
Understanding the Impact of Freezing on Sourdough Microbes
Sourdough starter is a complex ecosystem of wild yeasts and lactic acid bacteria. Freezing doesn't kill these microorganisms outright, but it does send them into a state of deep dormancy. The cold temperature significantly slows down their metabolic processes, halting fermentation and preventing spoilage. However, the formation of ice crystals during freezing can cause some cellular damage, and not all microbes will survive the process. This is why reviving a frozen starter takes time and careful feeding – you're essentially waking up and repopulating the surviving microbial community.
The success of freezing sourdough starter depends heavily on minimizing stress to these delicate organisms. Rapid freezing tends to form smaller ice crystals, causing less damage than slow freezing. The concentration of solutes in the starter also plays a role; a slightly less hydrated or "stiffer" starter might experience less damage than a very wet one. While you won't achieve a 100% survival rate, proper Sourdough starter freezing techniques guide methods aim to preserve enough viable yeast and bacteria to successfully reactivate the culture, allowing you to bake delicious bread again.
Preparing Your Sourdough Starter for Sub-Zero Storage
Identifying Peak Activity for Freezing
The ideal time to freeze your sourdough starter is when it is at its peak activity, typically 4-8 hours after a feeding, depending on your starter's hydration and ambient temperature. At this stage, the yeast and bacteria are most vigorous and numerous, offering the best chance of survival during the freezing process.
You'll know your starter is at its peak when it has roughly doubled or tripled in volume, is full of bubbles, and has a pleasant, tangy aroma. Freezing a starter that is past its peak or hasn't been fed recently will result in fewer viable microbes and a longer, more difficult revival process.
To ensure your starter is ready for freezing, perform a standard feeding (e.g., 1:1:1 ratio of starter, water, and flour). Let it rise in a clear container so you can easily observe its progress. Once it reaches its maximum height before starting to fall, it's prime time for freezing. For instance, if your starter typically doubles within 6 hours at room temperature (around 70°F or 21°C), aim to freeze it right around that 6-hour mark. This careful timing is a crucial step in the Sourdough starter freezing techniques guide.
Selecting Appropriate Freezer-Safe Containers: Glass vs. Plastic
Choosing the right container is vital for successful sourdough starter freezing. The container must be airtight and freezer-safe to prevent freezer burn and contamination from other freezer contents. Both glass and plastic options have pros and cons. Glass jars (like Mason jars) are excellent because they are non-reactive and don't absorb odors, but they can break if overfilled or subjected to thermal shock. Ensure they are specifically rated as freezer-safe and leave ample headspace (at least an inch) for expansion.
Freezer-safe plastic containers or heavy-duty freezer bags are also good choices. Plastic containers are less prone to breakage and often stack well. Freezer bags allow you to spread the starter thinly, which can help with faster freezing and thawing, potentially reducing ice crystal damage. If using bags, squeeze out as much air as possible before sealing. Regardless of whether you choose glass or plastic, ensure the container is clean and completely dry before adding the starter to minimize ice formation. This selection is a key part of preparing for successful Sourdough starter freezing techniques guide.
Optimal Starter Hydration for Freezing: Slurry vs. Stiff
The hydration level of your sourdough starter can influence how well it freezes and thaws. A very wet starter (high hydration, like 100% where flour and water are equal weight) can be frozen, but the higher water content might lead to more ice crystal formation. Some bakers prefer to freeze a slightly "stiffer" starter, perhaps fed at a lower hydration like 50-60% (meaning water is 50-60% of the flour weight). A stiffer starter is thicker and less prone to liquid separation during thawing.
However, freezing your standard hydration starter (commonly 100%) is perfectly acceptable and often preferred for simplicity. The important factor is that the starter is healthy and active when frozen, regardless of its specific hydration. If you choose to freeze a stiff starter, remember you'll need to adjust your feeding ratios during revival to bring it back to your preferred baking hydration. Ultimately, the best approach is often to freeze your starter at the hydration you normally use, ensuring it's robust and active before placing it in the freezer – a critical detail for any Sourdough starter freezing techniques guide.
Step-by-Step Guide: The Sourdough Starter Freezing Process
Step 1: Refreshing the Starter Before Freezing
Before you even think about putting your starter in the freezer, it's crucial to give it a final, robust feeding. This ensures that the population of active yeast and bacteria is at its peak concentration, maximizing the number of microbes that will survive the freezing process. Use your standard feeding ratio, typically equal parts starter, water, and flour by weight (e.g., 50g starter, 50g water, 50g flour). Stir thoroughly to incorporate air.
Allow this freshly fed starter to rise until it reaches its peak – when it has approximately doubled or tripled in volume and is visibly bubbly. This usually takes 4-8 hours depending on temperature and starter maturity. Do not wait for it to fall. Freezing at peak activity is paramount for successful revival later. Discard any excess starter you don't plan to freeze or bake with, following your usual discard routine. This preparatory step is the foundation of effective Sourdough starter freezing techniques guide.
Step 2: Packaging for Minimal Ice Crystal Formation
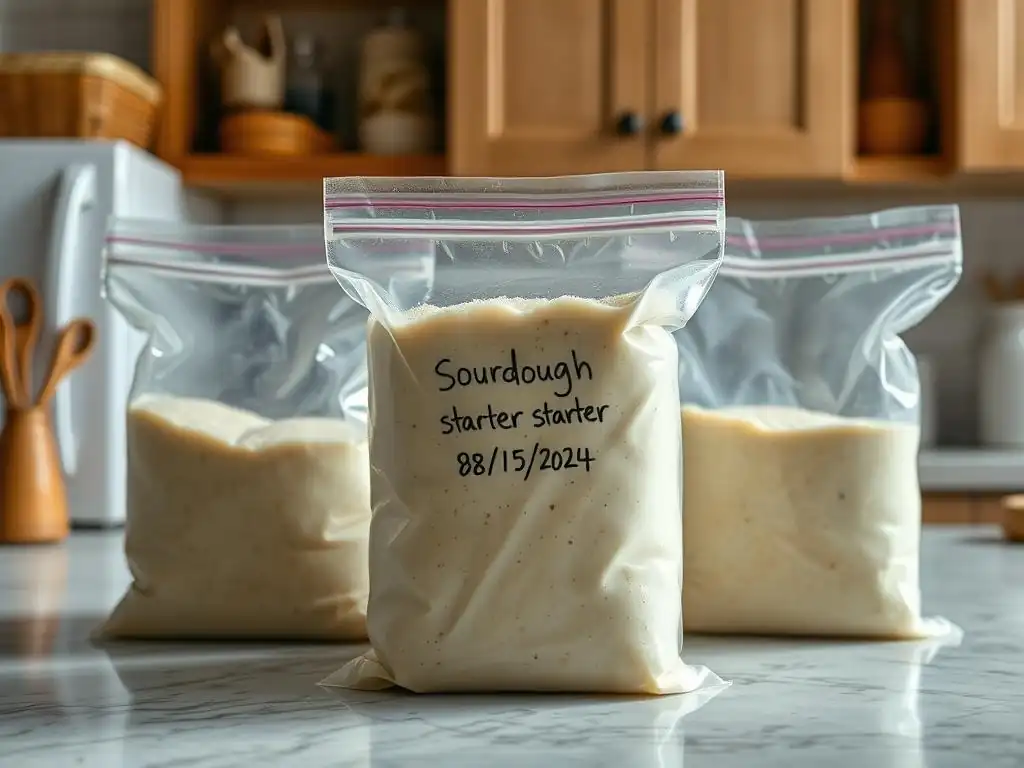
Proper packaging is key to protecting your starter from freezer burn and minimizing damaging ice crystals. Portion the peak-activity starter into your chosen freezer-safe containers or bags. If using rigid containers, leave at least an inch of headspace to account for expansion. If using freezer bags, measure out desired portions (e.g., 50g or 100g amounts), flatten the bag to remove air, and seal tightly. Flattening also helps the starter freeze and thaw more quickly.
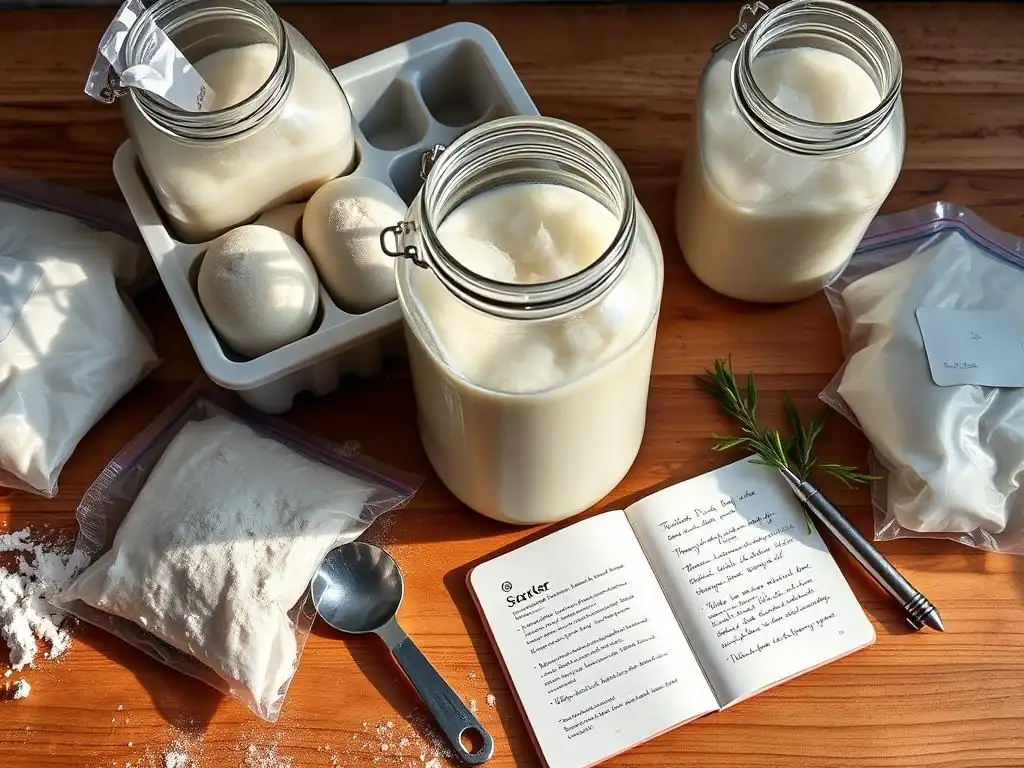
For extra protection, especially if using bags, consider double-bagging or placing the sealed bag inside another container. This provides an additional barrier against moisture loss and freezer odors. Some bakers even freeze starter in ice cube trays before transferring the frozen cubes to a bag – this allows for easy portioning later. Whichever method you choose, ensure the seal is completely airtight. This careful packaging step is a vital component of any reliable Sourdough starter freezing techniques guide.
Step 3: Detailed Labeling for Identification and Tracking
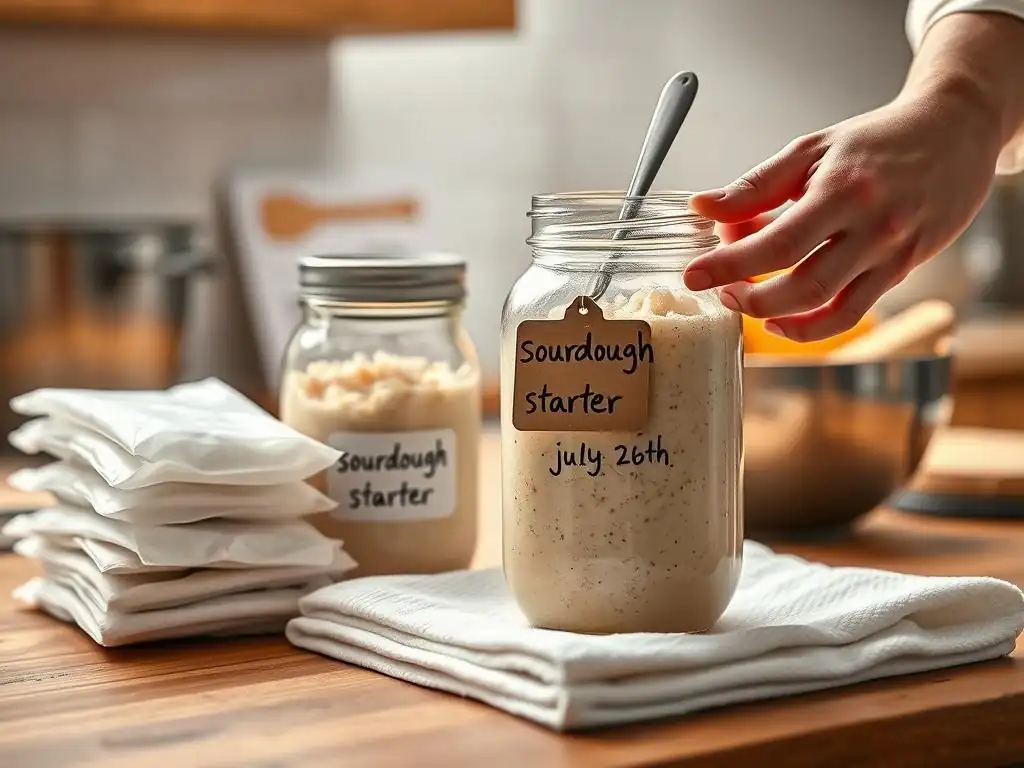
Once your starter is packaged, labeling is non-negotiable. You need to know what's in the container and when it was frozen. Use a permanent marker to clearly write the contents ("Sourdough Starter"), the date it was frozen, and optionally, the hydration level or the type of flour used (e.g., "100% Hydration Sourdough - Frozen 2023-10-26").
Accurate labeling helps you use the oldest starter first and provides essential information for the thawing and revival process. Knowing the freezing date is crucial for estimating viability, as starter quality can degrade over very long freezing periods (typically beyond 6-12 months). Don't skip this simple step; it saves guesswork and potential disappointment down the line. Proper labeling is a small but essential detail in a comprehensive Sourdough starter freezing techniques guide.
Step 4: Strategic Freezer Placement for Consistent Temperature
Where you place your starter in the freezer can impact its freezing speed and overall viability. Avoid placing it in the freezer door, which is subject to frequent temperature fluctuations every time the door is opened. Instead, find a spot deep within the main compartment of the freezer where the temperature remains most consistent and coldest.
If possible, place the starter against a freezer wall or near the cooling element for faster initial freezing. Once frozen solid, you can move it to a less critical spot, but keeping it away from the door is always recommended. Consistent, deep freezing minimizes temperature swings that can stress the microbes and reduce the effectiveness of your Sourdough starter freezing techniques guide.
Thawing and Reactivating Your Frozen Sourdough Starter
Gentle Thawing Techniques: Refrigerator vs. Room Temperature
Once you're ready to bake again, the thawing process begins. The gentlest method, and often recommended, is thawing in the refrigerator. Place the frozen starter (still in its container) in the fridge for 24-48 hours. This slow, controlled thaw minimizes stress on the microbes and prevents rapid temperature changes. While slower, it's the safest approach for preserving microbial viability.
Alternatively, you can thaw at room temperature, which is faster (potentially 4-8 hours depending on the amount). If thawing at room temperature, keep a close eye on it to prevent it from becoming too warm and potentially spoiling before enough microbes are active. Never use a microwave or warm water bath, as high heat will kill the beneficial yeast and bacteria you're trying to revive. Choose the thawing method that best suits your timeline while prioritizing the health of your culture, a key consideration in this Sourdough starter freezing techniques guide section.
Reactivation Protocol: Gradual Feeding and Monitoring
Thawing is just the first step; reactivation is where the magic happens. Once thawed to a liquid or paste consistency, transfer the starter to a clean jar. At this point, it will likely look dormant – no bubbles, no rise, perhaps a layer of liquid (hooch) on top. Pour off the hooch if present, or stir it in if you prefer. Start feeding it with a small amount of flour and water. Begin with a conservative ratio, like feeding 20-30g of thawed starter with 20g water and 20g flour.
Feed your starter every 12-24 hours initially, depending on how it responds and the room temperature. Observe closely for signs of life: small bubbles, a slight increase in volume, a subtle tangy smell. As activity increases, gradually increase the feeding ratio (e.g., moving to 1:1:1) and frequency (e.g., every 8-12 hours) until it consistently doubles or triples predictably within 4-8 hours after feeding. This gradual approach gives the surviving microbes time to wake up and multiply. Patience is crucial during this phase of the Sourdough starter freezing techniques guide.
Addressing Dormancy: Patience and Environmental Control
It's common for a frozen and thawed starter to be sluggish at first. Don't be discouraged if it takes several days, or even a week or more, for it to regain its full vigor. The key is consistent feeding and providing a warm, stable environment (ideally 75-80°F or 24-27°C) if possible, as warmth encourages microbial activity. Using a proofing box, oven light (turned off, just the light's residual heat), or placing the jar in a warm spot can help.
If after several days you see very little activity, try a slightly different feeding strategy. Sometimes a thicker consistency (less water) or a different type of flour (like rye or whole wheat, which are rich in nutrients) can give it a boost. Ensure the water you use is non-chlorinated. Remember, you are rebuilding a complex ecosystem from the survivors; it takes time and consistent care to reach the peak activity needed for baking. Troubleshooting slow revival is an important part of mastering the Sourdough starter freezing techniques guide.
Tips for Maximizing Success with Frozen and Revived Starter
Establishing a Regular Feeding Schedule Post-Thaw
Consistency is paramount once your starter shows signs of life after thawing. Establish a regular feeding schedule, ideally every 12 hours at a 1:1:1 ratio, until the starter consistently doubles or triples predictably within 4-8 hours. This routine provides the microbes with a steady supply of food and helps rebuild their population and activity level. Avoid skipping feedings during this crucial revival period.
Once the starter is consistently active and passes the float test (a small spoonful floats in water), you can transition back to your normal feeding routine, whether that's daily, twice daily, or less frequent if storing in the refrigerator. A strong, regularly fed starter is less susceptible to issues like mold or separation. Maintaining this schedule is a key step in ensuring your Sourdough starter freezing techniques guide efforts result in a bake-ready culture.
Recognizing Signs of Vigorous Activity: Bubbles, Rise, and Aroma
A healthy, active sourdough starter ready for baking exhibits several key signs. Visually, it should be full of bubbles, both on the surface and throughout the culture. After feeding, it should reliably double or triple in volume within a predictable timeframe (usually 4-8 hours at room temperature). You can mark the starter's level on the jar with a rubber band to track its rise.
Olfactorily, a vigorous starter has a pleasant, tangy, slightly yeasty or alcoholic aroma, not strong acetone or cheesy smells which can indicate it's hungry or off-balance. A quick test is the float test: take a small amount of peak starter and gently drop it into a glass of water. If it floats, it's active enough to leaven bread. Observing these signs is essential for knowing when your revived starter is truly ready to use after following the Sourdough starter freezing techniques guide.
Addressing Weakness: Alternative Flours and Temperature Adjustments
If your revived starter remains sluggish despite regular feeding, consider adjusting your approach. Sometimes, switching to a flour higher in nutrients, like organic rye or whole wheat flour, for a few feedings can provide the necessary boost for the microbes. These flours contain more minerals and enzymes that can help kickstart activity. You can use these flours for a few feedings and then switch back to your preferred bread flour.
Temperature is another critical factor. Ensure your starter is in a warm environment, ideally between 75-80°F (24-27°C). Even a few degrees warmer than standard room temperature can significantly accelerate microbial activity. If your kitchen is cool, use a proofing box, oven with the light on, or another warm spot. Consistent warmth combined with nutrient-rich flour can often revive a stubborn starter after implementing the Sourdough starter freezing techniques guide.
Long-Term Sourdough Starter Viability: Maintaining Quality Over Time
Maximum Recommended Freezing Duration for Optimal Results
While sourdough starter can technically survive freezing for extended periods, its viability and strength will gradually decline over time. For optimal results and the easiest revival, it's generally recommended to use frozen starter within 6 to 12 months. Beyond this timeframe, the number of viable microbes may significantly decrease, making the revival process much longer and less certain.
If you plan to freeze starter for longer durations, consider refreshing and refreezing a portion every 6-12 months to maintain a more robust backup. Labeling with the freezing date is crucial for tracking how long your starter has been stored. Adhering to this recommended timeframe helps ensure your Sourdough starter freezing techniques guide leads to a successful reactivation when you need it.
Strategies for Protecting Starter from Freezer Burn and Odors
Freezer burn occurs when food is exposed to air, leading to dehydration and quality degradation. For sourdough starter, this means a higher chance of microbial death. Using airtight, freezer-safe containers or heavy-duty freezer bags is the primary defense. Squeezing out excess air from bags is particularly important. Wrapping containers in an extra layer (like plastic wrap or foil) before placing them in the freezer can provide an added barrier.
Sourdough starter can also absorb odors from other foods in the freezer, which can negatively impact its flavor and aroma upon revival. Again, airtight containers are key. Avoid storing your starter near strong-smelling items like onions, garlic, or fish. A clean freezer environment also helps. Taking these precautions ensures that when you thaw your starter using your Sourdough starter freezing techniques guide, it revives with its original, pleasant characteristics.
Sourdough Starter Freezing: Common Questions and Solutions
Can I freeze my starter at any stage of its feeding cycle?
No, for the best results, it is highly recommended to freeze your sourdough starter when it is at its peak activity, typically 4-8 hours after a feeding, when it has doubled or tripled in size and is full of bubbles. Freezing a dormant or hungry starter (one that hasn't been fed recently or has fallen) will result in fewer viable microbes and a much more challenging and potentially unsuccessful revival process. Following this specific timing is a critical part of any effective Sourdough starter freezing techniques guide.
How long does it take to fully reactivate a frozen sourdough starter?
The time required to fully reactivate a frozen sourdough starter varies significantly depending on factors like how long it was frozen, the health of the starter when frozen, the thawing method, and the temperature during revival. Generally, it can take anywhere from 3 to 7 days of consistent feeding (every 12-24 hours) to bring a frozen starter back to full strength, where it doubles predictably within 4-8 hours and is ready for baking.
Some starters may take longer, potentially 10 days or more, especially if they were frozen for an extended period. Patience and consistent feeding are key during the reactivation phase outlined in the Sourdough starter freezing techniques guide.
My revived starter smells different – is that normal?
Yes, it is quite common for a frozen and revived sourdough starter to have a slightly different smell initially compared to your active starter. It might smell more strongly of alcohol (acetone) or even slightly cheesy. This is usually a sign that the microbial balance was shifted during freezing and thawing, and the starter is "hungry" or working to re-establish its equilibrium. Continue with consistent, regular feedings (e.g., every 12 hours) in a warm environment.
As the yeast and bacteria populations recover and multiply, the smell should return to the familiar pleasant, tangy aroma of a healthy, active starter. If the smell is truly foul or mold appears, it's best to discard and start fresh or revive from a different backup. Addressing off smells is a typical troubleshooting step when using a Sourdough starter freezing techniques guide.
Conclusion: Unlock Baking Flexibility with Frozen Sourdough Starter
Summary of Best Practices for Freezing and Reviving
Freezing your sourdough starter is a fantastic way to ensure you always have a backup culture, offering flexibility and peace of mind. The best practices involve freezing a starter that is at its peak activity shortly after a feeding. Use airtight, freezer-safe containers, leaving headspace, and label clearly with the date.
Place the starter deep in the freezer where temperatures are stable. When ready to use, thaw gently in the refrigerator and then begin a gradual, consistent feeding routine, typically every 12-24 hours, until the starter shows vigorous signs of life – bubbles, predictable rise, and a pleasant aroma. Patience is crucial during the revival phase.
Embrace Consistent Baking with a Preserved Sourdough Culture
By mastering the Sourdough starter freezing techniques guide, you gain the ability to pause and resume your sourdough baking journey at your convenience. No more worrying about daily feedings during busy periods or vacations. A frozen and properly revived starter allows you to maintain the unique characteristics of your culture over time, ensuring that your bread retains its signature flavor and texture. Incorporating these freezing and revival techniques into your baking routine unlocks new levels of flexibility and consistency, making sourdough baking more accessible and enjoyable for everyone.
Frequently Asked Questions
How long can I freeze my sourdough starter for?
You can generally freeze your sourdough starter for up to 3 months without significantly impacting its viability. After that, the yeast activity may decrease, requiring more effort to revive.
What's the best way to thaw a frozen sourdough starter?
The best method is to thaw it in the refrigerator overnight. This allows for a slow and gradual thaw, minimizing damage to the yeast and bacteria.
Will freezing my sourdough starter kill the yeast?
Freezing doesn't kill the yeast, but it does dormantize it. The yeast cells become inactive and need to be revived with feeding after thawing.
How do I revive my sourdough starter after freezing?
After thawing, discard all but about 2 tablespoons of the starter. Then, feed it with equal parts flour and water, repeating this every 12-24 hours until it doubles in size regularly. Consistency is key!
Can I freeze my sourdough starter at any stage of its development?
Yes, you can freeze it at any stage, but it's generally recommended to freeze it after a feeding, when it's at its peak activity. This ensures it has plenty of food reserves to survive the freezing process.
Final Reflection: The Enduring Legacy of Your Sourdough Starter
The ability to freeze your sourdough starter is not merely a convenience; it's a lifeline for bakers everywhere, ensuring the continuation of a living legacy. This simple technique, detailed throughout this guide, empowers home bakers to overcome life's interruptions and maintain the unique character of their sourdough cultures, preventing the heartbreak of a discarded starter. The ease and effectiveness of freezing, as demonstrated, makes it an essential skill for any serious sourdough enthusiast.
The impact of sourdough baking, and the preservation of its heart – the starter – extends far beyond the kitchen. It represents a connection to a time-honored tradition, a living organism nurtured and cared for, mirroring the patience and dedication required in the baking process itself. This connection fosters a deeper appreciation for the craft, transforming baking from a simple task into a mindful practice. Bread is the staff of life,
they say, and the starter, the very essence of that staff, deserves our respect and careful preservation.
Now, consider your own starter. What story does it hold? What adventures await it, frozen in time until you're ready to revive its bubbly magic? Don't let the fear of loss prevent you from exploring the possibilities. Embrace the knowledge gained here, experiment with the techniques outlined, and continue the legacy of your sourdough starter – a testament to your dedication and a delicious reward for your efforts. The journey of sourdough is a long one, but with proper care and the knowledge of freezing, it can be a journey without end.
Unleash Your Inner Baker: Keep Your Sourdough Thriving!
Thanks for taking the time to learn about preserving your precious sourdough starter! You've now gained the knowledge to keep your baking companion healthy and active for weeks or even months. Are you ready to put your new skills into practice?
- Prioritize your starter's next feeding: Make sure to follow your established schedule to keep it lively and thriving. Remember to note the date and how it looks in your sourdough journal.
- Share your sourdough successes or questions with our community on social media or baking forums. We’d love to see your thriving starter!
- Experiment with different storage methods: Try both refrigeration and freezing to discover which method best fits your baking routine. Which one works best for you?
Ready to see your sourdough flourish? We can't wait to hear about your next baking adventure!