
Kneading Time: How Long is Enough for Perfect Pizza Dough?

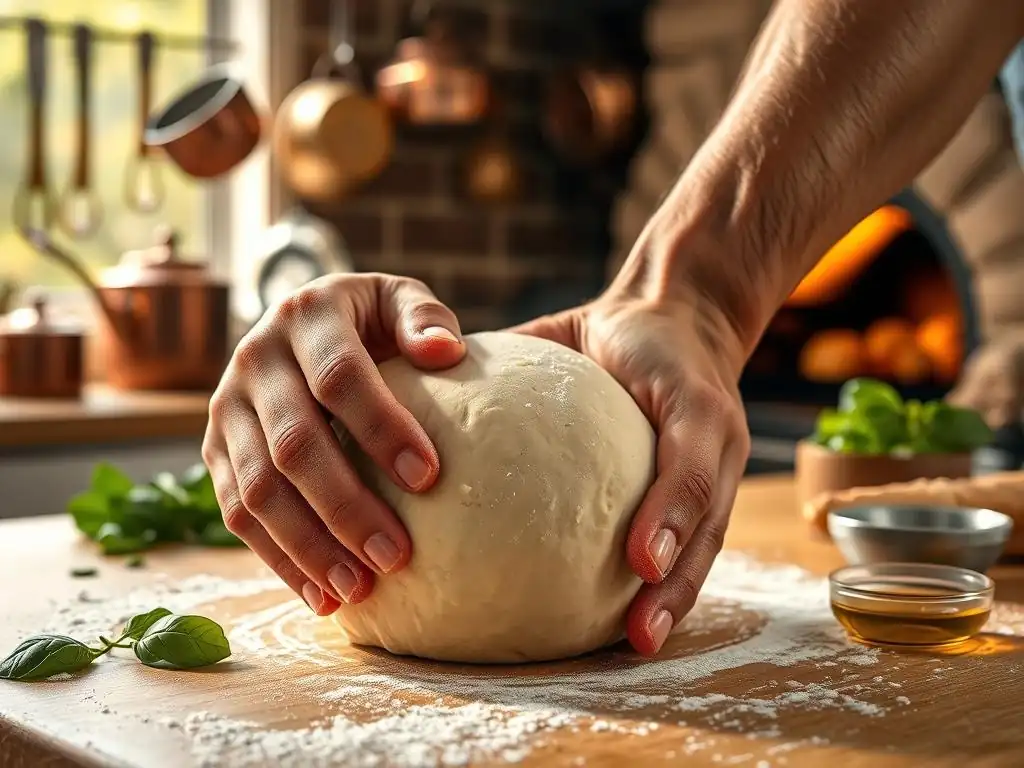
Welcome to BakeWithEase, your companion on the delicious journey of baking! Ever wondered if you're really getting the most out of your pizza dough? Today, we're diving deep into a crucial yet often overlooked aspect: how long to knead pizza dough for that perfect, airy, and flavorful crust. Get ready to unlock the secrets to achieving pizza perfection, but first, let's explore why kneading time matters more than you might think...
- Introduction: Achieving Pizza Dough Perfection Through Proper Kneading
- Why Kneading Matters: The Science Behind Pizza Dough Structure
- How Long to Knead Pizza Dough: Finding the Sweet Spot
- Kneading Pizza Dough by Hand: A Step-by-Step Guide
- Using a Stand Mixer for Pizza Dough Kneading: Tips and Tricks
- Signs of Perfectly Kneaded Pizza Dough: What to Look For
- What Happens if You Over-Knead Pizza Dough?
- Troubleshooting Common Pizza Dough Kneading Issues
- Beyond Kneading: Other Factors for Great Pizza Dough
- Conclusion: Mastering the Art of Pizza Dough Kneading
-
Frequently Asked Questions
- How long should I knead pizza dough by hand?
- What happens if I don't knead my pizza dough long enough?
- Can I over-knead pizza dough?
- Is it possible to use a stand mixer to knead pizza dough, and if so, how long should I knead it for?
- What are the visual cues that tell me my pizza dough is properly kneaded?
- Final Reflection: The Art and Science of Kneading Time
- Unleash Your Inner Pizzaiolo: Craft the Perfect Dough!
Introduction: Achieving Pizza Dough Perfection Through Proper Kneading
Crafting a delicious homemade pizza starts with the dough, and at the heart of great pizza dough lies proper kneading. It's the essential step that transforms a shaggy mix of flour and water into a smooth, elastic foundation capable of producing that coveted crispy yet chewy crust. Many home bakers wonder, "How long knead pizza dough?"
The answer isn't a single number, but rather a range influenced by several factors. Understanding the science behind kneading and recognizing the signs of a perfectly developed dough is key to elevating your pizza-making skills. This guide will walk you through why kneading is so important, how long you should typically knead, and how to tell when your dough is just right, whether you're kneading by hand or with a stand mixer.
Why Kneading Matters: The Science Behind Pizza Dough Structure
Kneading isn't just about mixing ingredients; it's a physical process that develops the structure of your dough. This structure is what gives pizza dough its characteristic texture, allowing it to stretch thinly without tearing and providing the framework for a light, airy crust with a satisfying chew. Without proper kneading, your dough would remain slack and weak, resulting in a dense, flat pizza base.
Developing Gluten: The Key to Chewy Pizza Dough
The primary goal of kneading is to develop gluten. Flour contains proteins called glutenin and gliadin. When these proteins come into contact with water and are agitated through mixing and kneading, they link together to form a complex, elastic network known as gluten. Think of this network like a microscopic mesh.
For instance, bread flour, often recommended for pizza dough, typically contains a higher protein content, ranging from about 12% to 14%. This higher percentage of glutenin and gliadin means it has a greater potential for gluten development compared to all-purpose flour, which usually falls between 10% and 12% protein. Kneading physically aligns and strengthens these protein bonds.
A well-developed gluten network is crucial because it provides the elasticity and extensibility needed to stretch pizza dough thin. It also creates tiny pockets capable of trapping the carbon dioxide gas produced by yeast during fermentation, which is essential for the dough to rise and achieve a light texture.
The Role of Kneading in Texture and Rise
Beyond developing the gluten network, kneading also helps distribute the ingredients evenly throughout the dough, ensuring consistent texture and flavor. As you knead, the dough becomes smoother and more uniform. This smoothness is a visual indicator that the gluten is developing properly.
The robust gluten structure created by sufficient kneading acts like a balloon. As yeast ferments, it produces gases, mainly carbon dioxide. The elastic gluten network traps these gases, causing the dough to inflate and rise. A dough that hasn't been kneaded enough will have a weak gluten structure, unable to hold onto these gases effectively, resulting in poor rise and a dense, heavy crust. Conversely, properly kneaded dough will rise beautifully, leading to a crust that is both airy and chewy, with a satisfying "hole structure" when baked – the hallmark of great pizza.
How Long to Knead Pizza Dough: Finding the Sweet Spot
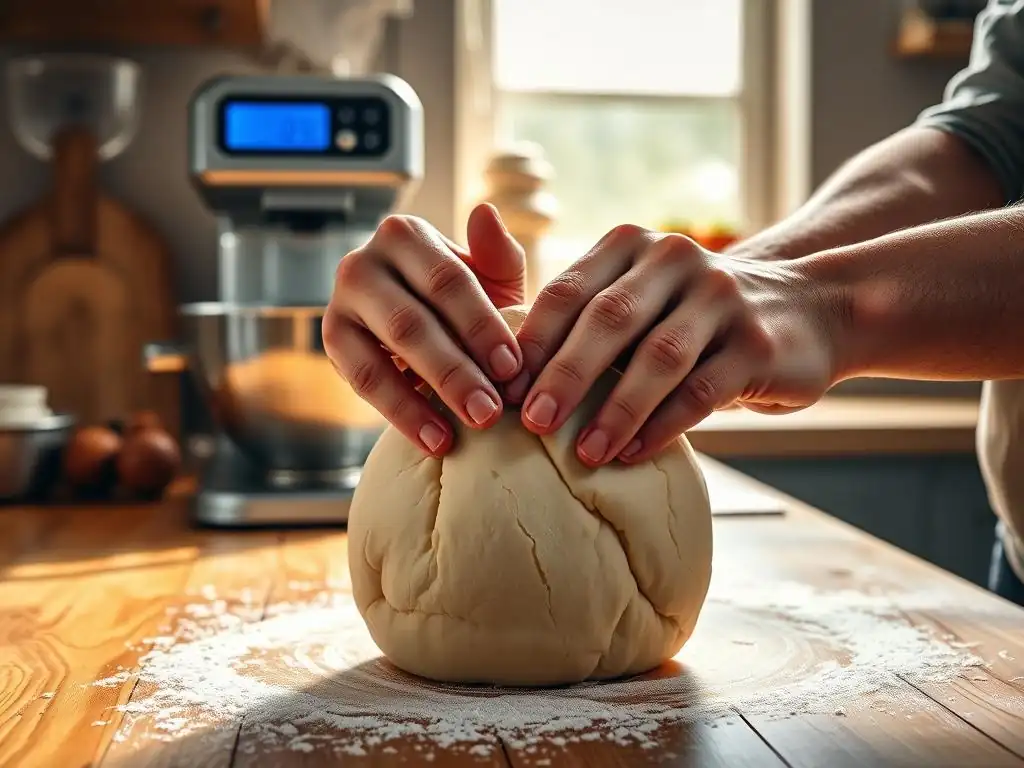
The question "How long knead pizza dough?" is one of the most frequently asked by home bakers. The truth is, there's no universal timer. The ideal kneading time depends on several variables, but general guidelines can help you get started. The most important thing is learning to recognize the signs of properly kneaded dough, which we'll cover later.
General Kneading Time Guidelines for Pizza Dough
As a starting point, here are typical kneading times, assuming average room temperature and hydration levels:
- By Hand: Kneading pizza dough by hand usually takes significantly longer than using a machine. You can expect to knead by hand for anywhere from 10 to 15 minutes, sometimes even up to 20 minutes for drier doughs or those made with lower-protein flour. This time allows you to build the necessary gluten structure manually.
- By Stand Mixer: Using a stand mixer with a dough hook is much faster and less labor-intensive. For most home-sized batches (e.g., 1-2 pounds of flour), kneading on a low speed (typically speed 2 on a KitchenAid mixer) usually takes between 5 and 8 minutes. Over-kneading is a greater risk with a mixer, so paying close attention to the dough's appearance and texture is crucial.
These are just starting points. Always prioritize the feel and appearance of the dough over strict adherence to a clock.
Factors Affecting Optimal Kneading Time
Several elements can influence how long you need to knead your pizza dough:
Type of Flour: Gluten Content Considerations
As mentioned earlier, the protein content of your flour plays a significant role. Flour with higher protein content, like bread flour (12-14%), develops gluten more readily and requires less kneading time compared to flours with lower protein content, such as some all-purpose flours (10-12%).
For instance, a dough made with high-gluten bread flour might reach optimal development in 6 minutes in a mixer, while a dough using a standard AP flour might need 8 minutes or slightly more to achieve a similar gluten structure. Using a specialized Italian "00" flour, which is finely milled but can have variable protein content (often around 12.5-13.5% for pizza types), might also influence kneading time depending on its specific properties.
Hydration Level: Adjusting Kneading Time Based on Moisture
The hydration level of your dough (the ratio of water to flour by weight) also affects kneading time. Wetter doughs (e.g., 70% hydration or higher) can sometimes require less intensive kneading because the higher water content allows gluten proteins to hydrate and align more easily, sometimes even benefiting from an "autolyse" period (a rest after just mixing flour and water).
Conversely, drier doughs (e.g., 60-65% hydration) might feel stiffer and require slightly longer or more vigorous kneading to fully develop the gluten network. A very wet, sticky dough might feel like it needs endless kneading, but often just needs proper technique and time for the gluten to absorb the water and strengthen.
Kneading Method: Hand vs. Stand Mixer
The method you choose fundamentally alters the time required. Hand kneading involves slower, less intense mechanical action than a stand mixer. The friction and force applied by your hands build gluten more gradually. A stand mixer, particularly on a steady low speed, provides consistent, repetitive action that develops gluten much faster. This efficiency is why mixer times are typically half or less than hand kneading times. For example, achieving a good windowpane test might take 12-15 minutes by hand, but only 6-8 minutes with a mixer.
Kneading Pizza Dough by Hand: A Step-by-Step Guide
Kneading by hand is a rewarding, tactile experience that connects you directly to the dough. It's also a great workout! While it takes longer than using a mixer, it's a skill worth mastering.
Preparing Your Workspace for Hand Kneading
Start with a clean, dry surface. A wooden board or a countertop works well. Avoid using too much flour to dust your surface, as incorporating excess flour can make your dough dry and tough. A light dusting is usually sufficient to prevent sticking initially. Have a bench scraper handy to help scrape the dough from the surface and your hands as needed.
The Hand Kneading Technique: Push, Fold, Turn
The basic hand kneading technique involves a repetitive sequence:
- Push: Using the heel of your hand, push the dough away from you.
- Fold: Fold the dough back towards you, usually in half.
- Turn: Give the dough a quarter turn.
- Repeat: Continue this push, fold, turn action rhythmically.
Initially, the dough will be sticky and shaggy. As you continue to knead, the gluten will develop, and the dough will become smoother, less sticky, and more elastic. You can adjust the pressure and speed as you get comfortable.
Signs of Properly Kneaded Pizza Dough (Hand Kneading)
When kneading by hand, you'll notice the dough changing over time. It will start rough and sticky, then gradually become smoother, more elastic, and less likely to stick to your hands and the surface. A key sign is that the dough will resist being pushed initially but will eventually yield and stretch without tearing.
The surface will transform from bumpy and shaggy to relatively smooth and satiny. It should also feel more supple and alive under your hands. While the windowpane test (described later) is the definitive check, these tactile and visual cues are your primary indicators when kneading manually.
Using a Stand Mixer for Pizza Dough Kneading: Tips and Tricks
Using a stand mixer is a convenient way to knead dough, especially for larger batches or if you want a less strenuous process. However, it's also easier to accidentally over-knead with a machine.
Choosing the Right Dough Hook Attachment
Ensure you are using the correct attachment for your stand mixer – the dough hook. This hook is specifically designed to grab, pull, and fold the dough, mimicking the action of hand kneading but with mechanical efficiency. Different mixer brands and models have slightly different hook shapes (C-shaped or spiral), but both perform the same function.
Stand Mixer Kneading Speed and Timing
For kneading pizza dough in a stand mixer, it's generally recommended to use a low speed. Speed 2 on most common mixers (like KitchenAid) is ideal. Higher speeds can generate excessive heat, which can negatively impact yeast activity and gluten structure, and also increase the risk of over-kneading very quickly. Start the mixer on a low speed until the ingredients just come together into a shaggy mass, then increase to the recommended low kneading speed. As noted before, aim for 5-8 minutes on this low speed, but always watch the dough and perform checks like the windowpane test.
Avoiding Over-Kneading with a Stand Mixer
The biggest risk with machine kneading is over-kneading because it happens faster. Over-kneading can break down the gluten structure you worked to build, leading to tough, inelastic dough. To avoid this:
- Use a timer as a guideline, not a rule: Start checking the dough around the 5-minute mark.
- Observe the dough: Watch how it behaves on the hook. It should gather around the hook and slap against the sides of the bowl periodically. If it starts climbing the hook excessively early on, the dough might be too wet or you might need to stop and push it down. If it looks tight and is pulling away from the bowl too cleanly very quickly, it might be getting over-kneaded.
- Perform the windowpane test: This is the most reliable way to check for proper gluten development (details below). Stop the mixer and check frequently after the initial few minutes.
Signs of Perfectly Kneaded Pizza Dough: What to Look For
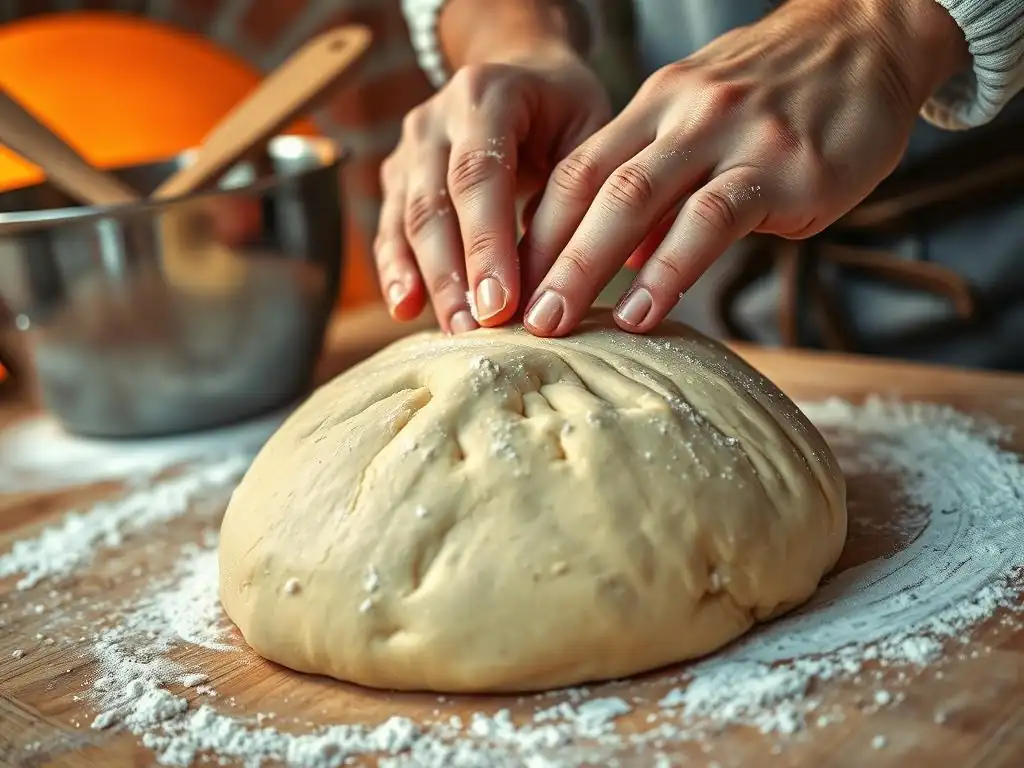
Regardless of whether you knead by hand or machine, the goal is the same: a dough with a well-developed gluten network. Here's how to tell when you've hit the sweet spot:
The Windowpane Test: Assessing Gluten Development
The windowpane test is the gold standard for checking if your dough is sufficiently kneaded.
- Tear off a small piece of dough, about the size of a golf ball.
- Gently stretch and pull the dough with your fingers.
- If the dough can be stretched into a thin, translucent membrane that you can see light through (like a windowpane) without tearing, the gluten is well-developed.
- If it tears easily before becoming thin, it needs more kneading.
This test directly demonstrates the strength and elasticity of the gluten network.
Dough Texture: Smooth and Elastic
Properly kneaded dough should feel smooth and soft to the touch. The surface should look relatively smooth, not shaggy or bumpy. When you gently press it with your finger, it should spring back slowly, indicating elasticity. It should also be pliable and easy to work with, not stiff or resistant.
Dough Consistency: Not Too Sticky, Not Too Dry
The ideal dough consistency for most pizza recipes is slightly tacky, but it shouldn't stick excessively to your hands or the work surface. It should feel cohesive and hold its shape reasonably well. If it's still very sticky and difficult to handle after the recommended kneading time, it might need a little more kneading or perhaps a tiny bit more flour (added sparingly). If it feels dry and crumbly, it likely needs more hydration or hasn't been kneaded enough to become cohesive.
What Happens if You Over-Knead Pizza Dough?
It is possible to knead dough too much, especially when using a powerful stand mixer. Over-kneading can be detrimental to the final texture of your pizza crust.
Recognizing Over-Kneaded Dough: Tight and Resistant
Over-kneaded dough feels very tight, stiff, and resistant. It will be difficult to stretch and may even start to tear as you try to work it. The surface might look unnaturally smooth or even shiny, and it might feel tough rather than elastic. In extreme cases, the gluten network can actually break down, leading to dough that tears easily and feels slack despite its initial tightness. This breakdown occurs because the protein strands are stressed beyond their capacity to align and strengthen.
Salvaging Over-Kneaded Pizza Dough: Possible Solutions
If you suspect you've over-kneaded your dough, don't despair entirely, though it's harder to fix than under-kneading. The best approach is often to give the dough a significant rest. Place the dough in a lightly oiled bowl, cover it, and let it rest at room temperature for at least 20-30 minutes, or even longer (up to an hour).
This rest period allows the stressed gluten strands to relax, making the dough more pliable and easier to handle. While it might not achieve the perfect texture, resting can often improve its workability and prevent it from being completely unusable. Avoid trying to knead it further.
Under-kneading is a common issue, particularly for beginners or when trying new recipes with different flour types or hydration levels.
Identifying Under-Kneaded Dough: Shaggy and Weak
Under-kneaded dough will look shaggy and feel rough or lumpy. It won't hold its shape well and will likely feel sticky and difficult to handle, tearing easily when you try to stretch it. When you perform the windowpane test, it will break apart quickly without forming a thin membrane. This indicates that the gluten network is weak and underdeveloped, meaning it won't be able to trap fermentation gases effectively or provide a chewy structure. A pizza made with under-kneaded dough will likely have a dense, flat, and potentially tough crust.
Correcting Under-Kneaded Pizza Dough: Continuing the Process
The good news is that under-kneaded dough is usually easy to fix – you just need to keep kneading! If you're kneading by hand, continue the push, fold, turn motion for another 2-5 minutes, checking the dough's texture and performing the windowpane test periodically. If using a stand mixer, resume kneading on low speed for another 1-3 minutes before checking again. Keep kneading and checking until the dough is smooth, elastic, and passes the windowpane test. It's much better to err on the side of slightly under-kneading initially and add more time as needed than to risk over-kneading.
Troubleshooting Common Pizza Dough Kneading Issues
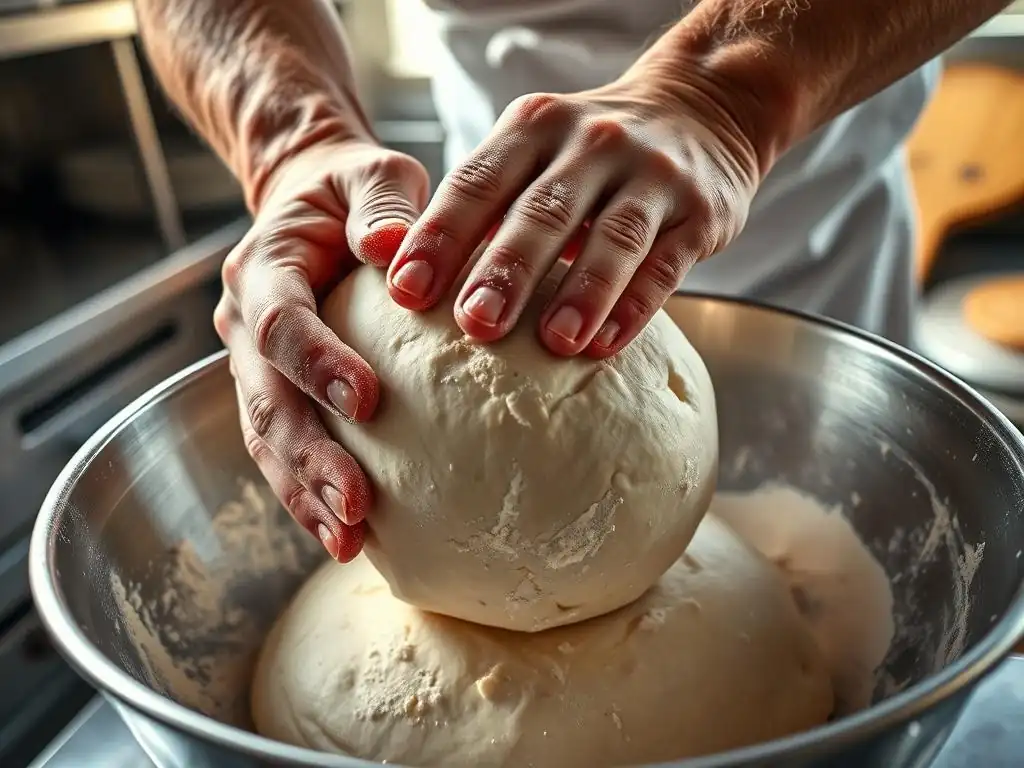
Sometimes, despite following instructions, your dough might not behave as expected. Here are solutions for common problems:
Dough is Too Sticky: Adding More Flour Gradually
If your dough is excessively sticky after several minutes of kneading and doesn't seem to be firming up, it likely has too much hydration. Add flour one tablespoon at a time, incorporating it fully before adding more. Knead for a minute or two after each addition until the dough reaches the desired slightly tacky consistency and is no longer sticking excessively to everything. Be patient and add flour sparingly to avoid making the dough dry.
Dough is Too Dry: Adding Water Sparingly
If your dough feels stiff, crumbly, or doesn't come together into a cohesive ball, it might be too dry. Add water one teaspoon at a time. Knead for a minute or two after each addition, allowing the dough to absorb the moisture, before deciding if more is needed. A little water can make a big difference in dough hydration and consistency.
Dough Isn't Elastic Enough: Adjusting Kneading Technique
If your dough feels smooth but tears easily and lacks elasticity (fails the windowpane test), it simply needs more kneading time. Continue kneading using the appropriate technique for your method (hand or mixer), checking every few minutes until it passes the windowpane test. Ensure you are using proper technique – pushing, folding, and turning effectively when kneading by hand, or using the correct speed on your mixer. Sometimes, a short rest (10-15 minutes) can also help relax the gluten and make it easier to knead further.
Beyond Kneading: Other Factors for Great Pizza Dough
While mastering how long knead pizza dough is crucial, it's just one piece of the puzzle. Several other factors contribute to truly excellent pizza dough.
The Importance of Proofing (Rising) Time
After kneading, dough needs time to ferment and rise. This proofing period allows yeast to produce gases that expand the dough and develop flavor. Room temperature proofing typically takes 1-2 hours, while cold proofing in the refrigerator can take 24-72 hours (or even longer), developing deeper flavors and a more complex texture. Proper proofing is essential for a light, airy crust.
Choosing the Right Flour for Pizza Dough
The type of flour you use significantly impacts the outcome. As discussed, bread flour's higher protein content is excellent for developing the strong gluten network needed for a chewy pizza crust. All-purpose flour can also work, but the result may be slightly less chewy. Some bakers prefer specialized Italian "00" flour, which is finely ground and often has a protein content suitable for pizza, producing a tender yet structured crust depending on the type.
Using Quality Ingredients for the Best Flavor
Simple ingredients mean each one matters. Using good quality flour, fresh yeast, and a fine salt (like sea salt) will enhance the flavor of your dough. Some recipes also include a touch of olive oil, which adds flavor and tenderness. The quality of your water can even play a small role, though tap water is usually fine unless it has a very strong odor or taste.
Conclusion: Mastering the Art of Pizza Dough Kneading
Finding the perfect kneading time for pizza dough isn't about watching the clock alone; it's about understanding the process and learning to read your dough. By focusing on developing that crucial gluten network, recognizing the signs of perfectly kneaded dough through feel, appearance, and the windowpane test, you'll consistently produce dough that's a joy to work with and bakes into a fantastic pizza crust.
Remember that factors like flour type, hydration, and method influence how long knead pizza dough, so practice and observation are your best guides. With a little attention and care during the kneading stage, you're well on your way to homemade pizza perfection.
Frequently Asked Questions
How long should I knead pizza dough by hand?
Kneading pizza dough by hand typically takes about 8-10 minutes. This allows the gluten to develop properly, resulting in a smooth and elastic dough.
What happens if I don't knead my pizza dough long enough?
Under-kneaded dough will be sticky and difficult to work with. It will also lack the necessary gluten development, leading to a tough and dense pizza crust.
Can I over-knead pizza dough?
Yes, you can over-knead pizza dough, particularly with a machine. Over-kneading can lead to a tough and rubbery crust. Look for a smooth, elastic texture as a sign it's ready.
Is it possible to use a stand mixer to knead pizza dough, and if so, how long should I knead it for?
Yes, a stand mixer is a great tool! Knead for about 5-7 minutes on low speed with the dough hook. Watch for a smooth, slightly tacky ball of dough.
What are the visual cues that tell me my pizza dough is properly kneaded?
Properly kneaded dough will be smooth and elastic. It should pass the windowpane test, meaning you can stretch a small piece thin enough to see light through it without tearing.
Final Reflection: The Art and Science of Kneading Time
The perfect pizza dough isn't just about the ingredients; it's about the dedication of time and the understanding of process. Achieving that ideal chewiness and airy texture requires a precise understanding of kneading, a seemingly simple act that holds the key to unlocking a truly exceptional pizza. This isn't just about following a recipe; it's about developing a feel for the dough, a connection to the craft.
The journey of kneading, as explored in this article, is a microcosm of the larger human experience of patience and precision. We often rush through processes, seeking instant gratification, but the true rewards often lie in the deliberate attention to detail. As the great Italian chef, Antonio Carluccio, once said: Cooking is at its best a form of love. When you cook for someone, you are giving them something of yourself.
This sentiment applies equally to kneading pizza dough; the time invested reflects a commitment to quality, a love for the process, and ultimately, a love for the people you'll share your pizza with.
Now, consider your own approach to tasks. Do you rush through them, or do you savor the process? I encourage you to apply the lessons learned here – the importance of patience, the value of observation, and the satisfaction of a job well done – to other areas of your life. The next time you face a challenge, remember the kneading of pizza dough: the seemingly simple act that, with the right amount of time and attention, can yield extraordinary results. Embrace the process, and discover the joy in the journey.
Unleash Your Inner Pizzaiolo: Craft the Perfect Dough!
Thanks for taking the time to explore the art of pizza dough with us! You've now got the knowledge to create a truly exceptional base for your next culinary masterpiece. Ready to put your new skills to the test?
- Knead your way to pizza perfection: Try making a batch of dough today using the techniques you just learned. Experiment with different flours and hydration levels to find your ideal recipe!
- Share your dough journey: Snap a picture of your dough and share it on social media using #BakeWithEasePizza – let's see those delicious creations!
- Dive deeper into pizza-making: Explore our other articles on BakeWithEase.com for more tips and recipes, from sauce secrets to topping combinations.
What unique ingredient will you add to elevate your next pizza dough creation?