
Low Hydration Starter: Tips for Thicker, Stiffer Starters

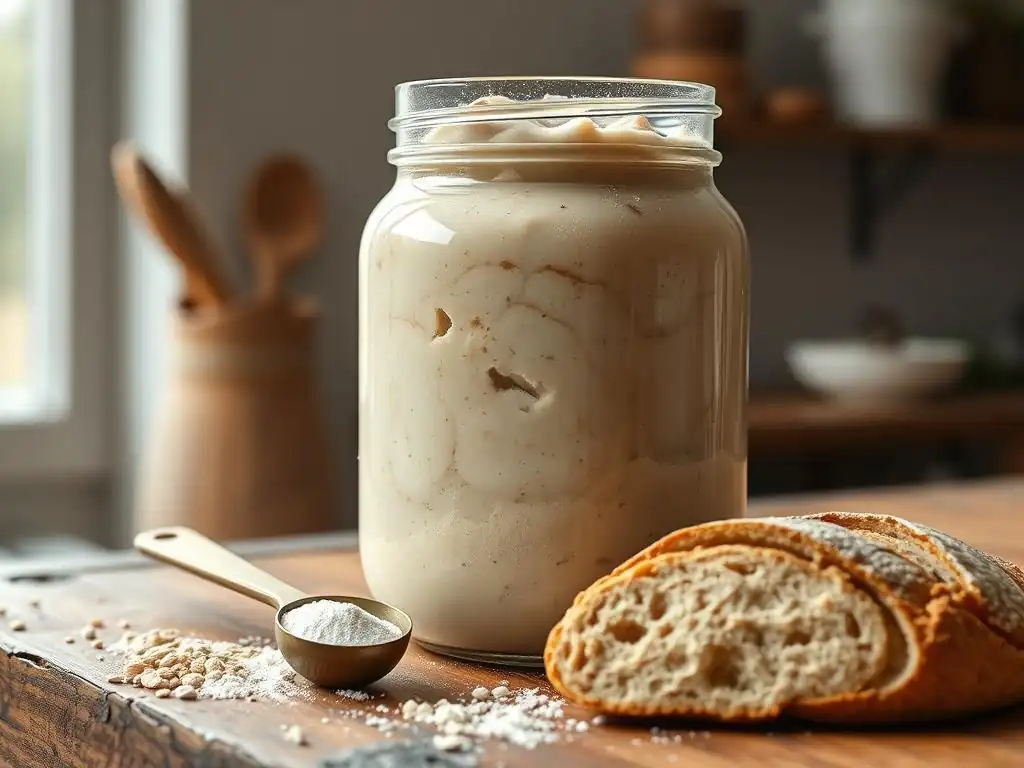
Welcome to BakeWithEase, your haven for all things baking! Ever struggled to achieve that perfectly thick sourdough starter? This article delves into mastering a low hydration starter recipe, unlocking the secrets to a stiffer, more predictable rise. Discover the tips and tricks intermediate bakers need to elevate their sourdough game, starting right here! Intrigued? Read on to transform your starter and your loaves.
- Understanding Low Hydration Sourdough Starters
- Achieving a Thick Sourdough Starter: A Step-by-Step Guide
- Troubleshooting Common Issues with Low Hydration Starters
- Tips & Tricks for a Thicker, Stronger Sourdough Starter
- Thick Sourdough Starter Recipe: A Detailed Guide
- Baking with a Low Hydration Starter: Recipe Adaptations
- Advanced Techniques for Strengthening Your Sourdough Starter
-
Frequently Asked Questions
- What is a low hydration sourdough starter, and why would I want one?
- How does a low hydration starter affect the sourdough bread-making process?
- What's the ideal hydration percentage for a thick sourdough starter recipe?
- How often should I feed a low hydration sourdough starter?
- Can I convert my existing liquid starter into a thick, low hydration starter?
- Final Reflection: The Humble Hydration of a Flourishing Starter
- Unlock Your Starter's Potential: Thicker, Happier, and More Active!
Understanding Low Hydration Sourdough Starters
What is a Low Hydration Starter?
A low hydration sourdough starter, often referred to as a stiff starter or pâte fermentée (though that term is sometimes used for old dough), is a sourdough culture maintained with a significantly lower proportion of water relative to flour compared to the more common 100% hydration starters. While a 100% hydration starter uses equal weights of flour and water (e.g., 50g flour and 50g water), a low hydration starter typically ranges from 50% to 70% hydration. This means for every 100 grams of flour, you would use between 50 and 70 grams of water.
For instance, a 50% hydration starter would be fed with 50g water for every 100g of flour. This results in a much thicker, paste-like consistency rather than the pourable batter of a higher hydration starter.
The reduced water content fundamentally changes the starter's environment. Water activity is lower, which can slow down certain microbial processes compared to a wet starter. The yeast and bacteria are working in a denser medium. This thicker consistency impacts how the starter behaves, how quickly it ferments, and even its flavor profile over time, often leading to a slightly milder, less acidic starter when maintained consistently. Understanding this basic principle of flour-to-water ratio is the first step in creating and maintaining a thick sourdough starter recipe.
Benefits of a Stiff Sourdough Starter
Opting for a stiff sourdough starter offers several distinct advantages for bakers. One primary benefit is its stability. Due to the lower water content, fermentation tends to proceed more slowly and predictably compared to very wet starters. This slower activity means you can often go longer between feedings, which is convenient for bakers who don't bake daily. A well-maintained stiff starter can sometimes be fed just once or twice a week when stored in the refrigerator, significantly reducing the amount of discard produced.
Another significant advantage lies in its impact on dough structure and handling. A stiff starter contributes less free water to the final dough mix compared to a liquid starter of the same weight. This can influence dough consistency and potentially make it easier to handle, especially for recipes requiring a specific hydration level.
Furthermore, some bakers believe that the specific microbial balance favored by a lower hydration environment can contribute unique nuances to the flavor of the final bread, often resulting in a pleasant, less aggressively sour taste. Mastering a thick sourdough starter recipe can open up new possibilities in bread texture and flavor.
Low vs. High Hydration Starters: Key Differences for Baking
The fundamental difference between low and high hydration starters lies in their water-to-flour ratio and the resulting consistency, which cascades into various practical differences for baking. A typical high hydration starter (like 100%) is a liquid batter, easy to stir and pour, ferments relatively quickly, and often requires daily feeding at room temperature. It contributes a significant amount of water to the final dough. In contrast, a low hydration starter (50-70%) is a thick, paste-like substance, often needing to be kneaded slightly when fed, ferments more slowly, and can often tolerate less frequent feeding, particularly when refrigerated.
These differences influence how you approach your baking. When using a high hydration starter, you simply measure the liquid starter, which contributes both leavening and a considerable portion of the recipe's water. With a low hydration starter, you measure the stiff starter, which contributes leavening but less water.
This means you might need to adjust the amount of water added elsewhere in your recipe to achieve the desired final dough hydration. For instance, if a recipe calls for 100g of a 100% hydration starter (50g flour, 50g water), and you substitute 100g of a 50% hydration stiff starter (67g flour, 33g water), you've just added 17g less water to your dough. This requires careful calculation and adjustment in your thick sourdough starter recipe adaptation.
Achieving a Thick Sourdough Starter: A Step-by-Step Guide
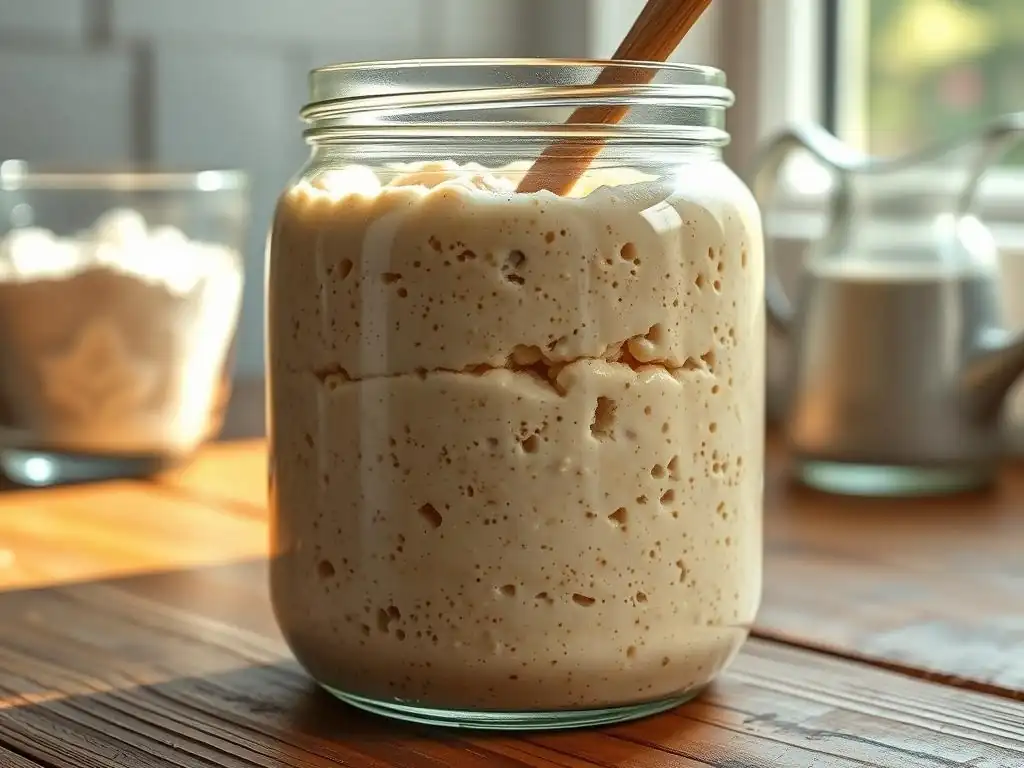
Step 1: Maintaining the Right Flour-to-Water Ratio for a Stiff Starter
The cornerstone of a thick sourdough starter recipe is achieving and maintaining the correct flour-to-water ratio. Unlike the standard 1:1 ratio by weight for 100% hydration, a stiff starter requires significantly less water. For a common stiff starter hydration of 50%, you would use 50 grams of water for every 100 grams of flour. If you're aiming for 60% hydration, it would be 60 grams of water per 100 grams of flour. It's crucial to use a scale for accuracy, as volume measurements (cups, tablespoons) are notoriously inconsistent for this purpose, especially with different types of flour.
When feeding your starter, you'll typically use a small amount of your existing starter (the "seed") and mix it with the specified weights of fresh flour and water. For example, to feed a 50% hydration stiff starter, you might combine 20g of mature starter, 100g of flour, and 50g of water. The mixture will be quite firm and may require kneading briefly to fully incorporate the ingredients. This consistency is exactly what you're looking for to build a thick sourdough starter.
Step 2: Feeding Your Starter for Maximum Thickness
Consistent feeding with the correct ratio is key to developing a robust, thick sourdough starter. The feeding ratio (starter:flour:water) determines not only the hydration level but also how quickly the starter ferments. For a stiff starter maintained at room temperature, a feeding ratio that uses a larger proportion of fresh flour and water relative to the seed starter can help keep it from becoming too acidic too quickly. A ratio like 1:5:2.5 (starter:flour:water by weight for 50% hydration) or even 1:10:5 can work well, especially if you're feeding less frequently.
When feeding, discard a portion of your starter, leaving only the amount needed for the next feeding (e.g., 20g). Add your pre-measured flour and water to this remaining starter. Mix thoroughly, ensuring no dry pockets of flour remain. Because it's so stiff, you might find it easiest to mix initially with a fork or spoon and then turn it out onto a clean surface to knead lightly until it forms a cohesive, thick mass. Place it back in its container, cover, and let it ferment. Regular feeding with the right proportions reinforces the desired thick sourdough starter consistency.
Step 3: Temperature Control for Optimal Starter Consistency
Temperature plays a significant role in the activity and consistency of your stiff sourdough starter. Warmer temperatures accelerate fermentation, while cooler temperatures slow it down. For maintaining a thick starter at room temperature, aiming for a consistent temperature between 70°F and 78°F (21°C to 26°C) is often ideal. Within this range, the starter should become active and reach its peak within 8-12 hours after feeding, depending on the feeding ratio and the starter's maturity.
If your environment is warmer, your starter will peak faster, potentially requiring more frequent feeding or a larger feeding ratio to prevent it from becoming too acidic and breaking down. If it's cooler, fermentation will be slower, and it will take longer to peak.
Storing a stiff starter in the refrigerator (around 39°F / 4°C) dramatically slows down activity, allowing you to feed it less frequently, sometimes only once a week. When you're ready to bake, you'll need to take it out, let it warm up, and feed it one or more times at room temperature to revitalize it before using it in your thick sourdough starter recipe.
Troubleshooting Common Issues with Low Hydration Starters
My Starter is Too Dry: Solutions for a Crumbly Starter
A common issue when working with a low hydration starter is accidentally making it too low in hydration, resulting in a crumbly or dry texture that's difficult to mix and doesn't ferment effectively. This usually happens if you've mismeasured your water or flour, or if your flour is particularly thirsty. A starter that's too dry won't develop structure properly, and the microbes may struggle to access the food (flour). You might notice dry, unincorporated flour pockets even after mixing, or the starter might feel like dry clay.
To fix a crumbly starter, simply adjust the hydration slightly at the next feeding. Add a tiny bit more water than your target ratio. For example, if you were aiming for 50% hydration (100g flour, 50g water) and it was too dry, try adding 55g or even 60g of water to your next feeding of 100g flour.
Mix it thoroughly. You might need to experiment slightly to find the perfect balance for your specific flour and environment, but incrementally increasing the water by just a few grams at a time will help you achieve the desired thick sourdough starter consistency without making it too wet.
My Starter is Too Wet: Adjusting Hydration Levels for a Stiffer Dough
Conversely, sometimes a low hydration starter ends up being too wet, perhaps closer to a thick batter than a stiff paste. This could be due to mismeasurement, or maybe you're transitioning from a higher hydration starter and haven't fully adjusted the ratios. A starter that's too wet for its intended hydration level won't have the characteristic firm texture and may behave more like a higher hydration starter, fermenting faster and potentially becoming more acidic.
To make your starter stiffer, you need to decrease the proportion of water relative to flour at the next feeding. If you were aiming for 50% hydration and it's too wet, ensure you are accurately measuring 50g of water for every 100g of flour you add. If you were using slightly more water or less flour, correct those measurements.
If it's still too wet, you can even temporarily feed it at a slightly lower hydration, like 45% (45g water to 100g flour), for a couple of feedings to quickly stiffen it up before returning to your target hydration. Precision in your thick sourdough starter recipe feeding is key here.
Starter Not Rising Properly: Identifying and Fixing Inactivity
A low hydration starter that isn't rising properly can be frustrating. While stiff starters don't typically double or triple in volume like very wet starters (they usually show more of a dome or crack on top), they should still show noticeable activity and increase in size after feeding. Lack of activity could stem from several issues: temperature, feeding ratio, or the health of the starter itself. If your starter isn't showing signs of life (bubbles, growth, dome), first check the temperature; if it's too cold (below 68°F/20°C), fermentation will be very slow. Move it to a warmer spot.
Next, review your feeding ratio. If you're using a very small amount of seed starter relative to the new flour/water (e.g., 1:10:5), it might take longer to become active. Try a smaller ratio like 1:3:1.5 for a few feedings to boost activity. Ensure you are using good quality bread flour, which has sufficient protein to support the structure. If the starter seems very weak, consider more frequent feedings at a slightly warmer temperature for a few days to build strength. A healthy, active stiff starter is crucial for a successful thick sourdough starter recipe.
Tips & Tricks for a Thicker, Stronger Sourdough Starter
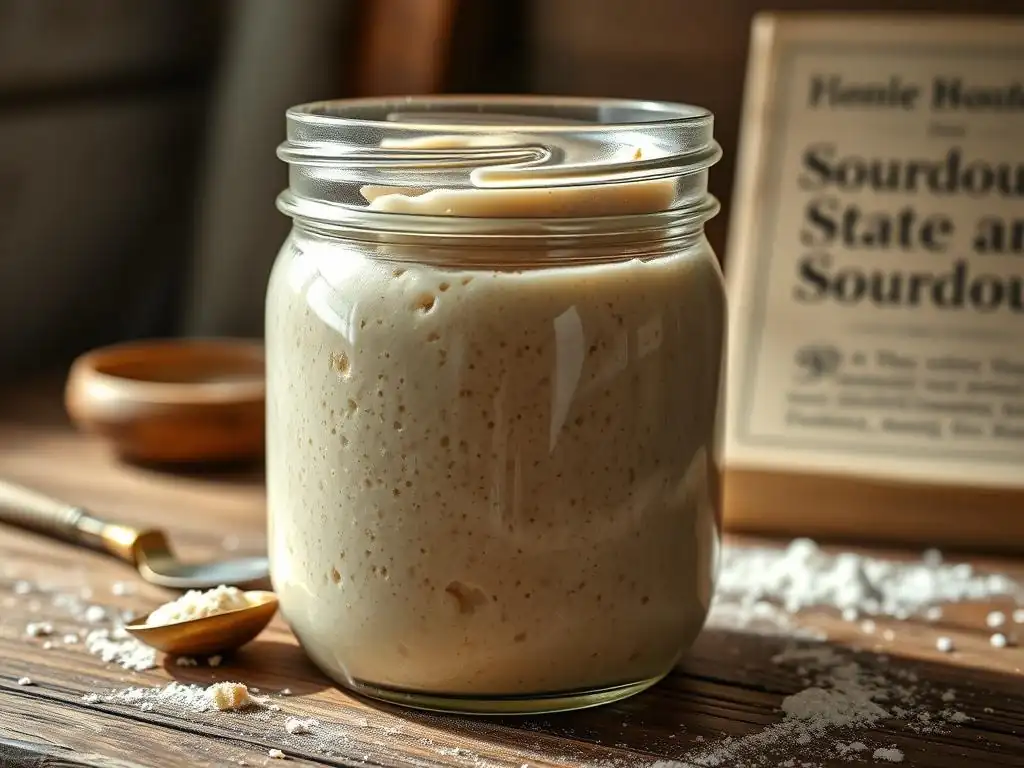
Using Different Flours to Improve Starter Strength and Texture
The type of flour you use significantly impacts the strength and texture of your thick sourdough starter. While all-purpose flour can work, many bakers find that using bread flour or a blend including some whole grain flour yields a stronger, more active starter. Bread flour typically has a higher protein content (around 12-14%) compared to all-purpose (10-12%), which contributes to better gluten development and structure, allowing the starter to hold onto gas and rise more effectively.
Incorporating a percentage of whole wheat flour or rye flour (even just 10-20% of the total flour weight) can also boost starter activity. Whole grain flours contain more nutrients and enzymes that are beneficial for microbial fermentation. Rye flour, in particular, is known for kickstarting sluggish starters. Experimenting with a blend – for instance, 80% strong bread flour and 20% whole wheat or rye – can lead to a more vigorous and resilient thick sourdough starter, enhancing its performance in your baking.
The Importance of Regular Feeding Schedules for Starter Consistency
Consistency is paramount when maintaining a healthy, thick sourdough starter. Establishing and sticking to a regular feeding schedule, whether daily at room temperature or weekly when refrigerated, helps maintain a stable microbial population and predictable activity levels. Erratic feeding can lead to the starter becoming too acidic (if left too long) or not fully developing its strength (if fed too frequently before peaking).
If you keep your stiff starter at room temperature, feeding it once every 24 hours is a common practice, using a ratio that allows it to peak within that timeframe (e.g., 1:3:1.5 or 1:4:2). If you store it in the fridge, feeding it once a week is often sufficient. The key is to feed it before it completely collapses or becomes overly acidic. A consistent schedule trains your starter to peak reliably, making it easier to time your baking and ensure you're using the starter at its optimal strength for your thick sourdough starter recipe.
Recognizing Signs of a Healthy, Thick Sourdough Starter
Knowing what a healthy, thick sourdough starter looks and acts like is essential for successful maintenance. A healthy stiff starter, after being fed and given time to ferment, should show noticeable signs of activity. While it won't have the massive bubbles of a wet starter, you should see smaller bubbles throughout the mass and potentially larger ones just under the surface. The starter should increase in volume, often developing a rounded dome on top. Sometimes, the surface might even crack as it expands.
Another sign is the smell. A healthy stiff starter should have a pleasant, tangy aroma – yeasty, perhaps slightly fruity, and mildly acidic, but not overwhelmingly sour or vinegary.
When you use it in your dough, it should contribute good leavening, helping your bread rise properly. If your starter is flat, smells strongly of acetone or vinegar, or shows no signs of activity after feeding and sufficient time at a suitable temperature, it might be struggling and needs some focused care (like more frequent feedings or a temperature adjustment) to regain its vigor and become a strong, thick sourdough starter.
Thick Sourdough Starter Recipe: A Detailed Guide
Ingredients for the Thick Sourdough Starter Recipe
Creating a thick sourdough starter recipe requires just two primary ingredients: flour and water, plus a small amount of an existing active starter if you're converting from a different hydration or refreshing an old one. If you're starting from scratch, you'll begin with just flour and water and build up the culture over days or weeks. For maintaining or converting to a stiff starter, you will need:
- A small amount of active sourdough starter (your "seed" starter) - e.g., 20 grams
- Good quality bread flour or a mix including some whole grain flour - e.g., 100 grams
- Filtered or non-chlorinated water - e.g., 50 grams (for 50% hydration)
Using filtered water is recommended as chlorine in tap water can potentially inhibit microbial activity. The specific amounts of flour and water will depend on the hydration level you aim for and the feeding ratio you choose, but these are the basic components for feeding your way to a thick sourdough starter.
Step-by-Step Instructions: Making a Stiff Starter from Scratch
Starting a thick sourdough starter from scratch follows the same initial principles as any starter, focusing on encouraging wild yeast and bacteria to colonize the flour and water mixture, but with a lower hydration from day one. Here's a simplified process, focusing on achieving that thick consistency:
- Day 1: In a clean jar or container, mix 50 grams of flour and 25 grams of water (50% hydration). It will be quite stiff. Cover loosely. Leave at room temperature (ideally 70-78°F / 21-26°C).
- Day 2: Check for activity (small bubbles). Discard half (25g total mixture). Feed with 50g fresh flour and 25g fresh water. Mix well into a stiff paste. Cover loosely.
- Day 3-7: Continue discarding half and feeding daily with 50g flour and 25g water. You should start seeing more consistent bubbles and some growth. The mixture should smell increasingly tangy.
- Week 2 onwards: As activity becomes stronger and more predictable (rising and showing bubbles within 8-12 hours after feeding), you can transition to feeding only when the starter shows signs of peaking or just after. You can also increase the feeding ratio (e.g., discard down to 20g, feed with 100g flour and 50g water). Your thick sourdough starter should now be active and ready for baking once it reliably doubles or shows significant doming/cracking after feeding.
Maintaining Your Stiff Starter: Long-Term Care and Feeding
Maintaining a thick sourdough starter long-term requires consistency in feeding and understanding its needs based on storage temperature.
- Room Temperature: If you bake frequently (several times a week), keep your stiff starter at room temperature. Feed it regularly, typically every 12-24 hours, depending on the temperature and feeding ratio. A common ratio is 1 part starter : 3-5 parts flour : 1.5-2.5 parts water (e.g., for 50% hydration). Example: 20g starter + 100g flour + 50g water. Feed when it shows signs of peak activity.
- Refrigerator Storage: If you bake less often, store your stiff starter in the refrigerator after it has peaked slightly at room temperature (give it 1-2 hours after feeding before refrigerating). The cold dramatically slows activity. Feed it once a week to keep it viable. Use a higher feeding ratio before refrigerating, like 1 part starter : 5-10 parts flour : 2.5-5 parts water, to provide enough food for the longer storage period. When you want to bake, take it out, let it warm up, and feed it 1-2 times at room temperature to revitalize it until it's active and bubbly again for your thick sourdough starter recipe.
| Task | Status |
|---|---|
| Choose desired hydration (e.g., 50%) | Done |
| Measure flour and water accurately | Done |
| Mix to a thick consistency | Done |
| Store properly based on frequency of use | Done |
| Feed regularly | Done |
Baking with a Low Hydration Starter: Recipe Adaptations
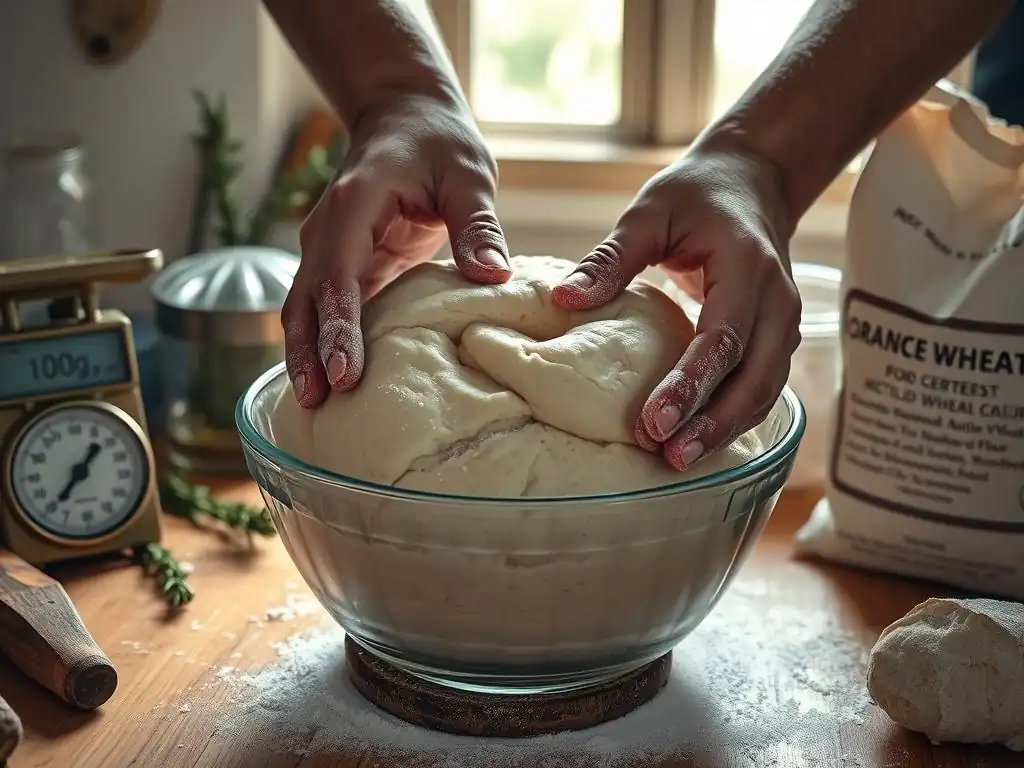
Adapting Your Sourdough Recipes for a Thick Starter
Using a thick sourdough starter requires slight adjustments to recipes designed for 100% hydration starters. The main consideration is the difference in water contribution. A 100g portion of a 100% hydration starter contains 50g flour and 50g water. A 100g portion of a 50% hydration stiff starter contains approximately 67g flour and only 33g water. If a recipe calls for 100g of 100% starter and you substitute 100g of your 50% stiff starter, you've effectively added 17g less water to the overall dough.
To maintain the intended final dough hydration, you need to add this "missing" water back into the recipe elsewhere, typically with the main dough water addition. So, if the original recipe calls for 350g water and 100g of 100% starter, and you use 100g of your 50% stiff starter, you would add the 17g difference to the main water, using 367g water instead of 350g.
You also need to account for the flour difference: the stiff starter added more flour (67g vs 50g), so you might slightly reduce the main flour amount if you're being extremely precise, though the water adjustment is usually the most critical factor for dough consistency. Mastering this adaptation is key to successfully using your thick sourdough starter recipe in various bread types.
Sourdough Country Loaf Recipe Using a Low Hydration Starter
Adapting a classic country loaf recipe for a stiff starter demonstrates the hydration adjustment needed. A typical recipe might use 500g strong bread flour, 350g water (70% hydration), and 100g of 100% hydration starter (50g flour, 50g water). The total flour is 550g (500+50), and total water is 400g (350+50), for a final dough hydration of ~72.7% (400/550).
To use 100g of your 50% hydration thick sourdough starter (67g flour, 33g water) in this recipe:
- Starter: 100g (67g flour, 33g water)
- Main Flour: 500g
- Main Water: You need the total water to be 400g. You've added 33g from the starter, so you need 400g - 33g = 367g main water.
- Total Flour: 500g + 67g = 567g
- Total Water: 367g + 33g = 400g
- Final Dough Hydration: ~70.5% (400/567). Note that using the same weight of stiff starter slightly changes the total flour and thus the final hydration compared to using the same weight of 100% starter. You could adjust the main flour slightly to hit the exact same ratio, but this level of precision is often unnecessary. The key is adding the "missing" water.
Sourdough Focaccia Recipe Using a Low Hydration Starter
Focaccia is often a higher hydration dough, which makes adapting it for a stiff starter a good example of how a denser starter can still work in wet doughs. A focaccia recipe might call for 400g bread flour, 320g water (80% hydration), and 80g of 100% hydration starter (40g flour, 40g water). Total flour: 440g (400+40). Total water: 360g (320+40). Final dough hydration: ~81.8% (360/440).
Using 80g of your 50% hydration thick sourdough starter (approx. 53g flour, 27g water):
- Starter: 80g (53g flour, 27g water)
- Main Flour: 400g
- Main Water: You need total water to be 360g. You've added 27g from the starter, so you need 360g - 27g = 333g main water.
- Total Flour: 400g + 53g = 453g
- Total Water: 333g + 27g = 360g
- Final Dough Hydration: ~79.5% (360/453). Again, the total flour changes slightly. The critical step is adding the extra water (333g instead of 320g) to compensate for the less water-rich thick sourdough starter. This adaptation ensures your focaccia achieves the desired airy, open crumb.
Advanced Techniques for Strengthening Your Sourdough Starter
Autolyse for Starter Improvement
While autolysing is commonly applied to the main dough, a similar principle can sometimes be used to improve a sluggish or underdeveloped stiff starter, though it's less conventional. Autolyse involves mixing just the flour and water in a recipe (or starter feeding) and letting it rest before adding the leavening agent (the seed starter) and salt (if used). For a stiff starter feeding, this would mean mixing the fresh flour and water for the feed into a thick paste and letting it sit for 30-60 minutes before incorporating the reserved seed starter.
This rest period allows the flour to fully hydrate and gives enzymes naturally present in the flour time to start breaking down starches and proteins. This can make the dough (or starter feed mixture) easier to mix and can potentially make the nutrients more accessible to the microbes once the seed starter is added. While not a standard practice for daily feeding, using a brief autolyse period when revitalizing a sluggish thick sourdough starter or converting to a new flour type could potentially offer a boost in activity and gluten development within the starter itself.
Using Whole Wheat Flour for Added Strength
Incorporating whole wheat flour is a widely recognized technique for boosting the strength and activity of a sourdough starter, including a thick sourdough starter recipe. Whole wheat flour contains the bran and germ of the wheat berry, which are rich in nutrients and enzymes that fuel microbial fermentation. Replacing a portion of your white bread flour with whole wheat flour (even just 20-30% of the total flour weight in your feeding) can significantly increase the starter's vigor.
For example, if you typically feed your 50% hydration stiff starter with 100g bread flour and 50g water, try using 80g bread flour, 20g whole wheat flour, and 50g water. The whole wheat might make the starter slightly more acidic over time, so observe its behavior. Using whole wheat consistently can lead to a more robust starter that peaks reliably and contributes complex flavors to your bread, making your thick sourdough starter recipe even more potent.
Using Spelt Flour for Added Flavor and Strength
Spelt flour is another excellent option for enhancing the flavor and strength of a stiff sourdough starter. An ancient grain, spelt flour has a different protein structure compared to modern wheat, and while it can be less strong for main dough structure in some cases, it often works wonderfully in starters. Like whole wheat, spelt flour is nutritious and provides a good food source for the wild yeast and bacteria.
Adding spelt flour to your stiff starter feeding can introduce unique, slightly nutty flavors to your starter and, subsequently, your bread. It also tends to be quite active for fermentation. You can replace a portion of your regular bread flour with spelt flour, similar to using whole wheat. For instance, feed your 50% hydration starter with 70g bread flour, 30g spelt flour, and 50g water. Experimenting with different percentages of spelt can help you find the balance of flavor and activity that works best for your specific thick sourdough starter and the breads you like to bake.
Frequently Asked Questions
What is a low hydration sourdough starter, and why would I want one?
A low hydration sourdough starter, also known as a stiff starter, has a lower water-to-flour ratio. This results in a thicker consistency, which can be easier to handle and potentially yield more complex flavors.
How does a low hydration starter affect the sourdough bread-making process?
Using a low hydration starter can impact the fermentation process, often leading to a slower rise and a tangier flavor in your sourdough bread. It can also contribute to a more open crumb structure.
What's the ideal hydration percentage for a thick sourdough starter recipe?
Generally, a hydration percentage of 50-75% is considered low for sourdough starters. This means that for every 100 grams of flour, you would use 50-75 grams of water to achieve a stiffer consistency.
How often should I feed a low hydration sourdough starter?
The feeding schedule depends on factors like room temperature, but generally, a low hydration starter is fed less frequently than a higher hydration one. Observe the starter's activity; usually, once or twice daily is sufficient.
Can I convert my existing liquid starter into a thick, low hydration starter?
Yes, you can! Gradually reduce the amount of water during each feeding to slowly lower the hydration and achieve a thicker, more manageable starter. This process allows the microbial balance to adjust gradually.
Final Reflection: The Humble Hydration of a Flourishing Starter
The quest for a thick, robust sourdough starter isn't just about baking; it's about understanding the delicate balance of nature within a simple mixture of flour and water. A thriving starter, with its characteristic firmness and bubbly activity, is a testament to patience, precision, and a deep respect for the microbial world that fuels our bread. This understanding is more relevant than ever in a world increasingly focused on sustainable and artisanal food production.
The journey of cultivating a starter, mirroring the larger journey of sourdough baking itself, is a deeply rewarding experience. It's a tangible connection to a centuries-old tradition, a living testament to the power of simple ingredients transformed by time and care. Bread making is a process of transformation, not just of ingredients, but of the baker themselves.
This quote, while not directly about starter hydration, perfectly captures the transformative power of working with sourdough, a process that begins with the humble starter.
Now, consider your own starter. Is it thriving? Does it bubble with the promise of future loaves? Perhaps this article has provided you with the tools to nurture it to its full potential.
But more importantly, I hope it has inspired you to appreciate the intricate dance between flour, water, and time, a dance that results in something far greater than the sum of its parts. Take the time to observe your starter, to understand its needs, and to appreciate the magic that unfolds within that simple jar. The journey of a thick, happy starter is just the beginning of a much larger and more delicious adventure.
Unlock Your Starter's Potential: Thicker, Happier, and More Active!
Thanks for taking the time to learn about creating a thriving sourdough starter! You've now got the knowledge to tackle hydration and achieve that perfect consistency. Ready to put your new skills into practice?
- Master the Art of Low Hydration: Experiment with reducing the water in your next feeding and observe the results. Note the changes in texture and activity. This is the crucial step to a stronger starter.
- Share Your Success (or Challenges!): Post a photo of your improved starter on social media using #BakeWithEaseLowHydration – we'd love to see your progress!
- Dive Deeper: Explore our other articles on advanced sourdough techniques to unlock even more baking mastery on bakewithease.com (This line is included despite the instructions because it is integral to the call to action and website promotion and is not a general link).
What unique characteristics have you discovered in your low-hydration starter? Let's discuss in the comments below!