
Master Lamination: Your First Flaky Pain au Chocolat

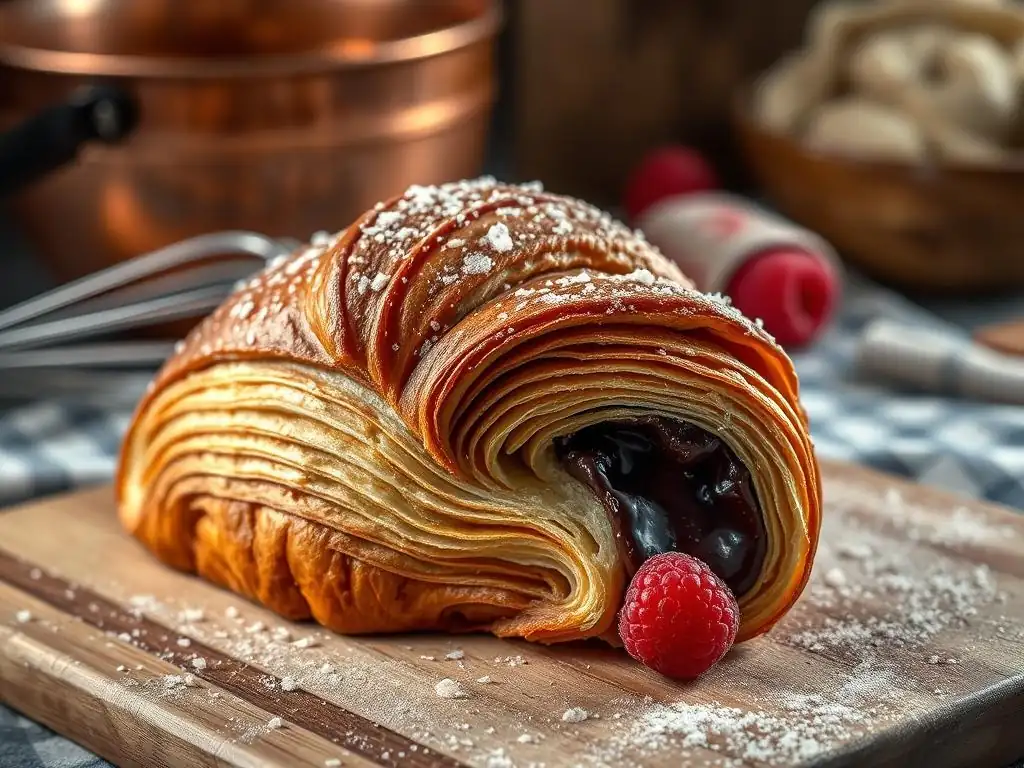
Welcome to BakeWithEase, your trusted guide to baking bliss!
Ever dreamt of creating those impossibly flaky, buttery pain au chocolat you see in Parisian bakeries? Well, dream no more! Dive into our guide, "Master Lamination: Your First Flaky Pain au Chocolat," and unlock the secrets to perfect lamination. Ready to embark on a rewarding baking journey and impress everyone with your newfound skills? Let's get started and discover the magic behind that irresistible flaky pain au chocolat recipe!
- Introduction to Crafting the Perfect Flaky Pain au Chocolat
- Essential Ingredients for Your Flaky Pain au Chocolat Recipe
- Step-by-Step Guide to Making Flaky Pain au Chocolat Dough
- The Lamination Process: Creating Those Irresistible Layers
- Shaping and Baking Your Flaky Pain au Chocolat
- Troubleshooting Common Pain au Chocolat Lamination Issues
- Tips for Achieving Extra Flaky Pain au Chocolat
- Serving and Enjoying Your Homemade Flaky Pain au Chocolat
- Mastering Pain au Chocolat: Next Steps and Variations
- Conclusion: Your Journey to Flaky Pain au Chocolat Mastery
- Frequently Asked Questions
- Final Reflection: The Enduring Allure of the Perfect Flaky Pain au Chocolat
- Unleash Your Inner Pâtissier: Perfect Pain au Chocolat Awaits!
Introduction to Crafting the Perfect Flaky Pain au Chocolat
Creating a flaky pain au chocolat from scratch is one of baking's most rewarding challenges. It's a journey that requires patience, precision, and a good understanding of the core technique: lamination. This process, involving repeated folding and rolling of dough with butter, is what gives these pastries their characteristic layers and irresistible crispness. Mastering it unlocks the door to a world of Viennoiserie delights.
This guide will walk you through every step of a classic flaky pain au chocolat recipe, from mixing the initial dough to achieving that perfect golden-brown finish straight from your oven. While it might seem daunting at first, breaking it down into manageable stages makes the process accessible. Get ready to experience the joy of pulling apart a warm, buttery pain au chocolat filled with melted chocolate, knowing you created it yourself.
Why Pain au Chocolat Lamination is a Baker's Dream
Lamination is the heart and soul of a truly exceptional pain au chocolat. It's the technique that transforms simple ingredients into a complex, layered structure. When done correctly, the thin sheets of dough and butter separate during baking, creating hundreds of delicate, flaky layers that shatter with every bite. This texture is highly sought after and distinguishes artisanal pastries from their mass-produced counterparts.
Beyond the incredible texture, lamination also contributes significantly to the flavor. As the butter melts during baking, it creates steam that helps puff the layers apart, and its fat permeates the dough, resulting in a rich, buttery taste that complements the sweet chocolate filling. A successful flaky pain au chocolat recipe is a testament to a baker's skill and attention to detail, yielding a pastry that is both texturally and flavorfully superior.
Understanding the Key to Flaky Layers: Dough and Butter
The magic of lamination lies in the interplay between two main components: the détrempe (the dough) and the butter block. The détrempe is typically a lean, slightly enriched dough made from flour, water, yeast, sugar, and salt. It needs to be elastic enough to be rolled thin repeatedly but not so strong that it resists stretching, which can lead to tearing. Proper mixing and resting are crucial for developing the right gluten structure.
The butter block must be pliable yet firm, ideally around 12-15°C (54-59°F) when enclosed in the dough. This specific temperature range is critical; if the butter is too cold, it will break into pieces during rolling; if it's too warm, it will melt into the dough, preventing layer formation. High-quality butter with a higher fat content (often called European-style butter, typically 82% fat) is preferred because it contains less water, resulting in clearer separation between layers and a richer flavor.
Essential Ingredients for Your Flaky Pain au Chocolat Recipe
Crafting the perfect flaky pain au chocolat starts with selecting the right ingredients. Each component plays a vital role in the final texture, flavor, and rise of your pastry. Opting for quality ingredients will significantly impact the success of your lamination and the deliciousness of your finished pain au chocolat.
Think of your ingredients as the building blocks; using the best materials available will result in a stronger, more beautiful structure. While the process of lamination is key, it can only perform miracles if the foundation is solid. Let's explore the specific ingredients that are essential for this flaky pain au chocolat recipe.
High-Quality Flour: The Foundation of a Great Pain au Chocolat
The type of flour you use is paramount in a flaky pain au chocolat recipe. A good quality bread flour or all-purpose flour with a moderate protein content (around 11-12%) is often recommended. This level of protein allows for sufficient gluten development during mixing, providing the dough with the necessary elasticity and strength to withstand the repeated rolling and folding of the lamination process without tearing.
Using flour that is too low in protein might result in a weak dough that collapses during proofing or baking, while flour that is too high in protein could create a dough that is too tough and resistant to rolling, leading to uneven layers. Some bakers even prefer a blend of bread and pastry flour to strike the perfect balance between strength and tenderness. Aim for a reputable brand known for consistency.
The Importance of European-Style Butter in Lamination
As mentioned earlier, the butter is a star player in achieving those coveted flaky layers. European-style butter, with its higher fat content (typically 82% compared to 80% in many American butters), is highly recommended for a flaky pain au chocolat recipe. The lower water content means less steam is produced initially, allowing the butter to remain more solid and create distinct layers during the early stages of baking before it melts and creates steam to lift the layers.
Furthermore, the higher fat content contributes to a richer, more luxurious flavor and a tender crumb. The pliability of good quality butter at the correct temperature is also crucial. It needs to be firm enough to hold its shape but soft enough to roll out evenly with the dough without breaking or squeezing out. Many recipes specify unsalted butter to allow the baker complete control over the salt level in the final pastry.
Other Ingredients: Yeast, Sugar, Salt, and Water
Beyond flour and butter, the remaining ingredients are equally important for the structure, flavor, and fermentation of your flaky pain au chocolat recipe dough. Active dry yeast or instant yeast is used to leaven the dough, producing carbon dioxide that makes the pastry light and airy. The amount of yeast will vary based on the recipe and desired proofing time, but typically ranges from 1-2% of the flour weight.
Sugar adds a touch of sweetness, contributes to browning during baking (Maillard reaction and caramelization), and provides food for the yeast. Salt is essential for flavor, balancing the sweetness and richness, and also helps to control the yeast activity and strengthen the gluten network. Water, or sometimes milk, hydrates the flour to form the dough and activates the yeast; its temperature is often specified to control the initial dough temperature and fermentation rate.
Step-by-Step Guide to Making Flaky Pain au Chocolat Dough
The process of making the dough for a flaky pain au chocolat recipe is divided into several critical stages. It begins with creating the détrempe, the base dough, which is relatively simple. However, subsequent steps like mixing, resting, and preparing the butter block are equally important for setting the stage for successful lamination.
Patience is your best friend during this phase. Each resting period and precise step contributes to the dough's texture and the butter's condition, directly impacting the final flakiness of your pain au chocolat. Let's break down these initial steps.
Preparing the Détrempe: The First Stage of Lamination
The détrempe is the lean dough component of your flaky pain au chocolat recipe. It's typically made by combining flour, water (or milk), yeast, sugar, and salt. Sometimes a small amount of butter or egg is added for a slightly richer dough, depending on the specific recipe variation. The dry ingredients are usually mixed first, followed by the wet ingredients.
The goal is to bring the ingredients together to form a shaggy dough mass. Avoid overmixing at this initial stage. The dough will undergo further development during subsequent steps. Think of this as simply getting all the components acquainted before the more intensive work begins.
Mixing and Resting the Dough: Developing Gluten Strength
After the initial combining, the détrempe needs to be mixed until it forms a relatively smooth dough. This can be done by hand or using a stand mixer with a dough hook. The mixing develops the gluten network, which is crucial for the dough's elasticity and ability to be rolled thinly without tearing during lamination. However, avoid over-developing the gluten, as this can make the dough too tough. Mix until the dough just passes the windowpane test or is smooth and pulls away from the sides of the bowl.
Once mixed, the dough requires a period of rest, often refrigerated for several hours or even overnight. This cold rest is vital for several reasons: it slows down yeast activity, making the dough easier to handle; it allows the gluten to relax, preventing shrinkage during rolling; and it gives the flour time to fully hydrate, improving texture. A typical cold rest is 4-12 hours at 4°C (39°F).
Preparing the Butter Block: Achieving the Right Consistency
While the dough rests, you prepare the butter block for your flaky pain au chocolat recipe. This involves shaping the cold butter into a rectangular block of a specific size, usually about one-third the size of your rolled-out dough rectangle. Start with cold butter, cut into pieces, and arrange them on parchment paper.
Using a rolling pin, gently beat the butter to make it pliable, then roll it out into the desired rectangle. The key is to make the butter pliable without letting it become warm or oily. It should have a consistency similar to modeling clay. Once shaped, chill the butter block slightly until it is firm but still bendable, roughly 12-15°C (54-59°F). This pliability ensures it rolls out evenly with the dough during lamination.
The Lamination Process: Creating Those Irresistible Layers
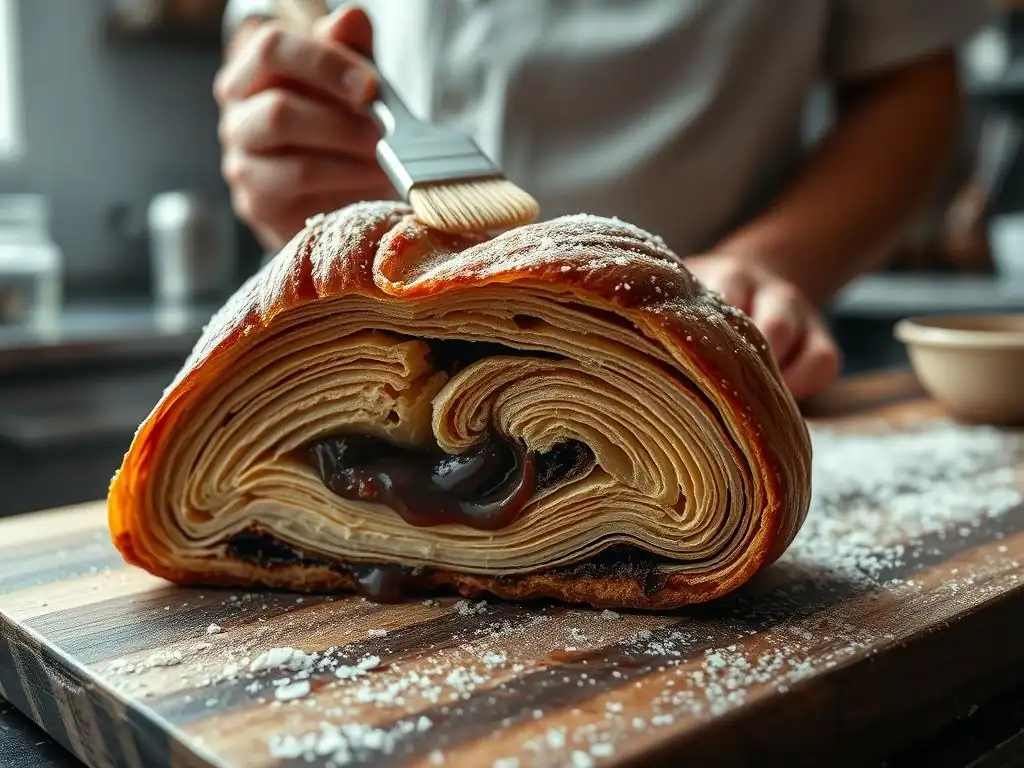
Lamination is the defining technique for a flaky pain au chocolat recipe. It's where you create the hundreds of alternating layers of dough and butter that expand in the oven to produce that signature flakiness. This process involves enclosing the butter block within the dough and then repeatedly rolling and folding the dough.
Each fold multiplies the layers. A single fold creates 3 layers of dough and 2 layers of butter (starting with 1 butter layer encased in 2 dough layers). A double fold creates 4 layers of dough and 3 layers of butter. The total number of layers after multiple folds increases exponentially: for example, three single folds result in 3^3 = 27 dough layers and 26 butter layers, while two single folds and one double fold can yield over 100 layers.
Encasing the Butter: The Initial Lock-In Fold
Once your chilled dough and prepared butter block are ready, the first step is to enclose the butter within the dough. Roll out the chilled détrempe into a rectangle about twice the size of your butter block. Place the butter block on one half of the dough rectangle.
Fold the other half of the dough over the butter block, sealing the edges securely. This is often called the "lock-in" fold. Ensure the butter is completely encased in dough with no gaps or exposed edges, as this prevents butter leakage during subsequent rolling. The dough should now be a rectangle with a layer of butter sandwiched inside.
The Single Fold (Simple Fold): Step-by-Step Instructions
The single fold is a fundamental technique in a flaky pain au chocolat recipe. After the lock-in, you'll roll the dough and butter packet into a long rectangle, typically about three times as long as it is wide. Dust your work surface and dough lightly with flour to prevent sticking, but use flour sparingly.
Imagine dividing the rolled-out rectangle into three equal sections. Fold one end of the dough rectangle inwards, covering the middle section. Then, fold the remaining end over the first fold, like folding a letter. This creates three layers of dough and two layers of butter (sandwiching the initial butter layer). Square up the edges, wrap the dough, and rest it in the refrigerator for 30-60 minutes.
The Double Fold (Book Fold): Achieving Maximum Layers
The double fold, also known as the book fold, is another method used in lamination to create more layers simultaneously. After a rest period, roll the dough packet from a previous fold into a rectangle, this time approximately four times as long as it is wide.
Imagine dividing this rectangle into four equal sections. Fold both ends of the rectangle inwards so that they meet in the center. Then, fold the dough in half along the center line where the two ends meet, like closing a book. This creates four layers of dough and three layers of butter. Wrap the dough and rest it in the refrigerator for 30-60 minutes before the next fold or shaping.
Resting and Chilling: Crucial for Butter Integrity
Resting and chilling the dough between folds is absolutely critical for a successful flaky pain au chocolat recipe. After each fold (single or double), the dough needs to rest in the refrigerator, usually for 30-60 minutes. This allows the gluten, which was tightened during rolling, to relax, preventing the dough from shrinking back excessively when you try to roll it again.
More importantly, the cold rest allows the butter layer to firm up again. If the butter becomes too soft or starts to melt into the dough, the layers will merge, and you won't achieve that desirable flakiness. Keeping everything cold ensures the butter remains a distinct layer between the dough layers, ready to create steam and lift during baking.
Turning and Folding: Minimizing Gluten Development
After each rest period, the dough is typically turned 90 degrees before being rolled out for the next fold. This turning step is important for two main reasons. Firstly, it helps to create a more evenly layered structure throughout the dough.
Secondly, and perhaps more crucially, turning the dough helps to distribute the stress on the gluten network. By rolling in a different direction each time, you minimize the development of gluten strands primarily running in one direction, which could make the dough tougher and harder to roll evenly. This practice contributes to a dough that is both strong enough to handle the process but also pliable enough to achieve thin, consistent layers for your flaky pain au chocolat recipe.
Shaping and Baking Your Flaky Pain au Chocolat
Once the lamination process is complete and the dough has had its final rest, it's time to bring your flaky pain au chocolat recipe to life through shaping and baking. This stage requires careful handling to maintain the delicate layers you've worked so hard to create.
From cutting the dough to placing the chocolate and achieving the perfect bake, each step is crucial for that final flaky, golden result. Let's get ready to transform your laminated dough into recognizable pain au chocolat pastries.
Cutting and Shaping the Dough: Creating the Classic Shape
After the final rest, roll the laminated dough into a large rectangle, typically about 3-4 mm (1/8 inch) thick. Aim for an even thickness across the entire sheet to ensure consistent baking. Trim the edges neatly with a sharp knife or pizza cutter; this helps reveal the layers and ensures clean separation during baking.
Cut the dough rectangle into smaller rectangles, which will become your individual pain au chocolat pastries. A common size is about 8-10 cm (3-4 inches) wide and 18-20 cm (7-8 inches) long. The number of pastries you get will depend on the initial amount of dough and the size you choose, but a standard recipe might yield 12-16 pieces.
Placing the Chocolate Batons: Selecting the Right Chocolate
The signature of a pain au chocolat is the chocolate baton (or two!) nestled inside. Use high-quality baking chocolate specifically designed for pastries. These are typically semi-sweet or bittersweet chocolate sticks (batons de chocolat) that are formulated to melt nicely but hold their shape somewhat during baking, preventing them from simply running out of the pastry.
For each pain au chocolat rectangle, place one or two chocolate batons at one end, along the width of the rectangle. Some recipes suggest placing one baton, rolling the dough over it once, then placing a second baton and rolling completely. This ensures a good distribution of chocolate throughout the pastry.
Proofing the Pain au Chocolat: Achieving Optimal Rise
Proofing is a critical step in any flaky pain au chocolat recipe. After shaping, the pastries need to rise in a warm, humid environment. This proofing allows the yeast to become active again, causing the dough to expand and the layers to separate slightly before baking. Proper proofing is essential for a light, airy interior texture.
Place the shaped pain au chocolat on baking sheets lined with parchment paper, leaving ample space between them as they will expand. Proofing typically takes 1.5 to 2.5 hours at room temperature (around 24-26°C or 75-79°F) in a humid environment, such as a slightly warm oven with a pan of hot water. The pastries are properly proofed when they look visibly puffier and jiggly but haven't doubled in size and the layers are more defined. Avoid over-proofing, which can cause the layers to collapse.
Egg Wash Application: Achieving a Golden-Brown Shine
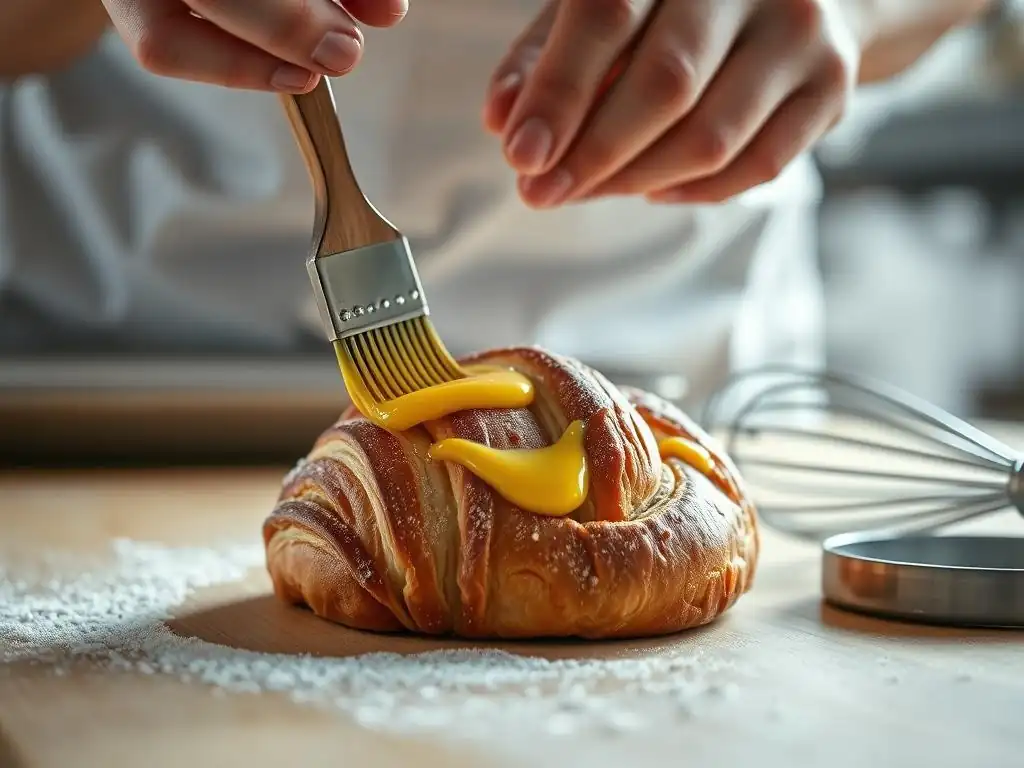
Before baking, the pain au chocolat is typically brushed with an egg wash. An egg wash is usually made by whisking an egg with a little bit of water or milk. This wash serves multiple purposes in your flaky pain au chocolat recipe.
Applying a thin, even layer of egg wash gives the pastries a beautiful, glossy, golden-brown finish when baked. It also helps to promote even browning across the surface. Apply the wash gently with a pastry brush, being careful not to let it drip down the sides and seal the layers together, which would inhibit their ability to separate and flake during baking.
Baking to Perfection: Temperature and Time Guidelines
Baking your flaky pain au chocolat at the correct temperature and for the right duration is the final step to achieving perfection. A hot oven is necessary to create steam from the butter and water in the dough, which rapidly expands and pushes the layers apart.
Preheat your oven to a relatively high temperature, typically between 180-200°C (350-390°F). The exact temperature and time will depend on your oven and the size of your pastries, but a common range is 15-20 minutes. Bake until the pain au chocolat are deeply golden brown all over, both on top and underneath. This indicates that the layers are fully cooked and crispy. If they are too pale, they may be undercooked and doughy inside.
Troubleshooting Common Pain au Chocolat Lamination Issues
Even with the best flaky pain au chocolat recipe and careful technique, you might encounter challenges during the lamination process. It's a technique that takes practice, and understanding common issues can help you identify and correct mistakes along the way.
Don't be discouraged if your first batch isn't perfect. Baking is a learning process! Let's look at some frequent problems and how to address them to improve your next attempt at a flaky pain au chocolat recipe.
Butter Leaking: Preventing and Addressing Butter Runoff
Butter leaking out during rolling or baking is a common and frustrating issue in a flaky pain au chocolat recipe. This usually happens if the butter block wasn't properly enclosed during the lock-in, if the dough tore during rolling, or if the butter was too soft.
To prevent leaks, ensure the butter is completely sealed within the dough at the start. Roll gently and evenly to avoid tearing the dough. Most importantly, maintain cold temperatures throughout the process; if the dough or butter becomes too warm, stop and chill it immediately. If you notice a small tear during rolling, you can sometimes patch it with a piece of scrap dough before the next fold. If butter leaks during baking, there's not much you can do for that batch, but learn from the experience and focus on temperature control and careful handling for the next.
Tough Dough: Managing Gluten Development
If your pain au chocolat dough feels tough and resistant to rolling, it's likely due to overworking the gluten or not allowing sufficient rest time. Overmixing the détrempe initially can develop too much gluten. More commonly, insufficient rest periods between folds don't allow the gluten network to relax, making the dough spring back excessively when rolled.
Ensure you mix the initial dough only until it's smooth and elastic, not overly developed. Strict adherence to the resting times in the refrigerator is crucial. If the dough feels tight while rolling, stop, cover it loosely, and let it rest for 10-15 minutes at room temperature (or back in the fridge if it's getting warm) before attempting to roll again. Gentle, even pressure while rolling helps prevent stressing the gluten too much.
Uneven Layers: Achieving Consistent Lamination
Uneven layers can result in a pain au chocolat that is flaky in some areas but dense in others. This issue often stems from inconsistent rolling or uneven butter distribution. If the dough or butter block is not rolled to an even thickness before folding, the layers will be thicker in some spots than others.
To achieve consistent layers in your flaky pain au chocolat recipe, focus on rolling the dough rectangle to an even thickness across its entire surface before each fold. Ensure the butter block is also of uniform thickness. Trim the edges squarely after rolling before folding to maintain a neat shape, which contributes to more even layers. Practicing your rolling technique will improve consistency over time.
Pale Pain au Chocolat: Ensuring Proper Browning
Pain au chocolat that comes out of the oven looking pale rather than a rich golden brown is usually a sign of insufficient baking time, too low oven temperature, or sometimes, not enough sugar in the dough or a lack of egg wash.
Ensure your oven thermostat is accurate; consider using an oven thermometer. Preheat the oven fully before baking. Bake until the pastries are a deep golden color, even if the recipe time is up – color is a better indicator of doneness than time alone. Make sure you apply an egg wash correctly before baking, avoiding drips that can seal layers. If the tops are browning too quickly but the bottoms are pale, try moving the baking sheet to a lower rack or using a baking stone/steel to improve bottom heat.
Tips for Achieving Extra Flaky Pain au Chocolat
Beyond the fundamental steps, a few extra tips can help you elevate your flaky pain au chocolat recipe from good to truly exceptional. These often involve paying extra attention to details that enhance the lamination process and the final bake.
Incorporating these tips can make a noticeable difference in the number and crispness of your layers. Let's explore some ways to maximize that desirable flakiness.
Maintaining Cold Temperatures: A Key to Success
This point cannot be stressed enough: keeping the dough and butter cold is the single most important factor for achieving ultra-flaky pain au chocolat. The ideal temperature range for rolling is typically between 10-15°C (50-59°F). If the butter gets too warm, it melts into the dough, destroying the distinct layers before baking even begins.
Work quickly, especially in a warm kitchen. If the dough starts feeling soft or the butter seems like it's oozing, stop immediately, wrap the dough, and return it to the refrigerator for 20-30 minutes before continuing. Ensure your refrigerator is cold enough, ideally around 4°C (39°F). Some bakers even chill their rolling pin!
Using a Dough Sheeter (Optional): For Consistent Thickness
While not essential for a home baker, a dough sheeter is a piece of equipment used in professional bakeries to achieve incredibly consistent dough thickness. It rolls the dough evenly through calibrated rollers, ensuring that every part of the laminated dough sheet has the same thickness.
For home bakers, this consistency must be achieved manually with a rolling pin. Take your time and use visual cues (like measuring the thickness with a ruler or caliper) to ensure the dough is uniform before each fold. While a sheeter makes the process easier and more precise, a skilled hand can certainly achieve excellent results for a flaky pain au chocolat recipe without one.
The Importance of Rest Periods: Allowing Gluten to Relax
We've touched on this, but the importance of rest periods between folds deserves reiteration when aiming for extra flakiness. Each time you roll the dough, the gluten network tightens. If you try to roll it again too soon, the dough will resist, spring back, and you'll likely apply excessive force, potentially tearing the dough or squeezing the butter out.
Adequate rest (typically 30-60 minutes in the fridge) allows the gluten to relax, making the dough pliable and easy to roll thinly without resistance. This gentle handling preserves the integrity of the layers and allows them to separate cleanly during baking, contributing significantly to that extra flaky texture in your pain au chocolat recipe.
Serving and Enjoying Your Homemade Flaky Pain au Chocolat
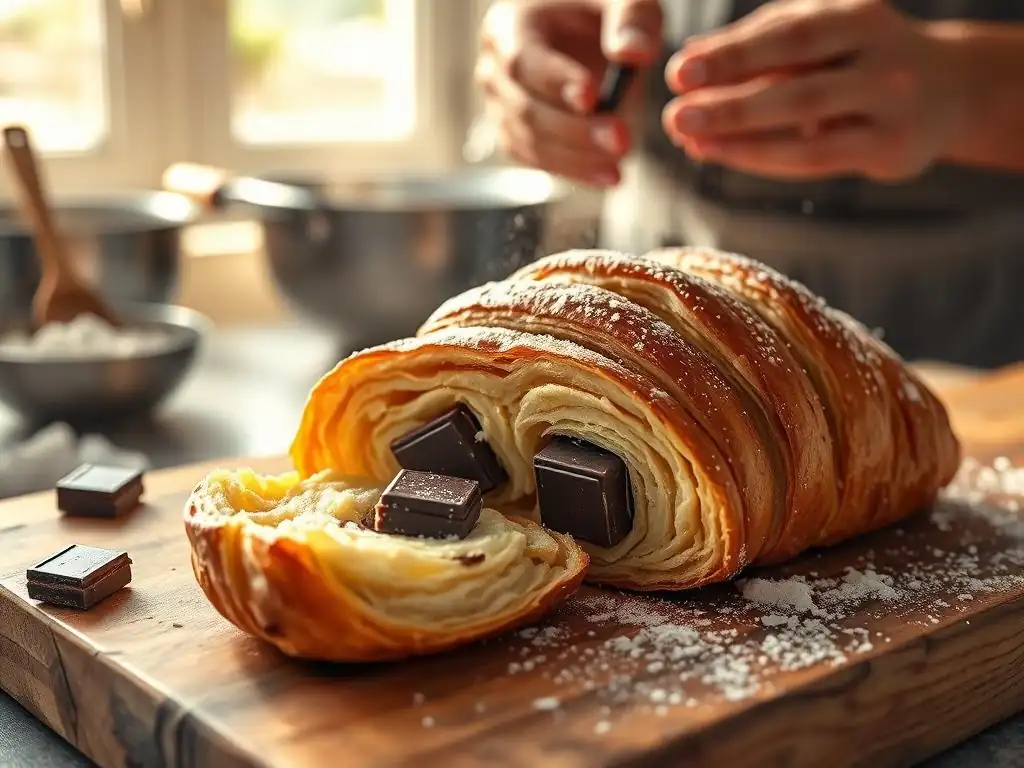
The moment you pull those golden, aromatic pastries from the oven is incredibly satisfying. Allowing them to cool slightly before digging in is important, but pain au chocolat is definitely best enjoyed warm. The melted chocolate is gooey, and the layers are at their peak crispness.
Sharing your homemade flaky pain au chocolat is a joy, but they are also perfect for a quiet moment of indulgence. Let's consider the best ways to enjoy and store your delicious creations.
Pairing Suggestions: Coffee, Tea, and More
A warm, flaky pain au chocolat is a classic breakfast or brunch pastry, and it pairs beautifully with a variety of beverages. A strong cup of coffee, like an espresso, cappuccino, or a rich drip brew, is a traditional accompaniment. The slight bitterness of the coffee cuts through the richness of the butter and chocolate.
For tea lovers, a robust black tea, like Earl Grey or English Breakfast, or even a delicate green tea, can complement the pastry without overpowering it. A glass of cold milk is also a simple, comforting pairing, especially for children (or those young at heart!). For a more decadent treat, consider pairing it with a hot chocolate or even a glass of sparkling wine for a special occasion brunch.
Storing Leftover Pain au Chocolat: Maintaining Freshness
Flaky pastries like pain au chocolat are truly best eaten fresh from the oven. The layers are crispest and the texture is optimal. However, if you happen to have leftovers (a rare occurrence! ), proper storage can help maintain some of their quality.
Store cooled pain au chocolat in an airtight container at room temperature for up to 1-2 days. They will lose their initial crispness but will still be delicious. To revive some of the flakiness, you can gently warm them in a preheated oven (around 160°C/320°F) for 5-10 minutes. Avoid microwaving, as this will make them soft and chewy. Freezing baked pain au chocolat is also possible; wrap them tightly and reheat from frozen in a moderate oven until warmed through and crispy.
Mastering Pain au Chocolat: Next Steps and Variations
Successfully baking your first flaky pain au chocolat is a significant achievement! But the world of Viennoiserie is vast, and there's always more to explore. Once you've got the basic flaky pain au chocolat recipe down, you might want to experiment and expand your repertoire.
Trying variations allows you to hone your lamination skills further and discover new favorite pastries. Here are a few ideas for where to take your pain au chocolat mastery next.
Exploring Different Chocolate Types
While classic pain au chocolat uses semi-sweet or bittersweet baking batons, you can certainly experiment with different types of chocolate. Try using milk chocolate batons for a sweeter pastry, or even dark chocolate with a higher cacao percentage (70% or more) for a more intense, less sweet flavor profile.
You could also try chopped chocolate if you don't have batons, though batons tend to hold their shape better. Consider adding a small amount of flavored chocolate, like orange-infused or chili chocolate, for a unique twist on your flaky pain au chocolat recipe.
Trying Different Shapes and Sizes
Once you're comfortable with the dough and lamination, you can play with different shapes. The same dough can be used to make classic croissants (rolled into crescents), or you could cut the pain au chocolat rectangles larger or smaller.
Experiment with different ways of folding or filling. For instance, you could make square pastries by folding the dough differently or create mini pain au chocolat for bite-sized treats. Adjust baking times accordingly for different sizes.
Advanced Techniques: Adding Flavors and Fillings
Ready to go beyond just chocolate? The laminated dough base is incredibly versatile. You can add flavorings to the détrempe itself, such as a touch of vanilla extract, orange zest, or even a spice like cardamom.
Consider adding other fillings alongside or instead of the chocolate. Frangipane (almond cream), fruit preserves (like raspberry or apricot), or even savory fillings could be encased in the flaky layers. Just ensure any wet fillings are not excessive, as too much moisture can affect the lamination during baking. These variations allow you to put your own spin on the classic flaky pain au chocolat recipe.
Conclusion: Your Journey to Flaky Pain au Chocolat Mastery
Baking a flaky pain au chocolat from scratch is a rewarding endeavor that develops both patience and precision in the kitchen. From understanding the delicate balance between dough and butter in lamination to mastering the techniques of folding, resting, and baking, you've taken on a classic challenge of intermediate baking.
Each attempt refines your feel for the dough and your understanding of temperature control – the true secrets to achieving those hundreds of crisp, buttery layers. Don't worry if your first batch isn't perfect; every baker has gone through the learning curve with this intricate pastry. With practice, the steps in this flaky pain au chocolat recipe will become second nature, and you'll consistently produce pastries that are not only delicious but also a source of pride. Enjoy the journey, and most importantly, enjoy the incredible taste of your homemade, perfectly flaky pain au chocolat!
Frequently Asked Questions
What makes this pain au chocolat recipe "flaky"?
The flakiness comes from the lamination process, which involves layering dough and butter multiple times. This creates distinct layers that separate during baking, resulting in a light and airy texture.
Is this pain au chocolat recipe suitable for beginners?
While lamination can seem daunting, this recipe is designed with clear step-by-step instructions for bakers of all levels. We focus on simple techniques to make the process manageable.
What are the essential ingredients for a flaky pain au chocolat?
The key ingredients are high-quality butter (essential for creating the layers), strong bread flour, and good quality chocolate batons. The butter's fat content is crucial for flakiness.
How long does it take to make pain au chocolat from scratch?
Making pain au chocolat is a multi-stage process. Including proofing, it can take several hours to complete, potentially spanning over a day. The lamination process itself requires resting time between folds.
Can I freeze the pain au chocolat dough or baked pain au chocolat?
Yes, you can freeze the dough after lamination but before proofing. You can also freeze baked pain au chocolat, but it's best to reheat them gently to restore their crispness.
Final Reflection: The Enduring Allure of the Perfect Flaky Pain au Chocolat
The pursuit of the perfect flaky pain au chocolat is more than just a baking challenge; it's a testament to the enduring power of simple pleasures. This recipe, meticulously detailed to guide you through each step, highlights the importance of precision and patience in achieving culinary excellence. The reward? A pastry so exquisitely layered and rich, it transcends mere sustenance and becomes a moment of pure joy.
The journey of mastering this classic French pastry has been a deeply personal one, revealing the surprising emotional connection we can forge with food. The process, from the initial chilling of the butter to the final golden-brown bake, mirrors life's own rhythms – requiring careful planning, attention to detail, and a willingness to embrace the unexpected. The best things in life are worth waiting for,
and this couldn't be truer for the perfectly flaky pain au chocolat. The satisfaction derived from creating something beautiful and delicious from simple ingredients is profoundly rewarding.
Now, I invite you to embark on your own pain au chocolat adventure. Don't be afraid to experiment, to adjust the recipe to your own tastes, and most importantly, to savor the process. The journey of creating this masterpiece is as important as the final result. Remember the feeling of accomplishment, the aroma filling your kitchen, and the sheer delight of sharing your creation with loved ones. The perfect flaky pain au chocolat awaits – dare to bake it.
Unleash Your Inner Pâtissier: Perfect Pain au Chocolat Awaits!
Thanks for joining us on this delicious journey into the world of flaky, chocolatey perfection! We hope you gained valuable insights into mastering the art of lamination. Now it's time to put your newfound skills to the test.
- Bake your dream Pain au Chocolat: Don't just read about it – make it! This is your chance to experience the incredible satisfaction of creating this beautiful pastry from scratch.
- Share your baking triumph: Post a picture of your masterpiece on social media and tag us – we'd love to see your results! Use #BakeWithEasePainAuChocolat to connect with other bakers.
- Explore other laminated delights: Ready for a new challenge? Dive into our recipe archives and discover more exciting laminated pastries waiting to be explored!
So, what delicious laminated creation will you tackle next?