
Shaping Various Viennoiseries: From Croissants to Scrolls

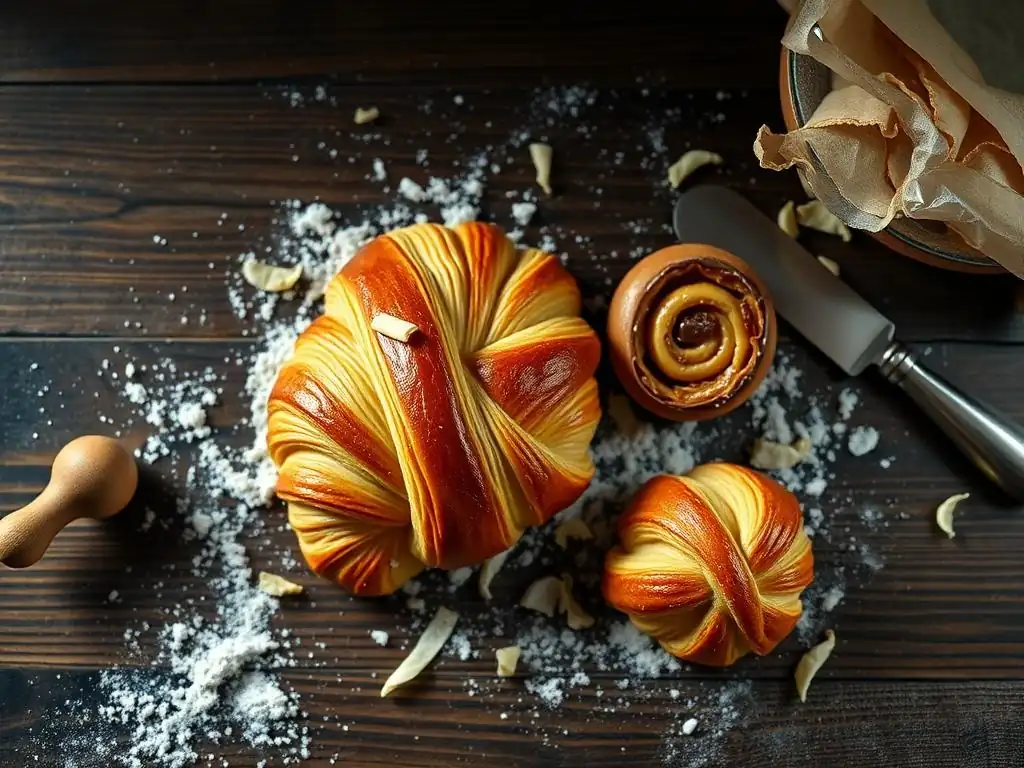
Welcome to BakeWithEase, your trusted guide to baking brilliance! Ever wondered how to achieve those perfectly formed, buttery layers in your croissants? Or perhaps you're ready to move beyond simple bakes and tackle more intricate viennoiseries? Unlocking the secrets to delicious and visually stunning pastries starts here. Dive into our guide and discover easy croissant shaping techniques that will transform your dough into masterpieces. Intrigued? Let's get baking!
- Shaping Various Viennoiseries: From Croissants to Scrolls - BakeWithEase
- Mastering Viennoiserie Shapes: An Introduction for Intermediate Bakers
- Easy Croissant Shaping Techniques: A Step-by-Step Guide
- Pain au Chocolat Folding Techniques: Creating Layers of Deliciousness
- Shaping Scrolls: From Cinnamon to Fruit-Filled Delights
- Creative Viennoiserie Shapes: Elevating Your Baking
- Tips for Perfect Viennoiserie Shaping Every Time
- Troubleshooting Common Shaping Issues
- Storing Shaped Viennoiseries: Maintaining Freshness
- Conclusion: Embrace the Art of Viennoiserie Shaping
-
Frequently Asked Questions
- How important is the temperature of the dough when using easy croissant shaping techniques?
- What are some common mistakes people make when learning easy croissant shaping techniques?
- Can I use different types of fillings with the easy croissant shaping techniques described on BakeWithEase.com?
- What tools are recommended for someone starting to learn easy croissant shaping techniques?
- How does BakeWithEase.com simplify the process of learning easy croissant shaping techniques?
- Final Reflection: Mastering the Art of Viennoiserie Shaping
- Unleash Your Inner Baker: Craft Exquisite Viennoiseries!
Shaping Various Viennoiseries: From Croissants to Scrolls - BakeWithEase
Mastering Viennoiserie Shapes: An Introduction for Intermediate Bakers
Welcome back to BakeWithEase! As you step into the world of intermediate baking, mastering the art of shaping Viennoiseries is a rewarding challenge. These delightful pastries, born from laminated doughs rich in butter, require precision and patience. From the iconic crescent shape of a croissant to the elegant swirl of a pain au chocolat or a simple scroll, the final form is just as crucial as the flaky layers within. Understanding how to handle and manipulate this delicate dough is key to achieving beautiful, airy results.
This guide will walk you through various shaping techniques, focusing on clarity and ease. While the dough itself involves multiple steps like lamination, the shaping process, once broken down, becomes much more manageable. We'll cover easy croissant shaping techniques, classic pain au chocolat folds, and simple methods for creating delicious scrolls, ensuring your baked goods look as good as they taste. Get ready to transform your laminated dough into bakery-worthy treats!
Easy Croissant Shaping Techniques: A Step-by-Step Guide
The croissant is arguably the most famous Viennoiserie, and while its lamination can be complex, the shaping doesn't have to be intimidating. Learning some easy croissant shaping techniques will help you achieve that classic crescent form or explore fun variations. The key lies in understanding the dough's properties and handling it gently but confidently.
This section breaks down the process, starting with preparing your dough, moving through the traditional crescent shape, and even touching upon some trendy alternatives. By focusing on clear steps and common pitfalls, you can master these easy croissant shapes and enjoy the satisfaction of baking these buttery pastries at home.
Preparing Your Dough for Shaping: The Key to Perfect Croissants
Before you even think about cutting, ensuring your laminated dough is properly prepared is paramount for successful and easy croissant shaping. The dough must be well-chilled, ideally between 4°C and 6°C. This temperature is critical because it keeps the butter layers solid and distinct from the dough layers. If the dough is too warm, the butter will melt into the dough, destroying the lamination and resulting in a heavy, bready texture instead of light flakiness. A typical chilling time after the final fold is at least 2-4 hours, though overnight is often best for optimal firmness.
Furthermore, the dough needs to be relaxed. After rolling and folding during lamination, the gluten network is quite tense. Before the final roll-out for shaping, allow the dough to rest in the refrigerator for 20-30 minutes after removing it from its longer chill. This resting period allows the gluten to relax, making the dough much easier to roll thinly and evenly without it springing back excessively. Rolling chilled, relaxed dough is fundamental to achieving consistent shapes and ensuring your easy croissant shaping techniques yield uniform results.
Classic Croissant Roll: Achieving the Crescent Shape
The classic crescent shape is the hallmark of a traditional croissant, and achieving it involves a few simple steps after rolling out your dough. Start with a sheet of dough rolled to a thickness of about 3-4 millimeters (roughly 1/8 inch). Cut the dough into long triangles. A standard base width for a medium croissant triangle might be around 8-10 cm (about 3-4 inches), with a length of 25-30 cm (about 10-12 inches). Using a sharp knife or pastry wheel ensures clean cuts, which helps the layers separate properly during baking.
To shape the crescent, gently stretch the base of the triangle slightly, maybe 1-2 cm wider. Then, starting from the wide base, roll the triangle up towards the point. The key is to roll relatively loosely at first, allowing the layers to expand, but ensuring the tip is tucked firmly underneath the final roll. For the classic crescent, slightly bend the ends inwards before placing it on the baking sheet. This simple technique transforms a flat triangle into the iconic curved form, making it a fundamental easy croissant shaping technique to master.
Advanced Croissant Variations: The Cruffin and the Cube Croissant
Once you're comfortable with basic easy croissant shaping techniques, you can explore exciting variations like the Cruffin and the Cube Croissant. The Cruffin, a hybrid of a croissant and a muffin, uses croissant dough rolled thin, often spread with a filling like cinnamon sugar or jam, then rolled into a log. This log is then cut into sections, which are placed cut-side up in muffin tins. A typical log might be about 30-40 cm long, yielding 6-8 Cruffins when cut into 5-6 cm sections. This shaping method results in a gorgeous swirled pattern on top and a unique texture.
The Cube Croissant, or "Croll," is a more modern invention. It involves rolling croissant dough into a rectangle, then cutting it into perfect squares, perhaps 8 cm x 8 cm (about 3x3 inches). Each square is then folded or rolled in a specific way to create a cube shape.
Often, these are baked in square molds to help them maintain their geometric form. After baking, they are frequently filled with creams or ganaches injected from the bottom. While the initial dough preparation is the same, these variations demonstrate how simple adjustments to the rolling and cutting can lead to entirely new and visually striking pastries, building upon fundamental easy croissant shaping skills.
Pain au Chocolat Folding Techniques: Creating Layers of Deliciousness
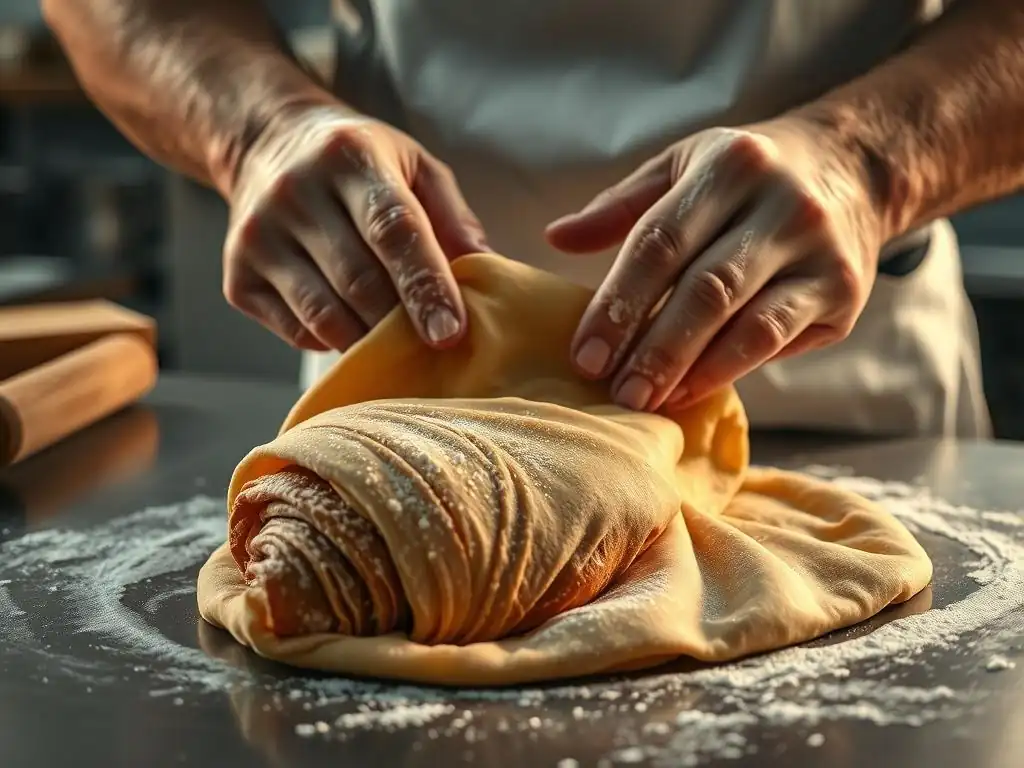
Pain au chocolat, or chocolate bread, is another beloved Viennoiserie where shaping is straightforward but crucial for enclosing the chocolate batons and ensuring flaky layers. The goal is to wrap the laminated dough around pieces of dark chocolate, creating a neat package that bakes into a rich, buttery treat with molten chocolate inside.
We'll look at two primary methods for folding pain au chocolat, both relatively easy to execute once your dough is properly laminated and rolled out. These techniques ensure the chocolate stays contained during baking and contribute to the pastry's structure and flakiness.
The Simple Two-Fold Technique for Pain au Chocolat
The simplest and most common method for shaping pain au chocolat involves just two folds. Start with your laminated dough rolled out into a large rectangle, typically about 3-4 mm thick. Cut the rectangle into smaller rectangles. A common size might be around 10 cm wide by 18-20 cm long (about 4 inches by 7-8 inches). Place one or two chocolate batons (often called "bâtons de chocolat") along one of the shorter ends, roughly 1-2 cm from the edge.
Fold the dough over the chocolate batons, just enough to cover them. Then, place another one or two chocolate batons near the fold line. Roll the dough over again, enclosing the second set of batons and completing the package. Ensure the seam is underneath the pastry before placing it on the baking sheet. This simple two-fold method is quick, efficient, and ensures a good distribution of chocolate within the pain au chocolat.
The Double Turn Method: Enhancing Flakiness in Pain au Chocolat
For a potentially flakier pain au chocolat, you can adapt a technique similar to the final turns in lamination, though applied after placing the chocolate. Roll your dough into a rectangle, perhaps 20 cm wide by 30 cm long (about 8 inches by 12 inches), and cut it into squares or rectangles of your desired size, say 10 cm x 10 cm (4 inches x 4 inches). Place a chocolate baton slightly off-center towards one edge.
Fold the dough over the baton, creating a single layer covering the chocolate. Now, place a second baton a short distance away from the first fold line. Fold the dough over again, creating a second layer of dough over the chocolate. This results in a thicker pastry with more layers directly encasing the chocolate. While slightly different from the standard method, this double turn can contribute to a more substantial and potentially flakier core around the chocolate, offering a variation on the classic pain au chocolat shape.
Shaping Scrolls: From Cinnamon to Fruit-Filled Delights
Scrolls, often known as cinnamon rolls or Schnecken, are another delightful type of Viennoiserie that relies on rolling filled dough into a log and then slicing it. They are typically softer and less flaky than croissants, often made with a brioche-like dough enriched with butter and eggs, rather than a traditional laminated dough, though laminated versions exist.
The shaping process for scrolls is quite forgiving and allows for a wide variety of fillings, making them a versatile addition to your baking repertoire. We'll cover the basic dough preparation specifics for scrolls and the simple steps to create the classic swirl shape with various fillings.
Basic Scroll Dough Preparation: Ensuring a Soft and Tender Result
Unlike the rigorous lamination required for croissants, scroll dough is usually an enriched, single-proof dough, often similar to brioche. This dough is typically made with flour, yeast, milk, sugar, eggs, and a significant amount of butter mixed directly into the dough (not layered). For a standard batch yielding 12-15 scrolls, you might use around 500g of flour, 75-100g of sugar, 2-3 eggs, 200-250ml of milk, and a generous 100-150g of softened butter. The key to a soft scroll is developing the gluten structure sufficiently while incorporating the butter.
After the initial mixing and kneading (which can take 8-10 minutes in a stand mixer), the dough should be smooth, elastic, and slightly sticky. It then undergoes a first proofing, usually until doubled in size, which can take 1-2 hours depending on the yeast activity and room temperature (ideally around 24-26°C or 75-79°F). Once proofed, the dough is punched down, briefly kneaded, and is ready for rolling and shaping. Proper development and proofing are essential for achieving the soft, tender crumb characteristic of great scrolls.
Cinnamon Scroll Shaping: The Classic Swirl
The classic cinnamon scroll shape is created by rolling the dough into a rectangle, spreading a filling over it, and then rolling it tightly into a log. After the dough has proofed and is ready, roll it out on a lightly floured surface into a large rectangle, typically about 40-50 cm wide and 30-40 cm tall (roughly 16-20 inches by 12-16 inches), aiming for a thickness of about 5-7 mm (1/4 inch). Prepare your filling – a common cinnamon filling involves mixing 100g of softened butter with 150g of brown sugar and 2-3 tablespoons of cinnamon.
Spread the filling evenly over the rolled-out dough, leaving a small border (about 1-2 cm) on one of the longer edges. Starting from the opposite long edge, roll the dough up tightly into a log. Ensure the roll is uniform to get even-sized scrolls. Use a sharp knife or dental floss to cut the log into individual scrolls, typically 2.5-4 cm (1-1.5 inches) thick. Placing them cut-side up in a baking dish allows them to proof and bake into soft, swirled pastries.
Fruit-Filled Scroll Variations: Apple and Cranberry
Beyond the classic cinnamon, scrolls are incredibly versatile and can be filled with various ingredients, such as fruit fillings. For an apple scroll, you could prepare a filling by sautéing finely diced apples (like Granny Smith or Honeycrisp) with a little butter, brown sugar, and cinnamon until slightly softened but still holding their shape. About 2-3 medium apples might yield enough filling for a standard batch of dough. Cool the filling before spreading it over the rolled dough, following the same log-rolling method as for cinnamon scrolls.
Another popular fruit variation uses dried cranberries or a cranberry jam. A simple cranberry filling could be made by simmering 200g of fresh or frozen cranberries with 100g of sugar and a splash of orange juice until thickened. Cool completely before spreading on the dough. Alternatively, simply spreading a thick, slightly tart jam (like raspberry or apricot) over the buttered dough before rolling also works beautifully. These fruit fillings add moisture and a different flavor profile to the tender scroll dough.
Creative Viennoiserie Shapes: Elevating Your Baking
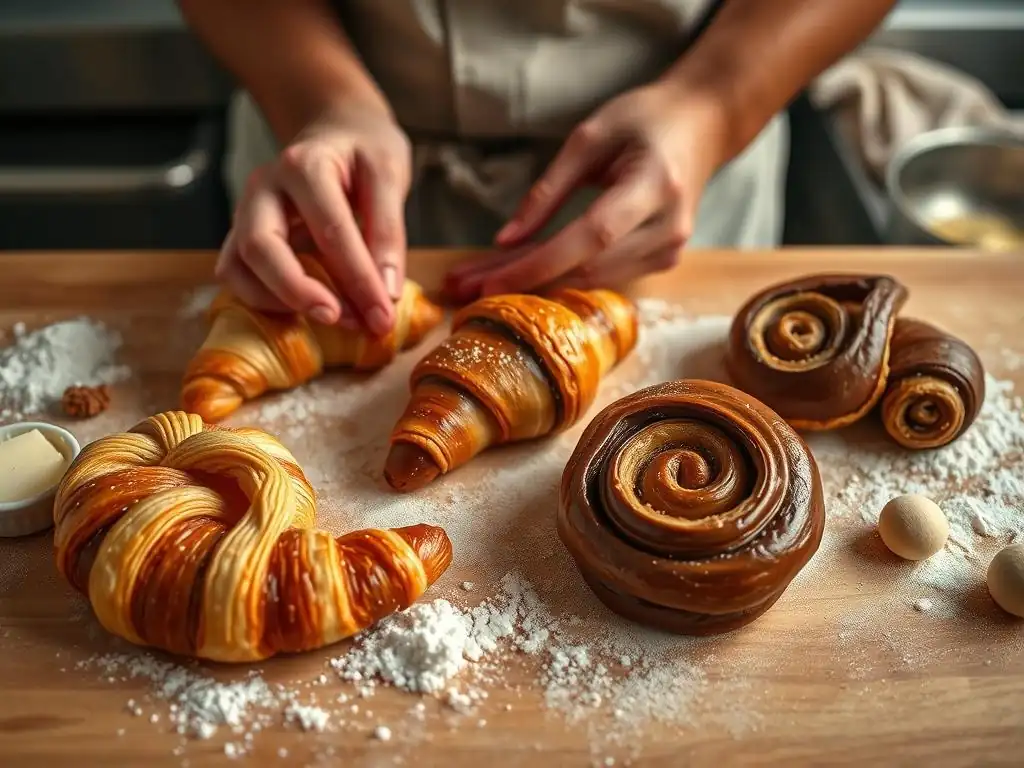
Once you've mastered the fundamentals of shaping croissants, pain au chocolat, and scrolls, you can explore more creative forms. These shapes can add visual flair and sometimes alter the texture slightly, offering new ways to present your delicious laminated or enriched doughs.
From intricate pinwheels to elegant braids, these techniques allow you to experiment and showcase your growing baking skills. They often involve simple manipulations of the standard dough sheet before filling or assembling.
Pinwheel Pastries: A Visually Appealing Option
Pinwheel pastries are a simple yet visually striking way to use laminated or enriched dough, often filled with sweet or savory ingredients. Start by rolling your dough into a square or rectangle, about 3-4 mm thick. Spread your desired filling over the entire surface, leaving a small border. Fillings could include pesto and cheese, or sweet options like jam, frangipane, or a mixture of nuts and sugar.
Cut the filled dough into strips, perhaps 2-3 cm wide. Take each strip and twist it gently, then coil the twisted strip into a spiral, tucking the end underneath. Alternatively, cut a large square of dough (e.g., 20cm x 20cm), make cuts from each corner towards the center (leaving the center intact), place a dollop of filling in the center, and fold alternating points into the center to create a pinwheel shape. Baking these reveals the layers and filling in an appealing spiral or fan pattern.
Braided Viennoiseries: Adding Texture and Sophistication
Braiding dough adds a sophisticated look and creates interesting textures, with exposed edges becoming crispy while the interior remains soft. This technique works well with slightly softer enriched doughs, like those used for scrolls or brioche, but can also be adapted for laminated dough for a truly special pastry. Roll your dough into a rectangle.
For a simple two-strand braid, cut the rectangle into two long strips. Spread a filling down the center of one strip, then place the other strip on top. Slit the combined strip lengthwise down the middle, leaving one end attached, and twist the two halves together before forming a ring or log.
For a more classic braid, roll the dough into a rectangle and spread a filling down the center third. Fold the outer thirds inwards, overlapping slightly. Then, cut diagonal strips from the folded edges towards the center filling, and alternately fold these strips over the filling, creating a woven or braided appearance. This method is excellent for showcasing generous amounts of filling, such as apple compote or pastry cream, resulting in a beautiful centerpiece pastry.
Tips for Perfect Viennoiserie Shaping Every Time
Achieving consistently beautiful and delicious Viennoiseries requires attention to detail during the shaping process. While the dough quality is fundamental, how you handle and shape it directly impacts the final rise, flakiness, and appearance.
Here are some essential tips to keep in mind that will help you master easy croissant shaping techniques and other Viennoiserie forms, preventing common issues and ensuring success.
Dough Temperature Control: Maintaining Optimal Consistency
Maintaining the correct dough temperature is perhaps the single most important factor during Viennoiserie shaping. The dough must be kept cold, ideally between 4°C and 8°C (39°F and 46°F). If the dough becomes too warm, the butter layers will soften and melt into the dough, making it sticky, difficult to handle, and ruining the lamination. Warm dough will also shrink back excessively when rolled.
Work quickly when shaping, and if the dough starts to feel soft or warm, return it to the refrigerator for 15-20 minutes to chill down before continuing. Using a cool surface, like marble or granite, or even placing a tray of ice underneath your work surface, can help keep the dough temperature stable while you're shaping. This careful temperature management is crucial for achieving those distinct, flaky layers.
Proper Resting Time: Preventing Dough Shrinkage
Allowing the dough to rest properly between rolling and shaping steps is vital to prevent it from springing back and making it difficult to achieve even shapes. After rolling out your dough to the desired thickness for cutting (e.g., 3-4 mm for croissants), let the sheet of dough rest on the counter for 5-10 minutes before cutting the shapes. This brief rest allows the gluten, which was stretched during rolling, to relax.
If you find the dough is resisting when you try to roll it or is shrinking back significantly after cutting, it needs more rest. Cover the dough lightly and place it back in the refrigerator for 15-30 minutes. A well-rested dough is pliable and easy to work with, making easy croissant shaping techniques and other forms much simpler and yielding more consistent results.
Sealing Techniques: Ensuring Filling Stays Inside
Properly sealing your Viennoiseries is essential, especially when they contain fillings like chocolate, cream, or fruit. For rolled items like pain au chocolat or scrolls, ensure the final seam is pressed gently to seal and placed underneath the pastry when you put it on the baking sheet. This seam acts as a closure, preventing the pastry from unrolling during proofing and baking.
For shapes like braids or pinwheels, ensure that any exposed filling is minimal or that the dough overlaps are well-sealed by pressing the edges together gently. For croissants, ensure the tip of the triangle is tucked firmly underneath the rolled pastry. While some leakage can occasionally occur, especially with very wet fillings, good sealing techniques significantly reduce mess and ensure your fillings stay where they belong, contributing to both appearance and flavor.
Troubleshooting Common Shaping Issues
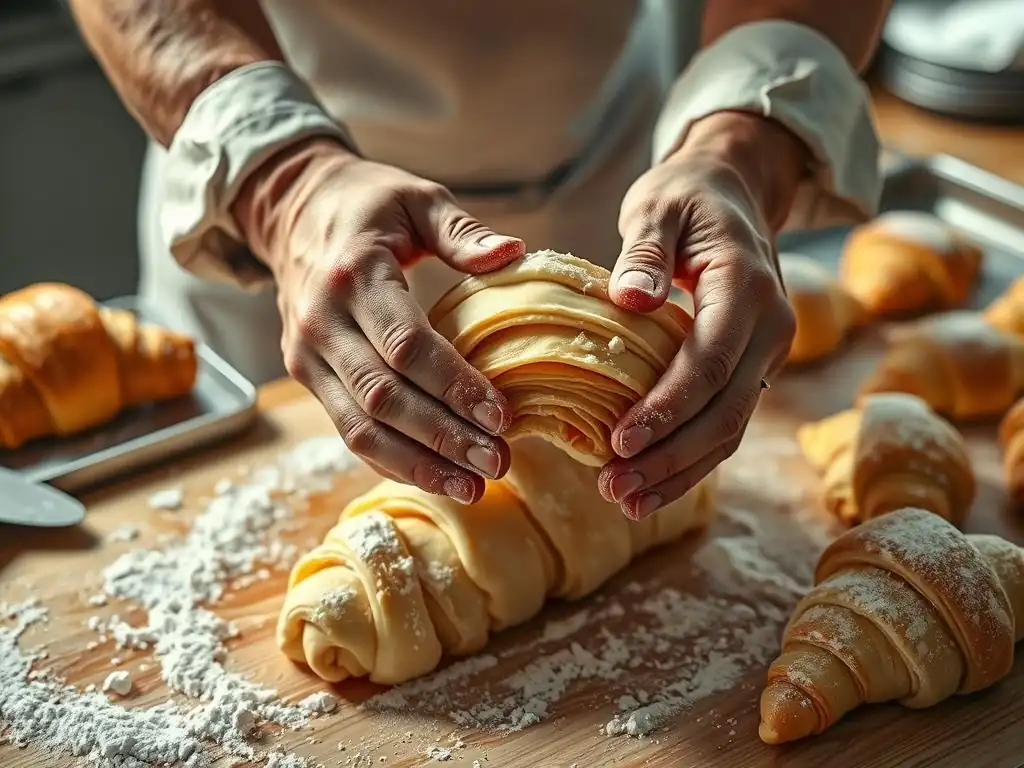
Even with careful preparation, you might encounter some challenges during Viennoiserie shaping. Knowing how to identify and address these common issues can save your batch and help you learn for next time.
From dough that's too sticky to shapes that turn out unevenly, these troubleshooting tips will guide you through correcting problems and improving your technique.
Dealing with Sticky Dough: Solutions and Prevention
Sticky dough is a common issue when shaping Viennoiseries, often caused by the dough being too warm, over-hydrated, or not properly chilled. If your dough is sticky and difficult to handle, the first step is usually to return it to the refrigerator for 20-30 minutes. Chilling helps firm up the butter and makes the dough less prone to sticking.
To prevent stickiness, ensure your work surface and rolling pin are lightly floured, but avoid using excessive flour, which can dry out the dough and incorporate raw flour into the layers. Work relatively quickly, especially if your kitchen is warm. If the stickiness persists after chilling, it might indicate an issue with the dough's hydration or gluten development during the initial mixing, suggesting adjustments are needed in your dough recipe or mixing process next time.
Correcting Uneven Shapes: Tips for Adjustment
Uneven shapes can result from inconsistent rolling, cutting, or rolling techniques. If you notice your rolled dough sheet is thicker in some areas than others, take the time to roll it out evenly before cutting. Use gentle, even pressure with your rolling pin, working from the center outwards. For shapes like croissants, ensure your triangles are cut uniformly; using a ruler or a template can help achieve consistent sizes.
When rolling croissants or scrolls, try to maintain even tension throughout the roll to prevent one end from being significantly fatter or thinner than the other. If a shape looks wonky after rolling, you can often gently reshape it slightly before proofing. For instance, you can carefully push or pull a croissant's ends to adjust its curve. Don't be afraid to slightly adjust the shapes by hand on the baking sheet before they begin their final proofing, as they will mostly hold the form you give them at that stage.
Storing Shaped Viennoiseries: Maintaining Freshness
Once shaped, Viennoiseries need careful handling and storage before baking. They can be proofed immediately, held in the refrigerator for a short period, or even frozen for later use. Proper storage ensures they maintain their shape and quality.
Understanding the options for storing shaped Viennoiseries allows you flexibility in your baking schedule and helps you manage batch sizes effectively.
Proofing Shaped Viennoiseries: Best Practices
After shaping, Viennoiseries require a final proofing period before baking. This allows the yeast to produce gas, causing the dough to expand and develop its final texture. Proofing conditions are crucial. A warm, humid environment is ideal, typically around 24-26°C (75-79°F) with 70-80% humidity. This can be achieved in a proofing box, a slightly warm oven (turned off), or by placing the baking sheet in a large plastic bag.
Proofing time varies depending on the temperature and yeast activity, but typically ranges from 2 to 3 hours for croissants and pain au chocolat, and slightly less, maybe 1.5 to 2 hours, for enriched dough scrolls. Shaped pastries are adequately proofed when they have increased significantly in size (often close to doubled) and look puffy but still hold their shape. They should jiggle slightly when the tray is gently shaken, but not collapse. Over-proofing can lead to loss of shape and poor oven spring.
Freezing Shaped Viennoiseries: For Future Baking
Freezing shaped Viennoiseries is an excellent way to enjoy fresh-baked pastries whenever you like. After shaping, immediately place the pastries on a baking sheet lined with parchment paper and put them in the freezer. Once they are completely frozen solid (this usually takes 1-2 hours), transfer them to airtight containers or freezer bags to prevent freezer burn. They can be stored in the freezer for up to 1-2 months.
When ready to bake, place the frozen shaped pastries on a baking sheet and let them proof at room temperature or in a slightly warm environment until they are fully proofed. This can take significantly longer than proofing fresh shapes, often 8-12 hours or even overnight, depending on the temperature. Bake directly from their proofed state according to your recipe's instructions. Freezing shaped pastries is a fantastic way to make easy croissant shaping techniques and other Viennoiserie efforts pay off over time.
Conclusion: Embrace the Art of Viennoiserie Shaping
Mastering the art of shaping Viennoiseries is a rewarding step in your baking journey. While laminated dough has a reputation for being challenging, focusing on temperature control, proper resting, and careful handling makes the shaping process much more approachable. We've explored easy croissant shaping techniques, classic pain au chocolat folds, simple scroll methods, and even some creative variations.
By paying attention to the details discussed – from chilling your dough correctly to ensuring proper sealing – you can consistently produce beautiful, flaky, and delicious pastries. Don't be discouraged if your first attempts aren't perfect; practice is key. Each batch is a learning opportunity. So, roll up your sleeves, embrace these techniques, and enjoy the delightful process of transforming simple dough into stunning Viennoiseries. Happy baking!
Frequently Asked Questions
How important is the temperature of the dough when using easy croissant shaping techniques?
The temperature of the dough is absolutely crucial. Cold dough is easier to handle and prevents the butter layers from melting, which is essential for flaky croissants.
What are some common mistakes people make when learning easy croissant shaping techniques?
A common mistake is overworking the dough, which develops too much gluten and results in a tough croissant. Another is not allowing proper proofing, leading to dense, under-risen croissants.
Can I use different types of fillings with the easy croissant shaping techniques described on BakeWithEase.com?
Yes! While the basic shape remains the same, you can incorporate fillings like chocolate, almond paste, or even savory options. Just be sure to seal the edges well to prevent leakage.
What tools are recommended for someone starting to learn easy croissant shaping techniques?
A sharp knife or pizza cutter is essential for clean cuts. Also, a rolling pin is needed to flatten the dough and a kitchen scale to measure ingredients accurately.
How does BakeWithEase.com simplify the process of learning easy croissant shaping techniques?
BakeWithEase.com breaks down the process into clear, step-by-step instructions with accompanying visuals. It also offers troubleshooting tips and easy-to-find ingredients to make baking accessible to all.
Final Reflection: Mastering the Art of Viennoiserie Shaping
The pursuit of the perfect croissant, pain au chocolat, or even a simple pain aux raisins, transcends mere baking; it's a journey of precision and patience. The techniques explored in this article, focusing on easy croissant shaping methods, are not just about achieving aesthetically pleasing results, but about understanding the fundamental principles that unlock the airy, flaky textures we crave. This understanding empowers home bakers to confidently tackle these seemingly complex pastries.
The enduring appeal of viennoiserie lies in its ability to evoke feelings of comfort, celebration, and artistry. It's a testament to the power of simple ingredients transformed through skillful technique. The process itself, from the initial layering of butter to the final shaping, is a meditative experience. Baking is at once child's play and adult joy. And love, of course.
– This sentiment perfectly captures the essence of the satisfaction derived from mastering the art of viennoiserie shaping, a process that blends technical skill with a deep sense of personal accomplishment.
Now, it's your turn. Don't be intimidated by the seemingly intricate folds and shapes. Take the techniques discussed here, experiment with them, and discover the joy of creating your own beautiful and delicious viennoiseries. Embrace the process, learn from your mistakes, and most importantly, savor the reward of a perfectly shaped, golden-brown pastry, a testament to your dedication and skill. The journey of mastering viennoiserie shaping is ongoing, and your next creation awaits!
Unleash Your Inner Baker: Craft Exquisite Viennoiseries!
Thanks for joining us on this delicious journey through the world of viennoiseries! We hope you've gained the confidence and knowledge to tackle these delectable pastries. Ready to put your new skills to the test?
- Master the art of lamination: Try your hand at making those perfectly layered croissants—the results will be incredibly rewarding!
- Share your creations: Post photos of your beautiful viennoiseries on social media and tag us @BakeWithEase – we'd love to see them!
- Explore new recipes: Dive into our recipe archive to discover more viennoiserie variations and techniques. Dare to try a pain au chocolat twist?
What unique twist will you add to your next viennoiserie masterpiece?