
TimeSaving Techniques for Busy Puff Pastry Bakers

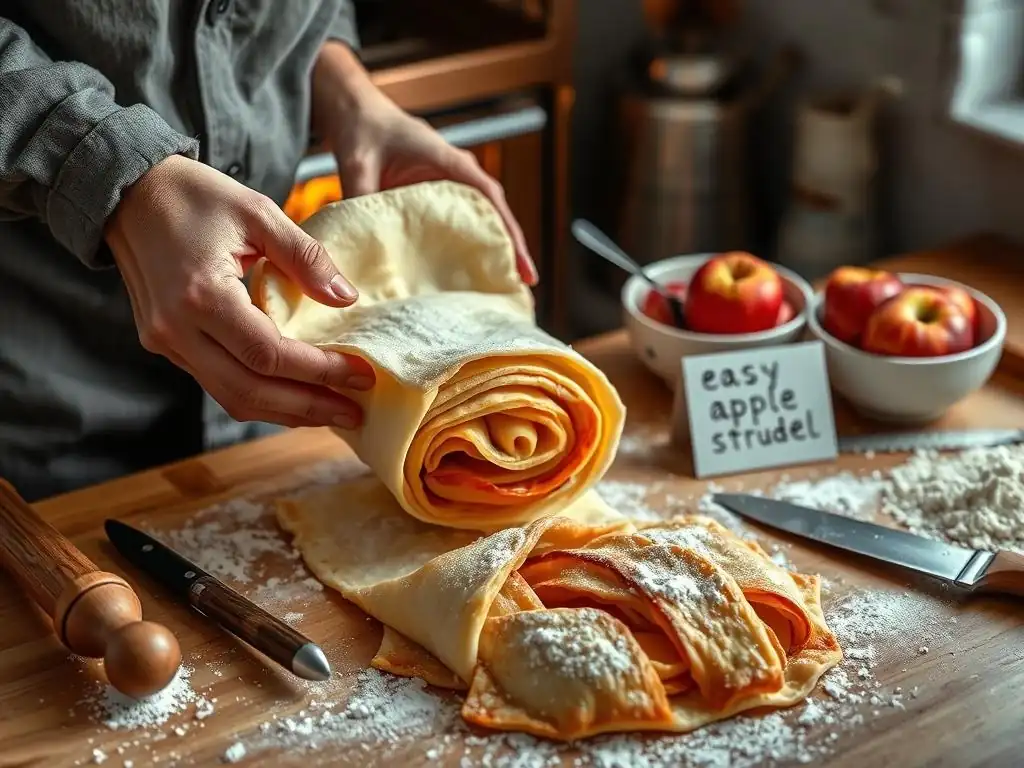
Welcome to BakeWithEase, your haven for all things baking!
Ready to unlock the secrets to flaky, golden perfection without spending hours in the kitchen? Our latest guide delves into easy puff pastry techniques, offering time-saving methods even the busiest bakers can master. Discover how to achieve that coveted rise and delicate layers, and prepare to be amazed at what you can create. Curious to know more? Let's get started!
- Time-Saving Techniques for Busy Puff Pastry Bakers: Bake With Ease
- Introduction: Mastering Puff Pastry Efficiency
- Streamlining Puff Pastry Preparation: Essential Time Savers
- Efficient Puff Pastry Dough Handling: Minimize Waste, Maximize Time
- Speeding Up Puff Pastry Baking: Tips for Faster Results
- Quick Puff Pastry Recipes for Busy Bakers
- Mastering the Détrempe: Saving Time in the Long Run
- Puff Pastry Freezing Techniques for Ultimate Convenience
- Cleaning Up Quickly After Puff Pastry Baking
- Conclusion: Enjoy Delicious Puff Pastry Without the Time Commitment
- Frequently Asked Questions
- Final Reflection: Mastering the Flaky Dance: Time and Puff Pastry
- Unleash Your Inner Pastry Whiz!
Time-Saving Techniques for Busy Puff Pastry Bakers: Bake With Ease
Introduction: Mastering Puff Pastry Efficiency
Making puff pastry from scratch is a rewarding culinary endeavor, but it's undeniably time-consuming. The traditional method involves multiple folds and chilling periods that can stretch over several hours, or even days. For many busy home bakers, this time commitment makes creating flaky, buttery puff pastry seem like an unattainable dream. However, achieving delicious results doesn't have to consume your entire day.
This article explores effective time-saving techniques that allow you to enjoy the delights of puff pastry without the extensive labor. Whether you're short on time during the week or simply looking for more efficient baking methods, these easy puff pastry techniques are designed to fit into a busy schedule. By adopting smart shortcuts and utilizing readily available resources, you can significantly reduce the time spent in the kitchen while still producing impressive pastries.
Why Time-Saving Puff Pastry Techniques are Essential
In today's fast-paced world, finding dedicated blocks of time for complex baking projects can be challenging. Many aspiring bakers are deterred by recipes that demand hours of attention, leading them to skip delicious treats like croissants, turnovers, or vol-au-vents. Time-saving methods are essential because they democratize puff pastry, making it accessible to everyone, regardless of their schedule.
Focusing on easy puff pastry techniques not only saves precious hours but also reduces the potential for frustration often associated with traditional, lengthy methods. Knowing you can achieve great results quickly encourages more frequent baking, allowing you to practice and improve your skills. It shifts the focus from the arduous process to the joy of creation and the pleasure of sharing delicious, flaky baked goods.
Bake With Ease: Your Guide to Effortless Puff Pastry
At Bake With Ease, our mission is to simplify baking, and that includes demystifying seemingly complex creations like puff pastry. We believe that with the right guidance and techniques, anyone can achieve fantastic results without unnecessary stress or excessive time investment. Our approach focuses on practical, actionable tips that fit into the rhythm of a busy life.
This guide provides a comprehensive look at various easy puff pastry techniques, from leveraging store-bought options to streamlining the homemade process and optimizing baking. We aim to equip you with the knowledge and confidence to tackle puff pastry projects efficiently, proving that you can bake amazing treats with ease, even when time is tight. Let's explore how to make your puff pastry journey quicker and more enjoyable.
Streamlining Puff Pastry Preparation: Essential Time Savers
Preparing puff pastry involves creating a dough (détrempe) and incorporating butter through a series of folds (turns). This process is where most of the time is spent, primarily due to the chilling required between turns. However, several strategies can dramatically cut down on this preparatory time, allowing you to get to the fun part – shaping and baking – much faster.
The key to streamlining preparation lies in either reducing the manual work involved in lamination (the process of folding butter into dough) or bypassing it entirely. Understanding the purpose of each step in traditional methods helps identify where efficient alternatives can be implemented. By focusing on smart shortcuts and pre-planning, you can transform puff pastry from a weekend project into a weeknight possibility.
Pre-Made Puff Pastry: Your Secret Weapon for Quick Baking
For the ultimate time-saving technique, pre-made, store-bought puff pastry is an absolute game-changer. Available in the freezer section of most grocery stores, this product eliminates the entire lamination process, which typically takes several hours of active work and chilling time when making dough from scratch. Using pre-made pastry means you can go from packaging to oven in minutes.
According to industry estimates, preparing traditional puff pastry dough from scratch can take anywhere from 2 to 3 hours of hands-on work spread over 6 to 8 hours (or even two days) with chilling. In contrast, using pre-made pastry requires only thawing time, which is usually around 30-60 minutes in the refrigerator or a few hours at room temperature. This represents a time saving of well over 90% on the dough preparation phase alone, making it one of the easiest puff pastry techniques available.
Understanding Store-Bought vs. Homemade Puff Pastry
While store-bought puff pastry offers unparalleled convenience, it's useful to understand the differences compared to homemade. Homemade pastry allows complete control over ingredients, butter quality, and the lamination process, often resulting in a purer, more buttery flavor and potentially higher, more consistent layers if executed perfectly. However, this comes at a significant time cost and requires skill.
Store-bought pastries vary in quality, but many reputable brands produce excellent, all-butter or butter-blend options that yield wonderfully flaky results suitable for most applications. While the flavor might be slightly less nuanced than a meticulously crafted homemade version, the trade-off in time savings is substantial. For busy bakers, the ability to create impressive pastries in under an hour using store-bought dough outweighs the minor differences in flavor or texture for everyday baking.
Time Comparison: Store-bought saves hours, while homemade offers control over ingredients.
- Store-bought: Thawing time (30-60 mins). Active prep: ~5 mins to unroll/cut. Total time before shaping: < 1 hour.
- Homemade: Détrempe prep (15-20 mins), Butter block prep (5-10 mins), Lamination (4-6 turns with chilling): ~30-45 mins active work + 4-6 hours chilling. Total time before shaping: 5-8+ hours.
Using store-bought dough is clearly one of the most effective easy puff pastry techniques for saving time.
Efficient Puff Pastry Dough Handling: Minimize Waste, Maximize Time
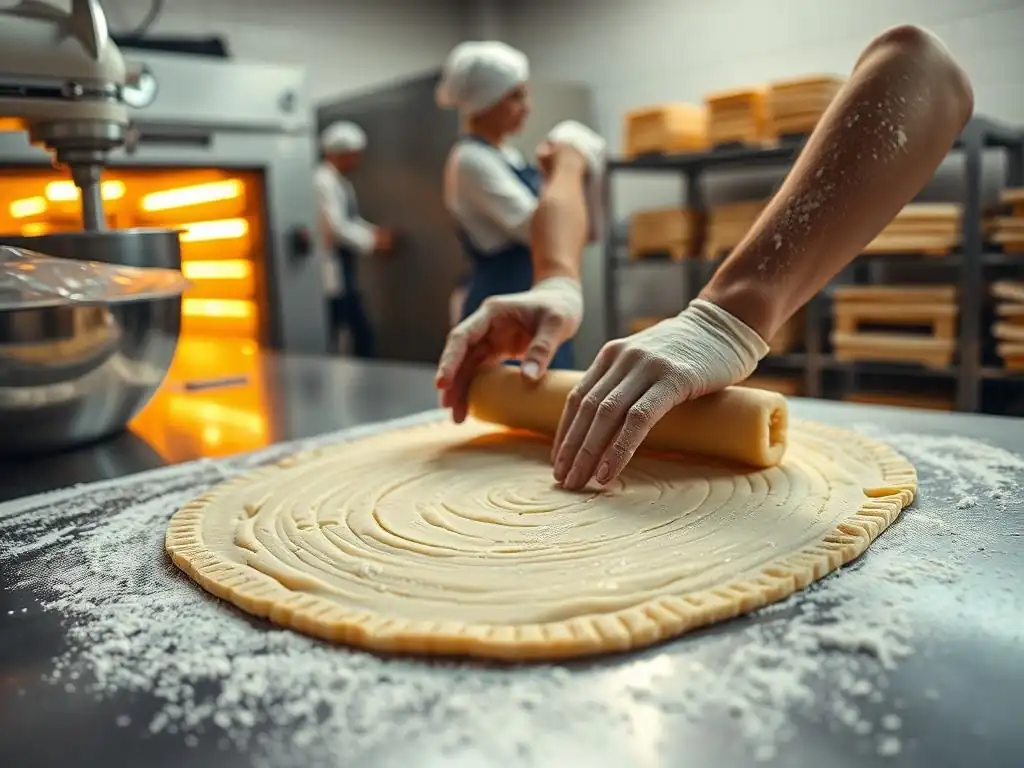
Working with puff pastry, whether homemade or store-bought, requires careful handling to ensure optimal flakiness. Efficient handling techniques can save time by preventing errors that require reworking the dough and minimizing waste. This means less time spent patching tears, re-chilling warm dough, or trying to salvage scraps.
Proper technique ensures that the delicate layers created during lamination remain intact. This is crucial for achieving that signature rise and flaky texture. By focusing on precise movements and maintaining the correct dough temperature, you can avoid common pitfalls that lead to wasted time and disappointing results.
Precise Cutting Techniques: Avoiding Scraps and Reworking Dough
Using a sharp knife or pastry wheel is paramount for cutting puff pastry. A dull blade can compress the layers, sealing them together and preventing them from rising properly. Moreover, precise cuts minimize the need for re-rolling scraps. Rerolling scraps compacts the layers and incorporates excess flour, resulting in a tougher, less flaky pastry.
Aim to cut shapes cleanly in one motion. For shapes like squares, rectangles, or strips, use a ruler or template for accuracy. When cutting circles or other curved shapes, a sharp, well-floured cutter pressed straight down (not twisted) is ideal. Any scraps generated should be gently stacked, not kneaded, and then lightly rolled for applications where flakiness is less critical, like pie tops, or simply baked as 'waste' pieces. Minimizing scrap handling is a key easy puff pastry technique for efficiency.
The Importance of Cold Dough: Preventing Sticking and Softening
Maintaining the cold temperature of puff pastry dough is non-negotiable for successful handling and baking. Cold dough is firm and easy to work with; the butter layers within it remain solid and distinct. When the dough warms up, the butter softens and can ooze out or blend into the dough, destroying the layers essential for puff.
Warm dough becomes sticky and difficult to cut cleanly. It's also prone to tearing. If your dough becomes soft while working, stop immediately and return it to the refrigerator for 15-20 minutes until firm again. Working in a cool kitchen environment and minimizing the time the dough is out of the fridge are crucial steps. Keeping dough cold ensures smooth handling, prevents frustration, and saves time by avoiding the need for repeated chilling breaks.
Speeding Up Puff Pastry Baking: Tips for Faster Results
Once your puff pastry is prepared and shaped, the baking process itself can be optimized for speed and efficiency without sacrificing quality. Proper oven setup and understanding how heat interacts with the pastry are key to achieving a rapid, even rise and golden-brown perfection. These simple adjustments can shave valuable minutes off your baking time.
Focusing on preheating, temperature, and oven type can significantly impact how quickly your pastry bakes. While you can't rush the chemical reactions that cause the layers to separate and puff, you can ensure the environment is ideal for them to happen quickly and efficiently. This section covers easy puff pastry techniques specifically for the oven.
Optimizing Oven Temperature and Baking Time for Puff Pastry
Puff pastry typically requires a high initial oven temperature, often around 400-425°F (200-220°C). This high heat provides a burst of steam from the water in the butter and dough, rapidly expanding the layers. After the initial puff (usually 10-15 minutes), some recipes recommend lowering the temperature slightly to allow the pastry to cook through and brown evenly without burning.
Baking time varies depending on the size and thickness of your pastry items, but small pastries like palmiers might take only 12-15 minutes, while larger items or filled pastries could take 20-30 minutes or more. Always preheat your oven thoroughly for at least 20 minutes to ensure it's at the correct temperature. Using an oven thermometer can verify accuracy, as oven temperatures can vary. Proper temperature control ensures efficient baking and prevents undercooked or burnt pastry, saving time by avoiding do-overs.
Utilizing Convection Ovens for Even and Faster Baking
Convection ovens, which use a fan to circulate hot air, are particularly well-suited for baking puff pastry and can significantly speed up the process. The circulating air helps distribute heat more evenly, ensuring all parts of the pastry bake at the same rate and preventing hot spots that can lead to uneven puffing or browning.
Using a convection setting often allows you to bake at a slightly lower temperature (usually 25°F or 15°C lower) and for a shorter duration compared to a conventional oven. For example, if a recipe calls for 400°F (200°C) in a conventional oven for 20 minutes, you might try 375°F (190°C) in a convection oven for 15-18 minutes. Always monitor closely when using convection for the first time, as baking times can be reduced by 15-20%. This quicker, more even baking is a valuable easy puff pastry technique for busy bakers.
Quick Puff Pastry Recipes for Busy Bakers
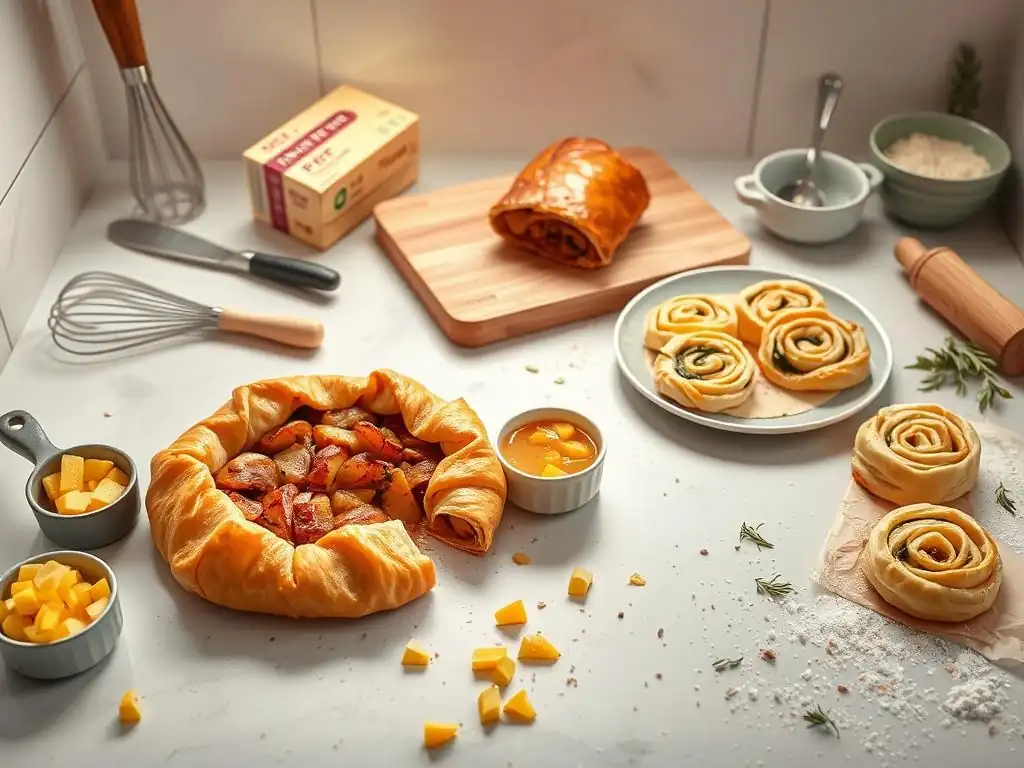
The fastest way to enjoy puff pastry is by choosing recipes specifically designed for speed. These often utilize pre-made pastry and require minimal assembly. Focusing on simple shapes and fillings drastically cuts down on prep time, allowing you to create delicious treats in under an hour.
Many classic pastries can be adapted into speedy versions using easy puff pastry techniques. The key is to select fillings that are quick to prepare or require no cooking beforehand, and shapes that are simple to cut and form. This section highlights a couple of examples showcasing how fast puff pastry baking can be.
Savory Puff Pastry Creations: Time-Efficient Ideas
Savory pastries are perfect for quick appetizers, snacks, or light meals. Using pre-made puff pastry eliminates the time-consuming dough preparation, allowing you to focus on simple, flavorful fillings. This approach makes impressive savory treats achievable even on a tight schedule.
A fantastic example of a speedy savory puff pastry creation is Speedy Sausage Rolls. These can be ready to bake in under 10 minutes of active prep time. Simply unroll a sheet of pre-made puff pastry, spread seasoned sausage meat (about 8-10 oz per standard sheet) along one edge, brush the opposite edge with egg wash, and roll into a log. Slice the log into 1-inch pieces, brush with more egg wash, and bake at 400°F (200°C) for 20-25 minutes until golden brown and cooked through. Using this easy puff pastry technique, you can have hot, fresh sausage rolls ready to eat in under 30 minutes total, including baking.
Speedy Sausage Rolls: Ready in under 30 minutes using pre-made pastry and seasoned sausage meat.
- Unroll 1 sheet of pre-made puff pastry.
- Spread 8-10 oz seasoned sausage meat along one long edge.
- Brush opposite edge with egg wash.
- Roll into a tight log.
- Slice into 1-inch pieces.
- Place on baking sheet, brush tops with egg wash.
- Bake at 400°F (200°C) for 20-25 mins.
Sweet Puff Pastry Delights: Simple and Speedy Recipes
Sweet puff pastry treats don't have to be elaborate to be delicious. Focusing on minimal ingredients and simple folding techniques allows you to create elegant desserts or snacks in minutes. These recipes are perfect for satisfying a sweet craving quickly or preparing last-minute treats for guests.
A classic example of a quick sweet treat is 15-Minute Palmiers. These 'elephant ears' require nothing more than puff pastry and sugar. Unroll a sheet of thawed puff pastry onto a surface generously sprinkled with granulated sugar (about 1/4 cup per sheet). Press the sugar into the dough lightly. Fold both long sides of the pastry towards the center so they meet. Sprinkle more sugar on top, then fold the pastry in half along the center seam. Slice into 1/2-inch thick pieces, place on a baking sheet lined with parchment paper, and bake at 400°F (200°C) for 10-12 minutes, flipping halfway through, until golden brown and caramelized. This is an incredibly easy puff pastry technique that goes from prep to plate in about 15-20 minutes.
15-Minute Palmiers: Simply sprinkle sugar on puff pastry, fold, slice, and bake.
- Unroll 1 sheet of thawed puff pastry.
- Generously sprinkle surface with sugar (~1/4 cup).
- Place pastry on sugared surface, sprinkle top with sugar, press lightly.
- Fold long sides towards center, meeting in middle.
- Sprinkle top with more sugar.
- Fold in half along center seam.
- Slice into 1/2-inch pieces.
- Place on parchment-lined baking sheet.
- Bake at 400°F (200°C) for 10-12 mins, flipping halfway.
Mastering the Détrempe: Saving Time in the Long Run
For those who prefer to make their puff pastry dough from scratch but still want to save time, optimizing the détente (the base dough of flour, water, and often a little butter or fat) is key. While the majority of time is spent in the lamination phase, streamlining the initial dough preparation can contribute to overall efficiency and make the subsequent steps easier.
Exploring alternative methods for making the détente can reduce active mixing time. Furthermore, preparing the détente in advance allows you to break down the puff pastry process into smaller, more manageable steps spread over a day or two, which can feel less daunting than tackling it all at once. These approaches focus on making the foundation of your puff pastry quickly and efficiently.
The No-Knead Détrempe Method: A Time-Saving Alternative
Traditional détente recipes often involve a brief kneading period to develop some gluten structure. However, a no-knead approach can work well for puff pastry. This method involves simply mixing the flour, salt, and water until just combined, forming a shaggy dough. The dough is then chilled, and the gluten develops sufficiently during the resting periods and the subsequent rolling and folding of the lamination process.
Using a no-knead method saves the 5-10 minutes of active kneading time. More importantly, it results in a very relaxed dough from the start, which can make the initial rolling of the détente and the first few folds easier and less prone to snapping back. This ease of handling contributes to a smoother, quicker lamination process overall. It's a simple tweak, but an effective easy puff pastry technique for the scratch baker.
Preparing Détrempe in Advance: Batch Cooking for Future Baking
Making the détente ahead of time is a simple yet powerful time-saving strategy. The détente can be mixed, wrapped tightly, and stored in the refrigerator for up to 2-3 days before you begin the lamination process. This allows you to tackle the initial mixing step whenever you have a spare 10 minutes and then proceed with adding the butter and folding on a different day.
Preparing the détente in advance also allows you to make a larger batch. You can divide the prepared détente into portions suitable for one recipe each, wrap them individually, and store them. This means that the next time you want to make puff pastry from scratch, the first step is already done, significantly reducing the initial hurdle and making the entire process feel less time-intensive.
Puff Pastry Freezing Techniques for Ultimate Convenience
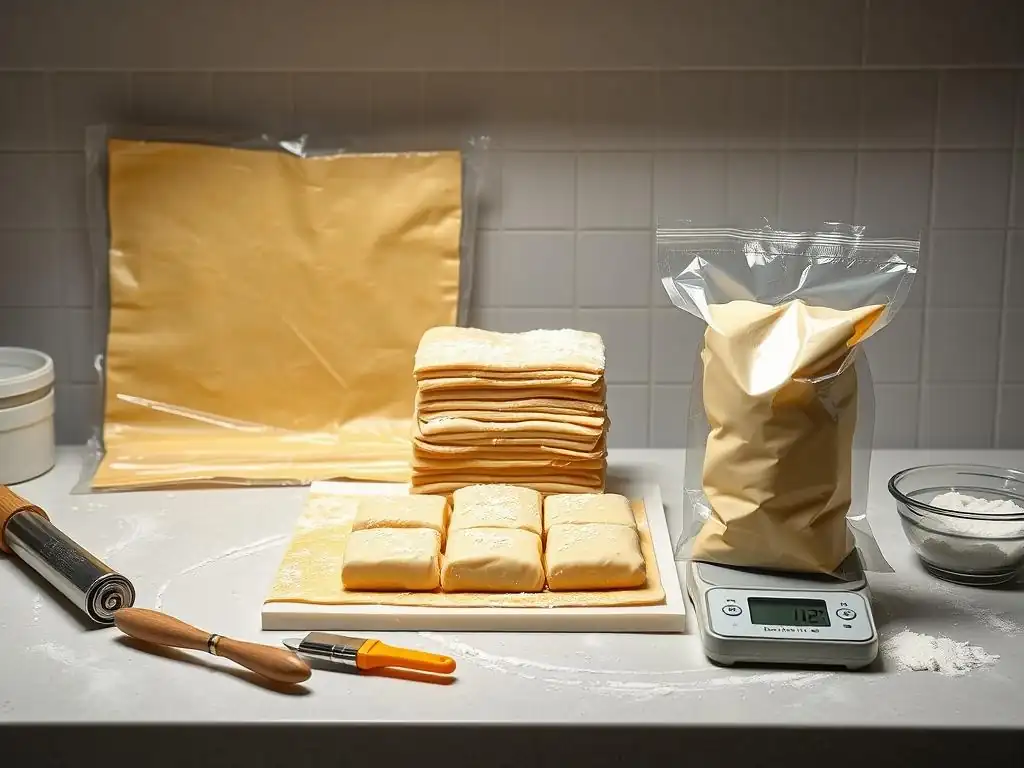
Freezing is perhaps the most effective way to make puff pastry convenient for busy schedules. Both homemade and store-bought puff pastry freeze exceptionally well, allowing you to prepare ahead or stock up. Having puff pastry ready in the freezer means you're always just a thaw away from baking.
Proper freezing and thawing techniques are essential to preserve the delicate layers and ensure optimal flakiness. Incorrect handling can lead to the butter separating or the dough becoming tough. By following a few simple steps, you can ensure your frozen puff pastry performs just as well as fresh.
Freezing Unbaked Puff Pastry: A Step-by-Step Guide
Unbaked puff pastry freezes beautifully and can be stored for up to 3 months. This applies to both homemade dough after lamination is complete and leftover portions of store-bought dough. Freezing dough in usable portions is key for convenience.
Here's a simple guide:
- Ensure dough is cold and firm.
- Roll dough to desired thickness for future use (e.g., 1/8 inch for most recipes).
- Cut into portion sizes (e.g., whole sheets, half sheets, or specific shapes like squares or circles).
- Place parchment paper between layers if stacking multiple portions.
- Wrap each portion tightly in plastic wrap, pressing out all air.
- Wrap again in aluminum foil or place in a freezer-safe bag or container.
- Label with the date.
- Freeze flat until solid, then store as needed.
Storing unbaked dough in pre-portioned sizes is an easy puff pastry technique that saves time later, as you only thaw what you need.
Thawing Puff Pastry Correctly: Maintaining Flakiness and Texture
Thawing puff pastry requires patience and should always be done slowly in the refrigerator. This controlled thawing prevents the butter layers from melting and running out of the dough, which would ruin the lamination. Thawing at room temperature is risky, especially in warm kitchens.
A standard sheet of store-bought puff pastry or a similar amount of homemade dough will typically take 3-4 hours to thaw in the refrigerator. For larger blocks or full batches of homemade dough, it could take overnight (8-12 hours). Once thawed, the dough should still feel cold and firm but pliable enough to unfold or roll without cracking. Avoid refreezing thawed puff pastry as it can compromise the texture. Plan ahead for thawing to make this easy puff pastry technique work smoothly.
Cleaning Up Quickly After Puff Pastry Baking
While puff pastry baking itself can be time-consuming, the cleanup doesn't have to be. A little foresight and using the right tools can make post-baking cleanup much faster and easier, contributing to the overall efficiency of your baking process. Minimizing mess as you go is a key strategy.
The primary culprits for mess when working with puff pastry are flour and butter. By containing these elements and having the right equipment on hand, you can significantly reduce the time spent scrubbing surfaces and tools after the last pastry comes out of the oven.
Easy Cleanup Strategies for Puff Pastry Messes
One of the best ways to simplify cleanup is to work on a non-stick mat or parchment paper whenever possible. Rolling dough on a large silicone mat or between two sheets of parchment paper contains the flour and prevents dough from sticking to your counter. Used parchment paper can often be simply discarded.
Wipe down surfaces immediately after use before butter or flour has a chance to harden. Use a bench scraper to quickly collect flour from counters. For tools like rolling pins or cutters, scrape off excess dough and flour before washing. Soaking tools with stubborn dough residue in warm, soapy water for a few minutes can make scrubbing much easier. These simple habits make cleanup a breeze after implementing your easy puff pastry techniques.
Essential Tools for Efficient Puff Pastry Baking and Cleaning
Having the right tools can streamline both the baking and cleanup process.
- Silicone baking mats: Excellent for rolling dough and lining baking sheets, reducing sticking and mess.
- Parchment paper: Versatile for lining sheets, layering dough for freezing, and easy cleanup.
- Bench scraper: Indispensable for portioning dough, scraping surfaces clean, and transferring ingredients.
- Sharp knife or pastry wheel: Ensures clean cuts, minimizing scraps and mess.
- Pastry brush: For egg washes or brushing away excess flour.
- Large, flat baking sheets: Provide ample space for pastries to expand without crowding.
Investing in these simple tools makes working with puff pastry more efficient from start to finish, proving that even the cleanup phase can be part of adopting easy puff pastry techniques.
Conclusion: Enjoy Delicious Puff Pastry Without the Time Commitment
Puff pastry is a marvel of baking chemistry, resulting in incredibly light and flaky layers. While the traditional method is a labor of love, it doesn't have to be the only way to enjoy these delightful pastries. By embracing time-saving techniques, even the busiest bakers can create impressive puff pastry treats.
From leveraging the convenience of high-quality store-bought dough to optimizing homemade methods, strategic preparation, efficient handling, and smart baking, numerous easy puff pastry techniques are available to cut down on time without sacrificing quality. Freezing is your best friend for planning ahead, and simple cleanup strategies ensure the post-baking phase is quick and painless.
Embrace these Easy Puff Pastry Techniques for Stress-Free Baking
Don't let the reputation of puff pastry intimidate you. With the tips and tricks outlined here, you can significantly reduce the time and effort required. Choose the techniques that best fit your schedule and skill level, whether it's relying on pre-made dough for lightning-fast results or streamlining your scratch-baking process.
Remember, the goal is to enjoy the process and the delicious outcome. By incorporating these easy puff pastry techniques into your baking routine, you'll find that creating flaky croissants, savory turnovers, or sweet palmiers is well within your reach, even on your busiest days. Bake with ease and savor every perfectly puffed bite!
Frequently Asked Questions
How can I speed up the puff pastry making process?
You can significantly reduce time by using store-bought puff pastry. This eliminates the labor-intensive lamination process entirely. Alternatively, explore shortcut methods like the "blitz" puff pastry.
What are some common mistakes to avoid when working with puff pastry?
One common mistake is overworking the dough, leading to tough pastry. Another is insufficient chilling, which results in melted butter and a greasy, flat result. Be sure to keep all ingredients cold!
How do I ensure my puff pastry rises properly?
Proper rising depends on cold ingredients and even baking temperature. Avoid opening the oven frequently, as this can cause the temperature to fluctuate and hinder rising.
What are some quick and easy recipes I can make with puff pastry?
Puff pastry is incredibly versatile! Try making simple tarts with fruit and jam, quick savory appetizers with cheese and herbs, or even easy palmiers with sugar and cinnamon.
Can I freeze puff pastry dough, and how should I do it?
Yes, you can freeze puff pastry dough! Wrap it tightly in plastic wrap and then in foil to prevent freezer burn. Thaw it in the refrigerator overnight before using, ensuring it remains cold during the thawing process.
Final Reflection: Mastering the Flaky Dance: Time and Puff Pastry
The pursuit of perfectly flaky puff pastry shouldn't be a race against the clock. This article explored several time-saving techniques, demonstrating that achieving professional-level results is entirely possible even with a busy schedule. The efficiency gained isn't just about saving minutes; it's about reclaiming precious time for creativity and enjoyment in the baking process.
The impact of readily available, high-quality ingredients and streamlined techniques is undeniable. The rise of home baking as a popular hobby, fueled by social media and a desire for comforting homemade treats, underscores the importance of accessible methods. This shift in culinary culture demands efficient processes, allowing more people to experience the joy of creating something delicious without feeling overwhelmed. Baking should be a pleasure, not a pressure.
This simple truth guides the search for efficient methods, allowing bakers to focus on the artistry and satisfaction of their craft.
Now, it's your turn. Consider how you can integrate these time-saving techniques into your own baking routine. Experiment with different methods, find what works best for you, and most importantly, enjoy the process. Don't let the perceived complexity of puff pastry intimidate you; embrace the challenge, and let the flaky, buttery reward be your inspiration. The perfect pastry awaits!
Unleash Your Inner Pastry Whiz!
Thanks for joining us on this delicious journey into time-saving pastry techniques! We hope you discovered some clever shortcuts to elevate your baking without sacrificing flavor or quality. Ready to put your new skills to the test?
- Master the art of pre-made puff pastry: Embrace the convenience of store-bought puff pastry and experiment with our advanced shaping and filling techniques to create truly stunning desserts. This is your fast track to puff pastry perfection!
- Share your creations: Show off your impressive puff pastry masterpieces on social media using #BakeWithEasePuffPastry – let's inspire each other!
- Challenge yourself: Try recreating one of the recipes mentioned in the article, but with your own unique twist.
So, what amazing puff pastry creation will you bake first? Let us know in the comments!