
The Ultimate Pain au Chocolat Recipe for Intermediate Bakers

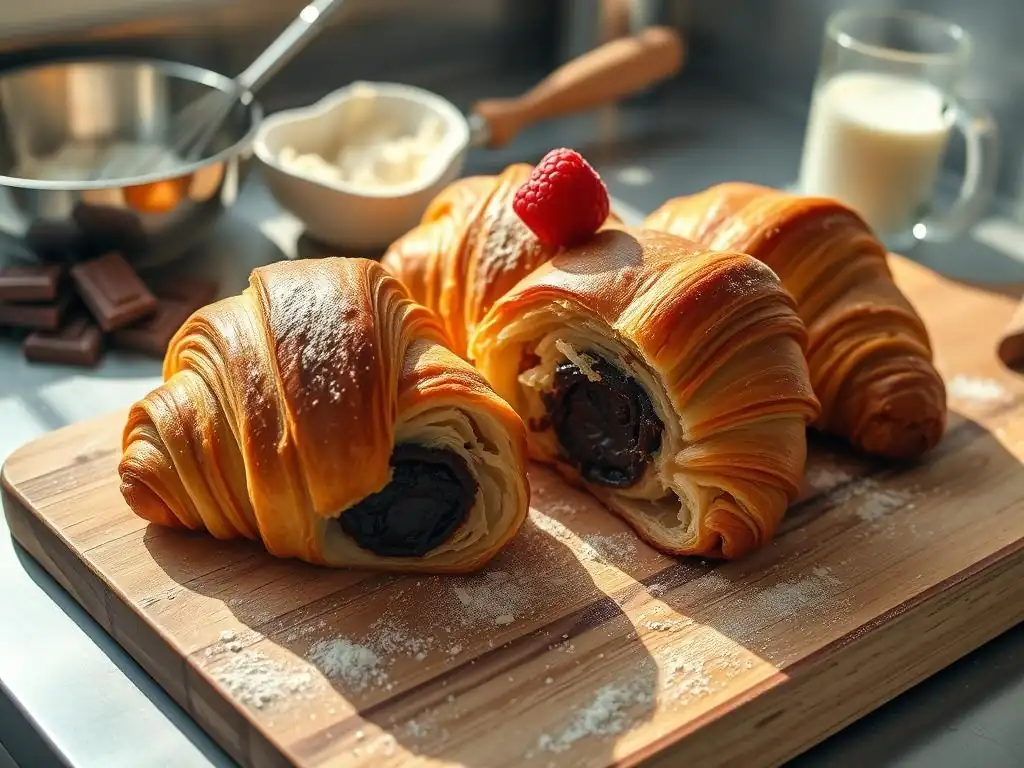
Welcome to BakeWithEase, where the joy of baking meets achievable expertise! Ever dreamt of crafting flaky, buttery pain au chocolat that rivals your favorite patisserie? You're in the right place. Our easy Pain au Chocolat recipe is designed for intermediate bakers like you, offering a rewarding challenge with guaranteed delicious results. Get ready to unlock the secrets to perfect viennoiserie – your baking adventure starts now!
- Introduction to Pain au Chocolat: A BakeWithEase Delight
- Mastering the Dough: The Foundation of Excellent Pain au Chocolat
- The Art of Lamination: Creating Layers of Deliciousness
- Shaping and Filling Your Pain au Chocolat
- Baking Your Pain au Chocolat to Perfection
- Cooling and Serving Your Homemade Pain au Chocolat
- Pain au Chocolat Recipe: Troubleshooting and Common Issues
- Storing Your Pain au Chocolat: Keeping the Freshness
- Conclusion: Enjoying the Rewards of Baking Pain au Chocolat
-
Frequently Asked Questions
- What makes this Pain au Chocolat recipe "intermediate"?
- Can I substitute any ingredients in this Pain au Chocolat recipe?
- How long does it take to make Pain au Chocolat from start to finish?
- What is the best way to store leftover Pain au Chocolat?
- Why is lamination important in a Pain au Chocolat recipe?
- Final Reflection: The Enduring Allure of the Perfect Pain au Chocolat
- Unleash Your Inner Pâtissier: Master the Pain au Chocolat!
Introduction to Pain au Chocolat: A BakeWithEase Delight
Elevate Your Baking Skills with Homemade Pain au Chocolat
Crafting Pain au Chocolat at home is a rewarding step in your baking journey, moving beyond simple cookies or muffins into the delicate world of viennoiseries. This process, while requiring patience and precision, is entirely achievable for the intermediate baker. It involves mastering techniques like lamination, which builds the characteristic flaky layers that define a truly great Pain au Chocolat. Achieving that perfect balance of crisp exterior and soft, buttery interior filled with melted chocolate is a significant accomplishment and a delicious one at that.
Embarking on this Pain au chocolat recipe allows you to deepen your understanding of yeast dough, gluten development, and temperature control – all fundamental skills for more advanced baking projects. The satisfaction of pulling golden, puffy pastries from your own oven is unparalleled. It's a tangible result of applying careful technique and following steps diligently, transforming simple ingredients into something truly special that rivals your favorite patisserie.
Why This Pain au Chocolat Recipe is Perfect for Intermediate Bakers
This particular Pain au chocolat recipe is designed to challenge intermediate bakers in a structured, manageable way. It introduces the core principles of lamination without overly complex steps often found in professional recipes. We focus on clarity in instructions and provide insights into why certain steps are crucial, like maintaining cold temperatures or resting the dough. This approach helps bridge the gap between simply following instructions and truly understanding the baking science involved.
By tackling this recipe, you'll gain confidence in handling enriched, laminated doughs, a skill transferable to other pastries like croissants, Danish, or puff pastry. We break down the process into distinct stages – mixing, resting, lamination, shaping, proofing, and baking – making the overall project less daunting. While not a beginner's "easy" Pain au chocolat recipe, it’s a highly achievable goal for those ready to expand their repertoire and produce bakery-quality results at home.
Mastering the Dough: The Foundation of Excellent Pain au Chocolat
Ingredients for the Perfect Laminated Dough
High-Quality Flour: The Key to Flaky Layers
The type of flour you use significantly impacts the outcome of your Pain au Chocolat. For viennoiseries, a bread flour with a protein content typically ranging from 11% to 13% is often recommended. This higher protein level allows for stronger gluten development, which is essential for creating the thin, elastic layers needed to encase the butter during lamination. Using a good quality flour ensures the dough has enough structure to withstand the rolling and folding process without tearing, leading to more defined and separated layers after baking.
While bread flour is ideal, an all-purpose flour with a protein content on the higher side (around 11.5% or 12%) can also work, though it might result in a slightly less robust structure. The key is the gluten network; it needs to be strong enough to stretch thinly around the butter block during lamination. Using too low a protein flour might lead to a weak dough that tears, causing butter to leak during baking and resulting in dense, greasy pastries rather than light, airy ones.
The Importance of Cold Butter in Viennoiseries
Cold butter is absolutely non-negotiable when making laminated doughs like those for Pain au Chocolat. The butter is encased within the dough layers, and when the pastry bakes at high heat, the water in the butter turns to steam. This steam is trapped between the dough layers, forcing them apart and creating the characteristic puff and flakiness. If the butter is too soft or melts into the dough before baking, this steam effect is significantly reduced, resulting in a dense, bread-like texture instead of light, flaky layers.
For this Pain au chocolat recipe, the butter used for lamination must be cold but pliable – around 50-55°F (10-13°C). It should be firm enough to hold its shape but soft enough to bend slightly without breaking. Butter that is too hard will crack and break into pieces during rolling, creating gaps instead of continuous layers. Butter that is too soft will melt into the dough, ruining the lamination. Using high-quality butter with a higher fat content (typically 82% or more) is also beneficial, as it contains less water and melts more evenly.
Step-by-Step Guide to Making the Pain au Chocolat Dough
Mixing the Dough: Achieving the Right Consistency
The initial mixing of the dough for Pain au Chocolat is crucial. You want to develop a moderate amount of gluten – enough for the dough to be strong and elastic but not so much that it becomes tough. A typical dough hydration for viennoiseries might be around 55-60% water relative to the flour weight, plus the addition of milk, eggs, sugar, and yeast.
Ingredients like sugar and butter slow down gluten development, so the dough often requires a longer mixing time compared to lean bread doughs. The goal is to achieve a smooth, cohesive dough that passes the windowpane test, meaning you can gently stretch a small piece until it's thin enough to see light through without tearing.
Overmixing should be avoided, as it can make the dough difficult to roll out later. Conversely, undermixing will result in a weak dough that tears during lamination. After mixing, the dough's temperature is important; ideally, it should be around 75-78°F (24-26°C). This ensures the yeast is active for the first rise but doesn't become overly active before the dough is chilled for lamination. The dough should be slightly sticky but manageable, not wet or dry.
The First Rise: Developing Flavor
After mixing, the dough undergoes an initial fermentation, often called the bulk fermentation or first rise. This step is vital for developing flavor in the dough through the action of the yeast and other microorganisms. For Pain au Chocolat, this rise is typically relatively short at room temperature, perhaps 1 to 1.5 hours, followed by a much longer period in the refrigerator, often overnight (8-12 hours). The cold fermentation significantly enhances the flavor complexity and makes the dough much easier to handle for lamination because the butter stays cold and firm.
During the short room temperature rise, the dough should increase in volume by about 50%. Over-proofing at this stage can weaken the gluten structure. The subsequent cold fermentation slows down yeast activity dramatically but allows enzymes to break down starches and proteins, leading to a richer flavor profile. This chilling step is not optional; it's essential for firming up the dough and the butter to the same consistency, which is critical for successful lamination in this Pain au chocolat recipe.
The Art of Lamination: Creating Layers of Deliciousness
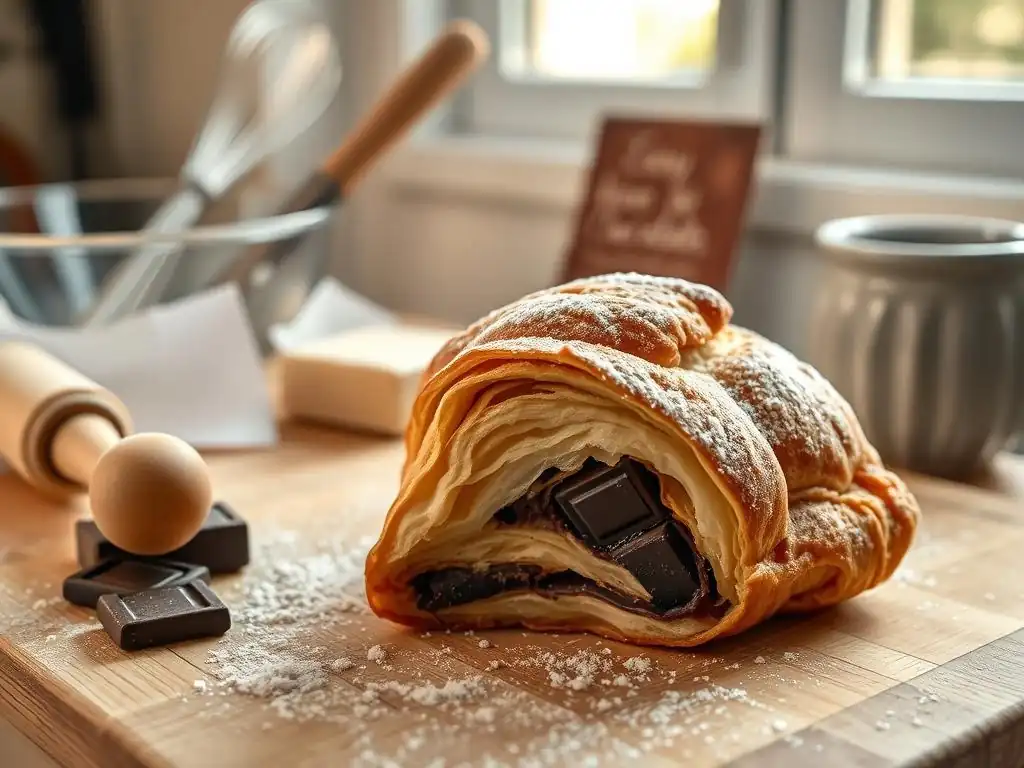
Understanding the Lamination Process for Pain au Chocolat
Lamination is the technique of repeatedly folding a block of butter into dough, creating alternating thin layers of each. When baked, the dough layers crisp up, and the butter layers melt, releasing steam that separates the dough into hundreds of flaky strata. For a classic Pain au Chocolat, the goal is usually around 55 to 729 layers, achieved through a series of single and double folds. This intricate structure is what gives viennoiseries their signature light and airy texture.
Successful lamination hinges on keeping both the dough and the butter cold and at a similar consistency. If the butter is too hard, it will break; if too soft, it will melt into the dough. The temperature of your workspace is also critical; a cool environment (ideally below 70°F or 21°C) is best. Flour the surface just enough to prevent sticking, but not so much that you incorporate excess flour into the dough, which can make it tough. Patience and gentle, even rolling are key to maintaining the integrity of the layers.
Butter Block Preparation: Ensuring Even Distribution
The butter block must be prepared precisely before being enclosed in the dough. Typically, a block of cold butter is pounded or rolled into a rectangle or square, depending on the dough shape, ensuring it's of even thickness throughout. A common ratio is about 1 part butter to 2 parts dough by weight, though variations exist. For a consistent Pain au chocolat recipe, the butter block needs to be pliable enough to roll smoothly with the dough without cracking.
To make the butter block pliable, you can gently pound it with a rolling pin or roll it between two sheets of parchment paper. Aim for a thickness of about 1/4 inch (around 6mm). The dimensions of the butter block should be roughly one-third the size of the rolled-out dough rectangle that will enclose it. This precise preparation ensures that when you fold the dough over the butter, you get an even distribution of butter within the layers from the very first fold.
Folding Techniques: Achieving Perfect Layers
The folding process is where the layers are created. There are two primary types of folds used in viennoiseries: the single fold and the double (or book) fold. A typical Pain au chocolat recipe will specify a combination of these folds, punctuated by resting periods in the refrigerator. For example, a common sequence might be one single fold, rest, one double fold, rest, and finally another single or double fold, for a total of 3 or 4 turns.
The Single Fold Explained
The single fold is the simplest type of fold. After rolling the dough with the butter block inside into a rectangle, you mentally divide the rectangle into three equal sections lengthwise. Fold one end section into the center, covering the middle section. Then, fold the remaining end section over the first folded section, as if closing a letter. This creates three layers of dough separated by two layers of butter. After completing a single fold, the dough should be rotated 90 degrees before the next rolling step.
Performing a single fold correctly means ensuring the edges meet neatly and the dough is squared off before resting. This fold increases the layer count geometrically; if you start with 3 layers (dough-butter-dough), a single fold results in 3 x 3 = 9 layers. This method is straightforward and helps build layers steadily while keeping the dough manageable.
The Double Fold Technique for Pain au Chocolat
The double fold, also known as the book fold, is a more efficient way to increase layers. After rolling the dough with the butter block into a rectangle, you fold both ends inwards so they meet precisely in the center. Then, you fold the dough in half along the center line, like closing a book. This creates four layers of dough separated by three layers of butter.
The double fold increases the layer count more rapidly than the single fold. If you have 3 layers initially, a double fold results in 3 x 4 = 12 layers. While it creates more layers per turn, it can also put more stress on the dough. It's crucial that the dough is well-rested and pliable before attempting a double fold to prevent tearing and butter leakage. This technique is often used in the middle of the lamination process for a Pain au chocolat recipe to quickly build up the desired layer count.
Resting the Dough: Relaxing the Gluten
Resting the dough in the refrigerator between folds is as important as the folds themselves. Each time the dough is rolled and folded, the gluten network is stretched and becomes tense. Trying to roll tense dough will cause it to spring back, resist shaping, and potentially tear, disrupting the delicate layers. Chilling the dough allows the gluten to relax, making it pliable and easy to roll again without resistance.
A rest period of at least 30-60 minutes in the refrigerator between each fold is generally recommended for this Pain au chocolat recipe. This also ensures the butter remains cold and firm. Wrap the dough tightly in plastic wrap to prevent it from drying out or absorbing odors from the refrigerator. Don't rush this step; adequate resting is crucial for successful lamination and ultimately, flaky Pain au Chocolat.
Shaping and Filling Your Pain au Chocolat
Preparing the Chocolate Batons: Choosing the Right Type
The chocolate filling is a defining feature of Pain au Chocolat. Traditionally, specific chocolate batons, often called bâtons de chocolat or chocolate sticks, are used. These are typically made from bittersweet or dark chocolate (around 50-60% cocoa content) and are formulated to melt nicely during baking without completely disappearing or burning. Using chocolate chips or regular chocolate bars is not recommended as they contain stabilizers or different melting properties that won't yield the same result; chips often hold their shape too much, while bar chocolate might run excessively.
You will typically need two chocolate batons per pastry. These are usually about 3-4 inches (7-10 cm) long. Ensure you have enough on hand for your batch size. The quality of the chocolate will also affect the final flavor, so choose a good-quality baking chocolate designed for this purpose. If you cannot find specific batons, cutting a block of good quality bittersweet baking chocolate into appropriate-sized sticks is an acceptable alternative for this Pain au chocolat recipe.
Cutting and Shaping the Dough: Creating the Classic Form
After the final rest period, the laminated dough is rolled out to its final thickness, typically about 1/8 inch (3-4 mm). The dough should be rolled into a large rectangle. Using a sharp knife or a pizza cutter, trim the edges to create clean, straight lines – this helps the pastries bake evenly and look professional. Then, cut the rectangle into smaller rectangles, typically about 3-4 inches (7-10 cm) wide and 6-8 inches (15-20 cm) long. The exact dimensions can vary slightly depending on how large you want your final pastries to be.
For each Pain au Chocolat, place one chocolate baton along one of the short edges of a dough rectangle. Roll the dough once to enclose the baton, then place the second baton and continue rolling to the end. This method encases the chocolate securely within the layers. Ensure the seam is on the bottom to prevent it from unrolling during proofing and baking. Roll gently and evenly to maintain the integrity of the layers you worked so hard to create.
Adding the Chocolate: The Secret to a Chocolatey Center
The placement of the chocolate batons is simple yet crucial for ensuring a perfect chocolatey center in every bite. As mentioned, you typically use two batons per pastry. Place the first baton about half an inch (1-1.5 cm) from one of the shorter edges of your dough rectangle. Roll the dough over the first baton to completely cover it. Then, place the second baton about half an inch (1-1.5 cm) from the first fold line, towards the other end of the dough rectangle.
Proper Placement of the Chocolate Batons
By placing the batons this way, you ensure that when you complete the roll, the chocolate is distributed towards the center of the pastry's length. If you placed both batons right next to each other at the start, they would end up too close to one end of the finished Pain au Chocolat. The goal is to have chocolate running through the middle section, providing a burst of melted chocolate with each bite. Ensure the batons are straight and parallel to the short edge before rolling.
Proofing the Shaped Pain au Chocolat: Achieving a Light and Airy Texture
Proofing is the final rise before baking and is critical for achieving a light, airy texture. Shaped Pain au Chocolat are placed on a baking sheet, typically lined with parchment paper, and left to rise in a warm, humid environment until they are visibly puffed up and jiggly when gently shaken. This process can take anywhere from 1.5 to 3 hours, depending on the room temperature and humidity. The ideal proofing temperature is around 75-80°F (24-27°C).
Do not over-proof, as this can cause the layers to separate prematurely or the pastries to collapse in the oven. Properly proofed Pain au Chocolat should look significantly larger, perhaps 1.5 to 2 times their original size, and feel very light. The layers should still be distinct, not blurred together. A good way to create a proofing environment is in a turned-off oven with a pan of hot water on the rack below. This provides both warmth and humidity, ideal conditions for the final rise in this Pain au chocolat recipe.
Baking Your Pain au Chocolat to Perfection
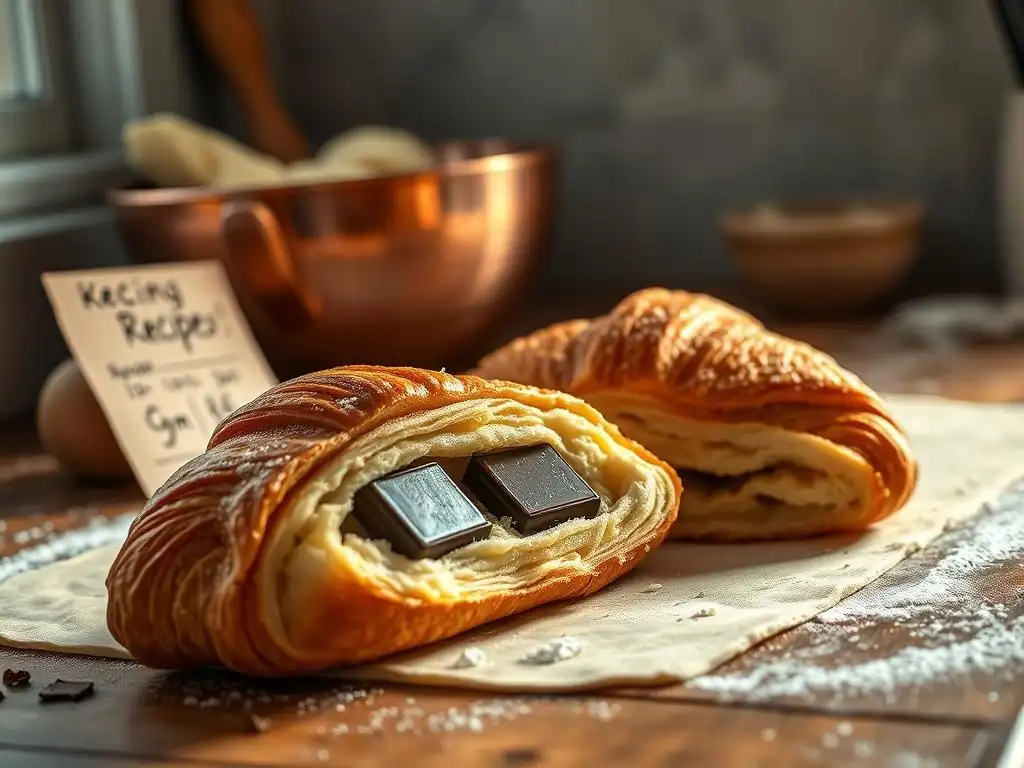
Oven Temperature and Baking Time: The Sweet Spot
Baking Pain au Chocolat requires a hot oven to create that rapid steam expansion from the butter, which pushes the layers apart. A common baking temperature range is between 375°F and 400°F (190°C and 200°C). Baking at too low a temperature will cause the butter to melt out before the layers set, resulting in greasy, flat pastries. Baking at too high a temperature might burn the exterior before the interior is fully cooked.
The baking time typically ranges from 15 to 25 minutes, depending on your oven and the size of your pastries. They are done when they are a deep golden brown all over, including the bottoms. You might need to rotate the baking sheet halfway through for even coloring. Keep a close eye on them, as the difference between perfectly golden and slightly burnt can be just a couple of minutes.
Egg Wash Application: Achieving a Golden-Brown Crust
Applying an egg wash before baking gives the Pain au Chocolat their beautiful, glossy, golden-brown finish. A standard egg wash is made by whisking one whole egg with a tablespoon or two of milk or water. For an even glossier finish, some bakers use just egg yolk mixed with a small amount of cream or water. The egg wash should be applied gently with a pastry brush to the surface of the proofed pastries.
Be careful not to let the egg wash drip down the sides and seal the layers together, as this will inhibit the layers from separating during baking. Apply an even, thin coat. Some bakers apply a second, lighter coat partway through baking, but a single, careful application before they go into the oven is sufficient for this Pain au chocolat recipe.
Baking Tips for Pain au Chocolat: Avoiding Common Mistakes
Ensuring Even Baking
To ensure all your Pain au Chocolat bake evenly, it's crucial to give them enough space on the baking sheet. Overcrowding can lead to uneven heat distribution and result in some pastries being undercooked or pale. Leave at least 1-2 inches (2.5-5 cm) between each pastry. As mentioned, rotating the baking sheet halfway through the baking time helps promote uniform browning, especially if your oven has hot spots. Using a reliable oven thermometer to check your oven's actual temperature is also highly recommended, as oven thermostats can be inaccurate by as much as 25-50°F (15-30°C).
Preventing Soggy Bottoms
Soggy bottoms are a common issue with Pain au Chocolat and other laminated pastries. They can occur if the baking sheet is not hot enough, the oven temperature is too low, or the pastries are underbaked. Using a dark metal baking sheet can help, as dark surfaces absorb more heat.
Baking directly on a preheated baking steel or stone can also provide excellent bottom heat, ensuring a crisp base. Make sure the oven is fully preheated before placing the pastries inside. If you find your bottoms are consistently pale or soft, try increasing the oven temperature slightly (by 10-15°F or 5-8°C) or baking for an extra few minutes, ensuring the tops don't burn.
Cooling and Serving Your Homemade Pain au Chocolat
Cooling Techniques: Preserving the Flakiness
Once baked to a beautiful golden brown, Pain au Chocolat should be transferred from the hot baking sheet to a wire cooling rack immediately. Leaving them on the hot pan can continue the cooking process and lead to soggy bottoms. Cooling on a wire rack allows air to circulate around the entire pastry, preventing condensation from building up on the bottom and helping to maintain the crispness of the crust and the flakiness of the layers.
While it's tempting to dive in right away, let the pastries cool for at least 15-20 minutes. This allows the internal structure to set properly and the melted chocolate to cool slightly (though it will still be wonderfully gooey). Eating them too soon can result in a doughy interior and can also lead to burnt tongues from the molten chocolate! Patience here is key to enjoying the full texture and flavor.
Serving Suggestions: Enjoying Your Pain au Chocolat
Pain au Chocolat are best enjoyed warm, ideally within a few hours of baking. The layers are at their crispiest, and the chocolate is perfectly melted. Serve them as a decadent breakfast pastry, a delightful afternoon snack, or a simple dessert. They are perfect on their own, perhaps with a cup of coffee, tea, or hot chocolate. The rich, buttery layers and the sweet, slightly bitter chocolate are a classic combination that needs little embellishment.
Consider serving them slightly warm. If they've cooled completely, a quick reheat (see storing section) can bring them back to life. Sharing your freshly baked Pain au Chocolat with friends and family is one of the most rewarding parts of this intermediate Pain au chocolat recipe journey.
Pain au Chocolat Recipe: Troubleshooting and Common Issues
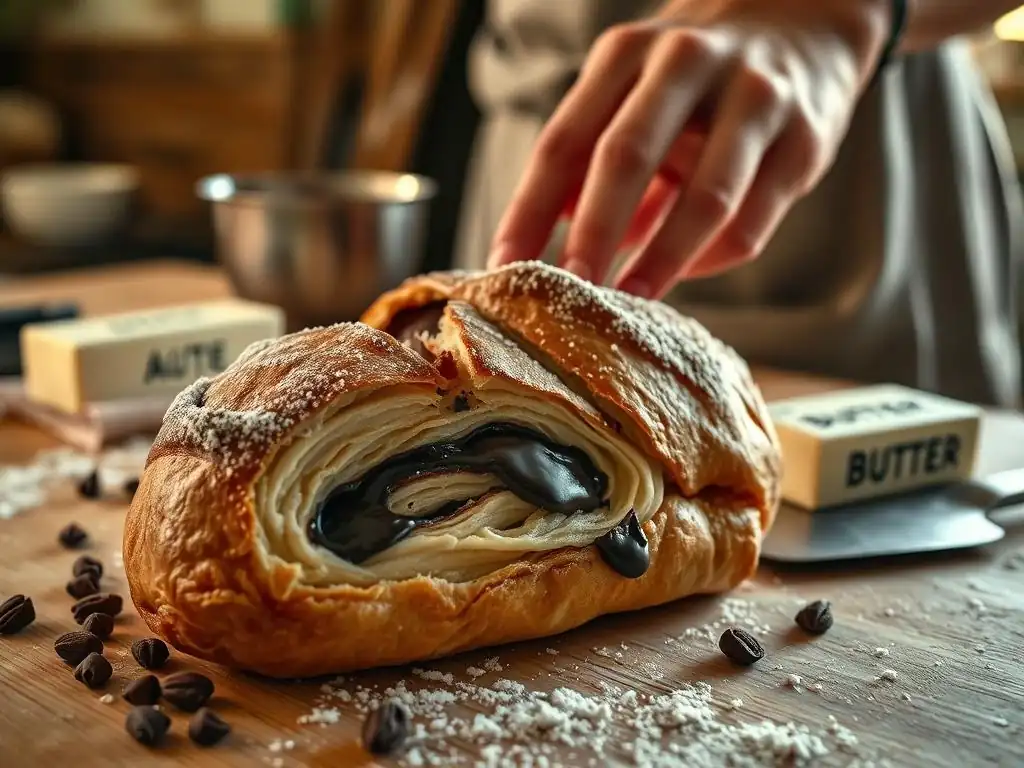
Dough Too Sticky? Solutions and Tips
If your dough is too sticky after mixing or during lamination, it can be frustrating. This often happens due to high humidity, incorrect flour measurement (too little flour), or over-hydration. If it's just slightly sticky, a little extra flour on your work surface during rolling is acceptable, but don't incorporate too much into the dough itself. If the dough is excessively sticky, it might indicate too much liquid was added. For future batches of this Pain au chocolat recipe, double-check your measurements, especially liquids and flour weights.
During lamination, if the dough becomes sticky and difficult to handle, it's a sign that it's warming up too much. Wrap it tightly and return it to the refrigerator for a longer rest period, perhaps 30-60 minutes, until it's firm and cool again. A cooler room temperature also helps significantly. Ensure your butter isn't melting into the dough, which would also make it sticky and greasy.
Butter Leaking During Baking? Prevention Strategies
Butter leaking out of your Pain au Chocolat during baking is a common issue that results in greasy pastries and a smoky oven. This usually occurs if the lamination wasn't successful – either the layers weren't sealed properly during folding, the dough tore during rolling, or the butter was too soft before baking. Insufficient proofing can also contribute, as the layers haven't fully expanded to contain the melting butter.
To prevent leaks, ensure your folds are neat and the edges are sealed (though not pressed too hard). Roll the dough gently and evenly, avoiding tears. Make sure the shaped pastries are well-chilled before proofing and that the proofing environment isn't too warm, which could melt the butter before it hits the oven. Finally, ensure your oven is fully preheated to the correct temperature; a hot oven helps the layers set quickly, trapping the butter.
Pain au Chocolat Not Rising? Addressing Proofing Problems
If your Pain au Chocolat don't rise adequately during proofing, they will be dense and heavy after baking. Lack of rise is typically due to inactive yeast, a proofing environment that is too cold or too hot, or insufficient proofing time. Ensure your yeast is fresh and active before starting the recipe. The proofing temperature should be warm but not hot – ideally between 75-80°F (24-27°C). Temperatures above 85°F (30°C) can kill the yeast or melt the butter.
Make sure you are allowing enough time for the proof. The dough needs to visibly increase in size and become airy. If your kitchen is cool, using a proofing box or the oven-with-hot-water method is very effective. If the pastries have been in a suitable environment for the correct amount of time but still haven't risen, it might indicate an issue with the yeast or initial dough development. For a successful Pain au chocolat recipe, patient and correct proofing is essential.
Storing Your Pain au Chocolat: Keeping the Freshness
Best Practices for Storing Leftover Pain au Chocolat
Pain au Chocolat are undeniably best enjoyed fresh, ideally within a few hours of baking. However, if you have leftovers, store them at room temperature in an airtight container for up to 1-2 days. Avoid refrigerating them, as this can cause the pastry to become stale quickly and lose its crisp texture. Place a paper towel in the container to absorb any excess moisture, which can make the pastries soggy.
For longer storage, Pain au Chocolat can be frozen. Once completely cool, wrap each pastry individually in plastic wrap, then place them in a freezer bag or airtight container. Frozen Pain au Chocolat can be stored for up to 1-2 months. Thaw them at room temperature before reheating.
Reheating Pain au Chocolat: Restoring the Crispy Texture
Reheating is the best way to revive leftover Pain au Chocolat and bring back some of their original crispness. The microwave is generally not recommended as it will make them soft and chewy. The best method is using an oven or toaster oven. Preheat your oven to around 325-350°F (160-175°C). Place the Pain au Chocolat directly on the oven rack or on a baking sheet.
Warm them for about 5-10 minutes, or until they are heated through and the exterior is crisp again. Keep an eye on them to prevent burning. The chocolate inside should become melty and warm. This quick reheating step makes day-old Pain au Chocolat almost as good as freshly baked, allowing you to enjoy the fruits of your labor from this intermediate Pain au chocolat recipe again.
Conclusion: Enjoying the Rewards of Baking Pain au Chocolat
Celebrate Your Baking Success with BakeWithEase
Congratulations! You've navigated the steps of this intermediate Pain au chocolat recipe, mastering techniques like lamination and proofing to create these classic French pastries in your own kitchen. This journey from simple ingredients to flaky, buttery, chocolate-filled delights is a testament to your growing baking skills. Each perfect layer and gooey chocolate center is a reward for your patience and precision throughout the process.
Sharing your homemade Pain au Chocolat is a wonderful way to celebrate your success. Whether enjoyed with family over a weekend breakfast or brought to a gathering, these pastries are sure to impress. Remember, baking is a continuous learning process. Each attempt refines your technique and deepens your understanding. With this successful Pain au chocolat recipe under your belt, you're well-equipped to explore more challenging viennoiseries and continue elevating your baking expertise with BakeWithEase.
Frequently Asked Questions
What makes this Pain au Chocolat recipe "intermediate"?
This recipe assumes some basic baking knowledge, like working with yeast dough and laminating dough. It's not for absolute beginners, but those with some experience will find it manageable.
Can I substitute any ingredients in this Pain au Chocolat recipe?
While substitutions are possible, they can affect the final result. Using high-quality butter is crucial for flakiness, and specific types of chocolate will impact the flavor.
How long does it take to make Pain au Chocolat from start to finish?
Plan for a significant time commitment. The entire process, including dough resting and proofing, can take around 4-6 hours. This accounts for the many rests the dough requires.
What is the best way to store leftover Pain au Chocolat?
Store them in an airtight container at room temperature. For longer storage, you can freeze them after baking and reheat them later for a delightful treat.
Why is lamination important in a Pain au Chocolat recipe?
Lamination, the process of folding butter into dough, creates the distinctive flaky layers that define Pain au Chocolat. Without it, you won't achieve the desired texture.
Final Reflection: The Enduring Allure of the Perfect Pain au Chocolat
The pursuit of the perfect pain au chocolat is more than just a baking challenge; it's a testament to the enduring power of simple pleasures. This recipe, designed for intermediate bakers seeking an accessible yet rewarding experience, highlights the beauty found in mastering classic techniques and appreciating high-quality ingredients. The ease of the steps belies the depth of flavor and texture achievable, proving that even seemingly complex pastries can be within reach.
The journey of creating this pain au chocolat, from initial dough mixing to the satisfying crisp of the finished product, underscores the importance of patience and precision in baking. It's a process that mirrors life itself – requiring careful attention to detail, but ultimately rewarding those who invest the time and effort. The best things in life are worth waiting for,
a sentiment perfectly embodied in the slow fermentation and careful layering of this recipe. The resulting pastry isn't just sustenance; it's an experience, a small act of self-care and culinary artistry.
Now, I invite you to step into your kitchen and embark on your own pain au chocolat adventure. Don't be intimidated by the seemingly intricate steps; embrace the process, savor the aroma of baking dough and melting chocolate, and relish the satisfaction of creating something delicious and beautiful with your own hands. The reward? A perfectly crafted pain au chocolat, and the quiet pride of knowing you baked it yourself.
Unleash Your Inner Pâtissier: Master the Pain au Chocolat!
Thanks for joining us on this delicious journey into the world of pain au chocolat! We hope you've gained the confidence and skills to create truly exceptional pastries. Ready to take your baking to the next level?
- Bake your perfect pain au chocolat: Use our recipe as a springboard and experiment! Try different types of chocolate, adjust the dough, and let your creativity flow. This is your chance to truly own this classic.
- Share your creation: Tag us on social media (@BakeWithEase) with your pain au chocolat photos – we’d love to see your masterpiece! Let's build a community of passionate bakers.
- Explore other BakeWithEase recipes: From sourdough starters to decadent cakes, our website is filled with exciting recipes perfect for every skill level.
What unique twist will you add to your pain au chocolat to make it truly your own?