
The Waiting Game: Why Cooling Croissants is Crucial

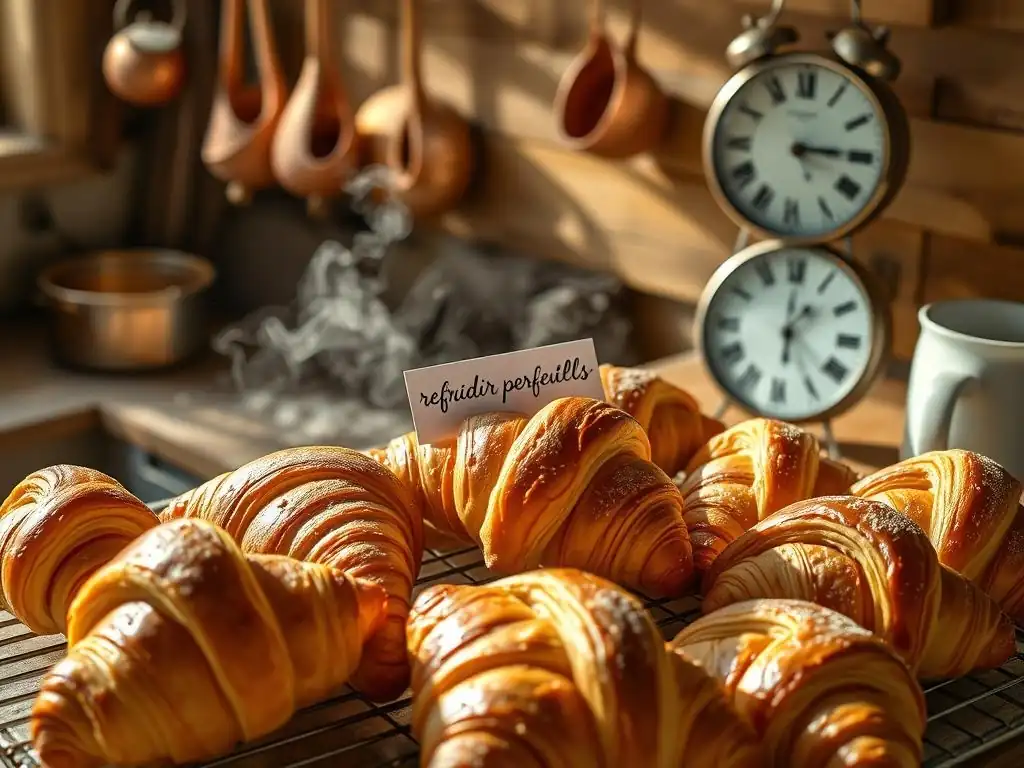
Welcome to BakeWithEase, your guide to baking bliss! Ever wondered why your perfectly baked croissants sometimes lack that flaky, airy texture? The secret lies in what happens after the oven. Discover the crucial, often overlooked step in achieving croissant perfection in our article: Cooling croissants perfectly step by step. Learn the techniques that separate amateur bakes from professional pastries, and unlock the secrets to a truly exceptional croissant experience. Intrigued? Read on to master the art of the waiting game!
- Achieving Croissant Perfection: The Critical Role of Cooling
- Mastering Croissant Cooling: A Baker's Guide
- Why Proper Croissant Cooling is Key to Baking Success
- Step-by-Step Guide to Optimal Croissant Cooling
- Common Cooling Mistakes to Avoid
- The Science of Cooling: Impact on Croissant Structure
- Enhancing Croissant Baking: Techniques Beyond Cooling
- Troubleshooting Common Cooling Issues
- Serving and Storing Perfectly Cooled Croissants
- Conclusion: Patient Cooling for Superior Croissant Quality
- Frequently Asked Questions
- Final Reflection: The Art and Science of the Perfect Croissant
- Unlock Flaky Perfection: Master the Croissant Cool-Down
Achieving Croissant Perfection: The Critical Role of Cooling
Mastering Croissant Cooling: A Baker's Guide
Baking croissants at home is a rewarding journey, filled with the delicate dance of dough lamination, proofing, and the magic that happens in the oven. Yet, one often-overlooked step holds immense power over the final outcome: the cooling process. While the aroma filling your kitchen signals success, pulling those golden beauties from the heat is only half the battle. Learning how to master cooling croissants perfectly step by step is just as vital as perfecting your fold or understanding oven temperature.
Proper cooling isn't merely about letting the croissants become safe to handle; it's a crucial phase where significant structural and flavor transformations occur. Rushing this stage can undo all the careful work that came before, leading to disappointing textures and muted flavors. This guide will walk you through the essential techniques and scientific principles behind cooling croissants perfectly step by step, ensuring your homemade pastries rival those from your favorite patisserie.
Why Proper Croissant Cooling is Key to Baking Success
The Influence of Cooling on Croissant Texture and Flavor Development
Cooling allows the internal structure of the croissant, primarily the network of gluten and gelatinized starch, to set properly. Immediately after baking, the interior is still quite moist and delicate. As the croissant cools gradually on a rack, moisture evaporates, and the starches within the dough begin to crystallize, a process known as retrogradation. This crystallization is essential for transitioning the crumb from a soft, slightly doughy state to the desirable light, airy, and slightly chewy texture characteristic of a perfect croissant interior.
Furthermore, the residual heat within the croissant continues to influence flavor compounds. While the most significant flavor development happens during baking (Maillard reactions and caramelization), the slow release of volatile aromatic compounds as the pastry cools contributes to the overall sensory experience. Prematurely cutting into or storing a hot croissant traps steam and heat, preventing proper moisture release and starch setting, which can result in a gummy interior and a less defined flavor profile compared to one that has been cooled thoroughly.
Preventing a Soggy Croissant Base: Mastering Cooling Techniques
A common frustration for home bakers is a croissant with a beautifully crisp top and sides but a disappointingly soggy or wet bottom. This issue is almost always a direct result of improper cooling. When a hot croissant is left on a flat, non-porous surface like the baking tray or a solid countertop, the steam emanating from its base has nowhere to escape. This trapped moisture condenses, creating a damp layer that quickly ruins the crispness of the bottom crust.
Mastering cooling techniques specifically addresses this issue by ensuring adequate air circulation around the entire pastry. Elevating the croissant on a wire rack allows steam to dissipate freely from all surfaces, including the base. This continuous airflow promotes even drying and setting of the crust, preventing the condensation that leads to sogginess. It's a simple technique, but absolutely critical for achieving that coveted, all-around crispy exterior that defines a perfectly baked and cooled croissant.
Step-by-Step Guide to Optimal Croissant Cooling
Step 1: Removing Croissants from the Baking Tray
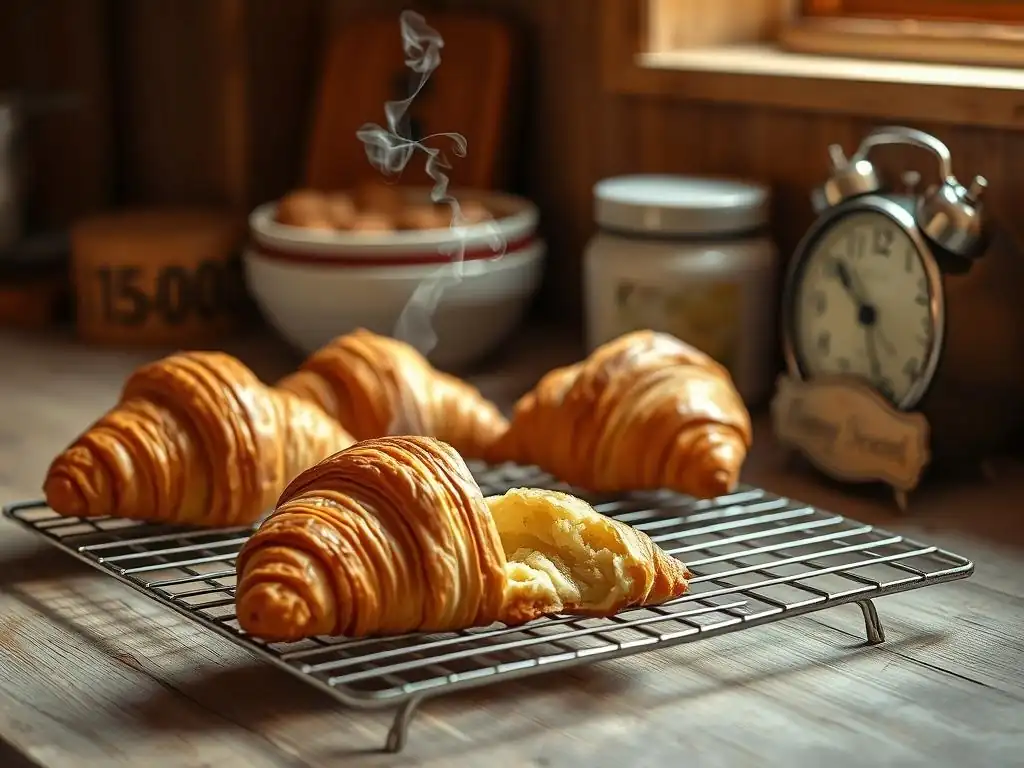
As soon as your croissants emerge from the oven, golden brown and fragrant, they are still extremely fragile. Leaving them on the hot baking tray for too long can cause the bottoms to overcook or, worse, trap steam and begin the process of developing a soggy base almost immediately. The goal is to transfer them gently but promptly to a cooling surface that allows for airflow. Aim to do this within 1-2 minutes of removing them from the oven.
Using a Wide Spatula for Gentle Transfer
To avoid damaging the delicate layers or deflating the airy interior, use a wide, flat spatula, preferably one with a thin edge. Carefully slide the spatula under the broadest part of the croissant, supporting its full weight. Lift it straight up and transfer it directly to your prepared cooling rack. Avoid using forks or narrow spatulas that can pierce or crush the pastry. Handle them with care; even a slight squeeze while hot can compact the interior crumb.
Step 2: Selecting the Ideal Cooling Rack
The type of cooling rack you use is paramount for achieving a crispy bottom crust. A rack allows air to circulate freely around the entire surface of the croissant, facilitating the evaporation of moisture. Avoid placing hot croissants directly onto countertops, cutting boards, or baking sheets, as these surfaces will trap steam and lead to sogginess.
Choosing a Wire Rack with Sufficient Elevation
Opt for a wire cooling rack with a grid pattern that is tight enough so the croissants don't fall through, but open enough to allow substantial airflow. Crucially, the rack should have feet or be placed over a surface (like a baking sheet placed upside down) that elevates it at least an inch or two above the counter. This elevation is key to ensuring that air can flow under the rack and around the base of each croissant, preventing steam from condensing and making the bottom soggy.
Step 3: Determining Adequate Cooling Time
Cooling time is not a fixed number; it varies based on several factors. As a general guideline, most standard-sized croissants require at least 30 to 60 minutes to cool completely to room temperature. Larger or denser pastries might need slightly longer, perhaps up to 75-90 minutes. Patience is truly a virtue during this stage; the full structural integrity and flavor potential are unlocked only when the croissant is fully cooled.
Factors Influencing Cooling Duration: Humidity and Size
Environmental conditions significantly impact cooling speed. In a humid kitchen or during a rainy day, moisture evaporates more slowly, meaning your croissants will take longer to cool and might require extra time on the rack to achieve optimal crispness. Conversely, a dry environment might speed up the process slightly. The size and weight of your croissants also play a direct role; a batch of mini croissants will cool much faster than large, generously filled ones. Always prioritize reaching room temperature and achieving the desired texture over a specific time estimate.
Step 4: Assessing Coolness Before Serving or Storage
How do you know when a croissant is perfectly cooled and ready? Visually, the surface should appear matte rather than shiny (which indicates residual heat and moisture). Tactilely, the entire croissant should feel firm and light, not warm or heavy.
Checking for Firmness and Crispness
Gently pick up a croissant. It should feel stable and hold its shape without collapsing. Tap the bottom; it should sound hollow and feel crisp, not soft or yielding. If the bottom feels even slightly damp or warm, it needs more time on the cooling rack. Cutting into a croissant prematurely will release trapped steam, potentially collapsing the internal structure and resulting in a gummy texture around the cut area. Wait until it feels completely cool to the touch, usually at least 30-60 minutes after coming out of the oven, before serving or storing.
Common Cooling Mistakes to Avoid
Cooling Croissants in an Airtight Container: Preventing Crispness
One of the quickest ways to ruin a perfectly baked croissant is to place it in an airtight container while it is still warm. As the warm pastry cools, it releases steam. In an airtight environment, this steam has nowhere to go and will condense on the inside of the container and on the surface of the croissants. This trapped moisture will instantly soften the beautiful crispy crust you worked so hard to achieve.
Instead of promoting crispness, cooling in an airtight container creates a steamy microclimate that turns the exterior soft and potentially soggy. The goal of cooling is to allow moisture to escape, not to trap it. Always ensure croissants are fully cooled to room temperature before considering storage, and even then, proper storage methods (discussed later) are key to maintaining texture.
Slicing Croissants Prematurely: Maintaining Structure
It's incredibly tempting to slice open a warm, fragrant croissant immediately after it comes out of the oven, perhaps to slather it with butter or fill it with jam. However, cutting into a hot croissant is detrimental to its internal structure and texture. The delicate network of gluten and starch is still setting, and the interior is filled with hot steam.
Slicing releases this steam rapidly, causing the internal structure to collapse or become compressed. The result is often a dense, gummy, or doughy interior around the cut, rather than the open, airy crumb desired. Patience is key; wait until the croissant has cooled completely to room temperature (typically 30-60 minutes) before slicing or serving to ensure the internal structure is fully set and the texture is light and airy throughout.
Handling Hot Croissants: Risk of Damage and Burns
Beyond the structural damage mentioned above, handling hot croissants poses a significant risk of burns. The layers retain heat efficiently, and the butter can be extremely hot. Attempting to move or manipulate them without proper tools can lead to dropped pastries and painful burns.
Furthermore, gripping hot croissants too firmly can easily crush their delicate layers and compromise their shape and texture before they have a chance to set. Always use a wide, flat spatula for transferring hot croissants from the baking sheet to the cooling rack. Allow them to cool undisturbed on the rack until they are at room temperature before handling them extensively for serving or storage. Safety and preserving the pastry's structure go hand-in-hand during this critical phase.
The Science of Cooling: Impact on Croissant Structure
Starch Crystallization During Cooling: Impact on Texture
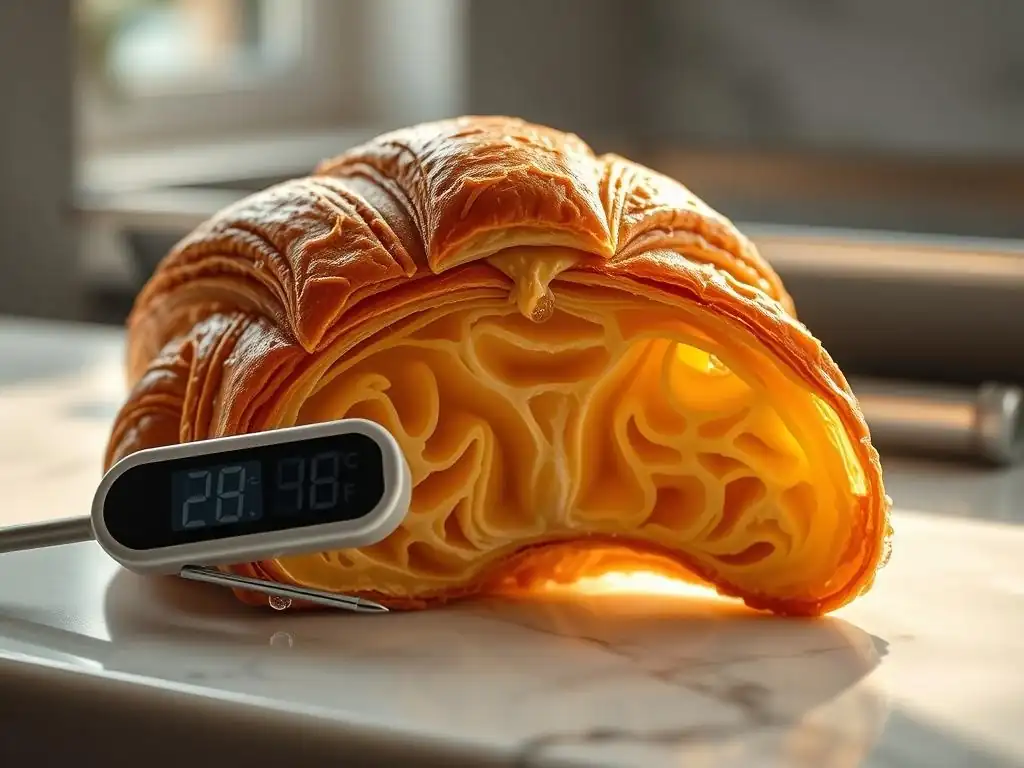
The texture transformation during croissant cooling is largely driven by the behavior of starch molecules. During baking, the starch in the flour absorbs water and swells, a process called gelatinization. This creates a soft, somewhat yielding structure in the hot pastry. As the croissant cools, the gelatinized starch molecules begin to rearrange themselves and form crystalline structures, a process known as retrogradation or staling.
This starch retrogradation is crucial for developing the characteristic crumb structure of a croissant. It causes the interior to firm up and become less sticky and more airy. While retrogradation is also the primary mechanism behind staling over time, the initial phase during cooling is essential for achieving the desired light, open, and slightly chewy texture. Proper cooling ensures this process occurs evenly throughout the pastry.
Moisture Release and Crust Development
Another critical scientific aspect of cooling croissants is the controlled release of moisture. During baking, significant amounts of water turn to steam, which helps create the layers and puff the pastry. However, residual moisture remains trapped within the hot croissant. As the croissant cools on a wire rack, this trapped moisture gradually evaporates from the surface.
This evaporation is vital for the development and preservation of the crispy crust. The loss of moisture from the outer layers makes them firm and brittle. Simultaneous to this, moisture is equilibrating within the pastry, moving from the more hydrated interior towards the drier crust and the surrounding air. Allowing sufficient time for this moisture exchange, facilitated by airflow during cooling, is what prevents the crust from becoming soft and ensures that satisfying shatter when you bite into a perfectly cooled croissant.
Enhancing Croissant Baking: Techniques Beyond Cooling
Achieving Optimal Dough Lamination: Essential Techniques
While proper cooling is vital, the foundation of a perfect croissant is built during the lamination process. This involves repeatedly folding butter into the dough to create hundreds of thin layers of alternating dough and butter.
Success hinges on maintaining cold temperatures for both the dough and the butter throughout the process, typically between 40-50°F (4-10°C). Using high-quality butter with a higher fat content (like European butter, often around 82% fat) and ensuring your folds (like the single or double turn) are precise without tearing the dough are essential steps that create the potential for flakiness that cooling then helps preserve.
A well-executed lamination, involving perhaps three single turns or a combination of turns, results in a dough with potentially hundreds of paper-thin layers. For example, three single folds create 2^(3+1) = 16 layers of dough and 15 layers of butter, which expand dramatically in the oven steam. This intricate structure, developed through careful rolling and folding, is what gives the croissant its signature airy, flaky texture. Without proper lamination, even perfect cooling cannot create that characteristic interior.
Optimizing Baking Temperature and Time for Golden-Brown Color
Baking is the stage where the laminated structure is transformed by heat, creating steam from the butter and moisture in the dough, which forces the layers apart. Achieving the correct oven temperature and baking time is crucial for developing a beautiful golden-brown color and ensuring the interior is fully cooked without being dry. A common range for baking croissants is between 375°F and 400°F (190°C and 205°C) for 20 to 25 minutes, though this can vary significantly based on oven calibration and croissant size.
Starting at a slightly higher temperature for the first 10-15 minutes helps create a rapid spring and set the layers, while potentially lowering it slightly for the remainder ensures even browning without burning. The rich, golden-brown color is a result of the Maillard reaction and caramelization on the crust, which also contributes significantly to the flavor. An underbaked croissant will be pale and potentially doughy inside, while an overbaked one will be dark and dry. Proper baking sets the stage for the structure and flavor that cooling then locks in.
Troubleshooting Common Cooling Issues
Addressing Soggy Bottoms: Improving Air Circulation
The most frequent cooling problem is a soggy bottom, caused by trapped steam. If you encounter this, it indicates insufficient airflow around the base of the croissant during cooling. The primary solution is to ensure you are always cooling your croissants on a wire rack that is elevated several inches above the counter.
If you're already using a rack and still have issues, check the density of the rack's grid – is it too fine, restricting airflow? Ensure the rack is clean and dry before use. In very humid environments, you might need to increase the elevation of the rack further or even angle a small fan to blow gently across (not directly onto) the cooling pastries to encourage evaporation, though this is usually unnecessary with proper rack elevation.
Preventing Croissant Collapse: Ensuring Proper Internal Structure
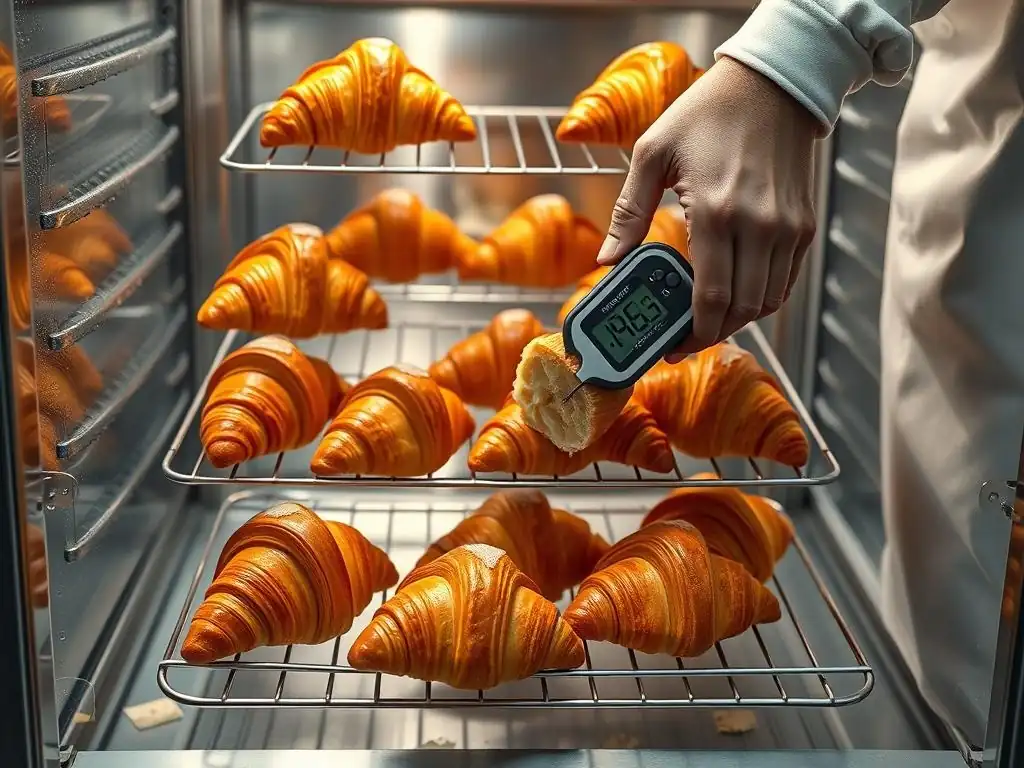
Croissant collapse during or after cooling often points to issues before the cooling stage, specifically underbaking or insufficient proofing. If a croissant collapses as it cools, it likely means the internal structure (the gluten network and gelatinized starch) was not fully set during baking. The pastry was removed from the oven before the interior had solidified enough to support itself as the steam dissipated.
To prevent this, ensure your croissants are baked thoroughly until they are deeply golden brown and feel light when lifted. Use an instant-read thermometer if necessary; the internal temperature should reach around 200-210°F (93-99°C). Also, check your proofing process – over-proofing can weaken the dough structure, making it prone to collapse in the oven or during cooling. Proper proofing allows for good oven spring and a stable internal crumb after baking.
Serving and Storing Perfectly Cooled Croissants
Creative Serving Suggestions: Showcasing the Croissant
Once your croissants have been meticulously cooled, they are ready to be enjoyed! A perfectly cooled croissant is a masterpiece on its own, best savored simply with a cup of coffee or tea. The crisp exterior and airy interior need little embellishment.
However, cooled croissants also serve as a fantastic base for various fillings and accompaniments. Slice them horizontally (only once fully cooled!) to create sandwiches filled with ham and cheese, smoked salmon and cream cheese, or fresh fruit and whipped cream. They can be warmed gently in a low oven (around 300°F or 150°C) for just a few minutes to refresh the crust slightly before serving, but avoid overheating, which can dry them out.
Maintaining Freshness: Proper Storage for Crispy Croissants
Storing cooled croissants correctly is crucial to preserving their texture. Once they are completely at room temperature (after 60+ minutes on the cooling rack), they can be stored. For consumption within 1-2 days, place them in a paper bag to allow some air circulation while preventing them from drying out too quickly. Avoid plastic bags or airtight containers, which will trap moisture and make them soft.
For longer storage, croissants freeze exceptionally well. Once fully cooled, place them in a single layer on a baking sheet and freeze until solid (about 1-2 hours). Then, transfer them to a freezer-safe airtight container or bag, squeezing out as much air as possible. Frozen croissants can last for up to 2-3 months. To enjoy, thaw at room temperature and then warm in a preheated oven (350°F or 175°C) for 5-10 minutes until crisp again.
Conclusion: Patient Cooling for Superior Croissant Quality
Summary of Effective Croissant Cooling Techniques
Mastering cooling croissants perfectly step by step involves a few critical practices. First, promptly transfer the hot pastries from the baking sheet to a wire rack using a wide spatula. Second, ensure the wire rack is elevated significantly above the counter to allow complete air circulation around the entire croissant, especially the base. Third, exercise patience and allow the croissants to cool completely to room temperature, typically 30-60 minutes or even longer depending on size and humidity, before handling or storing.
Avoiding common mistakes like cooling in airtight containers or slicing while hot is equally important. These simple techniques facilitate proper starch setting and moisture release, which are fundamental scientific processes that develop the final desired texture and flavor. Cooling is not a passive waiting period but an active phase that completes the baking process.
Final Thoughts on Cooling's Importance in Home Croissant Baking
For home bakers, understanding and implementing proper cooling techniques is the final, essential step in achieving truly excellent croissants. All the effort put into lamination, proofing, and baking culminates in this stage. Rushing the cooling process compromises the texture, leading to soggy bottoms and dense interiors, undermining all the prior work.
By diligently following the steps for cooling croissants perfectly step by step, you ensure that your beautiful, golden-brown pastries reach their full potential. The reward is a croissant with a shatteringly crisp exterior and a light, airy, flavorful interior – the hallmark of a perfectly baked and perfectly cooled treat straight from your own kitchen. Patience during cooling is the key to unlocking this final level of croissant perfection.
Frequently Asked Questions
Why is cooling croissants properly so important?
Cooling croissants correctly allows the internal structure to set and the layers to solidify, preventing them from becoming soggy or collapsing. It's crucial for achieving that perfect flaky texture.
How long should I cool croissants for?
Generally, croissants need to cool for at least 1-2 hours at room temperature. This allows ample time for the internal moisture to evaporate and the pastry to stabilize.
What happens if I cut into a croissant before it's fully cooled?
Cutting into a warm croissant often results in a gummy texture and a loss of its flaky layers. The internal steam hasn't fully dissipated, causing it to collapse.
Can I speed up the cooling process for croissants?
While tempting, avoid drastic measures. Gentle airflow from a fan might help slightly, but rapid cooling can negatively affect the final texture and overall quality.
What's the best way to store croissants after they've cooled?
Once completely cooled, store croissants in an airtight container at room temperature for up to two days. For longer storage, consider freezing them after they've cooled completely to preserve their texture and flavor.
Final Reflection: The Art and Science of the Perfect Croissant
The seemingly simple act of cooling a croissant is, in reality, a crucial step in unlocking its full potential. A perfectly cooled croissant boasts a crisp, flaky exterior and a tender, airy interior – a testament to the baker's dedication and understanding of this often-overlooked process. Ignoring this vital stage risks a soggy, disappointing end product, undermining all the hard work that went into crafting the pastry itself.
The impact of proper croissant cooling extends beyond the individual enjoyment of a delicious pastry. It speaks to a broader appreciation for the meticulous detail and precision required in culinary arts. The careful attention to temperature and time reflects a respect for the ingredients and the process, a philosophy that resonates far beyond the kitchen. The details are not the details. They make the design.
– Charles Eames. This quote perfectly encapsulates the importance of seemingly minor steps like cooling, which ultimately define the quality of the final product.
Now, consider your own baking journey. Perhaps you've experienced the frustration of a less-than-perfect croissant. I invite you to experiment with the cooling techniques outlined in this article, paying close attention to the subtle shifts in texture and flavor. Embrace the waiting game; it's a testament to patience and a key to unlocking the true magic of the croissant. The reward? A pastry that transcends mere sustenance, becoming a moment of exquisite sensory pleasure, a testament to your dedication and a delicious reward for your efforts.
Unlock Flaky Perfection: Master the Croissant Cool-Down
Thanks for joining us on this croissant journey! You've now unlocked the secrets to achieving that perfect, flaky texture. Ready to take your baking skills to the next level?
- Perfect your technique: Try making a batch of croissants this week, focusing on the crucial cooling stages. Note the difference it makes!
- Share your success: Post a picture of your perfectly cooled croissants on social media and tag us—we'd love to see your creations!
- Explore other BakeWithEase recipes: Discover more techniques for achieving bakery-quality results in our extensive recipe collection.
So, what's your biggest challenge when it comes to baking the perfect croissant? Let's discuss in the comments below!