
DIY Proofing Box for Perfect Croissant Rise

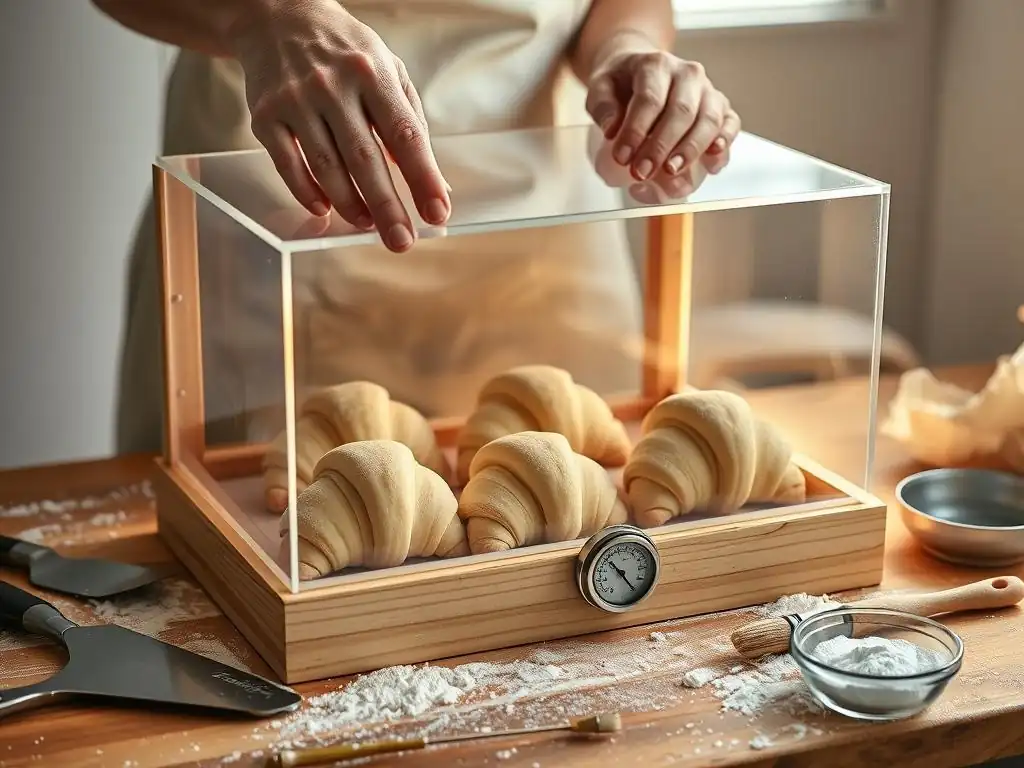
Welcome to BakeWithEase, your trusted guide to baking bliss! Ever dream of achieving that perfectly flaky, sky-high croissant but struggle with inconsistent proofing? You're not alone! This article unveils the secrets to building your own DIY croissant proofing box, a game-changer for any aspiring viennoiserie artist. Intrigued? Let's dive in and unlock the secrets to professional-quality results, all from the comfort of your own kitchen.
- DIY Proofing Box for Perfect Croissant Rise: BakeWithEase Guide
- Introduction: Achieving Croissant Perfection at Home
- What is a Proofing Box and Why You Need One for Croissants?
- Building Your Own DIY Croissant Proofing Box: A Step-by-Step Guide
- Fine-Tuning Your DIY Proofing Box for Croissant Excellence
- Pro Tips for Proofing Croissants in Your DIY Box
- Alternative Proofing Methods (and Why a DIY Box is Better)
- Conclusion: Elevate Your Croissant Baking with a DIY Proofing Box
-
Frequently Asked Questions
- How does a DIY proofing box help with croissant baking?
- What are the essential components of a DIY croissant proofing box?
- Why is temperature control so important for croissant proofing?
- Can I use my oven as a DIY proofing box for croissants?
- What are some common mistakes to avoid when using a DIY proofing box for croissants?
- Final Reflection: The Humble Box and the Perfect Croissant
- Unleash Your Inner Croissant Artist!
DIY Proofing Box for Perfect Croissant Rise: BakeWithEase Guide
Introduction: Achieving Croissant Perfection at Home
Why Proofing is Crucial for Flaky Croissants
Proofing is a non-negotiable step in the journey to perfect croissants. It's the period where yeast ferments sugars in the dough, producing carbon dioxide gas. This gas is trapped by the gluten structure, causing the dough to rise and expand.
For croissants, proper proofing is paramount because it not only develops flavor and texture but also allows the delicate layers of butter and dough to separate effectively, creating that characteristic flaky, airy interior. Without sufficient proofing, the dough will be dense, the layers won't separate properly during baking, and you'll end up with a heavy, bread-like pastry rather than a light, crisp croissant.
Beyond just rising, proofing at the right temperature and humidity ensures the butter remains solid enough to maintain distinct layers but soft enough to expand with the dough. An under-proofed croissant will burst in the oven, leaking butter, while an over-proofed one can collapse. The ideal proofing environment encourages the yeast activity needed for volume while preserving the structural integrity of the laminated dough. This delicate balance is why consistent, controlled proofing is the secret weapon for professional-quality croissants at home.
The Challenge of Consistent Croissant Proofing
Achieving consistent conditions for croissant proofing can be surprisingly difficult in a standard home kitchen. Room temperature fluctuates throughout the day and with the seasons, and ambient humidity levels are rarely stable. Croissant dough is particularly sensitive to these variations. If the environment is too cold, the yeast is sluggish, leading to a slow, insufficient rise. If it's too warm, the butter can melt prematurely, ruining the layers, or the dough can over-proof rapidly. Low humidity can cause the surface of the dough to dry out and form a skin, restricting expansion and potentially tearing the delicate layers.
Many home bakers struggle to find a spot that maintains a steady temperature, typically between 75°F and 80°F (24°C to 27°C), and a high humidity level, ideally around 70-80%, for the required proofing time, which can range from 1.5 to 3 hours depending on the recipe and environment. Relying on the oven with the light on or a warm spot near a window often leads to inconsistent results – hot spots, dry air, or insufficient warmth. This variability makes achieving that perfect, ethereal croissant rise a frustrating challenge for even experienced bakers.
Introducing the DIY Croissant Proofing Box Solution
The solution to inconsistent home proofing lies in creating a controlled microclimate specifically designed for your croissant dough: a DIY croissant proofing box. This simple, homemade setup allows you to regulate both the temperature and humidity, providing the ideal environment for your croissants to rise perfectly, every time. By building your own proofing box, you take the guesswork out of this critical step, ensuring reliable results regardless of your kitchen's ambient conditions.
A DIY proofing box for croissants doesn't require expensive equipment or complex construction. It leverages basic principles of insulation, gentle heating, and moisture control using readily available materials. This approach empowers you to replicate the stable conditions found in professional bakeries, giving your laminated dough the best possible chance to develop its full potential. Investing a little time in setting up a DIY croissant proofing box is one of the most impactful steps you can take to elevate your home croissant baking from good to truly exceptional.
What is a Proofing Box and Why You Need One for Croissants?
Understanding the Ideal Proofing Environment for Croissants
The ideal proofing environment for croissant dough is a warm, humid space that encourages yeast activity without melting the carefully layered butter. Yeast thrives in temperatures typically ranging from 75°F to 80°F (24°C to 27°C). Within this range, fermentation occurs efficiently, producing the gas needed for expansion. However, equally important is humidity. Croissant dough needs a humid environment, roughly 70% to 80% relative humidity, to prevent the surface from drying out. A dry surface forms a skin that inhibits the dough's ability to expand uniformly, potentially tearing the delicate layers and resulting in misshapen or dense croissants.
This specific combination of warmth and high humidity is crucial for croissants because of their unique structure involving multiple layers of dough and butter. The butter, which is solid at refrigerator temperatures, needs to soften slightly during proofing so it can expand alongside the dough in the oven. If the temperature is too high, the butter melts and is absorbed by the dough, destroying the layers.
If the humidity is too low, the dough surface hardens before it's fully proofed. A proofing box provides the necessary control to maintain this precise balance, ensuring the dough rises properly while the butter layers remain distinct and ready to create flakiness during baking.
Benefits of Using a Proofing Box for Croissant Dough
Using a proofing box offers numerous benefits for home croissant bakers, primarily centered around control and consistency. The most significant advantage is the ability to maintain a stable temperature and humidity level, eliminating the unpredictable variables of your kitchen environment. This stability ensures that your croissants proof at the optimal rate, preventing issues like under-proofing or over-proofing due to temperature fluctuations. Consistent conditions mean consistent results – croissants with reliable volume, texture, and flakiness batch after batch.
Furthermore, a proofing box protects the delicate dough from drafts, which can cause uneven proofing or dry out the surface. It also provides a dedicated space, keeping the dough safe from accidental bumps or changes in ambient temperature. For a sensitive dough like croissants, this controlled environment is not just helpful; it's transformative. It allows the baker to follow proofing times more accurately, leading to better predictability and a higher success rate in achieving those sought-after light, airy, and perfectly layered croissants. Building a DIY croissant proofing box is an investment in consistent baking excellence.
Controlling Temperature and Humidity for Optimal Croissant Rise
Effective control of temperature and humidity is the core function of a good proofing box, and it's particularly vital for the nuanced requirements of croissant dough. Temperature control, typically aiming for 75-80°F (24-27°C), ensures the yeast is active enough for a proper rise but not so warm that the butter melts. This can be achieved using a gentle heat source that slowly warms the air within the enclosed space. Monitoring this temperature accurately with a thermometer is key.
Humidity control, targeting 70-80% relative humidity, prevents the dough surface from drying and allows for maximum expansion. This is often achieved by including a source of moisture, such as a tray of hot water, within the enclosed space. The warm air helps evaporate the water, increasing the humidity.
A hygrometer can be used to monitor humidity levels, though visually checking for condensation on the inside of the box or simply ensuring the water source is present is often sufficient for a DIY setup. Together, these controlled conditions create the perfect microclimate for laminated dough, allowing the gluten structure to relax and expand while the butter layers remain intact, ready to perform their magic in the oven.
Building Your Own DIY Croissant Proofing Box: A Step-by-Step Guide
Gathering Your Materials for the Home-Made Proofing Box
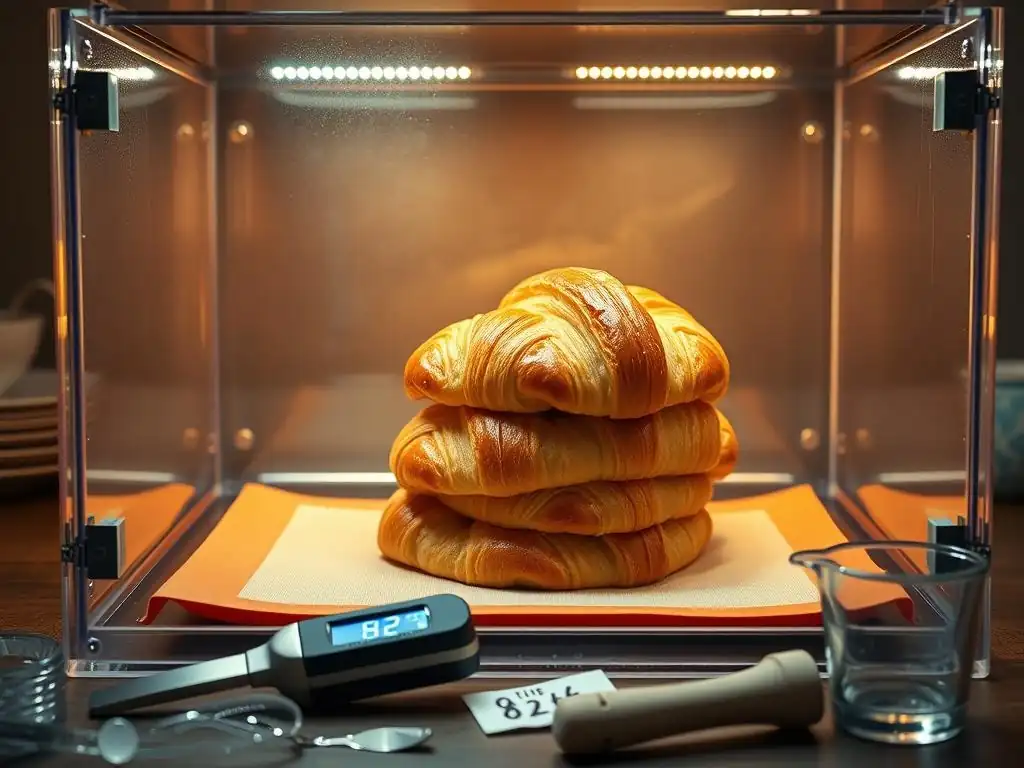
Building a functional DIY croissant proofing box is simpler than you might think and uses materials that are often readily available or inexpensive to purchase. The goal is to create an insulated, enclosed space where you can maintain a consistent warm, humid environment. You'll need a container to serve as the main chamber, a gentle heat source to raise the internal temperature slightly above room temperature, and a way to introduce moisture for humidity. Tools for monitoring temperature and humidity are also highly recommended to ensure optimal conditions.
- [ ] A large, clear plastic storage container with a lid (big enough to hold your proofing trays/baking sheets). A container around 60-70 liters capacity is a good starting point for typical home baking needs.
- [ ] A source of gentle, consistent heat. Options include a seedling heat mat (commonly used for starting plants), a low-wattage incandescent light bulb (e.g., 25 or 40 watts) in a ceramic socket, or simply using a tray of hot water.
- [ ] A small digital thermometer/hygrometer combo unit for monitoring the internal environment. These are widely available online for under $20.
- [ ] A rack or elevated platform to keep your dough trays above the heat source or water tray (e.g., cooling racks, small blocks of wood, or even crumpled aluminum foil).
- [ ] A small tray or container to hold water for humidity (if not using a hot water bath as the heat source).
Essential Materials: Container, Heating Element, Thermometer, Hygrometer
Let's look closer at the core components of your DIY croissant proofing box. The container serves as the insulated chamber. A clear plastic tub is ideal because it's lightweight, easy to clean, and allows you to see the dough without opening the box, which can disrupt the internal environment. Size matters – ensure it's large enough to comfortably fit your baking sheets or proofing trays with room for the dough to expand upwards. A container approximately 24 inches long, 16 inches wide, and 12 inches deep (60x40x30 cm) is often suitable for a batch of 12-16 croissants.
The heating element provides the necessary warmth. A seedling heat mat is a popular choice because they provide a gentle, regulated heat, typically raising the surface temperature just enough to create the desired 75-80°F air temperature inside an enclosed box. A low-wattage light bulb placed safely in a heat-resistant socket can also work, but requires more careful placement to avoid hot spots. The thermometer and hygrometer are your control panel; they give you real-time data on the conditions inside, allowing you to make adjustments as needed. A combined digital unit is convenient and relatively inexpensive.
Step 1: Choosing the Right Container for Your DIY Proofing Setup
The foundation of your DIY croissant proofing box is the container. It needs to be large enough to comfortably hold your baking sheets or proofing trays with adequate headroom for the croissants to double in size. Consider the typical size of your baking sheets – standard half-sheet pans (approx. 18x13 inches) are common. A plastic storage tub around 60-70 liters in volume is usually sufficient to accommodate one or two half-sheet pans, allowing space for air circulation and expansion.
Opt for a container with a well-fitting lid to help trap heat and humidity. Clear plastic is beneficial as it allows you to visually check on your croissants' progress without opening the box and disturbing the controlled environment. Ensure the container is clean and food-safe, although the dough itself will likely be on a tray or baking paper, not directly in contact with the plastic. The sturdiness of the container is less critical than its size and ability to seal relatively well.
Step 2: Implementing a Gentle Heating System
The goal is to gently warm the air inside the box to the target temperature range of 75-80°F (24-27°C). Overheating is detrimental as it will melt the butter. Several simple methods can achieve this:
Options for Heating: Seedling Heat Mat, Light Bulb, or Water Bath
- Seedling Heat Mat: This is perhaps the most common and easiest method for a DIY croissant proofing box. Place the heat mat at the bottom of the container. It provides a consistent, low level of heat that is usually perfect for proofing. Ensure the mat covers a significant portion of the bottom surface area for even heat distribution. Place your elevated rack or platform above the heat mat so the dough trays are not in direct contact with the heat source.
- Low-Wattage Light Bulb: A 25W or 40W incandescent bulb in a ceramic socket can also generate enough heat. Position the light safely, perhaps mounted to the side or lid, ensuring it doesn't touch the plastic walls or the dough. Use a safety cage or shield if necessary. This method can sometimes create hot spots, so careful monitoring with your thermometer is essential.
- Hot Water Bath: One of the simplest methods requires no electrical components. Place a tray of very hot (but not boiling) water at the bottom of the container. The evaporating water will warm the air and provide humidity simultaneously. You may need to refresh the hot water periodically during the proofing time, especially for longer proofing periods, to maintain the temperature and humidity levels. This method works well but might require more attention than a heat mat.
Step 3: Monitoring Temperature and Humidity Inside the Proofing Box
Accurate monitoring is crucial for successful proofing in your DIY croissant proofing box. You need to know that the temperature is within the ideal 75-80°F range and that humidity is sufficiently high (ideally 70-80%).
Place your digital thermometer/hygrometer inside the proofing box, ideally near where the dough will sit but not directly touching the heat source or water. Close the lid and allow the box to sit for 15-30 minutes with the heat source (if electric) running or the hot water tray in place. Check the readings. If the temperature is too low, you might need a stronger heat source or better insulation for the box.
If it's too high, you might need to vent the box slightly or use a weaker heat source. If humidity is too low, ensure your water source is adequate and hot enough to evaporate, or add another small dish of water. Getting these levels right before you put your precious croissant dough in is key to success.
Step 4: Assembling and Testing Your DIY Croissant Proofer
Once you have your materials, assembly is straightforward.
- Place your chosen heat source (seedling mat or hot water tray) at the bottom of the container. If using a light bulb, secure it safely.
- Place your elevated rack or platform above the heat source or water tray. Ensure there is space below the rack for air circulation.
- Position your thermometer/hygrometer on the rack or an elevated spot near where the dough will sit.
- Close the lid securely.
- Run a test cycle: Turn on the heat source (if electric) or place hot water in the tray. Let the box sit for 30-60 minutes.
- Monitor the temperature and humidity readings. Make adjustments to the heat source, ventilation (cracking the lid slightly), or water source until you can consistently achieve temperatures between 75°F and 80°F (24°C to 27°C) and humidity around 70-80%. It might take a couple of tests to fine-tune your specific setup. Your completed DIY croissant proofing box is now ready for action!
Fine-Tuning Your DIY Proofing Box for Croissant Excellence
Maintaining Optimal Temperature for Croissant Dough Proofing
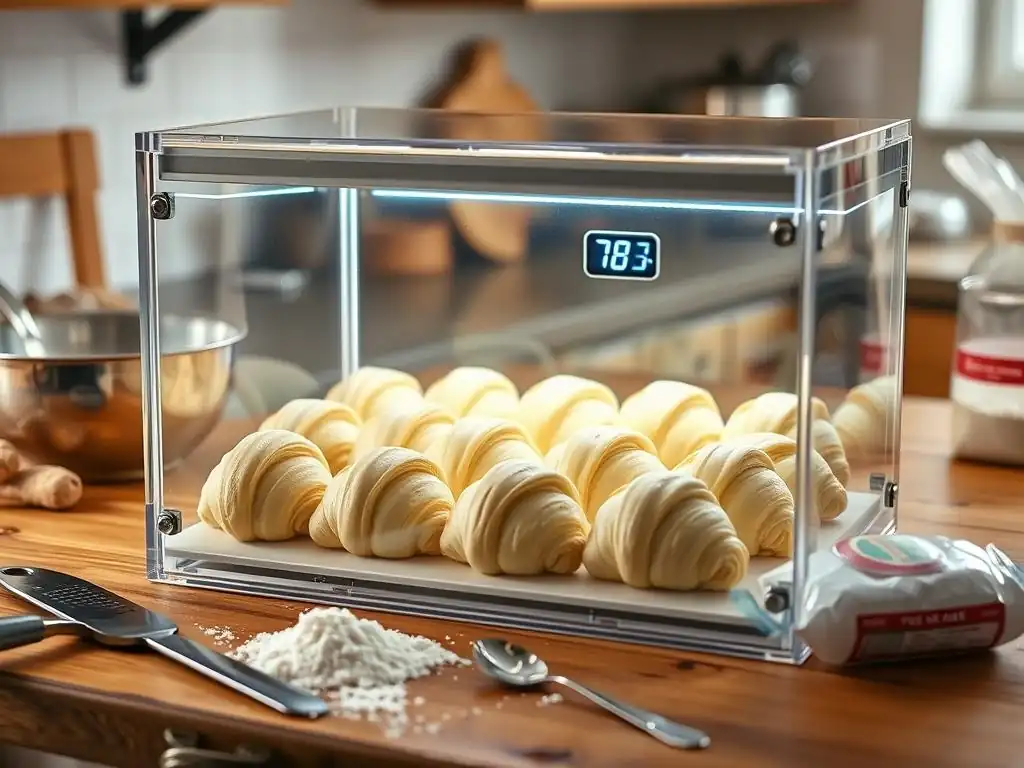
Maintaining the correct temperature is paramount for successful proofing of laminated dough like croissants. The target range of 75°F to 80°F (24°C to 27°C) encourages vigorous yeast activity without melting the butter layers. Using your thermometer, check the temperature periodically during proofing, especially in the first 30-60 minutes as the box stabilizes. If using a heat mat, it generally provides a stable temperature. If using a light bulb, monitor for hot spots; you might need to adjust the bulb's position or add a small fan (carefully placed outside the box) to circulate air gently.
If your box gets too warm, slightly crack the lid to allow some heat to escape. If it's too cool, ensure your heat source is adequate or consider insulating the outside of the box with blankets or towels. Consistency is key – try to keep the temperature within your target range for the entire proofing duration. This stable warmth ensures the yeast works efficiently and evenly throughout the dough, leading to a uniform rise and structure.
Recommended Temperature Ranges for Different Croissant Doughs
While 75-80°F (24-27°C) is a general guideline for proofing croissants, some recipes or specific dough types might suggest slightly different temperatures. For instance, some might recommend the lower end of the spectrum, around 75°F (24°C), for a slower, more controlled rise that potentially develops more complex flavors. Others might lean towards 80°F (27°C) for a slightly faster proof, which can be useful in humid climates or with specific yeast strains.
It's crucial to consult your specific croissant recipe for its recommended proofing temperature. However, staying within the 75-80°F (24-27°C) range is generally safe and effective for most standard laminated croissant doughs. Temperatures significantly below this range will slow proofing considerably, while temperatures much above 80°F (27°C) risk melting the butter, compromising the delicate layers. Your DIY croissant proofing box gives you the power to hit these specific temperature targets reliably.
Regulating Humidity Levels for a Perfect Croissant Rise
Humidity is the unsung hero of croissant proofing. A high humidity level, around 70-80%, prevents the dough surface from forming a dry skin. This skin is problematic because it restricts the dough's ability to expand freely and evenly, potentially leading to tears or an uneven shape. Moist air keeps the dough surface pliable, allowing it to stretch smoothly as the internal gases expand.
The easiest way to achieve high humidity in your DIY croissant proofing box is by including a source of water that can evaporate. A tray of hot water placed at the bottom of the box (below the dough) is highly effective. The warm air from your heat source (or the hot water itself) will cause the water to evaporate, filling the box with moisture.
If using a heat mat or light bulb, ensure the water tray is present and contains hot water throughout the proofing time. You can also lightly mist the inside walls of the box with water, though the hot water tray method is generally more consistent. Your hygrometer will help you confirm that you are in the desired 70-80% range.
Troubleshooting Common Issues with Your DIY Proofing Box
Even with a well-built DIY croissant proofing box, you might encounter some common issues. Knowing how to troubleshoot them will help you achieve perfect results consistently.
Dough Drying Out
If the surface of your croissant dough is drying out and forming a skin, the humidity in your proofing box is too low.
- Solution: Ensure your water source is adequate. If using a hot water tray, make sure the water is hot enough to evaporate and that there is enough of it. You might need to refill it with hot water partway through proofing. Consider adding a second small dish of hot water or lightly misting the inside walls of the box (avoiding direct contact with the dough). Check your hygrometer reading to confirm the humidity level.
Dough Over-Proofing
Over-proofing typically occurs when the temperature is too high or the proofing time is too long. The dough will look very puffy and fragile, and might even start to collapse slightly.
- Solution: Check your thermometer. If the temperature is consistently above 80°F (27°C), reduce the heat source or slightly crack the lid to lower the temperature. Also, keep careful track of proofing time. Learn to recognize the visual cues of properly proofed dough (described in a later section) rather than relying solely on time, as proofing speed can vary slightly.
Uneven Temperature Distribution
If some croissants on your tray are proofing faster than others, you might have hot or cool spots in your box.
- Solution: Ensure your heat source is positioned centrally or distributed evenly (like a heat mat covering most of the bottom). If using a light bulb, try diffusing the heat or adding a small, safe fan (outside the box, blowing towards a vent) to gently circulate the air inside. Using an elevated rack ensures air can circulate below the dough trays, helping even out the temperature.
Pro Tips for Proofing Croissants in Your DIY Box
Preparing Your Croissant Dough for Proofing
Before placing your croissants in the DIY proofing box, ensure they are properly shaped and placed on a baking sheet lined with parchment paper, spaced well apart as they will expand significantly. Some bakers like to give the shaped croissants a brief chill in the refrigerator (15-20 minutes) before proofing. This can help firm up the butter slightly, preventing it from melting too quickly when introduced to the warm, humid environment of the proofing box.
Place the baking sheet containing the shaped croissants onto the elevated rack inside your proofing box. Ensure the lid is securely closed to maintain the internal environment. Position your thermometer/hygrometer where you can easily read it. Now, monitor the temperature and humidity to ensure they are within the optimal ranges (75-80°F / 24-27°C and 70-80% humidity).
Optimal Proofing Time for Croissants
Optimal proofing time for croissants isn't a fixed number; it depends on several factors, including the recipe, the dough temperature before proofing, the strength of your yeast, and crucially, the temperature and humidity inside your DIY croissant proofing box. Typically, croissants proofing in a controlled environment of 75-80°F (24-27°C) and 70-80% humidity will take between 1.5 to 3 hours.
Instead of strictly adhering to a time, it's best to watch the dough itself. The time range serves as a guideline. Begin checking on your croissants after about 1.5 hours. The visual cues for readiness are the most reliable indicator.
Recognizing When Your Croissants are Ready for Baking
Knowing when your croissants are perfectly proofed is perhaps the most critical skill to develop. They should be significantly increased in volume, roughly doubled in size, but not necessarily exactly doubled. They should look puffy and feel very light and delicate.
The key test is the "jiggle test" or the "poke test." Gently jiggle the baking sheet; the croissants should wobble slightly, indicating a light, airy internal structure. For the poke test, gently press the side of a croissant with a lightly floured finger. If the indentation springs back very slowly, leaving a slight mark, the croissant is likely perfectly proofed. If it springs back quickly, it needs more time. If it doesn't spring back at all and collapses slightly, it's likely over-proofed. Trust your observations over the clock, especially when using a new DIY croissant proofing box setup.
Alternative Proofing Methods (and Why a DIY Box is Better)
Traditional Oven Proofing (and its Limitations)
A common home method is proofing dough in a slightly warm oven, often with just the oven light on. This method can provide some warmth, as the light bulb generates a small amount of heat, raising the oven temperature slightly above ambient. Sometimes, bakers place a pan of hot water on the bottom rack to add humidity.
However, this method has significant limitations, especially for sensitive dough like croissants. The temperature provided by the oven light is often inconsistent and rarely reaches the optimal 75-80°F (24-27°C) range needed for efficient yeast activity in laminated dough. Furthermore, the heat distribution can be uneven, creating hot spots.
While the hot water can add humidity, it's difficult to maintain a consistent level without a sealed environment and a hygrometer. Relying on oven proofing often leads to variable results, from under-proofed centers to melted butter layers, making it less reliable for achieving consistently perfect croissants compared to a controlled DIY croissant proofing box.
Using a Microwave as a Proofing Box (and its Risks)
Some home bakers attempt to use a microwave oven as a makeshift proofing box, often by heating a cup of water inside until steamy, then placing the dough inside the warm, humid environment created by the steam. The microwave door provides a relatively sealed space to trap the warmth and moisture.
While this method can provide initial warmth and humidity, it's difficult to maintain the conditions over the necessary proofing time (1.5-3 hours). The microwave cools down relatively quickly, and the humidity dissipates. Reheating the water requires opening the door, disrupting the environment and potentially jostling the delicate dough. There's also the risk of accidentally turning the microwave on with the dough inside, which would be disastrous. Compared to a dedicated DIY croissant proofing box with a continuous, low heat source and stable humidity, the microwave method offers less control and carries greater risks.
Why a DIY Proofing Box Offers Superior Control
A DIY croissant proofing box, when properly constructed and monitored, offers a level of control over temperature and humidity that far surpasses typical alternative home methods. You can actively regulate the heat source to maintain the precise 75-80°F (24-27°C) range and ensure consistent high humidity (70-80%) for the entire proofing duration. This stability is crucial for allowing the yeast to work optimally and the butter layers to remain intact and pliable.
The ability to monitor conditions with a thermometer and hygrometer provides real-time feedback, allowing you to make adjustments as needed – something impossible with just an oven light or microwave steam. This controlled environment minimizes variables, leading to more predictable and successful proofing outcomes. For anyone serious about baking consistently flaky, airy, and perfectly shaped croissants at home, building and using a DIY croissant proofing box is a game-changer that provides the necessary precision for professional-level results.
Conclusion: Elevate Your Croissant Baking with a DIY Proofing Box
Creating a DIY croissant proofing box is a practical and effective way to overcome the challenges of proofing delicate laminated dough like croissants in a home environment. By providing a controlled space where you can maintain optimal temperature (75-80°F / 24-27°C) and humidity (70-80%), you eliminate the variables that often lead to inconsistent or disappointing results. This simple setup allows the yeast to thrive, the gluten structure to develop properly, and the butter layers to remain distinct, all of which are essential for achieving that signature light, flaky texture and beautiful volume.
Building your own proofing box using readily available materials is an accessible project that empowers you to take charge of a critical step in the baking process. It provides a reliable environment for your croissant dough, ensuring consistent proofing regardless of the weather or temperature fluctuations in your kitchen. With a DIY croissant proofing box, you move beyond hoping for good results and step into the realm of predictable croissant perfection.
Enjoy Consistent, Professional-Quality Croissants at Home
The effort invested in building and using a DIY croissant proofing box pays off handsomely in the quality of your final product. No more guessing if your proofing spot is warm enough or humid enough. You can confidently place your carefully shaped croissants into their controlled environment, knowing they have the best possible conditions to rise to their full potential.
This controlled proofing leads directly to croissants that are consistently light, airy, and beautifully layered after baking. You'll find your croissants bake more evenly, with a golden-brown exterior and a perfectly open, honeycomb interior crumb. Elevate your home baking skills and enjoy the satisfaction of pulling trays of professional-quality croissants from your oven, all thanks to the consistent environment provided by your homemade DIY croissant proofing box.
Frequently Asked Questions
How does a DIY proofing box help with croissant baking?
A DIY proofing box provides a controlled environment for your croissants to rise, ensuring consistent temperature and humidity. This promotes optimal yeast activity for a light and airy final product.
What are the essential components of a DIY croissant proofing box?
Typically, a DIY proofing box needs a heat source (like a light bulb or heating pad), a container to hold the dough, and a way to regulate humidity (like a bowl of water). Precise temperature control is key.
Why is temperature control so important for croissant proofing?
Croissants require a specific temperature range for optimal proofing. Too cold and the yeast will be inactive; too hot and the butter layers will melt, resulting in a dense and greasy croissant.
Can I use my oven as a DIY proofing box for croissants?
Yes, you can, but with caution. Use the oven's lowest setting or just the oven light. Regularly monitor the temperature with an oven thermometer to prevent overheating and butter melting.
What are some common mistakes to avoid when using a DIY proofing box for croissants?
Overheating is a major issue, so monitor the temperature diligently. Also, ensure adequate humidity to prevent the dough from drying out. Avoid drafts that can cause uneven proofing.
Final Reflection: The Humble Box and the Perfect Croissant
The pursuit of the perfect croissant isn't just about technique; it's about control over the environment. A perfectly risen croissant, with its delicate layers and airy texture, is a testament to the power of understanding – and controlling – the subtle nuances of fermentation. This DIY proofing box, therefore, isn't just a container; it's a tool for empowerment, allowing bakers of all levels to achieve consistent, professional-quality results.
Building this box wasn't just about constructing a structure; it was about understanding the crucial role humidity and temperature play in the croissant-making process. The journey of creating this simple device highlighted the importance of paying attention to the details, a lesson applicable far beyond the kitchen. The details are not the details. They make the design.
- Charles Eames. This quote perfectly encapsulates the essence of this project, reminding us that even the smallest elements can significantly impact the final outcome.
Now, I invite you to consider your own baking journey. Have you ever struggled with inconsistent croissant rises? Will you now try building your own proofing box to take control of the process? This project is a testament to the power of resourcefulness and the joy of mastering a seemingly complex culinary challenge. Remember, the perfect croissant is within your reach – all it takes is a little ingenuity and a well-crafted box.
Unleash Your Inner Croissant Artist!
Thanks for joining us on this buttery journey to croissant perfection! We hope you learned valuable techniques to achieve that signature airy rise. Ready to take your baking skills to the next level?
- Craft your own proofing box: Use the dimensions and materials discussed to build your personalized croissant-raising haven. This is the key to unlocking consistent, stunning results!
- Share your croissant creations: Tag us on social media with your photos – we'd love to see your beautiful bakes!
- Experiment with different flours and fillings: Now that you have the perfect proofing environment, explore new flavor combinations and refine your croissant technique.
What unique filling will you create with your perfectly proofed croissants? Let's discuss in the comments below!