
Adjusting Your Process for Colder Climates


Welcome to BakeWithEase, where baking becomes a joy, not a chore! Ever wondered how the chill in the air impacts your favorite recipes? Discover the secrets to perfecting your baking process even when the weather outside is frightful. Dive into our article on cold weather baking tips and uncover how to adjust your techniques for consistently delicious results. Ready to conquer those chilly baking challenges? Let's get started!
- Adjusting Your Croissant Baking Process for Colder Climates: BakeWithEase Guide
- Introduction: Mastering Croissant Dough in Cold Weather
- Essential Cold Weather Baking Tips for Croissants
- Troubleshooting Common Cold Weather Croissant Baking Problems
- Cold Weather Croissant Baking: Advanced Techniques
- Conclusion: BakeWithEase - Perfect Croissants, Even in the Cold
-
Frequently Asked Questions
- How does cold weather affect yeast activity in baking?
- Why does my dough take longer to rise in the winter?
- What adjustments should I make to my oven temperature when baking in cold weather?
- How can I create a warmer environment for my dough to rise during winter?
- Are there specific ingredients that behave differently in colder temperatures during baking?
- Final Reflection: Embracing the Chill: Baking's Winter Wonderland
- Unlock Your Winter Baking Success!
Adjusting Your Croissant Baking Process for Colder Climates: BakeWithEase Guide
Introduction: Mastering Croissant Dough in Cold Weather
Why Cold Weather Affects Croissant Baking
Baking, especially delicate pastries like croissants, is a science heavily influenced by temperature. When the mercury drops outside, your kitchen environment changes dramatically, and this significantly impacts how dough behaves. Colder ambient temperatures slow down yeast activity, stiffen fats, and affect the dough's overall hydration and elasticity. Ignoring these changes can lead to a host of problems, from under-proofed pastries to butter that cracks during lamination.
The core challenge with cold weather baking tips for croissants is managing temperature at every stage. Yeast fermentation slows considerably below 70°F (21°C), meaning your dough will take much longer to rise. Butter, crucial for creating those flaky layers, becomes brittle and hard below 50°F (10°C), making it difficult to work with without breaking. Understanding these fundamental impacts is the first step to successful cold weather croissant making.
Understanding Dough Temperature for Optimal Croissant Lamination
The temperature of your dough is arguably the most critical factor in achieving perfect croissant lamination. For ideal handling and gluten development, dough typically needs to be within a specific temperature range after mixing, often between 75°F and 78°F (24°C to 26°C). In a cold kitchen, reaching and maintaining this temperature is a constant battle, as the ingredients, mixing bowl, and even the air rapidly pull heat away from the dough.
Furthermore, the dough's temperature directly affects how well it interacts with the butter block during lamination. The goal is for the dough and butter to have similar plasticity – firm but pliable. If the dough is too cold (say, below 50°F or 10°C), it will be stiff and resistant to rolling, potentially tearing or causing the butter to snap inside. Conversely, if it's too warm (above 60°F or 16°C during lamination), the butter can melt into the dough, destroying the distinct layers needed for flakiness. Mastering cold weather baking tips means mastering dough temperature control.
Essential Cold Weather Baking Tips for Croissants
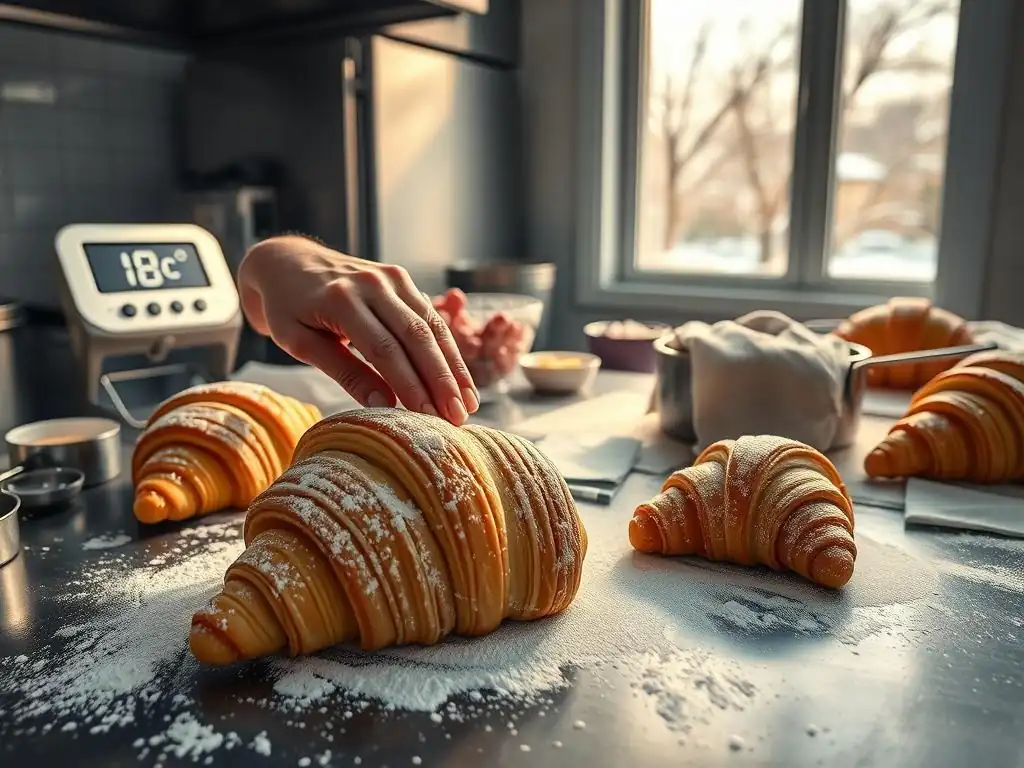
1. Controlling Dough Temperature in Cold Environments
Maintaining the correct dough temperature is paramount when baking in cold climates. The ambient temperature of your kitchen can significantly lower the dough's temperature during mixing, resting, and folding stages. This cold environment slows down yeast activity and makes the dough less extensible, impacting both fermentation and lamination.
To counteract this, you need proactive strategies. This includes starting with warmer ingredients, particularly the liquid component, and minimizing the time the dough is exposed to cold surfaces or air. Precision in monitoring temperature is key throughout the process, from the initial mix through to the final proof.
Measuring Dough Temperature Accurately
A reliable digital thermometer is an indispensable tool for cold weather baking. After mixing, insert the thermometer probe into the center of the dough mass. A target temperature of 75-78°F (24-26°C) post-mix is often ideal for initial fermentation before chilling.
Regularly check the dough temperature during resting periods between folds. If the dough is cooling down too much between lamination steps (ideally staying between 50-55°F or 10-13°C during these stages), it indicates your chilling periods might be too long or your ambient temperature is too low, requiring adjustments like shorter rest times or slightly warmer chilling conditions (e.g., the warmest spot in your fridge).
Adjusting Water Temperature for Dough Mixing
One of the simplest yet most effective cold weather baking tips is to adjust the temperature of your mixing water. In standard recipes, room temperature water is often specified, but in a cold kitchen, this can result in dough that is too cold after mixing. Use slightly warmer water than usual – perhaps around 90-100°F (32-38°C) – to help bring the final dough temperature into the desired range.
You can estimate the required water temperature using a simple formula, often called the "desired dough temperature" or DDT calculation, which factors in flour temperature, room temperature, and friction from mixing. While complex, the principle is simple: if your ingredients and environment are cold, your water needs to be warmer to compensate and hit that 75-78°F target after mixing.
Proofing Dough in a Temperature-Controlled Environment
Once shaped, croissants require a warm, humid environment for their final proof. In cold weather, simply leaving them on the counter is often insufficient. A consistently warm temperature, typically between 75-80°F (24-27°C), is needed for the yeast to produce enough gas to achieve the characteristic airy structure.
Fluctuating or low temperatures during proofing lead to uneven expansion and a dense crumb. Investing in or creating a controlled proofing environment is crucial. This ensures the croissants rise properly, developing their volume and delicate structure before baking.
2. Optimizing Yeast Activity in Cold Weather
Yeast is a living organism, and its activity is highly dependent on temperature. In cold climates, temperatures below 70°F (21°C) significantly slow down fermentation, meaning your dough will take much longer to rise than a recipe might indicate for warmer conditions. This sluggishness can impact flavor development and the final texture of your croissants.
To combat this, you need to encourage yeast activity. This involves not only controlling the dough's temperature but also potentially making adjustments to the yeast itself or providing it with extra support to perform optimally in less-than-ideal conditions. These cold weather baking tips focus on boosting your yeast's performance.
Choosing the Right Yeast for Cold Weather Baking
While many recipes call for active dry yeast or instant yeast interchangeably, instant yeast is generally more vigorous and reliable, especially in cooler conditions. It doesn't require proofing in water first and can be mixed directly into the dry ingredients, offering a slight advantage in getting fermentation started quickly.
If using active dry yeast, ensure it is fresh and properly activated in warm water (around 105-115°F or 40-46°C) before adding it to the dough. A foamy mixture within 5-10 minutes indicates healthy yeast ready to work, even if the environment is cool.
Increasing Yeast Quantity for Slower Fermentation
A common adjustment in cold weather baking is to slightly increase the amount of yeast used in the recipe. If your recipe calls for 1% yeast relative to flour weight, you might consider increasing it by 10-20%, using 1.1% or 1.2%. This provides a larger population of yeast cells to work through the fermentation process, helping the dough rise more effectively despite the cooler temperatures.
This adjustment should be made cautiously, as too much yeast can lead to off-flavors or cause the dough to ferment too quickly once it reaches a warmer temperature during proofing. A modest increase, coupled with temperature control, is usually sufficient for most cold weather baking scenarios.
Using a Dough Enhancer to Boost Yeast Performance
Dough enhancers (or dough conditioners) are ingredients that improve the dough's structure, texture, and fermentation rate. Many contain ingredients like ascorbic acid (Vitamin C), enzymes, or emulsifiers that strengthen the gluten network and provide nutrients for the yeast, helping it perform more consistently.
Adding a small amount of a commercial dough enhancer (following package instructions, typically 0.5% to 1% of flour weight) can give your yeast a boost and improve the dough's handling characteristics, which is particularly helpful when dealing with the challenges posed by cold weather baking.
3. Mastering Lamination in Cold Kitchens
Lamination – the process of folding butter into dough to create multiple thin layers – is the heart of croissant making. In a cold kitchen, the primary challenge is keeping the butter pliable enough to roll without breaking, while also preventing it from warming up too much and melting into the dough. The ideal temperature for both the dough and the butter block during lamination is often cited as 50-55°F (10-13°C).
When the ambient temperature is low, butter hardens quickly, leading to cracks and uneven layers. Conversely, rolling generates heat, and if you're not careful, this friction can warm the dough and butter too much. Balancing these factors is key to successful cold weather baking for croissants.
Keeping Butter at the Ideal Consistency
Before lamination, the butter block needs to be tempered to the correct consistency – firm but flexible, like a clay. This is typically achieved by taking it out of the fridge about 30-60 minutes before use, or by gently beating it with a rolling pin or mixer until pliable. In a cold kitchen, this tempering process might take longer, or the butter might cool down and re-harden quickly while you prepare the dough.
A useful cold weather baking tip is to monitor the butter's temperature with a thermometer, aiming for that 50-55°F range. If it cools too much, a few seconds in a warm spot (like near a slightly warm oven) can help, but be extremely careful not to melt it.
Preventing Butter from Hardening During Lamination
Once you start rolling, the cold environment will constantly try to cool the butter down, making it brittle. To combat this, work efficiently and quickly. If the dough and butter become too stiff to roll easily, stop. Trying to force it will result in broken butter layers.
Wrap the dough and butter well and return it to the refrigerator for just a short period (perhaps 10-15 minutes instead of the usual 30-45 minutes) to re-firm slightly without becoming rock-hard. Sometimes, just a few minutes at room temperature (if your room is cool) is enough to make it pliable again before the next fold.
Working Quickly to Minimize Temperature Fluctuations
Speed is your friend during lamination in cold conditions. The less time the dough and butter are exposed to the cold air and the heat generated by rolling, the better you can maintain their ideal temperature. Have your workspace ready, your rolling pin easily accessible, and know exactly which fold you are doing next.
Minimize interruptions. If you need to pause, wrap the dough tightly and place it in the refrigerator immediately. Efficient workflow is one of the most practical cold weather baking tips for laminated doughs.
4. Proofing Croissants Effectively in Cold Climates
The final proof is where croissants gain most of their volume and develop their airy, open crumb structure. This requires a warm and humid environment for the yeast to produce carbon dioxide gas. In cold weather, achieving the necessary 75-80°F (24-27°C) and 70-80% humidity can be challenging, as cold, dry air inhibits yeast activity and can dry out the surface of the dough.
Improper proofing in cold conditions leads to dense, heavy croissants that don't rise properly in the oven. They might also develop a tough crust if the surface dries out. These cold weather baking tips focus on creating the perfect microclimate for your pastries.
Creating a Warm and Humid Proofing Environment
Humidity is just as important as temperature during proofing. A humid environment prevents the surface of the dough from drying out, allowing it to expand freely without forming a crust prematurely. In a cold, dry climate, this is particularly important.
You can create humidity by placing a tray of hot water on the bottom rack of your proofing area. The evaporating water will increase the moisture in the air. Combine this with a gentle heat source to bring the temperature up to the desired range.
Using a Proofing Box or Oven with a Pilot Light
The most reliable way to proof in cold weather is using a dedicated proofing box or a conventional oven with the light on (or a pilot light, if applicable). The heat from the light bulb alone can often raise the temperature inside the oven cavity to a suitable proofing temperature, usually around 75-85°F (24-29°C).
Place a pan of hot water on the oven floor or bottom rack to add humidity. Crucially, do not turn the oven on. The residual heat from the light is sufficient. Monitor the temperature inside the oven with a thermometer to ensure it doesn't get too hot, which could melt the butter in the croissants.
Monitoring Proofing Time Closely
Proofing time varies greatly depending on the dough's temperature, the ambient temperature, and the yeast activity. In cold weather, proofing will almost always take longer than in warmer conditions – potentially 2-3 hours or even more, compared to 1-1.5 hours in a warm kitchen.
Instead of relying strictly on time, use visual cues. Croissants are properly proofed when they have increased significantly in volume (often doubled or nearly doubled), look puffy, and jiggle slightly when gently shaken. The layers should be visible, and the dough should feel soft and airy. The "poke test" is also useful: gently press the dough; if the indentation slowly springs back halfway, it's likely ready. If it springs back completely, it needs more time. If it stays indented, it's over-proofed.
5. Adjusting Baking Times and Temperatures for Cold Climates
Even after successful proofing, cold conditions can subtly affect the baking process. While the oven temperature itself is controlled, the initial temperature of the proofed croissants will be lower if your proofing environment wasn't perfectly warm, and the cold air entering the oven when you load them can cause a more significant temperature drop than in warmer weather.
These factors mean you might need to make slight adjustments to your baking strategy to ensure your croissants achieve a beautiful golden-brown color and are cooked through, with a light, airy interior. These cold weather baking tips focus on the final stage.
Understanding the Impact of Cold Weather on Baking Time
While the oven thermostat dictates the air temperature, the thermal mass of the cold pastries and the influx of cold air when the oven door is opened mean the oven takes slightly longer to recover its temperature. This can translate to a slightly extended baking time needed to fully cook the croissants and achieve proper crust development.
Furthermore, if the croissants were slightly under-proofed due to cold conditions, they will take longer to expand fully in the oven (oven spring), requiring more time to bake through.
Increasing Baking Time Slightly to Ensure Thorough Cooking
If you notice your croissants are taking longer than the recipe specifies to turn golden brown, don't be afraid to extend the baking time by 5-10 minutes. It's better to have a slightly darker, fully cooked croissant than a pale, doughy one.
Start checking for doneness towards the end of the recipe's suggested time. If they are still pale, give them a few more minutes. You can tent them loosely with foil if the tops are browning too quickly but the sides or bottoms still look pale.
Monitoring Croissant Color for Doneness
Color is a key indicator of doneness for croissants. They should be a rich, deep golden brown all over – not just on the top. The sides and bottoms should also have good color, indicating they are fully baked through.
If your croissants are pale, it's a sign they need more time in the oven. Don't rely solely on a timer; use visual cues. A well-baked croissant will also feel light when lifted, a sign of its airy interior structure.
Troubleshooting Common Cold Weather Croissant Baking Problems
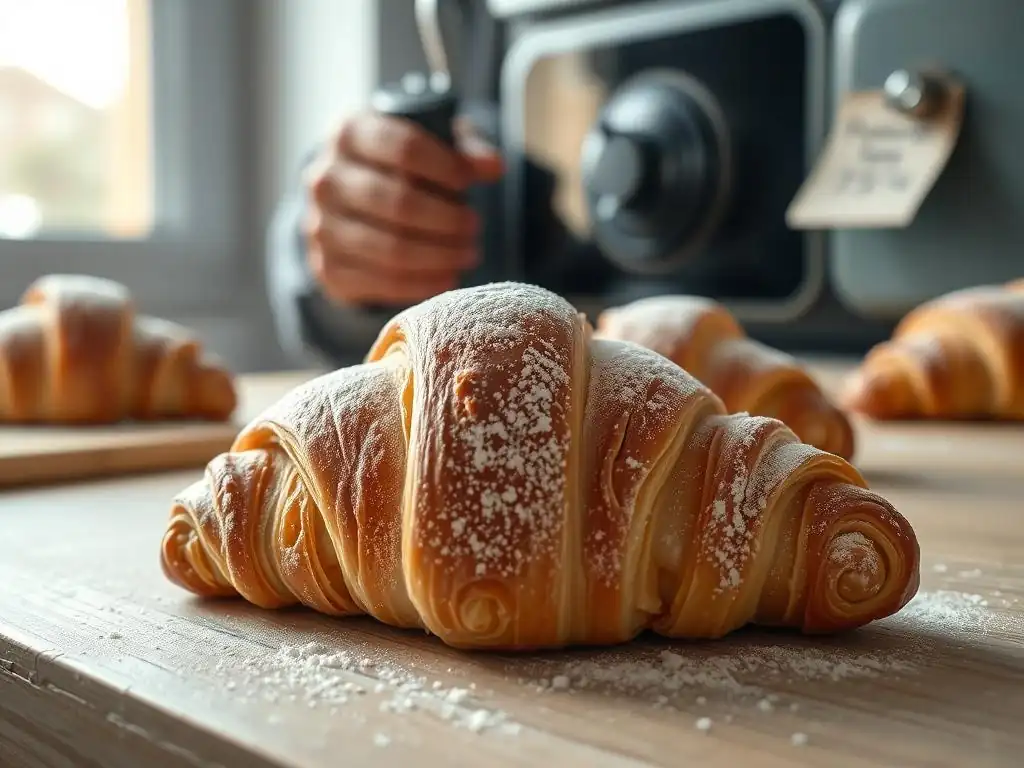
Even with the best cold weather baking tips, you might encounter issues. Here are some common problems and their solutions.
Problem: Dough is Taking Too Long to Rise
You've waited the recommended time for the first bulk fermentation or the final proof, but the dough or shaped croissants haven't significantly increased in volume. This is a classic sign that the yeast is sluggish due to cold temperatures.
This indicates that the dough's core temperature is likely below the optimal range for yeast activity (75-80°F or 24-27°C for proofing). The yeast is alive but working very slowly.
Solution: Increase Yeast Quantity and Warm Proofing Environment
For subsequent batches, consider slightly increasing the yeast amount (e.g., by 10-20% as discussed earlier). For the current batch, the most effective solution is to provide a warmer environment. Move the dough or croissants to a proofing box, a slightly warm oven with the light on, or another warm spot in your home (like near a radiator, but not directly on it). Add humidity with a pan of hot water. Be patient; in cold weather, proofing can take significantly longer, sometimes doubling or tripling the usual time.
Problem: Butter is Hardening During Lamination
As you roll out the dough and butter block, the butter feels very stiff, resistant to rolling, and you might hear or feel it cracking inside the dough. This is a major issue that will prevent the formation of distinct layers.
This happens when the butter block's temperature drops too low, becoming brittle. In a cold kitchen, this can occur quickly between folds or if the dough wasn't properly tempered initially.
Solution: Temper Butter Properly and Work Quickly
Ensure your butter block is properly tempered to a pliable consistency (around 50-55°F or 10-13°C) before starting lamination. During the folding process, work quickly and confidently. If the dough/butter starts to feel too stiff, stop rolling immediately. Wrap it well and let it rest at room temperature for just a few minutes until it becomes slightly more pliable, or return it to the warmest part of your refrigerator for a very short chill (5-10 minutes) just to firm up slightly without freezing the butter solid.
Problem: Croissants are Not Proofing Evenly
Some croissants on the tray are puffing up nicely, while others remain relatively flat and dense. This can happen if the proofing environment has inconsistent temperature or humidity.
Cold spots in your proofing area, or varying exposure to humidity, cause yeast activity to differ across the batch. Croissants in warmer, more humid spots will proof faster than those in cooler, drier areas.
Solution: Ensure Consistent Warmth and Humidity During Proofing
Use a dedicated proofing box or a well-controlled environment like an oven with the light on and a pan of hot water. Ensure the heat and humidity are distributed evenly. Avoid opening the proofing area frequently, as this lets out warmth and moisture. Rotate the trays halfway through the proofing time if you suspect unevenness. Ensure the croissants are spaced adequately to allow warm, humid air to circulate around them.
Problem: Croissants are Pale and Underbaked
After the recommended baking time, your croissants lack a deep golden color and feel heavy, possibly even doughy inside. This indicates they haven't baked through properly.
This can be a result of slightly under-proofed dough, a lower-than-ideal internal dough temperature going into the oven, or the oven temperature dropping too much when the cold pastries were loaded.
Solution: Increase Baking Time Slightly and Monitor Color
Don't be afraid to extend the baking time by 5-10 minutes or more. Focus on achieving a deep golden-brown color across the entire surface, including the sides. If the tops are browning too fast, loosely tent the tray with aluminum foil. Ensure your oven is properly preheated to the correct temperature before loading the croissants. Checking with an instant-read thermometer (internal temp around 190-200°F or 88-93°C) can also confirm doneness, though this is harder without deflating the pastry. Relying on visual cues and feel is usually sufficient.
Cold Weather Croissant Baking: Advanced Techniques
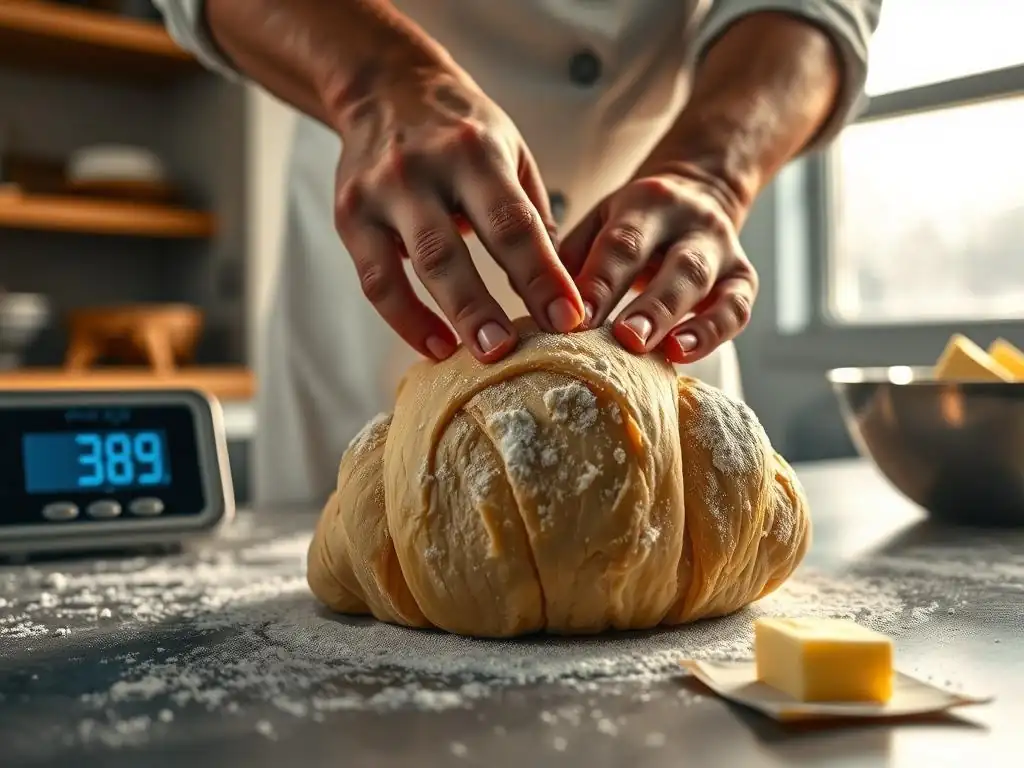
For those looking to take their cold weather baking skills to the next level, incorporating more precise techniques can lead to even better results.
Using a Dough Thermometer for Precise Temperature Control
Beyond just checking the post-mix temperature, using a digital probe thermometer throughout the process provides invaluable data. Check the dough temperature after chilling periods to ensure it's in the ideal range (50-55°F or 10-13°C) for lamination.
Monitoring the dough temperature between folds allows you to adjust chilling times precisely. If the dough warms up too quickly while rolling, you know you need a shorter rest or a colder environment. This level of precision significantly reduces guesswork and improves consistency, crucial for navigating the challenges of cold weather baking.
Implementing a Slow, Cold Fermentation Process
While cold weather can hinder rapid fermentation, it's actually ideal for slow, cold fermentation in the refrigerator. After the initial mixing and perhaps a short room temperature rest, the dough can be chilled for 12-48 hours or even longer. This slow process develops complex flavors that rapid fermentation cannot achieve.
The cold also firms the dough and butter, making lamination easier initially. While the final proof still requires warmth, the long cold fermentation builds a strong flavor foundation, making this an excellent cold weather baking tip for enhancing taste.
Utilizing a Proofer for Consistent Results
For serious croissant bakers in cold climates, a dedicated proofing box is a worthwhile investment. These units provide precise control over both temperature and humidity, eliminating the variability of improvised methods.
A proofer ensures your croissants rise perfectly and consistently every time, regardless of the ambient temperature in your kitchen. This consistency is key to achieving reliable, high-quality results, making it an essential tool for mastering cold weather baking of delicate pastries.
Conclusion: BakeWithEase - Perfect Croissants, Even in the Cold
Embracing the Challenges of Cold Weather Baking
Baking croissants in colder climates presents unique challenges, primarily centered around managing dough and butter temperature and ensuring adequate yeast activity. The cold can slow down fermentation, stiffen fats, and make lamination tricky. However, by understanding these challenges and implementing specific cold weather baking tips, you can successfully navigate the winter months and continue to bake beautiful, flaky pastries.
By focusing on temperature control, adjusting yeast activity, mastering lamination techniques in cooler conditions, and optimizing proofing and baking, you can overcome the hurdles. These adjustments are not just workarounds but essential skills that deepen your understanding of the baking process itself.
Enjoying Fresh, Homemade Croissants Year-Round
With the right knowledge and a few strategic adjustments, the cold weather doesn't have to put an end to your croissant baking ambitions. By applying these cold weather baking tips, you can ensure your dough ferments correctly, your butter laminates beautifully, and your croissants proof and bake into golden, airy perfection.
Embrace the opportunity to refine your technique and prove that you can achieve BakeWithEase results regardless of the forecast. There's immense satisfaction in pulling a tray of warm, flaky, homemade croissants from the oven, a treat that's perhaps even more special when enjoyed on a cold day.
Frequently Asked Questions
How does cold weather affect yeast activity in baking?
Cold weather significantly slows down yeast activity. You may need to increase proofing time and use slightly warmer liquids when activating the yeast to compensate.
Why does my dough take longer to rise in the winter?
Lower temperatures impact the rate of fermentation. The colder environment will slow down the rise of your dough. Consider using a warmer spot or a proofing box.
What adjustments should I make to my oven temperature when baking in cold weather?
While your oven temperature setting shouldn't change, ensure your oven is properly preheated. You might also consider baking on a lower rack to protect the bottom of your bake.
How can I create a warmer environment for my dough to rise during winter?
Several options exist! Place the dough in a slightly warmed oven (turned off!), near a warm appliance, or use a proofing box.
Are there specific ingredients that behave differently in colder temperatures during baking?
Yes! Butter and eggs tend to be colder, affecting mixing. Allow them to come to room temperature before starting for better emulsification and texture.
Final Reflection: Embracing the Chill: Baking's Winter Wonderland
The art of baking, far from being confined to sun-drenched kitchens, flourishes even in the heart of winter. Mastering the nuances of cold-weather baking isn't just about adjusting oven temperatures; it's about embracing a new set of challenges and discovering the unique rewards they offer. The subtle shifts in ingredient behavior, the need for careful timing, and the comforting warmth of a freshly baked treat on a frosty day all contribute to a richer, more rewarding baking experience.
The impact of climate on our culinary practices is often overlooked, yet it profoundly shapes our traditions and techniques. From the hearty breads of northern Europe to the rich, spiced cakes of colder regions, the influence of climate on baking is undeniable. The best things in life are often found in the most unexpected places, and the same is true for baking in the cold.
This quote, though not directly from a famous baker, encapsulates the spirit of discovery and adaptation that cold-weather baking demands. It's a testament to human ingenuity and our ability to find joy and creativity even in the face of challenging conditions.
Now, consider your own kitchen. Think about the subtle adjustments you can make to your baking process to better suit the colder months. Will you experiment with different flours, adjust your proofing times, or perhaps explore new recipes that embrace the season's flavors? Don't let the chill outside dampen your baking spirit; instead, let it inspire you to explore new techniques, experiment with new ingredients, and create heartwarming treats that will brighten even the darkest winter days. Embrace the chill, and let your baking flourish.
Unlock Your Winter Baking Success!
Thanks for taking the time to learn how to adjust your baking process for colder climates! We hope you gained valuable insights to help you create delicious treats, no matter the weather. Now it's time to put your new knowledge into action.
- Master your winter baking: Experiment with the temperature and timing adjustments we discussed, and watch your baked goods rise to new heights (literally!). Start with your favorite recipe and see the difference!
- Share your winter baking triumphs (and challenges!): Tell us about your experience – what worked best, what surprised you? We love hearing from our baking community!
- Explore our other resources: Dive deeper into seasonal baking tips and tricks by browsing our recipe collection and blog for more helpful guides.
Ready to transform your winter baking from frustrating to fulfilling? What's the first recipe you're going to tackle with your new cold-weather baking skills?