
The Art of Torching Crème brûlée to Perfection

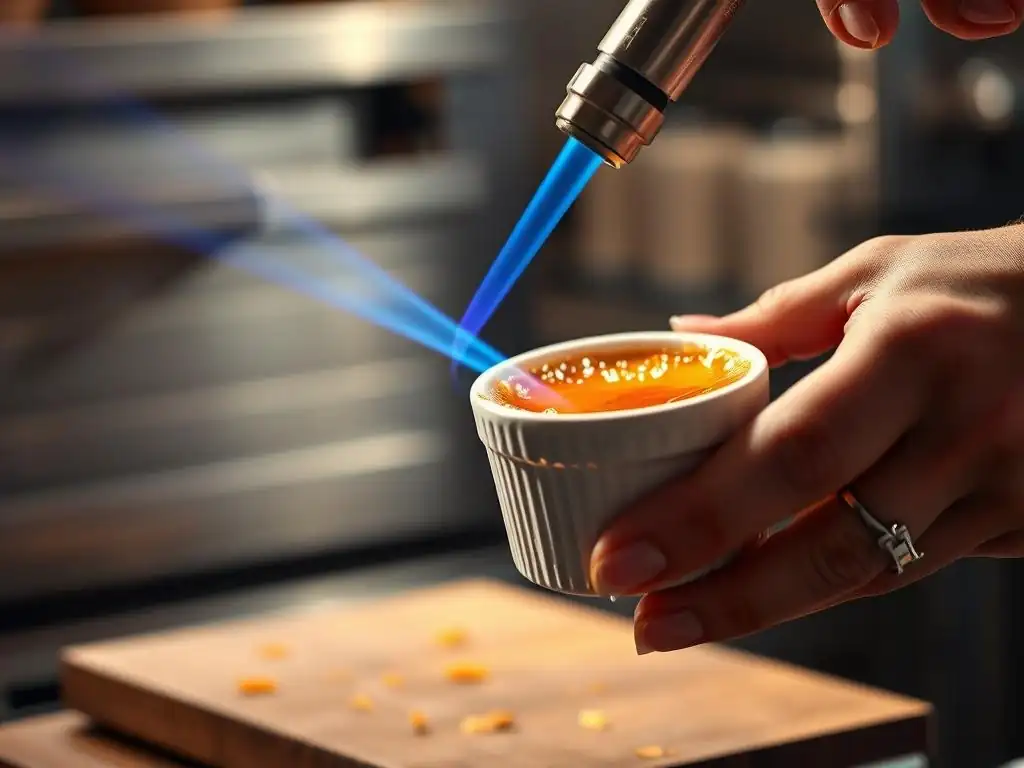
Welcome to BakeWithEase, where we demystify the delicious world of baking! Ever wondered how to achieve that flawlessly caramelized crust on your crème brûlée? Unlock the secrets to easy and effective torching techniques and transform your dessert game. We're here to guide you through every step, ensuring your next crème brûlée is a guaranteed masterpiece. Ready to learn the art of torching?
- The Art of Torching Crème brûlée to Perfection: A Comprehensive Guide
- Introduction: Mastering Crème brûlée Torching Techniques
- Choosing the Right Torch for Crème brûlée: A Comparison
- Crème brûlée Torching Techniques: A Step-by-Step Guide
- Troubleshooting Common Crème brûlée Torching Problems
- Tips and Tricks for Easy Crème brûlée Torching
- Crème brûlée Torching Safety: Important Precautions
- Advanced Crème brûlée Torching: Beyond the Basics
- Conclusion: Elevate Your Crème brûlée with Perfect Torching
- Frequently Asked Questions
- Final Reflection: Mastering the Crème Brûlée Torch: A Sweet Symphony of Skill and Patience
- Unlock Your Inner Pâtissier: Master the Crème Brûlée Torch!
The Art of Torching Crème brûlée to Perfection: A Comprehensive Guide
Introduction: Mastering Crème brûlée Torching Techniques
Why Perfect Torching is Key to Exceptional Crème brûlée
Achieving that signature crisp, glassy sugar crust is arguably the most satisfying part of the Crème brûlée experience. It's the dramatic flourish that elevates a simple, creamy custard into a truly memorable dessert. Without a properly executed torching technique, you miss out on the delightful textural contrast between the warm, brittle sugar and the cool, smooth custard beneath. This contrast is what makes Crème brûlée so beloved. Mastering these Crème brûlée torching techniques, especially the easy-to-follow ones, is crucial for delivering that perfect crack every time.
Beyond just the texture, the torching process develops the flavor of the sugar. As the flame caramelizes the sugar crystals, it creates complex notes ranging from slightly nutty to deeply toasty, depending on the degree of caramelization. Over-torching results in bitter, burnt sugar, while under-torching leaves a gritty, unappealing layer. Finding that sweet spot requires understanding the process and applying simple Crème brûlée torching techniques effectively. It's a skill that, once learned, dramatically improves the quality of your homemade Crème brûlée.
Achieving the Ideal Crème brûlée Crust
The ideal Crème brûlée crust is a uniform sheet of caramelized sugar, golden to amber in color, that shatters cleanly with a tap of a spoon. It should be thin enough to break easily but thick enough to provide a satisfying crunch. The surface should be smooth and glossy, free from dark, burnt patches or sandy, un-melted sugar. Achieving this perfection relies heavily on applying the sugar correctly and using controlled, even heat during the torching process.
Successfully creating this crust involves more than just waving a flame around. It starts with an even layer of sugar – typically about 1 to 2 tablespoons per 4-6 ounce ramekin, ensuring complete coverage of the custard surface right up to the edges. The temperature of the custard is also critical; it must be well-chilled so it remains cool while the sugar above it is briefly heated to over 300°F (150°C) to caramelize. These are fundamental Crème brûlée torching techniques easy to learn and vital for success.
Choosing the Right Torch for Crème brûlée: A Comparison
Butane Torches for Crème brûlée: Power and Precision
Butane torches are the most commonly recommended tool for achieving the perfect Crème brûlée crust, and for good reason. They offer a powerful, consistent, and highly controllable flame, typically reaching temperatures around 2,500°F (1,400°C). This intense heat allows the sugar to caramelize quickly and evenly without significantly heating the underlying custard, which is crucial for maintaining that delightful hot-and-cold contrast. Their focused flame makes precise application of heat easy.
Kitchen-specific butane torches are designed with safety features like ignition triggers and fuel flow control, making them user-friendly even for beginners. They are relatively inexpensive to purchase and refill canisters are widely available. While industrial-style torches exist, a smaller, kitchen-grade torch is perfectly adequate for Crème brûlée and offers the right balance of power and maneuverability needed for these delicate Crème brûlée torching techniques.
Kitchen Torch Alternatives for Crème brûlée
While a butane torch is ideal, there are alternatives, though they often require more care and may not yield results quite as perfect. The most common alternative is the broiler in your oven. To use a broiler, place the sugared Crème brûlée ramekins on a baking sheet under a preheated broiler set to high. Watch constantly as the sugar will caramelize very quickly – often in under 60 seconds. The drawback is that the broiler heats the entire surface and can warm the custard significantly, potentially melting it or compromising its texture.
Another less common alternative is a hot metal tool, like a specially designed Crème brûlée iron or even the back of a hot spoon. This method involves heating the metal tool and pressing it onto the sugared surface. This technique is traditional but difficult to execute evenly and safely, and it can easily disturb the sugar layer or even the custard. For consistently excellent results and easy Crème brûlée torching techniques, the butane torch remains the superior choice.
Crème brûlée Torching Techniques: A Step-by-Step Guide
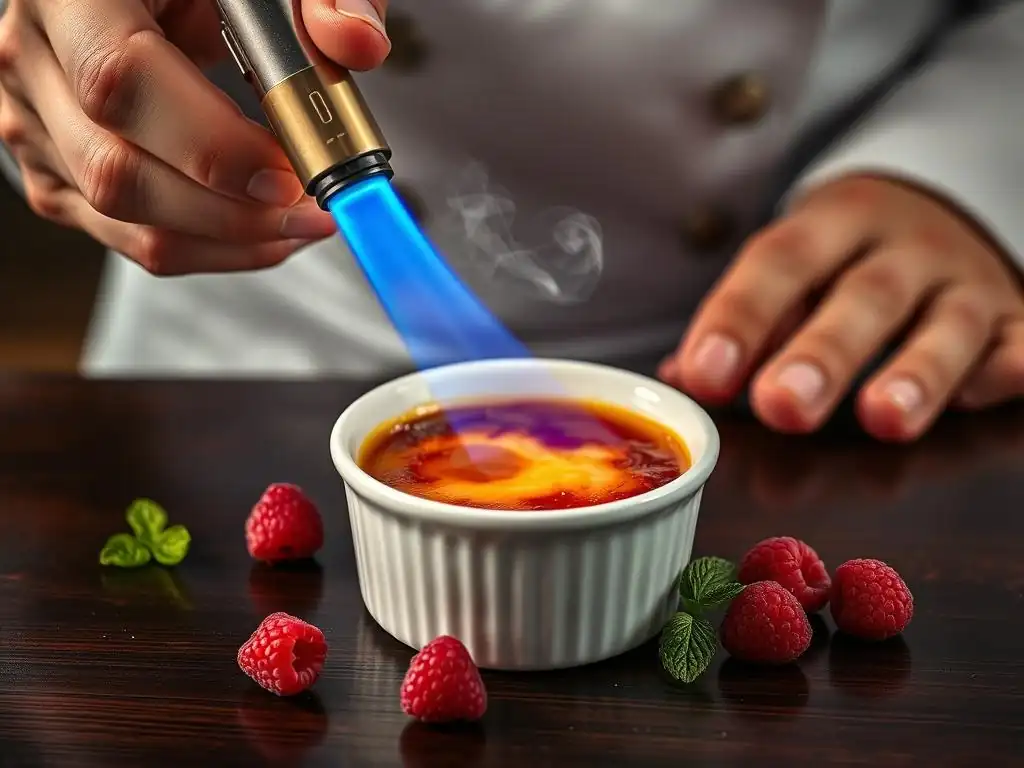
Step 1: Ensuring Your Crème brûlée is Properly Chilled
Proper chilling is absolutely non-negotiable for successful Crème brûlée torching. The custard must be thoroughly cooled and set, ideally refrigerated for at least 4 hours, but preferably overnight. A well-chilled custard provides a cold base that resists warming up too quickly under the torch's heat. This temperature difference is key to getting a crisp sugar shell without melting the creamy interior.
If your custard is not cold enough, the heat from the torch will penetrate too deeply, potentially turning the custard runny or warm just below the surface. This compromises the essential hot-and-cold contrast that defines Crème brûlée. Always verify your custard is firm and cold to the touch before adding sugar and attempting any Crème brûlée torching techniques.
Step 2: Preparing Your Work Surface for Safe Torching
Safety is paramount when working with a kitchen torch. Before you even light the flame, ensure your work area is safe and prepared. Clear away any flammable materials such as paper towels, curtains, or loose clothing. Work on a stable, non-flammable surface like a stone countertop or a sturdy cutting board. Avoid torching near open windows where drafts could affect the flame.
It's also wise to have a small fire extinguisher or a box of baking soda readily accessible, just in case of an accident, although with proper technique and caution, incidents are rare. Place your chilled Crème brûlée ramekins on a heat-resistant surface like a baking sheet. This makes them easy to handle and provides an extra layer of safety between the torch and your countertop. These simple preparation steps are part of performing Crème brûlée torching techniques easy and safely.
Step 3: The Perfect Torch Angle and Distance for Even Caramelization
Holding the torch correctly is fundamental to achieving an even, beautiful crust. Position the torch so the tip of the blue flame (the hottest part) is about 2 to 4 inches away from the sugar surface. The exact distance can vary slightly depending on the power of your torch, but this range is a good starting point. Holding it too close can scorch the sugar quickly, leading to black, bitter spots, while holding it too far away will take too long and can warm the custard excessively.
Hold the torch at a slight angle, not straight down. This allows you to control the heat application more effectively and helps to prevent the flame from directly blasting one spot. A slight angle also gives you better visibility of the caramelization process as it happens. Getting this angle and distance right is one of the core easy Crème brûlée torching techniques to master.
Step 4: Applying the Flame: Mastering the Torching Motion
Once you've got the angle and distance, it's time to apply the flame. The key is constant, gentle motion. Start by moving the flame steadily across the sugar surface in overlapping circles or back-and-forth passes. Keep the torch moving continuously; never hold the flame stationary over one spot for more than a second or two. You will see the sugar crystals begin to melt, then bubble, and finally turn that characteristic golden-brown color.
Focus on melting all the sugar crystals first, creating a liquid layer, before concentrating on the caramelization color. Work from the edges inward, or cover the whole surface evenly, keeping the flame moving. The sugar will transform surprisingly quickly once it reaches the right temperature (around 320°F or 160°C). This systematic motion is a vital part of executing Crème brûlée torching techniques easy and effectively.
Avoiding Hot Spots and Uneven Burning
Hot spots and uneven burning are usually caused by holding the torch still for too long in one area or by using too intense a flame too close to the surface. To avoid this, maintain that continuous, sweeping motion discussed in Step 4. Think of it like spray painting – you want even, overlapping coverage. If you see one area starting to darken faster than others, quickly move the flame away from that spot and work on an adjacent area.
Another tip is to slightly reduce the flame intensity if your torch is very powerful or if you are new to torching. A slightly lower flame allows for more control and reduces the risk of accidental scorching. Practice on a small amount of sugar on a heatproof surface if you're nervous before attempting it on your finished Crème brûlée. These adjustments are simple Crème brûlée torching techniques that prevent common pitfalls.
Creating a Uniform Caramelized Sugar Crust
A uniform crust is the hallmark of a professionally torched Crème brûlée. This is achieved by ensuring even sugar coverage initially and then applying the flame consistently across the entire surface. As you torch, watch the color develop. Aim for a consistent golden to light amber hue across the whole ramekin. If you see any lighter patches, pass the flame over them briefly, keeping it moving, until they match the surrounding color.
It's better to make multiple quick passes over the surface than one slow pass. This layered approach gives you more control over the color development and reduces the chance of burning. Pay attention to the edges, ensuring the sugar is caramelized right up to the ceramic rim. Achieving this evenness is a skill that improves with practice, but the basic Crème brûlée torching techniques for uniformity are straightforward: even sugar, constant motion, and careful observation.
Step 5: Cooling and Setting the Crème brûlée Crust
Once the sugar has reached the desired golden-amber color, stop torching immediately. The sugar will be very hot and liquid. Do not touch it! Place the torched Crème brûlée back on the counter or baking sheet and let it cool undisturbed for at least 5 to 10 minutes. During this cooling period, the melted sugar will cool and solidify, transforming from a liquid state into that hard, brittle, glassy crust.
Attempting to serve or move the Crème brûlée before the sugar has fully cooled and set will result in a soft, sticky, or broken crust. Patience here is key to allowing the caramel to harden properly. The custard underneath will likely have warmed slightly on the very surface, but the bulk of it should remain cool, maintaining that signature temperature contrast. This final cooling step is a simple but essential part of the easy Crème brûlée torching techniques.
Troubleshooting Common Crème brûlée Torching Problems
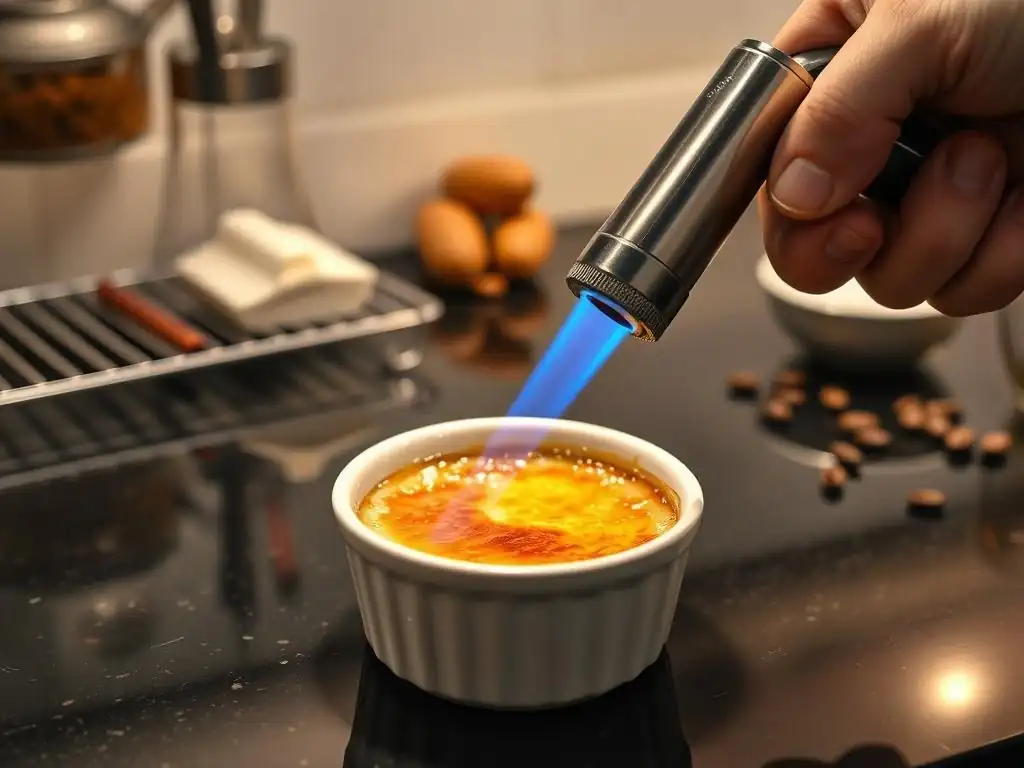
Burnt Sugar: How to Avoid Over-Caramelization
Burnt sugar is bitter and unpleasant, instantly ruining your Crème brûlée. This happens when the sugar is heated too much, past the caramelization stage into combustion. The key to avoiding it is vigilance and speed. Keep the torch moving constantly over the sugar surface. Never leave the flame in one spot. Watch the color closely – as soon as it turns a rich amber, remove the flame. It's often better to slightly under-caramelize (a lighter gold) than to risk burning.
If you see a spot starting to turn black, immediately move the flame away. Sometimes, you can gently scrape off a small burnt area with a sharp knife once it has cooled, but often, severely burnt sugar means you'll need to scrape off the whole layer and start over with fresh sugar (and a more cautious torching approach). Learning the correct speed and movement is a critical aspect of effective Crème brûlée torching techniques.
Soggy Crust: Preventing Moisture from Ruining Your Crème brûlée
A soggy or sticky crust usually indicates that the custard was not properly chilled, or the torching process took too long, allowing moisture from the custard to migrate upwards and dissolve the sugar. Ensure your custard is thoroughly chilled, ideally overnight, before torching. Use a powerful enough torch and the correct technique (angle, distance, motion) to caramelize the sugar quickly, minimizing the time heat is applied to the surface.
Another potential cause is adding the sugar too far in advance of torching, especially in a humid environment. Sugar is hygroscopic, meaning it absorbs moisture from the air and the custard surface. For the crispest crust, sprinkle the sugar just before you are ready to torch. These are simple preventative Crème brûlée torching techniques easy to implement.
Uneven Color: Achieving a Perfectly Golden-Brown Crust
Uneven color, with some areas light gold and others dark amber or even patchy, results from inconsistent heat application. This often happens when the torch is held still in spots or moved too quickly over others. To achieve a uniform color, ensure your sugar layer is even to begin with. Then, use smooth, overlapping passes with the torch, keeping the flame the same distance from the surface throughout.
Think of it as painting a wall – you want even strokes covering the entire area. If you spot a lighter area, go back and give it another quick pass, always keeping the torch moving. It takes a little practice to get a feel for it, but consistent motion is the most effective of the Crème brûlée torching techniques for uniformity.
Thin or Non-Existent Crust: Ensuring Proper Sugar Application
If your Crème brûlée ends up with a patchy, thin, or barely-there crust, the most likely culprit is insufficient or uneven sugar application. You need enough sugar to form a continuous layer when melted. For a standard 4-6 ounce ramekin, this typically means 1 to 2 tablespoons of granulated sugar, ensuring it covers the custard surface right to the edges.
Make sure the sugar is sprinkled evenly. A small sieve can help achieve a fine, uniform layer. If you have bald spots in your sugar layer, you'll have bald spots in your crust. Ensure the entire surface is covered with a visible layer of sugar crystals before you begin torching. This foundational step is part of applying easy Crème brûlée torching techniques correctly from the start.
Tips and Tricks for Easy Crème brûlée Torching
The Importance of High-Quality Granulated Sugar
The type of sugar you use makes a difference in the final crust. Fine granulated sugar is generally recommended because its small crystals melt quickly and evenly, creating a smooth, consistent caramel layer. Avoid using powdered sugar (confectioners' sugar) as it contains cornstarch and other anti-caking agents that can result in a cloudy, sticky, or pasty crust instead of a clear, brittle one.
While superfine sugar (caster sugar) can work, it melts extremely fast and can be prone to burning if you're not careful. Demerara or turbinado sugar, with their larger crystals, can create a beautiful, slightly thicker, and crunchier crust with subtle molasses notes, but they require a bit more torching time and careful handling to ensure all crystals melt evenly. For consistently easy Crème brûlée torching techniques, standard granulated sugar is often the most reliable choice.
Experimenting with Flavored Sugars for Unique Crème brûlée Variations
Once you've mastered the basic Crème brûlée torching techniques, you can experiment with infusing your sugar for unique flavor profiles. Try adding a pinch of ground cinnamon or a tiny amount of espresso powder to your granulated sugar before sprinkling it on the custard. The heat of the torch will help release the aromas and integrate the flavors into the caramel.
Another fun variation is to use flavored sugars like vanilla sugar (made by storing a vanilla bean in a jar of sugar) or citrus zest sugar (drying citrus zest and mixing it with sugar). These infused sugars add an extra layer of complexity to your dessert. Just ensure any additions are finely ground or small enough not to interfere with the smooth melting of the sugar crystals during the torching process. This simple twist makes your Crème brûlée torching techniques easy to adapt for creative variations.
Crème brûlée Torching Safety: Important Precautions
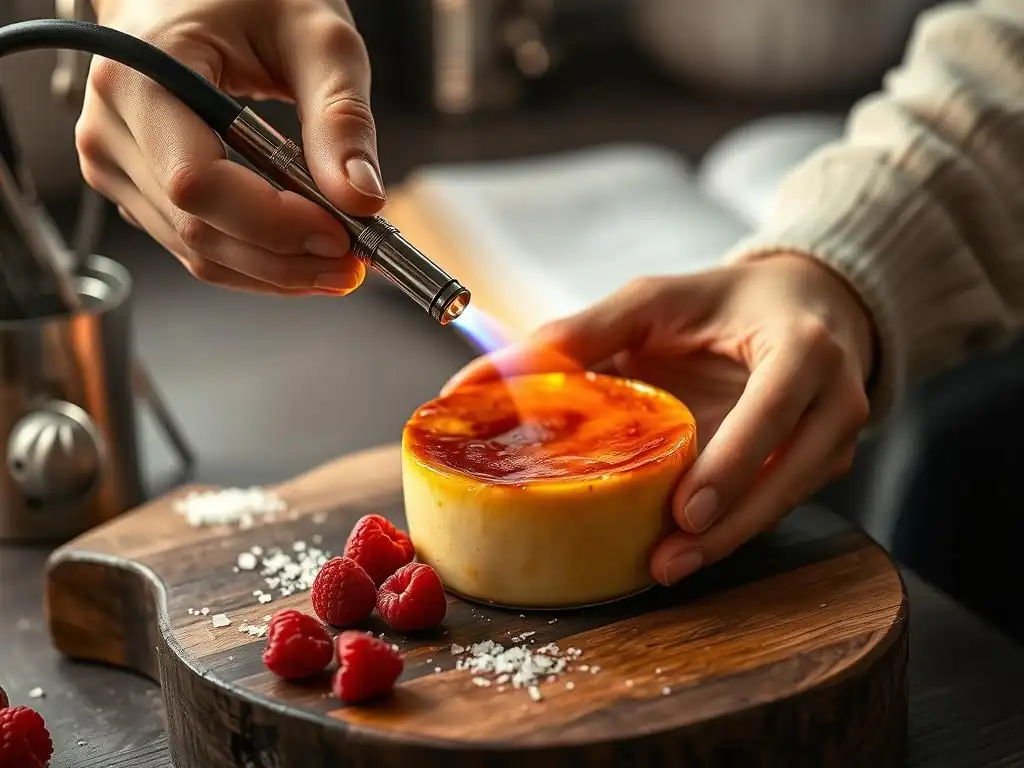
Handling a Kitchen Torch Safely
A kitchen torch is a powerful tool and must be treated with respect and caution. Always read the manufacturer's instructions before using your torch for the first time. Ensure the torch is filled with butane fuel in a well-ventilated area, away from any open flames or sparks. When igniting the torch, point the flame away from yourself and others.
Keep the torch away from your face, hair, and clothing while it is lit. Maintain a firm grip and control the flame intensity as needed. Never leave a lit torch unattended, even for a second. After use, turn off the fuel supply completely and ensure the torch head has cooled down before storing it. Practicing safe handling is as important as mastering the Crème brûlée torching techniques themselves.
Preventing Burns and Kitchen Fires
The flame from a kitchen torch is extremely hot, capable of causing severe burns instantly. Always keep your hands and fingers well clear of the flame path and the hot torch head. Remember that the sugar surface will also become molten hot during torching – do not touch it until it has fully cooled and solidified.
To prevent kitchen fires, ensure your work surface is clear of flammable items, as mentioned earlier. Avoid torching directly under cabinets or near curtains. If you have long hair or loose clothing, secure them before you begin. Always torch on a stable surface where the ramekins won't tip over. Having a fire extinguisher or baking soda nearby is a sensible precaution when performing any Crème brûlée torching techniques that involve open flame.
Proper Storage of Butane Fuel
Butane fuel is highly flammable and must be stored safely. Always keep butane canisters in a cool, dry place, away from direct sunlight or any sources of heat, sparks, or open flames. Do not store them in areas that can get hot, such as near a stove, in a hot car, or in direct sun.
Store butane canisters upright and ensure the caps are securely fastened. Keep them out of reach of children and pets. Follow the storage instructions provided on the canister itself. Proper storage of the fuel is a crucial safety measure that complements learning effective Crème brûlée torching techniques.
Advanced Crème brûlée Torching: Beyond the Basics
Creating Decorative Patterns with Torching Techniques
Once you are comfortable with the basic Crème brûlée torching techniques for an even crust, you can experiment with creating decorative patterns. This involves using the torch to selectively caramelize certain areas of the sugar surface while leaving others lighter or untouched. You can create stripes, swirls, or even geometric shapes by carefully directing the flame.
This requires more precise control over the torch's movement and a slightly more focused flame. You might use a stencil placed lightly over the sugar (ensure the stencil material is heatproof and won't melt!) or simply freehand designs by carefully tracing patterns with the tip of the flame. This adds an artistic touch to your Crème brûlée presentation.
Layering Sugar for a Thicker, More Intense Caramel Crust
For those who love a thicker, more substantial caramel crust, you can try layering the sugar. Instead of applying all the sugar at once, sprinkle on about half the amount (e.g., 1 tablespoon for a standard ramekin) and torch it until it's caramelized. Let it cool and set for a minute or two, then carefully sprinkle the second layer of sugar over the first hardened layer.
Torch the second layer just like the first, melting and caramelizing it until it reaches the desired color. This technique requires careful handling to avoid disturbing the first layer. The result is a double-thick crust that offers an even more dramatic crack and a more intense caramel flavor. It's a slightly more advanced application of basic Crème brûlée torching techniques.
Torching Crème brûlée in Different Vessels
While ramekins are traditional, Crème brûlée can be served and torched in various heatproof vessels, such as shallow gratin dishes, wide, flat bowls, or even small teacups (if they are oven-safe and heat-resistant). The shape and depth of the vessel will affect how the heat transfers and how easy it is to get an even crust.
Shallower dishes offer more surface area, which means more sugar to torch but potentially faster caramelization. Deeper, narrower vessels might make it slightly trickier to get the flame evenly across the entire surface. Adapt your torching motion and angle to suit the vessel shape. Regardless of the container, the core Crème brûlée torching techniques – even sugar, constant motion, right distance – remain the same.
Conclusion: Elevate Your Crème brûlée with Perfect Torching
Mastering the art of torching Crème brûlée transforms a simple dessert into a showstopper. That signature crack and the delightful contrast between the warm, crisp caramel and the cool, creamy custard are what make this dessert so iconic. While it might seem intimidating at first, applying the correct Crème brûlée torching techniques easy steps makes it achievable for any home baker.
Recap of Essential Crème brûlée Torching Techniques
To consistently achieve that perfect crust, remember these key steps:
- Ensure your custard is thoroughly chilled.
- Prepare a safe, non-flammable work area.
- Apply an even layer of granulated sugar.
- Hold the torch at the correct angle (slight) and distance (2-4 inches).
- Use a constant, sweeping motion, never holding the flame still.
- Watch the sugar carefully, stopping as soon as it reaches a golden-amber color.
- Allow the torched sugar to cool and set completely before serving.
By following these simple Crème brûlée torching techniques, you'll be well on your way to creating restaurant-quality Crème brûlée with that irresistible, perfectly torched crust every time. Practice makes perfect, so don't be discouraged if your first attempt isn't flawless. Keep torching, and enjoy the delicious results!
Frequently Asked Questions
What type of torch is best for torching crème brûlée?
The best type of torch is a kitchen torch specifically designed for food. These torches provide a controlled flame for even caramelization without burning the custard underneath.
How far should I hold the torch from the crème brûlée?
Hold the torch about 2-3 inches away from the sugar surface. This distance allows for even browning and prevents scorching or melting the sugar too quickly.
How do I know when the crème brûlée is perfectly torched?
You're aiming for a deep amber color and a hard, brittle sugar crust. Avoid black spots, which indicate burning. A slight shimmer is also a good indicator.
What kind of sugar works best for crème brûlée?
Granulated sugar is the most common and readily available choice. Its texture allows it to melt evenly and form the classic crisp, caramelized crust we all love.
Can I re-torch crème brûlée if the sugar doesn't caramelize properly the first time?
Yes, you can re-torch. Just be careful not to overheat the custard underneath. Use short bursts of heat and monitor the color closely to avoid burning.
Final Reflection: Mastering the Crème Brûlée Torch: A Sweet Symphony of Skill and Patience
The art of crafting the perfect crème brûlée isn't merely about following a recipe; it's about understanding the delicate dance between heat, sugar, and time. This seemingly simple dessert demands precision and patience, qualities that translate far beyond the kitchen. Mastering the crème brûlée torch, as we've explored, is a microcosm of this larger principle – a testament to the power of focused practice and attention to detail.
The satisfying crackle of the caramelized sugar, the rich, creamy custard beneath – these sensory experiences have captivated palates for centuries. The enduring appeal of crème brûlée speaks to a deeper human desire for both simple pleasures and the satisfaction of mastering a craft. As Julia Child once wisely said, Find something you're passionate about and keep tremendously interested in it.
This sentiment perfectly encapsulates the journey of learning to perfectly torch a crème brûlée; it's a process of dedication that yields immense rewards, both culinary and personal.
So, the next time you find yourself facing a seemingly daunting task, remember the crème brûlée. Remember the gentle heat, the careful application, the patience required to achieve that perfect, brittle crust. Embrace the process, celebrate the small victories, and don't be afraid to experiment. The art of torching crème brûlée, in its simplicity, offers a powerful metaphor for navigating life's challenges – a reminder that even the most seemingly insignificant details can contribute to a masterpiece. Now, go forth and create your own sweet symphony!
Unlock Your Inner Pâtissier: Master the Crème Brûlée Torch!
Thanks for diving into the world of perfectly torched crème brûlée! You've now got the knowledge to create a stunning dessert that's sure to impress. Ready to take your skills to the next level?
- Practice makes perfect! Try torching your own crème brûlée today. Experiment with different sugar thicknesses and flame intensities to find your perfect caramelization. This is where the real magic happens!
- Share your culinary creations! Post a picture of your masterpiece on social media and tag us – we'd love to see your perfectly torched delights!
- Explore our other dessert recipes: Discover more delicious recipes and techniques on BakeWithEase.com – we've got something for every baking level!
So, what innovative flavor combinations will you try for your next crème brûlée masterpiece? Let's hear it in the comments!