
Baked Custard Perfection: Avoiding Cracks and Graininess

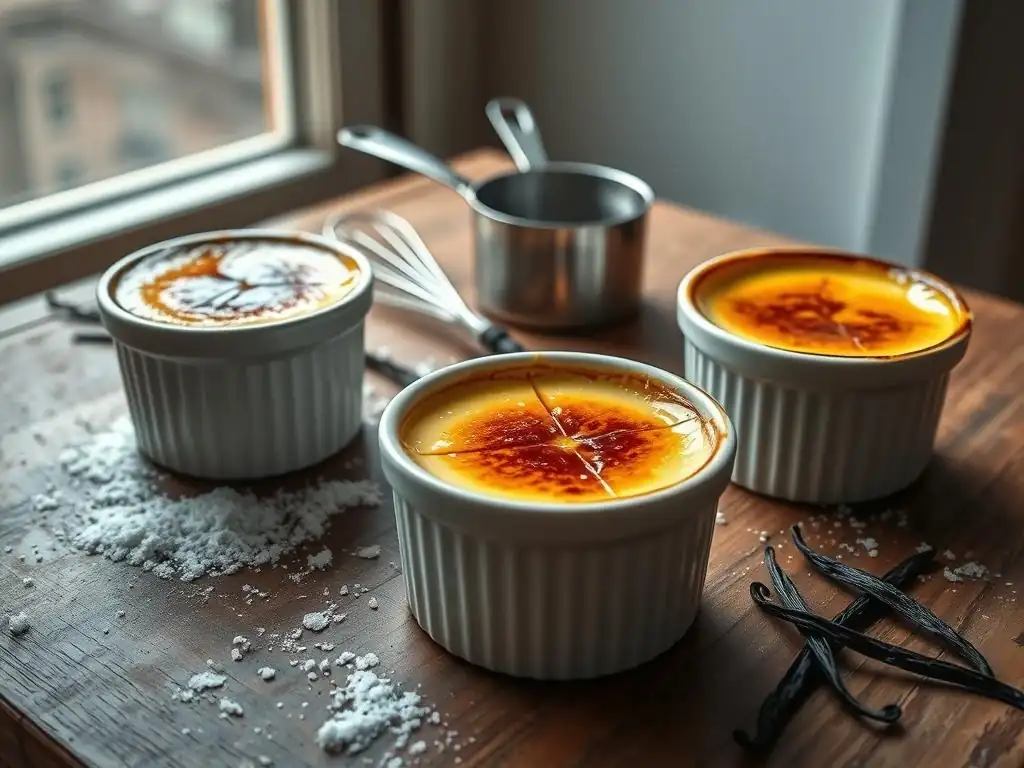
Welcome to BakeWithEase, your kitchen companion for unlocking baking brilliance! Ever dreamt of achieving that silky-smooth, perfectly baked custard? This article dives deep into the art of easy custard cracks prevention, revealing the secrets to a flawless texture and avoiding those dreaded imperfections. Curious about the simple tweaks that can transform your custard from grainy to glorious? Read on to discover our expert tips and tricks for achieving baked custard perfection, every single time.
- Classic Vanilla Bean Baked Custard: Achieving Silky Smooth Texture
- Introduction to Homemade Custard Elegance
- Understanding Custard Chemistry
- Preventing Cracks: Mastering the Baking Process
- Preventing Graininess: Techniques for Smoothness
- Recipe: Classic Vanilla Bean Baked Custard
- Troubleshooting Your Baked Custard
- Serving and Storing Your Custard
- Conclusion: Achieving Custard Excellence
- Frequently Asked Questions
- Final Reflection: The Sweet Science of Crack-Free Custard
- Unlock Your Custard's Silky Smooth Potential!
Classic Vanilla Bean Baked Custard: Achieving Silky Smooth Texture
Introduction to Homemade Custard Elegance
The Delight of Vanilla Bean Baked Custard
There's a certain magic in a perfectly baked vanilla bean custard. Its simplicity belies a sophisticated texture – a delicate balance between firm enough to hold its shape when spooned, yet meltingly smooth on the tongue. The subtle, floral notes of real vanilla bean elevate this humble dessert from ordinary to extraordinary, making it a staple in classic French patisserie and a comforting treat loved worldwide. Achieving this ideal texture is the goal for any home baker seeking to master the art of baked goods.
This classic dessert, often served chilled, is a testament to the beauty of minimal, high-quality ingredients expertly handled. Whether served simply in ramekins, as the base for crème brûlée, or incorporated into tarts and trifles, a well-made baked custard is a versatile foundation. Its creamy consistency provides a soothing contrast to other textures in a dessert, and the rich flavor of vanilla shines through, making it a beloved finish to any meal.
Common Custard Challenges: Cracks and Graininess
While the ingredient list for baked custard is short – typically eggs, sugar, milk, cream, and vanilla – achieving that flawless, smooth texture can be surprisingly challenging. Two of the most common frustrations bakers face are cracks appearing on the surface and a grainy or curdled texture within. These issues not only affect the visual appeal but significantly compromise the luxurious mouthfeel that defines a great baked custard.
Cracks often form when the custard bakes too quickly or unevenly, causing the surface to set and pull apart as the center finishes cooking. Graininess, on the other hand, usually results from the egg proteins overheating and curdling, separating from the liquid base. Understanding the underlying causes of these problems is the first step in mastering easy custard cracks prevention and ensuring a consistently smooth result every time you bake.
A Guide to Perfect Custard Texture
This guide is designed to walk you through the essential techniques and scientific principles behind achieving that coveted silky smooth texture in your baked vanilla bean custard. We'll explore how ingredients interact, the crucial role of temperature control, and practical steps you can take in your kitchen to avoid the pitfalls of cracking and graininess. By focusing on gentle handling and precise baking, you'll discover that preventing custard issues is more straightforward than you might think.
We'll cover everything from selecting the right ingredients to the nuances of the baking process, including the indispensable water bath technique. Whether you're a beginner tackling baked custard for the first time or an experienced baker looking to perfect your technique, these insights and tips will provide you with the knowledge needed for easy custard cracks prevention and consistently delicious results. Get ready to bake custard that is as beautiful to look at as it is delightful to eat.
Understanding Custard Chemistry
The Role of Egg Proteins in Custard Structure
Egg proteins are the workhorses of baked custard, responsible for transforming a liquid mixture into a semi-solid, spoonable dessert. Eggs contain several types of proteins, primarily albumin in the whites and lipoproteins in the yolks. When heated, these proteins undergo a process called denaturation, where they unfold, and then coagulation, where they bond together, forming a network that traps the liquid and creates the custard's structure. The ratio of yolks to whole eggs significantly impacts the final texture; more yolks result in a richer, smoother, and firmer custard due to the higher fat content and different protein composition.
The key to a smooth custard lies in controlling the coagulation process. If heated too quickly or to too high a temperature, the protein network becomes too tight, squeezing out moisture and resulting in a curdled, grainy texture. Think of it like scrambling eggs aggressively – the proteins seize up and become tough.
In custard, this manifests as a gritty mouthfeel. Gentle, even heating allows the proteins to link up gradually, creating a delicate, uniform matrix that feels smooth and creamy on the palate. Understanding this protein behavior is fundamental for easy custard cracks prevention and achieving the desired silky finish.
Temperature's Influence on Custard Development
Temperature is arguably the most critical factor in successful baked custard. Egg proteins begin to coagulate around 140°F (60°C) and become fully set by about 160°F (71°C). Baking the custard within this narrow temperature range, and doing so gently, is paramount. High oven temperatures or rapid heating cause the outer edges to set quickly while the center is still liquid. As the center catches up, it expands and puts stress on the already-set surface, leading to cracks.
Maintaining a consistent, low temperature throughout the baking process is the secret. This is where techniques like the water bath become invaluable, acting as a buffer against sudden temperature fluctuations and ensuring that the custard heats slowly and evenly from all sides. Baking at temperatures typically between 300°F and 325°F (150°C and 160°C) allows the proteins to set gradually, minimizing the risk of overheating and promoting a smooth, crack-free surface. Mastering temperature control is a cornerstone of easy custard cracks prevention.
While technique is crucial, the quality of your ingredients significantly impacts the final flavor and texture. For a classic vanilla bean baked custard, the vanilla itself is a star. Using a high-quality vanilla bean, such as a plump, fragrant Bourbon or Tahitian variety, imparts a depth of flavor that vanilla extract, even pure extract, simply cannot replicate. The tiny black specks from the scraped bean are also a visual hallmark of an authentic vanilla bean custard.
Beyond the vanilla, the quality of your dairy and eggs matters. Using fresh, large eggs and whole milk and heavy cream with a good fat content contributes to a richer, creamier texture. Lower-fat dairy can result in a less luxurious mouthfeel and a slightly less stable protein structure.
While precise fat percentages vary by region, opting for standard whole milk (around 3-3.5% fat) and heavy cream (typically 36-40% fat) is generally recommended for optimal results. Investing in quality ingredients enhances the flavor profile and contributes to the desired smooth consistency, making your efforts towards easy custard cracks prevention even more rewarding.
Preventing Cracks: Mastering the Baking Process
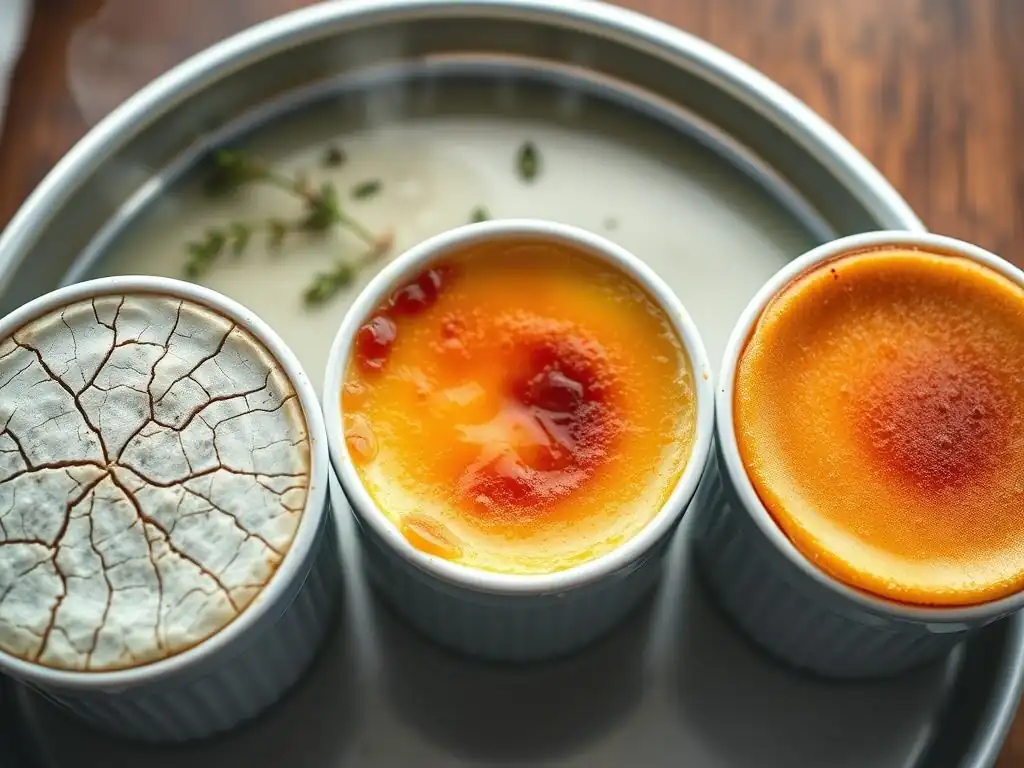
Water Bath Baking: Ensuring Gentle, Even Heat
The water bath, or bain-marie, is the single most effective technique for preventing cracks in baked custard. It works by surrounding the custard molds with hot water, which distributes heat gently and evenly around the ramekins. Water can't get hotter than its boiling point (212°F or 100°C), and its high specific heat means it retains temperature well. This creates a stable, moderate environment for the custard to cook, preventing the edges from setting too quickly and pulling away from the center.
Using a water bath ensures that the custard cooks from the bottom and sides at a consistent, controlled temperature, rather than being blasted by direct dry heat from the oven. This slow, uniform heating allows the egg proteins to coagulate gradually throughout the custard, reducing internal stress and minimizing the likelihood of the surface cracking. It's a simple addition to the baking process that makes easy custard cracks prevention highly achievable.
Preparing the Water Bath
To prepare a water bath, choose a baking dish or roasting pan large enough to comfortably hold your ramekins without them touching each other or the sides of the pan. Place the filled ramekins into the larger pan before adding the water. Bring a kettle or saucepan of water to a simmer or just below boiling. Carefully pour the hot water into the larger pan, surrounding the ramekins, until the water level comes about halfway up the sides of the ramekins.
It's crucial to use hot water, not cold, as starting with cold water means the custard will begin baking in dry heat before the water heats up, negating some of the water bath's benefits. Carefully transfer the entire assembly to the preheated oven. Handle with care, as the pan will be heavy and the hot water can slosh. Some bakers even place the pan in the oven first and then carefully pour the hot water into it, minimizing the risk of spills.
Water Bath Temperature Monitoring
While you don't need to constantly monitor the water temperature itself once in the oven, ensuring the oven temperature is accurate is key to the water bath's effectiveness. A good oven thermometer can be invaluable here, as oven thermostats can sometimes be off by 25-50°F (15-30°C). The water bath acts as a buffer, but it still relies on the surrounding oven air temperature to maintain its heat.
If you notice the water level dropping significantly during baking (which is less common with a proper seal), you might need to carefully add more hot water. However, ideally, the water bath provides a stable environment for the entire baking time. The goal is to keep the custard cooking gently within that ideal 140-160°F (60-71°C) range internally, and the water bath helps maintain the external environment needed to achieve this without guesswork, making easy custard cracks prevention part of your standard procedure.
Low and Slow: Optimal Baking Temperature
Baking baked custard at a low oven temperature is just as important as using a water bath. High heat accelerates the protein coagulation, leading to rapid setting and the potential for cracking. An oven temperature between 300°F and 325°F (150°C and 160°C) is generally considered ideal for baked custard. This lower temperature range, combined with the insulating effect of the water bath, ensures that the custard cooks slowly and evenly from the edges to the center.
Baking low and slow might mean a longer baking time – perhaps 35 to 50 minutes for standard 6-ounce ramekins, depending on the oven and the depth of the custard – but the patience pays off in a perfectly smooth, crack-free result. Resist the urge to increase the temperature to speed things up, as this is a primary cause of surface cracks and potential graininess. Consistency in temperature is a key factor in easy custard cracks prevention.
Monitoring Doneness: Visual and Tactile Cues
Knowing when your baked custard is perfectly set requires a bit of practice, but there are reliable cues to look for. Overbaking is another major culprit behind both cracks and graininess, as it causes the proteins to tighten excessively. The custard should be set but still have a slight jiggle in the center.
The edges of the custard should appear set and slightly opaque, while the center, roughly the size of a silver dollar (about 1.5 inches or 4 cm), should still look a little soft and jiggly when the ramekin is gently nudged. This residual softness in the center is crucial because the custard will continue to set as it cools from the residual heat. Pulling it out at this stage prevents overcooking and ensures a smooth texture.
The Subtle Jiggle Test
The classic "jiggle test" is your primary indicator of doneness. Gently shake or nudge the baking pan holding the ramekins. Observe the movement of the custard within the ramekins. The edges should be firm and not move, but the center area should wobble slightly, like very firm jelly or soft pudding. If the entire surface is completely solid and doesn't jiggle at all, it's likely overbaked.
If the center still looks very liquid or sloshes significantly, it needs more time. Check every 5-7 minutes once you suspect it's getting close. This subtle jiggle is the sweet spot that indicates the proteins have formed a stable yet delicate network, promising a smooth texture once fully chilled. Mastering this test is a key skill for easy custard cracks prevention.
Internal Temperature Verification
For a more precise measure, especially when you're just learning, an instant-read thermometer can be used. Carefully insert the thermometer into the center of one of the custards, avoiding touching the bottom of the ramekin. The ideal internal temperature for baked custard is typically between 160°F and 165°F (71°C and 74°C).
Temperatures higher than this range indicate overcooking, which can lead to graininess and cracking. While inserting a thermometer leaves a small hole, it's a reliable way to confirm doneness without relying solely on the jiggle test. Combining visual cues, the jiggle test, and occasional temperature checks will help you consistently achieve perfectly set, smooth baked custard.
Preventing Graininess: Techniques for Smoothness
Gentle Mixing of the Custard Base
The process of combining your ingredients plays a significant role in the final texture. When whisking together the eggs, sugar, and vanilla, aim for thorough mixing to dissolve the sugar but avoid incorporating excessive air. Over-whisking creates foam, which can lead to a bubbly or uneven texture in the finished custard. Whisk gently until the mixture is just combined and the sugar is mostly dissolved.
When adding the warm milk and cream mixture to the egg mixture (tempering), whisk slowly and steadily. Pouring the hot liquid too quickly or whisking too vigorously can scramble the eggs, resulting in immediate graininess. The goal is to slowly raise the temperature of the eggs while incorporating the liquid smoothly, creating a homogeneous base free of lumps or air pockets. Gentle handling from the start is crucial for easy ways to avoid grainy custard.
Straining for a Silky Texture
Even with careful mixing, small bits of chalaza (the white cords in eggs), undissolved sugar, or tiny pieces of coagulated egg can remain in the custard base. Straining the mixture before pouring it into the ramekins removes these imperfections, ensuring a truly silky smooth texture. This is a simple step that makes a big difference in the final result.
Use a fine-mesh sieve set over a bowl or directly over your ramekins. Pour the custard mixture through the sieve, gently nudging it if necessary to help it pass through. Discard any solids left in the sieve. This step is non-negotiable for achieving that restaurant-quality smooth finish and is a straightforward method for easy ways to avoid grainy custard.
Gentle Heating of the Milk and Cream
When preparing the dairy base, heat the milk and cream gently on the stovetop. The goal is to bring the mixture just to a simmer, not a rolling boil. Boiling milk can scald it, imparting an off-flavor, and heating it too rapidly can also contribute to issues when combining it with the eggs. Watch for small bubbles just beginning to form around the edges of the pan.
Once the dairy is heated, remove it from the heat before tempering it into the egg mixture. Allowing it to sit for a minute off the heat can prevent it from being too hot and potentially scrambling the eggs upon contact. Gentle, controlled heating of the dairy is the first step in creating a stable custard base, contributing significantly to easy ways to avoid grainy custard.
Addressing Existing Graininess: Adding a Small Amount of Lemon Zest
If, despite your best efforts, you find your custard base has a slight graininess or even a hint of scrambled egg texture before baking, there's a potential, albeit unconventional, trick that might help slightly improve the situation before it goes into the oven. Adding a tiny amount of acid, such as a few gratings of fresh lemon zest (be careful not to add too much or you'll flavor the custard), can sometimes help to "smooth out" or break down very minor protein clumps.
However, this is a last-ditch effort and not a guaranteed fix for significantly curdled mixtures. The best approach is prevention through gentle mixing, proper tempering, and straining. If the mixture is heavily curdled, it's often better to start over. But for very slight imperfections, a tiny touch of acid may marginally improve the texture before baking solidifies the issue. This is less about easy ways to avoid grainy custard and more about a potential minor rescue mission.
Recipe: Classic Vanilla Bean Baked Custard
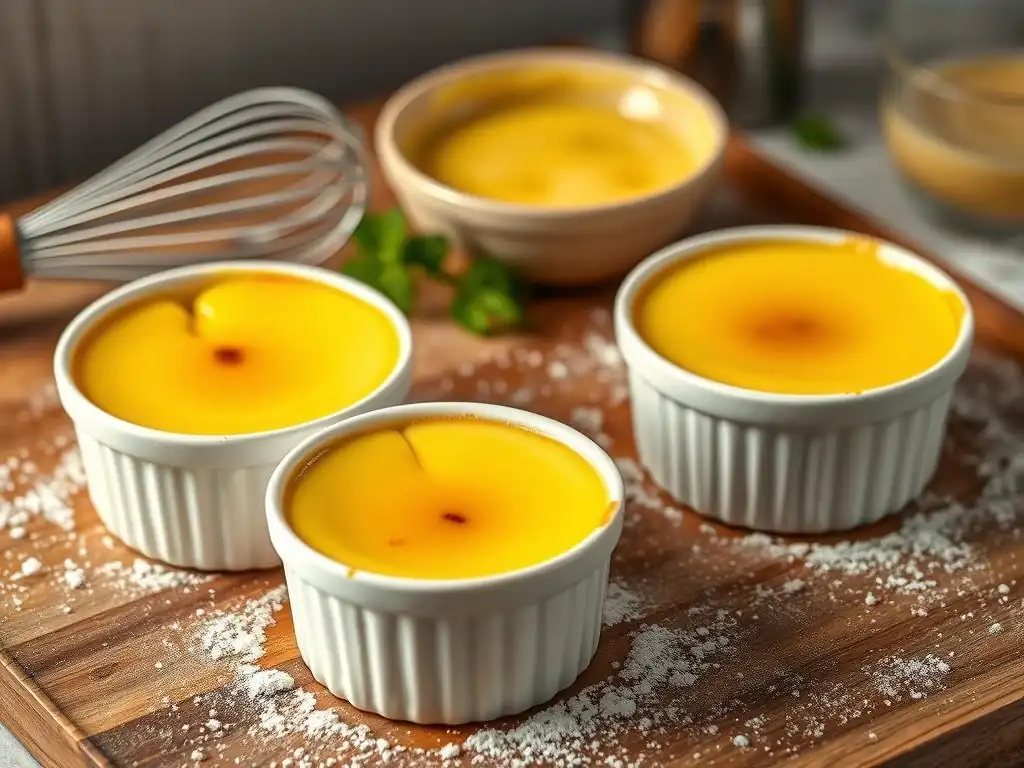
Ingredients for Silky Smooth Custard
To make approximately four 6-ounce (175 ml) servings of classic vanilla bean baked custard, you will need:
- 2 cups (475 ml) whole milk
- 1 cup (240 ml) heavy cream (about 36-40% fat)
- 1/2 cup (100 g) granulated sugar
- 1 vanilla bean, split lengthwise and seeds scraped
- 3 large eggs
- 2 large egg yolks
- Pinch of salt (optional, enhances flavor)
Ensure all ingredients are fresh and at room temperature (except the dairy before heating). Using room temperature eggs helps them incorporate more smoothly into the mixture.
Step-by-Step Baking Instructions
- Preheat your oven to 325°F (160°C).
- Heat the milk, cream, sugar, vanilla bean pod, and scraped seeds in a medium saucepan over medium heat. Stir occasionally until the sugar is dissolved and the mixture is just simmering around the edges. Remove from heat, cover, and let steep for 15-20 minutes to infuse the vanilla flavor.
- In a separate bowl, gently whisk together the eggs and egg yolks. Do not whisk vigorously or create foam.
- Remove the vanilla bean pod from the milk mixture. Slowly temper the warm milk mixture into the egg mixture by gradually pouring about half of the warm liquid into the eggs while whisking constantly but gently. This slowly raises the temperature of the eggs.
- Pour the tempered egg mixture back into the saucepan with the remaining warm milk mixture. Stir gently to combine.
- Strain the entire custard mixture through a fine-mesh sieve into a clean bowl or directly into your ramekins. Discard any solids.
- Divide the strained custard evenly among four 6-ounce ramekins.
- Place the filled ramekins in a larger baking pan or roasting pan.
- Carefully pour hot water (simmering or just below boiling) into the larger pan until it comes about halfway up the sides of the ramekins.
- Carefully transfer the pan with the water bath and ramekins to the preheated oven.
- Bake for 35-50 minutes, or until the edges are set and the centers still have a slight jiggle when gently nudged.
- Carefully remove the baking pan from the oven. Remove the ramekins from the water bath (use tongs or oven mitts) and place them on a wire rack to cool completely to room temperature.
- Once cooled, cover each ramekin with plastic wrap and refrigerate for at least 4 hours, or preferably overnight, to allow the custard to fully set and chill.
Pro Tips for Enhanced Flavor and Texture
- Don't skip the steeping: Letting the vanilla bean steep in the warm dairy for 15-20 minutes significantly deepens the vanilla flavor.
- Use a scale: For consistent results, especially with ingredients like sugar and eggs (which vary in size), using a kitchen scale is more accurate than volume measurements. For instance, 3 large eggs weigh approximately 150-165 grams, and 2 large yolks add about 30-40 grams.
- Chill thoroughly: Allowing the custard to chill completely in the refrigerator is essential for the proteins to finish setting and for the flavors to meld. Don't rush this step.
- Prevent a skin: To prevent a skin from forming on the surface while chilling, press plastic wrap directly onto the surface of the cooled custard in each ramekin before refrigerating.
Troubleshooting Your Baked Custard
Common Issues and Solutions
Even with careful technique, sometimes things don't go perfectly. Understanding why issues occur is key to fixing them in the future and contributes to your overall mastery of easy custard cracks prevention.
Let's look at the most frequent problems:
- Cracking: Surface cracks are frustrating and often visible immediately after removing the custard from the oven.
- Grainy Texture: A gritty or curdled mouthfeel indicates the egg proteins have overcooked.
- Uneven Cooking: Some parts are set while others are still liquid, or the edges are tough while the center is underdone.
- Soft Custard: The custard doesn't fully set even after chilling.
Addressing these common issues is part of learning to bake smooth, perfect custard consistently.
Cracking: Causes and Remedies
- Cause: Baking at too high a temperature or cooking too quickly. The surface sets before the center, and as the center expands, it pulls the set surface apart. Dry heat is a major contributor.
- Remedy: Always use a water bath. Ensure your oven temperature is accurate and bake at a lower temperature (300-325°F / 150-160°C). Do not overbake; remove the custard when the center still has a slight jiggle. If cracks appear, they won't affect the flavor, but you can disguise them with toppings like whipped cream or fruit. For easy custard cracks prevention, focus on low, slow, and moist heat.
Grainy Texture: How to Remedy
- Cause: Overheating the egg proteins, causing them to curdle. This can happen during tempering, baking, or if the milk/cream mixture was heated too high initially.
- Remedy: Ensure your milk/cream mixture is just simmering, not boiling, before tempering. Temper the eggs slowly and whisk gently. Strain the mixture before baking. Most importantly, do not overbake the custard; remove it when it reaches 160-165°F (71-74°C) internally or passes the jiggle test. Once a custard is grainy, it's difficult to fix the texture, though blending briefly with an immersion blender might slightly improve it for use in another application (like a sauce), but it won't restore the original silky smoothness. Prevention is key for easy ways to avoid grainy custard.
Uneven Cooking: Identifying and Correcting
- Cause: Uneven oven temperature, ramekins touching each other in the water bath, or insufficient water level in the water bath.
- Remedy: Use an oven thermometer to verify your oven's accuracy. Ensure ramekins are spaced adequately in the water bath pan. Fill the water bath at least halfway up the sides of the ramekins. Rotating the pan halfway through baking can also help compensate for oven hot spots.
Soft Custard: Increasing Baking Time
- Cause: Underbaking. The egg proteins didn't reach a high enough temperature or weren't held at the setting temperature long enough to form a sufficient network.
- Remedy: If your custard is still too soft after chilling, it simply needed more time in the oven. Next time, bake until the center internal temperature reaches 160-165°F (71-74°C). If you are nervous about overbaking and cracking, aim for the lower end of the temperature range (around 160°F / 71°C). The jiggle test should show only a small area of movement in the center. You cannot re-bake an undercooked custard once it has cooled, as the texture will be compromised.
Serving and Storing Your Custard
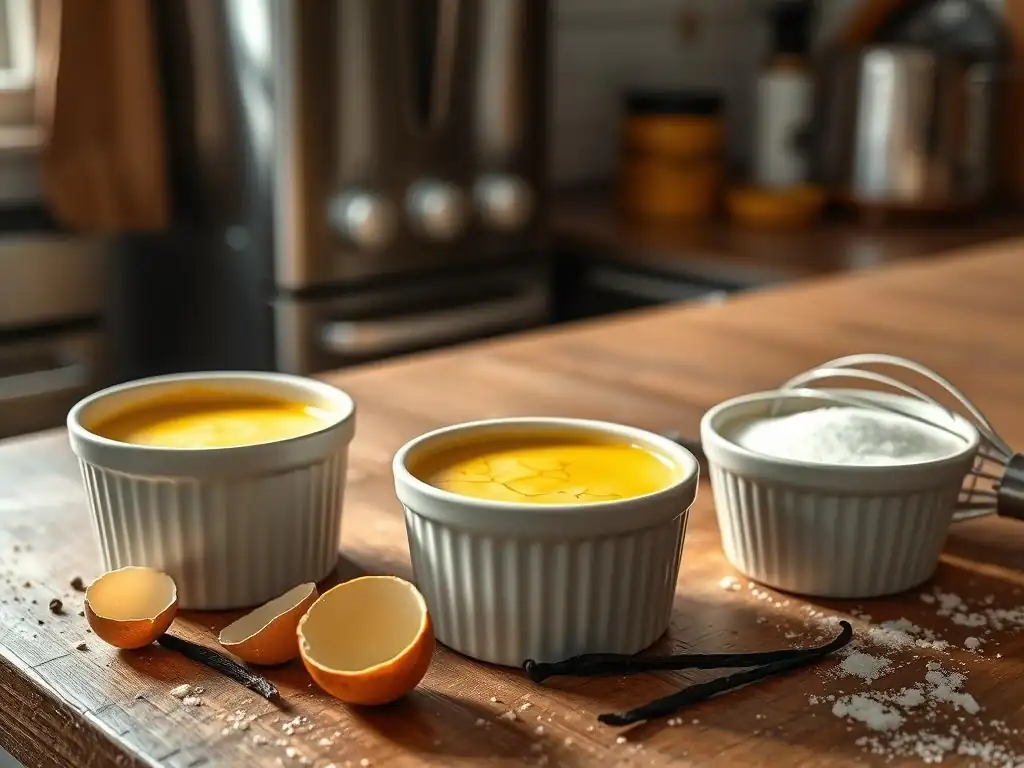
Serving Suggestions: Garnishes and Pairings
A perfectly baked vanilla bean custard is delicious served simply on its own, allowing its pure flavor and texture to shine. However, various garnishes and pairings can elevate the experience.
- Fresh Berries: A classic complement, the slight tartness of berries like raspberries, strawberries, or blueberries provides a lovely contrast to the creamy sweetness.
- Caramel Sauce: A drizzle of warm caramel adds richness and a hint of bitterness, reminiscent of crème caramel.
- Whipped Cream: A dollop of lightly sweetened whipped cream adds extra indulgence.
- Toasted Nuts: A sprinkle of toasted slivered almonds or chopped pistachios offers a textural contrast.
- Cookie Crumble: Crushed shortbread or biscotti can add a delightful crunch.
Consider pairing your custard with a light dessert wine or a simple cup of coffee or tea.
Proper Storage for Freshness
To maintain the quality and freshness of your baked custard, proper storage is essential. Once the custard has cooled completely to room temperature after baking, cover each individual ramekin. The best way to prevent a skin from forming and keep the custard fresh is to press plastic wrap directly onto the surface of the custard in each ramekin, ensuring no air pockets.
Alternatively, you can cover the entire ramekin tightly with plastic wrap or foil. Store the covered custards in the refrigerator. Keeping them chilled is crucial for both safety and texture.
Shelf Life of Baked Custard
Baked custard, due to its high dairy and egg content, is best enjoyed within a few days of baking. Properly stored in the refrigerator, it will typically keep well for 3 to 4 days. Beyond this timeframe, the quality may deteriorate, and there is an increased risk of spoilage.
It is not recommended to freeze baked custard, as the freezing and thawing process can significantly alter the texture, often resulting in a watery or separated consistency due to the delicate protein structure breaking down. For the best flavor and texture, make and refrigerate your custard within the recommended timeline.
Conclusion: Achieving Custard Excellence
Key Techniques for Prevention
Mastering baked custard comes down to a few key principles centered around gentle handling and precise temperature control. To recap, the most effective techniques for easy custard cracks prevention and avoiding graininess are:
- Using a water bath for gentle, even heating.
- Baking low and slow at 300-325°F (150-160°C).
- Removing the custard when the center still has a slight jiggle or reaches 160-165°F (71-74°C) internally.
- Gently mixing ingredients and tempering the eggs carefully.
- Always straining the custard base before baking.
By diligently applying these methods, you significantly reduce the common risks and pave the way for consistently smooth results.
Enjoying Your Homemade Custard
There's immense satisfaction in creating a classic dessert from scratch, especially one as elegant as vanilla bean baked custard. The process, while requiring attention to detail, is rewarding. The result is a luxurious, comforting dessert that showcases the simple beauty of its ingredients. Take pride in your perfectly smooth, crack-free creations!
Whether you're serving it for a special occasion or enjoying a quiet treat, your homemade baked custard is a testament to your growing baking skills. Embrace the journey of learning and refining your techniques, and soon, achieving easy custard cracks prevention will become second nature in your kitchen.
Further Baking Resources
If you enjoyed mastering baked custard and want to delve deeper into the world of pastries and desserts, BakeWithEase.com offers a wealth of resources. Explore our guides on cheesecakes, crème brûlée, panna cotta, and other delicate desserts that rely on similar principles of gentle heating and precise technique. Continue to practice, experiment, and expand your baking repertoire.
Frequently Asked Questions
What causes cracks to form in baked custard?
Cracks usually result from rapid temperature changes or overbaking. The custard expands too quickly, exceeding its structural integrity.
How can I prevent my custard from becoming grainy?
Graininess is often a sign of overcooking or curdling. Using a water bath and baking at a low temperature can help prevent this.
What is the ideal baking temperature for a smooth custard?
A low and slow bake is key. Aim for a temperature between 300-325°F (150-160°C). This ensures even cooking.
Why is a water bath (bain-marie) recommended for baking custard?
A water bath provides gentle, even heat, preventing the custard from cooking too quickly and cracking. It also helps maintain optimal moisture levels.
Can the type of dish affect custard cracking?
Yes, using a heat-proof dish that distributes heat evenly is important. Avoid thin, easily overheated materials.
Final Reflection: The Sweet Science of Crack-Free Custard
The pursuit of the perfect baked custard—smooth, creamy, and utterly crack-free—is more than just a culinary quest; it's a testament to understanding the delicate balance of science and artistry in the kitchen. This article explored the common pitfalls leading to cracked and grainy custards, highlighting the crucial role of temperature control, proper ingredient ratios, and the gentle art of bain-marie baking. Mastering these techniques unlocks a world of creamy perfection, transforming a simple dessert into a culinary masterpiece.
The journey to understanding custard-making has been a personal one, filled with both triumphs and failures. Each cracked custard taught me a valuable lesson, pushing me to refine my technique and deepen my appreciation for the subtle nuances of this classic dessert. The best things in life are worth the wait, and a perfectly smooth custard is no exception.
This simple truth underscores the patience and precision required to achieve culinary excellence. The ongoing exploration of custard-making, with its endless variations and possibilities, continues to inspire and challenge me.
Now, it's your turn. Don't be discouraged by a few cracked custards; embrace the learning process. Experiment with different techniques, refine your methods, and savor the joy of creating a dessert that is both visually stunning and incredibly delicious. The next time you bake a custard, remember the principles outlined in this article, and let the pursuit of perfection guide your hand. The reward? A truly unforgettable culinary experience.
Unlock Your Custard's Silky Smooth Potential!
Thanks for taking the time to explore the secrets of flawlessly smooth baked custards! We hope you gained valuable insights to elevate your baking game. Now it's time to put your new knowledge into practice.
- Master the art of the perfect custard: Try baking a custard today, focusing on the techniques we discussed—consistent heating and gentle stirring are key! Note any differences you observe.
- Share your custard creations: Post a picture of your masterpiece on social media and tag us! Let's inspire others with your baking success.
- Experiment with flavors: Go beyond vanilla! What exciting custard flavor combinations will you create now that you've mastered the basics?
What unexpected ingredient will you add to your next baked custard to explore new flavour profiles?