
GlutenFree Cheesecake Crust That Stays Put

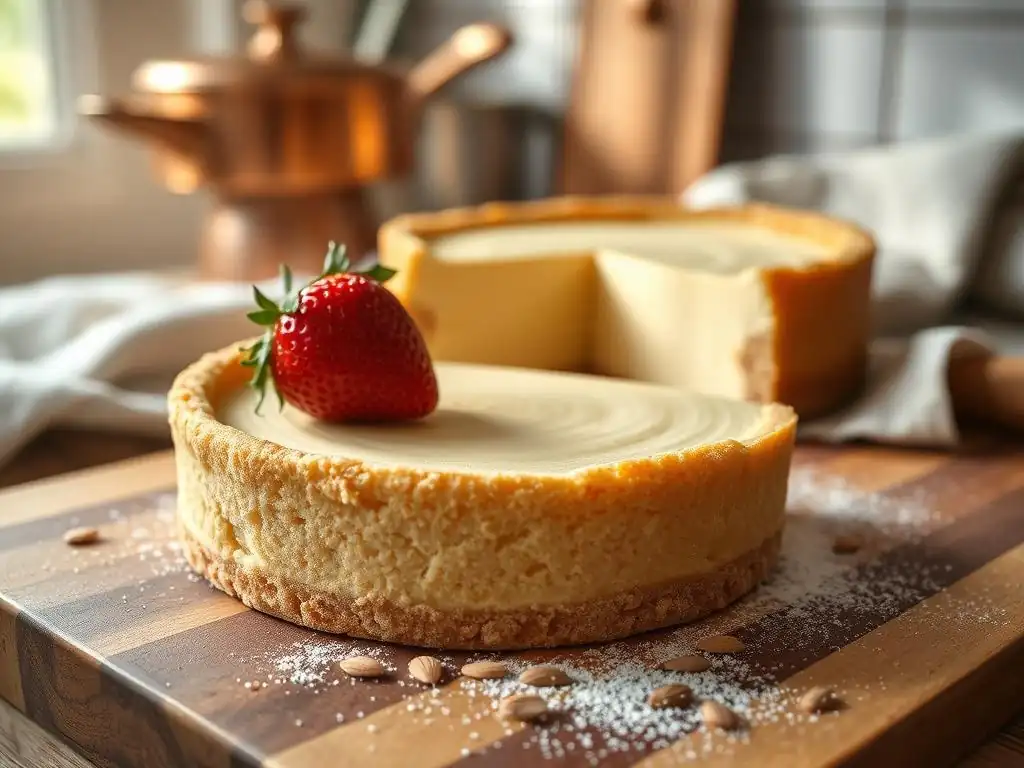
Welcome to BakeWithEase, your kitchen companion for all things baking!
Ever dreamt of a perfectly set gluten-free cheesecake crust that doesn't crumble at the first slice? You're in the right place. Discover our GlutenFree Cheesecake Crust Recipe that stays put and delivers a delightful, worry-free dessert experience. Intrigued? Let's unlock the secrets to a flawless, gluten-free base that will elevate your cheesecake to new heights. Read on to find out exactly how!
- Gluten-Free Cheesecake Crust That Stays Put: The Ultimate Guide
- BakeWithEase' Secret to a Perfect Gluten-Free Cheesecake Crust
- Why a Gluten-Free Cheesecake Crust Can Be Tricky
- The Best Gluten-Free Cheesecake Crust Recipe: Step-by-Step
- Pro Tips for a Non-Crumbly Gluten-Free Cheesecake Crust
- Gluten-Free Cheesecake Crust Variations and Flavor Ideas
- Troubleshooting Common Gluten-Free Cheesecake Crust Problems
- Storing Your Gluten-Free Cheesecake Crust
- Enjoy Your Perfect Gluten-Free Cheesecake!
-
Frequently Asked Questions
- What makes this gluten-free cheesecake crust recipe different from others?
- Can I substitute any of the gluten-free flours listed in the recipe?
- What kind of fat works best in this gluten-free cheesecake crust?
- How do I prevent the crust from sticking to the pan?
- How long should I bake the crust before adding the cheesecake filling?
- Final Reflection: The Enduring Allure of a Perfect Gluten-Free Crust
- Unleash Your Inner Cheesecake Artist!
Gluten-Free Cheesecake Crust That Stays Put: The Ultimate Guide
BakeWithEase' Secret to a Perfect Gluten-Free Cheesecake Crust
Welcome to BakeWithEase! We know the struggle: you bake a beautiful gluten-free cheesecake, slice into it, and the crust crumbles into a million pieces. Frustrating, right? Traditional cheesecake crusts rely on the binding power of gluten in wheat flour, often combined with graham cracker crumbs or cookies. When you remove gluten, you lose that inherent structure, making a sturdy, cohesive gluten-free cheesecake crust recipe a bit more challenging to perfect.
This guide is designed to equip you with the knowledge and techniques needed to create a gluten-free cheesecake crust that is not only delicious but also holds its shape beautifully. We'll walk you through the common pitfalls of gluten-free crusts and provide a reliable, step-by-step gluten-free cheesecake crust recipe that works every time. Whether you're using gluten-free graham crackers, cookies, or a mix, these principles apply. Get ready to elevate your gluten-free baking game and achieve cheesecake perfection without the crumble!
Why a Gluten-Free Cheesecake Crust Can Be Tricky
Creating a stable base for your creamy cheesecake filling is crucial, and this becomes particularly challenging when working with gluten-free ingredients. The absence of gluten, a protein network that provides elasticity and structure in traditional baked goods, means that alternative methods are needed to bind the crumbs or flour together effectively. Without the right approach, your gluten-free cheesecake crust can easily fall apart when you try to serve your dessert.
Understanding the unique properties of gluten-free flours and crumbs is key to overcoming these difficulties. Unlike wheat flour, which develops gluten when hydrated and mixed, gluten-free options like rice flour, almond flour, or oat flour (ensure certified gluten-free) do not possess this natural binding ability. This difference necessitates the introduction of other binding agents or techniques to achieve a cohesive texture that can withstand slicing.
The Challenge of Binding Gluten-Free Crumbs
Gluten's magic lies in its ability to form a flexible, sticky network when mixed with liquid. This network holds everything together, whether it's dough or crumbs mixed with fat. In a traditional graham cracker crust, while less gluten is present than in a pastry crust, the crumbs still have some wheat flour content contributing to structure. When you switch to gluten-free crumbs, such as those made from rice flour or gluten-free oats, you lose this binding potential entirely.
This lack of inherent stickiness means that the primary binder in a gluten-free cheesecake crust recipe becomes the fat, typically melted butter, and sometimes sugar or an additional binder. If the ratio of fat to dry crumbs is off – too little fat, for example – the crumbs won't adhere to each other sufficiently. Imagine trying to build a sandcastle with dry sand versus slightly damp sand; the dampness (like fat in crumbs) provides the stickiness needed for structure. Getting this ratio right is paramount for a crust that stays put.
Understanding Gluten-Free Flour Blends for Crusts
While many gluten-free cheesecake crust recipes use pre-made gluten-free crumbs, some might use gluten-free flour blends for a press-in style crust. These blends are typically a mix of different flours and starches like rice flour (brown or white), tapioca starch, potato starch, and sometimes almond or sorghum flour. Each component brings different properties: rice flour provides bulk, tapioca starch adds chewiness, and potato starch contributes tenderness.
However, unlike wheat flour, these blends don't form a gluten network. To compensate, commercial gluten-free blends often contain hydrocolloids like xanthan gum or guar gum, which mimic some of gluten's binding properties by thickening liquids and providing structure. When making a gluten-free cheesecake crust from scratch using a flour blend, you'll almost certainly need to add a binder like xanthan gum (typically 1/4 to 1/2 teaspoon per cup of flour blend) or psyllium husk to achieve a dough-like consistency that holds together when pressed.
The Best Gluten-Free Cheesecake Crust Recipe: Step-by-Step
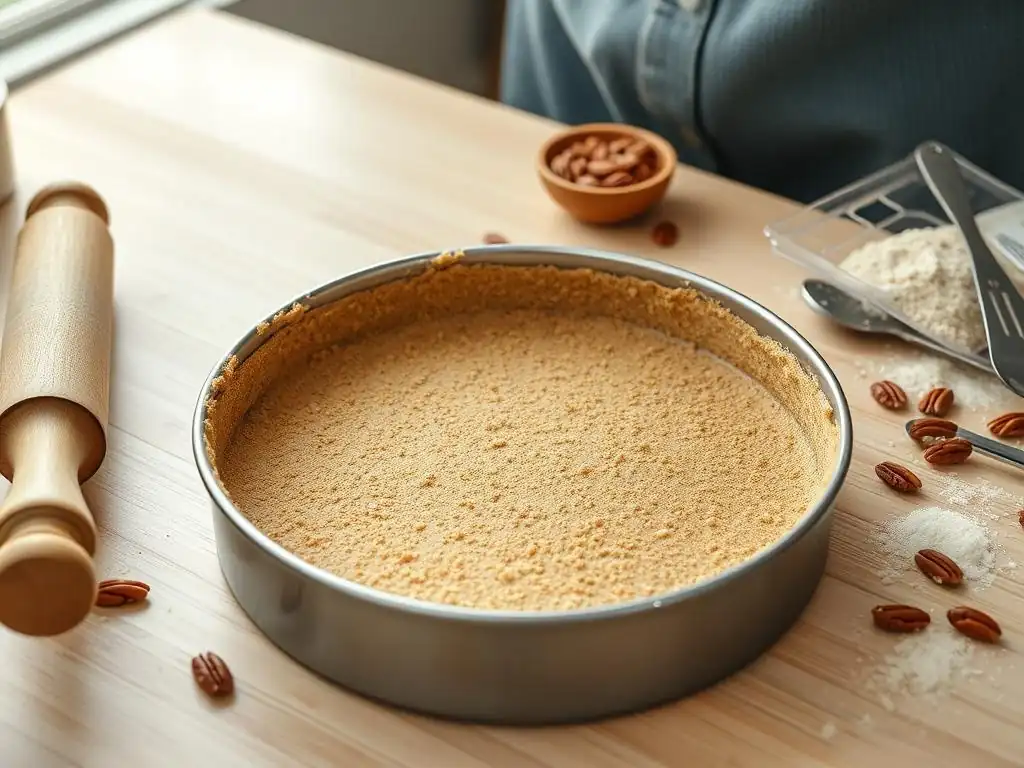
This gluten-free cheesecake crust recipe focuses on a reliable crumb-based method, perfect for beginners and experienced bakers alike. It uses simple ingredients and techniques to ensure a sturdy base for your cheesecake. The key is the right ratio of crumbs to fat and proper pressing.
Ingredients for a Sturdy Gluten-Free Crust
For a standard 9-inch springform pan, you will typically need:
- 2 cups (about 200-250g) gluten-free graham cracker crumbs or gluten-free cookie crumbs (e.g., vanilla wafers, shortbread)
- 1/4 cup (about 50g) granulated sugar (adjust based on crumb sweetness)
- 1/2 cup (about 115g) unsalted butter, melted
These quantities provide a solid foundation. The amount of sugar can be slightly adjusted; if your gluten-free crumbs are already very sweet, you might reduce the sugar to 2-3 tablespoons. Using unsalted butter allows you to control the saltiness, which can enhance the flavor profile of the crust. Ensure the butter is fully melted but not scorching hot before mixing.
Step 1: Preparing the Gluten-Free Crumb Mixture
Begin by making your gluten-free crumbs. If using gluten-free graham crackers or cookies, process them in a food processor until fine crumbs form. Alternatively, place them in a resealable plastic bag and crush them with a rolling pin. Aim for a fine, uniform texture without large chunks.
In a medium bowl, combine the gluten-free crumbs and sugar. Stir well to distribute the sugar evenly. Pour the melted butter over the crumb mixture. Stir with a fork or spatula until all the crumbs are moistened and the mixture resembles wet sand. When you squeeze a handful, it should hold its shape reasonably well. If it seems too dry, add another tablespoon of melted butter.
Step 2: Pressing the Crust into the Pan
This is a critical step for a non-crumbly gluten-free cheesecake crust. Prepare your 9-inch springform pan by lightly greasing the bottom and sides, or lining the bottom with parchment paper for easy removal. Pour the crumb mixture into the prepared pan.
Using the bottom of a flat-bottomed glass or a dry measuring cup, firmly press the crumb mixture onto the bottom and up the sides of the pan. Pay special attention to the edges where the bottom meets the sides, ensuring a compact seal. The goal is to compress the crumbs tightly, forming a solid, even layer. The more firmly you press, the sturdier your gluten-free cheesecake crust will be. Aim for an even thickness across the bottom and sides, typically about 1/4 inch.
Task List:
[x] Gather ingredients
[x] Prepare gluten-free crumbs
[x] Mix crumbs, sugar, and melted butter
[x] Prepare springform pan
[x] Transfer mixture to pan
[x] Press crust firmly and evenly into pan
Step 3: Blind Baking the Gluten-Free Cheesecake Crust
Blind baking (or pre-baking) is highly recommended for a gluten-free cheesecake crust to set the structure and prevent it from becoming soggy once the filling is added. Preheat your oven to 350°F (175°C).
Place the pan with the pressed crust in the preheated oven and bake for 10-12 minutes, or until the edges are lightly golden and the crust appears set. The baking process helps to slightly toast the crumbs and solidify the butter, creating a more stable base. Once baked, remove the crust from the oven and let it cool completely on a wire rack before adding the cheesecake filling. This cooling step is important to prevent the hot crust from melting the filling prematurely.
Pro Tips for a Non-Crumbly Gluten-Free Cheesecake Crust
Achieving that perfectly stable gluten-free cheesecake crust recipe goes beyond just following the basic steps. These professional tips will help you troubleshoot common issues and ensure your crust is robust and delicious.
Tip 1: Using the Right Gluten-Free Flour
While crumb crusts are common, some gluten-free cheesecake crust variations use flour. If opting for a flour-based press-in crust (similar to a shortbread), the type of gluten-free flour blend matters significantly. A blend heavy in rice flour can be gritty, while one with too much tapioca can be gummy. For a tender, press-in crust, a blend containing a good proportion of almond flour or a balanced mix of brown rice flour, sorghum flour, and starches (like tapioca and potato starch) often works best.
For example, using a blend with approximately 30% almond flour can add richness and a more tender crumb compared to a blend made solely from white rice and starches. When using these blends in a gluten-free cheesecake crust recipe, ensure the blend is formulated for baking, and remember that adding a binder like xanthan gum (follow package directions, typically 1/4 - 1/2 tsp per cup of flour) is usually necessary for structure.
Tip 2: The Importance of Cold Butter
Wait, didn't we use melted butter for the crumb crust? Yes, for binding crumbs. However, the header specifies "Cold Butter," which is crucial if you are making a press-in pastry-style gluten-free cheesecake crust using a flour blend, or if you are chilling your crumb crust before baking. For a pastry-style crust, cutting cold, solid butter into the flour blend creates flaky layers as the butter melts during baking.
For a crumb crust, while melted butter binds, chilling the pressed crust in the refrigerator for at least 30 minutes before baking solidifies the butter. This chilling step helps the crust hold its shape better during the initial baking phase and contributes to a firmer final texture. So, after pressing your crumb mixture into the pan, pop it in the fridge while the oven preheats.
Tip 3: Binding Agents Beyond Gluten
Since gluten is out, other ingredients step in to provide structure in a gluten-free cheesecake crust recipe. Melted butter is the primary binder for crumb crusts, as discussed. The fat coats the crumbs and, upon cooling or baking, solidifies, holding everything together. Sugar also contributes to binding, especially when it caramelizes slightly during baking.
For crusts made with gluten-free flour blends, additional binders are often essential. Xanthan gum or psyllium husk powder are commonly used at small percentages (typically less than 1% of the flour weight) to mimic the elasticity and binding power of gluten. An egg yolk can also be added to certain flour-based crusts for richness and binding, creating a more cohesive dough that is easier to press or roll.
Tip 4: Pre-Baking for a Crisp Crust
Blind baking, or pre-baking the gluten-free cheesecake crust before adding the filling, is arguably the most important step for preventing a soggy bottom and ensuring a crisp texture. Baking the crust for 10-12 minutes at 350°F (175°C) allows the butter to set and the crumbs to lightly toast.
This process creates a barrier that prevents the moisture from the cheesecake filling from seeping into the crust during the main bake, which is a common cause of crumbling and sogginess in a gluten-free cheesecake crust. Think of it as sealing the crust. Ensure the crust is fully cooled after pre-baking before adding the filling; adding filling to a hot crust can create steam and negate the benefits of pre-baking.
Gluten-Free Cheesecake Crust Variations and Flavor Ideas
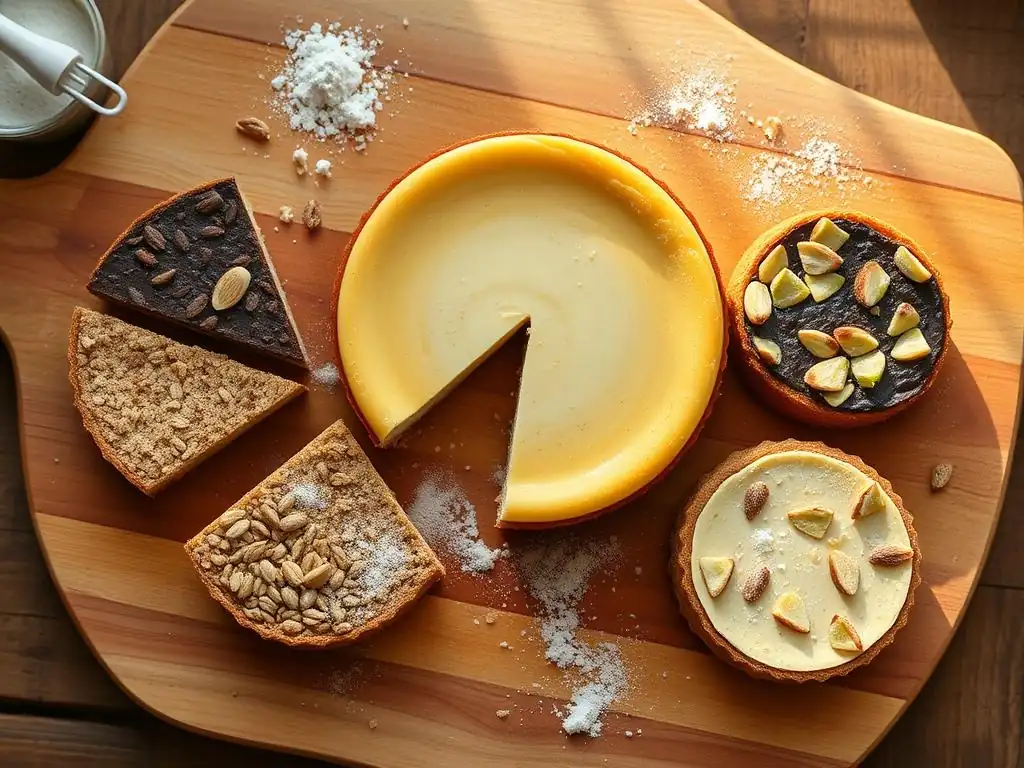
Once you've mastered the basic gluten-free cheesecake crust recipe, you can start experimenting with different flavors and textures. Using various types of gluten-free cookies or adding extra ingredients can transform your cheesecake base.
Chocolate Gluten-Free Cheesecake Crust
For the chocolate lover, a chocolate gluten-free cheesecake crust is a game-changer. You can achieve this by using gluten-free chocolate cookies or wafers as your base crumb instead of graham crackers. Simply substitute the graham cracker crumbs cup-for-cup with finely crushed gluten-free chocolate cookies.
Alternatively, you can start with gluten-free graham cracker or vanilla wafer crumbs and whisk in 2-3 tablespoons of unsweetened cocoa powder into the dry crumb-sugar mixture before adding the melted butter. This adds a subtle chocolate flavor. For a richer experience, consider adding a tablespoon of melted dark chocolate along with the butter, ensuring it's well incorporated.
Nutty Gluten-Free Cheesecake Crust
Adding nuts or using nut-based crumbs can give your gluten-free cheesecake crust a wonderful depth of flavor and a slightly different texture. Almond flour or finely ground pecans or walnuts can be used in combination with or instead of traditional gluten-free crumbs.
For a nutty twist, substitute up to half of the gluten-free graham cracker crumbs with finely ground nuts or almond flour. For example, use 1 cup graham crumbs and 1 cup almond flour. You can also add about 1/4 cup of finely chopped toasted nuts (like pecans or walnuts) to the basic crumb mixture for added crunch and flavor. Ensure nuts are fresh to avoid bitterness.
Spice-Infused Gluten-Free Cheesecake Crust
Infusing your gluten-free cheesecake crust with warm spices can complement a variety of cheesecake flavors, especially those featuring pumpkin, apple, or classic vanilla. Cinnamon is a natural fit with graham cracker style crumbs, but don't stop there!
Whisk 1 to 1.5 teaspoons of ground cinnamon into the dry crumb-sugar mixture. For more complex flavors, add 1/4 teaspoon of ground nutmeg, ginger, or a pinch of ground cloves. A blend of pumpkin pie spice works beautifully. Ensure the spices are well distributed before adding the melted butter. This simple addition can elevate a basic gluten-free cheesecake crust recipe significantly.
Troubleshooting Common Gluten-Free Cheesecake Crust Problems
Even with the best recipe, sometimes things don't go exactly as planned. Here are solutions to common issues you might encounter with your gluten-free cheesecake crust.
My Crust is Too Dry
If your gluten-free cheesecake crust mixture feels too dry after mixing in the melted butter and doesn't hold together when squeezed, the ratio of fat to crumbs is likely off. This is a frequent issue if crumb types vary in absorbency.
Solution: Add more melted butter, one tablespoon at a time, mixing thoroughly after each addition, until the mixture resembles wet sand and holds its shape when gently squeezed in your hand. Don't add too much at once, or the crust can become greasy. An extra 1-3 tablespoons of melted butter is usually sufficient for a standard recipe amount.
My Crust is Too Crumbly After Baking
A crumbly gluten-free cheesecake crust after baking often points to insufficient binding or improper preparation before baking. This can happen if the mixture wasn't pressed firmly enough into the pan or if it wasn't pre-baked properly.
Solution: Ensure you are pressing the mixture very firmly into the pan, using a flat-bottomed glass or measuring cup. Compactness is key. Also, make sure you are blind baking the crust as instructed. Pre-baking helps set the butter and slightly toasts the crumbs, creating a more stable structure. Baking for the full recommended time (10-12 minutes at 350°F/175°C) is important.
My Crust Sticks to the Pan
Having your sturdy gluten-free cheesecake crust stick to the pan when you try to remove the cheesecake is incredibly frustrating. This usually occurs if the pan wasn't adequately prepared.
Solution: Always lightly grease the bottom and sides of your springform pan before adding the crumb mixture. For extra insurance, you can cut a circle of parchment paper to fit the bottom of the pan and place it over the greased base before adding the crumbs. This makes sliding the finished cheesecake off the base much easier. Ensure the parchment paper is flat against the bottom.
Storing Your Gluten-Free Cheesecake Crust
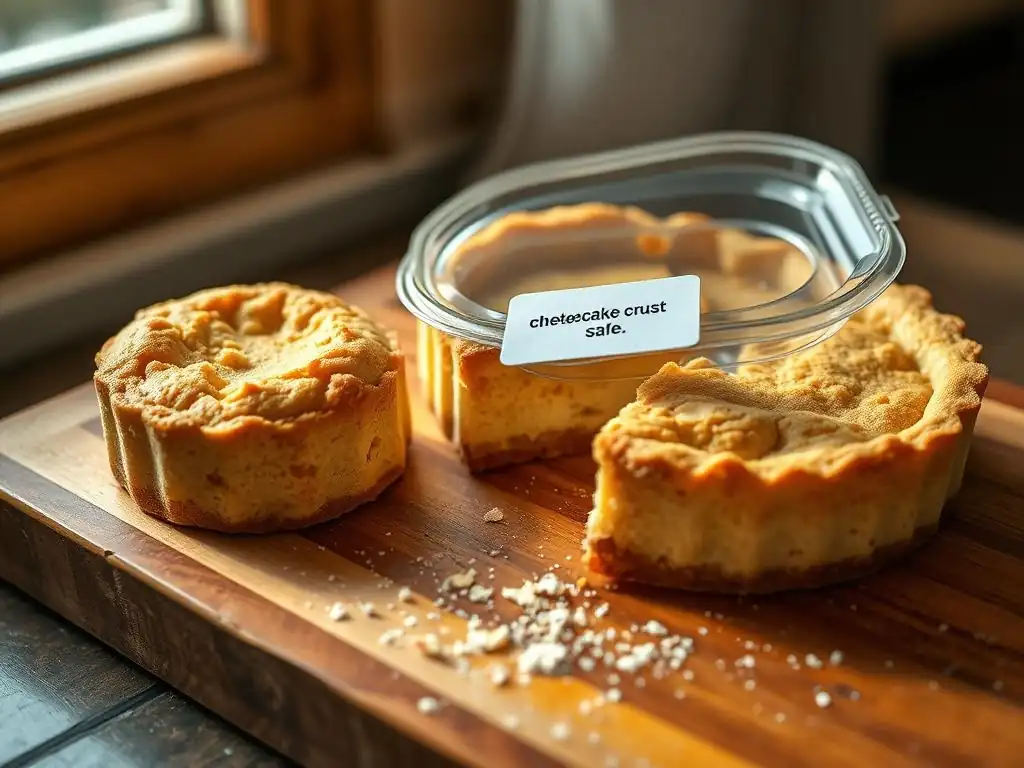
Proper storage is essential whether you're preparing your gluten-free cheesecake crust ahead of time or storing the finished dessert. This helps maintain texture and freshness.
Pre-Baked Crust Storage
If you want to get a head start on your gluten-free cheesecake, you can prepare and pre-bake the crust a day in advance. Once the pre-baked crust has cooled completely in the springform pan, wrap the pan tightly in plastic wrap.
Store the wrapped crust in the refrigerator for up to 24 hours before adding the filling. For longer storage, you can freeze the pre-baked and cooled crust in its pan, wrapped tightly in plastic wrap and then foil, for up to 1 month. Thaw in the refrigerator before filling.
Storing a Cheesecake with a Gluten-Free Crust
A finished cheesecake with a gluten-free crust should be stored in the refrigerator. Once the cheesecake has fully cooled and chilled (usually overnight), cover it loosely with plastic wrap or place it in an airtight cheesecake carrier.
Properly stored in the refrigerator, a cheesecake with a gluten-free crust will last for 3-5 days. For longer storage, cheesecake can be frozen. To freeze, chill the cake until very firm, then wrap individual slices or the whole cake (if uncut) tightly in plastic wrap, followed by a layer of aluminum foil. Frozen cheesecake with a gluten-free crust is best consumed within 1-2 months. Thaw in the refrigerator before serving.
Enjoy Your Perfect Gluten-Free Cheesecake!
Mastering a reliable gluten-free cheesecake crust recipe means you can enjoy this classic dessert without compromising on texture or taste. By understanding the challenges posed by the absence of gluten and implementing the techniques outlined in this guide, you'll create a sturdy, delicious base every time. From selecting the right crumbs to perfect pressing and pre-baking, you now have the tools to bake flawless gluten-free cheesecakes. Get ready to impress your friends and family with your amazing gluten-free baking skills!
Frequently Asked Questions
What makes this gluten-free cheesecake crust recipe different from others?
This recipe focuses on creating a stable and firm crust that won't crumble easily. It achieves this through a specific blend of gluten-free flours and binders, ensuring a satisfying texture.
Can I substitute any of the gluten-free flours listed in the recipe?
While you can substitute, it's not recommended for beginners. The specific blend is designed to mimic the structure of a traditional crust. Substituting might affect the final texture and stability.
What kind of fat works best in this gluten-free cheesecake crust?
We recommend using cold unsalted butter for the best results. Cold butter helps create a flaky texture and prevents the crust from becoming too dense. Alternatively, coconut oil can be used.
How do I prevent the crust from sticking to the pan?
Make sure to grease the pan thoroughly with butter or cooking spray before pressing in the crust. You can also use parchment paper at the bottom of the pan for easier removal.
How long should I bake the crust before adding the cheesecake filling?
Pre-baking the crust, also known as blind baking, is essential to prevent a soggy bottom. Bake the crust for about 10-12 minutes until lightly golden and set.
Final Reflection: The Enduring Allure of a Perfect Gluten-Free Crust
The quest for a flawlessly crisp, gluten-free cheesecake crust is more than just a culinary challenge; it's a testament to the power of inclusivity and delicious innovation. Finding the right recipe, one that avoids the dreaded soggy bottom and delivers a satisfying crunch, is a victory shared by countless home bakers navigating dietary restrictions. This recipe, therefore, represents more than just a set of instructions; it's a solution to a common problem, a bridge between dietary needs and delicious indulgence.
The impact of gluten-free baking extends far beyond the individual. It reflects a growing awareness of dietary diversity and the importance of providing delicious options for everyone. The demand for gluten-free alternatives speaks volumes about our evolving understanding of food sensitivities and the desire to create a more inclusive culinary landscape. Food is symbolic of love when words are inadequate.
– Alan D. Wolfelt. This quote highlights the emotional connection we have with food, and ensuring everyone can participate in that experience, regardless of dietary needs, is incredibly important.
Now, I invite you to consider your own baking journey. Have you struggled with gluten-free crusts in the past? What are your favorite tips and tricks? More importantly, what does this recipe represent to you? Perhaps it's the satisfaction of a perfectly executed bake, the joy of sharing a delicious treat with loved ones, or simply the empowerment of knowing you can create something wonderful, even with dietary limitations. Embrace the challenge, experiment with this recipe, and discover the joy of a gluten-free cheesecake crust that truly stays put.
Unleash Your Inner Cheesecake Artist!
Thanks for joining us on this creamy journey! We hope you've discovered the secret to a gluten-free cheesecake crust that won't crumble. Now it's time to put your newfound knowledge to the test!
- Bake your dream cheesecake: Use this recipe to create the perfect gluten-free base for your next culinary masterpiece. Don't be afraid to experiment with different flavor combinations!
- Share your creation: Show us your stunning cheesecakes on social media using #BakeWithEaseGlutenFree! We love to see your baking adventures.
- Challenge a friend: Dare a friend to try their hand at this foolproof recipe and see who bakes the most beautiful cheesecake.
Ready to transform your cheesecake game? What unique flavor combination will you try first?