
Say Goodbye to Soggy Bottoms: Essential Pie Crust Secrets

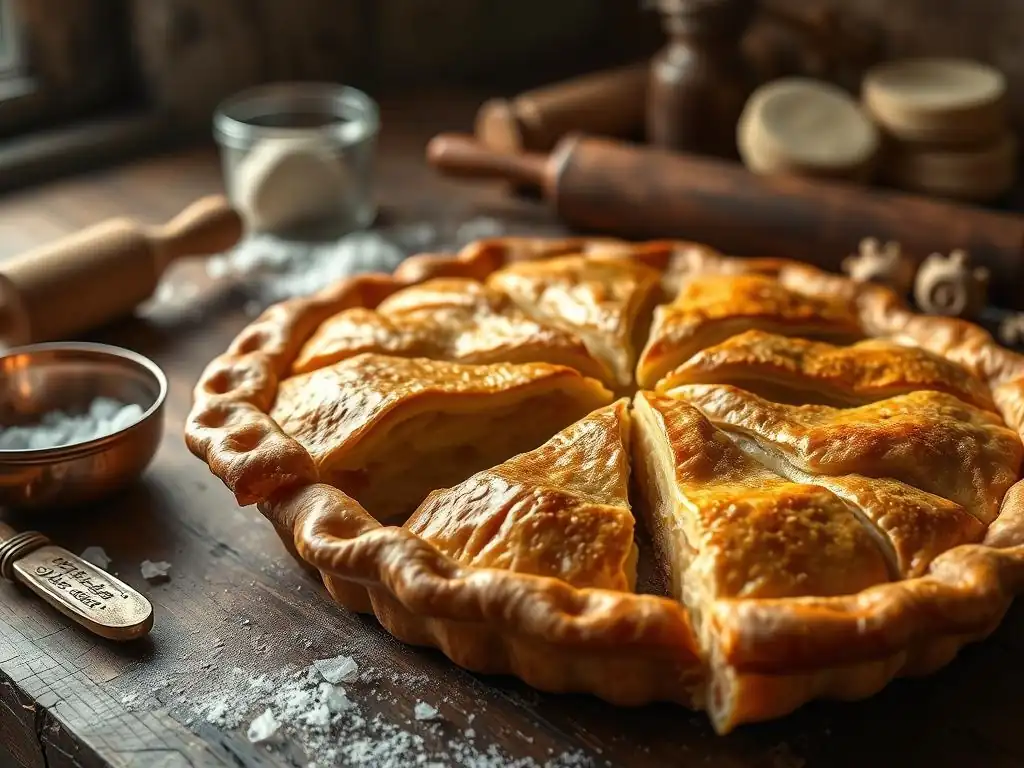
Welcome to BakeWithEase, your kitchen companion for all things baking!
Ever dreamt of a pie so perfect, it practically melts in your mouth? Say Goodbye to Soggy Bottoms and dive into our guide to perfectly flaky pie crust secrets. Uncover the techniques that separate good pie from great pie, and prepare to impress with every slice. Curious to know the one ingredient that will transform your crust forever? Let's get baking!
- Achieving Flaky Pie Crust: Expert Baking Techniques
- Understanding Soggy Crusts: Moisture and Temperature Control
-
Secrets to Flaky Pie Crust: A Step-by-Step Guide
- Flour Selection: Protein Content and Gluten Development
- Cold Fat: Maintaining Low Temperatures for Flakiness
- Mixing Technique: Minimal Handling for a Tender Crust
- Resting the Dough: Gluten Relaxation and Shrinkage Prevention
- Blind Baking: Pre-Baking for Uncooked Fillings
- Moisture Barriers: Preventing Soggy Crusts
- Troubleshooting Pie Crust: Addressing Common Issues
- Specific Tips for Cream and Custard Pies: Achieving Perfect Texture
- Improving Pie Baking Skills: Practice and Refinement
-
Frequently Asked Questions
- What is the most common mistake bakers make that leads to a soggy pie crust?
- What exactly does "blind baking" mean, and why is it important for certain pies?
- What type of fat is best for achieving a perfectly flaky pie crust, and why?
- How does the temperature of ingredients affect the final pie crust result?
- What are some easy tips for preventing the pie crust from shrinking during baking?
- Final Reflection: The Enduring Allure of a Perfectly Flaky Crust
- Unlock Your Perfect Pie Crust: It's Easier Than You Think!
Achieving Flaky Pie Crust: Expert Baking Techniques
Baking a pie is a delightful endeavor, but the nemesis of many home bakers is the dreaded soggy bottom. Achieving a perfectly flaky pie crust is a skill that transforms a good pie into a truly great one. It's about understanding the science behind the ingredients and mastering specific techniques. Let's dive into the secrets that will help you say goodbye to soggy crusts forever and achieve those perfectly flaky pie crust secrets you've always dreamed of.
Understanding Soggy Crusts: Moisture and Temperature Control
A soggy pie bottom occurs when the bottom crust absorbs too much moisture during baking. This moisture can come from the filling itself, or it can be residual moisture within the dough that doesn't properly evaporate. Controlling both the sources of moisture and the baking temperature are critical steps in preventing this common issue and unlocking the secrets to a perfectly flaky pie crust.
Sources of Moisture: Identifying Ingredients and Processes
The primary sources of moisture in a pie crust are the liquid added to the dough (usually water) and the water content within the fat (butter contains about 15-18% water). While necessary for bringing the dough together and creating steam for flakiness, excessive or poorly managed moisture can lead to a dense, soggy layer at the bottom. Even ambient humidity can play a small role, especially if the dough isn't handled properly.
Beyond the dough ingredients, the pie filling itself is a major culprit. Fruit fillings release juices as they cook, and custard or cream fillings contain significant liquid. If the bottom crust isn't adequately protected or baked, it will absorb this liquid, becoming soft and unappetizing instead of wonderfully crisp and flaky. Understanding these moisture sources is the first step in applying the perfectly flaky pie crust secrets.
Optimal Baking Temperature: Ensuring Thorough Cooking
Baking temperature is paramount for activating the fat layers and ensuring the bottom crust cooks through before it's overwhelmed by moisture from the filling. Most pies benefit from starting at a relatively high temperature, often around 400-425°F (200-220°C), for the first 15-20 minutes. This initial burst of heat rapidly sets the crust structure and encourages the water in the fat and dough to turn into steam, creating those desirable flaky layers.
After the initial high-temperature phase, the temperature is typically reduced to around 375°F (190°C) to allow the filling to cook and set evenly without burning the top crust. This two-stage baking process ensures the bottom crust gets a head start on crisping up. If the temperature is too low initially, the crust may take too long to set, giving moisture ample time to penetrate and cause sogginess, completely undermining your efforts towards perfectly flaky pie crust secrets.
Secrets to Flaky Pie Crust: A Step-by-Step Guide
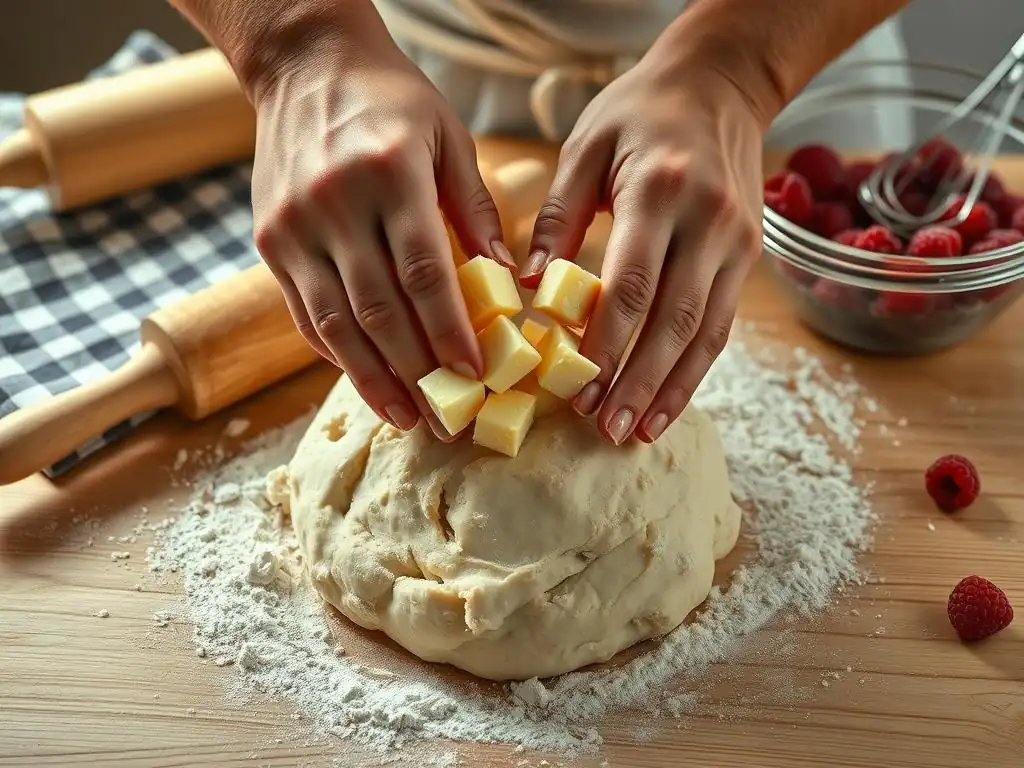
Achieving a perfectly flaky pie crust is a process that starts with ingredient selection and continues through mixing, chilling, and baking. Each step plays a vital role in developing the desired texture. By paying attention to these details, you can significantly improve your pie baking results and master the essential perfectly flaky pie crust secrets.
Flour Selection: Protein Content and Gluten Development
The type of flour you choose impacts gluten development, which in turn affects crust tenderness and flakiness. Gluten provides structure, but too much can lead to a tough crust. For tender, flaky crusts, you want moderate gluten development.
All-Purpose vs. Pastry Flour: Impact on Texture
All-purpose flour is a common choice and works well for pie crusts, typically having a protein content of 10-12%. Pastry flour, with a lower protein content of 8-9%, produces an even more tender crust due to less gluten formation. While pastry flour can yield excellent results, all-purpose flour is widely available and, with proper technique, can still produce wonderfully flaky crusts. Using a blend of flours or opting for a softer wheat all-purpose can also influence the final texture.
Precise Flour Measurement: Weight vs. Volume
Accurate flour measurement is crucial. Scooping flour directly from the bag with your measuring cup can compact it, adding up to 20-30% more flour than intended (e.g., a cup meant to be about 120-125g could end up being 140-150g). This excess flour increases the dry-to-wet ratio, potentially leading to a dry, tough dough that's harder to work with and less likely to become perfectly flaky.
For consistent results, measuring flour by weight using a kitchen scale is highly recommended. If using volume, spoon the flour lightly into the measuring cup and level it off with a straight edge without packing. This method ensures you use the correct amount of flour, contributing to the proper dough consistency needed for achieving perfectly flaky pie crust secrets.
Cold Fat: Maintaining Low Temperatures for Flakiness
The secret to flaky layers lies in keeping the fat cold until it hits the hot oven. As the cold pieces of fat melt in the oven, they release steam. This steam pushes apart the layers of dough, creating air pockets that result in the characteristic flaky texture. Warm or melted fat would simply be absorbed into the flour, resulting in a dense, cookie-like crust rather than a flaky one.
Maintaining cold temperatures extends beyond the fat itself to the tools and even your hands. Using cold butter or shortening cut into small pieces, chilling your mixing bowl and pastry blender, and working quickly with cold hands are all tactics to keep the fat solid throughout the mixing process. Some bakers even chill their flour beforehand, further ensuring the fat remains cold.
Butter vs. Shortening: Flavor and Texture Considerations
Butter provides superior flavor and a rich, golden color, but it has a lower melting point (around 90-95°F or 32-35°C) and contains water, which contributes to flakiness via steam. Shortening (like Crisco) has a higher melting point (around 115-125°F or 46-52°C) and is 100% fat, making it easier to handle and resulting in very distinct, tall flakes.
A common approach for balancing flavor and texture is to use a combination of both butter and shortening. For instance, a recipe might call for 1 part shortening to 2 parts butter. The shortening helps create structure and makes the dough more forgiving, while the butter adds delicious flavor. Experimenting with ratios can help you find your personal preference for achieving perfectly flaky pie crust secrets.
Chilling Fat and Dough: Preventing Gluten Development
Keeping both the fat and the dough cold is paramount. Cold fat is essential for creating distinct layers, as discussed. Equally important is chilling the dough after mixing and before rolling. This chilling period allows the gluten to relax and the fat to firm up again.
A minimum chilling time of 30 minutes is often recommended, but 1-2 hours is even better, and some recipes suggest up to 2 days. This rest period prevents the dough from shrinking excessively during baking and ensures a tender crust by minimizing gluten elasticity. A properly chilled dough is also much easier to roll out without sticking, making the entire process smoother and contributing to perfectly flaky pie crust secrets.
Mixing Technique: Minimal Handling for a Tender Crust
Overmixing dough develops too much gluten, leading to a tough crust. The goal is to bring the ingredients together just until they form a cohesive dough, with visible pieces of fat still present. This minimal handling is one of the most crucial perfectly flaky pie crust secrets.
Start by cutting the cold fat into the flour until the mixture resembles coarse meal with some pea-sized pieces of fat remaining. Then, add ice-cold liquid (usually water or sometimes vodka for extra tenderness) a tablespoon at a time, mixing gently with a fork or your hand until the dough just comes together. It should be moist enough to hold its shape but not sticky.
Cutting in Fat: Creating Flaky Layers
The technique of "cutting in" the fat is fundamental to creating a flaky crust. You want to incorporate the cold fat into the flour mixture, but not completely blend it. Tools like a pastry blender, a fork, or even your fingertips can be used. The aim is to break the fat into varying sizes, ranging from small crumbs to larger pea-sized pieces (about 1/4 to 1/2 inch).
These larger pieces of fat are key to flakiness. When they melt in the oven, they leave behind gaps, creating distinct layers separated by thin sheets of baked dough. If the fat is completely blended into the flour (like in a sable or shortcrust), the result will be a tender, crumbly crust rather than a flaky one. Mastering this step is vital for achieving perfectly flaky pie crust secrets.
Adding Liquid: Hydration and Dough Consistency
The amount of liquid needed can vary depending on flour type, humidity, and even how you measured the flour. It's crucial to add the liquid gradually, usually 1-2 tablespoons at a time, mixing until the dough just starts to clump together. Use ice-cold water; some bakers add a splash of vinegar or vodka, which can inhibit gluten formation and contribute to tenderness.
Stop adding liquid as soon as the dough comes together when squeezed. It should not be wet or sticky. If the dough is too dry, it will be crumbly and difficult to roll. If it's too wet, it will be sticky, tough from overhandling trying to compensate, and potentially lead to a soggy bottom. Proper hydration is a subtle but important part of achieving perfectly flaky pie crust secrets.
Resting the Dough: Gluten Relaxation and Shrinkage Prevention
After mixing, the dough needs to rest and chill. This step is non-negotiable for a good pie crust. Resting allows the gluten strands, which were developed during mixing, to relax. This relaxation is essential for a tender crust and prevents the dough from shrinking excessively when baked.
Chilling also re-firms the fat, making the dough easier to handle and contributing to those beautiful flaky layers. Skipping the rest period can result in a tough, elastic dough that fights you when you try to roll it out and then shrinks dramatically in the oven, leading to misshapen pies and potentially thick, uneven crusts.
Recommended Chilling Time: Optimizing Dough Properties
A minimum chilling time of 30 minutes is necessary, but 1-2 hours in the refrigerator is ideal for allowing the gluten to fully relax and the fat to firm up properly. For optimal results and ease of handling, some bakers chill their dough for up to 2 days. The longer chill time makes the dough very pliable and reduces the risk of shrinkage.
If you're in a hurry, you can place the wrapped dough in the freezer for 15-20 minutes, but keep a close eye on it to prevent freezing solid. Proper chilling time is one of the often-underestimated perfectly flaky pie crust secrets that significantly impacts the final texture and appearance.
Gluten Relaxation: Preventing a Tough Crust
When flour and water are mixed, proteins form gluten networks. The act of mixing and kneading develops these networks, giving dough elasticity and structure. In pie crust, we want minimal gluten development for tenderness. The resting period allows the stressed gluten strands to relax and realign.
A relaxed dough is less elastic and therefore easier to roll out thinly and evenly without tearing. More importantly, it won't spring back or shrink significantly in the oven as it bakes. A dough that shrinks excessively often becomes thick and tough. Allowing adequate time for gluten relaxation is a fundamental technique for achieving a truly tender and perfectly flaky pie crust.
Blind Baking: Pre-Baking for Uncooked Fillings
Blind baking, or pre-baking the pie crust before adding the filling, is a critical step for pies with wet, uncooked, or very short baking time fillings, such as cream pies, custard pies, or quiches. It gives the bottom crust a head start on cooking and crisping up before the moist filling is added, directly combatting the dreaded soggy bottom.
Even for pies with baked fillings, like fruit pies, partially blind baking the bottom crust can provide extra insurance against sogginess, especially if the filling is particularly juicy. It ensures the bottom is set and partially cooked before it has a chance to absorb too much liquid from the fruit as it releases juices.
When to Blind Bake: Preventing a Soggy Crust
Blind baking is essential for fillings that are not baked (like pastry cream or chocolate pudding) or fillings that are baked but are very wet and/or have a short baking time (like quiche or some custard fillings). It provides a protective barrier and ensures the bottom crust is fully cooked and crisp.
For fruit pies, especially those with very juicy fruits like berries, a partial blind bake is often recommended. This involves baking the crust until it's set and lightly colored, but not fully browned, before adding the filling and completing the bake. This partial pre-bake helps the bottom crust stand up to the moisture released by the fruit, contributing to perfectly flaky pie crust secrets.
Preparing the Crust: Docking and Weighing
Before blind baking, the rolled-out dough is fitted into the pie plate. To prevent the crust from puffing up during baking, it needs to be "docked" – pricked all over the bottom and sides with a fork. This allows steam to escape.
To prevent the sides from slumping and the bottom from bubbling excessively, the crust is typically lined with parchment paper or foil and filled with pie weights, dried beans, or rice. These weights hold the crust in place as it bakes. For a full blind bake, the weights are removed partway through baking to allow the bottom to brown.
Temperature and Time: Achieving a Golden-Brown Crust
A common temperature for blind baking is 375-400°F (190-200°C). For a partial blind bake (for fruit pies), bake with weights for about 15-20 minutes until the edges are set. For a full blind bake (for custard/cream pies), bake with weights for 15-20 minutes, then remove the weights and parchment and bake for another 10-15 minutes, or until the crust is golden brown and fully cooked.
The exact time will vary depending on your oven and the thickness of the crust. A properly blind-baked crust should look dry and lightly colored on the bottom, ready to receive its filling without succumbing to moisture. This step is a cornerstone of achieving perfectly flaky pie crust secrets, especially for wet fillings.
Moisture Barriers: Preventing Soggy Crusts
Even with blind baking, adding an extra layer of protection against moisture can be beneficial, particularly for very wet fillings. These barriers help seal the surface of the pre-baked crust, preventing liquid from seeping in and making it soggy.
Common moisture barriers include egg wash, melted chocolate, or even a layer of finely ground nuts. The choice often depends on the type of pie and the desired flavor profile. Applying a barrier is an extra step that provides insurance against a soggy bottom and contributes to a perfectly flaky pie crust experience.
Egg Wash: Creating a Protective Seal
Brushing the inside of the blind-baked crust with a thin layer of egg wash (usually an egg beaten with a tablespoon of water or milk) is a simple yet effective moisture barrier. Bake the crust for a few more minutes after applying the egg wash until it looks dry and glazed.
The egg proteins cook and create a slightly impermeable layer that helps prevent moisture from the filling from penetrating the crust. This is a quick and easy technique that adds an extra layer of defense against sogginess, especially useful when aiming for perfectly flaky pie crust secrets.
Chocolate Coating: Adding Flavor and Preventing Moisture Absorption
For chocolate-based cream pies or those with complementary flavors, brushing or spreading a thin layer of melted chocolate (dark, milk, or white, depending on the recipe) onto the bottom of the blind-baked crust creates a delicious and effective barrier. Allow the chocolate to set completely before adding the filling.
The solid chocolate forms a waterproof layer that completely prevents liquid from the filling from reaching the pastry. This method not only ensures a perfectly crisp bottom crust but also adds an extra layer of flavor and texture, making it a favorite technique for specific pie types and a tasty application of perfectly flaky pie crust secrets.
Nut Coating: Enhancing Flavor and Texture
For pies where a nutty flavor is welcome, a thin layer of finely ground nuts (like almonds, pecans, or walnuts) can be sprinkled over the bottom of the blind-baked crust, sometimes set with a little egg white or brushed with melted butter. Bake briefly to toast the nuts.
The nuts absorb some surface moisture and create a slight barrier. While perhaps not as impermeable as chocolate, they add a delightful layer of flavor and texture and offer some protection against sogginess. This method is particularly suited for fruit or nut-based pies and can be a creative way to apply perfectly flaky pie crust secrets.
Troubleshooting Pie Crust: Addressing Common Issues
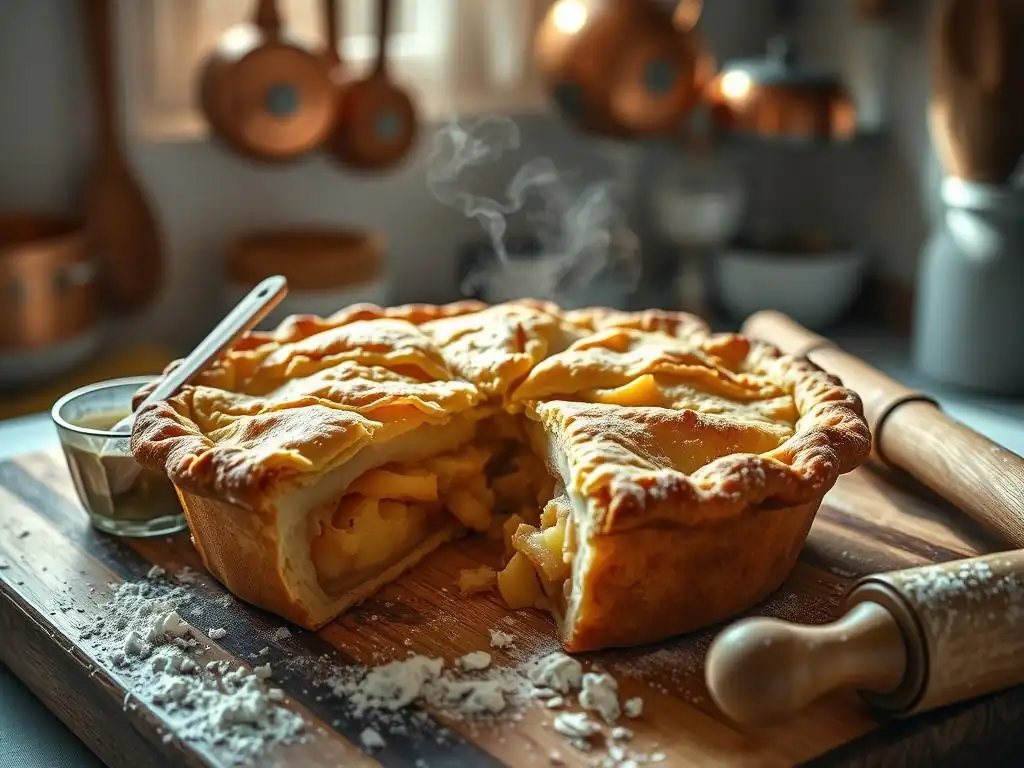
Even with the best techniques, pie crust can present challenges. Knowing how to identify and fix common problems like soggy bottoms, toughness, and shrinkage is part of mastering the art of baking. These issues often stem from mismanaging moisture, gluten, or temperature.
Persistent Soggy Bottoms: Identifying and Eliminating Moisture
If you're still getting soggy bottoms despite blind baking, re-evaluate your process. Are you blind baking long enough? Is the crust golden brown and dry on the bottom before filling? Are you using a moisture barrier? The filling might be excessively wet; consider gently cooking fruit fillings beforehand to reduce liquid or adding a thickener like tapioca or cornstarch (ensure it's dissolved properly).
Also, check your oven temperature with an external thermometer; it might be running cooler than you think, preventing the bottom crust from cooking adequately. Ensuring your ingredients are cold and you're not overworking the dough can also play a role in achieving a structure that resists moisture better. Persistence in applying these perfectly flaky pie crust secrets will pay off.
Tough Crust: Avoiding Overworking the Dough
A tough crust is usually the result of too much gluten development. This happens when the dough is overmixed, handled too much, or when too much liquid is added. When mixing, stop as soon as the dough just comes together. Avoid kneading or excessive handling when rolling.
Ensure your ingredients are cold, as cold temperatures slow down gluten formation. Allowing the dough to rest adequately in the refrigerator is also crucial for relaxing any gluten that did develop. If your dough feels very elastic and snaps back when you try to roll it, it likely needs more chilling time to relax, a key aspect of achieving perfectly flaky pie crust secrets.
Shrinking Crust: Preventing and Correcting Shrinkage
Crust shrinkage is primarily caused by insufficient chilling time, leading to gluten that hasn't relaxed. When the dough hits the heat of the oven, the elastic gluten contracts, pulling the crust away from the edges of the pie plate.
To prevent shrinkage, always chill your dough for at least 30 minutes, preferably 1-2 hours, before rolling. When fitting the rolled dough into the plate, avoid stretching it; gently ease it in. Leave a slight overhang (about 1/2 inch) before crimping. If you notice significant shrinkage during blind baking, you can gently press the crust back up the sides with the back of a spoon or a piece of foil, being careful not to burn yourself. Proper chilling is one of the most effective perfectly flaky pie crust secrets against shrinkage.
Specific Tips for Cream and Custard Pies: Achieving Perfect Texture
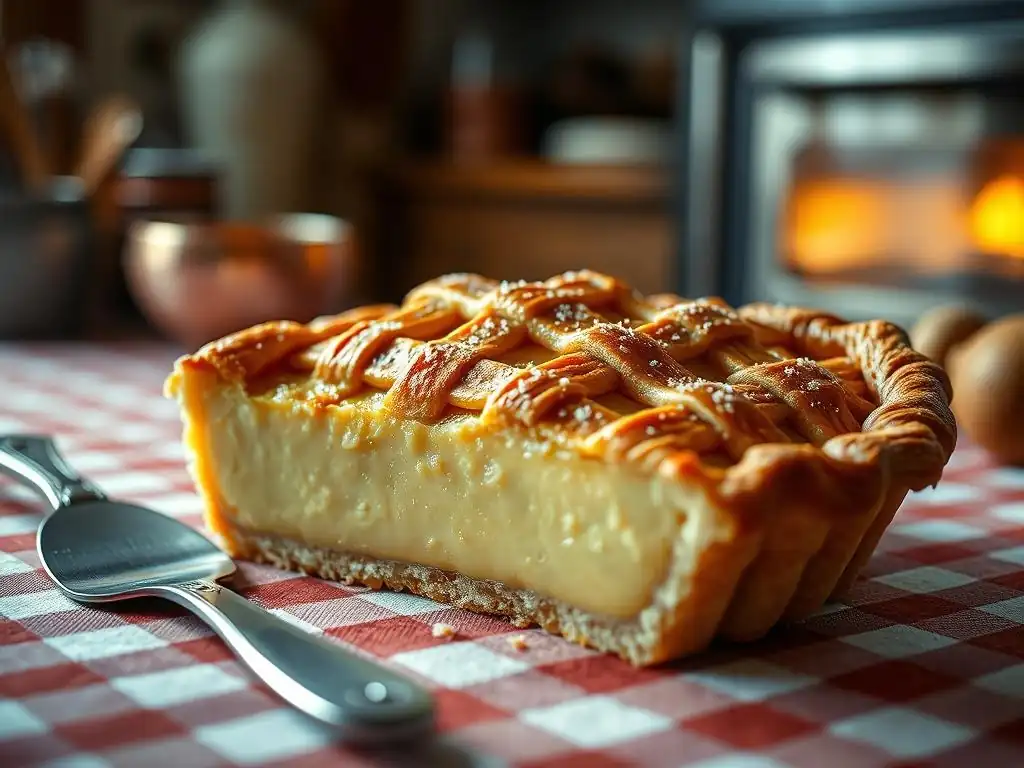
Cream and custard pies present a unique challenge because their fillings are very wet and often require a gentle bake to set without curdling. This puts extra pressure on the bottom crust to remain crisp. Mastering these pies requires careful attention to blind baking and baking technique.
Blind baking is absolutely essential for these types of pies. The crust must be fully baked and golden brown before the filling goes in. Any underbaking of the bottom crust will result in a soggy mess once the wet filling is added.
Adjusting Baking Time: Ensuring Fillings are Properly Set
Cream fillings are typically not baked; they are poured into a fully baked shell. Custard fillings, however, are baked until set. The baking time for custard pies is critical – too short and the filling won't set; too long and it can curdle or crack.
Custard pies are often baked at a lower temperature, around 325-350°F (160-175°C), after an initial higher temperature phase for the crust if not fully blind baked. The pie is done when the edges are set but the center is still slightly wobbly (it will continue to set as it cools). This gentle bake minimizes the time the crust is exposed to moisture from the filling while it sets, helping maintain a perfectly flaky bottom crust.
Preventing Cracks: Maintaining Even Temperature
Custard pies can crack if baked at too high a temperature, baked too long, or if they cool too quickly. Baking in a water bath (placing the pie plate in a larger dish filled with hot water) is a classic technique to ensure gentle, even heat distribution and prevent cracking and overbaking, which can dry out the filling.
Cooling the pie gradually is also important. Turn off the oven and leave the door ajar for 15-30 minutes before removing the pie to a wire rack to cool completely. This gradual cooling prevents sudden temperature shock that can cause cracks and helps the filling set smoothly while protecting the perfectly flaky pie crust.
Recipe Adjustments: Tailoring Recipes for Optimal Results
Sometimes, slight adjustments to a specific recipe are needed to guarantee a perfectly flaky pie crust, especially with tricky fillings. For very wet custard fillings, ensuring the blind bake is thorough is key. For fruit pies, consider pre-cooking very juicy fruit slightly to reduce moisture before filling the pie.
Adding a bit more thickener (like an extra tablespoon of cornstarch or tapioca) to a fruit filling can also help manage moisture. For custard pies, ensuring the blind-baked shell is completely cooled before adding the filling helps prevent immediate moisture absorption. Tailoring these small details based on the specific pie type is part of mastering perfectly flaky pie crust secrets.
Improving Pie Baking Skills: Practice and Refinement
Like any baking skill, achieving a perfectly flaky pie crust consistently takes practice. Don't be discouraged by initial setbacks. Each pie you bake is an opportunity to learn and refine your technique. Pay attention to how the dough feels, how it rolls, and how the crust looks after baking.
Keep notes on what works and what doesn't. Did the crust shrink? Was the bottom soggy? Was it tough? By analyzing the results, you can adjust your methods for the next pie. The more you practice these perfectly flaky pie crust secrets, the more intuitive they will become.
Recommended Recipes: Applying Techniques in Practice
Start with reliable recipes specifically designed to produce flaky crusts. Look for recipes that emphasize cold ingredients, minimal handling, and chilling time. A basic double-crust apple pie is a great place to start, as it allows you to practice rolling and crimping.
Once you're comfortable with a standard crust, move on to recipes that require blind baking, like a classic lemon meringue pie or a quiche. Applying the perfectly flaky pie crust secrets to different types of pies will broaden your skills and confidence.
Additional Resources: Expanding Pie Baking Knowledge
There are many resources available to deepen your understanding of pie baking. Cookbooks dedicated to pies, online baking tutorials, and videos can provide visual guidance on techniques like cutting in fat, rolling dough, and crimping edges.
Reading about the science of baking – how gluten develops, how fat interacts with flour, the role of steam – can demystify the process. Engaging with baking communities online can also provide tips and troubleshooting advice from fellow bakers. Continuous learning is key to mastering perfectly flaky pie crust secrets.
Frequently Asked Questions
What is the most common mistake bakers make that leads to a soggy pie crust?
The most common mistake is using too much liquid in the dough. Also, not blind baking the crust when the filling is very wet can cause sogginess.
What exactly does "blind baking" mean, and why is it important for certain pies?
Blind baking involves pre-baking the pie crust before adding the filling. This is crucial for pies with moist fillings like pumpkin or fruit to prevent a soggy bottom.
What type of fat is best for achieving a perfectly flaky pie crust, and why?
Cold butter is generally considered the best fat for flaky crusts. Its solid fat layers create steam pockets during baking, resulting in that desirable flakiness.
How does the temperature of ingredients affect the final pie crust result?
Keeping ingredients cold is paramount. Cold fat prevents it from melting prematurely, ensuring distinct layers for a flaky texture. Warm ingredients lead to a tough crust.
What are some easy tips for preventing the pie crust from shrinking during baking?
Make sure to dock the crust (prick it with a fork) before baking. Also, chilling the shaped crust before baking and using pie weights during blind baking can help prevent shrinkage.
Final Reflection: The Enduring Allure of a Perfectly Flaky Crust
The pursuit of the perfect pie crust transcends mere culinary skill; it's a testament to our enduring desire for simple pleasures, elevated. A flawlessly flaky crust, golden brown and delicately shattering, isn't just a delicious component of a pie—it's a symbol of comfort, tradition, and the artistry found in even the most basic of recipes. This article has explored the often-overlooked secrets to achieving this culinary gold standard, and their impact resonates far beyond the kitchen.
The quest for the perfect pie crust mirrors our broader human experience: the search for mastery, the appreciation for detail, and the satisfaction of a job well done. It's a journey that connects generations, passed down through family recipes and whispered tips, a legacy of culinary knowledge. As Julia Child once wisely said, Find something you're passionate about and keep tremendously interested in it.
This passion for baking, for the precise balance of ingredients and technique, is what elevates the simple pie crust into something truly special. It's a reminder that even the smallest details can make a world of difference.
Now, I invite you to consider your own approach to baking, to any craft you pursue. What seemingly small details have the power to transform the ordinary into the extraordinary? Take the time to reflect on the techniques discussed here, and apply them not only to your pie crusts but also to other aspects of your life. Embrace the process, appreciate the details, and discover the joy of achieving perfection, one flaky layer at a time. The reward? A pie that's not just delicious, but a testament to your own dedication and skill.
Unlock Your Perfect Pie Crust: It's Easier Than You Think!
Thanks for joining us on this delicious journey into the world of flaky, golden pie crusts! You now have the knowledge to banish soggy bottoms forever. Ready to put your new skills to the test?
- Bake your dream pie tonight! Use your newfound knowledge to create the perfect crust for your favorite filling. Don't be afraid to experiment!
- Share your baking triumphs (and challenges!) with us on social media! Use #BakeWithEasePieCrust and tag @BakeWithEase so we can celebrate your success.
- Explore our other baking guides on BakeWithEase.com for even more tips and recipes. Discover your new favorite dessert!
What incredible pie creation will you bake first? Let us know in the comments below!