
Baking Better Bread: Starting Your Journey with Artisan Flours

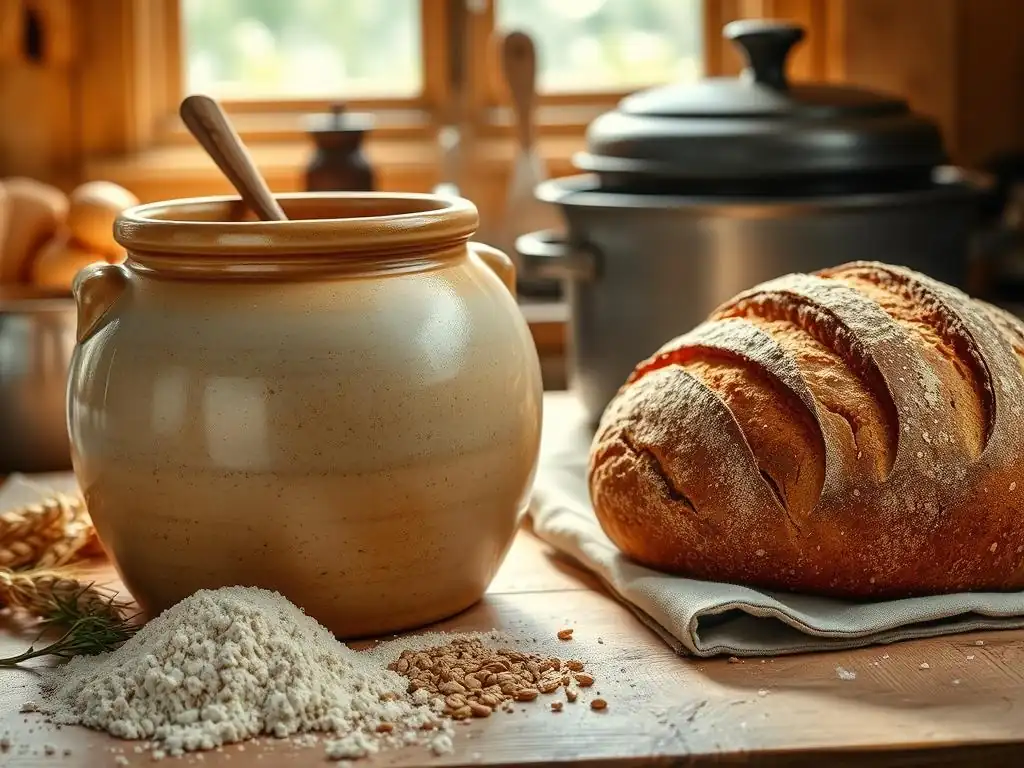
Welcome to BakeWithEase, your trusted guide to unlocking the secrets of delicious, homemade baked goods! Ever wondered how to elevate your baking from ordinary to extraordinary? Our latest article dives deep into the world of Artisan bread starter recipe, revealing the simple steps and expert tips you need to craft your own flavorful foundation. Discover how choosing the right premium baking ingredients can transform your loaves. Ready to begin your journey towards baking better bread?
- Understanding Artisan Flours for Superior Bread Baking
- Getting Started: Your Artisan Bread Starter Recipe Guide
- Troubleshooting Your Artisan Bread Starter Recipe
- Beyond the Starter: Baking Your First Artisan Loaf
- Mastering the Art of Artisan Bread Baking: Advanced Techniques
-
Frequently Asked Questions
- What exactly is an artisan bread starter and why is it important?
- Where can I find an artisan bread starter recipe that's easy to follow?
- How long does it typically take to create a usable artisan bread starter?
- What are some key signs that my artisan bread starter is ready to use?
- Can I use different types of flour to make an artisan bread starter?
- Final Reflection: The Humble Loaf and the Flourishing Soul
- Unleash Your Inner Baker: Craft Your Perfect Loaf!
Understanding Artisan Flours for Superior Bread Baking
What Makes Artisan Flour Different? Exploring Quality and Flavor Profiles
Artisan flours stand apart from standard all-purpose or bread flours primarily due to their milling process, grain sourcing, and often, the specific varieties of wheat or other grains used. Unlike mass-produced flours that are highly refined and standardized for consistency, artisan flours often come from smaller mills that prioritize traditional methods and the inherent qualities of the grain.
This can mean stone-milling, which retains more of the bran and germ, leading to flours with richer nutrients and complex flavor profiles. For example, a stone-milled whole wheat artisan flour will taste significantly different from its roller-milled counterpart, offering nutty, earthy, and sometimes even slightly sweet notes that transfer directly into your finished loaf.
Furthermore, the origin of the grain plays a crucial role in the flavor and performance of artisan flours. Many artisan millers partner directly with farmers who grow specific heritage grain varieties or practice sustainable farming methods. These grains, influenced by their terroir (soil, climate, and growing conditions), can exhibit unique characteristics.
Think of regional differences in wine or coffee; the same applies to wheat. A hard red winter wheat grown in Kansas will behave and taste differently than a soft white wheat from the Pacific Northwest. This attention to sourcing and variety allows artisan flours to contribute distinct flavors and aromas – from subtle sweetness to robust tanginess – that are simply not present in generic flours, elevating your baking from good to truly exceptional.
Key Characteristics of Artisan Flours: Protein Content, Ash Content, and Gluten Strength
Three key characteristics distinguish artisan flours and significantly impact bread baking: protein content, ash content, and gluten strength. Protein content, typically ranging from 11% to 14% in bread flours, is essential for developing gluten structure, which gives bread its chewiness and allows it to rise.
Artisan bread flours often fall within this range, sometimes even higher for specific hard wheat varieties, providing robust gluten development needed for open crumb structures. However, the quality of the protein and how it interacts during fermentation is just as important as the quantity, and this is where the milling process and grain type come into play.
Ash content refers to the mineral content left after burning a sample of flour, essentially an indicator of how much of the outer layers of the grain (bran and germ) were included in the milling process. A lower ash content (like 0.55% for European Type 55 flour) indicates a more refined flour, while a higher ash content (like 1.5% for Type 150 or whole wheat) means more of the whole grain was included.
Artisan flours often have varying ash contents depending on whether they are intended as white, whole wheat, or bolted (partially sifted) flours. This ash content contributes significantly to flavor and color.
Gluten strength, often measured by parameters like the Farinograph or Alveograph, describes how well the gluten network holds together and stretches. Artisan flours from strong hard wheats provide excellent gluten strength, allowing for longer fermentation times and better oven spring, crucial for achieving that desired airy, open crumb in your artisan bread starter recipe and final loaf.
How Artisan Flours Impact Your Bread's Texture and Taste
The choice of artisan flour profoundly influences both the texture and taste of your homemade bread. Regarding texture, the protein content and gluten strength of the flour dictate the loaf's internal structure. Flours with higher protein and strong gluten, like a high-extraction bread flour, are ideal for creating a chewy crumb with large, irregular holes (the coveted open crumb).
Conversely, flours with lower protein or different gluten characteristics, such as spelt or rye, will result in a denser, tighter crumb. The ash content also plays a role; flours with higher ash content, containing more bran and germ, tend to absorb more water and can result in a slightly denser texture compared to refined white flours, while also adding fibrous structure.
Taste is where artisan flours truly shine. Standard white flour is relatively neutral in flavor. Artisan flours, especially those from heritage grains or stone-milled processes, bring complex flavor notes to the table. A whole wheat artisan flour might impart nutty, earthy, or even slightly sweet notes.
Rye flour adds tang and depth. Spelt offers a subtle sweetness and nuttiness. Even different varieties of hard red wheat can have distinct profiles. These inherent flavors from the grain itself combine with the flavors developed during fermentation (especially with an active artisan bread starter recipe) to create a layered and sophisticated taste experience that is the hallmark of truly great artisan bread.
Getting Started: Your Artisan Bread Starter Recipe Guide
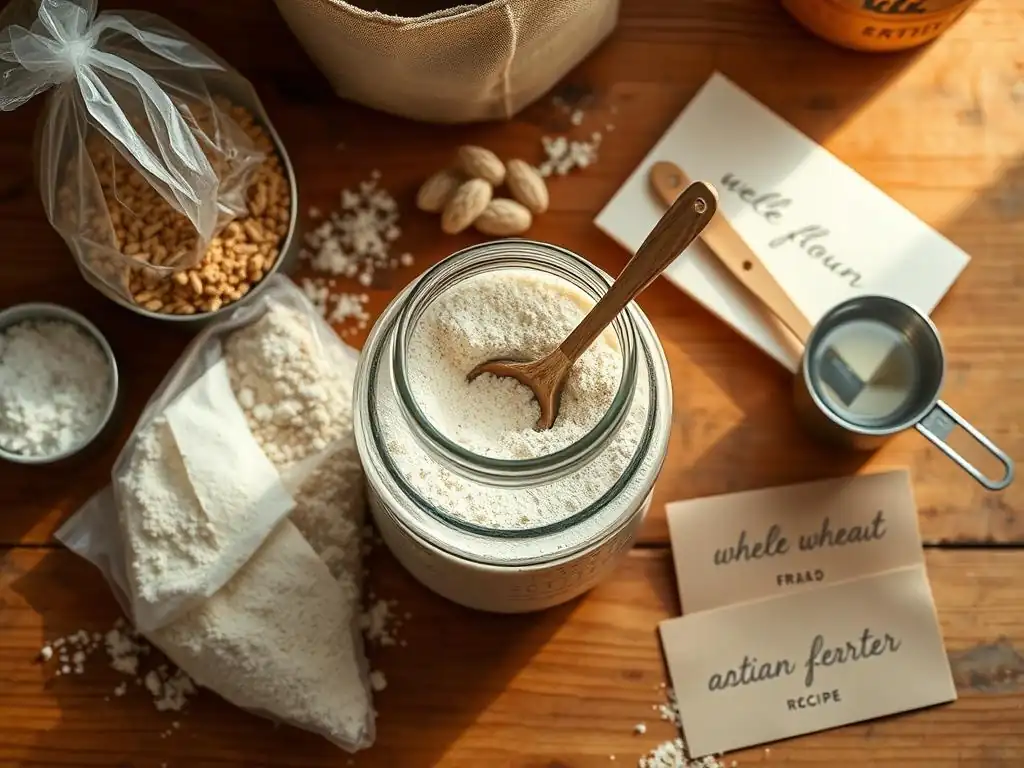
Crafting Your First Artisan Bread Starter: A Step-by-Step Guide
Creating your own artisan bread starter recipe, often called sourdough starter, is a journey of nurturing wild yeast and bacteria from your environment and flour. It typically begins by mixing equal weights of flour and water in a jar – for instance, 50 grams of a good quality artisan flour and 50 grams of lukewarm water. This initial mixture is left at room temperature, ideally between 70-80°F (21-27°C), for 24 hours.
Over the next few days, you'll observe little to no activity, maybe just a few bubbles. The crucial step is regular feeding: discarding a portion of the starter (to manage its volume and concentrate the microbial population) and feeding it again with fresh flour and water, typically once or twice a day.
After about 5-7 days, you should start seeing consistent bubbling and a noticeable rise and fall, often doubling in size within a few hours of feeding. The smell will transition from slightly yeasty to pleasantly tangy, like yogurt or ripe fruit. This indicates that a stable community of wild yeasts and lactic acid bacteria has established itself.
Continue feeding daily, always discarding a significant portion (like 80-90%) before feeding to ensure the microbes have plenty of fresh food and the starter doesn't become too acidic too quickly. Within 10-14 days, your artisan bread starter recipe should be robust, reliably doubling within 4-8 hours after feeding, and ready to leaven your first loaf of delicious artisan bread. Patience and consistency are key during this initial phase.
Ingredients You'll Need: The Best Artisan Flour for Starters
Choosing the right flour is critical when embarking on your artisan bread starter recipe journey. While you can technically start a starter with many types of flour, using a high-quality artisan flour provides the necessary nutrients and microbial diversity to foster a healthy, active culture. Many experienced bakers recommend starting with a blend, often incorporating some whole grain flour, as it contains more of the natural yeasts and bacteria present on the grain kernel. However, a strong bread flour is also an excellent choice, providing plenty of protein for structure as the starter develops.
-
King Arthur Baking Company Organic Bread Flour: A Reliable Choice for Beginners
This flour is a popular and widely available option. It's a high-protein (around 12.7%) unbleached flour that provides a consistent and robust food source for developing starter microbes. Its reliability makes it less prone to issues during the initial, sometimes finicky, stages of creating an artisan bread starter recipe. Using organic flour can also be beneficial as it's less likely to contain residual chemicals that might inhibit microbial growth.
-
Bob's Red Mill Whole Wheat Artisan Flour: Adding Depth and Complexity
Incorporating some whole wheat flour, like this one, into your starter feeding (either mixed with white flour or used exclusively after the starter is established) can significantly boost microbial activity and add a deeper flavor to both the starter and subsequent loaves. Whole wheat flour contains more nutrients and indigenous microbes from the bran and germ, which can help kickstart and maintain a vigorous culture. Many bakers find that feeding with a blend of white and whole wheat artisan flour results in a very active and flavorful starter.
Equipment Essentials for Your Artisan Bread Starter
Having the right tools makes the process of creating and maintaining your artisan bread starter recipe much smoother and more successful. While you can start with basic kitchen items, certain pieces of equipment are particularly well-suited for starter cultivation. A reliable container and an accurate scale are perhaps the most important.
-
Weck 743 Tulip Jar: Perfect for Starter Cultivation
Glass jars are ideal for housing your starter because they are non-reactive and easy to clean. The Weck 743 Tulip Jar, with its wide mouth and straight sides, is particularly popular. The straight sides make it easy to see the starter's activity and measure its rise. The glass lid and rubber seal (used loosely, not airtight, during active fermentation) are also simple and effective. Its 1-liter size provides ample room for the starter to grow between feedings without overflowing.
-
Ozeri ZK14-S Pronto Digital Multifunction Kitchen and Food Scale: Precise Measurements for Success
Baking, especially with sourdough, relies on precise ratios, and measuring ingredients by weight is vastly more accurate than by volume. A good digital scale, like the Ozeri ZK14-S, is essential for consistently feeding your artisan bread starter recipe using weight measurements (e.g., 50g starter, 50g flour, 50g water). This consistency helps maintain a stable microbial balance and predict your starter's behavior. Weighing also reduces waste and makes scaling recipes easier.
The Daily Feeding Ritual: Nurturing Your Artisan Flour Starter
Once your artisan bread starter recipe shows consistent activity (typically around day 7-10), establishing a regular feeding ritual is key to keeping it healthy and ready for baking. The standard recommendation for a starter kept at room temperature is to feed it once or twice a day. A common feeding ratio is 1:1:1 by weight (e.g., 50g starter, 50g fresh artisan flour, 50g water), but ratios can be adjusted based on ambient temperature and feeding frequency. For instance, a 1:2:2 or 1:3:3 ratio can be used if you need to feed less often or want to slow down activity.
Before each feeding, it's crucial to discard a portion of the starter. This might seem wasteful, but it prevents the starter from growing too large and ensures the microbes always have access to fresh nutrients without excessive competition or accumulation of acidic waste products. You typically keep just a small amount, perhaps 10-20% of the total volume, and feed that small amount with the fresh flour and water.
Stir the mixture thoroughly until no dry clumps remain, scraping down the sides of the jar. Mark the level of the starter on the jar so you can easily track its rise. This consistent daily care is what transforms a simple mixture of flour and water into a powerful leavening agent for your artisan bread starter recipe and all your sourdough baking.
Troubleshooting Your Artisan Bread Starter Recipe
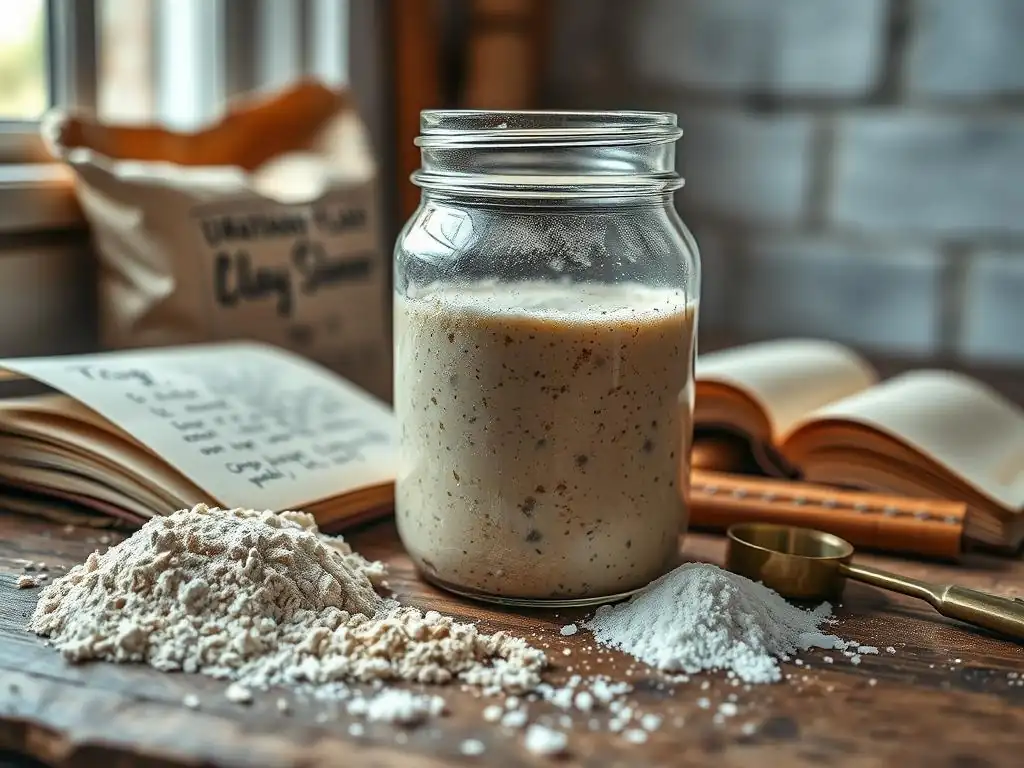
Common Problems and Solutions: Sluggish Starters and Mold Growth
It's common to encounter hiccups when developing and maintaining an artisan bread starter recipe. One frequent issue is a sluggish starter, where it doesn't bubble or rise as expected, especially in the early days (often referred to as the "dormant phase" between days 2-5). This is usually normal as different microbial populations compete and establish dominance.
Patience is key, but ensuring a warm feeding environment (75-80°F is ideal), using filtered water (chlorine can inhibit microbes), and consistently feeding on schedule can help. If a mature starter becomes sluggish, it might be underfed, too cold, or need a higher percentage of whole grain flour in its diet to boost activity. Try feeding it more frequently or with a slightly higher ratio of flour to starter (e.g., 1:2:2).
Mold growth is a less common but more serious problem, usually appearing as fuzzy, colored patches (blue, green, black, or pink) on the surface or sides of the starter. Mold indicates contamination, and unfortunately, a moldy starter should be discarded entirely to avoid consuming harmful spores. To prevent mold, always use clean jars and utensils.
Ensure the water you use is not contaminated. While kahm yeast (a harmless white, powdery film) can sometimes appear and can often be stirred in or scraped off, any fuzzy or colored growth warrants discarding the batch and starting fresh with your artisan bread starter recipe using clean equipment and ingredients.
Recognizing Signs of a Healthy and Active Artisan Bread Starter
A healthy and active artisan bread starter recipe exhibits several clear indicators that it's ready for baking. The most obvious sign is predictable activity after feeding: within a few hours (the exact time depends on temperature and feeding ratio), the starter should visibly increase in volume, ideally doubling or even tripling. You'll see numerous bubbles throughout the culture, not just on the surface.
Another key sign is the "float test." Take a small spoonful of starter at its peak activity (when it has significantly risen and is just beginning to show signs of falling) and gently drop it into a glass of water. If the starter floats, it's full of carbon dioxide produced by the yeast and ready to leaven dough. If it sinks, it might need more time to develop or require a few more consistent feedings to build strength.
A healthy starter also has a pleasant, tangy aroma, not overtly alcoholic or like rotten cheese. It should have a light, airy texture when stirred. These signs collectively indicate a balanced and vigorous microbial population capable of providing excellent oven spring and flavor to your artisan bread.
Tips and Tricks: Using Breadtopia Starter Food for Enhanced Activity
Sometimes, especially when starting out or reviving a sluggish culture, giving your artisan bread starter recipe a little boost can be helpful. While consistent feeding with good quality flour is usually sufficient, products specifically designed for starter enhancement can provide extra nutrients. Breadtopia, a well-regarded online retailer for bread baking supplies, offers a "Starter Food" product.
This product is typically a blend of specific types of flour or grain that are particularly rich in the nutrients favored by the wild yeasts and bacteria in a sourdough culture. Using a small amount of this starter food as part of your regular feeding (e.g., replacing a portion of your regular flour with the starter food) can help stimulate microbial activity, leading to a more vigorous and reliable starter.
It can be especially useful if you are struggling to get consistent results with your usual flour or if your starter seems less active than desired. Think of it as a nutritional supplement for your microbial pets, helping them produce a consistently strong artisan bread starter recipe ready to bake.
Beyond the Starter: Baking Your First Artisan Loaf
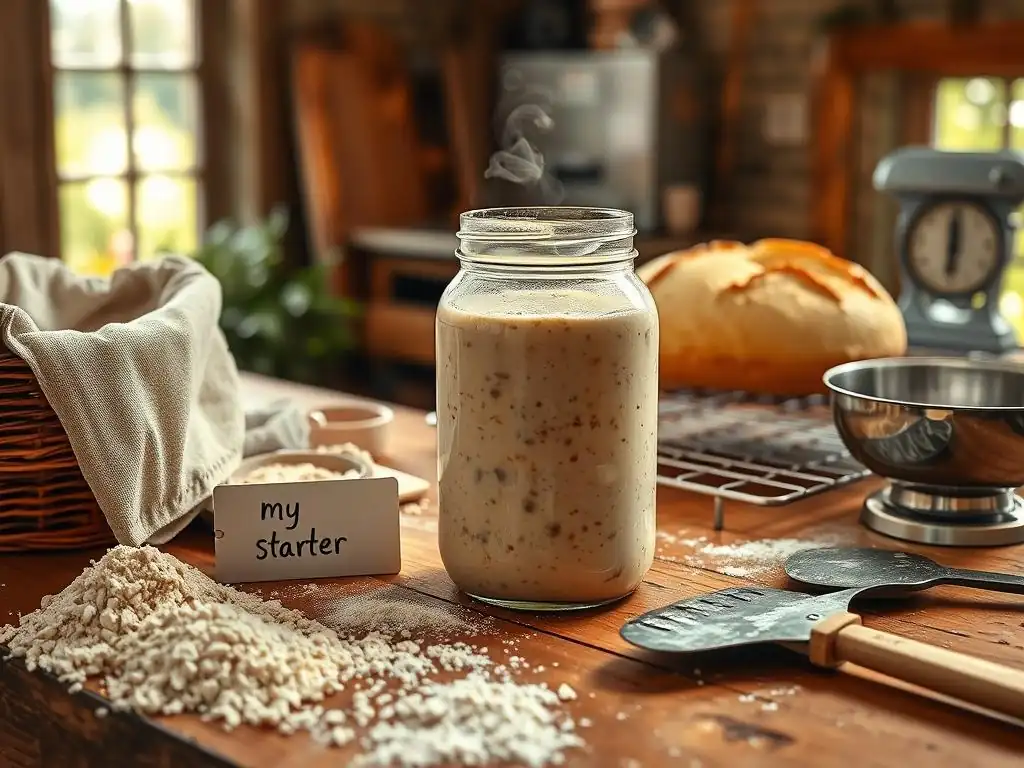
From Starter to Dough: Converting Your Starter into a Bread Recipe
Once your artisan bread starter recipe is active and ready, the next step is incorporating it into a bread dough. Most sourdough bread recipes require a specific amount of active starter, meaning starter that has been recently fed and is at its peak of activity (or just slightly past it, often referred to as "ripe"). Recipes will typically list starter as a percentage of the total flour weight (baker's percentage) or simply as a weight in grams. For example, a recipe might call for 20% starter by flour weight, or explicitly state "100g active starter".
To convert your starter for baking, you'll often perform a "levain build" or "preferment." This involves taking a small amount of your mature starter (e.g., 20g) and feeding it with a larger amount of fresh flour and water (e.g., 100g flour and 100g water) several hours before you plan to mix your dough. This creates a larger quantity of starter that is actively fermenting and at its peak when you need it for the main dough mix.
Using a levain ensures you have enough vigorous culture to properly leaven a full loaf and helps manage the volume of your main starter jar. When the levain is bubbly and has doubled, it's ready to be incorporated into the rest of your recipe's ingredients (flour, water, salt).
Choosing the Right Artisan Flour for Your Bread Recipe
Just as with your starter, the choice of artisan flour significantly impacts your final bread loaf. Different flours contribute varying levels of protein, gluten strength, absorption, and flavor, allowing you to achieve specific textures and tastes. The type of bread you want to bake will guide your flour selection.
-
Central Milling High-Protein Bread Flour: Ideal for Crusty Loaves
Central Milling is renowned for its high-quality flours, often used by professional bakeries. Their high-protein bread flour (often around 12-13% protein) provides excellent gluten development, which is crucial for creating the structure needed for a well-risen loaf with a chewy interior and a robust, crackly crust. This type of flour is a staple for classic sourdough and other crusty artisan breads, providing reliable performance and a clean flavor base.
-
Jovial Organic Spelt Flour: Adding a Nutty Flavor and Unique Texture
For something different, consider using flours like spelt. Jovial Organic Spelt Flour offers a distinct, slightly sweet, and nutty flavor profile that can add wonderful complexity to your bread. Spelt is an ancient grain and contains gluten, but its gluten structure is more delicate than modern wheat. This means bread made with 100% spelt will have a slightly softer, more tender crumb and may not achieve the same dramatic oven spring as bread made with strong wheat flour. It's often used in blends with strong bread flour to balance flavor and texture.
Shaping and Baking: Achieving the Perfect Artisan Bread Crust
Achieving that signature artisan bread crust involves careful shaping and strategic baking techniques. Once your dough has completed its bulk fermentation (the first rise), it's time to shape it. Proper shaping builds tension on the surface of the dough, creating a 'skin' that helps the loaf hold its structure and contributes to a good oven spring. Techniques vary depending on the desired shape (batard, boule), but they generally involve folding the dough onto itself and creating surface tension before placing it in a proofing basket (banneton) for its final rise.
Baking strategy is crucial for crust development. High heat and steam are key. Steam keeps the surface of the dough moist in the initial phase of baking, allowing the loaf to expand fully before the crust sets. This expansion is known as oven spring.
Once the crust sets in the presence of steam, it becomes thin and crispy as it bakes further in dry heat. Baking in a preheated Dutch oven or using a baking stone with a steam setup (like a tray of hot water or lava rocks) are common methods to achieve this. Baking at high temperatures, often starting around 450-500°F (230-260°C), ensures rapid heat transfer for excellent oven spring and crust formation.
Recommended Baking Tools for Artisan Bread Making
Having a few key tools can significantly improve your artisan bread baking results, especially when working with high-hydration doughs often used with an active artisan bread starter recipe. These tools help manage the dough, create the ideal baking environment, and shape your loaf professionally.
-
Lodge 6 Quart Enameled Cast Iron Dutch Oven: For Oven Spring and Crust Development
A Dutch oven is a game-changer for home artisan bread baking. Heating the Dutch oven with the lid on creates a self-contained steamy environment perfect for the initial phase of baking. The cast iron retains and radiates heat effectively, leading to fantastic oven spring and a beautifully thick, crispy crust. The Lodge 6 Quart size is versatile enough for most standard loaf sizes.
-
Brotform Banneton Bread Proofing Basket: Shaping Your Loaf for a Professional Finish
Banneton baskets, typically made from rattan or cane, are used for the final proofing of shaped dough. Lining the basket with a floured cloth or heavily flouring the basket itself prevents sticking. Proofing in a banneton helps the dough maintain its shape as it expands and provides support, particularly for wetter doughs. The spiral pattern from the basket also leaves an attractive imprint on the dough's surface, which becomes part of the crust pattern after baking.
Mastering the Art of Artisan Bread Baking: Advanced Techniques
Exploring Different Artisan Flour Blends for Unique Flavors
Moving beyond single flours, experimenting with different artisan flour blends opens up a world of flavor and texture possibilities. Combining flours allows you to leverage the strengths of each grain. For instance, blending a strong hard red wheat flour (for structure and rise) with a percentage of rye flour (for flavor and keeping qualities) is a classic approach. A common blend might be 70% strong white bread flour, 20% whole wheat artisan flour, and 10% rye flour.
You can also blend heritage grain flours like Einkorn, Emmer, or Kamut with modern wheat flours. These ancient grains often have unique, complex flavors – nutty, sweet, or spicy – and different gluten characteristics that affect texture. For example, adding 15-20% Einkorn flour to a standard white bread recipe can impart a lovely golden hue and a slightly sweet flavor. Blending requires understanding how each flour absorbs water and contributes to gluten development, often necessitating adjustments to hydration levels and mixing times in your artisan bread starter recipe based dough.
Sourdough Baking with Artisan Flours: A Deeper Dive
Sourdough baking is intrinsically linked with artisan flours. The natural yeasts and bacteria cultivated in your artisan bread starter recipe thrive on the complex carbohydrates and nutrients found in these less-refined flours. Baking exclusively with sourdough requires understanding the nuances of fermentation time, temperature, and starter activity, which differ significantly from commercial yeast baking. Long fermentation times, often 8-12 hours at room temperature or 12-24 hours in the refrigerator (cold proofing), allow the lactic acid bacteria to produce organic acids, contributing to the characteristic tang and improving the bread's digestibility and keeping qualities.
High hydration levels (75% water or more relative to flour weight) are also common in artisan sourdough recipes, leading to a more open, airy crumb. However, high hydration doughs can be challenging to handle, requiring gentle techniques and practice. The type of artisan flour used greatly impacts hydration capacity; whole grain flours absorb significantly more water than refined flours.
Mastering sourdough with artisan flours involves learning to read your dough, understanding how fermentation progresses based on temperature and starter strength, and adapting techniques to the specific flour blend and hydration level you are using. It's a rewarding process of working with the natural properties of your ingredients.
Experimenting with Hydration Levels for Different Bread Textures
Hydration level – the ratio of water to flour in your dough – is a fundamental variable that dramatically affects the texture of your finished bread. Expressed as a percentage (e.g., 70% hydration means 70g water per 100g flour), it dictates how wet or dry your dough is. Lower hydration doughs (60-65%) are easier to handle and result in a tighter, more uniform crumb, often used for sandwich loaves or rolls.
Increasing the hydration level (70-80% or even higher) leads to a wetter, stickier dough that requires different handling techniques like stretch and folds rather than traditional kneading. These higher hydration doughs, often paired with a robust artisan bread starter recipe and long fermentation, produce bread with a more open, irregular crumb structure – the kind often associated with classic artisan loaves with large, airy holes.
Experimenting with hydration involves starting with a manageable level (like 70%) and gradually increasing it as you become comfortable handling wetter doughs, observing how different artisan flours absorb water and how the increased water content affects crumb structure and crust development.
Where to Buy the Best Artisan Flours: Online Retailers and Local Mills
Accessing high-quality artisan flours is crucial for elevating your bread baking. While some large supermarkets now carry a limited selection, the best sources often come from specialized online retailers or local mills.
-
King Arthur Baking Company - A Wide Selection of Premium Artisan Flours
King Arthur is a well-established and trusted source for bakers. Their online store offers a vast range of flours, including many organic, identity-preserved, and high-extraction options that fall under the artisan category. They provide detailed information about their flours' protein content and intended uses, making it easy to select the right one for your artisan bread starter recipe or loaf. They ship nationwide and offer various package sizes.
-
Breadtopia - Sourcing High-Quality Bread Baking Supplies
Breadtopia is another excellent online resource dedicated specifically to home bread baking. They curate a selection of high-quality flours from various millers, including heritage grains and stone-milled options. In addition to flour, they sell a wide array of baking equipment, from bannetons and Dutch ovens to specialized tools. Their website also features many educational resources and recipes, making them a one-stop shop for serious home bakers looking for artisan ingredients.
Frequently Asked Questions
What exactly is an artisan bread starter and why is it important?
An artisan bread starter, often called a sourdough starter, is a fermented mixture of flour and water that acts as a natural leavening agent. It's crucial for developing the complex flavors and textures characteristic of artisan bread.
Where can I find an artisan bread starter recipe that's easy to follow?
BakeWithEase.com offers a variety of simple artisan bread starter recipes. Look for recipes specifically labeled for beginners or those focusing on easy-to-find ingredients.
How long does it typically take to create a usable artisan bread starter?
Creating a usable artisan bread starter usually takes around 7-10 days. This timeframe allows for the necessary fermentation and yeast development.
What are some key signs that my artisan bread starter is ready to use?
A ready-to-use starter will be active and bubbly, approximately doubling in size after feeding. It should also have a pleasantly sour aroma, not an unpleasant or moldy smell.
Can I use different types of flour to make an artisan bread starter?
Yes, you can experiment! While unbleached all-purpose or bread flour are most commonly recommended, you can also use whole wheat or rye flour. Different flours can influence the flavor and texture of your starter.
Final Reflection: The Humble Loaf and the Flourishing Soul
The pursuit of perfect artisan bread is more than just a culinary endeavor; it's a journey of connection—to the earth, to tradition, and to oneself. The recipes and techniques explored in this article, while focused on achieving a delicious loaf, ultimately highlight the transformative power of working with your hands and simple ingredients. The rise and fall of the dough mirrors the ebb and flow of life, reminding us of the beauty in patience and the rewards of dedication.
The impact of artisan bread making extends far beyond the kitchen table. It's a revival of traditional skills, a celebration of local ingredients, and a powerful antidote to the fast-paced, processed nature of modern life. Bread is the staff of life,
a simple phrase that speaks volumes about its fundamental role in human history and culture. This simple act of baking connects us to generations past, reminding us of the enduring human need for nourishment, both physical and spiritual. The satisfaction of creating something beautiful and delicious from humble beginnings is deeply rewarding.
Now, I invite you to embark on your own baking journey. Don't be afraid to experiment, to embrace the imperfections, and to savor the process. The perfect loaf is a worthy goal, but the true reward lies in the journey itself—in the kneading, the proofing, the aroma filling your kitchen, and the shared joy of breaking bread with loved ones. Start with a simple recipe, find your favorite flour, and let the magic of artisan bread making transform your kitchen into a haven of creativity and connection. Your first loaf awaits.
Unleash Your Inner Baker: Craft Your Perfect Loaf!
Thanks for joining us on this journey into the world of artisan flours! We hope you've gained a newfound appreciation for the impact flour type can have on your baking. Now it's time to put your knowledge into practice.
Here's how to take the next step:
- Bake your first artisan loaf! Choose a recipe featuring one of the flours discussed and get baking. Don't be afraid to experiment!
- Share your baking creations! Post a picture on social media and tag #BakeWithEaseArtisan. Let's inspire each other!
- Explore our flour guide for even more variety and information. You might discover your new favorite flour!
What unique flavor will you create with your next artisan loaf?