
How to Bake Classic French Eclairs: A Beginner's Guide

Welcome to BakeWithEase!
Ever dreamt of creating those delicate, melt-in-your-mouth pastries that grace Parisian patisseries? You're in the right place. Get ready to unlock the secrets to baking the perfect classic French éclair. This isn't just a recipe; it's your beginner-friendly guide to mastering this iconic treat. Curious to see how surprisingly simple it can be? Let's get baking!
- How to Bake Classic French Eclairs: A Beginner's Guide | BakeWithEase.com
- Introduction to Easy Classic French Eclairs
- Mastering the Pâte à Choux: The Foundation of Eclairs
- Shaping and Baking Your Eclairs for Optimal Results
- Creating the Classic Eclair Filling: Crème Pâtissière
- Assembling and Glazing Your French Eclairs
- Tips and Tricks for Perfecting Your Eclair Recipe
- Enjoy Your Homemade Easy French Eclairs!
-
Frequently Asked Questions
- What makes this eclair recipe considered "easy," especially for beginners?
- What is the most crucial step in making choux pastry for eclairs, and how do I avoid common pitfalls?
- What are some variations or fillings I can use instead of the traditional pastry cream?
- How do I ensure my eclairs rise properly and don't collapse after baking?
- What's the best way to store leftover eclairs, and how long will they stay fresh?
- Final Reflection: The Enduring Allure of the Classic Éclair
- Unlock Your Inner Pâtissier: Master the Art of the Éclair!
How to Bake Classic French Eclairs: A Beginner's Guide | BakeWithEase.com
Introduction to Easy Classic French Eclairs
What are Eclairs and Why Bake Them?
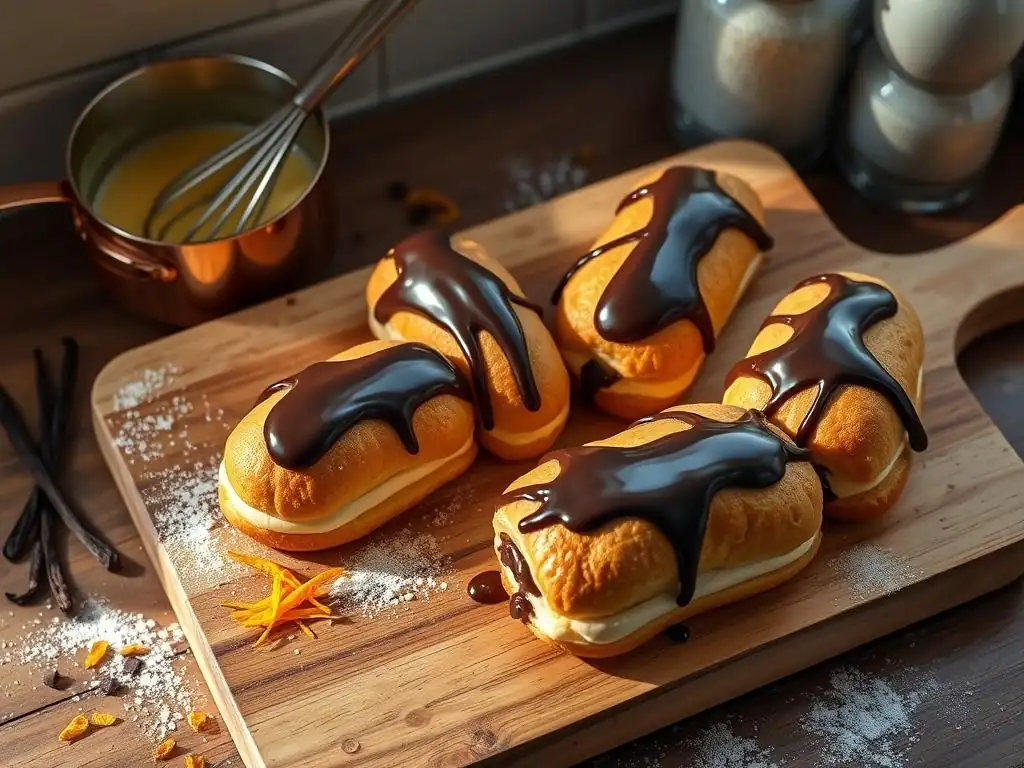
Eclairs are elegant, elongated pastries made from choux dough (pâte à choux), typically filled with a cream (often crème pâtissière), and topped with a rich glaze, most commonly chocolate. The name "éclair" is French for "lightning," possibly because they are eaten quickly or because of the shine of the glaze. Despite their sophisticated appearance, mastering an easy classic French eclair recipe is achievable even for novice bakers. Baking them at home allows you to control the quality of ingredients, ensuring a fresh and delicious result far superior to many store-bought versions.
Embarking on the journey to bake French eclairs is a rewarding experience. It introduces you to the fascinating world of pâte à choux, a versatile dough used in many classic pastries like cream puffs and gougères. While the idea of making French pastries might seem daunting, breaking down the process into simple steps, as we will do in this easy classic French eclair recipe guide, makes it accessible. The satisfaction of biting into a perfectly crisp shell filled with smooth, creamy custard is unparalleled, making the effort well worth it.
The Allure of Homemade French Pastries
There's a unique charm to baking French pastries at home. It connects you to centuries of culinary tradition and allows you to recreate iconic flavors in your own kitchen. Homemade eclairs offer a freshness and depth of flavor that is difficult to replicate commercially. The aroma of baking pâte à choux and the subsequent rich smell of chocolate glaze filling your home is part of the delightful experience. This easy classic French eclair recipe is designed to demystify the process, proving that these elegant treats are within reach for any home baker.
Beyond the sensory pleasures, baking French pastries like eclairs provides a wonderful sense of accomplishment. It's a skill that, once learned, opens doors to exploring other choux-based delights. Sharing your homemade French eclairs with friends and family is a joy, and the compliments you receive will undoubtedly fuel your passion for baking. Our easy classic French eclair recipe aims to build your confidence, turning a seemingly complex task into a manageable and enjoyable project.
Mastering the Pâte à Choux: The Foundation of Eclairs
Understanding Pâte à Choux Dough for Eclairs
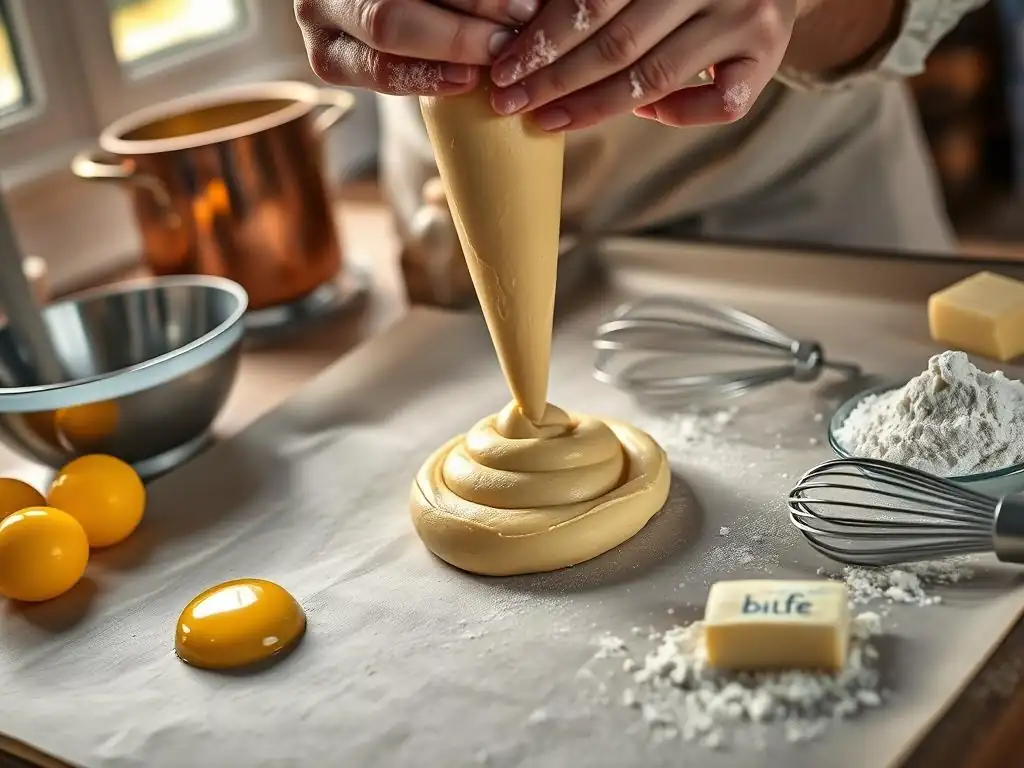
Pâte à choux, or choux pastry, is a fundamental dough in French baking. Unlike most doughs that rely on chemical leaveners or yeast, pâte à choux uses steam generated during baking to puff up and create a hollow shell. This unique characteristic is what makes it perfect for pastries like eclairs that are meant to be filled. The process involves cooking flour with water and fat, then incorporating eggs, which provide structure and moisture, allowing the dough to expand dramatically in a hot oven.
The success of your easy classic French eclair recipe hinges on mastering this dough. The goal is to create a smooth, thick paste that is glossy and holds its shape when piped. Getting the consistency right is crucial – too thin, and the eclairs won't hold their shape; too thick, and they may not puff properly. We'll walk through the steps to ensure your pâte à choux is just right for elegant, well-risen eclairs.
Ingredients for Perfect Pâte à Choux (Eclair Dough)
A classic pâte à choux requires just a few basic ingredients: water, butter, salt, flour, and eggs. The quality of these simple components directly impacts the final result. Using unsalted butter allows you to control the salt level, and using a standard all-purpose flour is perfectly suitable for this recipe. The ratio of ingredients is key, and the number of eggs can vary slightly depending on the consistency needed, often requiring careful addition.
For a typical batch yielding about 12-15 standard-sized eclairs, you might start with approximately 1 cup (240ml) water, 1/2 cup (113g) unsalted butter, a pinch of salt, 1 cup (125g) all-purpose flour, and 3-4 large eggs. These quantities provide a good starting point for an easy classic French eclair recipe. The exact amount of eggs is determined by the dough's consistency after adding the initial eggs, which we'll cover in the step-by-step guide.
Step-by-Step Guide to Making Pâte à Choux for Eclairs
Making pâte à choux involves a few key stages, each requiring attention to detail. Starting with the base mixture, cooking the flour, and then incorporating the eggs are the critical steps. Following these instructions carefully will set you up for success in creating the perfect eclair dough for your easy classic French eclair recipe.
Combining Water, Butter, and Salt
Begin by combining the water, cubed unsalted butter, and salt in a medium saucepan. Place the saucepan over medium heat and stir occasionally until the butter is completely melted. Once the butter has melted, bring the mixture to a rolling boil. It's important to ensure it reaches a boil before adding the flour, as this heat is necessary for the starch in the flour to gelatinize properly in the next step.
This initial step is straightforward but sets the stage for the rest of the process. Using cubed butter helps it melt more evenly and quickly. The salt enhances the flavor of the dough, balancing the richness of the butter and later, the filling. Bringing the liquid to a full boil ensures the correct temperature for incorporating the flour and starting the cooking process of the roux.
Adding Flour and Cooking the Roux
Once the water and butter mixture is boiling, remove the saucepan from the heat and immediately add all the flour at once. Stir vigorously with a wooden spoon or heatproof spatula until the mixture comes together and forms a ball of dough. Return the saucepan to medium-low heat and continue to cook the dough, stirring constantly, for 2-3 minutes. This stage is crucial for drying out the dough slightly and cooking the flour, forming what is known as a 'roux' or 'panade'.
Cooking the dough on the heat helps to evaporate excess moisture, which is vital for the eclairs to puff correctly in the oven. You'll know it's ready when the dough pulls away from the sides of the pan and a thin film forms on the bottom. This step is critical for developing the structure needed for light and airy eclairs, a key part of any easy classic French eclair recipe.
Incorporating Eggs for the Right Consistency
Remove the dough from the heat and transfer it to a bowl. Let it cool for a few minutes, stirring occasionally, until it's warm but not hot (you should be able to touch it without burning yourself). This cooling prevents the eggs from scrambling when added.
Add the eggs one at a time, beating well after each addition until the egg is fully incorporated and the dough is smooth before adding the next. Using a stand mixer with a paddle attachment on low speed makes this much easier, but it can also be done by hand with a sturdy spoon.
Adding the eggs gradually is essential because the exact number needed can vary based on factors like the size of the eggs and how much moisture evaporated during the cooking stage. The eggs provide the necessary moisture and protein for the dough to expand and create that characteristic hollow center. Don't rush this process; ensure each egg is fully absorbed before adding the next to develop the proper dough structure.
Achieving the Perfect Eclair Dough Consistency
The dough is ready when it is smooth, glossy, and falls from the spoon or paddle in a thick ribbon or "V" shape. If using a mixer, the dough should pull away from the sides of the bowl but still cling slightly to the paddle. If you lift the paddle, the dough should hang from it and then drop back into the bowl in a soft peak or ribbon. This consistency is often described as "pipeable but not runny."
If the dough is too stiff, add a small amount of a lightly beaten fourth egg. If it seems too loose after adding the recommended eggs, you may have added too much liquid initially or not cooked the roux long enough. However, for this easy classic French eclair recipe, sticking to the recommended ratios and cooking times should yield the correct consistency. The goal is a dough that is firm enough to hold its shape when piped but moist enough to expand dramatically in the oven.
Shaping and Baking Your Eclairs for Optimal Results
Preparing Your Baking Sheet for Eclairs
Proper preparation of the baking sheet is vital for preventing the eclairs from sticking and ensuring even baking. Line a baking sheet with parchment paper or a silicone baking mat. Do not grease the sheet directly, as this can cause the eclairs to spread too much and lose their shape. Parchment paper or a silicone mat provides a non-stick surface that allows the eclairs to rise properly and release easily after baking.
For added precision and uniform size, you can lightly trace guidelines for your eclairs on the underside of the parchment paper using a ruler and pencil. Standard eclairs are typically 4-5 inches (10-13 cm) long. Leave ample space between each guideline, about 2-3 inches (5-7 cm), as the eclairs will expand significantly during baking. This preparation ensures your easy classic French eclair recipe yields beautifully shaped pastries.
Piping Eclairs: Techniques for Uniform Shapes
Transfer the prepared pâte à choux to a large piping bag fitted with a large plain or star tip (about 1/2 inch or 1.2 cm opening). A plain tip gives the classic smooth eclair shape, while a star tip provides ridges that can add visual appeal and potentially help with even expansion. Hold the piping bag at a consistent angle (around 45 degrees) just above the baking sheet. Apply even pressure to pipe straight, even lines of dough along your traced guidelines.
Pipe the dough continuously, lifting the bag slightly away at the end of each eclair and releasing pressure quickly to minimize tails. If you have small peaks or tails, you can gently smooth them down with a damp fingertip or the back of a spoon. Aim for consistent width and length for each eclair so they bake evenly. Piping uniform shapes is a key step in achieving professional-looking results with your easy classic French eclair recipe.
Baking Eclairs: Temperature and Timing
Baking pâte à choux requires a specific temperature strategy to encourage maximum puff and achieve a crisp exterior. Preheat your oven to a relatively high temperature, typically around 400°F (200°C). Place the prepared baking sheet in the hot oven. The high initial temperature creates a burst of steam, causing the eclairs to expand rapidly.
After the eclairs have puffed significantly and started to set (usually after 15-20 minutes, depending on size), reduce the oven temperature to a lower setting, around 350°F (175°C), without opening the oven door if possible. Continue baking for another 20-25 minutes, or until the eclairs are deep golden brown, feel light when lifted, and sound hollow when tapped on the bottom. The lower temperature allows the interior to cook thoroughly and the shell to dry out and become crisp, preventing them from collapsing. A total baking time typically ranges from 35 to 45 minutes for standard eclairs.
Avoiding Common Eclair Baking Mistakes
Several factors can lead to less-than-perfect eclairs. One of the most common issues is opening the oven door too early during baking, especially in the first 15-20 minutes. This causes the sudden loss of heat, which can make the delicate shells deflate before they have set. Another mistake is not baking them long enough or at a high enough initial temperature, which prevents proper puffing.
Additionally, overcrowding the baking sheet can hinder air circulation, leading to uneven baking. Ensure there is adequate space between each eclair. Finally, removing the eclairs from the oven before they are sufficiently dry inside is a major cause of deflation. They should be a rich golden brown and feel very light. For this easy classic French eclair recipe, patience during the baking process is key to achieving light, airy shells.
Preventing Eclairs from Deflating
To prevent your beautifully puffed eclairs from collapsing, ensure they are fully cooked and dried out in the oven. This means baking them until they are a deep golden brown and feel very light. Don't be tempted to take them out when they are just pale gold; they need that longer baking time at the lower temperature to firm up the structure.
Once baked, you can further ensure they stay crisp by turning off the oven, propping the door open slightly with a wooden spoon, and letting the eclairs cool inside for 10-15 minutes. This gradual cooling helps prevent a sudden temperature change that could cause deflation. Some bakers also poke a small hole in the end of each eclair immediately after removing them from the oven to allow steam to escape, which helps them dry out further.
Ensuring Even Baking and Golden-Brown Color
Achieving a uniform golden-brown color and even baking across all eclairs requires consistent oven temperature and proper placement. Make sure your oven is accurately calibrated; an oven thermometer can help verify this. If your oven has hot spots, you might need to rotate the baking sheet halfway through the baking time, but only do this after the initial high-heat phase (after the first 15-20 minutes) when the shells have set.
Using parchment paper or a silicone mat helps distribute heat more evenly across the bottom of the eclairs. Piping shapes of similar size and thickness is also crucial, as irregularly sized eclairs will bake at different rates. Following the two-stage baking temperature method outlined in this easy classic French eclair recipe helps ensure both maximum puff and thorough drying for a perfect golden finish.
Creating the Classic Eclair Filling: Crème Pâtissière
Understanding Crème Pâtissière: The Eclair's Heart
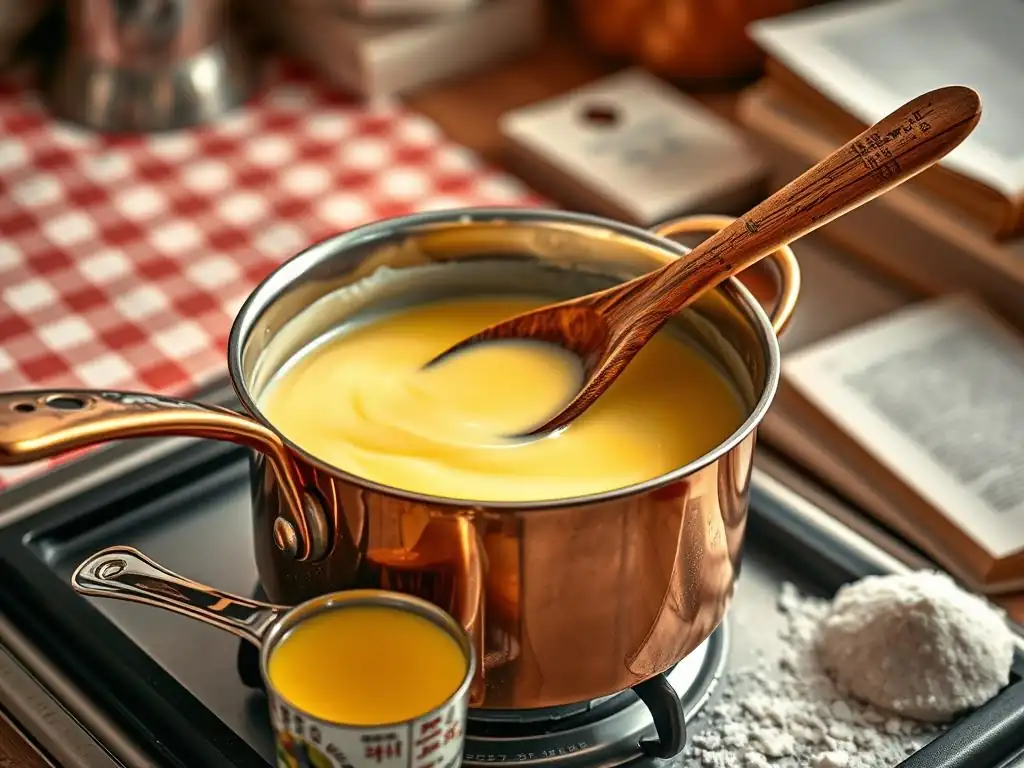
Crème pâtissière, or pastry cream, is a rich, smooth custard thickened with egg yolks and flour or cornstarch. It is the traditional and most popular filling for classic French eclairs. Its creamy texture and subtle sweetness perfectly complement the light, airy choux pastry shell. While variations exist, mastering the basic pastry cream is essential for any easy classic French eclair recipe.
Making crème pâtissière involves tempering egg yolks with sugar, thickening hot milk with this mixture and a starch, and then cooking it until it reaches a pudding-like consistency. The key is to cook it long enough to eliminate any starchy taste and ensure it's thick enough to hold its shape when piped into the eclairs, but not so long that it becomes lumpy.
Ingredients for Delicious Crème Pâtissière
The basic ingredients for crème pâtissière include milk, sugar, egg yolks, and a thickening agent like all-purpose flour, cornstarch, or a mix of both. Vanilla is the classic flavoring, often added in the form of a vanilla bean, vanilla extract, or vanilla paste. Butter is sometimes added at the end for extra richness and gloss.
For enough crème pâtissière to fill about 12-15 eclairs, you would typically use around 2 cups (480ml) whole milk, 1/2 cup (100g) granulated sugar, 4-6 large egg yolks, and 1/4 cup (30-40g) flour or cornstarch. A teaspoon or two of vanilla extract or seeds from half a vanilla bean would provide the classic flavor. Using whole milk yields a richer, creamier custard, ideal for this easy classic French eclair recipe.
Making Crème Pâtissière: A Step-by-Step Guide
Making pastry cream requires careful heating and stirring to achieve a smooth, lump-free consistency. It involves tempering the eggs and cooking the mixture until it thickens properly. Follow these steps for a perfect crème pâtissière for your easy classic French eclair recipe.
Combining Milk, Sugar, and Egg Yolks
Start by gently heating the milk in a saucepan over medium heat until it is hot but not boiling. In a separate bowl, whisk together the egg yolks and sugar until the mixture is pale yellow and creamy. Whisk in the flour or cornstarch until no lumps remain. This creates a smooth paste.
Once the milk is hot, slowly pour about half of the hot milk into the egg yolk mixture while whisking constantly. This process, called tempering, gradually raises the temperature of the egg yolks, preventing them from scrambling when added to the remaining hot milk.
Cooking and Thickening the Custard
Pour the tempered egg yolk mixture back into the saucepan with the remaining hot milk. Return the saucepan to medium heat and whisk constantly. The mixture will initially be thin, but as it heats, the starches and egg yolks will cause it to thicken considerably. Continue whisking and cooking until the mixture comes to a boil and becomes very thick, similar to pudding.
It's important to let the mixture boil for about 1-2 minutes while whisking vigorously to ensure the starch is fully cooked and the custard is stable. Don't stop stirring, especially once it starts to thicken, to prevent scorching the bottom. The finished cream should be smooth and glossy.
Cooling and Flavoring the Crème Pâtissière
Remove the thickened custard from the heat and stir in the vanilla extract or paste. If using a vanilla bean, scrape the seeds into the milk at the beginning of the process. For extra richness, you can whisk in a tablespoon or two of cold butter at this stage until melted and incorporated.
Pour the hot crème pâtissière into a clean bowl. To prevent a skin from forming on the surface as it cools, cover the surface directly with plastic wrap, pressing the wrap down so it touches the entire surface of the cream. Let it cool slightly at room temperature, then refrigerate for at least 2-3 hours, or preferably until thoroughly chilled and set. Chilling is crucial as it allows the custard to firm up, making it easier to pipe into the eclairs for your easy classic French eclair recipe.
Assembling and Glazing Your French Eclairs
Preparing Your Eclairs for Filling
Once your baked eclair shells have cooled completely, they are ready to be filled. There are a couple of methods for filling eclairs. The most common is to make three small holes on the underside of each eclair using a skewer or a small sharp knife. Space these holes out along the length of the eclair.
Alternatively, you can slice the eclair horizontally using a serrated knife, fill the bottom half, and then replace the top. However, poking holes and piping is the traditional method that results in a cleaner appearance, especially when glazing. Ensure the shells are completely cool before filling, otherwise, the heat can melt the pastry cream.
Filling Eclairs with Crème Pâtissière
Transfer the chilled crème pâtissière to a piping bag fitted with a small, plain tip (a bismarck tip is ideal for filling through holes, but a small round tip works too). If the cream is very thick after chilling, you can whisk it briefly to loosen it slightly, but be careful not to incorporate too much air.
Insert the tip into one of the holes on the underside of an eclair and gently squeeze the piping bag, filling the shell until you feel resistance or see the eclair puff up slightly and feel heavy. Move to the next hole and repeat, ensuring the eclair is evenly filled along its length. Repeat with all the eclair shells. Proper filling is key to a satisfying bite in your easy classic French eclair recipe.
Making a Simple Chocolate Eclair Glaze
A classic chocolate glaze is the perfect finishing touch for French eclairs. A simple glaze can be made using just two ingredients: chocolate and cream or butter. This creates a glossy, smooth finish that hardens slightly as it cools.
Ingredients for Classic Chocolate Glaze
For a simple yet effective chocolate glaze for your easy classic French eclair recipe, you will need about 4-6 ounces (115-170g) of good quality bittersweet or semi-sweet chocolate, finely chopped. The quality of the chocolate significantly impacts the flavor. You will also need about 2-4 tablespoons (30-60ml) of heavy cream or unsalted butter. Using cream results in a softer glaze, while butter gives a slightly firmer, shinier finish.
Some recipes also include a small amount of corn syrup or glucose for extra shine and to help prevent cracking, maybe about 1 teaspoon. However, a basic chocolate and cream/butter mix is perfectly sufficient for a delicious glaze.
Preparing the Glaze for a Smooth Finish
Combine the finely chopped chocolate and cream (or butter) in a heatproof bowl set over a saucepan of simmering water (a double boiler). Ensure the bottom of the bowl does not touch the water. Stir gently until the chocolate is completely melted and the mixture is smooth and glossy. Alternatively, you can heat the cream (or butter) in a microwave-safe bowl or small saucepan until hot but not boiling, then pour it over the chopped chocolate and let it sit for a minute before stirring until smooth.
Once melted and smooth, remove the bowl from the heat. If using corn syrup, stir it in now. Let the glaze cool for a few minutes, stirring occasionally, until it reaches a slightly thickened but still pourable consistency. It should be warm enough to dip, but not so hot that it melts the pastry cream filling.
Glazing Techniques for Professional-Looking Eclairs
Glazing is the final step in creating beautiful French eclairs. Hold a filled eclair by its ends and dip the top surface into the warm chocolate glaze. Lift the eclair out, letting any excess glaze drip back into the bowl.
Alternatively, you can place the filled eclairs on a wire rack set over parchment paper (to catch drips) and spoon the glaze evenly over the tops, allowing it to cascade down the sides slightly. For a very smooth finish, you can use an offset spatula to spread the glaze evenly after dipping or spooning. Place the glazed eclairs on a clean wire rack or baking sheet lined with parchment paper and let the glaze set at room temperature or in the refrigerator for about 10-20 minutes. The glaze should harden slightly but remain glossy.
Tips and Tricks for Perfecting Your Eclair Recipe
Storing Eclairs for Freshness
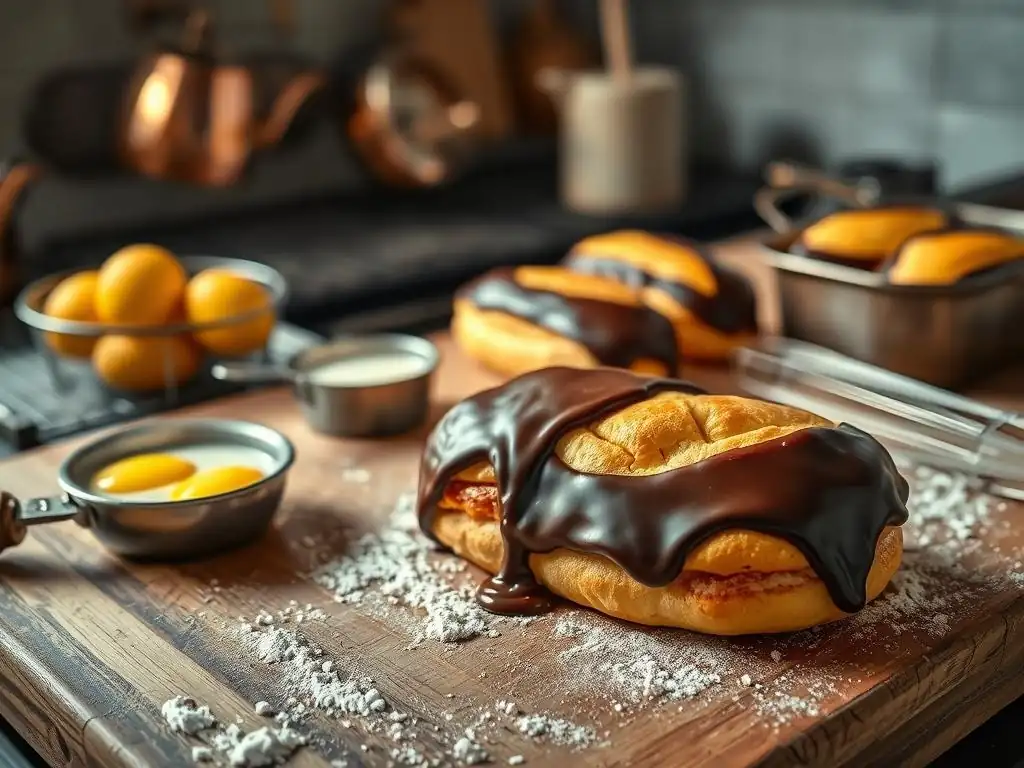
Eclairs are best enjoyed the day they are made, as the choux pastry can soften over time, especially once filled with moist crème pâtissière. If you need to store them, it's best to store the unfilled shells and the crème pâtissière separately. Unfilled, baked eclair shells can be stored in an airtight container at room temperature for a day or two, or frozen for up to a month.
Crème pâtissière should always be stored in an airtight container in the refrigerator and is best used within 2-3 days. Fill the eclairs just a few hours before serving. Once filled and glazed, eclairs can be stored in the refrigerator for a day, but the shells will gradually lose their crispness. For the best texture, fill and glaze them as close to serving time as possible.
Variations on the Classic Eclair Recipe
While the easy classic French eclair recipe with vanilla pastry cream and chocolate glaze is a timeless favorite, the beauty of homemade eclairs lies in the ability to customize them. The basic pâte à choux shell is a blank canvas for countless flavor combinations.
Coffee Eclairs
A popular variation involves flavoring the crème pâtissière with coffee. This can be done by dissolving instant coffee granules in the warm milk before making the custard, or by adding a small amount of strong brewed espresso or coffee extract to the finished, cooled pastry cream. A coffee-flavored glaze can also be made by adding instant coffee or espresso powder to the chocolate glaze ingredients.
Vanilla Eclairs
Our easy classic French eclair recipe focuses on vanilla pastry cream, but you can emphasize the vanilla flavor even more by using a high-quality vanilla bean or paste in the cream and perhaps adding a touch of vanilla extract to the chocolate glaze. Some vanilla eclairs are simply topped with a dusting of powdered sugar instead of a glaze for a simpler finish.
Salted Caramel Eclairs
For a richer, more decadent treat, fill the eclairs with a salted caramel pastry cream or a combination of pastry cream and salted caramel sauce. Top with a salted caramel glaze or a chocolate glaze sprinkled with flaky sea salt. This variation offers a delightful balance of sweet and salty flavors, elevating the classic eclair experience.
Troubleshooting Common Eclair Problems
Encountering issues is part of the baking journey, especially when learning an easy classic French eclair recipe. If your eclairs collapse after baking, it's likely they weren't baked long enough to dry out the interior. Try baking them longer at a lower temperature until they are very firm and golden brown. If they didn't puff much in the oven, the pâte à choux might have been too wet (too many eggs) or not cooked long enough on the stovetop to dry it out.
If the pastry cream is lumpy, it wasn't whisked continuously while thickening, or the starch wasn't fully incorporated initially. You can try pressing it through a fine-mesh sieve while still warm to remove lumps. If the glaze is too thick, add a tiny bit more warm cream or butter; if too thin, stir it over the double boiler for a moment longer to thicken slightly as it cools. Patience and attention to detail at each step are key to success.
Enjoy Your Homemade Easy French Eclairs!
You've done it! You've successfully navigated the steps of this easy classic French eclair recipe and created beautiful, delicious pastries right in your own kitchen. Take a moment to appreciate your hard work and the delightful aroma of your homemade eclairs.
Baking is often a joy best shared. Arrange your finished French eclairs on a serving platter and share them with friends and family. Watch their faces light up as they bite into the crisp shell and creamy filling. Don't forget to take pictures of your stunning creations to share online or with fellow baking enthusiasts. Your successful attempt at this easy classic French eclair recipe is something to be proud of!
Further Baking Adventures with BakeWithEase.com
Mastering this easy classic French eclair recipe is just the beginning of your French baking adventure. The skills you've learned, particularly working with pâte à choux and making crème pâtissière, are foundational for many other delightful pastries. Explore other recipes on BakeWithEase.com, from cream puffs (profiteroles) and gougères to more complex tarts and cakes. Each new recipe is an opportunity to expand your skills and create more delicious memories in your kitchen. Happy baking!
Frequently Asked Questions
What makes this eclair recipe considered "easy," especially for beginners?
The recipe focuses on simplified steps and readily available ingredients, making the choux pastry less intimidating. Clear instructions and visual aids further assist beginners.
What is the most crucial step in making choux pastry for eclairs, and how do I avoid common pitfalls?
The most crucial step is incorporating the eggs properly. Avoid adding them too quickly, ensuring each addition is fully absorbed before adding the next to prevent a runny batter.
What are some variations or fillings I can use instead of the traditional pastry cream?
While pastry cream is classic, you can experiment with chocolate ganache, fruit curds, or even whipped cream for a lighter option. Consider matching the glaze to your filling.
How do I ensure my eclairs rise properly and don't collapse after baking?
Make sure the choux pastry is cooked thoroughly, both inside and out, before removing them from the oven. Avoid opening the oven door during baking, as this can cause them to deflate.
What's the best way to store leftover eclairs, and how long will they stay fresh?
Eclairs are best enjoyed fresh but can be stored in the refrigerator for up to 2 days. Store them in an airtight container to prevent them from drying out.
Final Reflection: The Enduring Allure of the Classic Éclair
Mastering the art of the classic French éclair isn't just about baking; it's about embracing a timeless tradition and finding joy in the process. This seemingly simple pastry, with its delicate choux pastry and luscious cream filling, represents a level of culinary precision that can be surprisingly accessible. The techniques detailed in this guide, from creating the perfect pâte à choux to achieving a glossy glaze, are designed to empower even the most novice baker to achieve professional-looking results.
The éclair's enduring popularity speaks volumes about its ability to transcend generations and cultures. Its elegant simplicity, coupled with the delightful contrast of textures and flavors, makes it a truly captivating dessert. It’s more than just a sweet treat; it's a symbol of patience, precision, and the rewarding feeling of creating something beautiful from scratch. The best things in life are simple,
a sentiment perfectly embodied by the humble yet magnificent éclair.
Now, it's your turn. Don't be intimidated by the seemingly complex steps; embrace the challenge and the journey. The satisfaction of biting into a perfectly executed éclair, made with your own two hands, is an experience unlike any other. So, gather your ingredients, put on your apron, and embark on this delicious adventure. The world of French pastry awaits, and with a little practice and passion, you too can master the art of the classic éclair.
Unlock Your Inner Pâtissier: Master the Art of the Éclair!
Thanks for joining us on this delightful journey into the world of classic French éclairs! We hope you've gained the confidence to tackle this seemingly daunting pastry. Now it's time to put your newfound knowledge into practice.
- Bake your own batch of éclairs! Use the recipe from the article as your guide, and don't be afraid to experiment with different flavor combinations. This is your chance to shine!
- Share your éclair creation on social media using #BakeWithEaseEclairs – we'd love to see your masterpieces!
- Challenge a friend: See who can create the most impressive éclair – a friendly competition can add extra fun to the baking process.
Ready to transform your kitchen into a Parisian patisserie? What unique twist will you add to your first batch of éclairs?