
Bake With Ease: MeltinYourMouth Traditional Shortbread

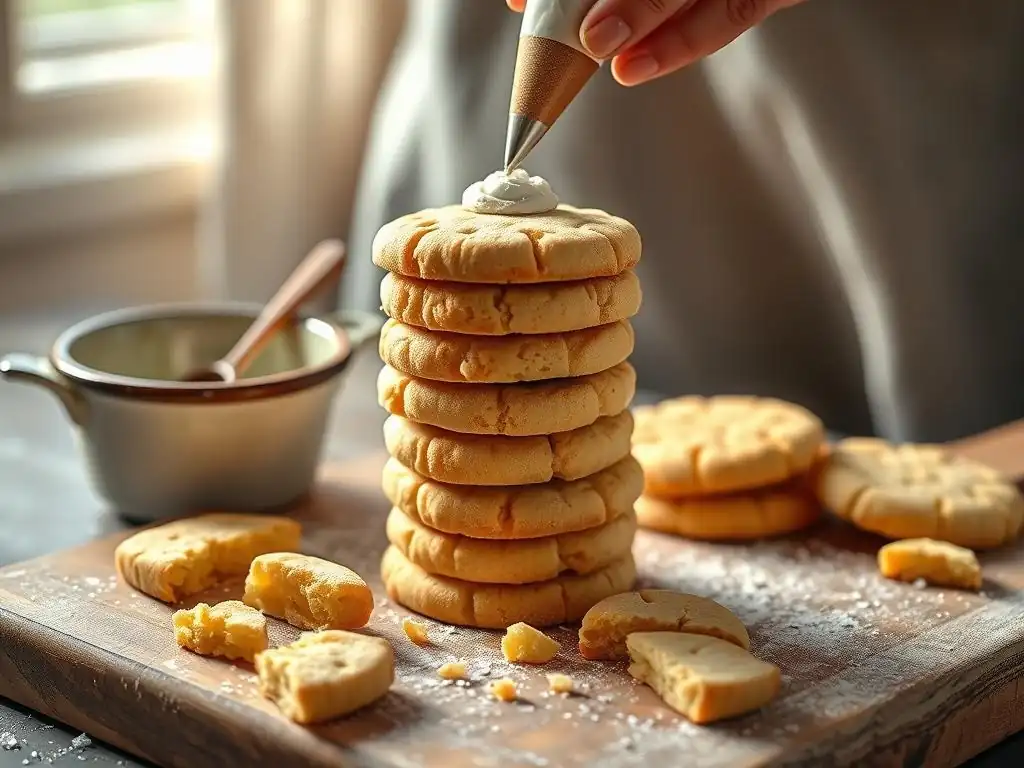
Welcome to BakeWithEase! Ever dreamt of creating a truly perfect, melt-in-your-mouth shortbread that tastes like it came straight from a Scottish bakery? You're in the right place. Unlock the secrets to our easy meltinyourmouth shortbread recipe – a delightful introduction to regional baking that's simpler than you think. Ready to discover the buttery, crumbly goodness that awaits? Let's get baking!
- Classic Scottish Shortbread: A Simple & Delicious Recipe
- Introduction: The Enduring Appeal of Scottish Shortbread
- Baking the Perfect Shortbread: A Step-by-Step Guide
- Tips and Tricks for Exceptional Shortbread
- Serving Suggestions: Enjoying Your Homemade Shortbread
- Troubleshooting Your Shortbread
- Conclusion: The Simple Pleasure of Homemade Shortbread
- Frequently Asked Questions
- Final Reflection: The Enduring Allure of Simple Perfection
- Unlock Your Inner Baker: Master the Art of Shortbread!
Classic Scottish Shortbread: A Simple & Delicious Recipe
Introduction: The Enduring Appeal of Scottish Shortbread
Scottish shortbread holds a special place in the hearts of bakers and eaters alike. Its simple composition of butter, flour, and sugar yields a tender, crumbly texture and rich, buttery flavor that is utterly irresistible. This classic treat, originating from Scotland, has traveled the globe, becoming a beloved biscuit enjoyed with tea, coffee, or simply on its own. Its enduring popularity lies in its straightforward nature and the pure, unadulterated taste of its core ingredients.
Making shortbread from scratch is a rewarding experience that requires minimal effort but delivers maximum satisfaction. Unlike many baked goods that demand precise timing and complex techniques, shortbread is forgiving and accessible. This makes it an ideal starting point for novice bakers looking to create something delicious with confidence, or for experienced bakers seeking a reliable recipe for a timeless classic. This particular easy meltinyourmouth shortbread recipe is designed to guide you smoothly through the process, ensuring success every time.
Why This Shortbread Recipe is Perfect for Beginners
This recipe is specifically tailored for those new to baking or looking for a stress-free project. The ingredient list is short – typically just three or four items you likely already have in your pantry. There are no leavening agents like baking soda or powder, which simplifies the chemistry involved and reduces the chances of unexpected results. The process involves simple steps like mixing ingredients, shaping, and baking at a relatively low temperature.
Furthermore, the technique for creating the dough is straightforward. You don't need fancy equipment; a bowl and a wooden spoon or your hands will suffice. The focus is on gentle handling to avoid overworking the dough, a key principle that is easy to grasp and execute. Mastering this easy meltinyourmouth shortbread recipe provides a fantastic foundation in understanding how fats interact with flour in baking, a skill applicable to many other pastry projects.
A Brief History of Scottish Shortbread
The origins of shortbread can be traced back to medieval "biscuit bread," a type of rusk that was baked twice to dry it out. Over time, yeast was replaced by butter, and the recipe evolved into the rich, crumbly treat we know today. This transformation occurred as butter became more widely available and affordable, particularly in Scotland where dairy farming was prevalent. Early forms were often spiced with ginger or caraway seeds, but the pure butter version eventually became the standard.
Shortbread gained significant popularity in the 16th century, often attributed to Mary Queen of Scots, although historical evidence for this specific connection is debated. What is certain is that by the 17th and 18th centuries, shortbread had become a festive treat, especially associated with Christmas and Hogmanay (Scottish New Year). It was considered a luxury item due to the cost of butter and sugar, often made in large rounds and decorated before being cut into "petticoat tails," fingers, or rounds. This historical context adds a layer of tradition to every batch of this easy meltinyourmouth shortbread recipe.
Baking the Perfect Shortbread: A Step-by-Step Guide
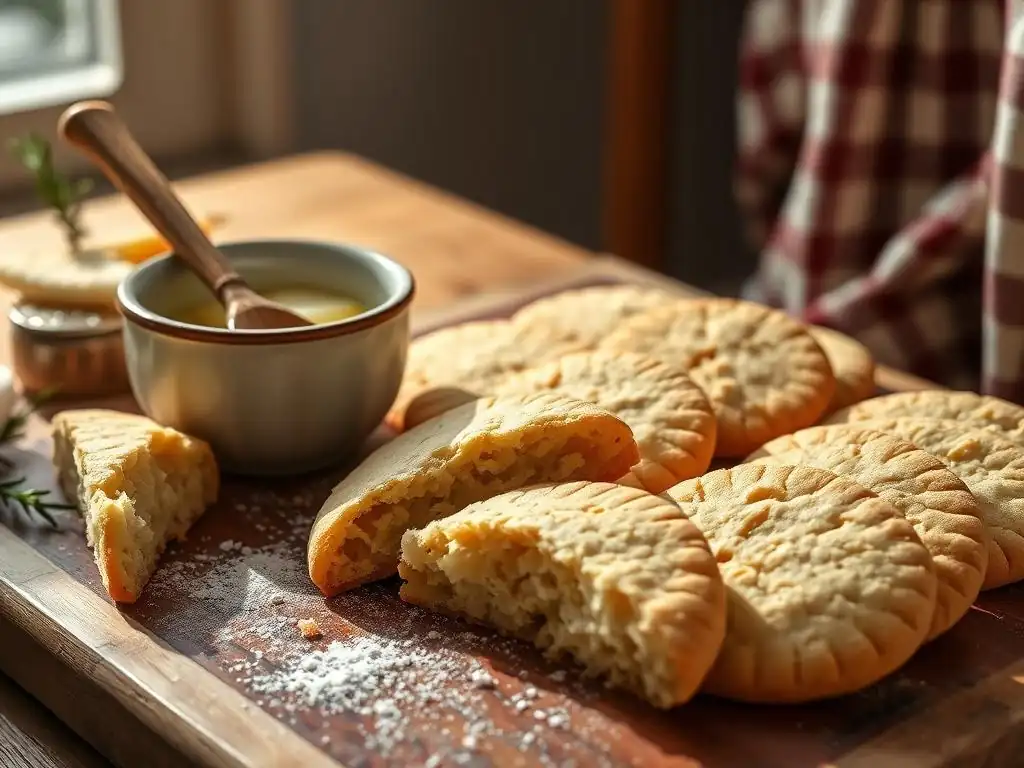
Creating perfect shortbread is less about complex techniques and more about understanding the role of each ingredient and handling the dough correctly. The process is simple, focusing on achieving that signature tender crumble. By following these steps carefully, you'll be well on your way to baking a batch of truly exceptional shortbread that melts in your mouth.
The magic happens with the right balance of ingredients and a gentle touch. Unlike cookies that spread or rise significantly, shortbread retains its shape during baking, making it predictable and easy to work with. This guide breaks down each part of the process, from selecting your ingredients to cooling the final product, ensuring that even first-time bakers can achieve beautiful, delicious results with this easy meltinyourmouth shortbread recipe.
Gathering Your Ingredients for Authentic Shortbread
The beauty of traditional shortbread lies in its simplicity, requiring just a few key ingredients. The quality of these ingredients is paramount, as they are the foundation of the flavor and texture. You will typically need unsalted butter, flour, and sugar. Some recipes, including this one, might include a pinch of salt or a small amount of cornstarch or rice flour to enhance the texture, making it even more tender and "short."
Ensuring your ingredients are at the correct temperature is also important. Butter should be softened but not melted for creaming methods, or cold if you are rubbing it into the flour. Flour should be measured accurately, preferably by weight for consistency (around 120-125 grams per cup). Having everything ready before you start mixing makes the process smoother and helps prevent errors.
The Importance of Butter: Choosing Unsalted and High-Quality
Butter is the star of shortbread. It provides the rich flavor and, crucially, the "short" texture by coating the flour particles and preventing gluten development. Using high-quality unsalted butter is essential because it allows you to control the salt level yourself, ensuring the perfect flavor balance. Unsalted butter also has a purer, creamier taste compared to salted butter, which can vary in salt content.
The fat content of the butter directly impacts the shortbread's texture. Most good quality butters contain around 80% fat. This high-fat content is what makes the shortbread so tender and crumbly. Using a butter with lower fat content might result in a tougher or less flavorful biscuit. Ensure your butter is at the temperature specified in the recipe step – usually softened for creaming or chilled for rubbing in – as this affects how it incorporates into the flour.
Flour Selection: Using All-Purpose or Cake Flour for Tenderness
While simple all-purpose flour works perfectly well for shortbread, some recipes suggest using a portion of cake flour, rice flour, or cornstarch. All-purpose flour has a moderate protein content (around 10-12%), which can develop some gluten. However, the high amount of butter in shortbread inhibits gluten formation significantly, resulting in a tender crumb even with all-purpose flour.
Using cake flour (lower protein, around 6-8%), rice flour, or cornstarch can further reduce gluten development, leading to an even more delicate and crumbly texture. If using all-purpose flour, ensure you don't overmix the dough once the flour is added. For this easy meltinyourmouth shortbread recipe, simple all-purpose flour is sufficient and widely available, making it accessible for beginners while still yielding excellent results.
Sugar and Salt: Achieving the Right Balance of Sweetness
Granulated sugar is the standard for shortbread, but using superfine (caster) sugar is often recommended. Superfine sugar dissolves more easily into the butter, resulting in a smoother texture without a grainy mouthfeel. Confectioners' sugar can also be used for a very fine texture, but it contains cornstarch, which will alter the consistency slightly. For this easy meltinyourmouth shortbread recipe, standard granulated sugar works, but superfine sugar is a great upgrade if you have it.
A small pinch of salt, typically about 1/4 to 1/2 teaspoon per cup of flour, is crucial for balancing the sweetness and enhancing the rich butter flavor. While unsalted butter is used, adding a controlled amount of salt prevents the shortbread from tasting flat or overly sweet. It highlights the buttery notes and makes the overall flavor more complex and satisfying.
Creating the Dough: The Key to a Tender Shortbread
Making the shortbread dough is perhaps the most critical step in achieving the desired melt-in-your-mouth texture. The process is simple, but requires attention to how the ingredients are combined. The goal is to coat the flour particles with fat from the butter as much as possible, which prevents water from hydrating the gluten proteins in the flour, thus keeping the shortbread "short" or tender rather than tough.
There are typically two main methods for combining the butter and sugar: creaming and rubbing in. Both methods aim to distribute the butter evenly before the flour is fully incorporated. Whichever method you choose for this easy meltinyourmouth shortbread recipe, the subsequent steps of adding flour and mixing are equally important for achieving the perfect crumb.
Achieving the Right Butter and Sugar Consistency
If using the creaming method, softened butter is beaten with sugar until light and fluffy. This incorporates air and helps the sugar dissolve. However, for shortbread, you don't need to cream as much as you would for a cake or cookie that relies on leavening. Creaming until just combined and slightly pale is sufficient. Over-creaming can incorporate too much air, potentially causing the shortbread to spread excessively during baking.
Alternatively, the rubbing-in method, traditional in Scotland, involves cutting cold butter into cubes and rubbing it into the flour and sugar mixture with your fingertips until it resembles coarse breadcrumbs. This method coats the flour particles effectively from the start and results in a very tender, dense shortbread. For this easy meltinyourmouth shortbread recipe, either method can work, but creaming softened butter is often easier for beginners.
Gently Incorporating Flour to Avoid Overmixing
Once the butter and sugar are combined, the flour is added. This is the stage where gentle handling is paramount. Add the flour gradually and mix on a low speed or by hand until the ingredients just come together. The dough should look crumbly but hold together when pressed.
Mixing for too long after the flour is added will start to develop gluten, resulting in a tough shortbread. Stop mixing as soon as you see no dry flour streaks. The dough will likely still be quite crumbly at this point; this is normal and desired for an easy meltinyourmouth shortbread recipe.
Adding Lemon Zest for a Subtle Citrus Note
While traditional shortbread is often just butter, sugar, and flour, a touch of lemon zest is a classic Scottish addition that brightens the flavor without overpowering the rich butteriness. The oils in the lemon zest infuse the dough with a subtle citrus aroma and taste that complements the sweetness beautifully.
If adding lemon zest, grate only the yellow part of the peel, avoiding the bitter white pith. About half a teaspoon of zest per cup of flour is usually sufficient. Incorporate the zest when you add the sugar or with the flour, ensuring it's evenly distributed throughout the dough. This simple addition elevates the easy meltinyourmouth shortbread recipe to something truly special.
Shaping and Preparing for Baking: Classic and Creative Options
Once the dough is ready, it needs to be shaped before baking. Shortbread dough is typically quite firm and sometimes crumbly, making it easy to handle and shape. Chilling the dough for at least 30 minutes before shaping or baking is often helpful, as it firms up the butter and makes the dough less sticky and easier to work with.
There are several traditional ways to shape shortbread, each resulting in a slightly different look and feel, but all delivering that characteristic texture. Whether you opt for the classic round, elegant fingers, or fun stamped shapes, the key is to handle the dough minimally to maintain its tenderness.
Traditional Round Shortbread: Using a Tart Pan
One of the most traditional ways to bake shortbread is in a round pan, often a fluted tart pan, about 8 or 9 inches in diameter. The dough is pressed evenly into the bottom of the pan. You can use your fingers or the bottom of a glass to get a smooth, flat surface. The edges are often crimped with a fork, and the top is typically pricked all over with a fork (docked).
Docking the shortbread helps steam escape evenly during baking, preventing bubbles and ensuring a flat surface. Before baking, the round is often scored into wedges, usually 8 or 12, depending on the size of the pan. This makes it easier to cut the finished shortbread once it's slightly cooled, reducing crumbling. This method yields a beautiful, classic presentation for your easy meltinyourmouth shortbread recipe.
Shortbread Fingers: A Simple and Elegant Presentation
Shortbread fingers are perhaps the most common shape today, practical for serving and packaging. To make fingers, the dough is typically rolled or pressed into a rectangle or square about 1/2 to 3/4 inch thick. A rolling pin or your hands can be used.
Once the dough is a uniform thickness, it's cut into strips or "fingers" using a sharp knife or a pizza cutter. The size of the fingers can vary, but typically they are around 1x3 inches or 1x4 inches. Like the round, the fingers are often pricked with a fork before baking. This simple shape is quick to prepare and ensures even baking for every piece of your easy meltinyourmouth shortbread recipe.
Using Cookie Stamps for Decorative Shortbread
For a touch of elegance or fun, cookie stamps can be used to imprint patterns onto the shortbread dough. This works best with a dough that has been chilled sufficiently to be firm. Roll or press the dough to a uniform thickness, then firmly press the stamp onto the dough.
Make sure to flour the stamp lightly between impressions to prevent sticking. After stamping, cut the dough into shapes around the impressions or bake the whole sheet and cut after baking if the pattern allows. Using cookie stamps adds a beautiful visual element to your easy meltinyourmouth shortbread recipe, making it perfect for gifts or special occasions.
Baking to Perfection: Achieving the Ideal Color and Texture
Baking shortbread requires patience and a low temperature. The goal is to bake it through until it's set and firm, but only lightly colored. Over-baking at too high a temperature can result in a hard, dry shortbread rather than the desired tender, crumbly texture.
Typical baking temperatures range from 300°F to 325°F (150°C to 160°C). The exact time will depend on the thickness and shape of your shortbread, but it can range anywhere from 30 to 45 minutes, or even up to an hour for very thick pieces or large rounds.
Preheating for Even Baking
Always preheat your oven thoroughly before putting the shortbread in. A properly preheated oven ensures that the shortbread begins baking at the correct temperature from the moment it enters, leading to more even heat distribution and a consistent result across the entire batch. Aim to preheat for at least 15-20 minutes after the oven indicates it has reached the target temperature.
Using an oven thermometer is recommended, as oven temperatures can vary significantly from the dial setting, sometimes by as much as 25°F (around 15°C). Baking shortbread at the precise low temperature specified in this easy meltinyourmouth shortbread recipe is key to preventing excessive browning and achieving that pale, delicate crumb.
Monitoring for a Light Golden Color
Shortbread should bake until it looks pale and set, with perhaps just the very edges turning a light golden brown. The center should look dry and opaque, not translucent or wet. Because of the low baking temperature, this browning happens slowly. Resist the urge to increase the heat to speed things up, as this will likely result in a tough or unevenly baked product.
Check the shortbread periodically as it approaches the estimated baking time. It should feel firm to the touch in the center. If you are unsure, err on the side of under-baking slightly rather than over-baking, as it will continue to set as it cools. A perfect batch of this easy meltinyourmouth shortbread recipe will have a beautiful pale finish.
Cooling and Cutting: Avoiding Crumbling
Allowing the shortbread to cool properly is crucial for both texture and preventing crumbling. If baked in a pan and pre-scored, remove the pan from the oven and place it on a wire rack. Re-cut along the score lines while the shortbread is still warm but firm enough to handle – typically after about 10-15 minutes of cooling in the pan. Cutting while warm helps prevent shattering.
If baked as individual fingers or shapes on a baking sheet, let them cool on the sheet for 5-10 minutes before carefully transferring them to a wire rack to cool completely. Shortbread continues to firm up as it cools. Handling it too soon can cause it to break apart. Ensure it's completely cool before attempting to store it or serve, especially when following this easy meltinyourmouth shortbread recipe.
Tips and Tricks for Exceptional Shortbread
Even with a simple recipe, a few insider tips can elevate your shortbread from good to absolutely exceptional. These tips focus on subtle nuances in technique and ingredient handling that make a significant difference in the final texture and flavor. Mastering these small details is part of the joy of baking.
From understanding the science behind ingredient ratios to knowing how to store your finished product, these tricks will help you achieve consistently perfect results. They address common pitfalls and provide solutions to ensure your easy meltinyourmouth shortbread recipe turns out wonderfully every time.
Avoiding Common Shortbread Baking Mistakes
While shortbread is forgiving, there are a few common errors that can lead to less-than-perfect results. The most frequent issues relate to texture – shortbread can turn out tough, dry, or excessively crumbly. Understanding the causes of these problems is the first step to avoiding them in your own baking.
These mistakes often stem from incorrect ingredient ratios, improper mixing techniques, or issues with baking time and temperature. By being mindful of these potential pitfalls, you can significantly increase your success rate when making this easy meltinyourmouth shortbread recipe.
Preventing Dry or Tough Shortbread
Dry or tough shortbread is usually caused by one of two things: too much flour or overmixing. Using too much flour, especially if measuring by volume instead of weight, is a common issue. A slight excess of flour absorbs too much of the butter's fat, leading to a drier crumb. Try weighing your flour for accuracy; a standard cup of all-purpose flour weighs approximately 125 grams.
Overmixing the dough after the flour is added develops gluten, which gives elasticity and structure – the opposite of what you want in tender shortbread. Mix only until the flour is just incorporated and the dough starts to come together. It's better to have a slightly crumbly dough than to overmix it into a smooth, elastic mass.
Correcting a Crumbly Dough
Sometimes, shortbread dough can be excessively crumbly and difficult to bring together, especially if you've used the rubbing-in method with cold butter or if your butter wasn't quite soft enough for creaming. This isn't necessarily a disaster.
If the dough is too dry to press together, you can add a very small amount of liquid – perhaps a teaspoon of milk or cream at a time – just until the dough is pliable enough to shape. Alternatively, you can try kneading it gently for a few seconds; the warmth from your hands might help the butter soften and bind the dry ingredients. However, avoid adding too much liquid or kneading excessively, as this can lead back to the problem of tough shortbread.
Storing Shortbread: Maintaining Freshness
Proper storage is key to keeping your homemade shortbread fresh and preserving its delicate texture and rich flavor. Baked shortbread, with its low moisture content, has a relatively long shelf life compared to many other baked goods, but it can still go stale or absorb off-flavors if not stored correctly.
Whether you plan to enjoy it over a few days or save some for later, using airtight containers is the best approach. This protects the shortbread from air and moisture, which can degrade its quality.
Airtight Containers for Optimal Storage
Once your shortbread is completely cooled, store it in an airtight container at room temperature. A cookie tin or a plastic container with a tight-fitting lid works well. Stored this way, shortbread can remain fresh and delicious for up to a week, and often longer if kept in a cool, dry pantry.
Avoid storing shortbread in the refrigerator, as the cold environment can alter its texture and make it seem drier. Also, keep it away from strong-smelling foods, as shortbread can easily absorb odors. Layering the shortbread with parchment paper can help prevent pieces from sticking together, especially if they are fragile.
Freezing Baked Shortbread for Later Enjoyment
Shortbread freezes exceptionally well, making it perfect for baking ahead or saving leftovers. Once completely cooled, wrap individual pieces or stacks of shortbread tightly in plastic wrap, then place them in a freezer-safe bag or container. This double layer of protection helps prevent freezer burn.
Frozen shortbread can be stored for 2-3 months. To thaw, simply remove the desired amount from the freezer and let it sit at room temperature in its wrapping until fully thawed. This usually takes about 30-60 minutes depending on the size. Freezing is a great way to extend the life of your delicious easy meltinyourmouth shortbread recipe.
Serving Suggestions: Enjoying Your Homemade Shortbread
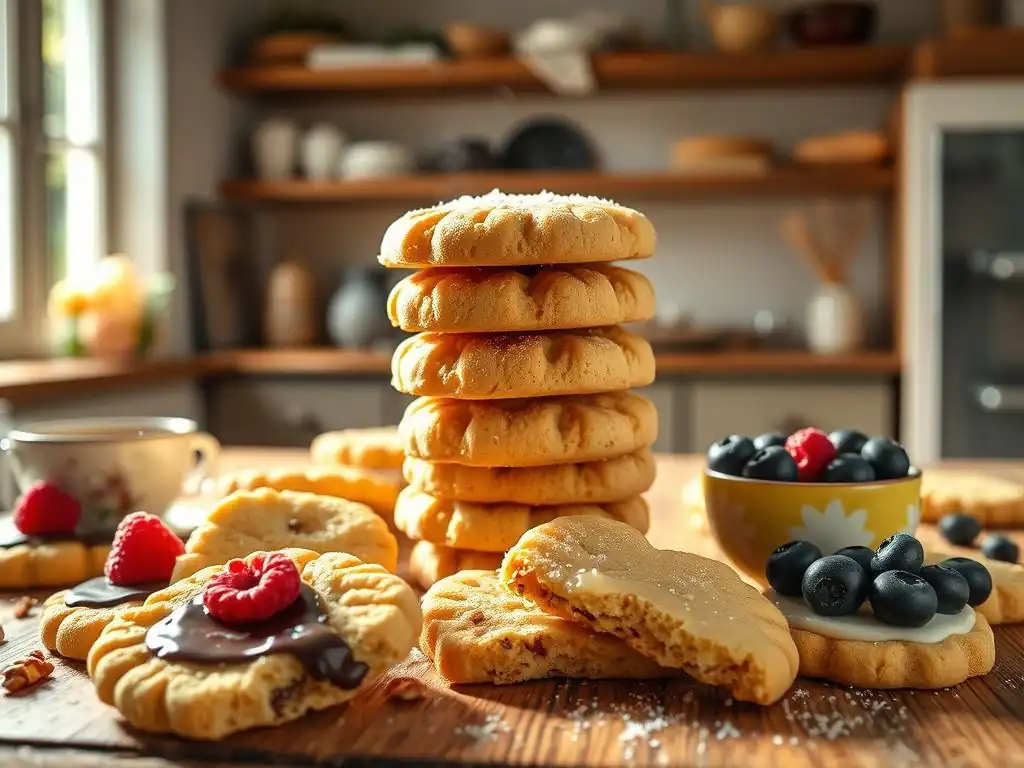
Shortbread is delightful on its own, but its simple elegance makes it a versatile accompaniment to various beverages and desserts. Sharing homemade shortbread is also a wonderful way to show you care, making it a popular choice for edible gifts.
Whether you're hosting a tea party, looking for a base for a new dessert, or simply want a comforting snack, your homemade shortbread is sure to be a hit.
Pairing Shortbread with Tea or Coffee
The classic pairing for shortbread is a hot beverage. A cup of tea, particularly a robust black tea like Earl Grey or Scottish Breakfast, is a perfect match. The tea's warmth and slight bitterness complement the rich, buttery sweetness of the shortbread beautifully.
Coffee is equally enjoyable with shortbread. A strong espresso or a smooth latte provides a contrasting flavor that highlights the shortbread's texture. The simple, pure flavor of this easy meltinyourmouth shortbread recipe makes it an ideal partner for almost any hot drink.
Shortbread as a Base for Desserts
Beyond being just a biscuit, shortbread can serve as a fantastic base or component in other desserts. Its firm yet crumbly texture makes it ideal for crushing into crumbs to use as a pie or cheesecake crust. About 1.5 to 2 cups of crushed shortbread mixed with a few tablespoons of melted butter can form a delicious base for an 8-inch dessert.
Whole or broken pieces of shortbread can also be used in trifles or layered desserts, adding a buttery crunch. The robust flavor holds up well against creams, fruits, and sauces, adding a layer of complexity to simple creations.
Homemade shortbread makes a thoughtful and much-appreciated gift. Its sturdy nature means it travels well, and its long shelf life ensures it can be enjoyed over time. Package cooled shortbread fingers or rounds in cellophane bags, decorative tins, or boxes.
Adding a simple ribbon or tag enhances the presentation. A batch of this easy meltinyourmouth shortbread recipe, beautifully packaged, is perfect for holidays, hostess gifts, or just because, showing someone you took the time to bake something special for them.
Troubleshooting Your Shortbread
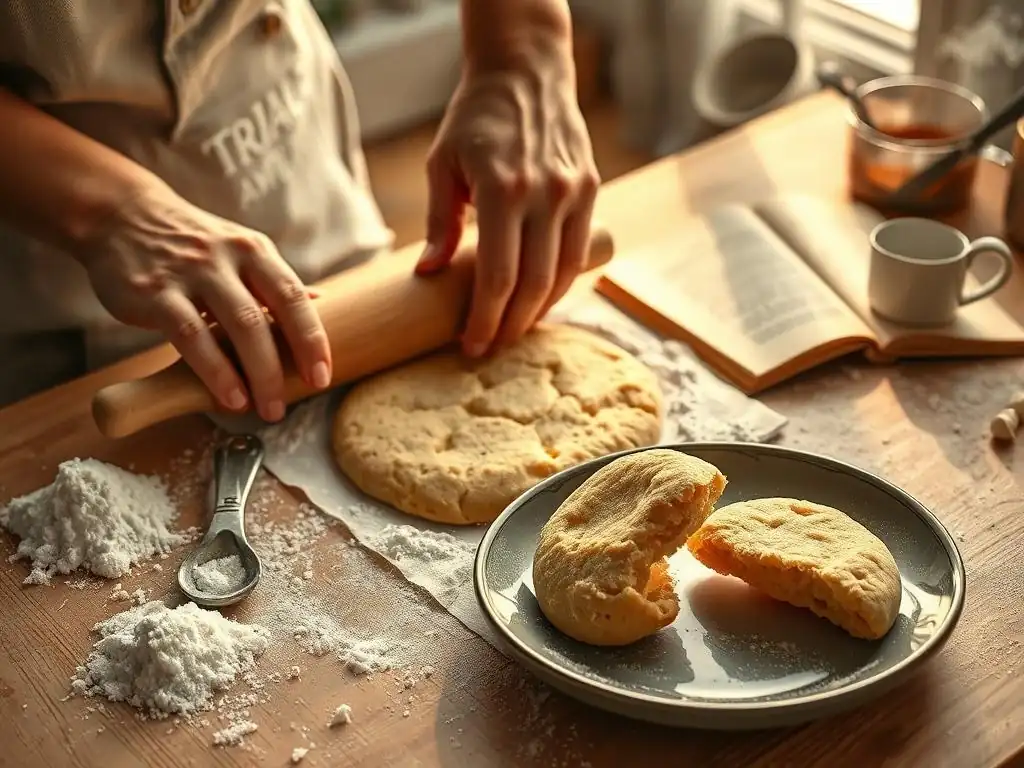
Even when following an easy meltinyourmouth shortbread recipe, sometimes things don't turn out exactly as planned. Don't worry! Baking is a learning process, and many common issues with shortbread can be identified and often corrected, or at least understood for your next baking session.
Here are some common problems and how to address them, either by fixing the current batch or adjusting your technique for future attempts.
Addressing Dry Shortbread
If your baked shortbread feels dry and isn't melting in your mouth as expected, the primary culprit is likely too much flour or not enough fat relative to the flour. For the current batch, there's little you can do to change the texture once it's baked.
However, dry shortbread can still be salvaged! Consider using it as a base for another dessert by crushing it into crumbs for a pie crust, as mentioned earlier. For your next batch of this easy meltinyourmouth shortbread recipe, measure your flour more precisely, ideally by weight (e.g., 125g per cup), and ensure your butter measurement is accurate. Make sure your butter is at the correct temperature for the mixing method you are using.
Correcting a Crumbly Shortbread
If your shortbread dough is so crumbly it won't hold together for shaping, it's likely too dry. This might be due to slightly inaccurate measurements (too much flour, not enough butter/sugar), or perhaps your environment is very dry.
Before baking, you can try gently working the dough with your hands for a minute or two; the warmth helps soften the butter and bind the dough. If it's still too crumbly, add a tiny amount of liquid (like 1/2 to 1 teaspoon of milk or cream) and work it in until the dough just holds together when pressed. Avoid adding more than necessary to prevent toughness. If the shortbread is already baked and excessively crumbly, it can still be enjoyed as crumbs over ice cream or yogurt.
Adjusting Sweetness Levels
Some people prefer their shortbread less sweet. While traditional shortbread has a significant amount of sugar to contribute to texture and tenderness, you can slightly adjust the sugar level in this easy meltinyourmouth shortbread recipe in future batches.
Reducing the sugar by 10-15% is generally safe without drastically changing the texture. A typical recipe might use a 1:2:3 ratio of sugar:butter:flour by weight (e.g., 100g sugar, 200g butter, 300g flour). Experiment by reducing the sugar slightly, for example, to 85-90 grams, while keeping the butter and flour the same. Any more significant reduction might affect the crumb structure, making it less tender.
Conclusion: The Simple Pleasure of Homemade Shortbread
Making traditional Scottish shortbread is a deeply satisfying experience. With just a few basic ingredients and simple techniques, you can create a classic biscuit that is rich, buttery, and truly melts in your mouth. This easy meltinyourmouth shortbread recipe demonstrates just how accessible and rewarding baking can be, even for those new to the kitchen.
The process, from mixing the dough to the final cooling, is straightforward and enjoyable. The aroma filling your home as it bakes is an added bonus!
Enjoying the Satisfaction of Easy Baking
There's a unique sense of accomplishment that comes from baking something delicious from scratch. This easy meltinyourmouth shortbread recipe provides that satisfaction without requiring hours of complex work. It's a reminder that some of the best things in life, and in baking, are often the simplest.
Whether you share your shortbread with loved ones or enjoy it all yourself, take a moment to appreciate the tender crumb and rich flavor you created with your own hands. It's a testament to the enduring appeal of classic recipes and the joy found in simple, buttery goodness.
Frequently Asked Questions
What makes this shortbread recipe "easy"?
This recipe is considered easy because it uses only a few basic ingredients and requires minimal mixing. The steps are straightforward and well-defined, making it beginner-friendly.
What is the key to achieving a "melt-in-your-mouth" texture?
The secret to the texture is using high-quality butter and avoiding overmixing the dough. Proper chilling is also essential for a tender result.
Can I substitute any ingredients in this shortbread recipe?
While some substitutions are possible, it's best to stick to the original recipe for the best results. Changes to the butter or sugar can significantly impact the texture.
How long does shortbread typically last?
Shortbread can last for up to a week when stored in an airtight container at room temperature. This is due to the high butter content acting as a preservative.
What are some variations I can try after mastering the basic recipe?
Once you're comfortable with the basic recipe, you can experiment with adding flavors like lemon zest, vanilla extract, or even a sprinkle of sea salt on top.
Final Reflection: The Enduring Allure of Simple Perfection
The seemingly simple act of baking a melt-in-your-mouth shortbread holds a power far beyond its delicate crumb. It's a connection to tradition, a comfort in a busy world, and a surprisingly accessible gateway to culinary creativity. This recipe, designed for ease and deliciousness, aims to unlock that potential for everyone.
The enduring appeal of shortbread lies not just in its taste, but in its ability to evoke feelings of warmth, nostalgia, and shared moments. It's a recipe passed down through generations, a symbol of home, and a testament to the power of simple ingredients transformed into something extraordinary. The best things in life are simple,
a sentiment perfectly encapsulated by this classic treat. Its simplicity allows for personal expression; a sprinkle of sugar here, a touch of vanilla there – each baker leaves their own unique mark.
Now, I invite you to step away from the screen, gather your ingredients, and experience the magic for yourself. Don't be intimidated by the seemingly straightforward nature of the recipe; embrace the process, savor the aroma of baking butter and sugar, and share the joy of your creation with loved ones. The satisfaction of baking a perfect shortbread, and the memories it creates, are truly priceless.
Unlock Your Inner Baker: Master the Art of Shortbread!
Thanks for joining us on this delicious journey into the world of melt-in-your-mouth shortbread! We hope you've gained the confidence to tackle this classic recipe. Now it's time to put your new skills to the test!
- Bake a batch of your own shortbread: Use our recipe as a springboard – experiment with different flavors and share your creations with friends and family. This is your chance to truly own this recipe!
- Explore our other easy baking recipes: Discover more simple yet impressive treats on BakeWithEase.com (you can replace this with the actual website URL if needed) to expand your baking repertoire.
- Share your baking journey! Tell us about your shortbread experience – what additions did you make? What did you love most?
Ready to transform your kitchen into a haven of delicious aromas?