
Bake Palmiers (Elephant Ears) the Easy French Way

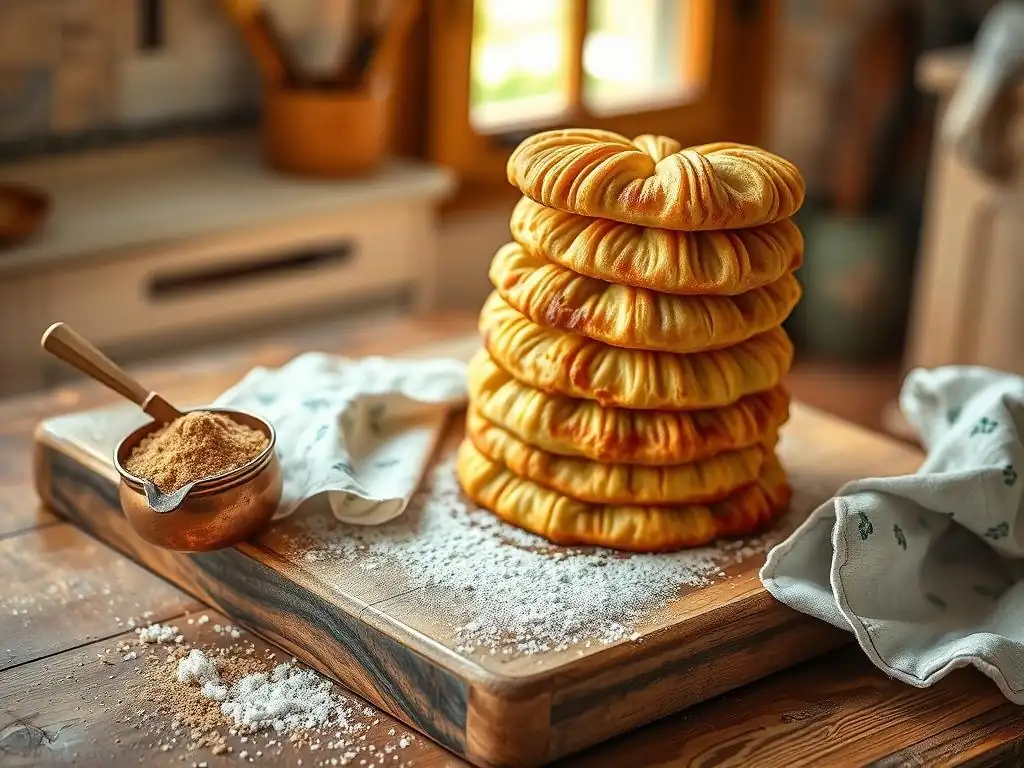
Welcome to BakeWithEase, your guide to creating delicious treats without the fuss! Ever dreamt of mastering classic French pastries? Dive into our article and discover just how surprisingly simple it is to bake authentic, flaky, and irresistibly delicious Easy French palmiers. Prepare to unlock the secrets of this elegant "elephant ear" and impress everyone with your newfound baking prowess. Ready to get started? Let's bake!
- Bake Palmiers (Elephant Ears) the Easy French Way: A BakeWithEase Guide
- Introduction to Palmiers: The Simple Elegance of French Baking
- Easy French Palmiers Recipe: Ingredients and Preparation
- Step-by-Step Guide to Making Palmiers (Elephant Ears)
- Palmier Variations: Adding Your Own Twist to the Classic
- Troubleshooting Common Palmier Baking Problems
- Storing and Serving Your Homemade Palmiers
- Mastering the Art of Easy French Palmiers: Conclusion
-
Frequently Asked Questions
- What exactly are Palmiers, and why are they sometimes called "Elephant Ears"?
- Is this Easy French Palmiers recipe truly easy, or does it still require advanced baking skills?
- What kind of puff pastry should I use for this Easy French Palmiers recipe?
- Can I customize the flavor of my Easy French Palmiers?
- How long will these Easy French Palmiers stay fresh?
- Final Reflection: The Enduring Charm of Simple French Baking
- Unleash Your Inner Pâtissier: Master the Art of Palmiers!
Bake Palmiers (Elephant Ears) the Easy French Way: A BakeWithEase Guide
Introduction to Palmiers: The Simple Elegance of French Baking
Discover the Delight of Homemade Palmiers
Palmiers, often affectionately called "elephant ears" due to their distinctive shape, are a beloved French pastry known for their delicate crispness and sweet, caramelized edges. Despite their elegant appearance, the beauty of palmiers lies in their surprising simplicity. They require minimal ingredients and a straightforward technique, making them an ideal project for bakers looking for an "easy French palmiers recipe" that delivers impressive results without the complexity often associated with French patisserie.
Making palmiers at home fills your kitchen with an irresistible aroma as the sugar caramelizes and the puff pastry bakes to a golden perfection. The satisfaction of pulling a tray of these perfectly shaped, crispy treats from the oven is immense. This easy French palmiers recipe empowers even novice bakers to create a classic pastry that tastes just like it came from a Parisian bakery, proving that delightful French baking is accessible to everyone.
What Makes Palmiers a French Baking Classic?
Palmiers are fundamentally a celebration of puff pastry, a cornerstone of French baking. Their history is intertwined with the evolution of this layered dough. While the exact origin is debated, palmiers became a popular treat in French bakeries, showcasing the flaky texture achievable with well-made pâte feuilletée. They represent a simple yet sophisticated use of a foundational French ingredient, served as a light snack, a dessert, or alongside coffee.
The classic French palmier is defined by its airy, crisp layers and the beautiful, sweet caramelization that forms on its surface during baking. This simple combination of textures and flavors is what elevates it to classic status. Our easy French palmiers recipe stays true to these characteristics, guiding you to achieve that signature shatteringly crisp texture and rich, sweet finish that makes palmiers a timeless favorite in the world of French baking.
Easy French Palmiers Recipe: Ingredients and Preparation
Gathering Your Ingredients for Perfect Palmiers
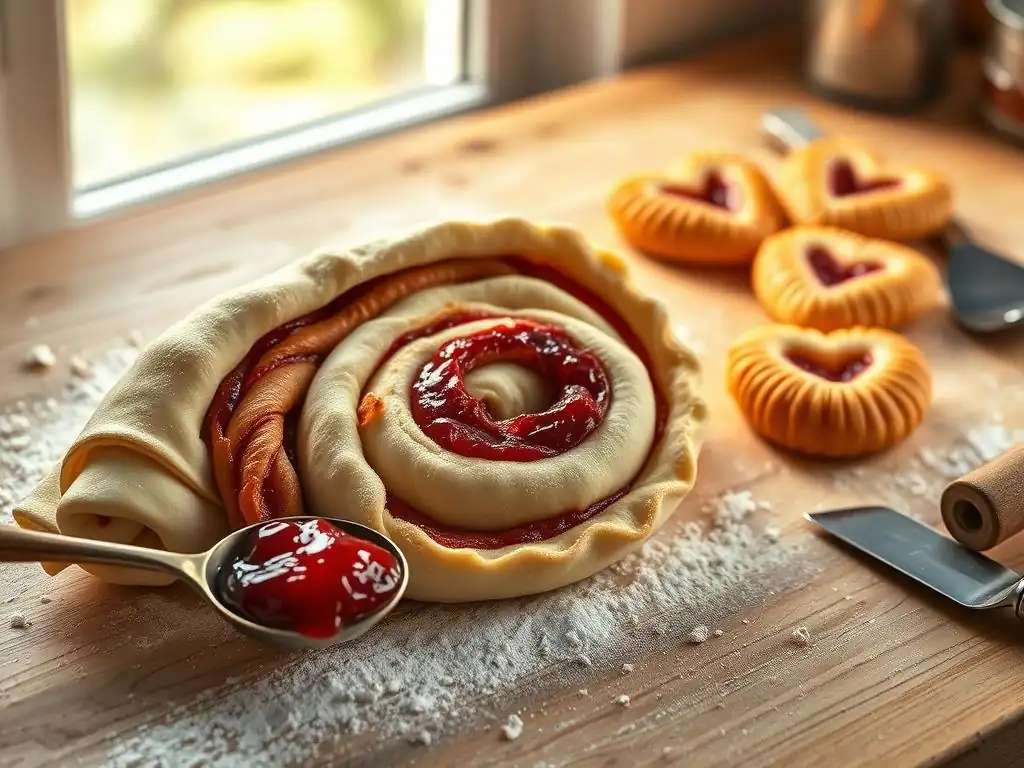
One of the most appealing aspects of an easy French palmiers recipe is the minimal ingredient list. You truly only need two core components: quality puff pastry and sugar. This simplicity means you can whip up a batch of delicious palmiers on short notice, provided you have these staples on hand. The magic happens through technique and heat, transforming these basic items into something truly special.
While the classic calls for just puff pastry and sugar, you can explore simple additions later for variations. However, for your first attempt at this easy French palmiers recipe, stick to the basics. Ensure your ingredients are of good quality; a buttery puff pastry will yield richer flavor, and fresh sugar will caramelize beautifully. Having these two items ready is your first step towards enjoying homemade French palmiers.
The Key Ingredient: Puff Pastry for Flaky Palmiers
Puff pastry is the absolute star of the show in any palmier recipe. Its unique structure, consisting of hundreds of alternating layers of dough and butter, is what provides the incredible lift and flakiness when baked. As the butter melts in the hot oven, it creates steam, forcing the thin layers of dough apart and resulting in the airy, crisp texture that is the hallmark of a perfect palmier. For an easy French palmiers recipe, high-quality store-bought puff pastry is your best friend.
A standard 14-ounce box of frozen puff pastry typically contains two sheets, which is usually enough to produce about 12 to 16 palmiers, depending on how thickly you slice them. Look for all-butter puff pastry if possible, as it offers superior flavor compared to those made with vegetable shortening. Using pre-made pastry eliminates the time-consuming process of making puff pastry from scratch, truly earning this the title of an easy French palmiers recipe.
Sugar Selection: Granulated vs. Caster for Palmiers
Sugar plays a dual role in palmiers: it provides sweetness and, crucially, creates the wonderful caramelized coating. Granulated sugar is the most common choice for palmiers in an easy French palmiers recipe. When sprinkled generously over the puff pastry and baked at high heat, it melts and undergoes caramelization, forming a glossy, slightly crunchy layer on the surface of the pastry. A typical recipe might call for roughly 1/2 to 3/4 cup of granulated sugar per sheet of puff pastry.
Caster sugar, also known as superfine sugar, is another option. Its finer crystals dissolve more quickly and can lead to a slightly more even caramelization, though the difference might be subtle. Some bakers even prefer a mix of granulated and caster sugar. Using brown sugar isn't traditional for this easy French palmiers recipe, but it can add a different flavor profile. Whichever sugar you choose, ensure you use enough to coat the pastry generously, as this is key to the classic palmier finish.
Preparing for Your Palmiers Baking Session
Before you even touch the puff pastry, a little preparation goes a long way in ensuring your easy French palmiers recipe goes smoothly. Start by reading through the steps to familiarize yourself with the process. Preheat your oven to the specified temperature, usually around 400-425°F (200-220°C). A hot oven is essential for the pastry to puff correctly and the sugar to caramelize properly.
Next, prepare your baking sheets. Palmiers spread as they bake and the melting sugar can stick, so lining your baking sheets with parchment paper is non-negotiable. This prevents sticking, makes cleanup a breeze, and ensures your beautifully caramelized palmiers lift off the tray easily. Have at least two baking sheets ready, as you'll need space between the palmiers to prevent them from merging into one giant "elephant ear."
Thawing Puff Pastry Correctly for Optimal Results
Correctly thawing your frozen puff pastry is a critical step in this easy French palmiers recipe. The goal is to have the pastry pliable enough to unfold and roll without cracking, but still cold enough that the butter layers remain solid. The best method is to thaw it slowly in the refrigerator overnight. This controlled thawing keeps the butter cold and prevents the dough from becoming sticky.
If you're short on time, you can thaw puff pastry at room temperature. Place the frozen sheets on a counter and let them sit for about 30-40 minutes, or until they are just flexible enough to unfold. Watch them carefully; if the dough feels warm or oily, it's starting to thaw too much, and the butter may melt out during baking. A standard 14-ounce package typically contains two folded sheets, so be gentle when unfolding them to avoid tearing.
Setting Up Your Workspace for Easy Palmier Creation
An organized workspace makes the shaping process much smoother for your easy French palmiers recipe. Clear a clean, flat surface large enough to roll out the puff pastry sheet (which is typically about 10x10 inches or larger when unfolded). Instead of flour, it's traditional and helpful to sprinkle your workspace generously with the sugar you'll be using. This sugar gets pressed into the dough as you roll and fold, contributing to the caramelization.
Have your rolling pin, a sharp knife or pastry wheel, and your prepared, parchment-lined baking sheets within easy reach. Once the pastry is thawed and your surface is sugared, you're ready to transform that simple sheet into elegant palmiers. The process is quick once you start, so having everything prepped ensures a seamless transition from shaping to chilling and baking.
Step-by-Step Guide to Making Palmiers (Elephant Ears)
Step 1: Shaping the Palmiers - The French Folding Technique
Once your puff pastry is thawed and your workspace is sugared, it's time for the signature French folding technique. Lay one sheet of puff pastry on your sugared surface. Sprinkle the top of the pastry generously with more sugar, ensuring it's well coated. Use a rolling pin to gently roll over the pastry, pressing the sugar into the surface. This helps the sugar adhere and encourages caramelization during baking.
Now for the folds: Imagine a line down the center of the pastry, running lengthwise. Fold one long edge inward towards that center line, stopping just short of it. Repeat with the other long edge, folding it inward so the two folded edges meet neatly in the middle. You should now have a rectangle with layered edges meeting in the center. The final fold is to fold this layered rectangle in half along the center line, like closing a book. This creates the layered log that will be sliced into palmiers.
Creating the Classic Palmier Swirl: Visual Guide
The "elephant ear" or "swirl" shape is revealed when you slice the folded pastry log. The folding technique described above creates layers that resemble scrolls when viewed from the cut end. After folding the pastry into a log (folding the 'book' in half), you should have a relatively compact, layered rectangle.
To create the individual palmiers, use a sharp knife or pastry wheel to slice the log crosswise. The thickness of your slices will affect the final shape and baking time. Aim for slices about 1/2 inch (approximately 1 to 1.5 cm) thick. Cutting too thin can result in burnt, fragile palmiers, while cutting too thick means they might not bake or crisp evenly. As you slice, place the cut pieces, cut-side up, on your prepared baking sheets. The layers should be visible, forming a rough heart or butterfly shape before baking.
Tips for Even Rolling and Shaping of Palmiers
Achieving consistently shaped palmiers starts with preparing the puff pastry sheet. Before adding sugar and folding, you can gently roll the thawed pastry into a slightly larger, even rectangle, perhaps around 1/8 inch (3-4 mm) thick. This ensures a uniform starting point for your folds. Using a ruler can help you make sure your initial folds are parallel and meet neatly in the center.
When folding, try to keep the edges relatively straight and the pressure even. If the dough becomes sticky or too soft at any point during shaping, especially if your kitchen is warm, pop it into the refrigerator for 10-15 minutes to firm up the butter before continuing. This helps maintain the structure and makes slicing easier, leading to more uniform "elephant ears" from your easy French palmiers recipe.
Step 2: Chilling the Palmiers for Crispy Perfection
Once you've sliced your shaped palmiers, arrange them on your parchment-lined baking sheets, leaving ample space (about 2 inches or 5 cm) between each one to account for spreading during baking. Before they go into the oven, a crucial step for ensuring maximum crispness is chilling them. Place the baking sheets with the shaped palmiers into the refrigerator.
Chilling serves a vital purpose in the baking process of this easy French palmiers recipe. It allows the butter within the puff pastry layers to firm up again after being handled and sliced. It also helps the sugar adhere more firmly to the dough. This period of cold rest is short but makes a significant difference in the final texture and shape of your palmiers.
Why Chilling is Crucial for Palmier Success
Chilling the shaped palmiers before baking is non-negotiable for achieving that desirable crisp, flaky texture. The cold butter in the pastry is key to creating lift. When cold butter hits a hot oven, it melts rapidly and produces steam, which puffs up the many layers of dough. If the dough is warm when it goes into the oven, the butter melts too slowly or even runs out before the pastry has a chance to set its structure, resulting in flat, greasy, and less crispy palmiers.
Furthermore, chilling helps the shaped palmiers hold their form better during the initial heat of the oven. It prevents them from spreading too rapidly or losing their distinctive shape before the layers have a chance to puff. This brief chilling period is a simple step in the easy French palmiers recipe that has a dramatic impact on the final outcome, ensuring your "elephant ears" are beautifully layered and crisp.
Optimal Chilling Time for Perfect Palmiers
For best results with your easy French palmiers recipe, aim to chill the shaped palmiers for at least 20-30 minutes in the refrigerator. This minimum time is usually sufficient to firm up the butter and prepare them for baking. You can even chill them for up to an hour if needed, especially if you are working in batches or need to step away.
The good news is that shaped palmiers are quite forgiving and can often be chilled for longer, even up to 24 hours, before baking. This allows you to prepare them ahead of time, making it incredibly convenient for entertaining or baking on a busy schedule. Just cover the baking sheet loosely with plastic wrap if chilling for more than an hour to prevent them from drying out. A well-chilled palmier is a happy palmier, ready to puff and crisp beautifully in the oven.
Step 3: Baking Your Palmiers to Golden Brown Perfection
With your palmiers perfectly shaped and adequately chilled, it's time for the grand finale: baking! Carefully transfer the baking sheets from the refrigerator directly into your preheated oven. Ensure the palmiers are spaced out on the sheets, as they will spread outwards as they bake. This space is crucial for even heat circulation and prevents them from sticking together.
The baking process transforms the pale, layered dough into golden, crispy pastries. The heat causes the puff pastry to expand dramatically, creating hundreds of airy layers, while the sugar melts and caramelizes around the edges and surface. Keep a close eye on them during baking, as the transition from golden to burnt can happen quickly, especially with the caramelizing sugar.
Oven Temperature and Baking Time for Palmiers
Baking palmiers typically requires a relatively hot oven to ensure the pastry puffs quickly and the sugar caramelizes effectively. A temperature of around 400°F (200°C) is commonly recommended for this easy French palmiers recipe. This high heat helps achieve maximum lift and crispness in the pastry layers.
The total baking time usually ranges from 12 to 20 minutes, but this can vary significantly depending on your oven and the thickness of your palmiers. A key part of the process is flipping the palmiers halfway through baking, typically after 6-10 minutes, when the bottom side is golden brown and caramelized. Carefully turn each palmier over using a spatula. This ensures both sides bake evenly and develop that beautiful, crunchy caramel coating. Continue baking until the second side is also deeply golden brown.
Achieving the Perfect Caramelization on Your Palmiers
The hallmark of a truly great palmier is the rich, golden caramelization of the sugar on its surface. As the sugar melts in the hot oven, it creates a sweet, slightly brittle glaze that adds both flavor and essential crispness. Achieving this requires sufficient sugar, correct oven temperature, and adequate baking time.
Ensure you used a generous amount of sugar during the shaping process, pressing it into the dough. Bake the palmiers until they are a deep golden brown color, not just light yellow. Flipping them halfway through is absolutely essential to allow both sides to caramelize properly. If they look pale after the recommended time, they likely need a few more minutes. Don't be afraid of a rich golden hue; that's where the best flavor and crunch come from in this easy French palmiers recipe.
Palmier Variations: Adding Your Own Twist to the Classic
Cinnamon Sugar Palmiers: A Warm and Spicy Variation
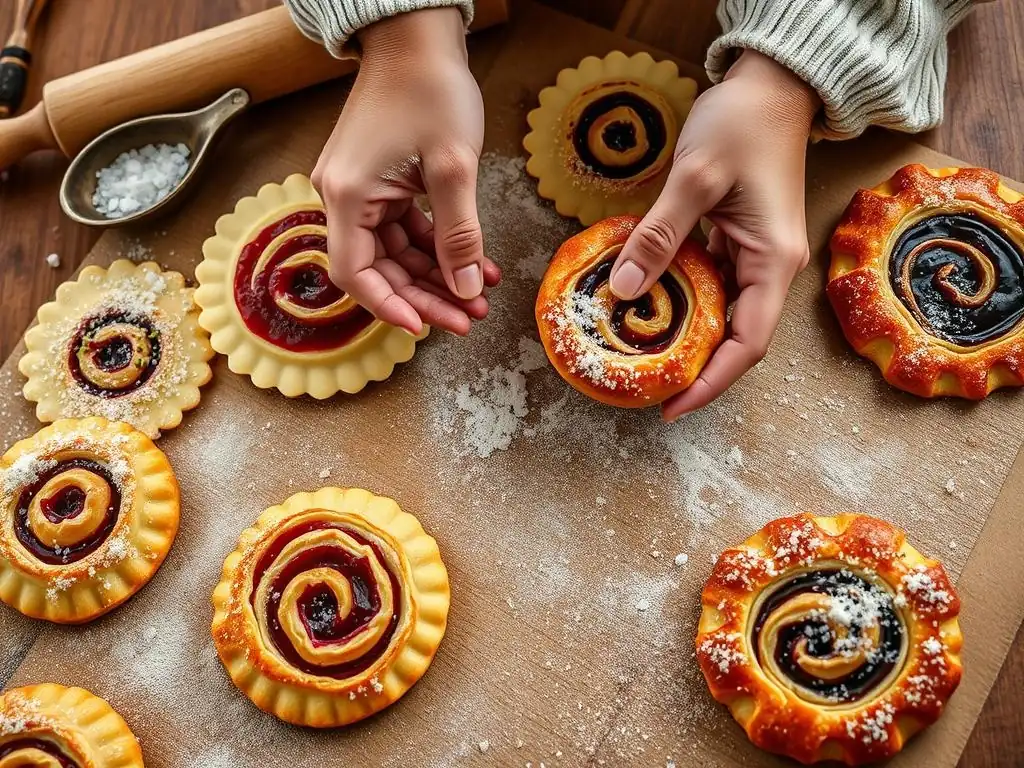
While the classic palmier with just sugar is delightful, adding cinnamon is a simple and popular variation that introduces a warm, aromatic spice. To make cinnamon sugar palmiers, simply mix ground cinnamon into your granulated sugar before sprinkling it onto the puff pastry. A good starting point is adding about 1 to 2 teaspoons of cinnamon for every 1/2 cup of sugar, but you can adjust this ratio based on your preference for spice intensity.
Proceed with the easy French palmiers recipe as usual, rolling the cinnamon sugar into the dough and shaping the palmiers. The cinnamon toasts slightly in the oven, enhancing its fragrance and pairing wonderfully with the sweet caramel and buttery pastry. This variation is particularly popular during the fall and winter months but is a cozy treat any time of year.
Savory Palmiers: Exploring Cheese and Herb Combinations
Palmiers don't have to be sweet! Puff pastry is incredibly versatile and lends itself beautifully to savory applications. For a savory twist, omit the sugar and instead sprinkle the puff pastry generously with grated cheese and/or dried herbs. Sharp cheeses like Parmesan or Gruyère work exceptionally well, providing a salty, nutty contrast to the rich pastry.
Consider combinations like Parmesan and dried oregano, Gruyère and thyme, or even a mix of different cheeses. You can also add other savory elements like poppy seeds, sesame seeds, or a thin layer of pesto or tapenade before folding. Shape and bake them following the same method as the sweet version. Savory palmiers are fantastic as appetizers, served with drinks, or as a sophisticated snack.
Chocolate Dipped Palmiers: Indulgent Dessert Upgrade
For those who love a bit of indulgence, dipping your finished palmiers in chocolate is a simple way to elevate this easy French palmiers recipe into a more decadent dessert. Once the palmiers are completely baked and cooled on a wire rack, melt your favorite type of chocolate – dark, milk, or white – using a double boiler or microwave.
Carefully dip half or even the entire palmier into the melted chocolate. Allow any excess chocolate to drip off, then place the chocolate-dipped palmiers onto a sheet of parchment paper or wax paper to set. You can sprinkle them with chopped nuts, sprinkles, or a pinch of sea salt before the chocolate hardens for extra flair. Once the chocolate is firm, you have a truly irresistible treat.
Troubleshooting Common Palmier Baking Problems
Palmiers Not Crispy Enough? Common Causes and Solutions
One of the most common disappointments when making palmiers is a lack of crispness. This can happen for several reasons. Insufficient baking time is a frequent culprit; if the palmiers are removed from the oven before they are deeply golden brown and the sugar has fully caramelized, they can be chewy rather than crisp. A low oven temperature can also contribute, as the pastry needs high heat to puff rapidly and set its layers. Not enough sugar on the surface will also result in less caramelization and therefore less crispness.
To fix this, ensure your oven is accurately preheated, ideally using an oven thermometer. Bake the palmiers until they reach a rich golden color on both sides, which might take longer than the recipe suggests depending on your oven – don't be afraid of color! Make sure you flip them halfway through baking. Also, revisit the chilling step; properly chilled dough ensures better puff and a crispier result.
Palmiers Spreading Too Much? How to Prevent It
If your palmiers spread out excessively in the oven, losing their defined shape, it's usually a sign that the butter in the puff pastry was too warm when they went in. Warm butter melts too quickly before the pastry structure has a chance to set in the heat, causing the layers to collapse outwards rather than puffing upwards and holding the shape.
The primary solution here is adequate chilling. Ensure your shaped palmiers are well-chilled in the refrigerator for at least 20-30 minutes (or longer) before baking. This firms up the butter, allowing it to create steam and lift the layers before melting out. Also, confirm your oven is fully preheated to the correct high temperature ( 400-425°F or 200-220°C). A sufficiently hot oven helps set the pastry structure quickly, minimizing spread.
Unevenly Baked Palmiers: Tips for Consistent Results
Unevenly baked palmiers, where some are perfectly golden while others are pale or burnt, can be frustrating. This is often due to inconsistent oven temperature, placing too many palmiers on one baking sheet, or not flipping them halfway through the bake time. Ovens often have hot spots, and overcrowding a sheet restricts airflow, leading to uneven browning.
To achieve more consistent results with your easy French palmiers recipe, first, consider using an oven thermometer to verify your oven's temperature accuracy. Avoid overcrowding baking sheets; give each palmier plenty of space (at least 2 inches) to spread and allow hot air to circulate evenly around them. Most importantly, always flip each palmier carefully about halfway through the total baking time. This ensures both sides are exposed directly to the heat of the baking sheet, promoting even browning and caramelization across the batch.
Storing and Serving Your Homemade Palmiers
Best Practices for Storing Palmiers to Maintain Crispness
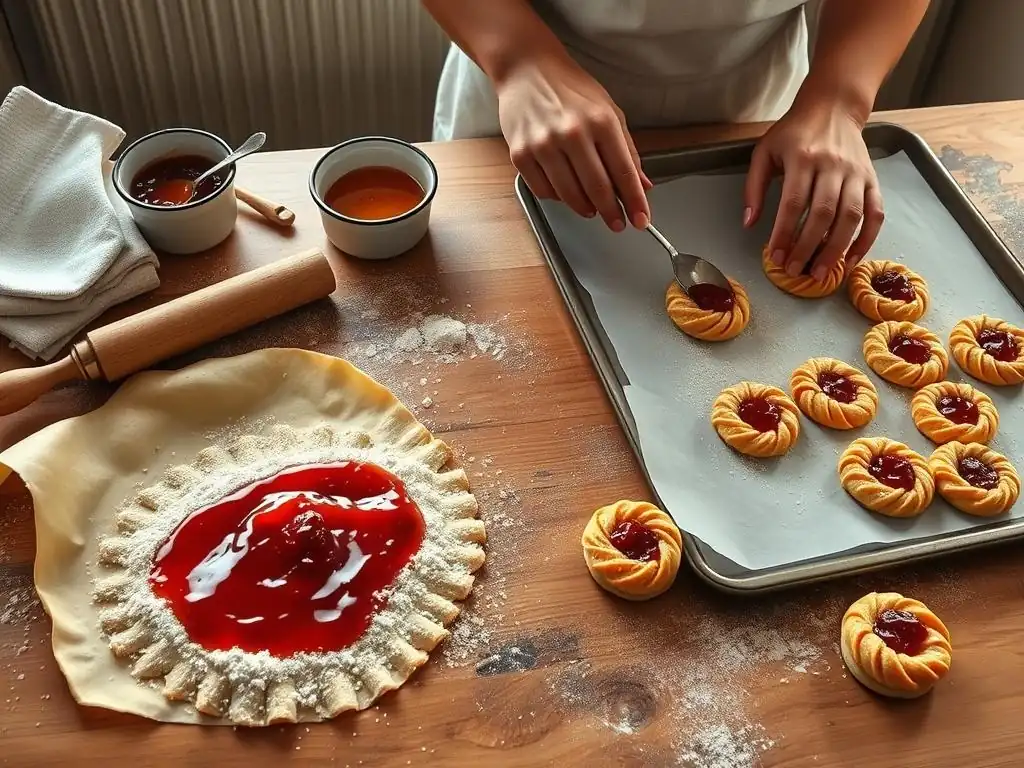
Palmiers are undeniably at their absolute best when enjoyed fresh from the oven, ideally after cooling for just a few minutes to allow the caramel to set. Their signature crispness is most pronounced immediately after baking. However, if you have leftovers or are baking ahead, proper storage is key to preserving as much of that delicate texture as possible.
To store homemade palmiers, ensure they are completely cooled to room temperature first. Then, place them in an airtight container. Store the container at room temperature; refrigeration is generally not recommended for palmiers as the humidity can soften the pastry and make them lose their crispness. Stored correctly, palmiers typically retain a good degree of crispness for 1-2 days. If they soften slightly, you can often refresh them by placing them on a baking sheet in a low oven ( 300°F or 150°C) for 5-10 minutes until crisp again.
Serving Suggestions: Pairing Palmiers with Coffee, Tea, or Dessert
Palmiers are wonderfully versatile when it comes to serving. Their simple elegance makes them perfect on their own as a light snack or a delightful accompaniment to a hot beverage. They pair beautifully with a morning coffee, an afternoon tea, or even a rich hot chocolate. The sweetness and crisp texture complement the warmth and sometimes slight bitterness of these drinks.
Beyond just a snack, palmiers can also be served as a component of a larger dessert. Place a few alongside a scoop of vanilla ice cream, a fresh fruit salad, or a simple bowl of crème anglaise. The contrast between the warm or cool dessert and the crisp palmier adds an interesting textural dimension. Savory palmiers are excellent served warm or at room temperature alongside cocktails or as part of a cheese and charcuterie board.
Mastering the Art of Easy French Palmiers: Conclusion
Enjoy the Rewards of Baking Your Own French Pastries
You've now guided yourself through the process of creating classic French palmiers using an incredibly accessible and easy French palmiers recipe. The simple combination of puff pastry and sugar, transformed by careful folding and baking, yields an impressive result that tastes far more complex than the effort involved. Take a moment to appreciate the hundreds of crisp, buttery layers and the sweet, caramelized finish you've achieved.
Making these "elephant ears" at home proves that mastering French baking doesn't require years of training or complicated techniques. This easy French palmiers recipe is a perfect entry point, building confidence and demonstrating that elegant pastries are within reach for any home baker. Share your delicious creations with friends and family, and savor the satisfaction of baking something truly special from scratch.
Further Baking Adventures with BakeWithEase: Exploring French Baking Classics
Now that you've successfully tackled the easy French palmiers recipe, you've gained valuable experience working with puff pastry and understanding the importance of techniques like chilling and proper baking. This is just the beginning of your journey into the delightful world of French baking! Many other classic French treats are surprisingly approachable.
BakeWithEase is your partner in exploring more French baking classics. Building on your success with palmiers, you might enjoy trying our guides for simple madeleines, buttery financiers, or perhaps even an easy tarte Tatin. Each recipe offers a new skill to learn or refine, bringing the joy and deliciousness of French patisserie right into your kitchen. Keep baking, keep exploring, and keep enjoying the process with BakeWithEase!
Frequently Asked Questions
What exactly are Palmiers, and why are they sometimes called "Elephant Ears"?
Palmiers are French pastries made from puff pastry. They're often called "Elephant Ears" because their shape resembles an elephant's ear.
Is this Easy French Palmiers recipe truly easy, or does it still require advanced baking skills?
This recipe is designed to be easy, focusing on simple ingredients and straightforward instructions. Beginners can definitely achieve delicious results.
What kind of puff pastry should I use for this Easy French Palmiers recipe?
You can use store-bought puff pastry to make this recipe even easier. All-butter puff pastry is recommended for the best flavor.
Can I customize the flavor of my Easy French Palmiers?
Absolutely! While sugar is traditional, you can experiment with cinnamon, cocoa powder, or even savory spices. Feel free to get creative with your flavorings.
How long will these Easy French Palmiers stay fresh?
Palmiers are best enjoyed fresh, but they can be stored in an airtight container at room temperature for up to 2-3 days. They may lose some of their crispness over time.
Final Reflection: The Enduring Charm of Simple French Baking
The art of French pastry often conjures images of elaborate creations and intimidating techniques. However, as this article demonstrates, mastering classic French desserts can be surprisingly accessible, even for the home baker with limited experience. The seemingly simple palmier, or elephant ear, proves that elegance and ease can coexist beautifully in the kitchen.
The enduring appeal of this recipe, and French baking in general, lies in its ability to transport us. A perfectly crisp, buttery palmier evokes feelings of warmth, comfort, and a connection to a rich culinary heritage. The simplest things are often the most beautiful.
This sentiment perfectly encapsulates the magic of this seemingly simple treat, reminding us that sometimes, the most rewarding experiences are found in the most straightforward approaches.
Now, I invite you to embrace the spirit of this recipe. Don't be intimidated by the idea of French baking; instead, see it as an opportunity to connect with a tradition, to create something beautiful with your own hands, and to share a little bit of joy with those you love. Try your hand at these easy palmiers, and discover the simple pleasure of creating something delicious and delightful. The journey, as much as the destination, is what truly matters.
Unleash Your Inner Pâtissier: Master the Art of Palmiers!
Thanks for joining us on this delicious journey into the world of palmiers! We hope you now feel confident in tackling this seemingly complex, yet surprisingly simple, French pastry. Ready to take your baking skills to the next level?
- Bake a batch of palmiers today! Use our recipe as a starting point, experimenting with different sugars and spices to create your signature flavor.
- Share your palmier creations on social media – tag us @BakeWithEase and inspire other bakers!
- Explore our website for more easy-to-follow French pastry recipes – you might just discover your new favorite treat!
What unique twist will you add to your next batch of palmiers? Let us know in the comments below!