
Your First Kouignamann: Simplified French Pastry

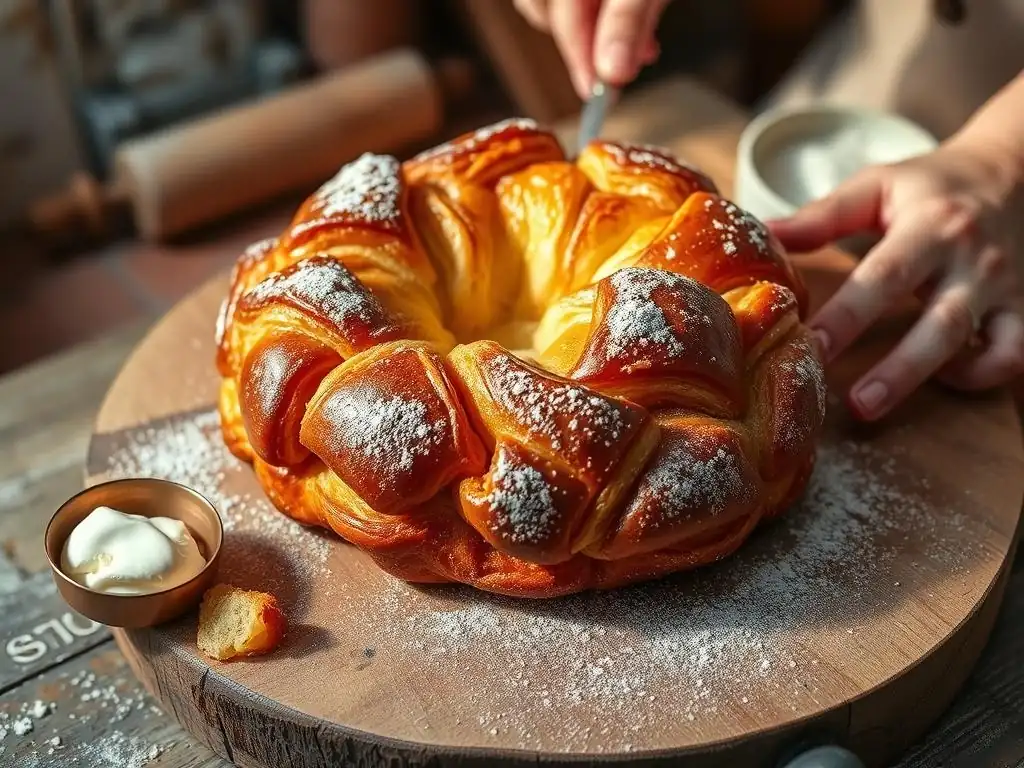
Welcome to BakeWithEase, your trusted companion on a delicious baking journey! Ever dreamt of crafting those golden, flaky layers of a kouignamann but felt intimidated? Fear not! This week, we're demystifying this iconic French pastry with our easy kouignamann recipe for beginners. Prepare to be amazed at how simple it can be to create this taste of Brittany in your own kitchen. Dive in and discover the secrets to a perfect bake – you might just surprise yourself!
- Introduction to Kouignamann: A Beginner's Guide to Breton Butter Cakes
- Easy Kouignamann Recipe for Beginners: Step-by-Step Instructions
- Serving and Storing Your Homemade Kouignamann
- Troubleshooting Your Kouignamann: Common Problems and Solutions
- Variations on the Basic Kouignamann Recipe
- Mastering French Pastries: Next Steps After Kouignamann
-
Frequently Asked Questions
- What exactly is a kouignamann?
- Is a kouignamann difficult to make for a beginner baker?
- What are the key ingredients I need for this Easy Kouignamann Recipe for Beginners?
- How long does it take to make a kouignamann using the BakeWithEase method?
- What makes the BakeWithEase kouignamann recipe different from other recipes?
- Final Reflection: The Sweet Simplicity of Baking
- Unlock Your Inner Pâtissier: Bake Your First Kouign Amann Today!
Introduction to Kouignamann: A Beginner's Guide to Breton Butter Cakes
Welcome to the delightful world of Kouignamann! If you've ever dreamed of baking a classic French pastry that's rich, buttery, and utterly irresistible, you're in the right place. Pronounced "kween-a-mon," this treat hails from the Brittany region of France and is known for its caramelized, flaky layers and sweet, tender interior. It's often described as a cross between a croissant and a caramelized sugar bomb, and once you taste it, you'll understand why it's so beloved.
Our goal at Bake With Ease is to demystify baking, and that includes what might seem like complex pastries. While traditional Kouignamann involves intricate lamination, this guide presents an easy kouignamann recipe beginners can confidently tackle. We'll break down each step, ensuring that even if this is your first time working with laminated dough, you can achieve a delicious result. Get ready to fill your kitchen with the incredible aroma of butter and sugar!
What is Kouignamann? Discovering Brittany's Delicious Pastry
Kouignamann is a round, crusty cake, originally from Douarnenez in Brittany, France. Its name literally translates to "butter cake" in Breton, and that gives you a pretty good idea of what it's all about! It's made from a bread-like dough that is folded with generous amounts of butter and sugar, similar to how a croissant is made, but with the addition of sugar in the layers. As it bakes, the butter creates flaky layers, and the sugar caramelizes, creating a wonderfully crisp, golden exterior and a tender, buttery inside.
Historically, Kouignamann was said to have been invented by accident in the 1860s by baker Yves-René Scordia during a flour shortage. He added extra butter and sugar to save a batch of dough, and the result was this now-famous pastry. A traditional Kouignamann uses a significant amount of butter and sugar – sometimes equal parts flour, butter, and sugar by weight! This easy kouignamann recipe for beginners simplifies the process slightly while still capturing the essence of this classic.
Why This Kouignamann Recipe is Perfect for Beginners
Many people are intimidated by laminated doughs like croissants or Kouignamann, but this simple kouignamann approach is designed to make it accessible. We focus on clear instructions, manageable steps, and techniques that are forgiving for newcomers. Instead of multiple complex turns and rests, we streamline the lamination process, reducing the chances of the butter melting out or the dough becoming too difficult to handle.
This easy kouignamann recipe beginners can follow uses slightly adjusted ratios and techniques to ensure success on your first attempt. While it might not replicate the exact intensity of a traditional, highly complex version, it provides a fantastic introduction to the principles of laminated dough and delivers a truly delicious pastry with signature buttery, caramelized layers. It builds confidence and proves that making French pastries at home is within reach.
Easy Kouignamann Recipe for Beginners: Step-by-Step Instructions
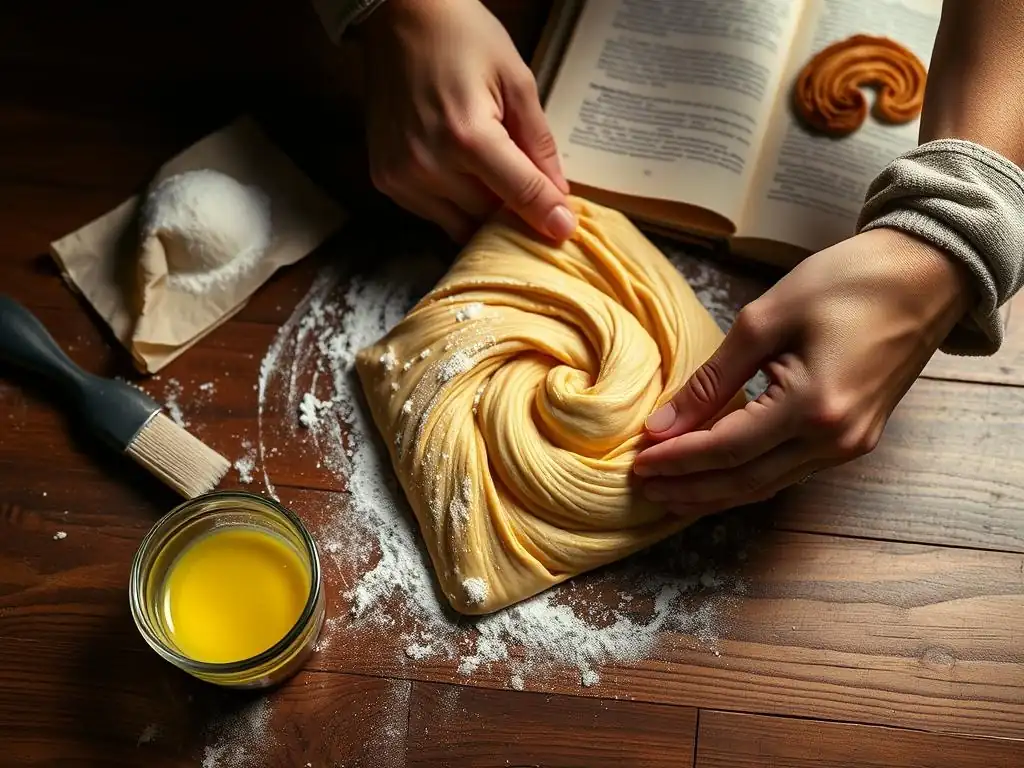
Ready to bake? This section walks you through everything you need to create your own delicious Kouignamann from scratch. We've simplified the process to make it achievable for anyone new to laminated doughs. Follow these steps closely, and you'll be rewarded with a warm, buttery, and sweet pastry that tastes like it came from a Breton bakery.
Making an easy kouignamann recipe beginners will love is all about patience and technique. Don't rush the chilling steps – they are crucial for successful lamination. We've broken down the process into manageable parts, from preparing the dough to shaping and baking. Let's gather our ingredients and equipment and get started on this rewarding baking project.
Ingredients for Your Simplified Kouignamann
Gathering your ingredients precisely is the first step to success with any baking project, especially a laminated dough like Kouignamann. For this easy kouignamann recipe for beginners, you'll need standard pantry staples, but quality matters, particularly for the butter. Using good quality unsalted butter with a higher fat content will make a noticeable difference in the flakiness and flavor of your finished pastry. Ensure all your ingredients are measured accurately before you begin.
Here is a list of the key ingredients for your simple kouignamann:
- All-purpose flour (approximately 250-300 grams)
- Active dry yeast (about 5-7 grams, or 1 standard packet)
- Warm water (around 150-180 ml, specifically between 105-115°F or 40-46°C)
- Granulated sugar (approximately 150-200 grams for the dough and lamination)
- Salt (about 5 grams)
- Unsalted butter (around 180-220 grams, kept cold)
Equipment You'll Need for Baking Kouignamann at Home
Having the right tools makes the baking process much smoother, especially when dealing with dough that needs rolling and chilling. You don't need highly specialized equipment for this easy kouignamann recipe beginners can master, but a few items are essential. Ensure your workspace is cool and clean, as this helps prevent the butter from melting prematurely during the lamination process.
Here is a list of helpful equipment for making your simple kouignamann:
- Large mixing bowl
- Measuring cups and spoons or, preferably, a digital kitchen scale for accuracy
- Rolling pin
- Sharp knife or pizza cutter for shaping
- Baking sheets
- Parchment paper or silicone baking mats
- Plastic wrap
- Pastry brush (optional, for brushing with melted butter or egg wash if desired)
- Timer
Preparing the Dough: A Simple Kouignamann Dough Recipe
The foundation of your Kouignamann is a simple enriched dough. Unlike a lean bread dough, this one includes a small amount of sugar from the start, which contributes to the final pastry's tenderness and helps with browning. We'll start by activating the yeast and then mixing the main ingredients. The goal is to create a smooth, elastic dough that is easy to work with after its initial rise.
Begin by dissolving the active dry yeast and a pinch of the granulated sugar in the warm water. Let this mixture sit for about 5-10 minutes until it becomes foamy, indicating the yeast is active. In a large bowl, combine the flour, remaining sugar, and salt. Pour the activated yeast mixture into the dry ingredients and mix until a shaggy dough forms.
Mixing the Initial Dough
Once the ingredients are combined, turn the dough out onto a lightly floured surface. Knead the dough for about 8-10 minutes until it is smooth and elastic. It should spring back slowly when gently poked. Avoid adding too much extra flour during kneading; a slightly sticky dough is better than a dry one. This initial kneading develops the gluten structure needed to support the layers.
After kneading, shape the dough into a ball. Place it in a lightly greased bowl, turning to coat. Cover the bowl with plastic wrap or a clean kitchen towel. This simple kouignamann dough recipe relies on a good initial rise to develop flavor and texture before the butter is added.
First Rise and Resting Period
Allow the dough to rise in a warm place until it has doubled in size. This typically takes about 1 to 1.5 hours, but the time can vary depending on your room temperature. A warm oven (turned off, with the light on) is often a good spot. Once doubled, punch the dough down gently to deflate it.
Now, and this is crucial for an easy kouignamann recipe beginners can manage, wrap the dough tightly in plastic wrap and place it in the refrigerator to chill for at least 1-2 hours, or preferably longer (up to overnight). Chilling the dough is essential because it makes it firm and easier to roll out without the butter melting into it prematurely during the lamination process.
The Butter Lamination Process: Achieving Flaky Layers
Lamination is the technique of repeatedly folding butter into dough to create alternating layers that puff up when baked. For this easy kouignamann recipe for beginners, we use a simplified method compared to traditional puff pastry or croissant dough, but the principle is the same: cold butter within layers of dough. The colder the butter and dough are, the cleaner your layers will be.
Success in lamination relies heavily on keeping everything cold. If the butter becomes too soft, it will integrate into the dough rather than staying in distinct layers. This is why chilling periods between folds are non-negotiable. This simple kouignamann lamination process is designed to be less stressful than more complex methods, making it ideal for those new to this technique.
Preparing the Butter Block
Take your cold butter (around 180-220 grams) and place it between two sheets of parchment paper. Using a rolling pin, pound and roll the butter into a flat rectangle, roughly 6x8 inches or about 1/4 inch thick. Aim for a consistent thickness across the entire block. If the butter becomes too soft, pop it back in the fridge for a few minutes.
The butter block should be firm but pliable, not brittle. This shape and consistency make it easier to enclose and roll into the dough. This step ensures the butter is the correct size and texture for the lamination process, which is key for this easy kouignamann recipe beginners are trying for the first time.
Folding and Laminating the Dough (Simplified Method)
Remove the chilled dough from the refrigerator. On a lightly floured surface, roll the dough into a rectangle roughly twice the size of your butter block (around 12x8 inches). Place the butter block on one half of the dough rectangle, leaving a small border around the edges. Fold the other half of the dough over the butter, pressing the edges to seal the butter inside completely.
Now, roll the dough package into a long rectangle, about 18-20 inches long and the width of your butter block. Perform a simple "book fold" or "letter fold": fold one end of the rectangle towards the center, then fold the other end over the first fold, like closing a book. You should now have four layers of dough and butter.
Wrap the dough tightly in plastic wrap and refrigerate for at least 30-45 minutes. Repeat this roll and fold process two more times, chilling for 30-45 minutes between each fold. This simplified approach with fewer, longer rests makes it an easy kouignamann recipe for beginners.
Second Rise and Resting Period
After the final fold, wrap the dough again and chill it for at least 1-2 hours, or up to 24 hours. This long rest allows the gluten to relax completely, making the dough much easier to roll out for shaping. It also ensures the butter is very cold and firm, which is essential for achieving distinct layers when you cut and shape the pastries.
This chilling period is crucial for the structure of your Kouignamann. Don't skip or shorten it significantly. The dough should feel firm and cold to the touch when you take it out for shaping. This rest contributes significantly to the final texture and flakiness of your easy kouignamann recipe beginners will be proud of.
Shaping and Baking Your Kouignamann
The final steps involve shaping the laminated dough squares into the characteristic Kouignamann form and then baking them until they are golden brown and caramelized. This is where the magic happens as the butter melts, creates steam, and puffs the layers, while the sugar caramelizes on the outside, creating that irresistible crust.
Preheat your oven well in advance to ensure it reaches and maintains the correct temperature. The intense heat is needed to set the layers quickly and achieve proper caramelization. Having your baking sheets prepared with parchment paper will make transferring the shaped pastries easy and prevent sticking from the melted sugar.
Cutting and Shaping the Kouignamann
Remove the chilled dough from the refrigerator. On a lightly floured surface, roll the dough into a large square or rectangle, about 1/4 inch thick. Sprinkle the surface generously with granulated sugar – this sugar will become the caramelized crust. Cut the dough into squares, typically 4-5 inches per side (you should get about 6-9 squares depending on the size).
For each square, bring the four corners into the center and pinch them together to seal, forming a slightly rounded bundle. Place the shaped pastries seam-side down in muffin tins (greased or lined) or directly on a parchment-lined baking sheet, spaced a few inches apart. Using muffin tins helps them keep their shape and encourages the sugar to caramelize around the sides.
Baking to Golden Perfection
Once shaped, let the Kouignamann rest at room temperature for about 20-30 minutes while your oven preheats. They may puff up slightly, but they won't double in size like a typical bread dough. Preheat your oven to approximately 375°F (190°C).
Bake the Kouignamann for about 25-35 minutes, or until they are deeply golden brown and the sugar is visibly caramelized and bubbling around the edges. Baking time can vary based on your oven and the size of your pastries. Keep an eye on them in the last 10 minutes to ensure they don't burn. The caramelized sugar should be a rich amber color.
Tips for a Perfect Kouignamann: Avoiding Common Mistakes
Baking laminated dough can have a learning curve, but being aware of common pitfalls can significantly increase your chances of success, especially with an easy kouignamann recipe beginners are trying. The key is temperature control and gentle handling of the dough. Don't get discouraged if your first batch isn't absolutely perfect; practice makes progress in baking.
Here are some essential tips to help you achieve a fantastic Kouignamann:
- Keep your ingredients, especially the butter and dough, cold at all times during the lamination process. If the dough feels soft or the butter seems melty, stop and chill it immediately.
- Work quickly when rolling and folding to minimize the time the butter is at room temperature.
- Don't add too much flour when rolling, as this can make the dough tough. Use just enough to prevent sticking.
- Ensure your oven is fully preheated before baking. A hot oven is necessary for proper puff and caramelization.
- Be generous with the sugar sprinkle before shaping – this creates the signature caramelized crust.
Serving and Storing Your Homemade Kouignamann
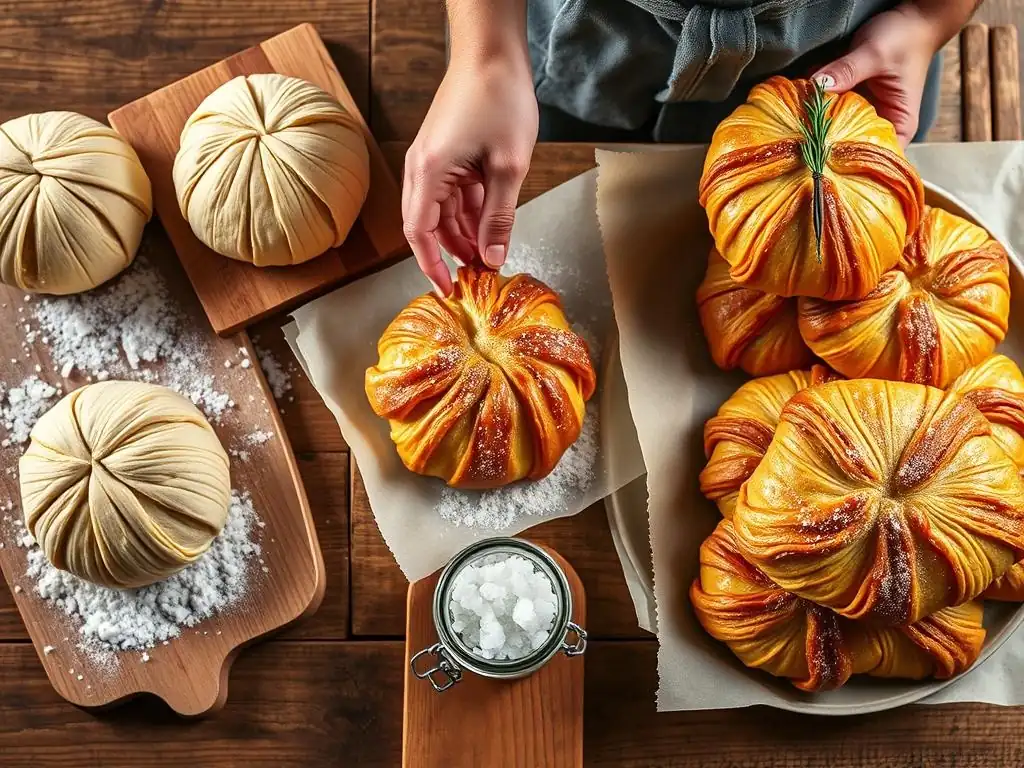
You've successfully baked your first Kouignamann! Now comes the best part: enjoying your creation. These pastries are truly special when served warm, allowing the butter and sugar to be slightly gooey and the layers wonderfully tender. However, they can also be enjoyed at room temperature.
Understanding how to best serve and store your Kouignamann will help you maximize their deliciousness and keep them fresh for as long as possible. Because of the high butter and sugar content, they behave a bit differently than simple bread or cake.
How to Best Enjoy Your Kouignamann
The absolute best way to enjoy Kouignamann is fresh out of the oven after letting them cool for just a few minutes on a wire rack. The caramelized sugar is still slightly soft and the butter is warm and fragrant. The contrast between the crisp, sugary exterior and the soft, buttery interior is truly divine.
If you've baked them ahead of time, a quick reheat in a toaster oven or regular oven at around 300°F (150°C) for 5-10 minutes will bring them back to their warm, gooey glory. Avoid microwaving, as this can make them tough. Serve them simply as they are, perhaps with a cup of coffee or tea.
Storing Kouignamann for Freshness
Kouignamann is best enjoyed the day it is baked. However, you can store them at room temperature in an airtight container for 1-2 days. The caramelized crust may soften slightly over time, but the flavor remains excellent.
For longer storage, you can freeze baked Kouignamann. Once completely cooled, wrap each pastry individually in plastic wrap, then place them in a freezer-safe bag or container. They can be stored in the freezer for up to 1-2 months. To reheat from frozen, place the unwrapped pastry on a baking sheet and warm in a preheated oven at 300°F (150°C) for about 15-20 minutes, or until heated through and the crust is crisp again.
Troubleshooting Your Kouignamann: Common Problems and Solutions
Even with an easy kouignamann recipe beginners can follow, sometimes things don't go exactly as planned. Don't worry! Many common issues have simple explanations and solutions. Learning to troubleshoot helps you understand the baking process better and improves your results next time.
Let's address some of the problems you might encounter when making your simple kouignamann and how to fix or avoid them. Understanding the 'why' behind the issues is key to becoming a more confident baker.
My Kouignamann Didn't Rise Enough
If your dough didn't rise sufficiently during the initial proofing or the final rest before baking, several factors could be at play. The most common culprits are inactive yeast or a room temperature that is too cold. Yeast needs warmth and food (sugar) to activate and produce the gas that makes dough rise.
Ensure your water is warm (not hot!) when activating the yeast – ideally between 105-115°F (40-46°C). Water that is too hot will kill the yeast. Also, check the expiry date on your yeast packet. If your kitchen is cold, find a warmer spot for the dough to rise, like a proofing box, a warm oven (turned off), or near a sunny window. Insufficient rising can lead to dense Kouignamann.
The Dough is Too Sticky
Sticky dough is often a sign of too much hydration (too much liquid) or insufficient kneading. While a slightly sticky dough is manageable, overly sticky dough is hard to work with, especially during lamination. It tends to tear and makes it difficult to enclose the butter properly.
If your dough is too sticky after the initial mix, try kneading it for a few more minutes. If it's still excessively sticky, you can add a tablespoon of flour at a time while kneading until it reaches a manageable consistency. Remember that the dough should be elastic and smooth after kneading, not clinging excessively to your hands or the counter.
The Butter is Leaking Out During Baking
"Butter blow-out" is a common issue with laminated doughs and happens when the butter melts and escapes the dough layers before they've set. This can result in less flaky pastries and a mess on your baking sheet. It's usually caused by the butter being too soft during lamination, insufficient chilling between folds, or an oven that isn't hot enough.
Ensure your butter and dough are well-chilled before and between each fold. Work quickly when rolling. Make sure your oven is fully preheated to the correct temperature. If you notice significant leaking early in the bake, sometimes a quick chill in the freezer for 10-15 minutes before baking can help, though this is more of a last resort. Properly chilled dough and a hot oven are your best defenses against butter leakage.
Variations on the Basic Kouignamann Recipe
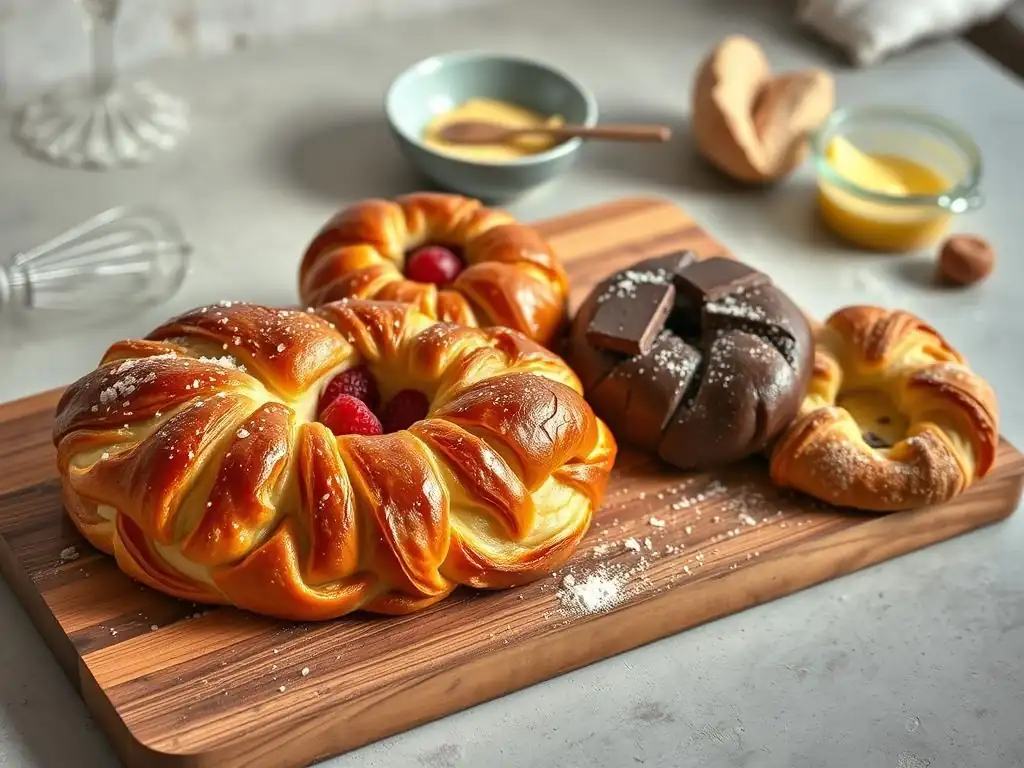
Once you've mastered the easy kouignamann recipe beginners love, you might want to experiment with adding different flavors or trying different shapes. The basic dough and lamination technique provide a fantastic canvas for culinary creativity. Adding simple ingredients can transform the classic butter cake into a new favorite.
These variations are simple additions to the core recipe steps, making them easy to incorporate once you're comfortable with the basic process. They offer delightful twists on the traditional Breton pastry.
Adding Flavors to Your Kouignamann (e.g., Chocolate, Cinnamon)
Enhancing your simple kouignamann with flavors is straightforward. Before the final sprinkling of sugar and shaping, you can add various delicious components.
- Chocolate: Sprinkle about 1/4 to 1/2 cup of chocolate chips or roughly chopped chocolate over the rolled-out dough along with the sugar before cutting and shaping. Dark or milk chocolate works well.
- Cinnamon: Mix about 1-2 teaspoons of ground cinnamon into the granulated sugar you use for sprinkling before shaping. You can also add a pinch of cinnamon to the dough itself during the initial mixing phase.
- Fruit: A thin layer of fruit preserve (like raspberry or apricot) or finely diced apple mixed with a little sugar and cinnamon can be spread over the dough before sprinkling with sugar and shaping. Be careful not to add too much moisture, which could prevent caramelization.
Mini Kouignamann: Perfect for Individual Servings
Making smaller, individual-sized Kouignamann pastries is a great option for portion control or serving a crowd. The process is identical to the full-sized version, but you simply cut the rolled-out dough into smaller squares.
Instead of 4-5 inch squares, cut the dough into 3-inch squares. Shape them the same way (bringing the corners to the center) and place them in mini muffin tins or on a baking sheet. The baking time will be shorter, likely around 18-25 minutes. Watch them closely as they bake, as smaller pastries can caramelize and potentially burn faster. Mini Kouignamann are perfect for a brunch spread or dessert table.
Mastering French Pastries: Next Steps After Kouignamann
Congratulations on making your first Kouignamann! You've successfully tackled a laminated dough, a significant achievement in home baking. This easy kouignamann recipe beginners can master is just the beginning of your journey into the wonderful world of French pastries. There are many other delicious recipes waiting for you to explore, building on the skills you've just developed.
Expanding your repertoire of French baking classics is a rewarding pursuit. You can continue to refine your lamination techniques or explore different types of doughs and fillings. Bake With Ease has resources to help you continue learning and growing as a baker.
Other Easy French Baking Recipes to Try
Having made an easy kouignamann recipe beginners found approachable, you're well-equipped to try other French treats. Consider these options:
- Madeleines: Simple sponge cakes baked in shell-shaped molds. They require careful mixing but no complex dough work.
- Financiers: Small almond cakes, often made with browned butter (beurre noisette). Another relatively simple cake recipe.
- Palmiers: Also known as Elephant Ears, these are made from puff pastry rolled with sugar and baked until caramelized. You can use store-bought puff pastry for a truly easy start, or make your own from scratch.
- Choux Pastry: The dough used for éclairs, cream puffs (profiteroles), and gougères. It's cooked on the stovetop before baking and is less about lamination and more about hydration and heat.
Resources for Advanced Baking Techniques
If you enjoyed the lamination process in this easy kouignamann recipe beginners guide and want to delve deeper, there are many resources available. Mastering croissants, traditional puff pastry, or more complex filled pastries like pain au chocolat involves refining the folding and chilling techniques you've practiced.
Look for detailed guides specifically on croissant making, which involves more folds and specific shaping techniques. Understanding gluten development and the science behind lamination will also be beneficial. Online baking courses, detailed cookbooks focused on French patisserie, and articles on sites like Bake With Ease that delve into the why behind baking steps can provide the deeper knowledge needed to tackle increasingly complex and rewarding baking projects.
Frequently Asked Questions
What exactly is a kouignamann?
A kouignamann is a French pastry originating from Brittany. It's known for its flaky layers of dough, butter, and sugar, resulting in a caramelized and rich flavor.
Is a kouignamann difficult to make for a beginner baker?
Traditionally, yes, but our BakeWithEase recipe provides a simplified approach specifically designed for beginners. We break down complex steps to make it easier to understand and execute, focusing on easy-to-find ingredients.
What are the key ingredients I need for this Easy Kouignamann Recipe for Beginners?
You'll need basic baking staples such as flour, butter, sugar, and yeast (or baking powder). Our recipe prioritizes simplicity, so you won't need any obscure or hard-to-find ingredients.
How long does it take to make a kouignamann using the BakeWithEase method?
While the process includes resting time for the dough, the active preparation time is relatively short. Expect a few hours overall, but the hands-on work is manageable for beginners.
What makes the BakeWithEase kouignamann recipe different from other recipes?
Our recipe focuses on simplification and accessibility. We provide clear, step-by-step instructions and tips to avoid common pitfalls, ensuring a successful and delicious kouignamann even for first-timers.
Final Reflection: The Sweet Simplicity of Baking
The humble kouignamann, once a daunting French pastry, is now within reach of even the most novice baker. This article has demonstrated that with clear instructions and a little patience, the magic of this caramelized, buttery delight can be unlocked in your own kitchen. The seemingly complex layers of technique can be broken down into manageable steps, proving that ambitious baking projects are achievable for everyone.
The journey of mastering a new recipe, much like life itself, is filled with both triumphs and setbacks. The satisfaction of biting into a perfectly golden, crisp kouignamann, however, far outweighs any initial challenges. It's a testament to the power of perseverance and the joy found in creating something beautiful with your own hands. The best things in life are worth fighting for.
This sentiment rings true not only for the perfect kouignamann, but for any endeavor that requires dedication and passion.
Now, I invite you to embrace the challenge. Don't be intimidated by the seemingly complex recipes that fill the internet. Find your own "easy kouignamann" – your own personal project that stretches your skills and brings you immense satisfaction. The process of learning, experimenting, and ultimately succeeding is far more rewarding than the final product itself. So, gather your ingredients, preheat your oven, and embark on your own baking adventure. The sweet taste of success awaits.
Unlock Your Inner Pâtissier: Bake Your First Kouign Amann Today!
Thanks for joining us on this delicious journey into the world of Kouign Amann! We hope you now feel confident enough to tackle this seemingly complex pastry. Ready to put your new skills to the test?
- Bake your own Kouign Amann: Follow our recipe again (or try variations! ), paying attention to the crucial steps we highlighted. The satisfaction of a perfectly caramelized crust is worth the effort!
- Share your baking journey: Post a picture of your creation on social media and tag us – we’d love to see your masterpiece! Use #BakeWithEaseKouignAmann
- Experiment with flavors: Think about adding different spices or even fruits to your next batch! What exciting twist will you create?
So, what unique ingredient or technique will you explore in your next Kouign Amann adventure? Let's hear your ideas in the comments below!