
Baking Ukrainian Korovai (Wedding Bread): A StepbyStep

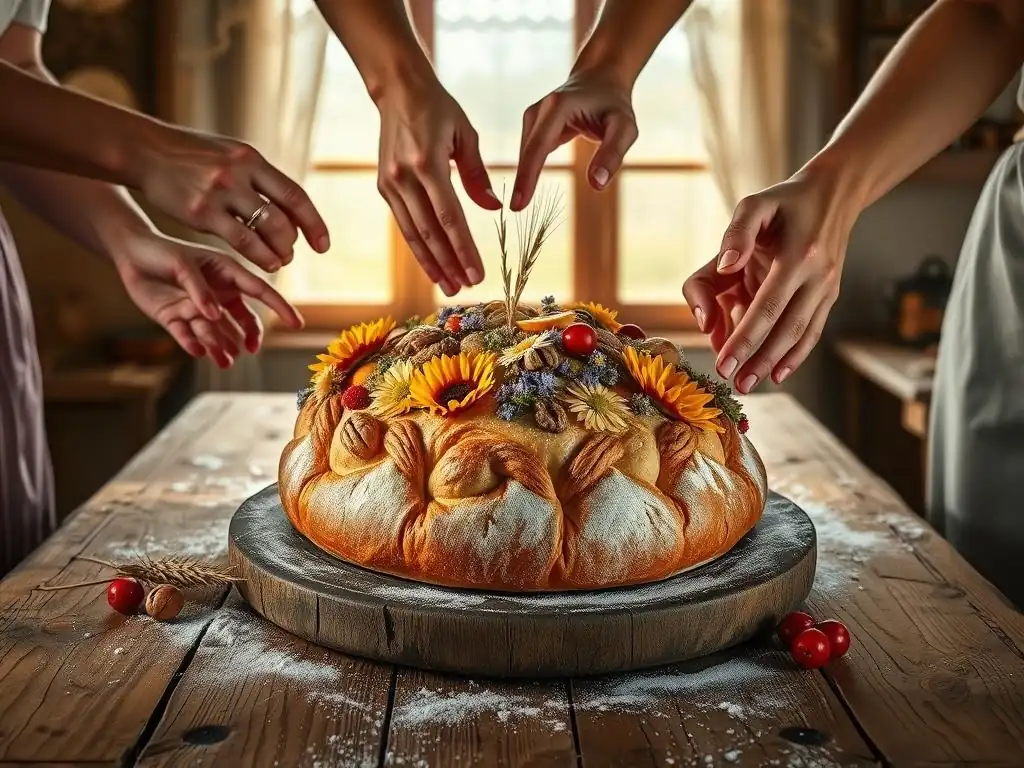
Welcome to BakeWithEase, your trusted guide to the delightful world of baking! Ever dreamt of creating a stunning, symbolic masterpiece? This week, we're venturing into the heart of Ukrainian tradition with our Ukrainian korovai recipe beginner guide. Unlock the secrets to baking this magnificent wedding bread, and discover the rich cultural history woven into every swirl and decoration. Intrigued? Let's embark on this delicious journey together!
- Introduction to Ukrainian Korovai: A BakeWithEase Beginner's Guide
- Ukrainian Korovai Recipe: A Step-by-Step Beginner Guide
- Preparing the Korovai Dough: A Beginner-Friendly Approach
- Decorating Your Ukrainian Korovai: Step-by-Step Embellishments
- Baking the Korovai: Achieving Golden Perfection
- Storing and Serving Your Ukrainian Korovai
- Troubleshooting Your Korovai: Common Mistakes and Solutions
- Ukrainian Korovai Recipe Variations: Exploring Different Flavors
- Conclusion: Mastering the Art of Ukrainian Korovai Baking
- Frequently Asked Questions
- Final Reflection: The Enduring Power of Korovai
- Unleash Your Inner Baker: Craft Your Own Korovai!
Introduction to Ukrainian Korovai: A BakeWithEase Beginner's Guide
What is Korovai? Understanding Ukrainian Wedding Bread Traditions
Korovai is a magnificent, elaborately decorated bread that holds deep cultural significance in Ukrainian wedding traditions. More than just a loaf of bread, it symbolizes prosperity, fertility, and the unity of the marrying couple. Historically, the baking of the korovai was a ritualistic event, often involving several married women from the community, excluding widows and childless women, to ensure good luck and fertility for the new family. The bread itself is typically large and round, representing the sun and continuity.
The preparation of the korovai was steeped in symbolism and tradition. Ingredients were often added with blessings and prayers, and the process was believed to influence the future happiness of the couple. The bread was baked in a traditional Ukrainian oven (peech) and its appearance upon completion was seen as an omen; a beautifully risen, golden korovai promised a happy marriage, while cracks or collapses were viewed as unfavorable signs. This rich history makes baking a Ukrainian korovai recipe a beautiful way to connect with cultural heritage.
Why Bake Your Own Korovai? The Joy of Homemade Ukrainian Wedding Bread
Baking your own korovai, especially following a Ukrainian korovai recipe beginner guide, is a deeply rewarding experience. It allows you to participate in a cherished tradition and infuse the bread with your own intentions and love, whether it's for a wedding, an anniversary, or simply to explore cultural baking. The process of mixing, kneading, shaping, and decorating connects you directly to generations of bakers who have performed this same ritual.
Furthermore, a homemade korovai offers a unique taste and texture that store-bought versions often cannot replicate. You have control over the quality of ingredients, ensuring a fresh and delicious result. Sharing a korovai you've baked yourself adds a personal touch to any celebration, making it a memorable centerpiece and a testament to your dedication to traditional crafts. This beginner guide aims to make this process accessible and enjoyable.
Ukrainian Korovai Recipe: A Step-by-Step Beginner Guide
Korovai Ingredients List: Everything You Need for Traditional Ukrainian Wedding Bread
To begin your journey with this Ukrainian korovai recipe beginner guide, gathering the right ingredients is crucial. While variations exist, a traditional korovai typically requires simple, wholesome components that contribute to its rich flavor and sturdy structure, essential for supporting elaborate decorations. Think of it as the foundation for your edible masterpiece.
Here is a typical list of ingredients you'll need for a standard-sized korovai, which might serve a gathering of 20-30 people as a symbolic bread:
- All-purpose flour or bread flour
- Warm milk or water
- Active dry yeast or fresh yeast
- Eggs
- Sugar
- Salt
- Butter or oil
- Optional: Honey, vanilla extract, lemon zest for flavor
Essential Flour Types for Korovai Success
The type of flour you choose significantly impacts the texture and structure of your korovai. While all-purpose flour is accessible and works well for beginners, bread flour, with its higher protein content (typically 12-14% compared to 10-12% in all-purpose), provides more gluten development. This results in a stronger, more elastic dough that can better support the weight of the decorations and achieve a beautiful, airy crumb.
Using a mix of flours is also an option. Some traditional recipes might call for a portion of rye flour for a slightly different flavor and texture profile, though this is less common in the classic wedding korovai. For this Ukrainian korovai recipe beginner guide, starting with good quality all-purpose or bread flour is recommended for ease and reliability. Ensure your flour is fresh for optimal results.
Understanding Yeast: Activating for the Perfect Korovai Dough
Yeast is the leavening agent that makes your korovai rise, giving it volume and a tender texture. Active dry yeast is commonly available and requires activation in warm liquid before being added to the other ingredients. Instant yeast can often be mixed directly with dry ingredients but activating it separately can still help verify its potency.
Proper yeast activation is key to a successful rise. Typically, a packet of active dry yeast (around 2.25 teaspoons or 7 grams) is dissolved in about 1/2 cup of warm liquid (milk or water) between 105°F and 115°F (40°C-46°C) with a pinch of sugar. Within 5-10 minutes, the mixture should become foamy, indicating the yeast is alive and active. If it doesn't foam, your yeast may be dead, and you'll need to start with a new packet.
Secret Ingredients for an Authentic Ukrainian Korovai
While the basic ingredients are standard, some elements can elevate your korovai and add traditional flavors. Honey, for instance, is often used alongside or instead of sugar, providing a unique sweetness and helping with browning. A small amount of honey can also aid yeast activity.
Incorporating richness with butter or oil is essential for a tender crumb. Melted butter adds a lovely flavor. Some recipes might include milk or cream for added richness and softness. Flavorings like vanilla extract or lemon zest can also be added to the dough for a subtle aromatic quality, though traditionally, the focus is often on the pure bread flavor enhanced by the baking process and decorations. These small additions contribute to the authentic taste of a Ukrainian korovai recipe.
Tools and Equipment for Baking Ukrainian Korovai
Having the right tools makes the korovai baking process much smoother, especially when following a Ukrainian korovai recipe beginner guide. You don't need highly specialized equipment for the basic loaf, but some items are essential for dough handling and baking.
- Large mixing bowls (at least two)
- Measuring cups and spoons
- Kitchen scale (for accuracy)
- Wooden spoon or stand mixer with dough hook
- Clean kitchen towels or plastic wrap for covering dough
- Large baking sheet (at least 16x12 inches)
- Parchment paper
- Wire cooling rack
Must-Have Korovai Baking Tools
A sturdy large mixing bowl is fundamental for combining ingredients and allowing the dough to rise. Accuracy in baking relies on precise measurements, so using measuring cups, spoons, and ideally, a kitchen scale for flour and other key ingredients is highly recommended. A stand mixer with a dough hook attachment can significantly reduce the effort of kneading, which is crucial for developing the gluten needed for a strong korovai structure.
For baking the korovai, a large, sturdy baking sheet is necessary to accommodate the size of the finished loaf and its decorations. Lining it with parchment paper prevents sticking and makes cleanup easier. A wire cooling rack is essential for allowing air circulation around the baked bread, preventing the bottom from becoming soggy as it cools.
Optional Tools for Decorating Your Korovai
Decorating is a key part of the Ukrainian korovai recipe, and while simple tools work, some can make the process easier and allow for more intricate designs. These tools are particularly helpful when creating the traditional dough embellishments.
- Small sharp knife or pastry wheel for cutting dough strips
- Scissors (clean, for kitchen use)
- Garlic press (for creating wheat stalks)
- Small rolling pin (for flattening dough for cutouts)
- Small brushes (for egg wash)
- Cookie cutters (optional, for uniform shapes)
Preparing the Korovai Dough: A Beginner-Friendly Approach
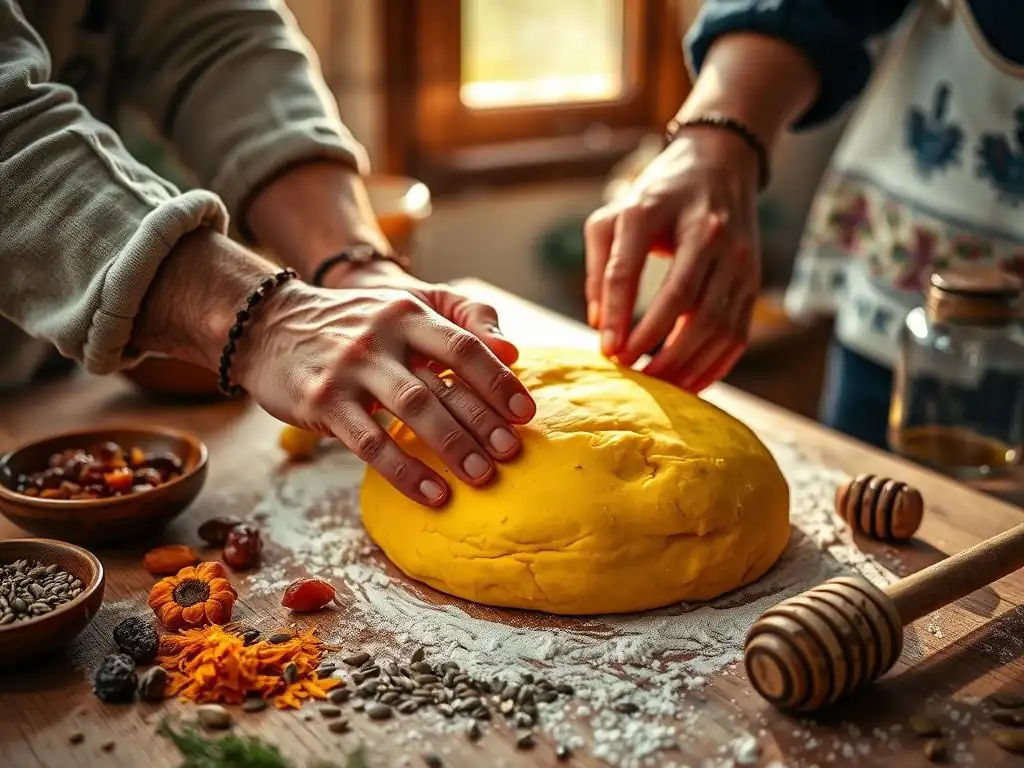
Making the dough for your Ukrainian korovai recipe doesn't have to be intimidating. This step-by-step beginner guide breaks down the process into manageable stages, focusing on achieving the right consistency and allowing the dough to develop properly for a successful bake.
Step 1: Activating the Yeast for Your Korovai Dough
As mentioned earlier, activating your yeast is a crucial first step. In a small bowl, combine your warm liquid (milk or water), sugar, and yeast. Stir gently and let it sit for 5-10 minutes. You should see a foamy layer form on the surface, indicating the yeast is alive and ready to work. If there is no foam, your yeast may be expired or the liquid temperature was incorrect; discard and start again with fresh yeast and correctly heated liquid.
Once the yeast is active, it's ready to be combined with the other wet ingredients. This might include whisked eggs, melted and slightly cooled butter or oil, and any additional liquid required by your specific Ukrainian korovai recipe. Ensuring these ingredients are at room temperature (except the initial warm liquid for yeast) helps the dough come together smoothly.
Step 2: Mixing the Korovai Dough: Achieving the Right Consistency
In a large mixing bowl, combine the activated yeast mixture with the remaining wet ingredients. In a separate bowl, whisk together the flour and salt. Gradually add the dry ingredients to the wet ingredients, mixing initially with a wooden spoon or spatula. As the dough starts to come together, switch to kneading.
Kneading is essential for developing gluten, which gives the korovai its structure. Knead the dough on a lightly floured surface or using a stand mixer with a dough hook for 8-10 minutes, or until it is smooth, elastic, and no longer sticky. You should be able to stretch a small piece of dough thinly without it tearing easily (the windowpane test). The dough should be firm enough to hold its shape but pliable enough to work with.
Step 3: First Rise: Letting the Korovai Dough Develop Flavor
After kneading, the dough needs time to rise. This process, called fermentation, allows the yeast to produce carbon dioxide, making the dough expand, and also develops flavor. Lightly grease a clean bowl with oil, place the dough inside, and turn it to coat. Cover the bowl tightly with plastic wrap or a damp kitchen towel.
Place the covered bowl in a warm, draft-free place. The ideal temperature is around 75°F-80°F (24°C-27°C). The dough should double in size within 1-1.5 hours, depending on the warmth of the environment and the activity of your yeast. A good indicator is when you gently press two fingers into the dough, and the indentations remain.
Step 4: Shaping the Korovai: A Traditional Round Loaf
Once the dough has doubled, gently punch it down to release the air. Reserve about one-quarter to one-third of the dough for decorations later. The main portion of the dough will form the base of the korovai. Shape this large portion into a smooth, round loaf.
Place the round loaf onto your prepared baking sheet lined with parchment paper. Ensure it is centered, as the decorations will be placed around and on top of this base. Cover the shaped loaf loosely with plastic wrap or a light kitchen towel and let it rest for about 15-20 minutes before adding decorations. This brief rest helps the dough relax, making it easier to add embellishments.
Decorating Your Ukrainian Korovai: Step-by-Step Embellishments
Decorating the korovai is where its true beauty and symbolism come to life. Using the reserved dough, you'll create traditional shapes that adorn the loaf, each carrying a specific meaning related to the wedding and the couple's future. This section of the Ukrainian korovai recipe beginner guide focuses on simple techniques for creating these symbolic elements.
Traditional Korovai Decorations and Their Meanings
Korovai decorations are not merely ornamental; they are deeply symbolic. Common elements include birds, representing the couple or doves of peace; flowers, signifying beauty, purity, and prosperity; and wheat sheaves, symbolizing abundance, fertility, and the harvest. These decorations are typically made from plain dough, sometimes a slightly stiffer dough mixture than the main loaf, to hold their shape during baking.
Other traditional symbols might include braids representing the unity of the family, suns or moons for prosperity, and sometimes even figures of people or animals. The arrangement of these symbols on the korovai tells a story and bestows blessings upon the newlyweds. Understanding these meanings adds depth to the process of baking your Ukrainian korovai recipe.
Birds: Symbolizing Love and Fidelity
Birds, particularly doves or swallows, are perhaps the most common and significant korovai decoration. They often represent the bride and groom, symbolizing their love, fidelity, and journey together into married life. Sometimes, two birds are placed together in the center, facing each other or intertwined, signifying their union.
Creating dough birds can be simple. A basic method involves rolling a small piece of dough into a teardrop shape, flattening the wide end for the tail, and making cuts to create feathers. The narrow end is shaped into a head and neck, sometimes with a small piece added for a beak. Placing these birds prominently on the korovai blesses the couple with a harmonious and loving marriage.
Flowers: Representing Beauty and Prosperity
Dough flowers add beauty and grace to the korovai, symbolizing the flourishing of the marriage and the couple's prosperity. Various types of flowers can be depicted, from simple rosettes to more intricate blossoms. They are often placed around the edges of the korovai or interspersed with other decorations.
Simple dough flowers can be made by rolling out a thin piece of dough and cutting out circles. Layering these circles, slightly overlapping, and rolling them up creates a rose shape. Other flowers can be formed by cutting petal shapes and arranging them. The key is to make them distinct enough to be recognizable after baking.
Wheat: Signifying Abundance and Fertility
Wheat stalks are powerful symbols of fertility, abundance, and a bountiful future harvest – both literally in terms of food and figuratively in terms of family. They are often placed vertically around the sides of the korovai or incorporated into designs on top.
Creating wheat stalks from dough is surprisingly easy. A common technique involves using a garlic press to push small pieces of dough through, creating fine strands that resemble grain. These strands can then be gathered and shaped into stalks. Alternatively, thin ropes of dough can have small cuts made along one side to mimic the look of wheat kernels.
Creating Korovai Decorations: Easy Techniques for Beginners
You don't need to be a master sculptor to create beautiful korovai decorations. This Ukrainian korovai recipe beginner guide focuses on simple techniques that yield impressive results. The key is working with a slightly stiffer dough than your main loaf dough, which helps the decorations maintain their shape during proofing and baking. You can achieve this by adding a little more flour to a portion of the main dough or by making a separate small batch of dough specifically for decorations.
Keep your workspace lightly floured and have a small bowl of water handy. Water acts as the "glue" to attach decorations to the main korovai loaf. Practice making a few shapes before applying them to the bread base. Don't strive for perfection; the rustic, handmade quality is part of the charm of a traditional korovai.
Making Dough Flowers: A Simple Tutorial
Let's walk through making a simple dough rose. Take a small amount of decoration dough and roll it thin, about 1/16 to 1/8 inch thick. Use a small round cutter or the rim of a glass to cut out 4-6 circles, about 1-1.5 inches in diameter. Lay the circles in a line, overlapping them slightly, with about one-third of each circle exposed.
Starting from one end, carefully roll the line of overlapping circles into a tight cylinder. The exposed edges will become the petals. Cut the rolled cylinder in half crosswise – you now have two small rosebuds. Gently fan out the "petals" at the top of each rosebud. These can be placed directly on the korovai base.
Forming Dough Birds: A Step-by-Step Guide
To make a simple dough bird, take a piece of dough about the size of a large grape. Roll it into a smooth ball, then elongate one end to form a teardrop shape. This teardrop will be the body and tail. Use clean kitchen scissors or a small sharp knife to make a few diagonal cuts on the wider, tail end to create feathers.
Pinch the narrower end to form the head and neck. You can add a tiny piece of dough for a beak and use the tip of a skewer or toothpick to make a small indentation for an eye. Place the bird on the korovai base, perhaps positioning two birds facing each other in the center.
Braiding Dough: Adding Texture and Visual Appeal
Braids are easy and effective decorations, representing the unity of the couple and family bonds. You can make simple three-strand braids or more complex ones. For a three-strand braid, roll three equal pieces of dough into ropes of the desired thickness and length.
Pinch the ends of the three ropes together at one end. Braid them just as you would hair, keeping the tension relatively even. Pinch the other ends together when you finish the braid. These braids can be used to encircle the base of the korovai, create a border, or form shapes on top. For a beginner Ukrainian korovai recipe, a simple braid around the base is a great starting point.
Assembling and Attaching Korovai Decorations
Once your decorations are formed, it's time to attach them to the main korovai loaf base that has had its short rest. Remember the small bowl of water? It's your best friend here. Lightly brush the back of each decoration with water before carefully placing it onto the korovai base. The water helps the dough pieces adhere to each other during proofing and baking.
Arrange the decorations thoughtfully, keeping in mind their symbolism and how they will look after rising and baking. Ensure they are pressed gently but firmly onto the base so they don't detach. You can place birds in the center, surround them with flowers and wheat stalks, and perhaps add a braid around the perimeter. Leave some space between decorations, as they will expand as the dough rises.
Baking the Korovai: Achieving Golden Perfection
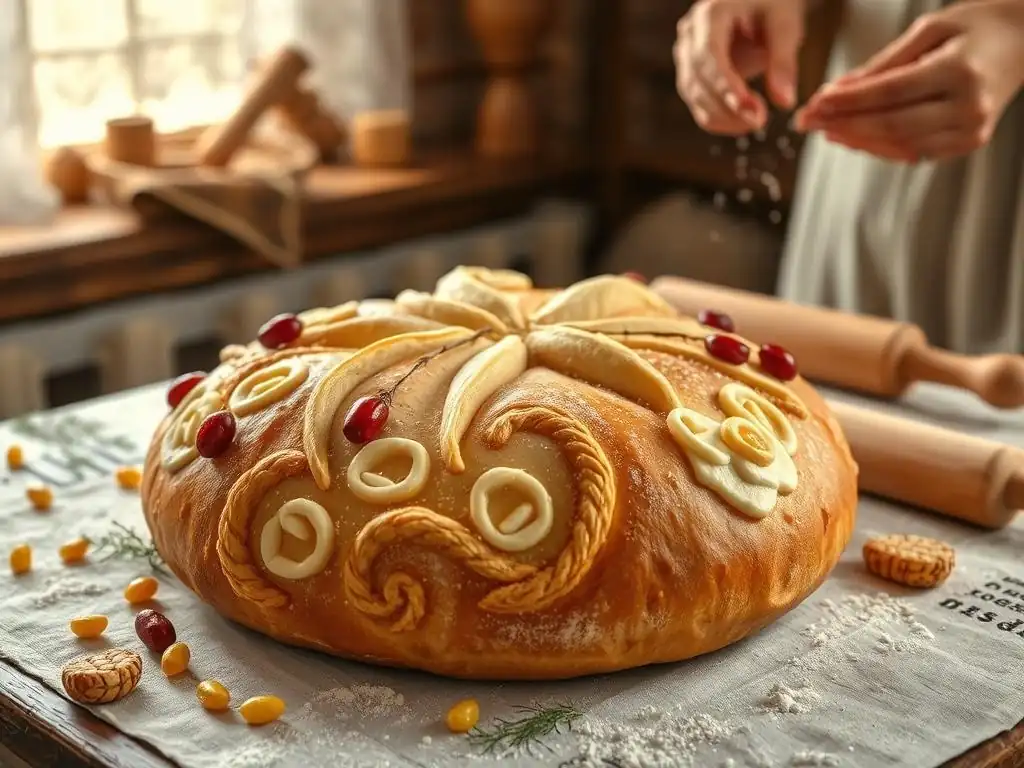
Baking is the final stage in bringing your Ukrainian korovai recipe to life. Getting the timing and temperature right is crucial for ensuring the bread is cooked through, has a beautiful golden crust, and the decorations bake properly without burning.
Preheating the Oven: Setting the Right Temperature
Proper oven preheating is essential for even baking. Preheat your oven to a moderate temperature, typically around 350°F to 375°F (175°C to 190°C). Allow the oven to preheat for at least 15-20 minutes after it reaches the target temperature to ensure the heat is stable throughout the oven cavity. An oven thermometer can help verify the actual temperature, as oven thermostats can sometimes be inaccurate.
A slightly lower temperature for a longer time is often preferred for large, decorated loaves like korovai. This allows the heat to penetrate to the center of the loaf without the exterior and decorations burning before the inside is cooked. Some bakers even start at a slightly higher temperature for the first 15-20 minutes to help the loaf rise quickly, then reduce it for the remainder of the baking time.
Baking Time: How Long to Bake Your Ukrainian Wedding Bread
The baking time for a korovai can vary significantly depending on its size, density, and your oven. A typical large korovai might take anywhere from 60 to 90 minutes, or even longer. It's crucial not to rush this step.
You can tell the korovai is likely done when it is deep golden brown all over, including the decorations. The most reliable test is to check the internal temperature using an instant-read thermometer; the center of the loaf should register around 190°F to 200°F (88°C to 93°C). If the top or decorations start browning too quickly before the center is cooked, you can loosely tent the korovai with aluminum foil.
Achieving a Golden Crust: Tips for Perfect Korovai Color
A beautiful golden crust is characteristic of a well-baked korovai. Applying an egg wash before baking is a common technique to achieve this. Whisk together one egg with a tablespoon of water or milk and gently brush it over the entire surface of the korovai, including the decorations, just before placing it in the oven. This creates a glossy, golden-brown finish.
Baking temperature also plays a role. Baking at the recommended temperature range helps develop the crust color gradually. If your oven has a convection setting, using it can help circulate air for more even browning, but keep a close eye on the decorations to prevent them from over-browning.
Cooling the Korovai: Preventing Soggy Bread
Once the korovai is baked through and has reached the correct internal temperature, remove it carefully from the oven. The temptation is to slice into it immediately, but allowing it to cool properly is vital. Placing the hot korovai directly on a solid surface can trap steam, leading to a soggy bottom crust.
Transfer the korovai from the baking sheet to a wire cooling rack immediately. This allows air to circulate around the entire loaf, letting the steam escape evenly. Allow the korovai to cool completely, which can take several hours for a large loaf, before storing or serving. This cooling time is part of the baking process, allowing the internal structure to set.
Storing and Serving Your Ukrainian Korovai
Proper storage ensures your beautiful korovai remains fresh, while serving traditions add another layer of meaning to your Ukrainian korovai recipe.
How to Properly Store Your Freshly Baked Korovai
Once completely cooled, a korovai is best stored at room temperature. Due to its size and often rich ingredients, it's important to protect it from drying out while allowing some air circulation. Avoid storing it in an airtight plastic bag immediately after baking, as residual moisture can cause condensation and make the crust soft.
A traditional method is to wrap the cooled korovai in a clean linen cloth or a large paper bag. This allows the bread to breathe while keeping it covered. For longer storage, after a day or two, you can wrap it more securely in plastic wrap or foil. A large korovai can stay fresh for several days when stored correctly, though the crust will soften over time.
Serving Traditions: Sharing the Korovai at the Wedding
Serving the korovai is a significant moment at a Ukrainian wedding. Traditionally, the bread is presented to the couple by the parents, often accompanied by salt. The couple might break off a piece of the korovai, dip it in salt, and eat it, symbolizing that they will share everything in life, both the sweet and the bitter.
The korovai is typically placed on an embroidered rushnyk (traditional Ukrainian towel). It is not usually cut with a knife, which is considered bad luck as it could symbolize cutting the ties of marriage. Instead, it is broken by hand and shared among the wedding guests, symbolizing the community's support for the couple. Pieces of the korovai, particularly the decorations, are often given to guests as tokens of good fortune.
Troubleshooting Your Korovai: Common Mistakes and Solutions
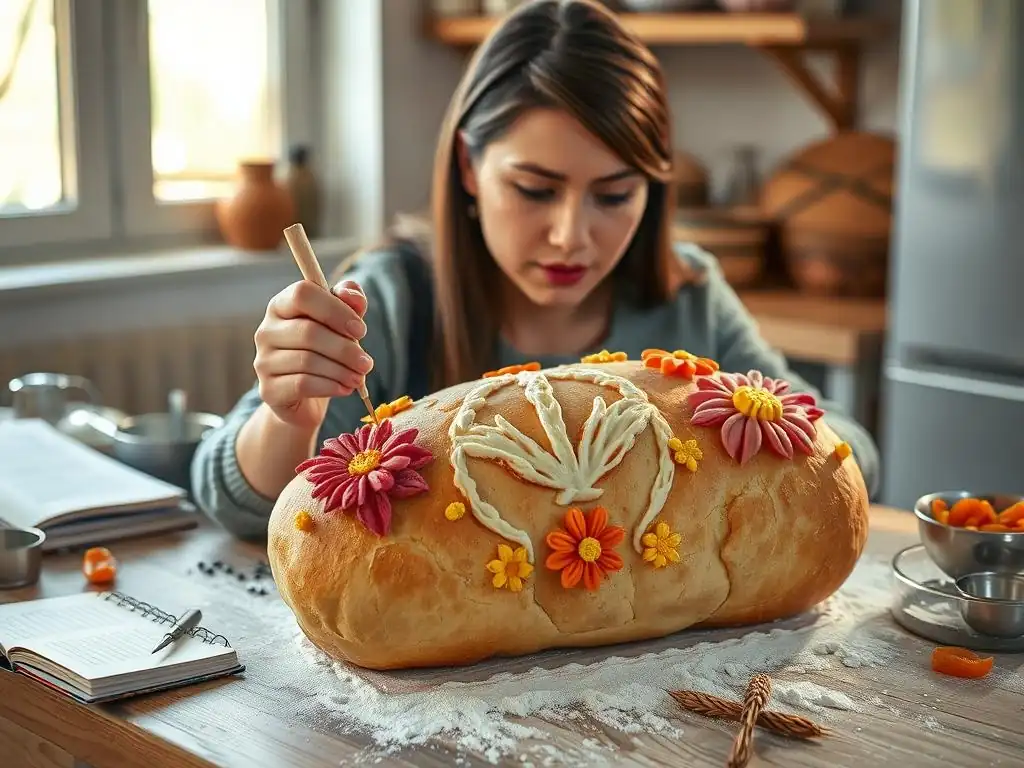
Even with a detailed Ukrainian korovai recipe beginner guide, baking can present challenges. Knowing how to troubleshoot common issues will help you achieve success.
Dough Problems: Too Dry, Too Sticky, Not Rising
If your dough is too dry, it might be difficult to knead and can result in a dense, tough korovai. This is often due to adding too much flour or not enough liquid. Solution: Gradually add a tablespoon of warm milk or water at a time while kneading until the dough reaches the correct consistency – pliable and smooth, slightly tacky but not sticky.
Conversely, if the dough is too sticky, it's hard to handle and shape. This usually means too much liquid or not enough flour. Solution: Add a tablespoon of flour at a time while kneading until the dough is manageable. Be careful not to add too much, which can make the bread tough.
If your dough isn't rising (or rising very slowly), the yeast might be inactive, the liquid temperature was incorrect, or the environment is too cold. Solution: Ensure you activated your yeast correctly in the first step. If the environment is cold, find a warmer spot (like a slightly warmed oven, turned off) for proofing. Give it more time, but if after 2-3 hours there's no significant change, your yeast might be dead, and you may need to start over.
Decoration Issues: Falling Off, Burning
Decorations falling off during proofing or baking is a common frustration. This typically happens if they weren't attached securely or if the water used to adhere them wasn't sufficient. Solution: Ensure you brush the back of each decoration generously with water before placing it on the loaf and press gently but firmly. Avoid moving the loaf too much after decorations are applied.
Decorations burning while the main loaf is still baking is another issue, often because they are thinner than the main bread. Solution: If you notice decorations browning too quickly, you can carefully cover just the decorations with small pieces of aluminum foil. Alternatively, create your decoration dough slightly thicker. Using a slightly lower oven temperature for a longer time can also help.
Baking Problems: Uneven Baking, Soggy Center
Uneven baking can result in one side of the korovai being darker than the other. This might be due to hot spots in your oven. Solution: Try rotating the korovai halfway through the baking time. Using an oven thermometer can help you understand if your oven's temperature is consistent.
A soggy or uncooked center is a sign the bread hasn't baked long enough or the oven temperature was too high, causing the outside to cook before the inside. Solution: Always check the internal temperature with an instant-read thermometer (aim for 190°F-200°F / 88°C-93°C in the thickest part). If the outside is browning too fast, tent the korovai with foil and continue baking until the center is done. Ensure the loaf is fully cooled on a wire rack to prevent steam from making the bottom soggy.
Ukrainian Korovai Recipe Variations: Exploring Different Flavors
While the traditional Ukrainian korovai recipe focuses on a slightly sweet, plain bread base, variations exist that incorporate different flavors, adding another dimension to this symbolic loaf.
Sweet Korovai Recipes: Adding Honey or Raisins
Many korovai recipes already include a touch of sweetness from sugar or honey, but some variations lean more into a sweet profile. Adding more sugar or replacing a larger portion of sugar with honey can create a richer, sweeter dough. Honey also contributes moisture and can enhance the browning of the crust.
Incorporating dried fruits like raisins, cranberries, or chopped apricots into the dough adds bursts of sweetness and chewiness. If adding dried fruits, it's often recommended to soak them in warm water or juice for about 15-20 minutes beforehand, then drain well. This prevents them from absorbing moisture from the dough during baking, which could result in a drier korovai. Add them during the final stages of kneading.
Savory Korovai Recipes: Incorporating Herbs and Spices
While less common for the traditional wedding korovai, savory variations exist, particularly for other celebratory or everyday breads shaped similarly. These versions omit or significantly reduce the sugar and can include herbs, spices, or even cheese.
Fresh or dried herbs like dill, parsley, or chives can be mixed into the dough for a fragrant loaf. Spices such as caraway seeds or black pepper can also add a savory note. For a richer flavor, grated cheese like cheddar or a hard cheese like Parmesan could be folded into the dough. These savory variations, though not the focus of a Ukrainian korovai recipe beginner guide for weddings, demonstrate the versatility of the basic bread form.
Conclusion: Mastering the Art of Ukrainian Korovai Baking
Baking a Ukrainian korovai is a journey into culture, tradition, and the rewarding craft of bread making. This Ukrainian korovai recipe beginner guide has walked you through the essential steps, from understanding the symbolism to mixing the dough, creating beautiful decorations, and achieving a perfect bake. While it may seem daunting at first, breaking down the process makes it accessible and enjoyable for any beginner baker.
Embrace the process, pay attention to the details, and don't be discouraged by imperfections – they are part of the handmade charm. Whether you are baking for a special occasion or simply to explore a rich culinary heritage, creating a korovai is a meaningful act. With practice, your confidence will grow, and you'll find immense satisfaction in mastering this beautiful and symbolic Ukrainian korovai recipe.
Frequently Asked Questions
What is a Ukrainian Korovai?
A Ukrainian Korovai is a ceremonial wedding bread traditionally baked and decorated for a wedding. It's a symbol of unity and prosperity for the newly married couple.
Is the Korovai recipe provided suitable for beginners?
Yes, this recipe is designed as a beginner guide, offering step-by-step instructions and clear explanations. We aim to make the process of baking this traditional bread accessible to everyone.
What are the key ingredients needed to bake a Korovai?
The key ingredients include flour, eggs, milk, sugar, yeast, and butter. Specific amounts are detailed in the recipe, but these are the essential components for the dough. Decorations may require additional ingredients.
How long does it typically take to bake a Korovai from start to finish?
Baking a Korovai can take several hours, including preparation, rising time, baking, and decorating. Plan for a full day of baking to ensure proper execution and results.
What kind of decorations are typically used on a Korovai?
Common decorations include braids, dough flowers, leaves, and birds, often made from the same dough. These symbols represent love, fertility, and family blessings.
Final Reflection: The Enduring Power of Korovai
Baking a korovai is more than just following a recipe; it's a journey into the heart of Ukrainian culture and tradition. This seemingly simple act of creating a beautiful, symbolic bread connects us to generations past and offers a tangible link to a heritage often threatened by conflict and change. The intricate details, from the precise shaping to the careful decoration, speak volumes about the dedication and artistry woven into Ukrainian life.
The korovai's enduring presence, even amidst hardship, underscores its profound significance. It's a symbol of hope, resilience, and the enduring strength of community. The act of baking it, whether for a wedding, a celebration, or simply to connect with one's roots, becomes a powerful act of cultural preservation. Bread is the staff of life,
a simple phrase, yet it encapsulates the deep-rooted connection between food, culture, and survival. The korovai, in its ornate glory, elevates this concept to an art form.
Now, I invite you to consider the power of tradition in your own life. Perhaps you'll try your hand at baking a korovai, embracing the challenge and the rich history it represents. Or maybe you'll seek out other traditions, exploring the cultural heritage that shapes your identity and connects you to something larger than yourself. Regardless of your path, remember the enduring spirit of the korovai – a testament to the power of tradition to nourish the soul and sustain us through the ages.
Unleash Your Inner Baker: Craft Your Own Korovai!
Thanks for joining us on this delicious journey into Ukrainian baking tradition! We hope you’ve gained a deeper appreciation for the artistry and symbolism behind the Korovai. Now it's time to put your newfound knowledge to the test.
- Bake your own Korovai: This is your chance to create a stunning and meaningful bread, perfect for a celebration or simply to savor the rich flavors and history. Don't be afraid to experiment with decorations and fillings!
- Share your Korovai creation: Post a picture on social media and tag us @BakeWithEase (imaginary social media handle) – we’d love to see your beautiful handiwork!
- Explore other traditional bread recipes: Dive deeper into the world of cultural baking by exploring our other recipes on BakeWithEase.com (imaginary link - replace with actual link if available).
What unique twist will you add to your Korovai to make it truly special? Let us know in the comments!