
Easy Recipe for Russian Syrniki (Cheese Pancakes): Perfect Every Time


Welcome to BakeWithEase, your kitchen companion for all things baking! Ever dreamed of effortlessly creating authentic dishes from around the world? Get ready to discover the secrets to the perfect Easy Russian Syrniki, those delightful cheese pancakes that are surprisingly simple to make. Intrigued? Dive in and let us guide you through a step-by-step recipe that will have you enjoying these delicious treats in no time! What makes our recipe unique? Keep reading to find out!
- Easy Russian Syrniki Recipe (Cheese Pancakes): Perfect Every Time
- Introduction to Syrniki: A Taste of Eastern Europe
- Bake Perfect Syrniki: Ingredients and Equipment
- Step-by-Step Guide to Making Russian Syrniki
- Syrniki Recipe Variations and Customizations
- Serving and Enjoying Your Homemade Syrniki
- Troubleshooting Common Syrniki Baking Issues
- Conclusion: Mastering the Art of Easy Russian Syrniki
- Frequently Asked Questions
- Final Reflection: The Enduring Comfort of Syrniki
- Unlock Your Inner Syrniki Master!
Easy Russian Syrniki Recipe (Cheese Pancakes): Perfect Every Time
Introduction to Syrniki: A Taste of Eastern Europe
What are Syrniki? Exploring Russian Cheese Pancakes
Syrniki are beloved pan-fried cheese pancakes originating from Russia and popular throughout Eastern Europe. They are traditionally made with tvorog, a fresh cheese similar to cottage cheese or ricotta but with a drier, more curd-like texture. These delightful little patties are often enjoyed for breakfast or dessert, offering a unique combination of a slightly crispy exterior and a soft, creamy interior. Unlike typical flour-based pancakes, syrniki rely primarily on the cheese for structure and flavor, making them a protein-rich and satisfying treat.
Their simplicity is part of their charm. A basic syrniki recipe usually involves just a few core ingredients: tvorog, eggs, a touch of sugar, flour, and sometimes vanilla. The mixture is gently formed into small patties and pan-fried until golden brown on both sides. The resulting texture is distinct – not fluffy like American pancakes, but dense and tender, with the subtle tang of the tvorog shining through. They are incredibly versatile and serve as a perfect canvas for various sweet or even savory toppings, making them a staple in many Eastern European households.
Why This Easy Syrniki Recipe Works Every Time
Crafting the perfect syrniki can sometimes be tricky, often resulting in pancakes that are too soft, too dry, or fall apart in the pan. This easy Russian syrniki recipe is designed to minimize these common pitfalls by focusing on the correct ratio of ingredients and simple, reliable techniques.
The key lies in using the right amount of flour – just enough to bind the mixture without making the syrniki dense or bread-like, preserving that characteristic creamy texture from the tvorog. We'll guide you through selecting and preparing your ingredients to ensure they mix smoothly and hold their shape during cooking.
Furthermore, this recipe emphasizes gentle handling and controlled cooking heat. Overworking the batter can develop the gluten in the flour, leading to tougher syrniki, while frying at too high a temperature can burn the outside before the inside is cooked through. By following the straightforward steps outlined here, even novice bakers can achieve beautifully golden, perfectly cooked syrniki with confidence. We'll share tips on shaping and frying that make the process stress-free, ensuring your easy syrniki recipe yields delicious results every single time you make them.
Bake Perfect Syrniki: Ingredients and Equipment
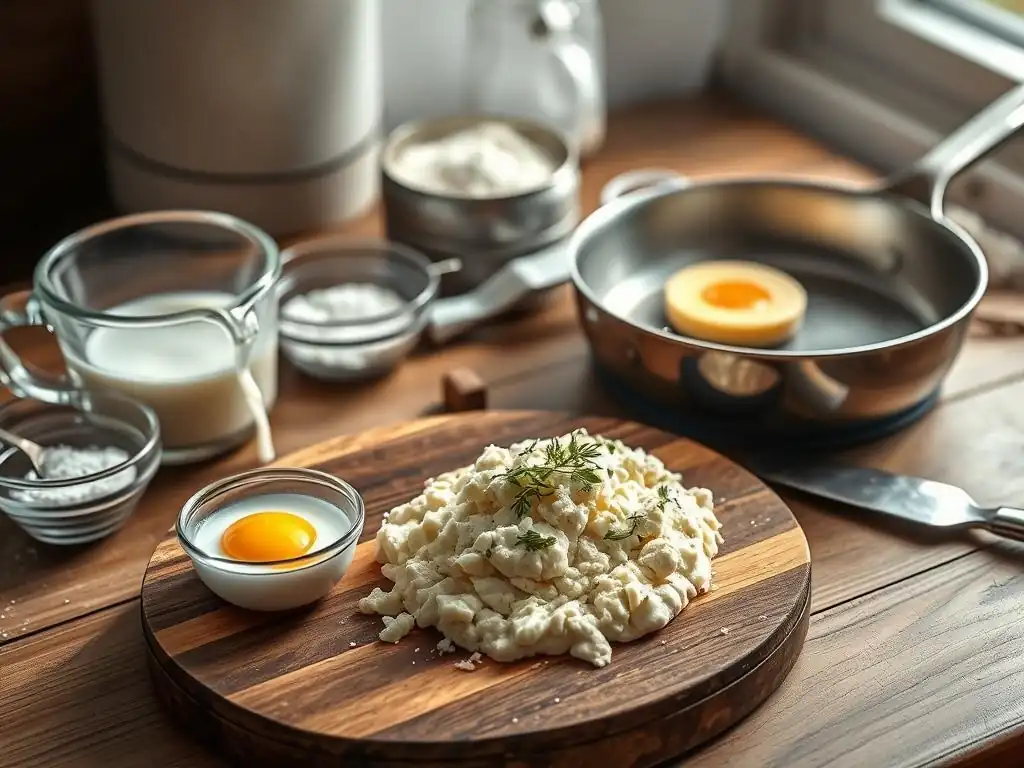
The Key Ingredients for Authentic Russian Syrniki
Understanding Tvorog: The Heart of Syrniki
Tvorog is the cornerstone of any authentic syrniki recipe. This fresh cheese is crucial for achieving the right texture and flavor. It's a curd cheese with a relatively low moisture content compared to ricotta or standard cottage cheese, which helps the syrniki hold their shape without needing excessive amounts of flour.
High-quality tvorog typically contains around 16-18% protein, making syrniki a nutritious option. When selecting tvorog, look for one that is dry and crumbly rather than wet or creamy. If you can only find wetter varieties, draining it through cheesecloth for a few hours in the refrigerator can significantly improve the outcome of your easy Russian syrniki recipe.
The quality and consistency of the tvorog directly impact the syrniki batter. If the tvorog is too wet, you'll need more flour, which can make the syrniki heavy. If it's too dry, the batter might be crumbly. Aim for a texture that, when mashed with a fork, resembles dry ricotta or farmer's cheese. If your local stores don't carry traditional tvorog, a good substitute is well-drained ricotta or farmer's cheese, though the flavor and texture might vary slightly from the authentic version. Ensuring your tvorog is properly prepared is the first step towards perfecting this easy syrniki recipe.
Other Essential Syrniki Ingredients: Flour, Eggs, and Sugar
Beyond the vital tvorog, a few other simple ingredients complete the syrniki mixture. Eggs act as a binding agent, helping to hold the tvorog curds together during cooking. For a standard recipe using about 250-300 grams of tvorog, one large egg is usually sufficient. Too many eggs can make the mixture too loose, requiring more flour. Sugar adds sweetness, typically just a tablespoon or two, though you can adjust this to your preference or omit it entirely for savory variations. Granulated sugar is common, but powdered sugar can also be used for a smoother texture.
Flour is the final key binder and structure provider, but it should be used sparingly. All-purpose flour is standard. The exact amount needed can vary depending on the moisture content of your tvorog, but generally, 2-4 tablespoons per 250g of tvorog is a good starting point.
Adding too much flour is a common mistake that results in dense, doughy syrniki instead of light, cheesy ones. A pinch of salt is often added to balance the sweetness, and a touch of vanilla extract or vanilla sugar enhances the flavor. These simple components, combined correctly, are the building blocks for this easy Russian syrniki recipe.
Required Kitchen Equipment for Easy Syrniki Baking
Making syrniki doesn't require specialized gadgets; most of the necessary equipment is likely already in your kitchen. You'll need a medium-sized mixing bowl to combine your ingredients. A fork or a potato masher is useful for breaking down the tvorog and incorporating the egg and sugar smoothly. While not strictly necessary, a fine-mesh sieve or cheesecloth can be helpful if your tvorog needs draining. For measuring, standard measuring cups and spoons are essential to get the ingredient ratios right for this easy syrniki recipe.
When it comes to cooking, a non-stick frying pan or a well-seasoned cast-iron skillet is crucial. Syrniki can sometimes stick, especially if the pan isn't hot enough or well-greased. A flat spatula is needed for flipping the syrniki gently without breaking them. You'll also want a plate lined with paper towels to drain any excess oil after frying. For shaping, your hands are the best tools, but a large spoon or an ice cream scoop can help portion the dough evenly before shaping. This minimal list of equipment makes preparing this easy Russian syrniki recipe accessible to anyone.
Step-by-Step Guide to Making Russian Syrniki
Preparing the Syrniki Batter: A Simple Mixing Process
Combining Tvorog and Eggs for a Smooth Base
The first step in creating your easy Russian syrniki recipe batter is to prepare the tvorog. Place the tvorog in a mixing bowl. If it's very lumpy or coarse, you can mash it gently with a fork or potato masher to break up the larger curds, aiming for a relatively smooth consistency, though some small curds are fine and add character. Crack the egg directly into the bowl with the tvorog. Add the sugar and a pinch of salt at this stage.
Using a fork or a spatula, gently mix the tvorog, egg, sugar, and salt together. Mix until everything is just combined and the egg is fully incorporated into the cheese. Avoid overmixing, as this can make the tvorog mixture too wet. The goal is a cohesive, slightly moist base that is ready to accept the flour. This initial step is quick and sets the foundation for perfectly textured syrniki in this easy syrniki recipe.
Adding Flour and Sugar: Achieving the Right Consistency
Once the tvorog and egg mixture is ready, it's time to carefully incorporate the flour. Add the measured flour (start with the lower end of the recommended range, e.g., 2 tablespoons for 250g tvorog) and any optional flavorings like vanilla extract or vanilla sugar. Gently fold the flour into the mixture using a spatula or your hands. Mix just until the flour is incorporated and no dry streaks remain. The dough should be soft and slightly sticky, but firm enough to hold its shape when formed into a patty.
The consistency is key here. If the mixture feels too wet and won't hold its shape at all, add flour one teaspoon at a time, mixing gently after each addition, until you reach the desired consistency. If it feels too dry and crumbly, you may have started with very dry tvorog; you can add a very small amount (like half a teaspoon) of sour cream or milk, or simply trust that the gentle cooking will bind it. Remember, using minimal flour is essential for light, tender syrniki, which is a hallmark of a great easy Russian syrniki recipe.
Shaping the Syrniki Pancakes: Tips for Perfect Rounds
Once your batter is ready, it's time to shape the syrniki. Lightly flour a clean work surface or a plate. Take a portion of the dough – about 2-3 tablespoons is a good size for individual syrniki, yielding pancakes approximately 5-7 cm (2-3 inches) in diameter. You can use a spoon or an ice cream scoop for consistent portioning. Gently roll the portion into a ball between your palms.
Next, flatten the ball into a disc or patty about 1.5-2 cm (about 0.6-0.8 inches) thick. You can use your hands, or for perfectly uniform rounds, you can place the dough ball on the floured surface and gently press it down, then use a wide knife or bench scraper to neaten the edges, rotating the patty as you go. Avoid making them too thin, as they might fall apart during cooking, or too thick, as they won't cook through evenly.
Dusting your hands lightly with flour can help prevent sticking. Shape all the syrniki before you start frying to ensure an efficient cooking process for your easy syrniki recipe.
Cooking Syrniki: Pan-Frying for Golden Perfection
Achieving a Crispy Exterior and Soft Interior
Pan-frying is the traditional and best method for cooking syrniki, creating that desirable contrast between a golden, slightly crispy crust and a warm, soft, cheesy interior. Heat a non-stick frying pan or cast-iron skillet over medium heat. Add a tablespoon or two of oil or clarified butter (ghee). Butter adds great flavor but can burn easily, so clarified butter or a mix of butter and oil is often preferred. Allow the fat to heat up properly – it should shimmer slightly, but not smoke.
Carefully place the shaped syrniki into the hot pan, leaving some space between them. Do not overcrowd the pan, as this lowers the temperature and can lead to uneven cooking. Cook the syrniki for about 3-5 minutes on the first side, until they are deeply golden brown and release easily from the pan. The cooking time depends on the heat and the thickness of your syrniki. This step is crucial for developing flavor and texture in your easy Russian syrniki recipe.
Controlling the Heat: Preventing Burnt Syrniki
Maintaining the correct heat is vital when frying syrniki. Medium heat is generally recommended. If the heat is too high, the outside will brown or burn quickly while the inside remains raw. If the heat is too low, the syrniki will absorb too much oil and become greasy, and they won't develop a nice crust. After the first side is golden, gently flip each syrnik using a spatula.
Reduce the heat slightly to medium-low if the first side browned very quickly. Cook on the second side for another 3-5 minutes, or until the syrniki are golden brown on both sides and feel firm yet slightly yielding when gently pressed. You can test one syrnik by cutting into it to ensure it's cooked through – the inside should be warm and creamy, not liquidy or cold in the center.
Adjust subsequent batches as needed. Once cooked, transfer the syrniki to a plate lined with paper towels to drain any excess fat. This careful cooking process ensures your easy syrniki recipe yields perfectly cooked results.
Syrniki Recipe Variations and Customizations
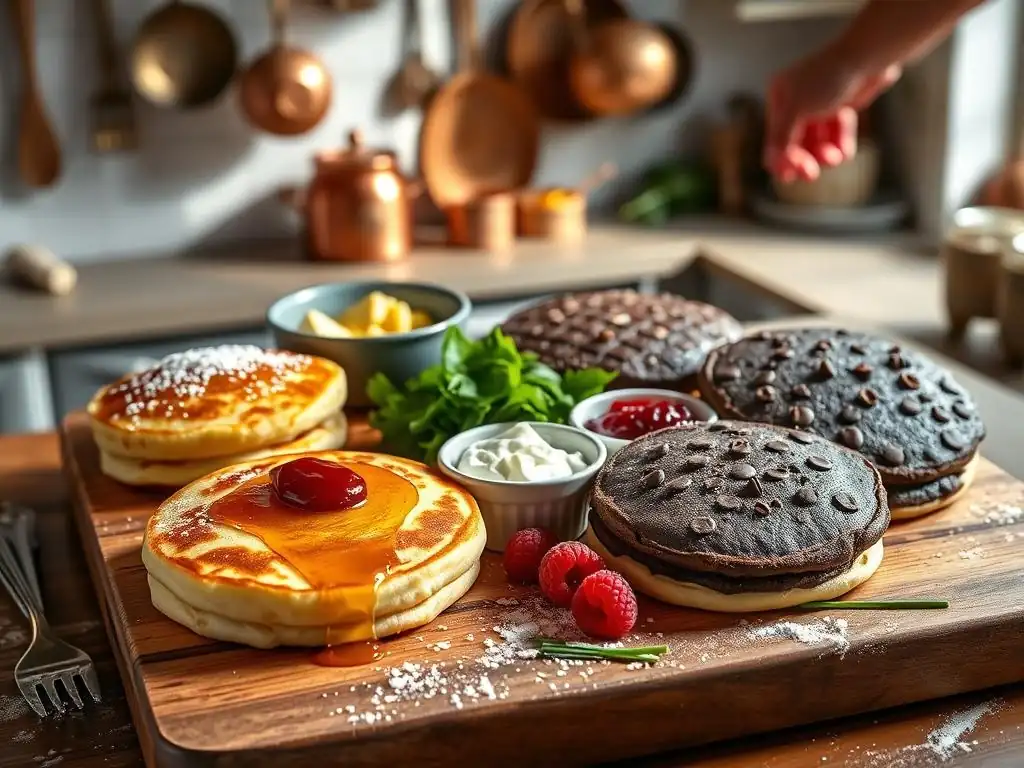
Sweet Syrniki Variations: Adding Fruit and Flavors
Berry Syrniki: A Burst of Freshness
Adding fruit is a popular way to introduce bursts of flavor and moisture into sweet syrniki variations. Small berries like blueberries or raspberries work particularly well. You can gently fold about 1/4 to 1/2 cup of fresh or frozen (not thawed) berries into the syrniki batter just before shaping. Be careful not to overmix, as this can crush the berries and turn the batter purple or mushy. The berries will soften and become jammy as the syrniki cook, adding a delightful contrast to the creamy cheese.
Alternatively, instead of mixing them into the batter, you can serve syrniki topped generously with a fresh berry compote or simply fresh berries. For a compote, simmer 1 cup of berries with a tablespoon of sugar and a splash of water or lemon juice for 5-10 minutes until thickened. This keeps the syrniki themselves pure while offering a vibrant, fresh topping. Incorporating berries, either in the batter or as a topping, is a simple yet effective way to customize your easy Russian syrniki recipe.
Chocolate Chip Syrniki: A Decadent Twist
For those with a sweet tooth, adding chocolate chips transforms traditional syrniki into a more decadent treat. Mini chocolate chips are ideal as they distribute more evenly and melt nicely without creating large pockets that could cause the syrniki to fall apart. Fold about 1/4 cup of mini chocolate chips into the prepared syrniki batter just before shaping. Dark, milk, or white chocolate chips can be used depending on your preference.
The chocolate chips will melt slightly during frying, creating little pockets of warm, gooey chocolate within the soft cheese pancake. Serve these warm to fully appreciate the melted chocolate. This variation is particularly appealing to children but is enjoyed by all ages. Adding chocolate chips is a simple modification that adds richness and sweetness to your easy syrniki recipe, perfect for dessert or a special breakfast.
Savory Syrniki Options: Exploring Cheese and Herbs
Adding Herbs for a Flavorful Syrniki
While most popular as a sweet dish, syrniki can also be adapted into a delicious savory option. Omitting the sugar from the basic easy Russian syrniki recipe is the first step. Then, you can incorporate finely chopped fresh herbs into the batter. Dill, parsley, chives, or a mix of your favorites work well. Start with 1-2 tablespoons of chopped herbs per 250g of tvorog, adjusting to taste.
Adding herbs provides a fresh, aromatic quality that pairs wonderfully with the tang of the tvorog. These savory syrniki can be served with a dollop of sour cream, plain yogurt, or even a savory sauce. They make a great light lunch or a unique side dish. This simple addition demonstrates the versatility of the basic syrniki framework, allowing you to explore different flavor profiles beyond the traditional sweet versions of this easy syrniki recipe.
Savory Cheese Syrniki for a Light Meal
To enhance the savory profile even further, you can add a small amount of grated hard cheese to the batter along with the herbs. Parmesan, cheddar, or a sharp aged cheese work well, adding depth and a salty note. Add about 1-2 tablespoons of finely grated cheese per 250g of tvorog. This addition not only boosts the cheese flavor but can also help create a slightly crispier exterior due to the fat content of the added cheese.
When making savory cheese syrniki, ensure the added cheese is grated very finely so it incorporates smoothly into the tvorog mixture. These savory versions are fantastic served warm, perhaps with a simple green salad or smoked salmon and sour cream. Exploring savory additions like herbs and extra cheese opens up new possibilities for enjoying your easy Russian syrniki recipe beyond the typical breakfast or dessert setting.
Serving and Enjoying Your Homemade Syrniki
Traditional Syrniki Toppings and Accompaniments
Sour Cream and Jam: Classic Pairings
The most iconic and traditional way to serve syrniki in Eastern Europe is with a generous dollop of sour cream (smetana) and a spoonful of fruit jam or varenye (fruit preserves). The cool, slightly tangy sour cream provides a perfect counterpoint to the warm, rich syrniki, while the sweet, often tart jam adds a burst of fruity flavor. Classic jam choices include cherry, raspberry, apricot, or strawberry.
Arrange the freshly fried syrniki on a plate and serve immediately. Place bowls of sour cream and your favorite jam alongside for everyone to add as much as they like. The combination of textures and flavors is simply delightful and highlights the comforting, home-style nature of this easy Russian syrniki recipe. Don't skip the sour cream – it's truly essential for the authentic experience!
Honey and Fresh Fruit: A Sweet Delight
Another popular and slightly lighter way to enjoy syrniki is drizzled with honey and served with fresh fruit. The natural sweetness of honey complements the subtle sweetness of the syrniki beautifully. A light, floral honey works particularly well. Fresh berries (strawberries, blueberries, raspberries), sliced bananas, or even segments of oranges or grapefruit can be served alongside.
Simply arrange the warm syrniki and scatter fresh fruit around them. Drizzle with honey just before serving. This option offers a fresher, less intensely sweet experience than jam. It's a wonderful way to enjoy your easy syrniki recipe for breakfast or a light snack, embracing natural flavors and textures.
Storing and Reheating Syrniki: Keeping Them Fresh
Homemade syrniki are best enjoyed fresh and warm straight from the pan, but they can be stored and reheated. Allow cooked syrniki to cool completely on a wire rack before storing. Once cool, place them in an airtight container in the refrigerator for up to 2-3 days. Layering them with parchment paper can prevent sticking if stacking them.
To reheat, the best method is often gently warming them in a non-stick pan over low to medium heat until heated through, about 2-3 minutes per side. This helps restore some of the exterior crispness. Alternatively, you can reheat them in a microwave for 30-60 seconds per serving, though this may result in a softer texture. Avoid overheating, which can make them dry. Properly storing and reheating allows you to enjoy the fruits of your easy Russian syrniki recipe for a couple of days.
Troubleshooting Common Syrniki Baking Issues
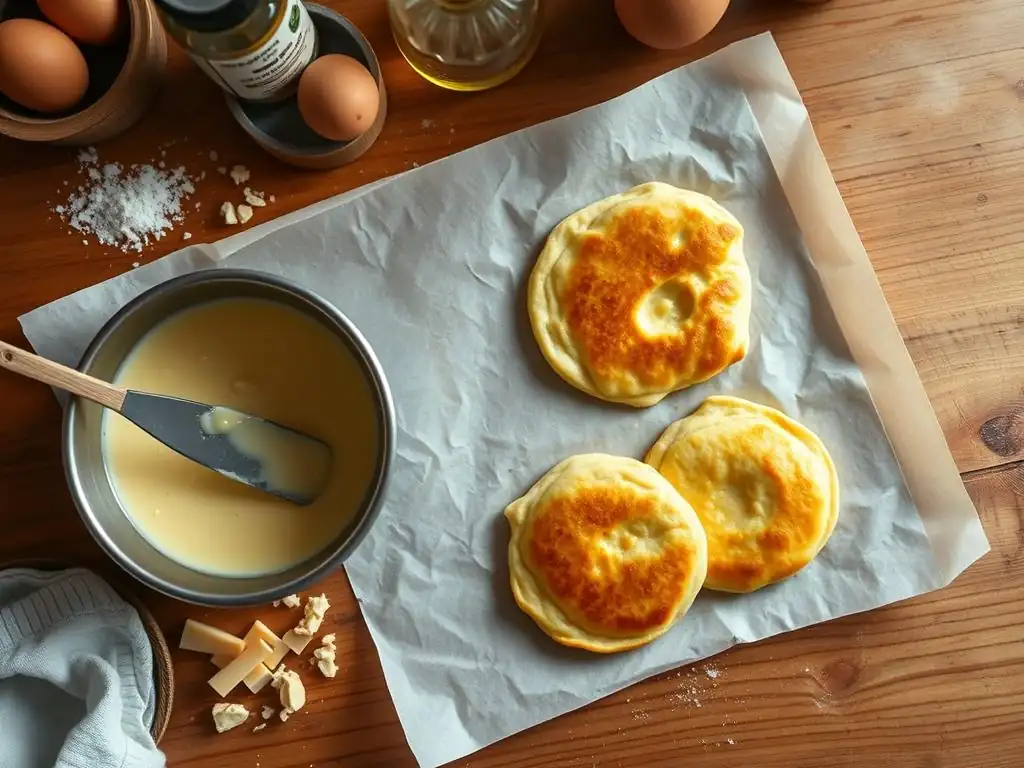
Why Are My Syrniki Flat?
Flat syrniki are often the result of a batter that is too wet or uses tvorog with too high a moisture content without proper draining. If your tvorog is very wet, you'll need to add more flour than the recipe initially suggests, but be cautious not to add too much, which leads to dense syrniki. Ensure you are using dry, crumbly tvorog or draining wetter varieties well. Another cause can be using too much egg relative to the amount of tvorog.
Also, make sure your shaping technique creates patties that are thick enough (around 1.5-2 cm). Very thin patties are more prone to spreading and becoming flat. Finally, ensure your pan is adequately heated before adding the syrniki; a pan that isn't hot enough can cause them to soak up oil and become flat and greasy. Adjusting the flour content based on your tvorog and ensuring proper shaping and frying temperature are key fixes for this easy syrniki recipe issue.
Preventing Syrniki from Sticking to the Pan
Syrniki sticking to the pan is a common frustration, but easily preventable. The most frequent culprit is not using enough fat or not heating the pan properly. Always use a generous amount of oil or clarified butter – enough to lightly coat the bottom of the pan, typically 1-2 tablespoons for a medium pan. Ensure the fat is shimmering hot before you add the syrniki, but not smoking.
Using a good quality non-stick pan is also highly recommended for making this easy Russian syrniki recipe. If using a cast-iron skillet, make sure it is well-seasoned. Avoid flipping the syrniki too early; they should release easily from the pan when they are golden brown on the first side (after about 3-5 minutes). If they are sticking, let them cook for another 30 seconds to a minute before attempting to flip again.
Achieving the Perfect Syrniki Texture: Avoiding Dryness
Dry syrniki are usually a sign of using too much flour or overcooking them. Remember that the goal is a tender, creamy interior from the tvorog, not a bread-like texture. Use the minimum amount of flour necessary to bind the batter so it holds its shape – typically 2-4 tablespoons per 250g of tvorog. If your tvorog is very dry, you might even need slightly less flour.
Overcooking at too high a heat or for too long can also dry out the cheese. Fry over medium heat, reducing to medium-low after flipping, and cook only until golden brown on both sides and cooked through in the center (around 6-10 minutes total, depending on thickness). Cutting into one syrnik from the first batch can help you gauge if the cooking time needs adjustment. Paying attention to flour measurement and cooking time will help you achieve the perfect texture with this easy syrniki recipe.
Conclusion: Mastering the Art of Easy Russian Syrniki
Enjoy the Deliciousness of Homemade Cheese Pancakes
Congratulations! By following this easy Russian syrniki recipe, you've unlocked the secrets to making these delightful cheese pancakes right in your own kitchen. From understanding the importance of quality tvorog to mastering the simple mixing, shaping, and frying techniques, you now have the knowledge to create perfect syrniki every time. We've explored traditional sweet toppings like sour cream and jam, as well as variations like berries and chocolate chips, and even ventured into savory options with herbs and cheese, showcasing just how versatile this simple dish can be.
Making syrniki is a rewarding process that results in a comforting, delicious treat perfect for any time of day. Whether you're enjoying them for a leisurely breakfast, a satisfying brunch, or a unique dessert, these homemade cheese pancakes are sure to impress. Don't be afraid to experiment with toppings and variations once you've mastered the basic easy syrniki recipe. Gather your ingredients, fire up your pan, and get ready to savor the authentic taste of Eastern European baking.
Frequently Asked Questions
What exactly are Syrniki and where do they come from?
Syrniki are small, fried cheese pancakes that are popular in Eastern European cuisine, particularly in Russia, Ukraine, and Belarus. They are traditionally made with tvorog (farmer's cheese).
What makes this Syrniki recipe "easy" compared to other recipes?
This recipe focuses on simplified steps and readily available ingredients, eliminating the need for specialized equipment or hard-to-find cheeses. The emphasis is on quick preparation and a high success rate, even for beginner bakers.
Can I substitute the farmer's cheese (tvorog) with something else?
While tvorog is ideal, you can often substitute with drained ricotta cheese or even cottage cheese that has been well-drained. Just be aware that the texture and flavor may vary slightly.
What is the best way to serve Syrniki?
Syrniki are delicious served warm with a variety of toppings. Popular options include sour cream, jam, honey, fresh berries, or even a dusting of powdered sugar.
How can I prevent my Syrniki from being too dry or too wet?
The key is to ensure the cheese is properly drained before mixing the ingredients. Also, avoid adding too much flour, as this can make them dry. A little practice will help you achieve the perfect balance of moisture and texture.
Final Reflection: The Enduring Comfort of Syrniki
The simple pleasure of a perfectly golden-brown syrniki, warm from the pan, transcends mere culinary satisfaction; it's a taste of home, a connection to heritage, and a testament to the enduring power of simple recipes. This seemingly straightforward dish, explored through the lens of an easy-to-follow recipe, offers a gateway to understanding a rich culinary tradition and the comforting familiarity of family meals. The accessibility of this recipe, designed for even novice cooks, makes it a powerful tool for sharing cultural experiences and creating cherished memories in the kitchen.
The impact of syrniki extends beyond the individual plate; it represents a thread connecting generations, a symbol of shared experiences passed down through families. These little cheese pancakes are more than just food; they are a cultural touchstone, a reminder of simpler times, and a delicious way to connect with heritage. As someone who has enjoyed syrniki throughout their life, I understand the profound emotional connection this dish holds. Food is symbolic of love when words are inadequate.
- Alan D. Wolfelt. This quote perfectly encapsulates the emotional resonance of syrniki, particularly when shared with loved ones.
Now, I invite you to embrace the simplicity and joy of making your own syrniki. Don't be intimidated by the seemingly complex name; this recipe empowers you to create a delicious and meaningful experience in your own kitchen. Try it, share it, and let the warmth of these little cheese pancakes bring a touch of Russian tradition and heartwarming comfort to your table. Let the simple act of cooking and sharing syrniki become a new tradition in your own home, a testament to the power of food to connect us across cultures and generations.
Unlock Your Inner Syrniki Master!
Thanks for joining us on this delicious journey into the world of Russian Syrniki! We hope you've gained the confidence to create these cheesy pancakes perfectly every time. Ready to take your baking skills to the next level?
- Make your own batch of Syrniki today! Use the recipe as your guide, but don't be afraid to experiment with different fillings or toppings.
- Share your Syrniki creations! Post a picture on social media and tag us – we'd love to see your culinary masterpieces!
- Explore more delicious and easy recipes on BakeWithEase.com – we have a whole world of baking adventures waiting for you.
What creative twist will you add to your next batch of Syrniki? Let us know in the comments!