
Polish Karpatka (Carpathian Cream Cake): Bake with Ease

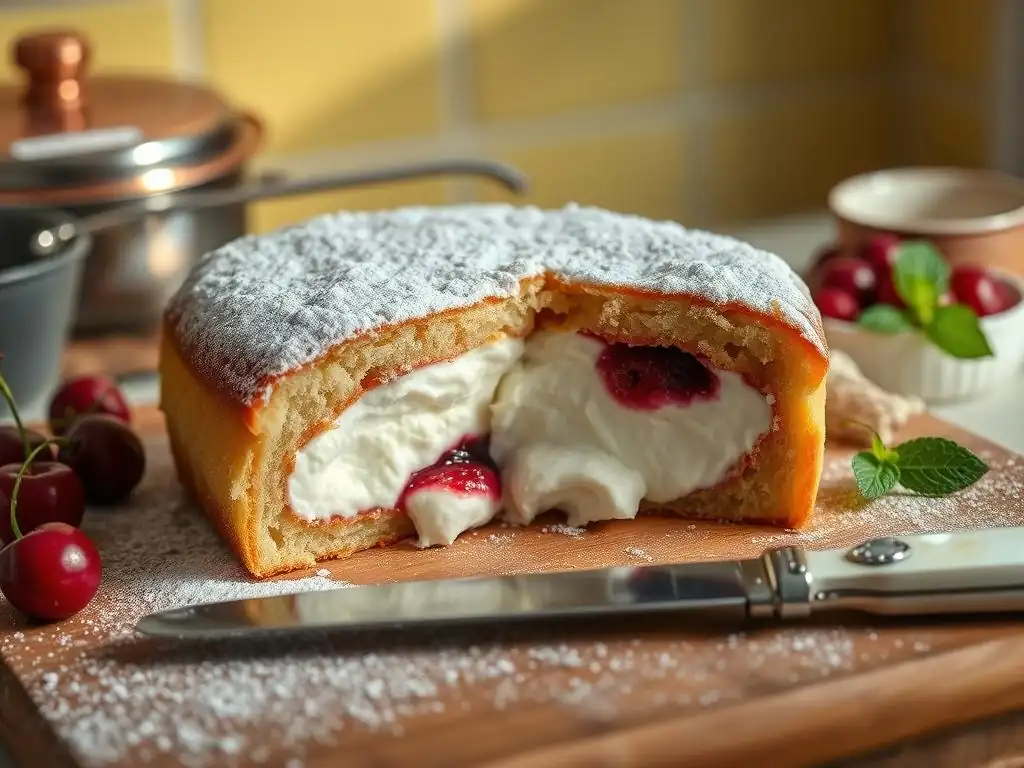
Welcome to BakeWithEase, your baking sanctuary! Ever dreamt of creating a stunning dessert that looks as impressive as it tastes? Then prepare to be amazed. Dive into our simplified Karpatka cake recipe easy, a Polish masterpiece that's surprisingly achievable. Intrigued? Discover the secrets to this Carpathian Cream Cake and unlock a world of regional baking delights!
- Polish Karpatka (Carpathian Cream Cake): Bake with Ease on BakeWithEase.com
- Discover the Authentic Polish Karpatka Cake Recipe: An Easy Guide
- What is Karpatka? Exploring the Carpathian Cream Cake
- Easy Karpatka Cake Recipe: Step-by-Step Baking Instructions
- Karpatka Cake Variations and Customization Ideas
- Tips for Baking the Best Karpatka Cake at Home
- Karpatka Cake Recipe Easy: A Quick Recap for Beginner Bakers
- Frequently Asked Questions
- Final Reflection: The Enduring Allure of Karpatka
- Unleash Your Inner Baker: Create Your Dream Karpatka!
Polish Karpatka (Carpathian Cream Cake): Bake with Ease on BakeWithEase.com
Discover the Authentic Polish Karpatka Cake Recipe: An Easy Guide
Welcome to BakeWithEase.com, where we believe that mastering delicious baked goods should be an enjoyable and straightforward process. Today, we're diving into a beloved classic from Eastern Europe: the Polish Karpatka, often called the Carpathian Cream Cake. This delightful dessert, known for its signature craggy choux pastry layers resembling the Carpathian Mountains, is a perfect example of how simple ingredients can create something truly spectacular. Follow our easy Karpatka cake recipe, and you'll discover that this impressive cake is well within your reach, even if you're a beginner baker.
This guide is designed to make baking Karpatka cake easy and fun. We'll walk you through each stage, from preparing the unique choux pastry shells to whipping up the rich, creamy filling that makes this cake so irresistible. Forget complicated techniques; our step-by-step instructions are clear and concise, ensuring you achieve a perfect result every time. Get ready to impress your friends and family with this stunning and delicious Polish treat, proving that an authentic Karpatka cake recipe doesn't have to be difficult.
What is Karpatka? Exploring the Carpathian Cream Cake
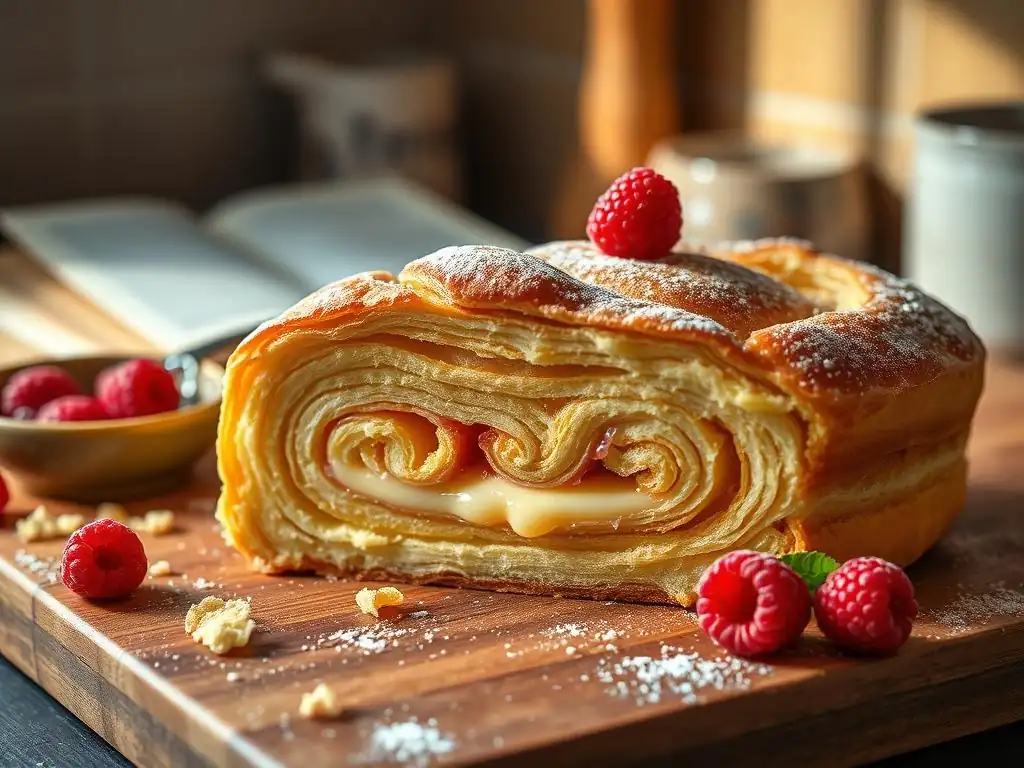
Karpatka is a traditional Polish dessert that captures hearts with its striking appearance and delightful contrast in textures. It consists of two layers of light, airy choux pastry, similar to that used for éclairs or profiteroles, which bake up with a wonderfully uneven, mountainous surface. These pastry layers sandwich a generous amount of rich, smooth, vanilla-flavored custard cream. The dusting of powdered sugar on top completes the look, enhancing its resemblance to snow-capped peaks.
This cake is not just a dessert; it's a culinary icon in Poland and neighboring countries. Its popularity stems from its comforting flavors and satisfying textures – the slight chew of the pastry against the cool, yielding cream. While it looks sophisticated, making Karpatka cake easy is possible with the right guidance, proving that authentic Eastern European baking is accessible to everyone on BakeWithEase.com.
Karpatka Cake: A Taste of Eastern European Baking Tradition
Karpatka cake holds a special place in Eastern European culinary traditions, often appearing at family gatherings, holidays, and celebrations. It's a symbol of home baking and comfort food, deeply embedded in the cultural fabric. The cake's name, derived from the Carpathian Mountains (Karpaty in Polish), reflects its distinctive appearance, linking it directly to the region's geography and identity.
Baking Karpatka is often a skill passed down through generations, with slight variations in the cream filling or pastry technique. While some recipes might use a butter-based cream or add different flavorings, the core structure of choux pastry layers and custard filling remains consistent. This easy Karpatka cake recipe aims to honor this tradition while making the process approachable for contemporary bakers, allowing you to connect with this rich heritage through a simple yet rewarding baking project.
Origin and History of Karpatka Cake
The exact origin of Karpatka cake is somewhat debated, but it is widely accepted as a relatively modern Polish invention, gaining significant popularity in the latter half of the 20th century. While choux pastry has a long history in European baking, the combination of this specific pastry form with a thick custard filling to create the "mountain" cake is considered a more recent development. Some culinary historians place its rise in popularity around the 1950s or 1960s, though it wasn't until later that it became a ubiquitous staple in Polish patisseries and homes.
Unlike some ancient recipes, Karpatka's history is tied more to its cultural adoption and widespread appeal. It became a symbol of the simple yet delicious desserts that could be made with readily available ingredients. Its unique shape quickly made it recognizable and beloved. The enduring popularity of this easy Karpatka cake recipe is a testament to its perfect balance of texture and flavor, making it a favorite across age groups and a proud part of Polish culinary identity.
Easy Karpatka Cake Recipe: Step-by-Step Baking Instructions
Ready to bake your own Karpatka? This easy Karpatka cake recipe breaks down the process into manageable steps, ensuring a smooth and successful baking experience. We'll guide you through making the choux pastry, preparing the creamy filling, baking the layers, and assembling your stunning cake. Even if you've never made choux pastry before, don't worry – our simple method makes it achievable.
By following these instructions carefully, you'll see how straightforward it is to create this impressive dessert. We focus on clear techniques and common pitfalls to avoid, helping you achieve that perfect rise on your pastry and a smooth, luscious cream. Let's gather our ingredients and get started on this delightful baking adventure to create your very own Carpathian Cream Cake.
Karpatka Cake Ingredients List: What You'll Need
Making an easy Karpatka cake recipe requires relatively simple ingredients, most of which you likely already have in your pantry and fridge. The magic lies in how these basic components are transformed through classic baking techniques. You'll need ingredients for both the choux pastry layers and the custard cream filling.
For the Choux Pastry:
- Water: Approximately 1 cup (240ml)
- Butter: About 1/2 cup (115g), unsalted
- Salt: A pinch (about 1/4 teaspoon)
- All-purpose flour: Approximately 1 cup (120g)
- Eggs: 4 large
For the Custard Cream Filling:
- Milk: Approximately 2 cups (480ml)
- Granulated Sugar: About 1/2 cup (100g)
- Cornstarch (or potato starch): Approximately 1/3 cup (40g)
- Egg Yolks: 3 large
- Butter: About 1/2 cup (115g), unsalted, softened
- Vanilla extract: 1-2 teaspoons
This list provides the core components for a standard 8x8 inch (or similar size) Karpatka. Using quality ingredients will enhance the final flavor and texture of your easy Karpatka cake. Ensure your butter is at room temperature for the cream filling, but cold for the pastry dough initially.
Preparing the Choux Pastry for Karpatka: A Simple Method
The choux pastry is the foundation of your Karpatka cake, and while it might seem intimidating, it's quite simple once you understand the process. The key is creating an emulsion of water and fat, adding flour to make a paste, and then incorporating eggs to create a dough that will puff up dramatically when baked.
Start by combining the water, butter, and salt in a saucepan over medium heat. Bring this mixture to a rolling boil, ensuring all the butter is melted. Once boiling, remove from the heat immediately and quickly dump in all the flour at once. Stir vigorously with a wooden spoon until the mixture comes together to form a smooth ball of dough that pulls away from the sides of the pan. Return the pan to low heat for about 1-2 minutes, stirring constantly, to dry out the dough slightly. This step is crucial for achieving the right consistency.
Making the Perfect Choux Dough: Tips and Tricks
Achieving perfect choux dough for your easy Karpatka cake involves a few key details. After drying the dough on the stove, transfer it to a mixing bowl (or stand mixer). Let it cool for a few minutes until it's warm but not hot enough to cook the eggs. This cooling step is vital.
Add the eggs one at a time, mixing thoroughly after each addition until the egg is fully incorporated and the dough is smooth before adding the next. The dough should be glossy and thick, but still soft enough to fall slowly from a spoon in a "V" shape. If the dough is too stiff, you might need half of a fifth egg, but be careful not to make it too runny.
A common mistake is adding eggs when the dough is too hot, which scrambles them, or adding too many eggs, resulting in a dough that won't hold its shape or rise properly. The goal is a dough that is just the right consistency to pipe or spread.
Cream Filling for Karpatka: A Delicious Custard Cream Recipe
The luscious cream filling is the heart of the easy Karpatka cake recipe, providing a smooth, sweet contrast to the airy pastry. This recipe uses a classic cooked custard base enriched with butter for extra richness and stability.
In a medium saucepan, whisk together the granulated sugar, cornstarch (or potato starch), and egg yolks until smooth. Gradually whisk in about 1/4 cup of the cold milk to create a smooth paste, ensuring there are no lumps. Heat the remaining milk in a separate saucepan over medium heat until it just starts to simmer (do not boil vigorously). Slowly pour the hot milk into the egg yolk mixture while whisking constantly. Return the entire mixture to the saucepan and cook over medium heat, stirring continuously with a whisk or wooden spoon.
Achieving the Ideal Creamy Texture for Your Karpatka Filling
Cooking the custard cream filling requires patience and constant stirring to prevent scorching and ensure a smooth texture. Continue stirring until the mixture thickens considerably, resembling a pudding. This usually takes about 5-8 minutes after returning it to the heat. It should coat the back of a spoon thickly and bubble gently. Once thickened, remove from the heat and stir in the vanilla extract.
Pour the hot custard into a clean bowl and immediately cover the surface directly with plastic wrap to prevent a skin from forming as it cools. Let it cool completely to room temperature. While the custard cools, beat the softened butter in a separate bowl until light and fluffy.
Once the custard is completely cool (it's crucial it's not warm at all), gradually add spoonfuls of the cooled custard to the beaten butter, mixing well after each addition until the entire custard is incorporated and you have a smooth, creamy, and homogenous filling. This method ensures the butter is evenly distributed, resulting in a stable and incredibly delicious cream for your easy Karpatka cake.
Baking the Karpatka Cake Layers to Perfection
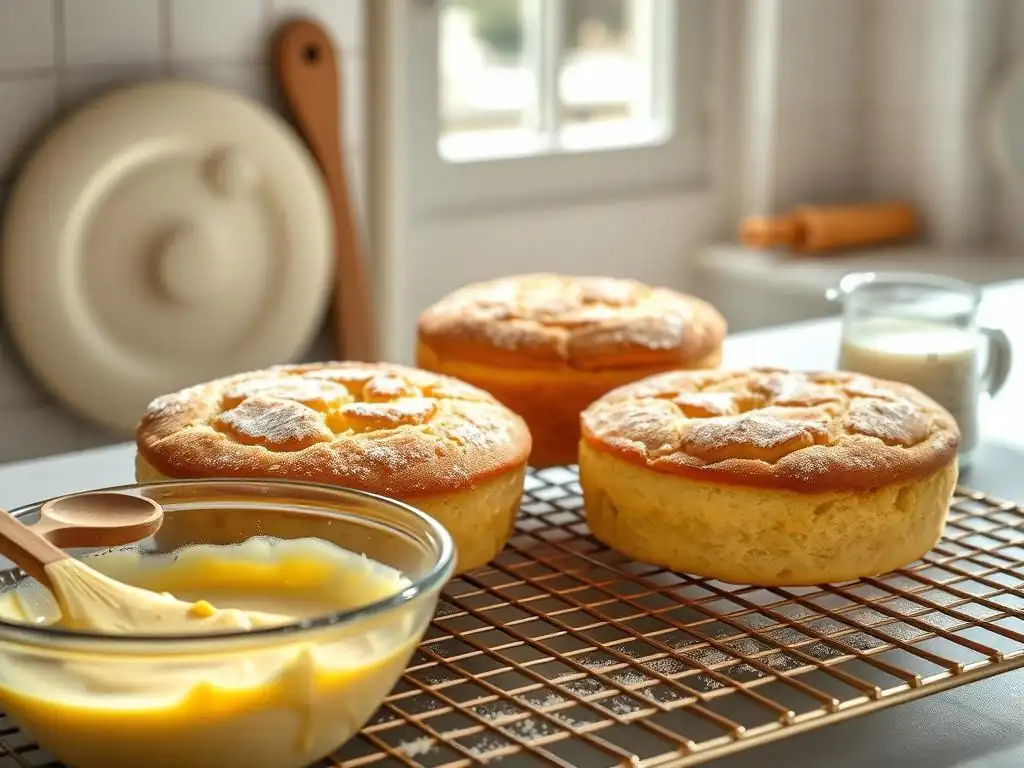
Baking the choux pastry layers is where the magic happens for your Karpatka cake. The high water content in the dough turns to steam in the hot oven, causing the pastry to puff up dramatically and create those characteristic hollow centers and craggy surfaces.
Divide your choux dough in half. Prepare two baking sheets, preferably lined with parchment paper. Spread each half of the dough onto a prepared baking sheet, aiming for a rough square or rectangle shape, about 8x8 inches (20x20 cm) or the size of your desired finished cake. Don't worry about making the surface perfectly smooth; the unevenness is what gives Karpatka its signature look resembling mountain peaks. You can gently spread it with a spatula or the back of a spoon dipped in water.
Oven Temperature and Baking Time for Optimal Results
Baking choux pastry requires a specific approach to achieve the correct texture and rise. Preheat your oven to a relatively high temperature, typically around 400°F (200°C). This initial high heat creates the necessary steam for maximum puff. Bake the pastry layers for about 15-20 minutes at this temperature, until they have puffed up significantly and started to turn golden brown.
After the initial high-heat baking, reduce the oven temperature to about 350°F (175°C) and continue baking for another 20-25 minutes. This lower temperature helps to dry out the inside of the pastry shells, ensuring they are crisp and won't collapse when they cool. The total baking time is around 40-45 minutes per layer. The layers should be deeply golden brown and feel light and hollow when tapped.
Crucially, resist the urge to open the oven door during the first 20-30 minutes of baking, as this can cause the pastry to deflate. Once baked, turn off the oven, prop the door open slightly, and let the layers cool gradually inside the oven for about 10-15 minutes before removing them completely. This slow cooling also helps prevent collapsing.
Assembling Your Karpatka Cake: Layering and Finishing
Once your choux pastry layers are baked to perfection and completely cooled, and your custard cream filling is ready, it's time to assemble your beautiful Karpatka cake. This is the final step in bringing your easy Karpatka cake recipe to life.
Choose your serving platter or cake board. Place one of the baked choux pastry layers on it. If the layers are significantly different in appearance, you might choose the flatter one for the bottom and the craggier one for the top. Spread the entire amount of the cooled, prepared custard cream filling evenly over the bottom pastry layer, spreading it almost to the edges.
Creating the Signature Carpathian Mountain Peaks
Carefully place the second choux pastry layer on top of the cream filling. Position the layer with the most uneven, "mountainous" surface facing upwards to enhance the cake's visual appeal. Gently press down slightly to ensure the layers are seated on the cream, but do not press too hard, as you don't want to squash the delicate pastry or squeeze out the filling.
The final touch for your easy Karpatka cake is a generous dusting of powdered sugar (also known as icing sugar). Use a sieve or fine-mesh strainer to sprinkle the sugar evenly over the top layer. This white dusting not only adds a touch of sweetness but also beautifully highlights the rugged texture of the choux pastry, completing the look of snow-capped mountains.
For the best flavor and texture, it's recommended to chill the assembled cake in the refrigerator for at least 2-3 hours, or preferably longer, before slicing and serving. This allows the cream to set firmly and the flavors to meld.
Karpatka Cake Variations and Customization Ideas
While the classic Karpatka cake recipe is delicious on its own, there's plenty of room for creativity and customization. Adapting this easy Karpatka cake allows you to tailor it to your personal taste or dietary needs. Exploring variations can add new dimensions to this traditional dessert.
Consider experimenting with different flavor profiles in the cream or adding elements between the layers. These small changes can transform the cake while still maintaining its core identity of choux pastry and luscious filling. Don't be afraid to try something new after you've mastered the basic simple Karpatka recipe.
Adding Flavor Extracts to Your Karpatka Cream
The classic Karpatka cream is flavored with vanilla, which is a perfect complement to the pastry. However, you can easily introduce other flavors by adding different extracts to the cooled custard before mixing in the butter, or even when incorporating the butter.
A popular variation is adding almond extract for a subtle nutty note. You could also try a hint of rum extract or even a citrus zest (like lemon or orange) for a brighter flavor profile. Approximately 1/2 to 1 teaspoon of most extracts is usually sufficient for the amount of cream in this recipe, but start with less and add more to taste. Ensure you use high-quality extracts for the best flavor.
Different Toppings for Your Carpathian Cream Cake
While powdered sugar is the traditional topping for Karpatka, you can certainly experiment with other finishing touches. A light drizzle of melted chocolate or a sprinkle of toasted slivered almonds could add extra flavor and texture.
Some bakers might dust the cake with cocoa powder instead of or in addition to powdered sugar for a different visual effect and a hint of bitterness. Fresh berries, like raspberries or strawberries, can also be arranged on top just before serving, adding a burst of color and freshness that pairs wonderfully with the rich cream and pastry.
Gluten-Free Karpatka Cake: A Baking Adaptation
Adapting the Karpatka cake recipe for a gluten-free diet primarily involves substituting the all-purpose flour in the choux pastry. While challenging, it is possible to create a gluten-free version. Using a high-quality gluten-free flour blend designed for baking is essential.
Different blends behave differently, so some experimentation might be needed. A common approach is to use a blend that contains a mix of rice flour, tapioca starch, and potato starch, sometimes with the addition of xanthan gum (if not already in the blend) to help with structure. You would typically substitute the gluten-free blend cup-for-cup or by weight as specified on the package directions for substituting wheat flour.
The process for making the dough remains the same, but the texture might be slightly different, and the baking time might need minor adjustments. The cream filling is naturally gluten-free (ensure your cornstarch/potato starch is certified gluten-free if needed).
Tips for Baking the Best Karpatka Cake at Home
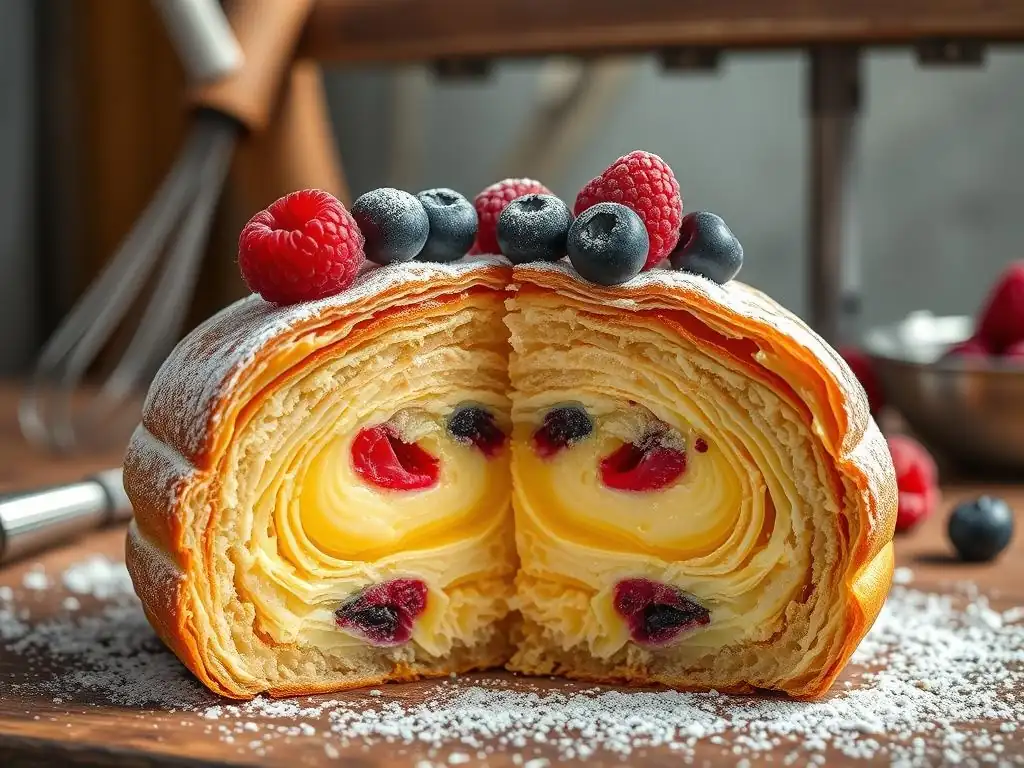
Even with an easy Karpatka cake recipe, a few tips can make the difference between a good cake and a truly outstanding one. Paying attention to small details in the process can significantly impact the final outcome, from the rise of your pastry to the texture of your cream.
Don't rush any steps, especially cooling times. Ensure your ingredients are measured accurately, as baking is a science. By following these tips, you'll enhance your success rate and consistently bake a delicious Carpathian Cream Cake that looks as good as it tastes.
Common Karpatka Baking Mistakes and How to Avoid Them
One of the most common mistakes when making Karpatka is opening the oven door too early while the choux pastry is baking. As mentioned earlier, this releases the steam that causes the pastry to rise and can lead to flat, dense layers. Resist the temptation to check on them until at least 30 minutes into the baking process. Another mistake is not drying out the dough enough on the stove; this results in dough that is too wet and won't puff properly.
Another pitfall is adding eggs to the choux dough when it's too hot, which scrambles the eggs, or adding too many eggs, making the dough too soft. For the cream, not cooking it long enough will result in a runny filling, while not cooling the custard completely before adding the butter will cause the butter to melt, resulting in a greasy, unstable cream. Ensure the custard is fully chilled, ideally refrigerator cold, before combining with the softened butter.
Storing Your Karpatka Cake for Maximum Freshness
Karpatka cake is best stored in the refrigerator due to its creamy filling. Once assembled and chilled, cover the cake loosely with plastic wrap or place it in an airtight container. Stored properly in the fridge, Karpatka will stay fresh for 3-4 days.
The choux pastry can soften slightly over time as it absorbs moisture from the cream, but the flavor remains excellent. For optimal texture, enjoy the cake within the first 2-3 days. If you have leftover cream or baked pastry layers separately, store them airtight in the refrigerator. The baked pastry layers can also be frozen for future use; simply wrap them well and thaw at room temperature before filling. The assembled cake itself is generally not recommended for freezing as the texture of the cream can change.
Karpatka Cake Recipe Easy: A Quick Recap for Beginner Bakers
You've now walked through the steps of making an authentic Polish Karpatka cake. Remember, the key to an easy Karpatka cake recipe is following the instructions carefully and not being intimidated by the choux pastry – it's simpler than it looks!
Here's a quick recap of the main stages:
- Prepare the choux pastry dough by cooking water, butter, and salt, adding flour, drying it out, and then incorporating eggs.
- Cook the custard cream filling from milk, sugar, starch, and egg yolks, then cool it completely and whip in softened butter.
- Bake the choux pastry dough in two layers until golden, puffed, and hollow.
- Assemble the cake by spreading the cream between the cooled pastry layers and dusting with powdered sugar.
- Chill the cake thoroughly before serving.
This simple Karpatka recipe is a fantastic introduction to choux pastry and a rewarding baking project.
Printable Karpatka Recipe for Your Baking Collection
Having a handy copy of this Karpatka cake recipe easy to follow in your kitchen is always helpful. (Note: As per instructions, I cannot provide a link or file for a printable recipe here.)
Enjoy Your Homemade Polish Carpathian Cream Cake!
Congratulations! You've successfully baked a stunning and delicious Polish Karpatka, or Carpathian Cream Cake, right in your own kitchen using our easy Karpatka cake recipe. The effort is minimal compared to the impressive result. Enjoy sharing this traditional Eastern European treat with your loved ones. The contrast of the light, airy pastry and the rich, smooth cream is truly delightful. We hope this simple Karpatka recipe encourages you to explore more regional and cultural baking. Happy Baking!
Frequently Asked Questions
What exactly is Karpatka cake?
Karpatka, also known as Carpathian Cream Cake, is a traditional Polish dessert featuring a choux pastry base and a creamy custard filling. Its name comes from its resemblance to the Carpathian Mountains.
Is the Karpatka cake recipe difficult to make?
While it has a few steps, our BakeWithEase recipe focuses on making it easy and approachable, even for beginner bakers. We break down each process clearly.
What kind of filling is typically used in Karpatka cake?
The classic Karpatka filling is a vanilla custard cream, often made with milk, sugar, eggs, and flour or cornstarch. Variations may include butter or whipped cream for a richer texture.
Where does the name "Karpatka" come from?
The cake gets its name from the Carpathian Mountains because the uneven, cracked surface of the baked choux pastry resembles the mountain range.
Can I substitute any ingredients in the Karpatka cake recipe?
While we recommend following the recipe for the best results, you can make minor adjustments. For example, you might use a different extract in the custard, but avoid drastically altering the ratios of key ingredients like flour and eggs.
Final Reflection: The Enduring Allure of Karpatka
The seemingly simple act of baking a Karpatka cake transcends mere culinary creation; it's a journey through generations of Polish heritage and a testament to the enduring power of delicious, easily accessible recipes. This article aimed to demystify the process, providing a straightforward recipe that allows even novice bakers to experience the joy of creating this iconic dessert. The ease of the recipe, coupled with the stunning results, makes Karpatka accessible to a wider audience, ensuring its continued popularity for years to come.
The impact of Karpatka extends beyond the individual kitchen; it's a symbol of shared cultural experiences, a taste of home for many, and a bridge connecting generations. The simple act of sharing a slice of this delicate cake fosters connection and conversation, much like the recipes themselves are passed down through families. Food is symbolic of love when words are inadequate.
- Alan D. Wolfelt. This sentiment perfectly captures the emotional resonance of Karpatka, a dish that speaks volumes without uttering a single word.
Now, I invite you to embrace the challenge, to dust off your mixing bowls, and to embark on your own Karpatka adventure. Don't be intimidated by the seemingly intricate layers; the recipe provided is designed to guide you every step of the way. The sweet reward? Not just a delicious cake, but a deeper appreciation for the rich culinary heritage behind it, and perhaps even the creation of your own cherished family tradition. So, gather your ingredients, preheat your oven, and let the delightful aroma of Karpatka fill your home – and your heart.
Unleash Your Inner Baker: Create Your Dream Karpatka!
Thanks for joining us on this delicious journey into the world of Polish Karpatka! We hope you now feel confident and inspired to tackle this seemingly complex yet wonderfully rewarding cake. Ready to take your baking skills to the next level?
- Bake your own Karpatka: Use our recipe and detailed instructions as your guide! Don't be afraid to experiment – baking is all about self-expression.
- Share your Karpatka triumph: Post a photo of your creation on social media and tag us – we'd love to see your baking masterpiece!
- Explore other Polish pastries: Discover more amazing recipes on our site – we've got a whole world of deliciousness waiting for you.
What unique twist will you add to your Karpatka to make it truly your own?