
Simple Sweet Vatrushka (Russian Cheese Buns) Recipe

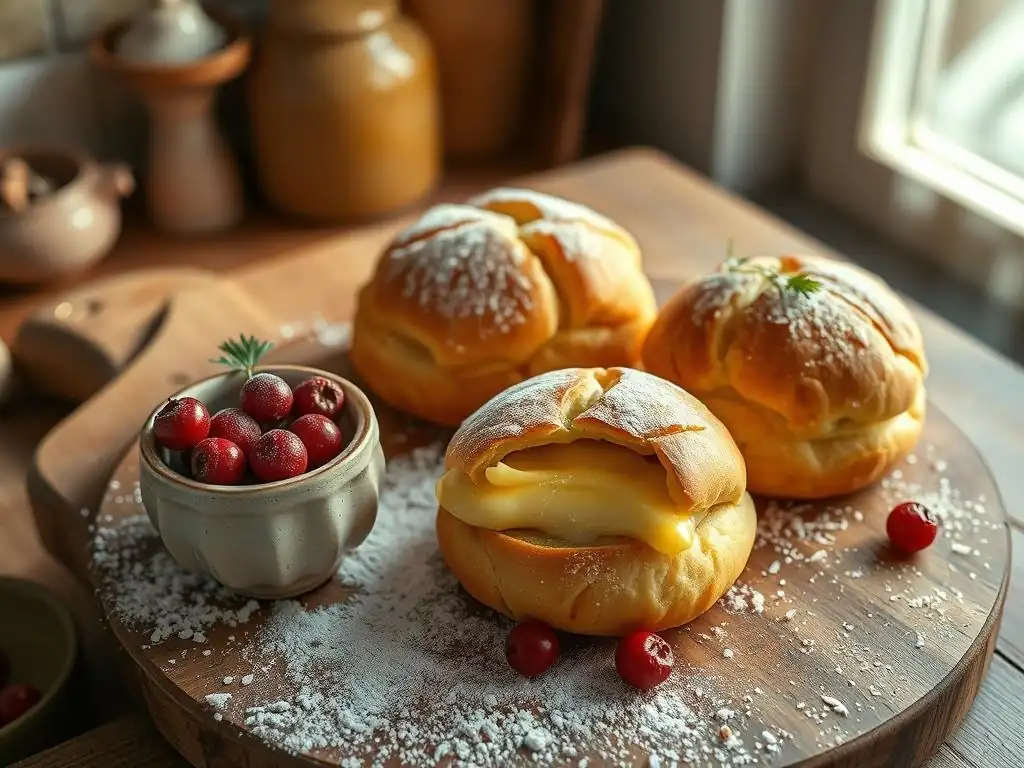
Welcome to BakeWithEase, your partner in creating delicious baked goods! Ever dreamt of effortlessly whipping up delightful treats from around the world? Then you're in the right place. Discover the secrets behind authentic flavors and simple techniques, starting with a taste of Eastern Europe. Get ready to embark on a culinary journey with our Easy Russian Cheese Bun Recipe – a sweet and savory delight that's surprisingly simple to make. What's the secret to that perfect, pillowy texture? Read on and find out!
- Simple Sweet Vatrushka (Russian Cheese Buns) Recipe - BakeWithEase
- Discover the Easiest Vatrushka Recipe: Sweet Russian Cheese Buns
- What is Vatrushka? Exploring Traditional Russian Cheese Pastries
- Bake Delightful Vatrushka: An Easy Recipe for Beginners
- Step-by-Step Guide: Making Vatrushka Dough from Scratch
- Creamy Cheese Filling: The Heart of Sweet Russian Buns
- Assembling and Baking Your Easy Vatrushka
- Tips for Perfect Vatrushka: Achieve Baking Success
- Serving and Storing Your Homemade Vatrushka
- More Eastern European Baking Recipes from BakeWithEase
-
Frequently Asked Questions
- What exactly is a Vatrushka, and how is it different from other sweet buns?
- Is this "Easy Russian Cheese Bun Recipe" really suitable for beginner bakers?
- Can I substitute ingredients in the cheese filling, and if so, what are some good options?
- How should I store leftover Vatrushkas to keep them fresh?
- What are some tips for achieving a perfectly golden-brown color on the Vatrushkas?
- Final Reflection: The Enduring Comfort of a Simple Vatrushka
- Unleash Your Inner Baker: Craft These Delicious Vatrushkas!
Simple Sweet Vatrushka (Russian Cheese Buns) Recipe - BakeWithEase
Discover the Easiest Vatrushka Recipe: Sweet Russian Cheese Buns
Ready to bake something truly delightful? Our easy Russian cheese bun recipe is your perfect entry point into the world of Eastern European pastries. Vatrushka, with its soft, sweet dough and creamy tvorog (cottage cheese) filling, is a beloved classic, perfect for breakfast, a snack, or dessert.
Forget complicated techniques; this guide is designed for beginners, ensuring you can create these charming sweet Russian cheese pastries right in your own kitchen with minimal fuss. We'll walk you through each step, from mixing the dough to achieving that perfect golden finish, making the process of baking sweet Russian buns simple and rewarding.
This easy Russian cheese bun recipe focuses on accessibility without sacrificing authentic flavor. We've streamlined the steps to make it manageable for anyone new to working with yeast dough or traditional fillings. By following these instructions, you'll gain confidence in handling dough and discover how simple it can be to produce bakery-quality results at home. Get ready to fill your home with the irresistible aroma of freshly baked Vatrushka and enjoy a taste of Russian culinary tradition with surprising ease.
What is Vatrushka? Exploring Traditional Russian Cheese Pastries
Vatrushka is a type of sweet pastry or bun widely popular in Russia and other Eastern European countries. It's characterized by a ring of soft, slightly sweet yeast dough with a filling of tvorog, a type of farmer's cheese or cottage cheese. The name "Vatrushka" itself is believed to derive from the Slavic word for "fire" or "hearth," hinting at its ancient origins as a baked good central to home life. These pastries vary in size, but are typically round, measuring about 8 to 12 centimeters in diameter, with the cheese filling nestled in a central depression.
Often enjoyed fresh from the oven, Vatrushka represents comfort food and traditional baking skills. While the basic structure remains consistent – a dough ring and cheese filling – variations exist, such as adding raisins, vanilla, or lemon zest to the filling. The quality of the tvorog is paramount, as its creamy texture and slight tang are the defining characteristics of the sweet Russian cheese pastries. This easy Russian cheese bun recipe aims to capture that authentic taste using readily available ingredients.
Understanding the Origins of Vatrushka
The history of Vatrushka stretches back centuries, deeply rooted in the culinary traditions of the Slavic peoples. It is believed to have originated as a ritual bread or pastry associated with pagan festivals and later adapted into Christian celebrations. Early forms might have been less sweet and potentially used different types of cheese or curd, reflecting the agricultural practices of the time. Historical records suggest that baked goods similar to Vatrushka were consumed widely across ancient Rus' lands, evolving over time into the familiar sweet bun we know today.
Over centuries, the recipe for Vatrushka evolved, influenced by available ingredients and regional preferences. The use of yeast dough became standard, providing a light and fluffy texture that contrasts with the rich filling. The filling itself became predominantly based on tvorog, a staple in Russian cuisine, often combined with eggs, sugar, and sometimes sour cream to achieve a smooth, custard-like consistency when baked. This long history underscores Vatrushka's status not just as a delicious pastry, but as a significant part of Russian cultural heritage and a true example of traditional sweet Russian cheese pastries.
Key Characteristics of Authentic Russian Vatrushka
Authentic Russian Vatrushka possesses several defining features that set it apart. Firstly, the dough is typically a soft, slightly enriched yeast dough, similar to brioche but often less buttery. It should be pliable and yield a tender, fluffy texture after baking. The dough forms a distinct ring or border around the central filling, which is created by making an indentation in the risen dough before baking.
Secondly, the filling is always based on tvorog (farmer's cheese), not cream cheese or ricotta, although these can be used as substitutes in simplified versions. The tvorog filling is traditionally mixed with sugar, egg, and sometimes a touch of flour or semolina to bind it. It should be creamy and slightly moist, maintaining its shape within the dough ring.
A classic Vatrushka is golden brown on the edges of the dough and the filling is often slightly caramelized or set, creating a delightful contrast in textures and flavors – the soft, sweet dough complementing the rich, tangy cheese filling. Mastering these elements is key to a successful easy Russian cheese bun recipe.
Bake Delightful Vatrushka: An Easy Recipe for Beginners
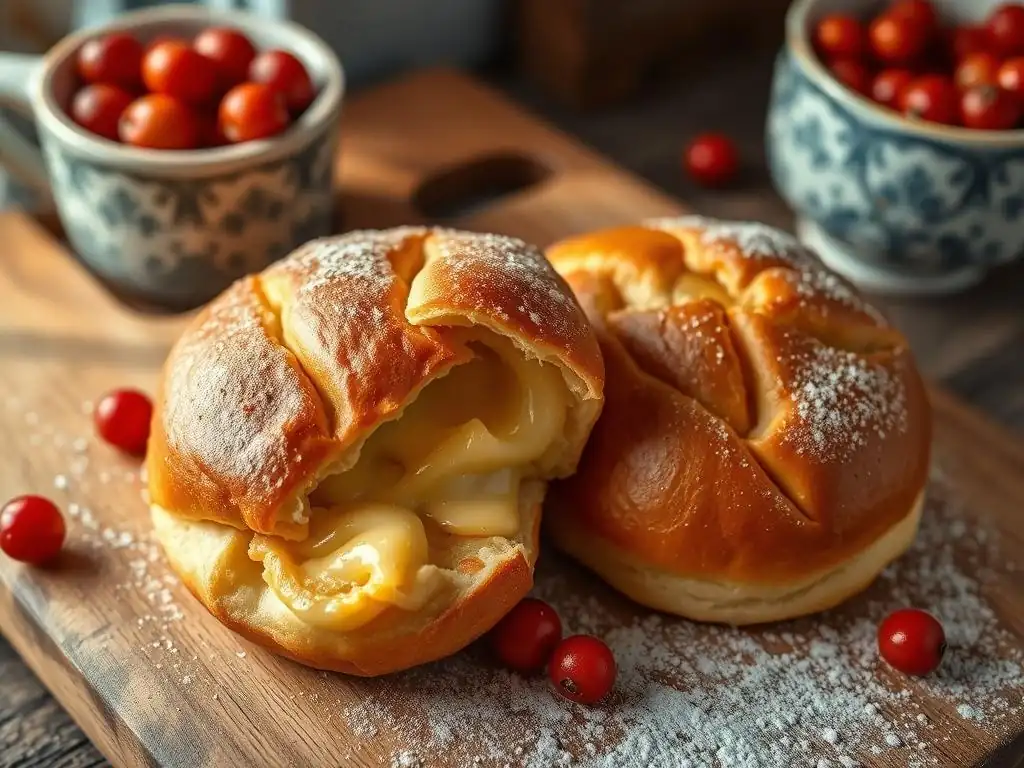
Baking Vatrushka might seem intimidating if you're new to yeast dough, but this easy recipe is designed to guide you smoothly through the process. We've broken down each step, from preparing the dough to filling and baking, making it achievable for even the most novice baker. The key is to follow the instructions patiently, allowing the dough ample time to rise and using quality ingredients. This approach ensures that your sweet Russian cheese pastries turn out light, fluffy, and bursting with flavor, just like those from a traditional Russian bakery.
This easy Russian cheese bun recipe is perfect for building confidence in baking. You'll learn fundamental techniques like activating yeast, kneading dough (though minimal kneading is needed here! ), and proofing. The reward is a batch of warm, comforting buns that are incredibly satisfying to make and eat. Don't be afraid to start; baking is a journey, and making these sweet Russian buns is a fantastic step along the way.
Ingredients for Your Homemade Vatrushka
To make this easy Russian cheese bun recipe, you'll need standard baking ingredients, plus the star of the show: tvorog. Here's a list for a typical batch yielding about 10-12 buns:
- For the Dough:
- 250 ml (1 cup) warm milk (around 40-45°C or 105-115°F)
- 7g (1 packet or 2.25 tsp) active dry yeast
- 50g (1/4 cup) granulated sugar, plus a pinch for yeast
- 1 large egg, plus 1 yolk (reserve the white for egg wash)
- 50g (3.5 tbsp) unsalted butter, melted and slightly cooled
- approx. 400-450g (3 1/4 - 3 1/2 cups) all-purpose flour
- 1/2 tsp salt
- For the Filling:
- 400g (approx. 1.75 cups) tvorog (farmer's cheese), drained if necessary
- 50g (1/4 cup) granulated sugar (adjust to taste)
- 1 large egg
- 1-2 tbsp sour cream or heavy cream (optional, for creaminess)
- 1 tbsp all-purpose flour or semolina (optional, helps bind)
- 1 tsp vanilla extract
- For the Egg Wash:
- 1 reserved egg white, whisked with 1 tbsp milk or water
Using fresh active dry yeast is crucial for a good rise. Check the expiration date on the packet. The milk temperature is also important – too hot will kill the yeast, too cold won't activate it properly. Aim for a temperature that feels warm, not hot, to the touch. For the tvorog, try to find a dry, crumbly variety if possible, as this is traditional. If using wetter cottage cheese, drain it through cheesecloth overnight in the fridge to remove excess liquid, which is key for the creamy cheese filling.
Equipment You'll Need to Bake Russian Cheese Buns
You don't need fancy equipment to make this easy Russian cheese bun recipe, just a few basic kitchen tools. Having the right tools ready will make the process smoother and more enjoyable.
- Large mixing bowl(s): For mixing the dough and letting it rise.
- Measuring cups and spoons: For accurate ingredient measurements.
- Kitchen scale (optional but recommended): For precise flour measurement.
- Whisk or fork: For mixing the egg wash and filling ingredients.
- Wooden spoon or spatula: For mixing dough ingredients.
- Clean kitchen towel or plastic wrap: For covering the dough during rising.
- Baking sheets: Two standard baking sheets are usually sufficient for a batch.
- Parchment paper or silicone baking mats: To line the baking sheets and prevent sticking.
- Pastry brush: For applying the egg wash.
- Cooling rack: For cooling the baked Vatrushka.
While a stand mixer with a dough hook can make kneading easier, this recipe is designed to work well with minimal hand-kneading, so it's not essential. A good quality tvorog is perhaps the most important 'equipment' in terms of ingredient choice, as it forms the basis of the creamy cheese filling. Ensure your oven is preheated correctly to the specified temperature for optimal baking results.
Step-by-Step Guide: Making Vatrushka Dough from Scratch
Creating the soft, sweet dough for Vatrushka is a straightforward process, even for beginners. This easy Russian cheese bun recipe uses a simple enriched yeast dough that's forgiving and requires minimal kneading. Patience during the rising stages is key to achieving a light and airy texture. Follow these steps carefully, and you'll have a beautiful dough ready for shaping.
The process begins with activating the yeast, a simple step that ensures your dough will rise properly. Combining the wet and dry ingredients follows, leading to a slightly sticky dough that will become smooth after a short rest or light kneading. Paying attention to the dough's texture at each stage is more important than strict timing, as environmental factors like room temperature can affect rising times.
Preparing the Sweet Yeast Dough for Vatrushka
Start by activating your yeast. In your large mixing bowl, combine the warm milk (ensure it's not too hot! ), a pinch of sugar, and the active dry yeast. Stir gently and let it sit for 5-10 minutes. You should see a foamy layer form on the surface; this indicates the yeast is alive and active. If no foam appears, your yeast may be dead or the milk was too hot/cold, and you'll need to start again with fresh yeast.
Once the yeast is bubbly, whisk in the remaining sugar, the whole egg and yolk, and the melted butter. Gradually add about half of the flour and the salt, mixing with a wooden spoon or spatula until just combined. Begin adding the remaining flour, about 1/4 cup at a time, mixing until the dough comes together.
It should be soft and slightly sticky. Turn the dough out onto a lightly floured surface and knead gently for just 2-3 minutes, or until it's smooth enough to handle. The dough for this easy Russian cheese bun recipe should not be overly stiff; a slightly sticky dough results in a softer bun.
First Rise: Allowing the Dough to Proof Perfectly
After kneading, shape the dough into a ball. Lightly grease your mixing bowl with a little oil or melted butter. Place the dough ball in the bowl, turning it to coat all sides. Cover the bowl tightly with plastic wrap or a clean kitchen towel. This covering prevents the dough from drying out as it rises.
Place the covered bowl in a warm, draft-free place. An oven with the light on (but the oven off) is an ideal spot. Let the dough rise until it has doubled in size. This typically takes about 1 to 1.5 hours, depending on the temperature of your room. A warmer environment will speed up the process, while a cooler one will slow it down. The dough should look puffy and feel light when gently poked. This first rise is crucial for developing the dough's flavor and texture, ensuring your sweet Russian cheese pastries are light and airy.
Shaping the Vatrushka Dough: Creating the Signature Bun Shape
Once the dough has doubled, gently punch it down to release the air. Turn the dough out onto a lightly floured surface. Divide the dough into 10-12 equal pieces. A kitchen scale can help ensure uniformity, aiming for pieces around 60-70 grams each. Roll each piece into a smooth ball.
Place the dough balls onto the prepared baking sheets, leaving about 5-7 cm (2-3 inches) of space between them, as they will expand. Now, create the signature Vatrushka shape. Using the bottom of a glass or a mug (about 6-8 cm in diameter), gently press down firmly in the center of each dough ball, leaving a raised border of about 2-3 cm around the edge. This creates the well for the creamy cheese filling. Be firm enough to create a distinct depression, but avoid pressing all the way through the dough.
Creamy Cheese Filling: The Heart of Sweet Russian Buns
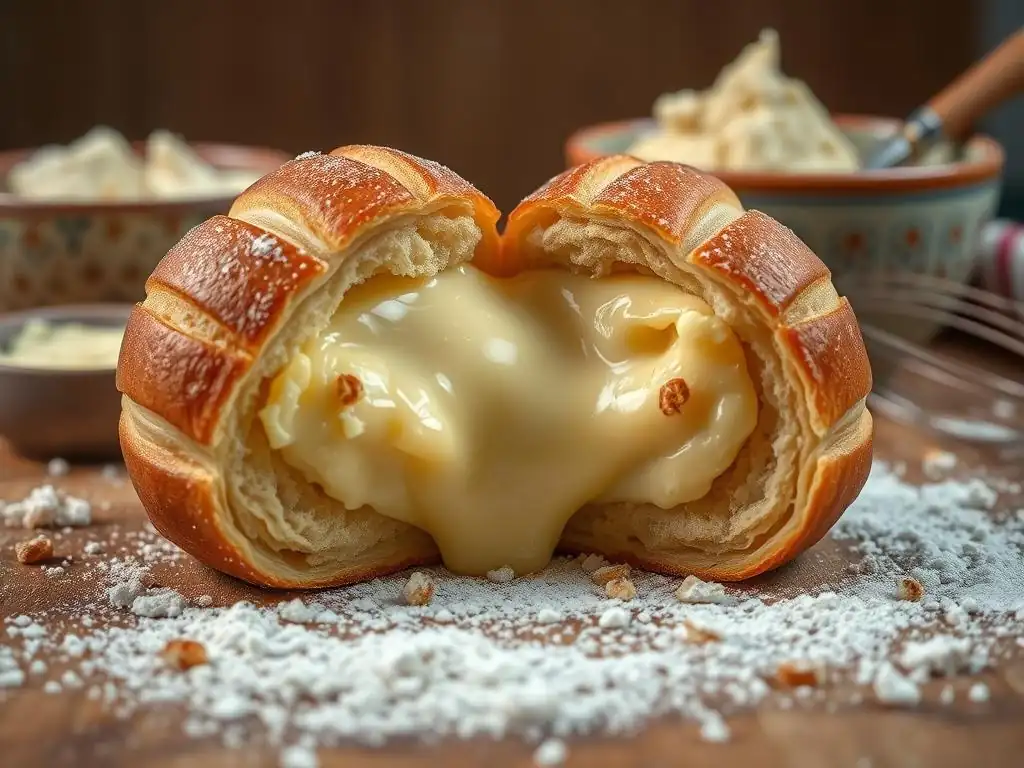
The creamy cheese filling is what truly defines Vatrushka. Made primarily from tvorog, it provides a delightful contrast in texture and flavor to the soft, sweet dough. Getting the filling right is essential for an authentic tasting sweet Russian cheese bun recipe. We'll cover how to prepare the traditional base and how to sweeten and flavor it to perfection.
The quality of the tvorog significantly impacts the final filling. If you can find traditional Russian tvorog, its slightly dry, crumbly texture is ideal. However, good quality farmer's cheese or even drained cottage cheese can work as substitutes. The goal is a filling that is rich, creamy, and holds its shape during baking, not one that is runny or dry.
Preparing the Traditional Cheese Filling (Tvorog)
To prepare the traditional cheese filling, place the drained tvorog in a medium bowl. Break up any large clumps with a fork or spoon. Add the sugar, egg, and vanilla extract. If your tvorog is very dry, or if you prefer a creamier texture, you can add 1-2 tablespoons of sour cream or heavy cream.
Mix all the ingredients together until well combined and relatively smooth. Some small curds from the tvorog are perfectly fine and traditional. If you prefer a very smooth filling, you can press the tvorog through a sieve or use an immersion blender briefly, but this isn't strictly necessary for an easy Russian cheese bun recipe. Taste the mixture and adjust the sugar if needed – some prefer it sweeter than others. The filling should be thick enough to hold its shape when spooned into the dough indentation.
Sweetening and Flavoring Your Vatrushka Cheese Filling
The basic filling is tvorog, egg, and sugar, but traditional recipes often include additional flavorings to enhance the taste of these sweet Russian cheese pastries. The amount of sugar can be adjusted based on personal preference, typically ranging from 50g to 100g for a batch, depending on how sweet you like your buns.
Popular additions include:
- Raisins: About 1/4 to 1/2 cup of raisins, soaked in warm water or rum for 10 minutes and drained, can be folded into the mixture.
- Citrus Zest: The finely grated zest of half a lemon or orange adds a bright, fresh note that pairs wonderfully with the cheese.
- Vanilla: A teaspoon of vanilla extract is standard for adding warmth and sweetness.
- Poppy Seeds: Some recipes include 1-2 tablespoons of poppy seeds for texture and a subtle nutty flavor.
Adding a tablespoon of flour or semolina to the filling is optional but recommended, especially if your tvorog seems a bit wet. This helps the filling set better during baking and prevents it from becoming too runny. Ensure all added ingredients are evenly distributed throughout the creamy cheese filling.
Assembling and Baking Your Easy Vatrushka
With the dough shaped and the creamy cheese filling ready, it's time to bring your sweet Russian cheese pastries together and get them into the oven. Proper assembly and the final rise are important steps to ensure your Vatrushka bakes up light and beautiful. Follow these steps for perfect results from your easy Russian cheese bun recipe.
This stage involves carefully placing the filling into the shaped dough and allowing the buns to proof one last time before baking. The final rise is shorter than the first but is essential for achieving that characteristic puffy dough ring around the filling. Baking at the correct temperature ensures the dough is cooked through and the filling is set and slightly golden.
Filling the Dough with the Cheese Mixture
Once your dough balls have been shaped into rings on the baking sheets, it's time to add the creamy cheese filling. Gently spoon the prepared tvorog mixture into the central indentation of each dough ring. Try to distribute the filling evenly among all the buns.
Fill the well generously, but not overflowing, leaving the dough border clearly defined. A typical amount is about 2-3 tablespoons of filling per bun, depending on the size of the indentation you created. Use the back of a spoon to gently smooth the surface of the filling in each Vatrushka. This ensures an even layer of the creamy cheese filling across the center of the sweet Russian buns.
Second Rise: Ensuring a Light and Fluffy Vatrushka
After filling the Vatrushka, cover the baking sheets loosely with plastic wrap or a clean kitchen towel. Place them back in a warm, draft-free spot for their second rise. This rise is shorter than the first, typically lasting 20-30 minutes.
During this time, the dough border around the filling will puff up significantly, becoming light and airy. The entire bun will look noticeably larger and softer. Don't rush this step; the second rise is crucial for achieving the characteristic light and fluffy texture of authentic sweet Russian cheese pastries. While the dough is rising, preheat your oven to 180°C (350°F). Prepare the egg wash by whisking the reserved egg white with a tablespoon of milk or water.
Baking to Golden Perfection: Time and Temperature Guide
Once the Vatrushka have completed their second rise and the oven is preheated, they are ready to bake. Gently brush the raised dough border of each bun with the egg wash. This helps create a beautiful golden-brown crust during baking. Be careful not to get too much egg wash on the cheese filling itself, as it can make it tough.
Place the baking sheets in the preheated oven. Bake for 20-25 minutes, or until the dough is golden brown and the cheese filling appears set and slightly golden around the edges. Baking time can vary depending on your oven, so keep an eye on them after 20 minutes. The internal temperature of the dough portion should reach around 90-95°C (195-205°F) when fully baked, though a visual check is usually sufficient for this easy Russian cheese bun recipe. Once baked, transfer the Vatrushka to a wire rack to cool slightly before serving.
Tips for Perfect Vatrushka: Achieve Baking Success
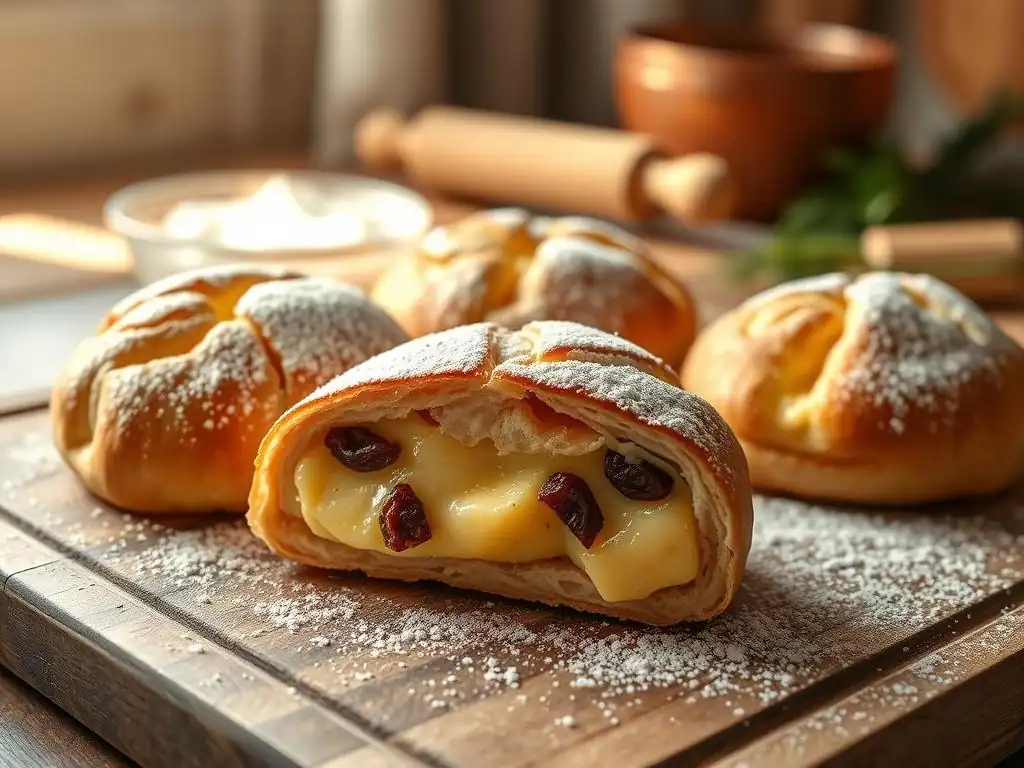
Even with an easy recipe, a few common pitfalls can affect the outcome of your sweet Russian cheese pastries. Being aware of these can help you avoid mistakes and achieve the best possible results. Paying attention to dough consistency, rising times, and oven temperature are key factors.
Additionally, understanding how to handle the tvorog filling and how different additions might affect its texture will contribute to a successful bake. This section offers practical advice to help you troubleshoot and perfect your easy Russian cheese bun recipe, ensuring consistently delicious Vatrushka every time you bake.
Avoiding Common Mistakes When Making Russian Cheese Buns
Here are some common issues and how to prevent them when making your easy Russian cheese bun recipe:
- Dough not rising: This is usually due to inactive yeast or milk that was too hot or too cold. Ensure your yeast is fresh and the milk temperature is between 40-45°C (105-115°F). Also, make sure your rising environment is warm and draft-free.
- Dry or tough dough: This can happen if you add too much flour during mixing or kneading, or if the dough is over-kneaded. The dough should be soft and slightly sticky before the first rise. Use a kitchen scale for more accurate flour measurement if possible.
- Filling is too runny: This is often because the tvorog wasn't drained properly or there wasn't enough binding agent (egg, flour, or semolina). If your tvorog is wet, drain it thoroughly. Adding a tablespoon of flour or semolina to the filling mixture helps it set better.
- Filling overflowing: This happens if the indentation in the dough is not deep or wide enough, or if too much filling is added. Make a firm, clear indentation and don't overfill the wells.
- Buns are pale or unevenly browned: Ensure your oven is properly preheated and consider rotating the baking sheets halfway through the baking time for even browning. The egg wash also helps achieve a nice golden color.
Variations and Additions to Your Vatrushka Recipe: Adding Raisins, Citrus Zest, or Poppy Seeds
While the basic sweet Russian cheese bun recipe is delicious on its own, incorporating variations can add extra layers of flavor and texture. These additions are traditional in many Vatrushka recipes and are easy to incorporate into the creamy cheese filling.
- Raisins: As mentioned earlier, soaking 1/4 to 1/2 cup of raisins and stirring them into the tvorog filling is a very classic variation. The sweetness and chewiness of the raisins complement the cheese beautifully.
- Citrus Zest: Adding the finely grated zest of half a lemon or orange introduces a bright, slightly tangy aroma and flavor that cuts through the richness of the cheese. It adds a lovely freshness to the sweet Russian cheese pastries.
- Poppy Seeds: Mix 1-2 tablespoons of poppy seeds into the filling for a subtle nutty flavor and a pleasant crunch. Some recipes also incorporate poppy seeds into the dough itself, or make a separate poppy seed filling, but adding them to the cheese filling is a simple variation for this easy Russian cheese bun recipe.
Feel free to experiment with combining these additions, such as adding both raisins and lemon zest. Just ensure the total volume of additions doesn't make the filling too wet or difficult to manage.
Serving and Storing Your Homemade Vatrushka
The best way to enjoy Vatrushka is undoubtedly when it's fresh and still slightly warm from the oven. The dough is at its softest, and the creamy cheese filling is perfectly set but still tender. Serving them simply, perhaps with a glass of milk or tea, allows the wonderful flavors and textures of these sweet Russian cheese pastries to shine.
However, if you can't devour them all at once, proper storage will help keep your homemade Vatrushka delicious for a few days. With the right method, you can enjoy the fruits of your easy Russian cheese bun recipe effort beyond just the baking day.
Enjoying Freshly Baked Russian Cheese Buns
As soon as the Vatrushka are cool enough to handle, they are ready to be enjoyed. The aroma filling your kitchen is an invitation in itself! Serve them warm or at room temperature. They make a wonderful addition to a breakfast table, a delightful snack with afternoon tea, or a simple yet satisfying dessert.
Often, they are served plain, allowing the natural sweetness of the dough and the creamy tang of the tvorog filling to be the main focus. Some people like to dust them lightly with powdered sugar, although the traditional Vatrushka is usually left unadorned except for the golden crust and filling. Share them with family and friends – homemade sweet Russian cheese pastries are always a welcome treat.
Proper Storage for Keeping Vatrushka Soft and Delicious
If you have leftover Vatrushka, it's important to store them correctly to maintain their freshness and soft texture. Once completely cooled, store the buns in an airtight container at room temperature. They will keep well for 2-3 days.
For longer storage, you can refrigerate them for up to a week. However, refrigeration can sometimes slightly alter the texture of the dough, making it a bit firmer. To refresh refrigerated Vatrushka, a quick warm-up in a microwave for 10-15 seconds or in a preheated oven at 150°C (300°F) for 5-10 minutes can help restore some of their initial softness. You can also freeze baked Vatrushka for up to 2-3 months.
Wrap individual buns tightly in plastic wrap, then place them in a freezer bag or container. Thaw at room temperature and warm gently before serving. Storing them properly ensures you can savor your easy Russian cheese bun recipe creation over time.
More Eastern European Baking Recipes from BakeWithEase
Exploring Eastern European baking opens up a world of delicious possibilities beyond just Vatrushka. The region boasts a rich tradition of both sweet and savory pastries, breads, and cakes, many of which share similarities in ingredients and techniques, such as the use of yeast dough and cheese fillings. If you enjoyed making these sweet Russian cheese pastries, you'll likely find joy in tackling other recipes from this diverse culinary landscape.
At BakeWithEase, we're passionate about making global baking accessible to everyone. Our collection includes a variety of recipes from this region, perfect for expanding your baking repertoire. Each recipe is designed with clear, easy-to-follow instructions, helping you confidently explore new flavors and techniques in your own kitchen.
Explore Other Delicious Bakes: Eastern European Desserts
Eastern European desserts are known for their comforting flavors, often featuring ingredients like poppy seeds, nuts, fruit preserves, and cheese curds. Beyond Vatrushka, many other sweet treats are popular across countries like Ukraine, Poland, and Belarus.
Consider trying your hand at Pirozhki, small baked or fried buns with various sweet or savory fillings, often including fruit or farmer's cheese. Makowiec, a Polish poppy seed roll, or Rogaliki, crescent-shaped cookies often filled with jam or nuts, are also delightful options. Many of these recipes utilize similar yeast dough techniques as our easy Russian cheese bun recipe, making them a natural next step in your baking journey. Exploring these desserts provides a deeper appreciation for the regional baking heritage.
If you loved the creamy cheese filling in Vatrushka but are looking for a quicker treat, Syrniki are a perfect related recipe to try. Syrniki are small, fried pancakes made from tvorog, flour, egg, and sugar. They have a texture similar to ricotta fritters but with the distinct tang of tvorog.
Unlike Vatrushka, which requires working with yeast dough and baking, Syrniki can be mixed and cooked in minutes, making them ideal for a quick breakfast or snack. They are typically pan-fried until golden brown and served with sour cream, jam, honey, or fresh berries. Mastering this easy Russian cheese bun recipe gives you a head start with handling tvorog, which is the main ingredient in Syrniki, making it a fantastic next step for exploring Russian cheese-based treats.
Frequently Asked Questions
What exactly is a Vatrushka, and how is it different from other sweet buns?
A Vatrushka is a traditional Russian cheese bun. The key difference lies in its open-faced design and the sweet cheese filling, often made with farmer's cheese or ricotta.
Is this "Easy Russian Cheese Bun Recipe" really suitable for beginner bakers?
Yes, this recipe is designed with beginners in mind. It features simple, step-by-step instructions and uses easy-to-find ingredients readily available in most grocery stores.
Can I substitute ingredients in the cheese filling, and if so, what are some good options?
Yes, substitutions are possible! You can experiment with different cheeses like cream cheese or mascarpone for a richer flavor. Also, adding lemon zest or vanilla extract can enhance the taste.
How should I store leftover Vatrushkas to keep them fresh?
Store leftover Vatrushkas in an airtight container at room temperature for up to two days, or in the refrigerator for up to a week. For longer storage, you can freeze them.
What are some tips for achieving a perfectly golden-brown color on the Vatrushkas?
Brushing the buns with an egg wash (egg yolk mixed with a little milk or water) before baking is crucial. Also, ensure your oven temperature is accurate and don't overcrowd the baking sheet.
Final Reflection: The Enduring Comfort of a Simple Vatrushka
The humble vatruska, a seemingly simple cheese bun, speaks volumes about the power of tradition and the enduring comfort of familiar flavors. Its ease of preparation belies a rich history and cultural significance, making it more than just a recipe; it's a connection to heritage and a celebration of simple pleasures. In a world increasingly dominated by complex culinary creations, the vatruska reminds us of the beauty found in simplicity.
The enduring appeal of this recipe lies not just in its deliciousness, but in its ability to bridge generations and cultures. It's a recipe easily shared, passed down, and adapted, reflecting the adaptability and resilience of culinary traditions. Food is symbolic of love when words are inadequate.
– Alan D. Wolfelt. This quote perfectly encapsulates the emotional connection we forge with food, and the vatruska, with its warm, cheesy heart, is a potent symbol of that connection. It’s a taste of home, wherever that home may be.
Now, I invite you to step into your kitchen and experience the magic of creating these delightful buns. Don't be intimidated by the seemingly simple instructions; allow yourself to be present in the process, to savor the aromas, and to appreciate the joy of creating something delicious and meaningful. The vatruska is more than just a recipe; it's an invitation to connect with your culinary heritage, to share a taste of warmth with loved ones, and to find comfort in the simple things.
So, gather your ingredients, preheat your oven, and embark on this delicious journey. The reward? A taste of tradition, a moment of connection, and a truly satisfying, easy Russian cheese bun.
Unleash Your Inner Baker: Craft These Delicious Vatrushkas!
Thanks for joining us on this delicious journey into the world of Russian baking! We hope you've gained a newfound appreciation for the simplicity and delightful taste of these sweet cheese buns. Ready to bring that Vatrushka magic to your kitchen?
- Bake a batch of your own: Use the recipe above to create these delightful treats – they’re easier than you think! Imagine the joy of sharing these warm, cheesy buns with friends and family.
- Share your creations: Snap a picture of your finished Vatrushkas and share them on social media using #BakeWithEaseVatrushkas! Let's build a delicious community.
- Experiment with fillings: What other delicious fillings could you imagine in these fluffy buns? Perhaps a fruit compote or even a savory cheese?
What unique twist will you add to your next batch of Vatrushkas? Let's hear your ideas in the comments below!