
Quick Spring Dessert: Individual Fruit Crisps

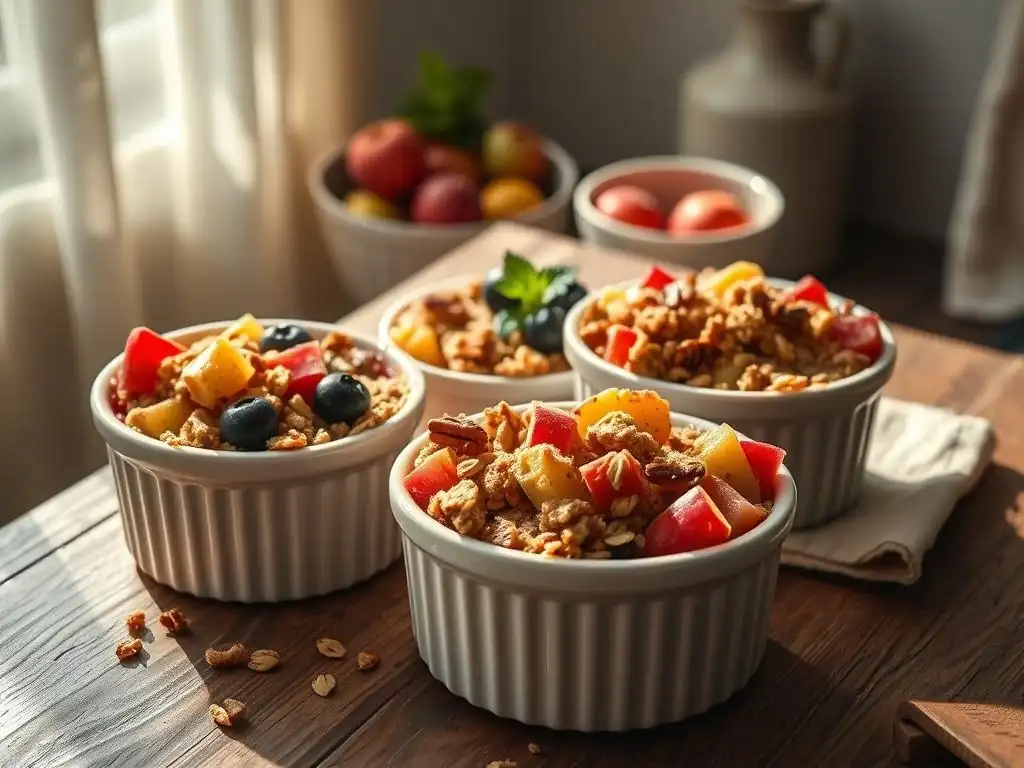
Welcome to BakeWithEase, your kitchen companion for all things baking! Ever dreamt of a simple, stunning dessert that captures the essence of the season? Then you're in the right place. Discover the secrets to crafting an Easy Spring Fruit Crisp that's bursting with flavor and surprisingly simple to make. But that's just a taste of what we offer. Ready to unlock a world of baking possibilities, from perfect pastries to unforgettable cakes? Let's get started!
- Quick Spring Dessert: Individual Apple & Blackberry Crisps - BakeWithEase.com
- Introduction: Celebrate Spring with Easy Individual Apple & Blackberry Crisps
- Mastering the Easy Spring Fruit Crisp Recipe
- Step-by-Step Guide: Baking Your Individual Fruit Crisps
- Tips and Tricks for the Best Spring Fruit Crisp
- Serving and Storing Your Individual Fruit Crisps
- More Easy Spring Baking Recipes from BakeWithEase
- Conclusion: Enjoy Baking Delicious Spring Fruit Crisps!
- Frequently Asked Questions
- Final Reflection: The Sweet Simplicity of Spring
- Unlock the Sweetness of Spring: Make Your Own Fruit Crisp!
Quick Spring Dessert: Individual Apple & Blackberry Crisps - BakeWithEase.com
Introduction: Celebrate Spring with Easy Individual Apple & Blackberry Crisps
BakeWithEase Presents: Your Guide to Simple Spring Baking
Spring is a time for renewal, fresh flavors, and lighter desserts. At BakeWithEase, we believe that delicious baking should be accessible to everyone, regardless of their experience level. That's why we're thrilled to share this delightful recipe for individual fruit crisps, a perfect example of how easy and rewarding spring baking can be. This recipe focuses on simple techniques and readily available ingredients, making it ideal for a weekend project or a quick weeknight treat.
Our goal is to demystify baking, providing clear, step-by-step instructions that build confidence in the kitchen. This individual fruit crisp recipe is designed with simplicity in mind, allowing you to create a beautiful and tasty dessert without fuss. It's a fantastic way to introduce seasonal fruits into your baking repertoire and impress your friends or family with minimal effort. Get ready to discover the joy of creating an easy spring fruit crisp!
Why Individual Fruit Crisps are the Perfect Spring Dessert
Individual fruit crisps offer a charming and convenient way to enjoy a warm dessert. Unlike a large pie or crumble that requires slicing and serving, these single-serving portions are perfect for entertaining or simply enjoying a personal treat. They bake relatively quickly, typically under 30 minutes, which means less time waiting and more time savoring. The small size also ensures optimal crispiness on top and perfectly tender fruit below.
Furthermore, the easy spring fruit crisp is incredibly versatile. It adapts beautifully to whatever fresh fruit is in season. As spring arrives, fruits like rhubarb, strawberries, raspberries, and, as in this recipe, apples and blackberries become readily available, offering vibrant flavors that pair wonderfully with a simple, buttery oat topping. This makes the individual crisp a go-to option for celebrating the bounty of the season without requiring complex pastry skills.
Mastering the Easy Spring Fruit Crisp Recipe
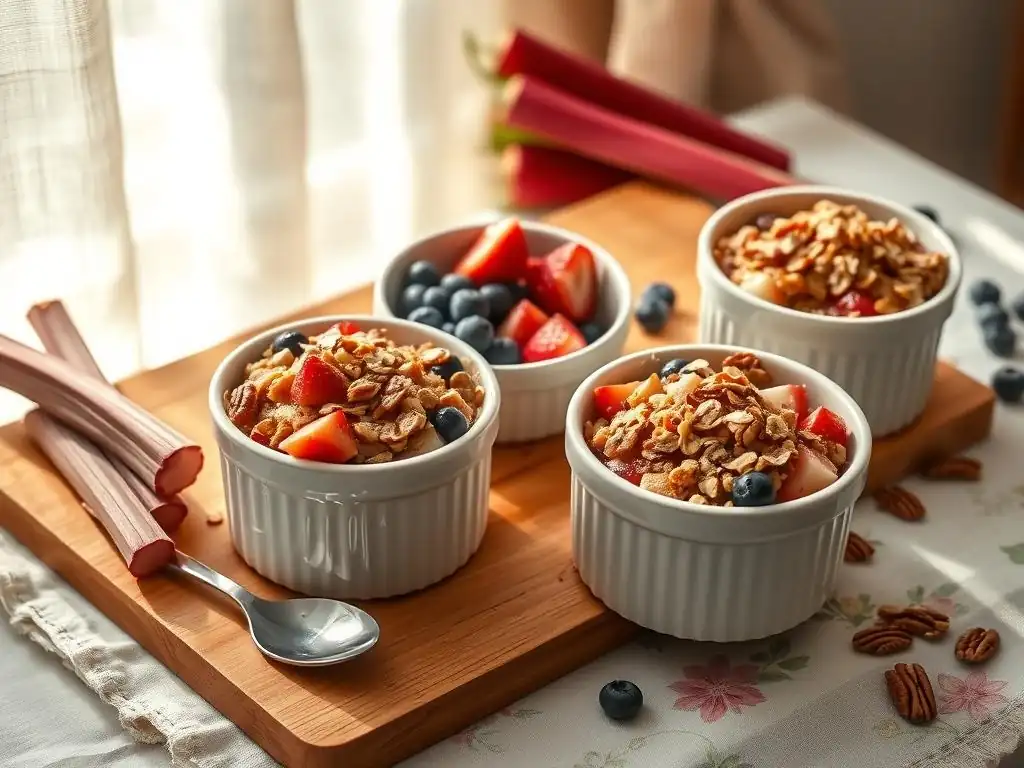
Key Ingredients for Your Individual Fruit Crisps
Creating a delicious individual fruit crisp requires just a few basic ingredients, typically divided between the fruit filling and the crisp topping. For the fruit filling, you'll need your chosen fruits, a touch of sugar (amount depends on the sweetness of the fruit), a thickener like cornstarch or flour, and often a squeeze of lemon juice to brighten the flavors. A pinch of spice, such as cinnamon or nutmeg, can also enhance the fruit's natural taste.
The crisp topping is where the magic happens, providing that delightful texture contrast to the soft fruit. Common ingredients include all-purpose flour, rolled oats (not instant), brown sugar for moisture and caramel notes, granulated sugar for crispness, cold butter cut into pieces, and sometimes a pinch of salt to balance the sweetness. The ratio of these ingredients is key to achieving a crumbly, golden-brown topping. For instance, a standard ratio might be equal parts flour, oats, and sugar, with half that amount in butter.
Choosing the Best Spring Fruits for Your Crisp
The beauty of an easy spring fruit crisp lies in its adaptability to seasonal produce. While this recipe specifically calls for apples and blackberries, other fruits shine in a crisp as spring progresses. Consider using rhubarb, which pairs wonderfully with strawberries, or a medley of berries like blueberries, raspberries, and blackberries. The key is to use ripe, flavorful fruit that will soften and become juicy when baked.
When selecting fruits, think about their texture and juiciness. Fruits like apples hold their shape well, while berries break down more readily. Combining fruits with different textures can create a more interesting filling. For example, the firmness of apples provides structure, while the blackberries add sweetness and a beautiful deep color. Ensure fruits are washed and prepared (peeled, cored, or stemmed) according to the recipe instructions.
Apples & Blackberries: A Classic Combination
Apples and blackberries are a beloved pairing, offering a delightful balance of sweet and tart flavors. Apples, particularly varieties like Honeycrisp, Fuji, or Granny Smith (if you prefer more tartness), provide a firm base that softens beautifully during baking without becoming mushy. They offer a subtle sweetness and classic autumnal comfort, surprisingly well-suited to spring when combined with vibrant berries.
Blackberries, on the other hand, bring a burst of juicy, slightly tart sweetness and a gorgeous deep purple hue to the filling. They break down more readily than apples, creating a luscious, slightly jammy texture that coats the apple pieces. This combination ensures the filling isn't too watery, thanks to the apple's structure, while still being wonderfully moist and flavorful from the berries. It's a simple yet sophisticated blend that makes for a truly enjoyable easy spring fruit crisp.
Step-by-Step Guide: Baking Your Individual Fruit Crisps
Preparing the Fruit Filling: A Simple Spring Recipe
Begin by preparing your fruit. For this apple and blackberry crisp, peel, core, and dice about 2 medium apples into roughly ½-inch pieces. Rinse about 1 cup of fresh blackberries. In a medium bowl, combine the diced apples and blackberries. Add 2-3 tablespoons of granulated sugar (adjust based on fruit sweetness), 1 tablespoon of cornstarch or all-purpose flour (to thicken the juices), and a squeeze of fresh lemon juice (about 1 teaspoon).
Gently toss the fruit mixture to evenly coat everything with the sugar, thickener, and lemon juice. The cornstarch or flour is crucial for preventing a watery filling; it helps the fruit juices thicken into a syrupy sauce as they bake. Ensure the fruit is well-mixed so the thickener is distributed. This simple preparation makes the fruit filling for your easy spring fruit crisp quick and fuss-free.
Making the Crisp Topping: Easy and Delicious
The crisp topping is incredibly simple to make. In a separate bowl, combine 1/2 cup all-purpose flour, 1/2 cup rolled oats, 1/4 cup packed light brown sugar, and 1/4 cup granulated sugar. Add a pinch of salt (about 1/4 teaspoon) and any desired spices like 1/2 teaspoon cinnamon. Whisk these dry ingredients together.
Cut 1/4 cup (half a stick) of cold unsalted butter into small cubes. Add the cold butter cubes to the dry ingredients. Using your fingertips, a pastry blender, or a fork, work the butter into the dry ingredients until the mixture resembles coarse crumbs or small pebbles. Some larger clumps are fine and contribute to the crisp texture. Avoid overmixing; you want the butter to remain somewhat cold to create flakiness and crispness as it bakes.
Assembling and Baking Your Individual Fruit Crisps
Preheat your oven to 375°F (190°C). Lightly grease four 6-ounce ramekins or oven-safe dishes. Divide the prepared fruit filling evenly among the four ramekins, filling them about two-thirds to three-quarters full.
Next, evenly distribute the crisp topping over the fruit in each ramekin, covering the fruit completely. Don't pack the topping down; leave it loose so it can crisp up nicely. Place the filled ramekins on a baking sheet to catch any potential drips during baking – this makes cleanup much easier.
Baking Time and Temperature for Perfect Crisps
Bake the individual fruit crisps in the preheated oven for 25 to 35 minutes. You'll know they're ready when the topping is golden brown and the fruit filling is bubbling around the edges. The bubbling is a key sign that the fruit juices have thickened properly.
Baking at 375°F (190°C) allows the topping to crisp up beautifully while the fruit beneath softens and cooks through. If you notice the topping browning too quickly before the fruit is bubbly, you can loosely tent the ramekins with foil for the last 10-15 minutes of baking. Always check for bubbling fruit to ensure it's cooked through and the thickener has activated.
Tips and Tricks for the Best Spring Fruit Crisp
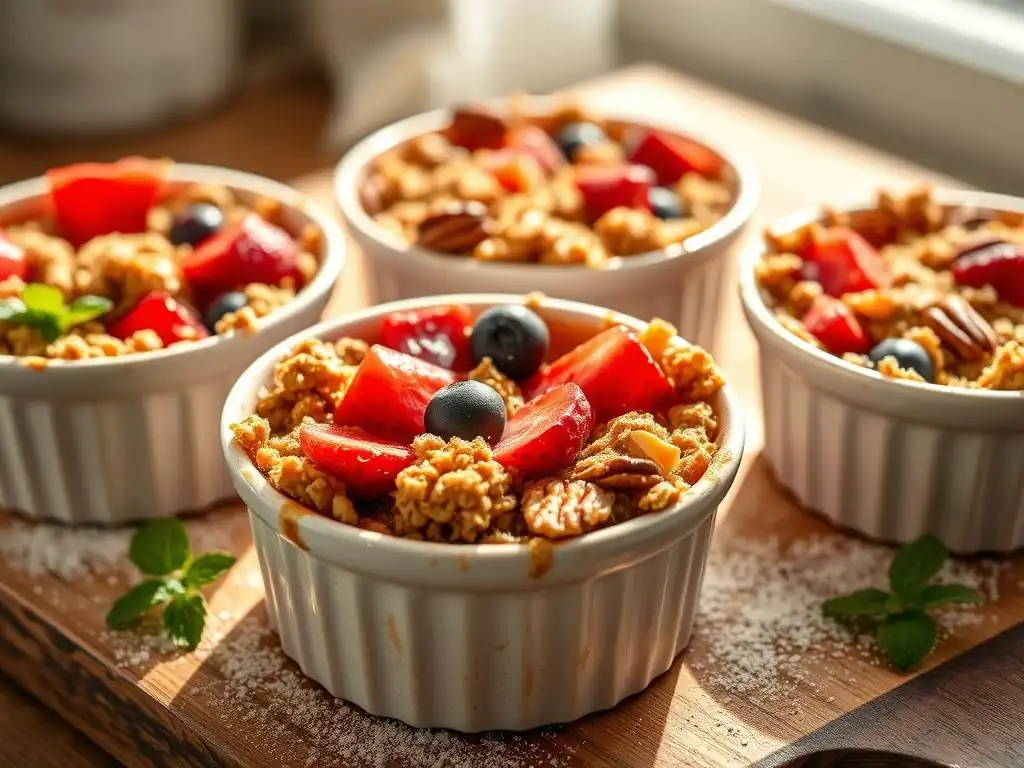
Achieving a Perfectly Golden and Crispy Topping
The secret to a truly irresistible easy spring fruit crisp lies in its topping. Using a combination of flour, oats, and two types of sugar helps create a complex texture – the flour and butter form tender crumbs, the oats add chewiness, and the sugars contribute to browning and crispness. Ensure your butter is cold and cut into small pieces before incorporating it; this prevents it from melting too quickly and results in a more crumbly texture.
Don't overcrowd the ramekins with topping; a relatively even layer allows for consistent baking and browning. If your oven has hot spots, rotate the baking sheet halfway through the baking time for uniform results. For an extra golden finish, you can sprinkle a tiny bit of granulated sugar over the topping just before baking.
Preventing a Soggy Fruit Crisp: Expert Baking Tips
A soggy bottom is the bane of any crisp lover! The primary way to prevent this when making an easy spring fruit crisp is to use a thickener in the fruit filling. Cornstarch or all-purpose flour (as mentioned in the recipe) helps absorb excess liquid released by the fruit as it cooks, turning it into a light sauce rather than a watery pool. The amount needed depends on how juicy your chosen fruit is.
Another tip is to ensure the fruit is evenly coated with the thickener. Tossing gently but thoroughly is key. Also, make sure you bake the crisp long enough for the fruit to bubble actively. This bubbling indicates that the thickener has reached the temperature required to activate and properly thicken the juices. Baking on a sheet pan also allows for better air circulation around the ramekins, aiding in even baking.
Variations and Adaptations: Customize Your Fruit Crisp
One of the great things about an easy spring fruit crisp is how easily it can be customized. While apples and blackberries are fantastic, feel free to experiment with other spring or early summer fruits like sliced peaches, plums, cherries (pitted! ), or a mix of berries. Adjust the sugar amount based on the sweetness of the fruit – tarter fruits like rhubarb will need more sugar than sweet berries.
You can also play with the topping by adding chopped nuts like pecans or walnuts for extra crunch, or a pinch of ginger or cardamom for different spice notes. Consider adding a tablespoon of lemon or orange zest to the fruit filling for a brighter flavor. These simple tweaks allow you to create countless versions of this delightful dessert.
Gluten-Free Apple & Blackberry Crisp Option
Making a gluten-free version of this easy spring fruit crisp is straightforward. Simply substitute the all-purpose flour in the crisp topping with a gluten-free all-purpose flour blend. Ensure the blend contains a binder like xanthan gum, or add about 1/2 teaspoon of xanthan gum per cup of flour substitute if it doesn't.
For the oats, make sure you use certified gluten-free rolled oats, as regular oats can be cross-contaminated with wheat during processing. Follow the rest of the recipe instructions as written. The baking time and temperature should remain the same, resulting in a delicious gluten-free individual crisp.
Vegan Apple & Blackberry Crisp Option
To make this easy spring fruit crisp vegan, the main substitution needed is the butter in the crisp topping. Replace the cold unsalted butter with an equal amount of cold vegan butter or solid coconut oil. Ensure the vegan butter or coconut oil is cold and cut into small pieces, just like you would with dairy butter.
Combine the vegan butter substitute with the dry ingredients using your fingers or a pastry blender until coarse crumbs form. The rest of the ingredients (fruit, sugar, thickener, spices, oats, flour) are typically already vegan. Bake as directed; the result will be a wonderfully crispy and flavorful vegan dessert.
Serving and Storing Your Individual Fruit Crisps
Serving Suggestions: Warm or Cold?
Individual fruit crisps are arguably best served warm, shortly after they've come out of the oven. The warm, bubbling fruit filling is perfectly complemented by the crisp, golden topping. Serving warm also enhances the aroma of the fruit and spices.
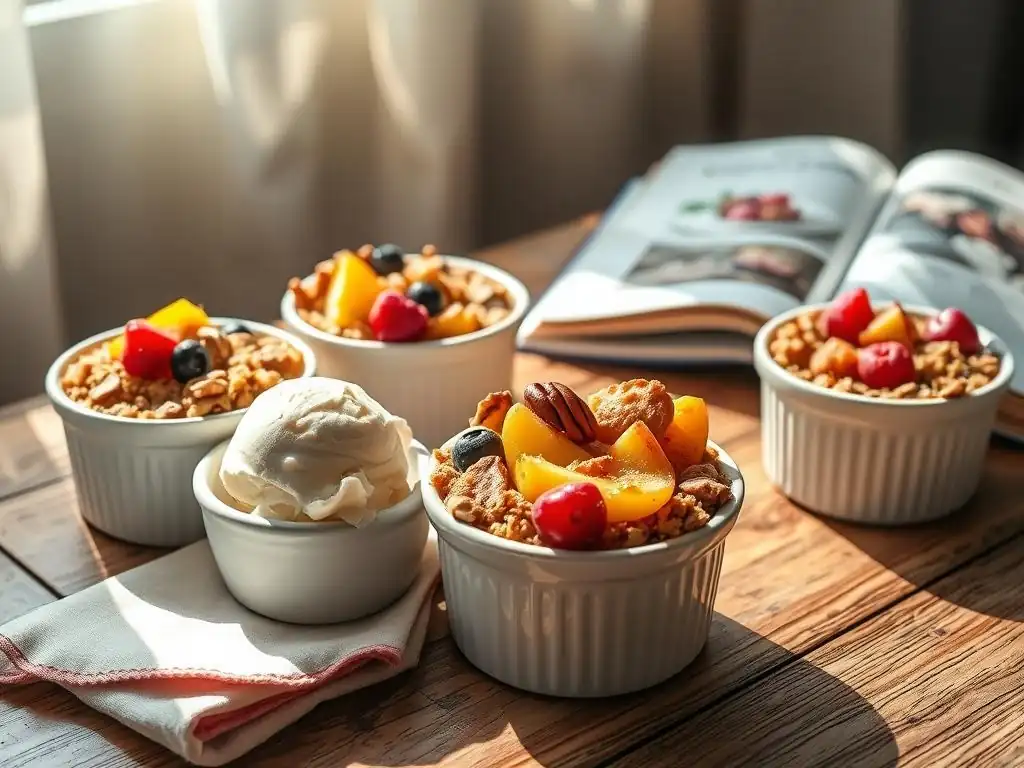
For an extra indulgent treat, serve your warm easy spring fruit crisp with a scoop of vanilla ice cream or a dollop of whipped cream. The contrast between the warm crisp and the cold, creamy topping is absolutely delightful. If serving to guests, placing each ramekin on a small plate adds an elegant touch.
Storing Leftover Fruit Crisps: Keep Them Fresh
While individual crisps are often enjoyed immediately, you might have leftovers. To store them, let the crisps cool completely to room temperature. Covering warm crisps will create condensation, making the topping soggy.
Once cooled, cover the ramekins tightly with plastic wrap or transfer the crisps to an airtight container. Store them in the refrigerator for up to 3-4 days. To reheat, you can microwave them for 30-60 seconds, but this will soften the topping. For a crisper topping, reheat in a preheated oven or toaster oven at 350°F (175°C) for about 10-15 minutes, or until warmed through and the topping is crisp again.
More Easy Spring Baking Recipes from BakeWithEase
Explore Our Collection of Spring Desserts
If you've enjoyed making this easy spring fruit crisp, you'll find plenty more inspiration in our collection of spring baking recipes. We feature a variety of desserts that highlight seasonal ingredients and simple techniques. From light and airy cakes featuring berries to bright, zesty lemon bars and delicate floral-infused cookies, there's something to suit every taste and skill level.
Discover recipes perfect for spring gatherings, holiday brunches, or simply enjoying a sweet treat at home. Each recipe on BakeWithEase.com is crafted with clarity and ease in mind, ensuring you have a successful and enjoyable baking experience.
Conclusion: Enjoy Baking Delicious Spring Fruit Crisps!
BakeWithEase: Your Partner in Easy and Delicious Baking
Baking an easy spring fruit crisp is a wonderful way to embrace the flavors of the season and create a comforting, delicious dessert with minimal effort. This individual apple and blackberry crisp recipe is a perfect starting point, offering a simple process and delightful results. The combination of tender, juicy fruit and a perfectly crispy topping is truly satisfying.
At BakeWithEase, we are passionate about empowering you to bake with confidence and joy. We hope this guide inspires you to try this simple spring recipe and perhaps explore other variations. Remember, baking should be fun and rewarding. With clear instructions and a focus on ease, we're here to help you create delicious moments in your kitchen, one easy spring fruit crisp at a time. Happy Baking!
Frequently Asked Questions
What makes this fruit crisp recipe "easy"?
This recipe focuses on simple ingredients and a straightforward method, making it perfect for beginner bakers. There's no need for fancy equipment or complicated techniques.
Can I use frozen fruit instead of fresh fruit?
Yes, you can use frozen fruit! Be sure to thaw and drain any excess liquid before adding it to the crisp. This will prevent a soggy crisp.
What other fruits work well in this crisp besides the ones listed?
Feel free to experiment! Berries like strawberries, blueberries, and raspberries are excellent choices. Stone fruits such as peaches or plums also work wonderfully.
How can I make this crisp healthier?
Reduce the amount of sugar used in both the fruit filling and the topping. You can also substitute whole wheat flour or oat flour for some of the all-purpose flour.
How long can I store leftover fruit crisp?
Leftover fruit crisp can be stored in an airtight container in the refrigerator for up to 3 days. Reheat gently in the oven or microwave before serving.
Final Reflection: The Sweet Simplicity of Spring
The ease and joy of baking a fruit crisp shouldn't be underestimated; it's a perfect blend of simple preparation and delightful results, a sentiment perfectly suited to the vibrant energy of spring. This recipe, designed for individual servings, takes the classic comfort of a fruit crisp and makes it even more accessible, perfect for busy weeknights or spontaneous gatherings. The beauty lies not just in the delicious outcome, but in the process itself – a moment of mindful creation amidst the rush of daily life.
The enduring appeal of fruit crisps, I believe, lies in their ability to evoke feelings of warmth and nostalgia. They’re a versatile canvas for seasonal fruits, allowing for endless variations and creative expression. The simple act of assembling the ingredients, the comforting aroma during baking, and the satisfying crunch of the topping all contribute to a sensory experience that transcends mere sustenance. Baking is at once child's play and adult joy. And love, of course.
– Paul Prudhomme. This quote perfectly captures the essence of this simple dessert; it's a joyful activity that connects us to something deeper.
Now, I invite you to embrace the simplicity of this recipe. Don't be afraid to experiment with different fruits, spices, or even gluten-free alternatives. Let the process of creating these individual fruit crisps be a moment of self-care, a small act of kindness towards yourself and perhaps even a delightful treat to share with loved ones. This spring, let the sweet simplicity of a perfectly baked crisp remind you to savor the small joys and find beauty in the everyday.
Unlock the Sweetness of Spring: Make Your Own Fruit Crisp!
Thanks for spending some time with us and learning how to whip up these delightful individual fruit crisps! You've now got a delicious and easy dessert recipe in your arsenal, perfect for spring gatherings or a quiet night in. Ready to take your baking to the next level?
- Bake a batch today! Use the recipe as a springboard; experiment with different fruits and spices to create your own signature crisp.
- Share your creations! Post a picture of your fruit crisps on social media and tag us – we'd love to see your delicious results!
- Explore our other spring recipes: Dive into our extensive recipe collection for even more seasonal inspiration and baking joy.
What's your favorite spring fruit to use in a crisp? Let us know in the comments below!