
Kouignamann: The Buttery, Sugary Delight from Brittany

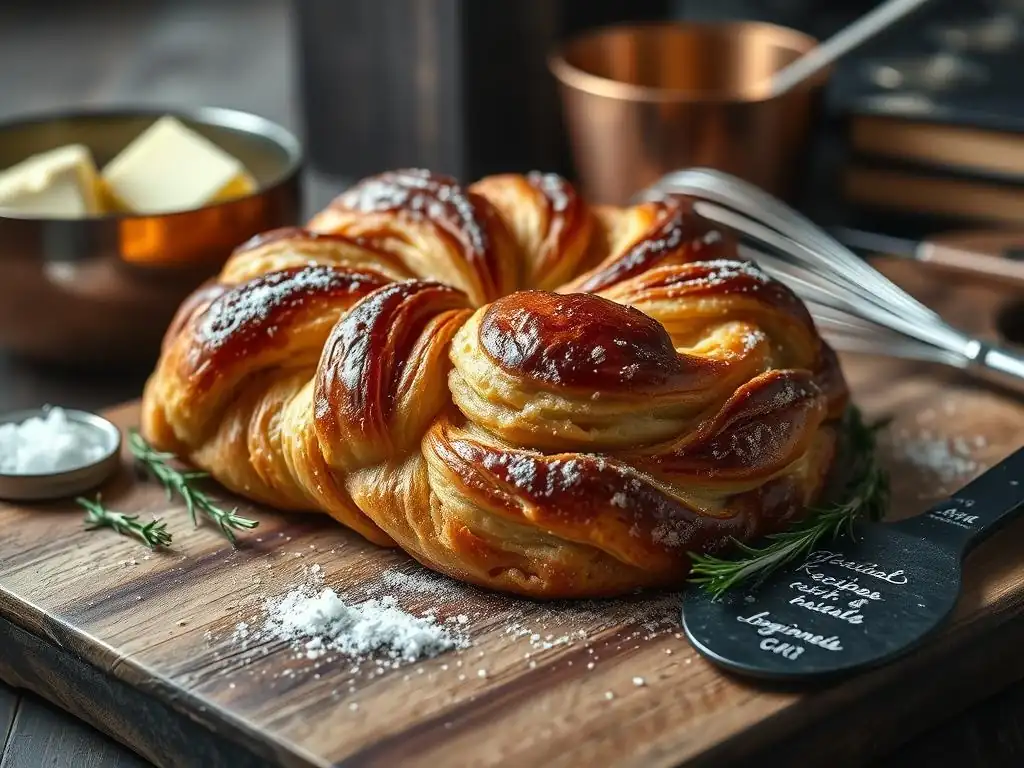
Welcome to BakeWithEase, your guide to baking brilliance! Ever dreamt of creating those unbelievably flaky, caramelized pastries you see in bakeries? Prepare to be amazed! This week, we're diving into the delectable world of Kouignamann, a buttery, sugary delight hailing from Brittany. Intrigued? Our Kouignamann recipe for beginners breaks down this seemingly complex treat into surprisingly manageable steps. Unlock the secrets to perfect lamination and achieve that irresistible crispy, caramelized crust. Ready to embark on a baking adventure? Let's get started!
- What is Kouignamann? Exploring the Origins of this Breton Pastry
-
Kouignamann Recipe for Beginners: A Step-by-Step Guide
- Ingredients: Flour, Butter, Sugar, Water, Yeast, Salt
- Essential Equipment: Rolling Pin, Baking Sheet, Parchment Paper
- Step 1: Preparing the Dough: Combining Ingredients and First Proof
- Step 2: Butter Lamination: Folding and Rolling for Layer Development
- Step 3: Shaping the Pastries: Individual or Ring-Shaped Kouignamann
- Step 4: Baking: Temperature and Time for Golden Brown Perfection
- Tips and Tricks for Perfect Kouignamann Every Time
- Serving and Storing Your Homemade Kouignamann
- Kouignamann vs. Other French Pastries: A Comparison
- Advanced Techniques: Taking Your Baking to the Next Level
- Kouignamann Recipe Variations: From Classic to Creative
- Perfecting Your Kouignamann: A Baker's Journey
- Frequently Asked Questions
- Final Reflection: A Sweet Legacy, A Delicious Future
- Unleash Your Inner Breton Baker!
What is Kouignamann? Exploring the Origins of this Breton Pastry
A Brief History: Douarnenez Origins and Baker Yves-René Scordia
The Kouignamann, a name that translates roughly to "butter cake" in Breton, hails from the coastal town of Douarnenez in Brittany, France. Its creation is often attributed to baker Yves-René Scordia around 1860. Legend has it that due to a shortage of bread, Scordia improvised using excess dough, butter, and sugar he had on hand.
The result was this uniquely rich and caramelized pastry, which quickly gained local popularity. The story emphasizes the resourcefulness born out of necessity, leading to an accidental masterpiece that has since become a celebrated part of French culinary heritage, specifically from the Finistère region of Brittany.
This accidental invention became a staple, showcasing the abundance of butter and sugar available in the region. The process, involving multiple folds similar to puff pastry but with generous layers of sugar and butter incorporated directly into the dough layers, created a distinct texture and flavor profile. Initially a local secret, the Kouignamann's fame gradually spread, first within Brittany, then throughout France, and eventually internationally. Its rise to prominence highlights how simple ingredients, combined with a specific technique, can create a profoundly delicious and enduring pastry.
Key Characteristics: Crispy Exterior, Soft Interior, and Caramelized Flavor
A true Kouignamann is immediately identifiable by its distinct appearance and texture. When properly baked, the exterior is deeply golden brown, often with visible layers of caramelized sugar creating a crackly, almost brittle crust. This crust is the result of the sugar melting and caramelizing during the high-temperature baking process, forming a sweet, crisp shell that encases the softer interior. The edges and bottom can become particularly dark and crisp, adding to the textural contrast.
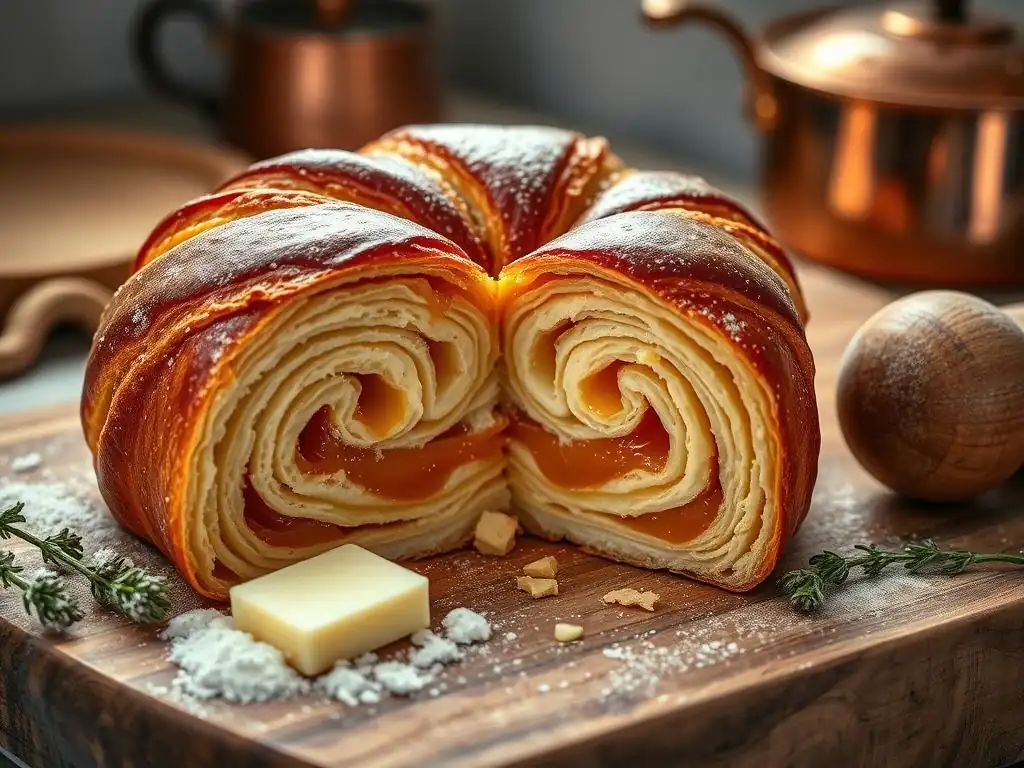
Beneath the caramelized shell lies a tender, moist, and buttery interior. The dough layers, separated by generous amounts of butter and sugar before baking, expand and create a soft, airy structure. The melted butter permeates the dough, contributing to its richness and moisture. The interplay between the intensely sweet, crisp exterior and the soft, buttery inside is the hallmark of a great Kouignamann. The flavor is profoundly buttery with a deep, complex sweetness from the caramelization, sometimes carrying subtle notes of toasted sugar and baked dough.
Kouignamann Recipe for Beginners: A Step-by-Step Guide
Ingredients: Flour, Butter, Sugar, Water, Yeast, Salt
To make a basic Kouignamann, a relatively simple set of ingredients is required, focusing on quality for the best results. You'll need all-purpose flour, ideally around 500 grams for a standard batch, providing the structure for the dough. Unsalted butter is crucial, and you'll need a significant amount – often equal in weight or slightly less than the flour, perhaps 400-500 grams, chilled and cut into pieces or a block for lamination. The high butter content is key to the pastry's richness and layers.
Granulated sugar, approximately 300-400 grams, is incorporated both into the dough initially and generously between the layers during lamination, contributing to sweetness and the essential caramelization. Water, about 250-300 ml, helps hydrate the dough and activate the yeast. A small amount of active dry or instant yeast, typically 7-10 grams, provides leavening, giving the pastry a light, airy texture. Finally, a pinch of salt, around 8-10 grams, balances the sweetness and enhances the overall flavor. Using high-quality butter is particularly important for a rich, clean taste.
Essential Equipment: Rolling Pin, Baking Sheet, Parchment Paper
Attempting a Kouignamann recipe for beginners requires a few basic tools commonly found in most kitchens. A sturdy rolling pin is indispensable for rolling out the dough and the butter block evenly during the lamination process. A standard wooden or marble rolling pin works well, allowing you to apply consistent pressure to create thin, even layers. The goal is to roll the dough to a thickness of roughly 5-7 mm initially, and even thinner, around 3-4 mm, after each fold.
You will also need one or more baking sheets, typically standard half-sheet pans (approximately 18x13 inches or 46x33 cm), to bake the pastries. Lining these sheets with parchment paper is essential. Parchment paper prevents the sugary, buttery pastries from sticking to the pan as they bake and the sugar caramelizes. It also makes cleanup significantly easier. While not strictly essential, a sharp knife or pastry wheel for cutting the shaped pastries and a kitchen scale for precise ingredient measurements (especially the butter and sugar) are highly recommended for achieving consistent results with this beginner Kouignamann recipe.
Step 1: Preparing the Dough: Combining Ingredients and First Proof
The first step in this Kouignamann recipe for beginners is to create the basic yeast dough. In a large bowl, combine the measured flour and salt. In a separate bowl or jug, warm the water slightly (around 100-110°F or 38-43°C) if using active dry yeast, then stir in the yeast and a pinch of sugar.
Let it sit for 5-10 minutes until foamy, indicating the yeast is active. If using instant yeast, you can often mix it directly with the flour. Pour the yeast mixture and the remaining water into the flour mixture and stir until a shaggy dough forms.
Turn the dough out onto a lightly floured surface and knead for about 5-8 minutes until it is smooth and elastic. Avoid overworking the dough at this stage. Place the dough in a lightly oiled bowl, cover it with plastic wrap or a damp cloth, and let it rise in a warm place until it has roughly doubled in size. This typically takes about 60-90 minutes, depending on the room temperature. This initial proof develops flavor and structure before the butter is incorporated in the next crucial step of this beginner Kouignamann recipe.
Step 2: Butter Lamination: Folding and Rolling for Layer Development
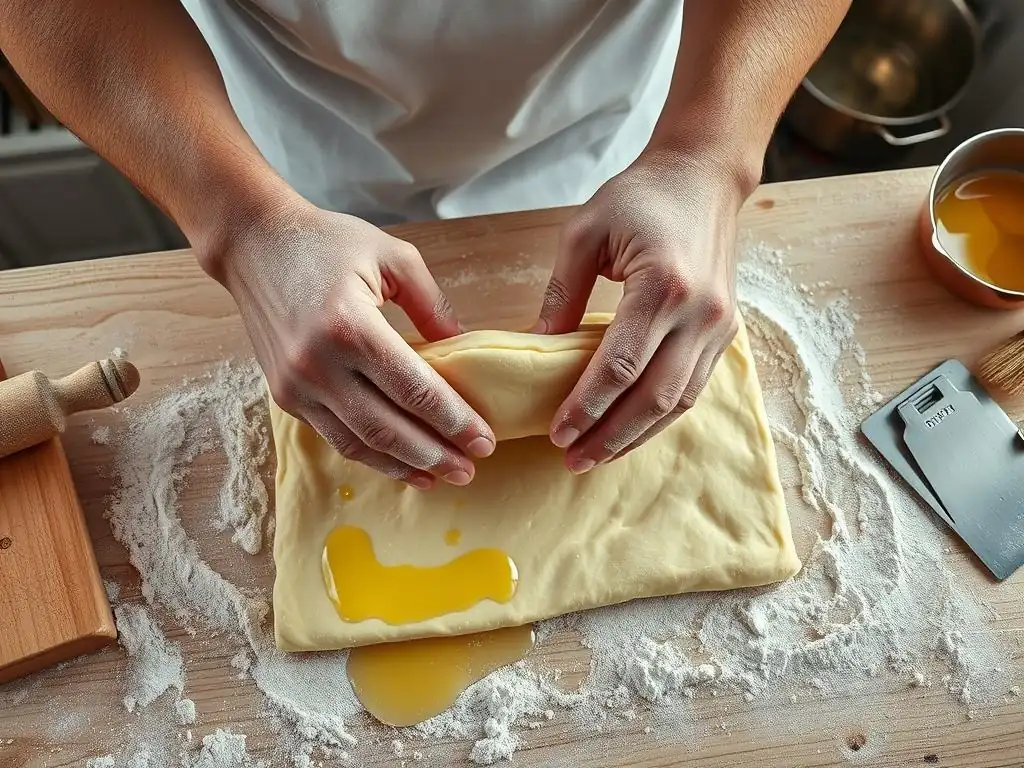
Lamination is the heart of the Kouignamann recipe for beginners, creating the signature layers. First, prepare your butter block: place the chilled butter between two sheets of parchment paper and pound it with your rolling pin, then roll it into a rectangle, roughly two-thirds the size of your rolled-out dough. Chill the butter block until firm but pliable.
Gently punch down the proofed dough, roll it into a rectangle about three times as long as the butter block and slightly wider. Place the butter block on one half of the dough, leaving a margin. Fold the other half of the dough over the butter, sealing the edges.
Now, perform the folds. Roll the dough rectangle out gently to about 1/4 inch (6-7 mm) thickness. Sprinkle sugar generously over the surface. Fold the dough into thirds like a letter (a "single fold").
Wrap the dough tightly in plastic wrap and chill for at least 30-60 minutes to firm up the butter and relax the gluten. Repeat this process two more times (a total of three single folds), incorporating more sugar on the surface before each fold and chilling between folds. Some traditional Kouignamann recipes use a "double fold" (folding both ends to the center, then folding in half) and incorporate sugar between the layers during lamination, which is a key difference from croissants. For a beginner Kouignamann recipe, starting with single folds and surface sugar is often simpler.
Step 3: Shaping the Pastries: Individual or Ring-Shaped Kouignamann
After the final fold and chilling period, the dough is ready for shaping in this Kouignamann recipe for beginners. On a lightly sugared surface (instead of floured, to encourage caramelization), roll the dough out into a rectangle about 1/4 inch (6-7 mm) thick. For individual pastries, cut the rectangle into squares, typically around 4-5 inches (10-12 cm) per side. Sprinkle additional sugar generously over each square.
To shape the classic individual Kouignamann, fold the four corners of each square towards the center, overlapping slightly. You can then fold the points up again towards the center to create a more rounded, layered shape. Pinch the seams gently to hold them together.
Alternatively, you can cut the dough into strips and roll them into a spiral or twist them into knots. For a traditional large ring-shaped Kouignamann, roll the entire dough rectangle into a circle or large square, sprinkle with sugar, and fold it in half or quarters before placing it in a round pan, often a cake pan or tart pan, pressing it gently into shape. The individual shapes are often placed in muffin tins or ramekins to help them hold their form and contain the melting butter and sugar during baking.
Step 4: Baking: Temperature and Time for Golden Brown Perfection
Baking is the final, crucial step in this Kouignamann recipe for beginners to achieve that perfect caramelized crust. Preheat your oven to a relatively high temperature, typically between 375°F and 400°F (190°C to 200°C). The high heat helps the butter melt quickly and the sugar to caramelize effectively. Arrange the shaped pastries on the parchment-lined baking sheet, leaving some space between them as they will expand slightly. If using muffin tins or ramekins, place them directly on the baking sheet.
Bake the Kouignamann for approximately 20-35 minutes, or until they are deeply golden brown and the sugar is visibly bubbling and caramelized around the edges. The exact time will vary depending on your oven and the size and shape of your pastries. Keep a close eye on them during the last 10-15 minutes to prevent burning, especially the sugar.
If the tops are browning too quickly, you can loosely tent the pastries with aluminum foil. A perfectly baked Kouignamann will be crisp and caramelized on the outside and soft and tender within, a testament to mastering this beginner Kouignamann recipe.
Tips and Tricks for Perfect Kouignamann Every Time
Mastering Lamination: Preventing Butter Leakage
Lamination, the process of folding butter into dough, is key to Kouignamann's texture, but it can be tricky for beginners. A common issue is butter leaking out during rolling or baking. To prevent this, ensure both your dough and butter block are cold and of similar consistency – pliable but firm. If the butter is too hard, it will tear the dough; if too soft, it will melt into the dough instead of creating distinct layers. Rolling gently and evenly is crucial; avoid pressing down too hard, which can force the butter out the sides.
Proper chilling between folds is absolutely essential. Each chilling period allows the butter to firm up and the gluten in the dough to relax, making the dough easier to roll without tearing and preventing the butter from melting prematurely. Aim for at least 30 minutes of chilling after each fold, and ensure your kitchen isn't excessively warm during the process.
If you notice butter softening while rolling, stop, wrap the dough, and return it to the refrigerator immediately. Maintaining cold temperatures throughout the lamination process is the most critical factor in preventing butter leakage and ensuring well-defined layers in your beginner Kouignamann recipe.
Cold Butter and Dough: Maintaining Proper Temperatures
Maintaining cold temperatures for both your butter and dough is paramount throughout the Kouignamann making process, especially during lamination and shaping. The butter needs to stay firm enough to create distinct layers when folded within the dough. If the butter becomes too warm and soft, it will integrate into the dough rather than remaining in sheets, resulting in a cake-like texture instead of the desired flaky layers. Use high-quality butter with a higher fat content, as it tends to be firmer and easier to work with.
Similarly, the dough must be kept cold to handle the firm butter block and prevent sticking. Cold dough is less sticky and easier to roll thinly without tearing. Work quickly when rolling and shaping, and don't hesitate to return the dough to the refrigerator if it starts to feel warm or sticky. A general guideline is to keep the dough temperature below 50°F (10°C) during lamination. Ensuring everything stays cold is a primary challenge and a key to success when learning this beginner Kouignamann recipe.
Troubleshooting: Soggy Bottoms, Burnt Tops, Uneven Layers
Even with careful execution of a beginner Kouignamann recipe, issues can arise. Soggy bottoms are often caused by insufficient baking time or temperature, or placing the pastries too close together, which traps steam. Ensure your oven is fully preheated to the correct temperature and bake until the bottoms are deeply golden brown and the sugar is caramelized. Using muffin tins or ramekins can help contain the butter and sugar, promoting better caramelization on the bottom.
Burnt tops, while desiring deep caramelization, indicate the oven is too hot or the pastries are too close to the top heating element. Try lowering the oven temperature slightly or moving the baking sheet to a lower rack. If the tops brown much faster than the bottoms, loosely tenting the pastries with aluminum foil after they've reached the desired color can protect them while the rest of the pastry finishes baking. Uneven layers usually stem from inconsistent rolling and folding during lamination; practice makes perfect here, focusing on rolling the dough and butter to even thickness before each fold.
Variations: Adding Vanilla Extract or Lemon Zest
While the classic Kouignamann is known for its pure butter and sugar flavor, small additions can introduce subtle variations. Adding a teaspoon or two of good quality vanilla extract to the initial dough mixture can lend a warm, aromatic undertone that complements the rich butteriness. Vanilla enhances the perception of sweetness and can add complexity without overpowering the main flavors.
Another popular variation involves incorporating citrus zest. Finely grated zest from one lemon or orange added to the dough or even sprinkled between the layers with the sugar can provide a bright counterpoint to the richness. The essential oils in the zest release their fragrance and flavor during baking. For a beginner Kouignamann recipe, starting with just a small amount of zest is recommended to ensure it doesn't dominate the flavor profile. These simple additions allow for personalization while still preserving the core characteristics of the pastry.
Serving and Storing Your Homemade Kouignamann
Serving Suggestions: Warm, with Coffee or Tea
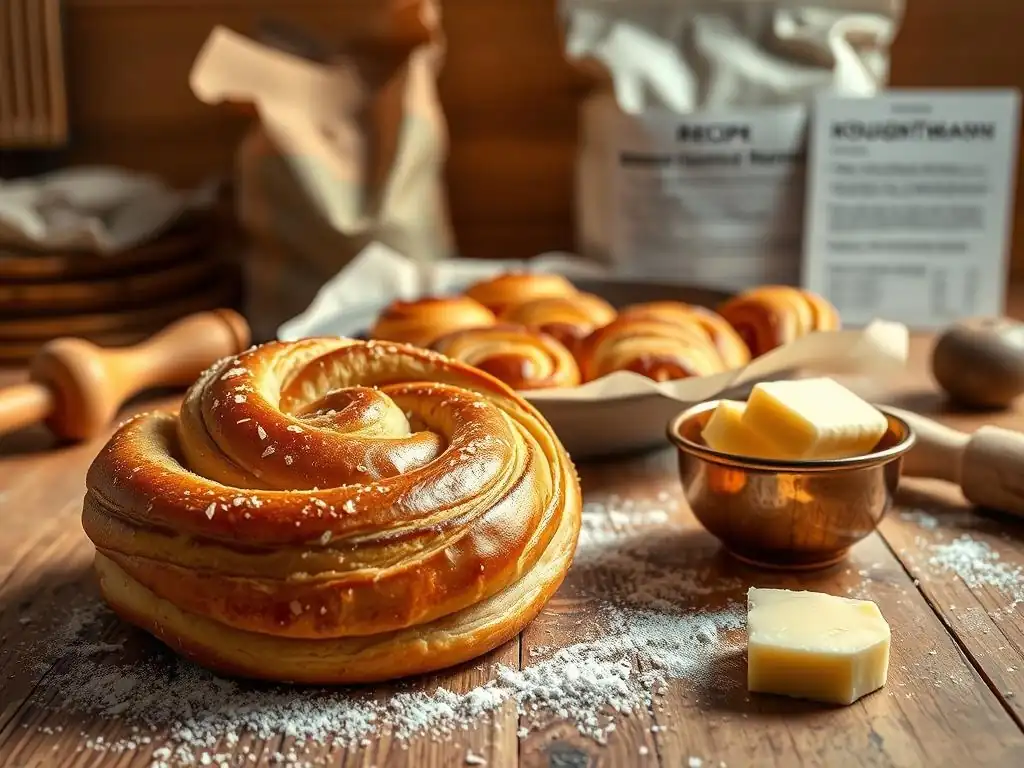
Kouignamann is arguably at its absolute best when served warm, shortly after baking. As it cools slightly from the oven, the caramelized sugar hardens into a crisp, crackly shell, while the interior remains soft and buttery. Serving it warm ensures you experience the full textural contrast – the crisp exterior giving way to the tender, rich inside. The aroma of warm butter and caramel is also intoxicating.
Pairing Kouignamann with a hot beverage is traditional and delightful. A strong cup of coffee provides a slightly bitter contrast to the pastry's intense sweetness and richness. Tea, particularly black tea or a robust herbal blend, also works wonderfully, offering a comforting accompaniment. Enjoying a warm Kouignamann with coffee or tea is a simple pleasure, perfect for breakfast, brunch, or an afternoon treat, making your beginner Kouignamann recipe efforts truly rewarding.
Storage: Best Eaten Fresh, Short-Term Storage Options
Like many laminated pastries, Kouignamann is truly meant to be enjoyed fresh from the oven to experience its peak texture and flavor. The crisp caramelized crust is ephemeral and begins to soften over time as moisture from the interior migrates outwards. For this reason, baking them the day you plan to eat them is highly recommended.
If you have leftovers, short-term storage is possible, though the texture will change. Store cooled Kouignamann in an airtight container at room temperature for up to 1-2 days. To revive some of the crispness, gently reheat the pastry in a toaster oven or a regular oven at around 300°F (150°C) for 5-10 minutes until warmed through and the crust firms up again.
Avoid refrigerating Kouignamann, as this can dry out the dough and make the sugar sticky rather than crisp. Freezing is generally not recommended for the finished pastry, as it significantly impacts the delicate texture, making this beginner Kouignamann recipe best enjoyed fresh.
Kouignamann vs. Other French Pastries: A Comparison
Kouignamann vs. Croissant: Butter Content and Texture
Comparing Kouignamann and croissants highlights key differences in French laminated pastries. Both involve layering butter and dough, but the ratios and techniques differ significantly. A standard croissant dough typically uses a butter-to-flour ratio of around 1:2 or 1:3 (e.g., 250g butter to 500g flour). Kouignamann, however, often uses a ratio closer to 1:1 or even slightly more butter than flour (e.g., 400-500g butter to 500g flour), along with a substantial amount of sugar added between the layers during lamination and shaping.
This difference in composition leads to vastly different textures. Croissants are known for their airy, flaky layers that shatter when bitten into, achieved through specific folding techniques (often incorporating a "double fold") and a longer proofing time. Kouignamann, with its higher butter and sugar content, develops a denser, richer interior and a thick, hard, caramelized crust. While both are buttery delights, the Kouignamann is heavier, sweeter, and less airy than a croissant, offering a chewy, tender crumb beneath a crisp, sugary shell, distinct from the croissant's delicate flakiness.
Kouignamann vs. Palmier: Shape and Caramelization
Another French pastry sometimes compared to Kouignamann is the palmiers, also known as elephant ears. Both pastries rely on layers of dough and sugar for their texture and flavor, and both develop a caramelized crust. However, the process and resulting structure are quite different. Palmiers are typically made from puff pastry (which contains butter layers but usually no yeast) that is rolled out, sprinkled heavily with sugar, rolled from two sides towards the center to form a heart shape, and then sliced before baking.
The key difference lies in the dough base and sugar application method. Kouignamann uses a yeasted dough with butter and sugar laminated within the layers, while palmiers use a non-yeasted puff pastry with sugar sprinkled on the surface before rolling and cutting.
This results in palmiers having a much lighter, crispier, and more uniform texture, with a less intense caramelization focused primarily on the cut surfaces. Kouignamann, with its yeasted dough, higher butter volume, and internal sugar layers, has a more complex structure, a richer, chewier interior, and a more pronounced, often thicker, caramelized crust that forms around the entire pastry, making it a more substantial and intensely sweet treat than the delicate palmiers.
Advanced Techniques: Taking Your Baking to the Next Level
Different Dough Variations: Using Poolish or Sourdough
While a direct Kouignamann recipe for beginners typically uses commercial yeast for simplicity and predictability, experienced bakers might explore dough variations to enhance flavor and texture. Using a pre-ferment like a poolish (a wet mixture of equal parts flour and water with a small amount of yeast, allowed to ferment for several hours or overnight) can add complexity and depth to the dough's flavor profile. The longer fermentation time develops more nuanced flavors compared to a direct mix.
Alternatively, incorporating sourdough starter into the Kouignamann dough introduces a tangy note and a more open crumb structure. Sourdough fermentation also breaks down starches and proteins, potentially making the final pastry more digestible. Using sourdough requires adapting the recipe to account for the starter's hydration and activity level, and proofing times will be significantly longer. Experimenting with poolish or sourdough moves beyond a basic beginner Kouignamann recipe, adding layers of flavor and requiring more advanced dough handling skills and patience.
Perfect Caramelization: Achieving a Deep, Rich Color
Achieving the perfect, deep caramelization on a Kouignamann is an art that distinguishes a good pastry from a great one. The sugar on the surface and between the layers must melt and undergo the Maillard reaction and caramelization process. This requires sufficient heat and time. Baking at a relatively high temperature, typically 375-400°F (190-200°C), is essential to initiate this process effectively.
Ensure the pastries are baked long enough. Don't be afraid of a dark golden brown color; the sugar needs to reach a high temperature (above 320°F or 160°C) to caramelize properly. Paler pastries will lack the characteristic crisp, toffee-like crust.
If the tops are browning too quickly, as mentioned earlier, tenting with foil can help. Some bakers also add a final sprinkle of sugar just before baking to ensure a generous amount of sugar is available on the surface for maximum caramelization. Practice and observation are key to learning how your specific oven handles this critical step in the Kouignamann recipe.
Kouignamann Recipe Variations: From Classic to Creative
Salted Caramel: Adding Fleur de Sel to the Caramel
A delightful and popular variation of the classic Kouignamann is adding a touch of salt to the caramel, creating a salted caramel effect. This simple modification provides a sophisticated contrast to the intense sweetness of the caramelized sugar. The salt enhances the overall flavor profile, making the sweetness less cloying and adding a subtle savory note that highlights the richness of the butter.
To create a salted caramel Kouignamann, simply sprinkle a pinch of high-quality sea salt, such as fleur de sel or flaky sea salt, over the shaped pastries just before baking. The salt crystals will adhere to the sugary surface and melt into the caramel as it forms in the oven. Alternatively, you can mix a small amount of salt directly into the sugar you sprinkle between the layers during lamination or shaping. This variation is easy to implement, even within a beginner Kouignamann recipe framework, and yields a pastry with a more complex and balanced flavor.
Chocolate: Incorporating Cocoa Powder or Chocolate Chips
For chocolate lovers, incorporating cocoa or chocolate into a Kouignamann recipe is a tempting variation. One approach is to add a few tablespoons of unsweetened cocoa powder to the initial dough mixture. This gives the dough a subtle chocolate flavor and a darker hue. While this adds chocolate notes, it doesn't provide pockets of melted chocolate within the pastry.
Another method is to sprinkle mini chocolate chips or finely chopped chocolate along with the sugar between the layers during the final stages of lamination or shaping. As the pastry bakes, the chocolate will melt, creating pockets of rich chocolate within the buttery layers and mixing with the caramelized sugar. This variation adds a layer of indulgence to the already rich pastry. While slightly more complex than a basic beginner Kouignamann recipe, adding chocolate chips during shaping is relatively straightforward.
Fruit-Filled: Apple Cinnamon or Berry Compote Filling
Adding fruit filling transforms the Kouignamann into a more dessert-like pastry, offering a burst of freshness and acidity to balance the richness. Classic fruit pairings include apple cinnamon or a mixed berry compote. For an apple cinnamon variation, thinly sliced apples mixed with cinnamon, sugar, and perhaps a touch of lemon juice can be placed in the center of the dough squares before folding, or spread lightly over the dough before rolling for a ring shape.
For a berry compote, a thick mixture of berries (like raspberries, blueberries, or mixed berries) cooked down with a little sugar and lemon juice can be used. It's important that the filling is not too wet, as excess moisture can make the dough soggy and prevent proper caramelization. The filling is typically added during the shaping stage, placed in the center of individual pastries or spread over the dough for a larger ring. This variation adds a pleasant tartness and fruit flavor, moving the beginner Kouignamann recipe into a more elaborate pastry realm.
Perfecting Your Kouignamann: A Baker's Journey
Common Mistakes: Overworking the Dough, Insufficient Chilling
As you work on mastering your Kouignamann recipe for beginners, being aware of common pitfalls can help you avoid them. One frequent mistake is overworking the dough, especially after adding the butter. Kneading the initial dough enough to develop some gluten is good, but once lamination begins, gentle handling is key. Overworking the dough during rolling and folding can develop too much gluten, resulting in a tough, chewy pastry instead of a tender one. Roll with even pressure and stop if the dough resists.
Another critical error is insufficient chilling. Skipping or shortening the chilling periods between folds is a major cause of butter leakage and poorly defined layers. The butter needs time to firm up, and the dough needs time to relax. Rushing this process will lead to frustration and a less-than-ideal result. Be patient and allow adequate chilling time, typically 30-60 minutes per rest, to ensure the butter stays cold and the dough is relaxed and pliable, making the Kouignamann recipe process smoother and more successful.
Bakery-Quality: Using High-Quality Butter and Precise Measurements
Achieving a Kouignamann that rivals those found in French bakeries requires attention to detail and quality ingredients. Using high-quality butter, particularly European-style butter with a higher fat content (typically 82% or more), makes a significant difference. Higher fat content means less water, resulting in flakier layers and a richer flavor. The taste of the butter is very prominent in Kouignamann, so choose one you enjoy.
Precision in measuring ingredients, especially the butter and sugar, is also crucial. While some recipes allow for flexibility, laminated pastries are quite sensitive to ratios. Using a kitchen scale to weigh ingredients rather than relying on volume measurements (cups) ensures accuracy and consistency, which is vital for a successful Kouignamann recipe. Paying attention to these details, along with mastering the lamination technique and baking temperature, will elevate your homemade Kouignamann from good to truly exceptional, producing a pastry with the perfect balance of crisp caramelization and tender, buttery layers.
Frequently Asked Questions
What exactly is a Kouignamann?
A Kouignamann is a buttery, multi-layered Breton pastry originating from Brittany, France. It's known for its caramelized sugar crust and rich, flaky interior, making it a truly delightful treat.
Is the Kouignamann recipe difficult for beginners?
While Kouignamann might seem intimidating, our BakeWithEase recipe is designed specifically for beginners. We break down the process into manageable steps, ensuring a successful outcome.
What are the key ingredients needed for your Kouignamann recipe?
The essential ingredients include bread flour, butter, sugar, water, and yeast. Our recipe emphasizes using readily available ingredients, making it easier for beginners to start baking.
What makes your Kouignamann recipe different from others?
Our BakeWithEase recipe focuses on simplified techniques and clear instructions. We provide detailed step-by-step guides and visual aids to ensure even novice bakers can achieve delicious results.
How can I ensure my Kouignamann has a perfectly caramelized sugar crust?
The key to a perfect crust lies in generous sugar layering and proper oven temperature. Follow our recipe's precise instructions for optimal caramelization and that signature Kouignamann crunch.
Final Reflection: A Sweet Legacy, A Delicious Future
The humble Kouignamann, a seemingly simple pastry, speaks volumes about the enduring power of tradition and the joy of culinary exploration. Its buttery, caramelized exterior and tender, airy interior are more than just a delightful treat; they represent a connection to Breton heritage and a testament to the transformative power of simple ingredients. This recipe, designed for beginners, aims to democratize access to this exquisite pastry, ensuring its legacy continues to flourish.
The Kouignamann's influence extends far beyond the borders of Brittany. It's a symbol of regional pride, a testament to the artistry of French baking, and a delicious ambassador for a rich cultural history. Its enduring popularity speaks to a universal appreciation for expertly crafted food, a desire for comforting flavors, and the simple pleasure of sharing something beautiful with others. The best things in life are simple,
a sentiment perfectly encapsulated by this seemingly uncomplicated yet profoundly satisfying pastry.
Now, it's your turn. Don't just read about the Kouignamann – bake it! Embrace the challenge, savor the process, and share the joy of creating something truly special. Let the aroma of caramelized sugar and melting butter fill your kitchen, and allow the experience to connect you to a culinary tradition that spans generations. The reward? A taste of Brittany, a moment of pure indulgence, and the satisfaction of mastering a new skill. Go forth, and create your own delicious legacy!
Unleash Your Inner Breton Baker!
Thanks for joining us on a delicious journey into the heart of Brittany! We hope you've been inspired by the magic of the kouignamann. Now it's time to put your newfound knowledge to the test!
- Bake your own kouignamann: This is your chance to experience the incredible buttery, sugary crunch firsthand. Don't be intimidated – our step-by-step guide makes it easier than you think!
- Share your baking triumphs (or hilarious fails!): We'd love to see your creations! Tag us on social media – let's build a community of kouignamann enthusiasts.
- Explore other Breton treats: Dive deeper into the rich culinary heritage of Brittany. What other delicious surprises await?
Ready to embark on your kouignamann adventure? What unique twist will you add to your first batch?