
The Essential Guide to Rye Flour in Sourdough Baking

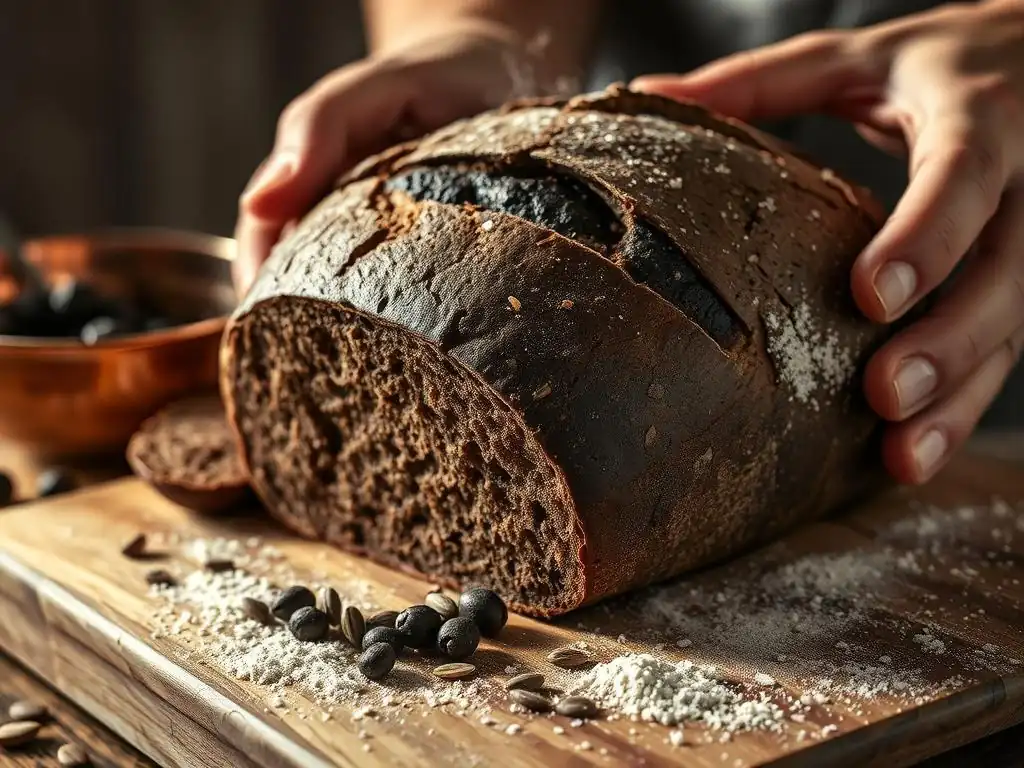
Welcome to BakeWithEase, your trusted guide to baking brilliance! Ever wondered how to unlock the rich, complex flavors of rye in your sourdough creations? This article dives deep into the art of rye sourdough baking tips, revealing secrets to achieving perfectly textured and flavored loaves. Get ready to elevate your bread baking game and discover the magic of rye!
- Baking Sourdough with Different Rye Flour Varieties
- Understanding Rye Flour in Sourdough
- Mastering Rye Sourdough Baking Techniques
- Achieving Optimal Results in Rye Sourdough
- Rye Sourdough Recipes
- Beyond Bread: Utilizing Rye Sourdough
- Key Takeaways for Rye Sourdough
- Frequently Asked Questions
- Final Reflection: Unlocking the Mysteries of Rye Sourdough
- Unleash the Power of Rye: Elevate Your Sourdough!
Baking Sourdough with Different Rye Flour Varieties
Baking sourdough with rye flour introduces a wonderful depth of flavor and unique texture. Unlike wheat, rye presents its own set of characteristics that require slight adjustments to traditional sourdough techniques. Mastering these nuances is key to producing delicious, aromatic rye loaves. This section will guide you through understanding rye flour and applying effective rye sourdough baking tips.
Understanding Rye Flour in Sourdough
Rye flour is distinct from wheat flour primarily due to its different protein structure and higher concentration of pentosans, which are complex carbohydrates. These differences significantly impact dough handling, fermentation, and the final crumb structure of the bread. Embracing these unique properties is the first step in successful rye sourdough baking.
Rye Flour's Role in Sourdough Baking
Rye flour plays a crucial role in sourdough by contributing robust flavor and aiding fermentation, even without the strong gluten network found in wheat. The high level of pentosans in rye flour absorbs water readily, often requiring higher hydration levels in recipes than you might expect for wheat-based doughs. However, these pentosans also contribute to the often sticky, less elastic nature of rye dough.
Furthermore, rye flour contains enzymes that remain active even at dough pH levels that would inhibit enzymes in wheat flour. This enzymatic activity can break down starches and proteins during fermentation, influencing both texture and flavor. Understanding this enzymatic behavior and managing fermentation time and temperature are vital rye sourdough baking tips for achieving a balanced loaf rather than a gummy or overly dense one.
Exploring Various Rye Flour Types
The world of rye flour offers a spectrum of options, each providing distinct characteristics to your sourdough. The type of rye flour you choose significantly impacts the flavor, color, and texture of your final bread. Experimenting with different grinds and extractions is a rewarding part of the rye sourdough journey.
Understanding the differences between light, medium, and dark rye flours, as well as specialty varieties like pumpernickel or sprouted rye, will help you select the best flour for your desired outcome. Each type brings unique attributes to the dough and the finished loaf, influencing everything from crumb density to crust development.
Light Rye Flour: Applications and Characteristics
Light rye flour, also sometimes labeled as white rye, is produced from the inner part of the rye grain kernel after most of the bran and germ have been removed during milling. This results in a flour that is lighter in color and milder in flavor compared to darker rye varieties. It has a lower ash content, typically around 0.5% to 0.8%, reflecting the reduced mineral content from the removed outer layers.
Due to its lower bran and germ content, light rye flour interacts differently with water and yeast activity than whole rye. It still contains pentosans, contributing to stickiness, but often results in a slightly lighter crumb structure than breads made with darker rye. It's frequently used in recipes where a subtle rye flavor is desired or in blends with wheat flour to add a touch of rye character without overwhelming the loaf, such as in some deli-style rye breads.
Medium Rye Flour: Balancing Flavor and Structure
Medium rye flour represents a middle ground between light and dark rye, containing more of the bran and germ than light rye but less than dark or whole rye. Its color is a light grayish-brown, and it imparts a more pronounced, earthy rye flavor than light rye. The ash content typically ranges from 0.8% to 1.3%.
This type of flour offers a good balance, providing noticeable rye flavor and nutritional benefits from the increased bran content while still being somewhat manageable in terms of dough handling compared to the stickier dark rye. It's a popular choice for many traditional European rye breads and is versatile enough to be used alone or blended with other flours. Recipes calling for medium rye often achieve a satisfying density and a well-rounded rye taste.
Dark Rye Flour: Applications and Flavor Profile
Dark rye flour, also known as rye meal or whole rye flour (though sometimes "dark" refers to a specific extraction), is milled from the entire rye grain, including the bran, germ, and endosperm. It has a deep, rich color and delivers the most intense, robust rye flavor. The ash content is the highest, typically 1.3% or more, reflecting the presence of all parts of the grain.
This flour is highly absorbent due to the full inclusion of pentosan-rich bran and germ, resulting in very sticky doughs that require careful handling. Breads made with dark rye flour, such as German Pumpernickel or Russian Black Bread, are often dense, moist, and have a chewy texture. They are prized for their complex, slightly sweet, and tangy flavor profile, which develops wonderfully through long, slow fermentation common in rye sourdough baking tips for these types of loaves.
Nutritional Advantages of Rye Flour in Sourdough
Incorporating rye flour into your sourdough bread offers significant nutritional benefits compared to using only refined wheat flour. Rye is particularly rich in dietary fiber, including soluble fibers like beta-glucans, which have been linked to various health benefits such as improving blood sugar control and lowering cholesterol levels. A typical 100g serving of whole rye flour might contain around 15g of fiber, notably higher than the fiber content in many refined wheat flours.
Beyond fiber, rye flour is a good source of essential vitamins and minerals. It provides B vitamins (like thiamine, riboflavin, and niacin), magnesium, phosphorus, iron, and zinc. The presence of these nutrients contributes to overall dietary intake and can make your sourdough bread a more wholesome choice. The fermentation process in sourdough also helps to break down phytates, compounds found in grains that can inhibit mineral absorption, potentially making these nutrients more bioavailable in rye sourdough bread.
Mastering Rye Sourdough Baking Techniques
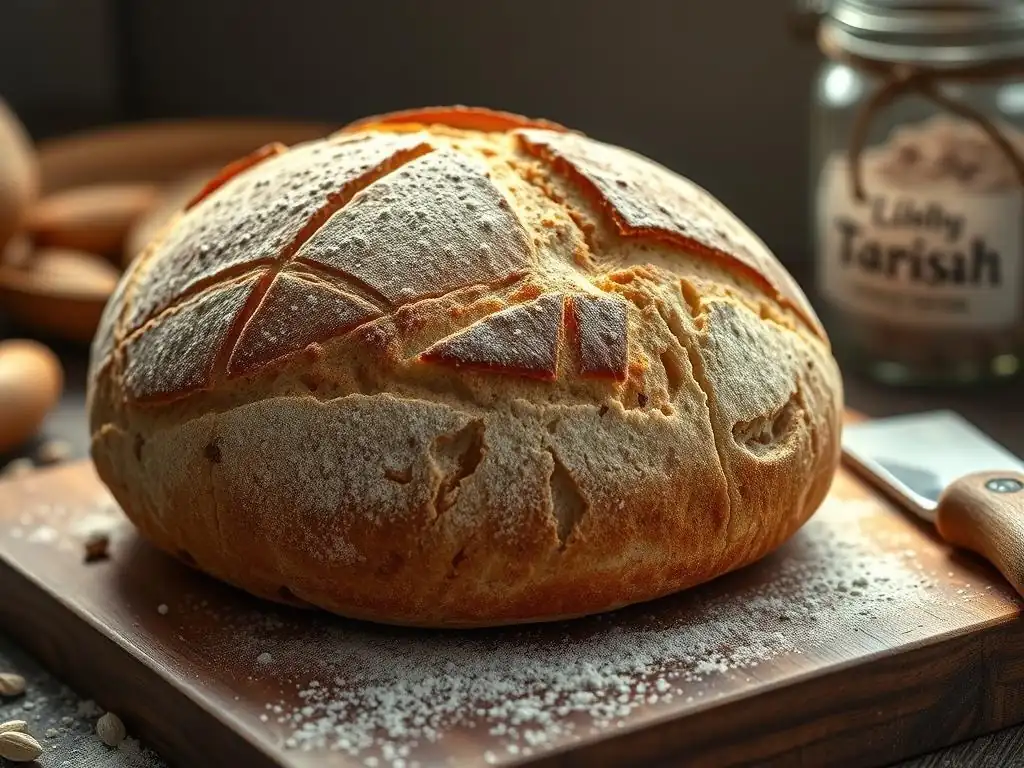
Working with rye flour in sourdough requires an understanding of its unique properties. The techniques you've perfected with wheat sourdough may need slight adjustments. From building and maintaining a starter to handling the dough and controlling fermentation, mastering these specific rye sourdough baking tips will elevate your results.
Rye dough behaves differently – it's often stickier, less elastic, and doesn't develop gluten in the same way as wheat. This means traditional kneading or stretch-and-fold methods used for high-hydration wheat doughs aren't always suitable. Instead, focus shifts to hydration management, gentle handling, and precise fermentation control to achieve the desired texture and flavor.
Building a Rye Sourdough Starter
Building a sourdough starter exclusively with rye flour is straightforward and often results in a very active and robust starter. Rye flour is rich in nutrients that wild yeasts and lactic acid bacteria thrive on, making it an excellent medium for cultivation. Starting with a mix of rye flour and water, and maintaining consistent feeding, will quickly cultivate a lively starter ready for baking.
Alternatively, you can convert an existing wheat-based starter to a rye starter by gradually feeding it with rye flour over several feeding cycles. This transition allows the microbial population to adapt to the new food source. Regardless of whether you start fresh or convert, a healthy rye starter is the foundation for successful rye sourdough baking.
Maintaining a Robust Rye Starter
Maintaining a robust rye starter involves regular feeding with fresh rye flour and water, much like any other starter. The key is consistency and observation. A typical feeding ratio might be 1 part starter, 1 part rye flour, and 1 part water (1:1:1 ratio by weight). For example, feeding 20g of starter with 20g rye flour and 20g water. You'll observe it bubbling and rising significantly after feeding, often doubling or tripling in size within a few hours at room temperature (around 70-75°F) when active.
Adjusting the feeding ratio can influence its acidity and activity. A 1:2:2 or 1:3:3 ratio provides more food, allowing the starter to stay active longer before needing another feed, which is useful if you can't feed it daily. Storing the starter in the refrigerator and feeding it weekly is also a common practice for less frequent bakers, significantly slowing down its activity. Always use your starter when it is at its peak or just slightly past its peak for the best leavening power in your rye sourdough baking.
Converting an Existing Starter to Rye
To convert an existing wheat-based starter to a rye starter, begin by taking a small amount of your active wheat starter, perhaps 20-30 grams. For the first feeding, feed it with an equal weight of rye flour and water (e.g., 20g wheat starter + 20g rye flour + 20g water). Mix thoroughly.
Continue feeding this new rye-based starter with only rye flour and water for the next few feeding cycles, discarding a portion before each feed as usual. After about 3-5 consecutive feedings with rye, the microbial population will have largely shifted to favor the rye environment, and you'll have a predominantly rye starter. Monitor its activity closely during this transition; it might behave slightly differently initially but should become predictably active with regular rye feedings.
Dough Development: Hydration and Handling
Rye dough doesn't develop gluten in the same way as wheat dough. This means traditional kneading to build structure is less effective and can sometimes even break down the limited structure that does form. The focus shifts from building a strong gluten network to managing hydration and handling the dough gently to preserve the structure provided by the pentosans and starches.
Understanding the right hydration level for the percentage of rye used and learning gentle handling techniques are vital rye sourdough baking tips. Rye dough will feel different – often sticky, dense, or clay-like – and requires patience and a different approach than stretchy wheat dough.
Optimal Dough Consistency for Rye Sourdough
Achieving the optimal dough consistency for rye sourdough depends heavily on the percentage of rye flour used. For loaves with a lower percentage of rye (e.g., 20-40%), the dough will still benefit from some gluten development from the wheat flour, but it will be stickier than pure wheat dough. Hydration levels might range from 70% to 80% of the total flour weight, resulting in a soft, manageable dough that can still be shaped.
For higher percentages of rye, or 100% rye loaves, the dough will be significantly stickier and denser, resembling more of a thick batter or paste than a traditional dough. Hydration levels for 100% rye can be very high, often ranging from 85% to over 100%. The correct consistency for high-rye dough is often described as being like thick porridge or clay; it won't be elastic or form a windowpane. The goal is a cohesive mass that holds its shape somewhat but is not stiff.
Handling Sticky Rye Dough
Handling sticky rye dough requires a different mindset and technique than handling wheat dough. Since traditional kneading or aggressive stretching isn't effective for building gluten, focus on minimal handling. Wetting your hands and tools (like scrapers) slightly with water can prevent the dough from sticking excessively. Avoid adding excessive amounts of bench flour, as this can dry out the dough and negatively impact the final texture.
Instead of kneading, techniques like mixing the dough thoroughly until combined, followed by minimal folding (if any, especially for high rye percentages), are preferred. For higher hydration rye doughs, simply mixing the ingredients together and letting time and fermentation do the work is often sufficient. Using a bowl scraper or wet hands to transfer and shape the dough helps manage its stickiness effectively, proving to be valuable rye sourdough baking tips.
Fermentation: Time and Temperature
Fermentation is a critical stage in rye sourdough baking, profoundly impacting flavor and texture. Rye ferments faster than wheat due to its enzymatic activity and readily available sugars. Therefore, fermentation times are typically shorter, and careful monitoring is essential to avoid over-fermentation.
Temperature plays a significant role, influencing the speed of fermentation and the balance of flavors produced by the yeast and bacteria. Understanding the ideal conditions for bulk fermentation and proofing rye dough will help you develop complex flavors and achieve proper leavening.
Bulk Fermentation for Rye Sourdough
Bulk fermentation for rye sourdough typically proceeds more quickly than for wheat sourdough. At standard room temperatures (around 70-75°F), a bulk ferment might only take 2 to 3 hours for a rye-dominant dough, compared to 3 to 5 hours or more for a wheat loaf. The dough won't show the same dramatic increase in volume or airy structure as wheat dough; look for signs like a slight increase in volume (perhaps 30-50%), some surface bubbles, and a spongy feel.
Monitoring the dough's feel and aroma is more reliable than relying solely on volume increase. It should feel lighter and slightly aerated. Over-proofing during bulk fermentation is a common issue in rye sourdough baking, leading to a dense, gummy crumb. It's often better to slightly under-proof rye dough during the bulk stage than to over-proof it.
Proofing Rye Sourdough
Proofing rye sourdough, the final rise before baking, is also generally shorter than for wheat. Rye doughs are often proofed in a banneton or loaf pan, as their weaker structure makes it difficult for them to hold shape freeform. Room temperature proofing might take 1 to 2 hours, while cold proofing in the refrigerator (at around 38-40°F) can extend this to 8 to 12 hours or even longer, which helps develop flavor and makes the sticky dough easier to handle before baking.
When proofing, the dough should feel airy but not fragile. An over-proofed rye loaf will often collapse when turned out of the banneton or lack oven spring. A simple test is to gently poke the dough; if the indentation springs back very slowly or not at all, it's likely ready or slightly over-proofed. Cold proofing is often recommended as a key rye sourdough baking tip because it slows fermentation, makes shaping easier, and enhances the characteristic tangy flavor.
Achieving Optimal Results in Rye Sourdough
Success in rye sourdough baking hinges on adapting specific techniques to the unique properties of rye flour. From the initial dough mixing to the final bake, paying attention to details like hydration, handling, and oven conditions is crucial for achieving a well-risen loaf with a pleasing texture and flavor.
This section covers advanced rye sourdough baking tips, including techniques like autolysing rye flour, shaping methods suitable for sticky dough, and crucial baking parameters. We'll also address common troubleshooting scenarios to help you refine your process and consistently produce excellent rye sourdough bread.
Autolysing Rye Flour
Autolysing, the process of mixing just the flour and water and letting it rest before adding the starter and salt, is a common technique in wheat baking to help with gluten development. While rye flour doesn't develop gluten in the same way, autolysing can still be beneficial, particularly in doughs containing a mix of rye and wheat. For doughs with a high percentage of rye, autolysing helps the pentosans fully hydrate, which is crucial for managing stickiness and improving the dough's consistency before fermentation begins.
A typical autolyse for rye or rye-wheat blends might involve mixing the flour and water and letting it rest for 20 to 60 minutes. This hydration period allows the flour to absorb water more evenly and can make the subsequent mixing steps easier. For 100% rye dough, a shorter autolyse or simply ensuring thorough initial mixing might be sufficient, as extensive gluten development isn't the goal. This preliminary hydration is a useful step among rye sourdough baking tips for improving dough handling.
Shaping Rye Sourdough Loaves
Shaping rye sourdough loaves is different from shaping wheat loaves because the dough is less elastic and doesn't hold tension well. Aggressive shaping techniques used for high-gluten wheat doughs can tear the delicate structure of rye dough. The goal is to create just enough surface tension to help the loaf hold its shape during proofing and baking, without overworking the dough.
For high-rye doughs, shaping is often minimal, sometimes involving simply rounding the dough gently or patting it into the desired shape (e.g., a log for a loaf pan). Using a well-floured surface or wetting your hands can help prevent sticking. Placing the shaped dough into a floured banneton or a greased loaf pan is essential for support during proofing. Don't expect the same taut surface tension you see in wheat loaves; a slightly looser shape is normal for rye.
Baking Rye Sourdough: Temperature and Steaming
Baking rye sourdough requires high initial heat and steam, similar to wheat sourdough, to achieve good oven spring and crust development. Preheat your oven to a high temperature, typically between 450°F and 500°F (230°C - 260°C). Baking in a preheated Dutch oven or with added steam (using a baking stone with a steam tray below, or by placing ice cubes in a hot tray) helps keep the crust soft initially, allowing the loaf to expand before the crust sets.
Bake the loaf with steam for the first 15-20 minutes, then remove the steam source (or lid of the Dutch oven) and reduce the oven temperature slightly, perhaps to 400°F - 425°F (200°C - 220°C), to finish baking and allow the crust to brown. Total baking time will vary depending on the size and density of the loaf, but often ranges from 30 to 50 minutes. Baking until the internal temperature reaches around 200-210°F (93-99°C) ensures it is fully cooked. These precise temperature and timing details are crucial rye sourdough baking tips.
Troubleshooting Common Issues
Even with the best rye sourdough baking tips, you might encounter challenges. Rye dough behaves uniquely, and issues like dense crumb, gummy texture, or unexpected sourness are relatively common. Understanding the potential causes and solutions will help you diagnose problems and improve your future bakes.
Addressing these issues often involves adjusting hydration, fermentation time, handling techniques, or baking method. Keeping a baking journal can be invaluable for tracking variables and identifying what works best for your specific flours and environment.
Dense Loaves: Causes and Solutions
Dense loaves are a frequent issue in rye sourdough baking. One common cause is insufficient fermentation or proofing; rye doesn't expand as much as wheat, but it still needs adequate time to develop aeration. Ensure your starter is active and that bulk fermentation and proofing show some signs of life (slight volume increase, bubbles). Another cause is over-proofing, which can lead to collapse. Rye dough can over-proof quickly, so monitoring is key.
Overhandling the dough can also result in a dense crumb, as it can compress the structure built by fermentation. Be gentle during mixing and shaping. Finally, insufficient steam during baking can restrict oven spring, leading to a denser loaf. Ensure your steam setup is effective for the first phase of baking. Adjusting hydration levels – sometimes slightly increasing hydration can help – is another potential solution among rye sourdough baking tips.
Gummy Texture: Prevention and Solutions
A gummy or sticky texture inside the loaf, particularly prevalent in high-rye breads, is often caused by enzymatic overactivity or insufficient baking. Rye contains enzymes that can break down starches, and if fermentation is too long or at too high a temperature, or if the loaf isn't baked through, these enzymes can create a gummy layer, especially near the crust. Baking until the internal temperature reaches at least 200°F (93°C) is crucial.
Controlling fermentation time and temperature is also vital. Shorter bulk fermentation times and cooler proofing can help mitigate excessive enzymatic breakdown. Allowing the loaf to cool completely before slicing (ideally for several hours, or even overnight for dense rye loaves) is also essential; slicing too early traps moisture and contributes to gumminess. Ensuring proper hydration – not too high, not too low – is also a factor; experimentation is key.
Sourness Issues: Flavor Control
The level of sourness in rye sourdough is influenced by fermentation time, temperature, and the feeding schedule of your starter. Longer fermentation times, especially cold proofing in the refrigerator, tend to increase acidity and sourness as lactic acid bacteria produce more acids. Higher fermentation temperatures (above 75°F or 24°C) can favor acetic acid bacteria, which produce the more vinegary type of sourness.
To control sourness, you can adjust these factors. For a milder loaf, use a very active starter at its peak, shorten fermentation times (especially bulk fermentation), and proof at slightly warmer temperatures for a shorter duration. Using a higher feeding ratio for your starter (e.g., 1:2:2 or 1:3:3) before baking can also result in a less acidic starter. Conversely, for a more sour loaf, extend cold proofing time. Finding your preferred balance is part of refining your rye sourdough baking tips.
Rye Sourdough Recipes
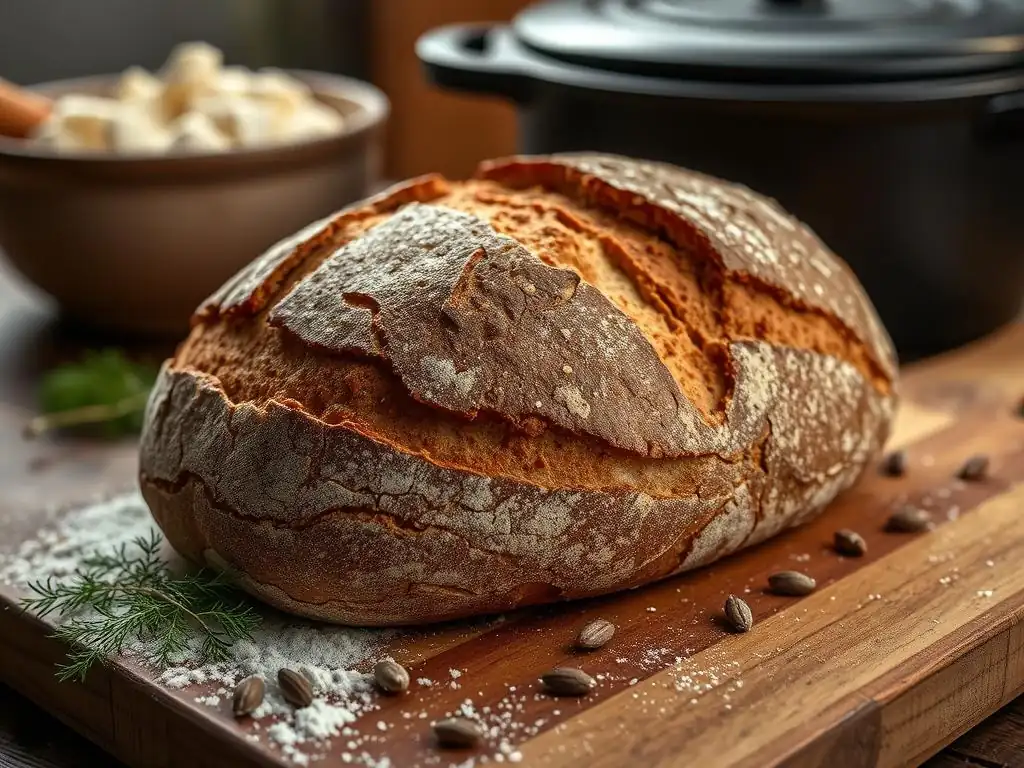
Experimenting with different percentages of rye flour allows you to explore a range of flavors and textures. From loaves with just a hint of rye to dense, hearty breads made with 100% rye, there's a recipe to suit every preference. Here are examples illustrating the versatility of rye in sourdough.
These recipes showcase how adjusting the amount and type of rye flour, along with complementary ingredients like seeds or spices, can dramatically change the final bread.
Beginner Rye Sourdough: 20% Rye Flour
A great starting point for exploring rye sourdough baking is a recipe using a relatively low percentage of rye flour, such as 20% of the total flour weight, with the remaining 80% being strong wheat bread flour. This allows bakers familiar with wheat sourdough to introduce rye's characteristics gradually. The dough will still have enough wheat gluten for easier handling and shaping, while the 20% rye contributes a noticeable, pleasant flavor and slightly denser crumb than a pure wheat loaf.
Such a recipe might follow a structure similar to wheat sourdough, involving autolyse, mixing in starter and salt, a few gentle stretch-and-folds (though fewer than for pure wheat), bulk fermentation (perhaps 3-4 hours), shaping, and proofing (cold proofing works well). Baking would follow standard sourdough practice. This approach provides valuable rye sourdough baking tips in a more forgiving format.
Intermediate Rye Sourdough: 40% Rye with Caraway
Stepping up to 40% rye flour introduces a more significant rye presence, creating a loaf with a stronger flavor and denser texture. This dough will be noticeably stickier and less elastic than the 20% rye version, requiring more careful handling. Recipes at this level often pair rye with complementary flavors like caraway seeds, which are a classic addition to rye bread, enhancing its earthy notes.
Techniques for this level might include a slightly higher hydration than a pure wheat loaf, minimal or no stretch-and-folds, and shaping directly into a banneton or loaf pan. Fermentation times might be slightly shorter than lower-rye loaves. This recipe level helps bakers refine their sticky dough handling and fermentation monitoring skills, key rye sourdough baking tips for higher rye percentages.
Advanced Rye Sourdough: Vollkornbrot with Sprouted Rye
Vollkornbrot, a traditional German bread made with 100% rye, often includes whole or cracked rye berries, and sometimes sprouted rye for added complexity and nutrition. This represents an advanced level of rye sourdough baking due to the high percentage of rye and often includes long, slow fermentation and baking times at lower temperatures. The dough is more like a dense batter and is typically baked in a loaf pan.
Recipes for Vollkornbrot are highly specific, often involving soaking grains, precise hydration for the dense "dough," minimal mixing, and a long, slow bake (sometimes 2-3 hours or more) at moderate temperatures (around 300-350°F or 150-175°C) after an initial steam phase. The resulting bread is incredibly dense, moist, and packed with intense rye flavor and nutrients, a true test of advanced rye sourdough baking tips.
Beyond Bread: Utilizing Rye Sourdough
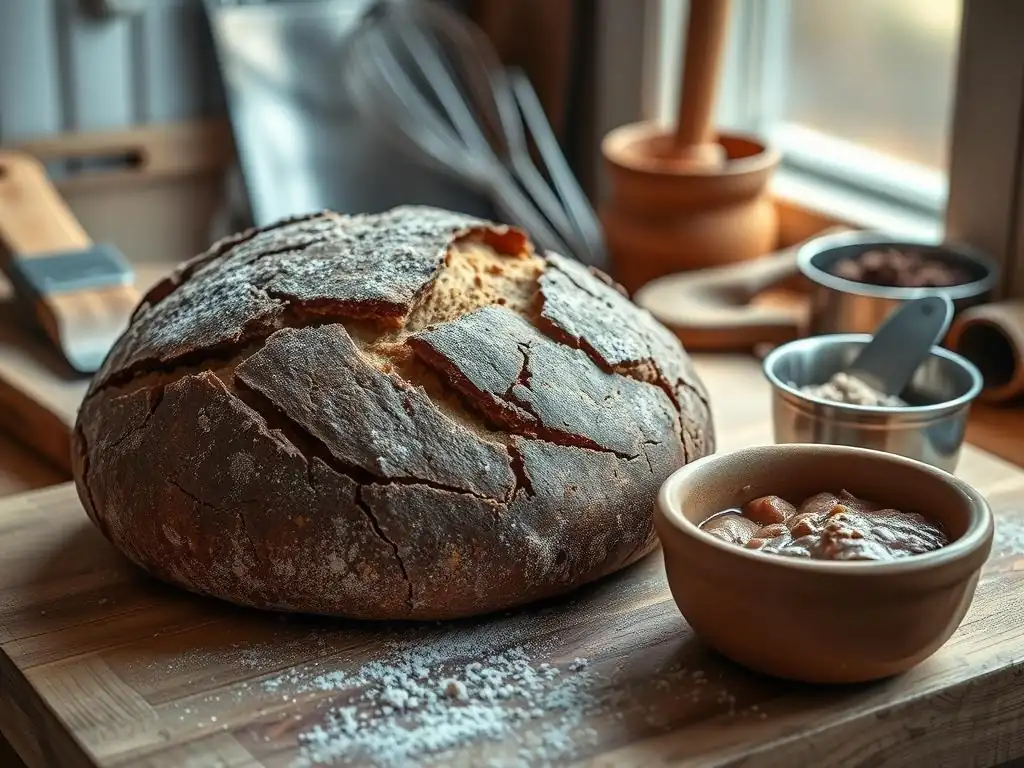
Your rye sourdough starter and discard aren't limited to baking loaves. The unique flavor and leavening power of rye sourdough can be incorporated into a variety of other delicious recipes, adding a tangy depth that plain flour or commercial yeast can't replicate.
Exploring these alternative uses is a great way to prevent waste and enjoy the distinct taste of rye sourdough in different formats.
Rye Sourdough Crackers
Rye sourdough discard is perfect for making thin, crispy crackers. The tang from the discard adds a wonderful flavor dimension. A simple recipe might involve mixing rye sourdough discard with a bit of melted butter or oil, salt, and optional seeds (like caraway, sesame, or poppy).
The mixture is then spread very thinly onto a baking sheet (often lined with parchment paper) and baked at a moderate temperature (around 300-325°F or 150-160°C) until golden brown and crisp, usually taking 20-40 minutes depending on thickness. Breaking the large baked sheet into individual crackers yields a satisfyingly crunchy snack.
Rye Sourdough Pancakes
Rye sourdough starter or discard can lend a pleasant tang and lightness to pancakes. The acidity in the sourdough reacts with baking soda (often included in sourdough pancake recipes to boost lift), resulting in fluffy pancakes.
Simply substitute a portion of the liquid in your favorite pancake recipe with active rye sourdough starter or discard, or follow a recipe specifically designed for sourdough pancakes. The rye adds a subtle nutty or earthy note that pairs wonderfully with sweet or savory toppings.
Rye Sourdough Discard Recipes
Beyond crackers and pancakes, rye sourdough discard can be used in numerous ways. Its tangy flavor is excellent in quick breads like muffins or scones, adding complexity without the need for a long rise. It can be incorporated into savory applications like pizza dough, flatbreads, or even incorporated into meatballs or savory batters.
Using rye sourdough discard in these recipes is an effective way to reduce waste from starter maintenance while adding a unique depth of flavor that only fermentation can provide. Experimenting with small amounts in different recipes is a great way to discover new favorites among rye sourdough baking tips.
Key Takeaways for Rye Sourdough
Baking with rye flour is a rewarding experience that expands your sourdough repertoire. While it presents different challenges than wheat, understanding rye's unique properties – its high pentosan content, different protein structure, and enzymatic activity – is key to success. Remember that rye dough will be stickier and denser, requiring gentle handling and different shaping techniques.
Focus on managing hydration, monitoring fermentation closely (as it's often faster), and ensuring a thorough bake. Don't expect the same open, airy crumb as wheat loaves; a moist, dense crumb is typical and desirable for many rye breads.
Simplifying Rye Flour Baking
Approaching rye flour baking with patience and a willingness to learn its distinct behavior is the best way to simplify the process. Start with lower percentages of rye to get a feel for the dough before attempting higher concentrations. Pay close attention to the signs of fermentation (smell, feel, slight volume change) rather than relying solely on visual cues used for wheat.
Utilize techniques like autolyse for hydration, wet hands for handling sticky dough, and baking in a loaf pan for support. Embrace the unique stickiness and density as characteristics, not flaws. By focusing on these practical rye sourdough baking tips and understanding the science behind rye, you'll find that baking delicious rye sourdough can be incredibly rewarding and accessible.
Frequently Asked Questions
What are the benefits of using rye flour in sourdough baking?
Rye flour adds a distinctive flavor and complex texture to sourdough bread. It also improves water absorption, leading to a moister crumb and longer shelf life.
How much rye flour should I add to my sourdough starter?
Start with a small percentage, around 10-20% of the total flour weight, when feeding your starter. This will introduce rye's characteristic flavor without overwhelming the starter's activity.
Does rye flour make sourdough bread more difficult to bake?
Rye flour contains less gluten than wheat flour, which can result in a denser loaf. However, using a lower percentage of rye and proper techniques like autolysing can help manage this.
What are some tips for handling rye sourdough dough?
Rye sourdough dough can be sticky. Use wet hands or a dough scraper to prevent it from sticking. Also, be gentle when shaping to avoid degassing the dough.
What are some common mistakes to avoid when baking rye sourdough?
Over-proofing and under-proofing are common issues. Monitor the dough's volume and adjust proofing time accordingly. Also, ensure the oven is hot enough for proper oven spring.
Final Reflection: Unlocking the Mysteries of Rye Sourdough
The resurgence of sourdough baking, coupled with a growing appreciation for whole grains, has placed rye flour firmly in the spotlight. Mastering its unique properties, however, remains a challenge for many home bakers, leading to frustration and less-than-perfect loaves. This guide aimed to demystify the process, providing practical tips and techniques to unlock the full potential of rye in your sourdough journey.
The journey of working with rye flour has been a deeply rewarding one for me, personally. It's a testament to the enduring power of tradition and the artistry involved in transforming simple ingredients into something truly special. Bread is the staff of life,
a simple phrase, yet it captures the profound connection between this staple food and our very existence. The complexities of rye sourdough baking only deepen this appreciation, highlighting the patience and precision required to achieve a truly exceptional loaf.
Now, it's your turn. Don't be intimidated by the challenges rye presents. Experiment with different percentages, hydration levels, and fermentation times. Embrace the learning process, celebrate your successes, and learn from your failures. Each loaf you bake, whether perfect or imperfect, represents a step forward in your understanding of this fascinating grain and the art of sourdough baking. The journey is as important as the destination, and the rewards are well worth the effort. So, gather your ingredients, embrace the process, and discover the magic of rye sourdough for yourself.
Unleash the Power of Rye: Elevate Your Sourdough!
Thanks for exploring the wonderful world of rye flour with us! We hope you've gained valuable insights into its unique properties and potential. Now it's time to put your newfound knowledge into practice.
- Bake your first rye sourdough: This is the ultimate test! Try the simple recipe we outlined, or experiment with your own twist using what you've learned. Remember, even small adjustments can make a big difference.
- Share your rye sourdough creations: Show off your baking prowess by sharing photos on social media! Use #BakeWithEaseRye to connect with other bakers and inspire us all.
- Explore advanced rye techniques: Dive deeper into the art of rye baking with more advanced techniques and recipes (we have some great resources on our site! ).
Ready to transform your sourdough game? What unique flavor profile will you create with rye flour?