
How to Know When Your Whole Wheat Dough is Perfectly Kneaded

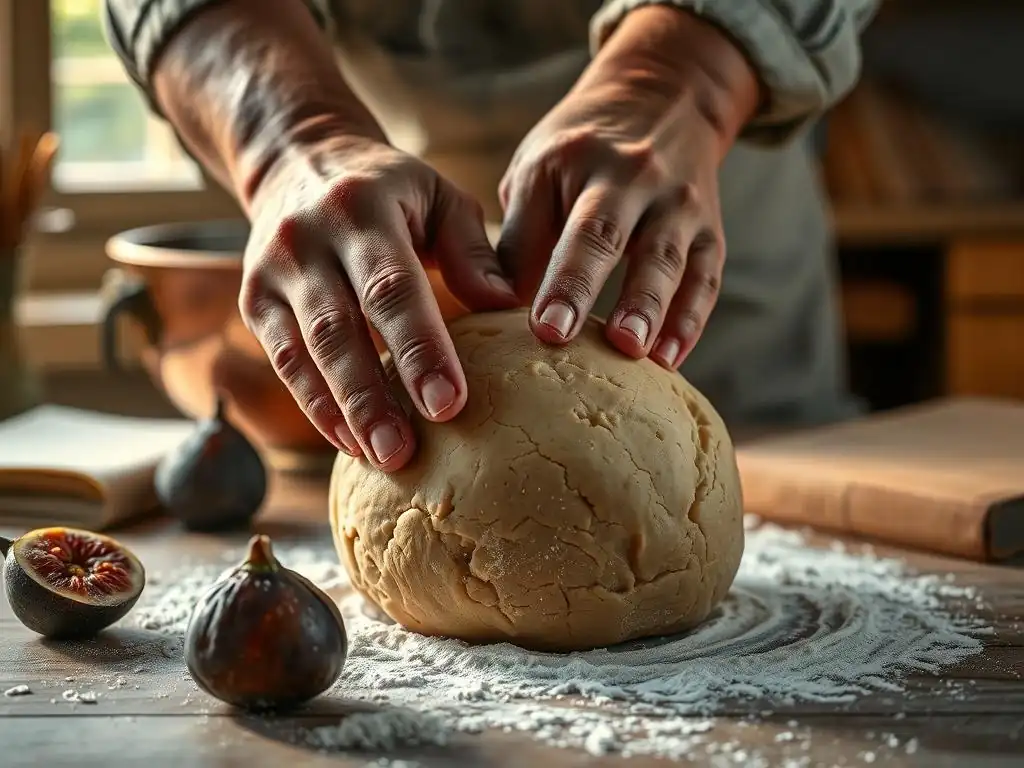
Welcome to BakeWithEase, your kitchen companion for unlocking the secrets of delicious baking! Have you ever wondered if you're really kneading your whole wheat dough enough? This article delves into the art of achieving that perfectly kneaded whole wheat dough, guiding you through the telltale signs that separate a good loaf from a truly exceptional one. Discover the texture, elasticity, and visual cues that will elevate your bread baking game. Let's get started, and banish those dense, under-developed loaves forever!
- Introduction to Kneading Whole Wheat Dough for Baking Success
- Understanding Whole Wheat Dough and Gluten Development
- Visual Cues for Determining Dough Readiness
- Tactile Indicators: Feeling the Dough's Transformation
- Time as a Guide: Estimating Kneading Duration
- Troubleshooting Common Kneading Problems
- Tips and Tricks for Achieving Perfectly Kneaded Whole Wheat Dough
- Putting it All Together: A Checklist for Perfectly Kneaded Dough
- Conclusion: Mastering the Art of Kneading Whole Wheat Dough for BakeWithEase Recipes
-
Frequently Asked Questions
- How does kneading whole wheat dough differ from kneading white flour dough?
- What are the visual cues that indicate whole wheat dough is properly kneaded?
- How long should I typically knead whole wheat dough by hand?
- What is the "windowpane test" and how does it help determine if my whole wheat dough is kneaded enough?
- Can I over-knead whole wheat dough, and what are the signs?
- Final Reflection: The Art and Science of Perfectly Kneaded Dough
- Unlock Your Perfect Loaf: Knead to Greatness!
Introduction to Kneading Whole Wheat Dough for Baking Success
Why Proper Kneading is Crucial for Whole Wheat Bread
Kneading is more than just working the dough; it's the essential process that develops gluten, the protein network responsible for giving bread its structure, elasticity, and ability to rise. For whole wheat bread, this step is particularly crucial because whole wheat flour contains bran and germ particles. These sharp particles can interfere with gluten development, potentially cutting the forming strands and leading to a denser loaf if not kneaded adequately.
A perfectly kneaded whole wheat dough will transform from a shaggy, sticky mass into a smooth, supple ball. This transformation is key to trapping the carbon dioxide gas produced by yeast during fermentation. Without sufficient gluten development through proper kneading, the gas escapes, resulting in a heavy, compact loaf instead of a light, airy one with a good crumb structure, which is the hallmark of successful whole wheat baking.
BakeWithEase' Guide to Perfectly Kneaded Whole Wheat Dough
Achieving perfectly kneaded whole wheat dough might seem daunting at first, especially compared to working with white flour, but it's a skill easily mastered with practice and observation. This guide from BakeWithEase will walk you through the key indicators that signal your dough has reached its optimal state of development. We'll cover visual cues, tactile sensations, and even general time guidelines to help you confidently determine when your dough is ready for its first rise.
By the end of this guide, you'll feel more comfortable assessing your dough's readiness, ensuring that your whole wheat loaves consistently turn out with excellent texture and volume. Knowing how to identify perfectly kneaded whole wheat dough is a fundamental step towards baking truly satisfying whole wheat bread right in your own kitchen.
Understanding Whole Wheat Dough and Gluten Development
The Role of Gluten in Whole Wheat Bread Texture
Gluten is formed when two proteins, gliadin and glutenin, present in wheat flour, come into contact with water and are agitated through kneading. This process aligns and links these proteins, creating a strong, elastic network. In bread baking, this gluten network acts like tiny balloons, capturing the gases produced by the yeast as it ferments. This trapped gas causes the dough to expand and rise, creating the airy structure we love in bread.
In whole wheat flour, the presence of the bran and germ complicates this process. While whole wheat still contains the necessary proteins, the sharp, fibrous particles of the bran and germ can physically disrupt the formation and linking of the gluten strands. A well-developed gluten network is essential for whole wheat bread to achieve a good rise and a relatively open crumb, preventing it from becoming overly dense.
Challenges of Kneading Whole Wheat Compared to White Flour
Kneading whole wheat dough presents unique challenges primarily due to the bran and germ content. These components absorb water differently than the endosperm (the part of the grain used in white flour) and can make the dough feel stickier initially, even with less water. Furthermore, as mentioned, the sharp edges can impede gluten development, meaning whole wheat dough often requires slightly longer or more vigorous kneading than white dough to achieve a comparable level of gluten strength.
The visual and tactile cues you look for might also differ slightly. While white dough can become incredibly smooth and translucent when fully kneaded, perfectly kneaded whole wheat dough may retain some slight texture from the bran and might not pass the windowpane test quite as dramatically as a white dough. Understanding these differences is key to correctly assessing whole wheat dough's readiness.
Visual Cues for Determining Dough Readiness
The Smoothness Test: Achieving a Silky Surface
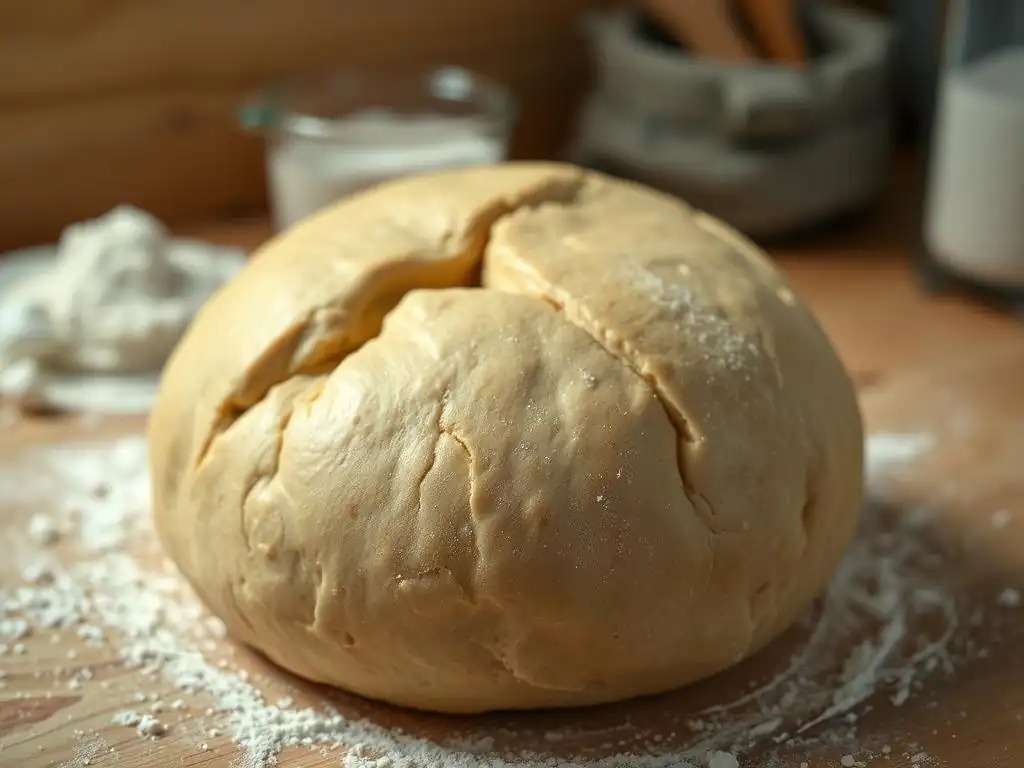
One of the first signs that your whole wheat dough is developing is the transformation of its surface. Initially, after mixing, the dough will appear rough, shaggy, and potentially quite sticky, with visible bits of unabsorbed flour. As you knead, the gluten network begins to form and organize, pulling the dough together.
A key visual cue for progressing towards perfectly kneaded whole wheat dough is when the surface starts to look noticeably smoother. It will become less ragged and more uniform in appearance. While whole wheat dough may never achieve the glass-like smoothness of fully kneaded white dough due to the bran, it should still look significantly more refined and less chaotic than when you started.
Observing the Dough's Elasticity and Stretch
As the gluten network develops, the dough becomes more elastic and capable of stretching. When you gently pull a piece of under-kneaded dough, it will likely tear quickly without much resistance or stretch. This indicates a weak or undeveloped gluten structure that won't be able to hold gas effectively.
Conversely, as you approach perfectly kneaded whole wheat dough, the dough will start to resist your pull and stretch further before breaking. This elasticity is a strong visual indicator that the gluten is forming a robust network. You should be able to pull a modest piece (say, the size of a golf ball) and see it extend several inches, albeit potentially with some small tears due to the bran, before it snaps.
The Windowpane Test: Your Key Indicator for Perfectly Kneaded Dough
The windowpane test is often considered the gold standard for determining if dough is properly kneaded. It directly assesses the strength and extensibility of the gluten network. When the gluten is sufficiently developed, you should be able to stretch a small piece of dough thin enough to see light through it without it tearing.
This test is particularly telling because it shows whether the gluten strands are long and strong enough to form a continuous, flexible membrane capable of trapping gases and supporting the dough's structure during fermentation and baking. Passing the windowpane test is a strong sign you have achieved perfectly kneaded whole wheat dough.
Performing the Windowpane Test on Whole Wheat Dough
To perform the windowpane test, gently pinch off a small piece of dough, roughly the size of a walnut. Using your fingers, slowly and carefully stretch this piece from the center outwards. Try to stretch it into a thin square or circle. Support the dough with the fingers of one hand while gently pulling with the fingers of the other.
Be patient and gentle; forcing it will cause it to tear prematurely. The goal is to see if you can stretch it until it is thin enough that you can see light passing through it, like a thin pane of glass or a window. Remember that whole wheat dough, due to the bran, might not be as perfectly clear as white dough, but you should still see translucence.
What to Look for in a Successful Windowpane Test
A successful windowpane test means you were able to stretch the dough into a thin, translucent membrane without it tearing easily. You should clearly see light through the stretched dough. If the dough tears quickly and cannot be stretched thinly, it is under-kneaded and needs more work.
If the dough stretches but feels slack and tears easily after stretching a short distance, it might be slightly under-developed or, less commonly with whole wheat, potentially starting to become over-kneaded. A dough that passes the windowpane test indicates a strong, elastic gluten network, characteristic of perfectly kneaded whole wheat dough ready for proofing.
Tactile Indicators: Feeling the Dough's Transformation
The Dough's Texture: From Rough to Supple
Beyond what you see, how the dough feels in your hands is a crucial indicator of its development. Initially, after mixing, the dough will feel rough, lumpy, and possibly quite sticky. As you knead, you'll notice a change in its texture. The lumps will disappear, and the dough will become smoother and more cohesive.
A perfectly kneaded whole wheat dough will feel supple, elastic, and alive under your hands. It will have a pleasant resistance when you push or pull it, but it won't feel stiff or board-like. This supple texture is a direct result of the formed gluten network and tells you the dough has the necessary structure.
Stickiness Assessment: When is Dough Too Sticky?
Stickiness in dough can be tricky, especially with whole wheat, as different flours absorb water differently. Some degree of stickiness is normal, particularly in higher hydration doughs (those with a higher ratio of water to flour, like 70% hydration or more). However, excessive stickiness can indicate either insufficient kneading or potentially too much water.
As you knead, the stickiness should decrease as the flour fully hydrates and the gluten develops. Perfectly kneaded whole wheat dough will be only slightly tacky to the touch. If it clings stubbornly to your hands or the work surface even after significant kneading, it might need a touch more flour (added sparingly) or more kneading time. Conversely, if a smooth dough suddenly becomes sticky and slack, it could be a sign of over-kneading.
The Poke Test: Checking the Dough's Rebound
The poke test is another excellent tactile method to assess dough development. Gently flour one of your fingers and press it into the surface of the dough about half an inch deep. Then, withdraw your finger.
Observe how quickly and completely the indentation fills back in. If the indentation remains deep and doesn't spring back at all, the dough is under-kneaded. If the indentation springs back slowly and partially, it's a good sign that the gluten network is developed and has elasticity – a characteristic of perfectly kneaded whole wheat dough. If the dough feels very slack and the indentation springs back immediately and completely, it might be slightly over-kneaded or very relaxed, requiring a rest.
Time as a Guide: Estimating Kneading Duration
General Kneading Time Guidelines for Whole Wheat Dough
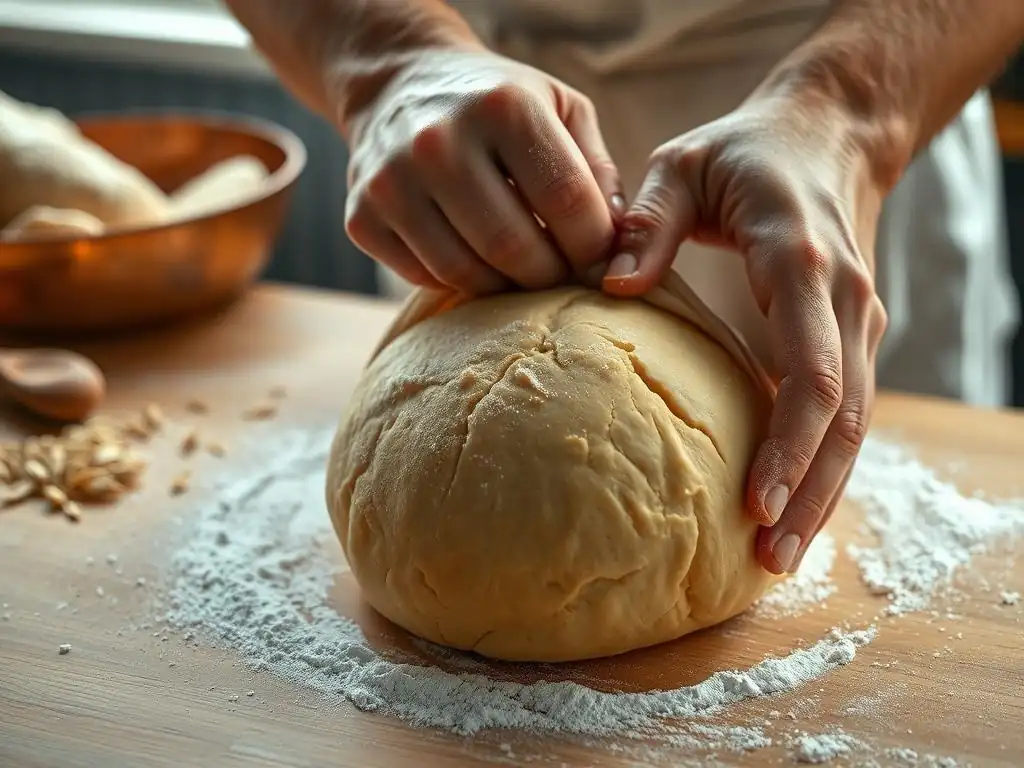
While visual and tactile cues are the most reliable indicators of perfectly kneaded whole wheat dough, time can serve as a general guideline, especially when you're starting out. For kneading by hand, whole wheat dough typically requires anywhere from 10 to 15 minutes of consistent work. Using a stand mixer with a dough hook on medium speed (like speed 2 or 3), the process is faster, usually taking between 6 and 10 minutes.
These times are just approximations, however. It's crucial to rely more on how the dough looks and feels rather than strictly adhering to a clock. Some doughs might develop faster, others slower, depending on various factors.
Factors Affecting Kneading Time: Flour Type, Hydration, and Technique
Several variables can influence how long it takes to achieve perfectly kneaded whole wheat dough. The specific type and brand of whole wheat flour can vary in protein content and how quickly they absorb water. A flour with slightly higher protein might develop gluten faster than one with lower protein. The hydration level of your dough is also critical; wetter doughs can sometimes develop gluten more quickly but feel stickier, potentially making it harder to assess readiness by feel alone.
Your kneading technique, whether by hand or machine, also plays a significant role. Effective hand kneading involves stretching and folding the dough rhythmously. With a stand mixer, the speed and type of hook (spiral hooks are often very efficient) impact the time needed. Always use time as a rough estimate, confirming readiness with visual and tactile tests.
Troubleshooting Common Kneading Problems
Over-Kneading Whole Wheat Dough: Signs and Solutions
While less common when kneading whole wheat dough by hand, it is possible to over-knead, especially with a powerful stand mixer. Signs of over-kneaded dough include it becoming very slack, losing its elasticity, potentially feeling sticky again, and tearing very easily when stretched (it might not even hold up to the windowpane test, tearing immediately). The dough might feel lifeless and lack the supple feel of perfectly kneaded whole wheat dough.
Unfortunately, there's often no easy fix for severely over-kneaded dough, as the gluten structure has been broken down. A very short rest (10-15 minutes) might help slightly, but the resulting loaf may still be dense or have a poor texture. The best approach is prevention: pay close attention to the dough's feel and appearance and stop kneading as soon as it shows the signs of being perfectly kneaded whole wheat dough.
Under-Kneading Whole Wheat Dough: Identifying and Correcting
Under-kneading is a much more common issue with whole wheat dough. Signs include a shaggy or rough surface, lack of elasticity (it tears easily when stretched), failure of the windowpane test (it tears immediately), and a general lack of structure – the dough might not hold its shape well. The poke test will show an indentation that doesn't spring back.
The consequence of under-kneading is a dense, heavy loaf with little volume because the weak gluten network cannot trap the gas produced by the yeast. The good news is that under-kneading is easy to correct: simply continue kneading! Use the visual and tactile cues discussed earlier to guide you. Keep kneading until the dough looks smoother, feels more supple and elastic, and passes the windowpane test.
Tips and Tricks for Achieving Perfectly Kneaded Whole Wheat Dough
Proper Hydration Techniques for Easier Kneading
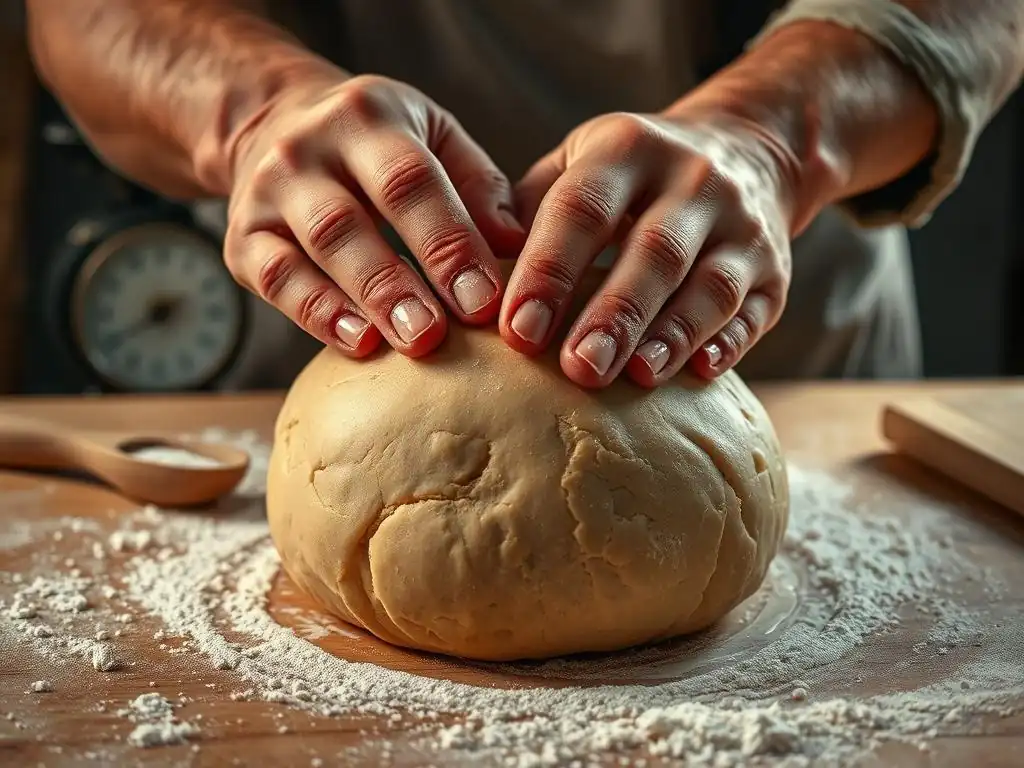
Hydration is key to managing whole wheat dough. Whole wheat flour can be thirsty, but adding too much water too quickly can result in an overly sticky dough that's hard to knead. It's often best to start with slightly less water than you think you might need (e.g., holding back 5-10% of the total liquid) and add it gradually as you knead, allowing the flour to fully hydrate. This lets you adjust based on how the dough feels and how the specific flour is absorbing the water.
Another helpful technique is the autolyse method, which involves mixing just the flour and water from your recipe and letting it rest for 20-60 minutes before adding other ingredients like salt and yeast and beginning to knead. This rest period allows the flour to fully hydrate and begins the process of gluten development naturally, making the subsequent kneading much easier and faster to achieve perfectly kneaded whole wheat dough.
Using a Stand Mixer vs. Kneading by Hand
Both stand mixers and hand kneading can produce perfectly kneaded whole wheat dough, but they offer different experiences and challenges. A stand mixer with a dough hook is faster and requires less physical effort, making it ideal for larger batches or if you have physical limitations. However, it's easier to accidentally over-knead with a mixer, so require careful observation of the dough's progress.
Kneading by hand gives you a more direct feel for the dough's development. You can constantly assess its texture, elasticity, and stickiness. While it takes longer and is more strenuous, it's a rewarding process and often makes it harder to over-knead, as your hands will tire before the dough does! Choose the method that best suits your needs and preferences.
The Importance of Rest Periods During Kneading
Incorporating short rest periods, especially when hand kneading whole wheat dough, can be incredibly beneficial. If the dough feels very tight, resistant, or difficult to work, cover it and let it rest for 5-10 minutes. This allows the gluten to relax and the flour to continue hydrating.
After a rest, you'll often find the dough is much more pliable, less sticky, and easier to knead towards that perfectly kneaded whole wheat dough state. This technique is particularly useful for higher hydration whole wheat doughs that might feel too sticky initially.
Putting it All Together: A Checklist for Perfectly Kneaded Dough
Knowing when your whole wheat dough is perfectly kneaded involves combining visual, tactile, and time-based assessments. Use the following checklists as a guide during your kneading process.
Visual Assessment Checklist
- [ ] Surface is mostly smooth and uniform (less shaggy than at the start).
- [ ] Dough holds its shape reasonably well.
- [ ] When gently stretched, the dough shows resistance and stretches several inches before tearing.
- [ ] Passes the windowpane test: a small piece can be stretched thin enough to see light through it without tearing easily.
Tactile Assessment Checklist
- [ ] Dough feels supple, elastic, and alive.
- [ ] Stickiness is minimal – it might be slightly tacky but doesn't cling stubbornly to hands.
- [ ] The poke test shows a slow or partial rebound of the indentation.
- [ ] Kneading time falls within general guidelines (e.g., 10-15 mins by hand, 6-10 mins by mixer), but prioritize visual and tactile cues over strict timing.
Conclusion: Mastering the Art of Kneading Whole Wheat Dough for BakeWithEase Recipes
The Importance of Practice and Observation
Mastering the art of knowing when your whole wheat dough is perfectly kneaded is a skill that develops with practice. Each batch of dough can vary slightly depending on the flour, temperature, and humidity. Don't worry if your first few attempts aren't perfect. Pay close attention to how the dough looks and feels throughout the kneading process.
By consistently applying the visual cues, tactile tests, and using time as a rough guide, you'll begin to intuitively understand the transformation the dough undergoes. The more you bake and observe, the better you'll become at recognizing the signs of perfectly kneaded whole wheat dough.
Enjoying the Rewards of Perfectly Kneaded Whole Wheat Bread
Achieving perfectly kneaded whole wheat dough is a foundational step towards baking delicious, well-risen whole wheat bread. When the gluten network is properly developed, your loaf will have better volume, a more appealing texture, and a satisfying chew. This attention to detail during the kneading phase truly elevates the final product.
Now that you know what to look for, apply these techniques to your favorite BakeWithEase whole wheat bread recipes. The effort you put into kneading will be richly rewarded when you slice into a beautiful loaf of homemade whole wheat bread with a wonderful crumb structure, all thanks to achieving that perfectly kneaded whole wheat dough.
Frequently Asked Questions
How does kneading whole wheat dough differ from kneading white flour dough?
Whole wheat dough requires slightly different handling due to the presence of bran. Bran can cut through the gluten strands, so it requires a bit more time and often more hydration to develop a strong gluten network.
What are the visual cues that indicate whole wheat dough is properly kneaded?
A perfectly kneaded whole wheat dough should appear smooth and elastic, though it may still have some slight tackiness. It should also have a noticeable sheen and be less shaggy in appearance than when initially mixed.
How long should I typically knead whole wheat dough by hand?
Generally, you'll need to knead whole wheat dough for 8-12 minutes by hand to achieve proper gluten development. This is slightly longer than white flour dough, so patience is key.
What is the "windowpane test" and how does it help determine if my whole wheat dough is kneaded enough?
The windowpane test involves stretching a small piece of dough thinly enough to see light through it without tearing. If the dough passes the test, forming a translucent "windowpane", it's likely kneaded sufficiently.
Can I over-knead whole wheat dough, and what are the signs?
Yes, over-kneading is possible! Signs include a dough that becomes tough, dense, and difficult to shape. It may also start to tear easily rather than stretch.
Final Reflection: The Art and Science of Perfectly Kneaded Dough
The quest for perfectly kneaded whole wheat dough is more than just a baking pursuit; it's a journey into understanding texture, structure, and the transformative power of patience. The seemingly simple act of kneading holds within it a complex interplay of gluten development, hydration levels, and the subtle nuances that separate a good loaf from a truly exceptional one. Mastering this process unlocks a world of possibilities, from rustic sourdoughs to airy focaccias.
The impact of understanding dough kneading extends far beyond the kitchen. It's a microcosm of the dedication and precision required in many aspects of life. The satisfaction derived from achieving that perfect windowpane test – that delicate stretch of dough that doesn't tear – mirrors the sense of accomplishment found in overcoming challenges and achieving mastery in any field. As the renowned baker, Jim Lahey, once said: Baking is a science, but it's also an art. You need to understand the science to appreciate the art.
This perfectly encapsulates the journey of kneading whole wheat dough.
Now, consider your own life. What "dough" are you currently kneading? What projects, relationships, or personal goals require the same dedication, patience, and attention to detail? Take a moment to reflect on the process. Embrace the challenges, appreciate the subtle nuances, and find the satisfaction in achieving your own "perfectly kneaded" outcome. The journey, like the kneading itself, is as important as the destination.
Unlock Your Perfect Loaf: Knead to Greatness!
Thanks for taking the time to learn about achieving perfectly kneaded whole wheat dough! You're now equipped with the knowledge to bake bread with confidence. Ready to put your new skills to the test?
- Bake your dream loaf: Try out the techniques you've learned today and experience the difference a perfectly kneaded dough makes. Share your baking journey with us!
- Explore our other baking guides: Discover more tips and tricks to elevate your baking game. We've got recipes for all skill levels!
- Share your freshly baked bread with friends and family—and don't forget to brag about your kneading mastery!
What unique qualities did you notice in your perfectly kneaded dough that you hadn't before? Let's discuss!