
Your BeginnerFriendly Basic Sourdough Timeline

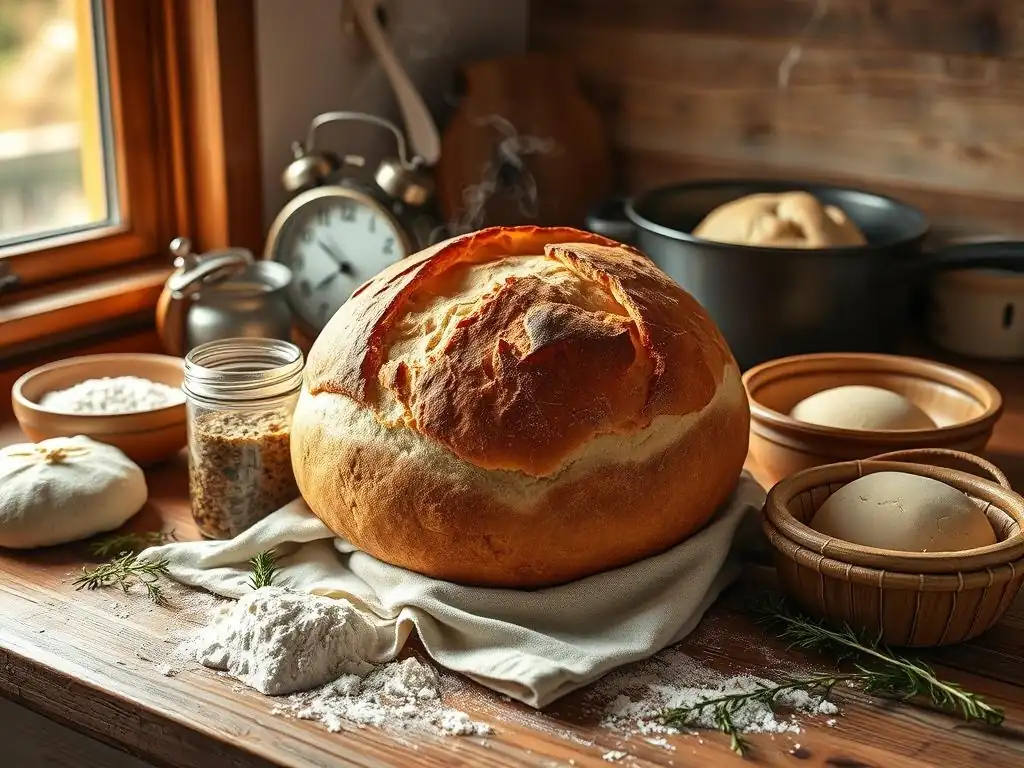
Welcome to BakeWithEase, your guide to unlocking the joys of baking! Ever dreamt of crafting your own tangy, crusty loaf? This week, we're diving deep into the world of sourdough, with a special focus on a Beginner Sourdough Bread Timeline designed to make the process surprisingly simple. Intrigued about how long it really takes to nurture that starter and bake a perfect loaf? Let's demystify the process and get baking!
- Your Beginner-Friendly Basic Sourdough Timeline: BakeWithEase
- Introduction to Sourdough Baking for Beginners
-
The Essential Beginner Sourdough Bread Timeline: A Detailed Breakdown
- Day 1: Creating Your Sourdough Starter (If You Don't Have One)
- Day 2-7: Feeding and Monitoring Your Sourdough Starter
- Day 1 (Active Starter): Preparing the Levain (Sourdough Pre-Ferment)
- Day 1 (Active Starter): Autolyse - The Key to a Great Sourdough Loaf
- Day 1 (Active Starter): Mixing the Dough - Beginner Sourdough Technique
- Day 1 (Active Starter): Bulk Fermentation - Sourdough's Flavor Development
- Day 1 (Active Starter): Shaping Your Sourdough Loaf
- Day 1 (Active Starter): Cold Proofing - Enhancing Sourdough Flavor
- Day 2: Baking Your Beginner Sourdough Bread
- Troubleshooting Your Beginner Sourdough Timeline
- Sourdough Bread Timeline Variations for Beginners
- Tips for Mastering Your Basic Sourdough Timeline
- Conclusion: Embrace the Journey of Sourdough Baking
-
Frequently Asked Questions
- What is the best time of day to start my sourdough starter for a beginner-friendly timeline?
- How long does the entire beginner sourdough bread timeline typically take?
- What are the most important things to watch for in my sourdough starter during the beginner sourdough bread timeline?
- How much hands-on time is required during the beginner sourdough bread timeline?
- What if my sourdough starter doesn't seem active within the suggested beginner sourdough bread timeline?
- Final Reflection: The Transformative Power of Time in Sourdough Baking
- Unleash Your Inner Baker: Start Your Sourdough Journey Today!
Your Beginner-Friendly Basic Sourdough Timeline: BakeWithEase
Introduction to Sourdough Baking for Beginners
Why Choose Sourdough? A Beginner's Perspective
Embarking on the sourdough journey might seem intimidating at first glance, but it's a truly rewarding experience that connects you to ancient baking traditions. Unlike commercial yeast, sourdough relies on a natural leavening agent – a culture of wild yeast and bacteria. This not only gives the bread its characteristic tangy flavor and chewy texture but also can make it easier to digest for some people.
Learning the rhythm of a basic sourdough timeline allows beginners to understand the fundamental processes of fermentation and dough development, building a solid foundation for more complex baking in the future. It's a living ingredient that evolves and strengthens with care, becoming a unique reflection of your kitchen environment.
Furthermore, baking sourdough from scratch gives you complete control over the ingredients, avoiding preservatives or additives often found in store-bought bread. The process itself is incredibly satisfying; from nurturing a bubbly starter to witnessing the magical oven spring of a well-baked loaf. Following a clear beginner sourdough bread timeline demystifies the process, breaking it down into manageable steps spread over a couple of days.
This makes it accessible even for those with limited baking experience, proving that delicious, naturally leavened bread is well within reach. The initial investment is minimal – just flour, water, and patience – leading to loaves that are not only delicious but also incredibly cost-effective compared to artisanal bakery prices.
Understanding the Sourdough Timeline: A Step-by-Step Guide
The concept of a sourdough timeline is crucial because sourdough baking is less about strict clock times and more about observing the activity of your starter and dough. It’s a journey guided by fermentation, which is influenced by temperature, hydration, and the health of your starter.
For beginners, understanding this sequence – from activating or creating your starter to mixing, fermenting, shaping, and finally baking – provides a necessary roadmap. While a typical beginner sourdough bread timeline might span two days (one for mixing/fermenting, one for baking after a cold proof), the actual duration of each step is flexible and depends heavily on environmental factors like room temperature.
This step-by-step approach, often visualized as a beginner sourdough timeline, helps new bakers anticipate the different stages and know what to look for. For instance, bulk fermentation might take anywhere from 4 to 8 hours depending on warmth, while a cold proofing step can last from 8 to 16 hours or even longer in the refrigerator. By following a structured timeline, beginners can minimize guesswork and increase their chances of success.
It encourages observation – learning to recognize when the starter is active enough or when the dough has risen sufficiently. This foundational knowledge gained from adhering to a basic timeline makes it easier to adapt and troubleshoot as you become more comfortable with the process.
The Essential Beginner Sourdough Bread Timeline: A Detailed Breakdown
Day 1: Creating Your Sourdough Starter (If You Don't Have One)
If you're starting from scratch without an existing sourdough culture, the very first step in your beginner sourdough bread timeline is creating your starter. This is surprisingly simple, requiring only equal parts by weight of flour and water. Many beginners start with a mix of unbleached all-purpose flour and whole wheat or rye flour, as the latter can help jumpstart microbial activity.
For example, you might mix 50 grams of warm water (around 75-80°F or 24-27°C) with 50 grams of flour in a clean jar. Stir it thoroughly until no dry bits remain, cover loosely with a lid or plastic wrap secured with a rubber band, and leave it at room temperature, ideally between 70-78°F (21-26°C).
This initial mix is the foundation. Around 12 hours later, or in the evening of Day 1, you'll perform your first feeding. This involves discarding a portion of the starter (to control volume and acidity) and feeding it again with fresh flour and water. A common beginner feeding ratio is 1:1:1 by weight – meaning you keep 50g of your initial mix, add 50g of fresh water, and 50g of fresh flour.
Mix well, cover loosely, and let it sit until the next feeding. This twice-daily feeding schedule helps build a strong, active culture over the next week or two, preparing it for use in your beginner sourdough bread timeline. Consistency in feeding time and temperature is key during this initial phase.
Day 2-7: Feeding and Monitoring Your Sourdough Starter
Over the next week, you will continue feeding your starter, typically once or twice a day, depending on its activity level and your schedule. The goal is to develop a robust culture capable of reliably doubling or tripling in volume within 4-8 hours after being fed. During this period, you'll observe changes: initial minimal activity, perhaps some hooch (a liquid on top), and eventually bubbles forming throughout the culture, indicating yeast activity.
A healthy starter should smell pleasantly acidic, perhaps slightly yeasty or even fruity, not like nail polish remover. By Day 7-14, your starter should consistently show significant growth after feeding, passing the "float test" (a small piece floats in water) when it's at its peak – this is when it's ready to leaven your beginner sourdough bread timeline.
Observing your starter is key. If it's slow, ensure your feeding water isn't chlorinated (let tap water sit out for 24 hours or use filtered water) and that your room temperature isn't too cold. A cold environment significantly slows down fermentation. If your kitchen is cool, finding a warmer spot (like inside a turned-off oven with the light on, which provides gentle warmth) can help.
Inconsistent feeding or using too much starter relative to the feed can also cause issues. If you see mold, discard the starter and start over. Persistence is important; don't get discouraged if it takes longer than a week. A healthy, active starter is the cornerstone of a successful beginner sourdough bread timeline.
Day 1 (Active Starter): Preparing the Levain (Sourdough Pre-Ferment)
With a vigorous, active starter established (or if you're using one from a friend), the next step in your beginner sourdough bread timeline is often creating a levain, also known as a pre-ferment or leaven. This isn't strictly necessary for every beginner recipe, but it's a common technique that uses a small amount of your mature starter to build up a larger, highly active culture specifically for your bake.
This ensures you're using the starter at its peak potency and can also influence the final flavor profile. Typically, you'll mix a small portion of your 'mother' starter with fresh flour and water in a clean jar, usually in the morning on the day you plan to mix your dough.
A common ratio for a beginner sourdough levain might be 1:2:2 (1 part starter, 2 parts water, 2 parts flour by weight). For example, mixing 20g of your active mother starter with 40g of water and 40g of flour yields 100g of levain, more than enough for a standard loaf. The levain is then left at room temperature to ripen.
Depending on the temperature, this usually takes 4-6 hours. You'll know your levain is ready when it has significantly increased in volume (often doubling or tripling), is bubbly on the surface and sides, and passes the float test. Using the levain at its peak ensures maximum leavening power for your beginner sourdough timeline.
Day 1 (Active Starter): Autolyse - The Key to a Great Sourdough Loaf
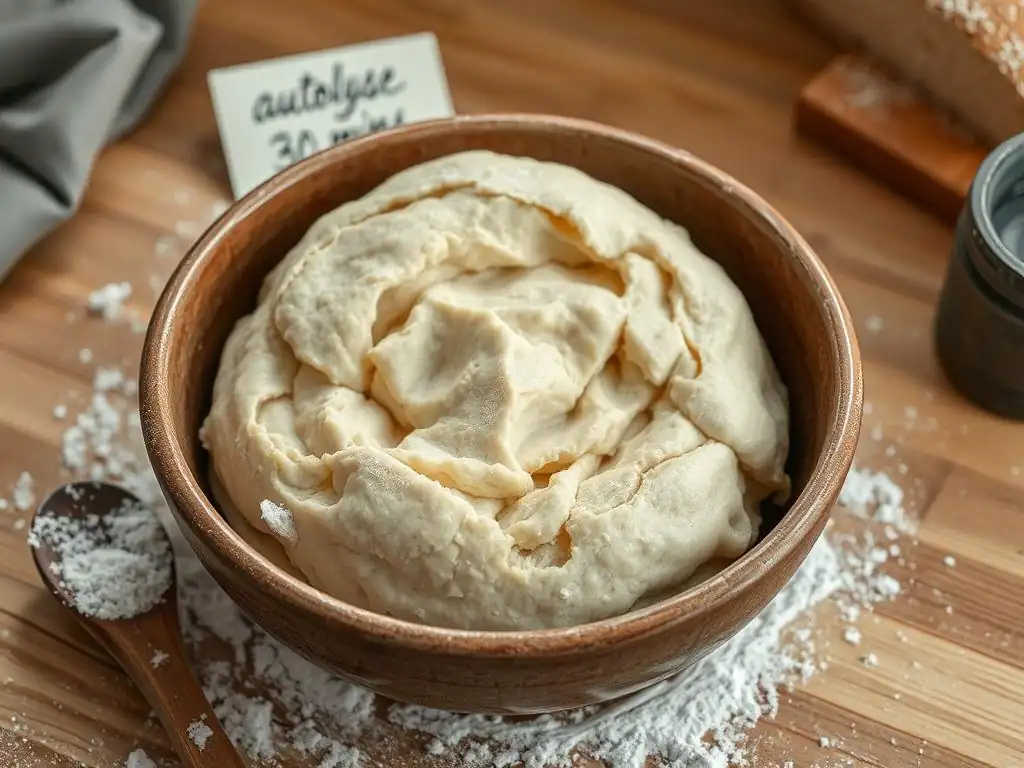
Autolyse is a simple yet powerful technique in the beginner sourdough bread timeline that involves mixing only the flour and water from your recipe and letting it rest before adding the salt and levain. This resting period, typically 30 minutes to an hour, allows the flour to fully hydrate and gluten development to begin without the interference of salt or the complexity of the starter.
The gluten network starts to form naturally, making the dough more extensible and easier to handle later during mixing and folding. For a typical loaf using 500g of flour, you would mix the flour with the specified amount of water (minus a small amount reserved for incorporating salt and levain) until just combined, then cover and let it rest.
Performing a perfect autolyse for sourdough is straightforward: simply combine the flour and water in your mixing bowl and mix until there are no dry pockets of flour left. The mixture will look shaggy and not smooth – this is expected. Cover the bowl to prevent the surface from drying out.
Letting this mixture rest gives the enzymes in the flour time to break down starches into sugars, which will later feed the yeast in your levain, and allows the proteins to absorb water and begin forming gluten. This step significantly improves the dough's structure and workability, setting you up for success later in your beginner sourdough timeline.
Day 1 (Active Starter): Mixing the Dough - Beginner Sourdough Technique
Following the autolyse period, the next critical step in the beginner sourdough bread timeline is incorporating the levain and salt into the dough. First, add your ripe levain to the autolysed dough. You might find it easiest to dimple it in with wet hands or use a small amount of the reserved water.
Gently squeeze and fold the dough to integrate the levain thoroughly. Once the levain is mostly mixed in, add the salt along with the remaining reserved water. The salt is added after the autolyse because it tightens the gluten structure, which can make mixing harder if added too early, and can also potentially interfere with the initial enzymatic activity during autolyse.
Developing strength through gentle mixing is key for beginner sourdough. After adding the salt and levain, the dough will initially feel wet and perhaps a bit sticky. Resist the urge to add more flour. Instead, use gentle folding or squeezing motions in the bowl to bring the ingredients together.
Techniques like the "pincer method" (pinching the dough repeatedly to mix) or simple stretches and folds within the bowl work well. Mix until the ingredients are just incorporated and the dough starts to show a little more structure. This phase is typically short, perhaps 5-10 minutes of gentle work, before moving onto the bulk fermentation and subsequent folds outlined in the beginner sourdough timeline.
Day 1 (Active Starter): Bulk Fermentation - Sourdough's Flavor Development
Bulk fermentation, also known as the first rise, is arguably the most critical phase in the beginner sourdough bread timeline for developing both flavor and structure. This is the period after mixing when the dough is left to rise as a single mass before shaping.
During bulk fermentation, the wild yeast in the levain produces carbon dioxide, causing the dough to expand, while the bacteria produce organic acids, contributing to the signature sourdough tang. The duration of bulk fermentation is highly dependent on temperature, ranging from perhaps 4 hours in a warm kitchen (around 78°F/26°C) to 8 hours or more in a cooler environment (around 70°F/21°C).
Throughout bulk fermentation, you will perform a series of "folds" to build strength and even out the dough's temperature and activity. Typically, 3-5 sets of stretch and folds are performed during the first 2-3 hours of bulk fermentation, with 30-45 minute rests between sets. To perform a stretch and fold, dampen your hands, grab one side of the dough, gently stretch it upwards, and fold it back over the rest of the dough.
Rotate the bowl and repeat 3-4 times per set. This process aligns the gluten strands, increases the dough's elasticity, and traps gas, resulting in a better structure and oven spring in your beginner sourdough bread timeline. You'll notice the dough becoming smoother and more elastic with each set of folds.
Day 1 (Active Starter): Shaping Your Sourdough Loaf
Once bulk fermentation is complete (the dough should have increased in volume by 30-50% and feel airy), it's time to shape your loaf. This step in the beginner sourdough bread timeline involves two main stages: pre-shaping and final shaping. Pre-shaping is a brief rest period (usually 20-30 minutes) that allows the dough to relax after being turned out of the bulk fermentation container.
Gently turn the dough out onto a lightly floured surface. Without degassing it too much, gently pat or fold it into a rough shape – a round for a boule or an oval for a batard. This rest period helps develop surface tension and makes the final shaping much easier.
Final shaping techniques for beginners aim to create significant surface tension on the dough while creating a relatively tight package. This tension is crucial for the loaf to hold its shape during proofing and baking and contributes to good oven spring. For a round loaf (boule), gently fold the edges towards the center, then flip the dough over and use your hands to gently pull or rotate it against the surface, creating a smooth, taut skin on top.
For an oval loaf (batard), fold one side two-thirds of the way over, then fold the other side over the first, and finally roll it up from one end, sealing the seam. Place the shaped loaf seam-side up in a prepared banneton basket for proofing in your beginner sourdough timeline.
Day 1 (Active Starter): Cold Proofing - Enhancing Sourdough Flavor
Cold proofing, also known as cold retardation, is an optional but highly recommended step in the beginner sourdough bread timeline. After shaping, the loaf is placed in the refrigerator, typically for 8 to 16 hours, though some bakers extend this to 24 hours or more. The cold temperature significantly slows down the fermentation process.
While yeast activity slows, the lactic acid bacteria in the sourdough continue to work, producing more organic acids. This extended, slow fermentation in the cold develops deeper, more complex flavors in the bread and also makes the dough easier to handle and score the next day when it's cold and firm.
Preparing your banneton basket is simple but important for cold proofing. A banneton (or proofing basket) is used to support the shaped dough during its final rise and helps it maintain its shape. Dust the banneton generously with rice flour (which is less likely to be absorbed by the dough than wheat flour), or a mix of rice flour and bread flour.
Ensure all surfaces that will touch the dough are well-floured. Gently transfer your shaped loaf, seam-side up, into the floured banneton. Cover the banneton with plastic wrap or place it inside a large plastic bag to prevent the dough from drying out, then place it in the refrigerator as the final step of Day 1 in your beginner sourdough timeline.
Day 2: Baking Your Beginner Sourdough Bread
The exciting climax of your beginner sourdough bread timeline arrives on Day 2: baking the loaf. For best results, especially for beginners, baking in a preheated Dutch oven is highly recommended. The Dutch oven traps steam released by the dough, which keeps the crust soft initially, allowing the loaf to expand rapidly (oven spring) before the crust hardens. Preheat your oven with the empty Dutch oven inside to a high temperature, typically 450-500°F (230-260°C), for at least 45-60 minutes. This ensures the Dutch oven is scorching hot, providing an immediate burst of heat to the dough.
While the oven and Dutch oven preheat, take your cold-proofed dough directly from the refrigerator. Turn the dough out gently onto a piece of parchment paper. This paper makes transferring the dough into the hot Dutch oven much safer and easier. Scoring your sourdough loaf is next.
Using a sharp razor blade (lame) or a very sharp knife, make deliberate cuts on the surface of the dough. Scoring allows the loaf to expand predictably during baking and creates beautiful patterns. A simple cross or a single slash down the center is perfect for beginners. Aim for a cut about 1/2 inch deep.
Baking to perfection involves a two-stage process in the Dutch oven. Carefully lower the scored loaf on the parchment paper into the preheated Dutch oven. Place the lid on the Dutch oven and bake for the first 20-25 minutes. This covered period is where you get maximum oven spring.
After this time, carefully remove the lid. You should see the loaf has significantly expanded and the crust is starting to set and turn a pale golden color. Reduce the oven temperature slightly, perhaps to 425-450°F (220-230°C), and continue baking uncovered for another 20-30 minutes, or until the crust is deep golden brown and the internal temperature reaches around 205-210°F (96-99°C). Let the loaf cool completely on a wire rack for at least 1-2 hours before slicing to allow the crumb structure to set.
Troubleshooting Your Beginner Sourdough Timeline
Common Mistakes and How to Avoid Them
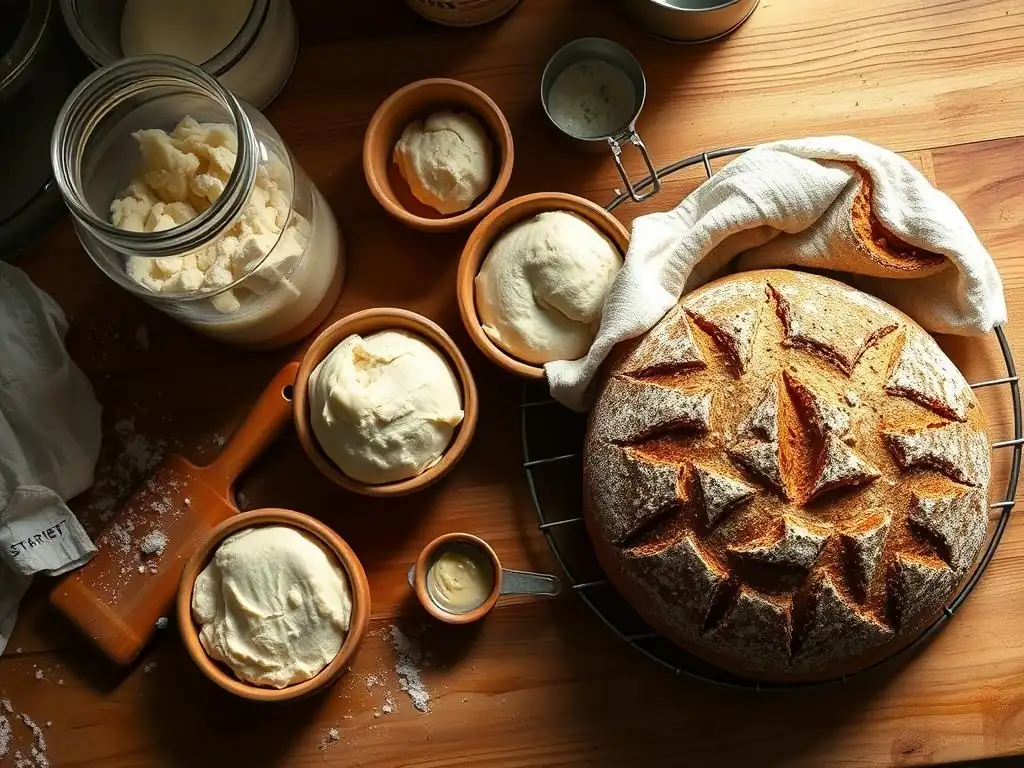
As you follow your beginner sourdough bread timeline, you might encounter some bumps along the road, which is completely normal. One very common mistake is using a starter that isn't active enough. If your starter doesn't consistently double or triple after feeding within a predictable timeframe (e.g., 4-8 hours), it's not ready to leaven bread effectively. Baking with an inactive starter will result in a dense, flat loaf.
To avoid this, patiently continue regular feedings (perhaps twice a day) until your starter shows robust activity and passes the float test reliably. Another frequent issue is under-proofing during bulk fermentation. If your dough hasn't increased sufficiently in volume (aim for 30-50% rise for many beginner recipes) and feels dense rather than airy, it needs more time.
Another pitfall in the beginner sourdough timeline is improper handling during shaping, which can lead to poor oven spring or a loaf that spreads rather than rises upwards. Ensure you build sufficient surface tension during final shaping and that your banneton is well-floured so the dough doesn't stick. Overworking the dough or adding too much flour during mixing and shaping can also result in a tough loaf.
Stick to the recipe's hydration level and use minimal flour on your work surface and hands. Finally, not letting the loaf cool completely before slicing is a common mistake that can ruin the crumb structure you worked so hard to develop. Patience during the cooling phase is rewarded with a better texture.
Adjusting the Timeline Based on Your Environment
The beauty and challenge of the beginner sourdough timeline lie in its flexibility, which is dictated by your environment, primarily temperature. A recipe might suggest a 4-hour bulk fermentation, but if your kitchen is cooler, say 68°F (20°C), it could easily take 6-8 hours for the dough to reach the desired rise.
Conversely, in a warm kitchen above 78°F (26°C), that same bulk fermentation might be complete in just 3-4 hours. Learning to read the dough – looking for signs like increased volume, bubbles, and a slightly domed surface – is more important than strictly adhering to times given in a recipe, especially when following a beginner sourdough bread timeline for the first time.
Similarly, the time it takes for your levain to ripen will vary with temperature. If it's cool, it might take 6-8 hours; if warm, it could be ready in 3-4. Cold proofing time in the refrigerator is more forgiving but can also be adjusted. A shorter cold proof (8-12 hours) might yield a milder flavor, while a longer one (16-24 hours) can enhance the tanginess.
Get to know your kitchen's temperature zones and how they affect fermentation speed. Use a thermometer to measure your room temperature and even the dough temperature. This knowledge allows you to intelligently adjust your beginner sourdough timeline, making it work for you and your specific conditions.
Sourdough Bread Timeline Variations for Beginners
Incorporating Different Flours for Unique Flavors
Once you've mastered the basic beginner sourdough bread timeline using white or a blend of white and whole wheat flour, you can start experimenting with different flour types to introduce new flavors and textures. Adding a percentage of rye flour, for instance, will give your loaf a denser crumb and a distinct, earthy flavor. Try substituting 10-20% of the total flour with dark rye or pumpernickel in your recipe.
Keep in mind that rye absorbs water differently and doesn't develop gluten in the same way as wheat, so the dough will feel stickier, and the texture will be closer. This variation slightly alters the beginner sourdough timeline, as rye can ferment faster.
Another popular variation is using spelt or einkorn flour, ancient grains that offer nutty, slightly sweet flavors and different nutritional profiles. Spelt dough can be less elastic than modern wheat, so handle it gently. Adding 15-30% spelt to your white bread flour recipe is a good starting point.
Whole wheat flour itself, when used in higher percentages (above 20-30%), contributes a robust flavor and denser crumb. Remember that different flours absorb water differently, so you might need to slightly adjust the hydration level in your recipe. Experimenting with flour blends within your established beginner sourdough timeline is a fantastic way to personalize your baking.
Adjusting the Timeline for Warmer or Colder Climates
Your local climate and the temperature inside your home are major factors influencing the pace of your beginner sourdough timeline. In warmer climates or during summer months, fermentation happens much faster. Bulk fermentation that took 6 hours in winter might be done in 3-4 hours in summer.
To manage this, you can use cooler water for mixing your dough, reduce the amount of levain used (e.g., from 20% to 15% of the total flour weight), or shorten the bulk fermentation time and rely more heavily on a longer cold proof in the refrigerator. Monitoring the dough's rise and feel becomes even more critical in warm conditions.
Conversely, in colder climates or during winter, fermentation slows down considerably. A bulk fermentation might stretch to 8-12 hours. To speed things up, you can use warmer water for mixing (up to around 85-90°F or 30-32°C), increase the percentage of levain in your recipe, or find a warmer spot for your dough to ferment (like a proofing box, a warm oven with the light on, or near a heater, being careful not to overheat).
You might also need to extend the time between folds during bulk fermentation. Understanding these adjustments allows you to successfully navigate your beginner sourdough bread timeline regardless of the season or your home's temperature.
Tips for Mastering Your Basic Sourdough Timeline
Maintaining Your Sourdough Starter for Long-Term Baking Success
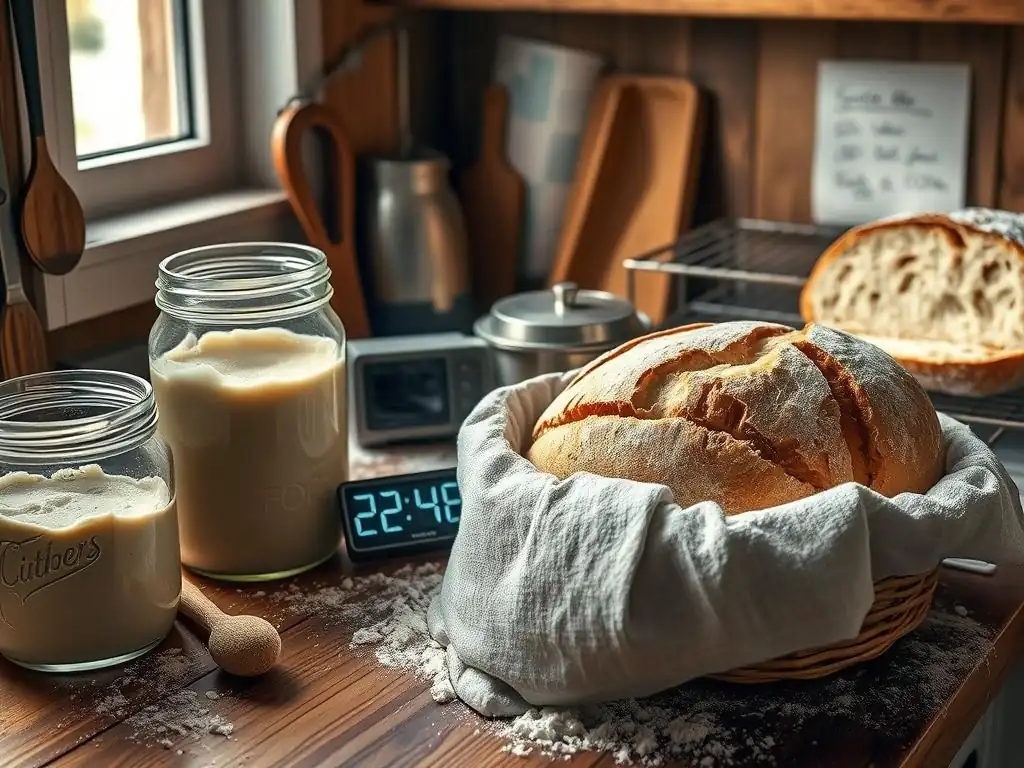
A healthy, consistent sourdough starter is the heart of your beginner sourdough bread timeline and crucial for long-term baking success. Once your starter is mature and active, you can maintain it in various ways depending on how often you bake. If you bake frequently (several times a week), keeping your starter at room temperature with daily feedings (1:1:1 ratio is standard) works well.
For less frequent baking (once a week or less), storing your starter in the refrigerator is ideal. In the fridge, it only needs to be fed about once a week. Take it out, feed it its usual ratio, let it become active at room temperature for a few hours, use what you need, and then put the remainder back in the fridge after an hour or two.
Reviving a refrigerated starter for your beginner sourdough timeline requires planning. Take it out the day before you plan to mix dough, feed it, and let it become fully active at room temperature (this might take 6-12 hours depending on how long it was stored). You might need to feed it twice to get it back to peak vigor.
Always discard a portion before feeding to maintain a manageable volume and prevent excessive acidity. Look for consistent doubling/tripling within a predictable timeframe after feeding as the sign of a healthy, ready-to-bake starter. A well-maintained starter will reliably leaven your bread and contribute wonderful flavor.
Experimenting with Different Techniques for Unique Results
Once you feel comfortable with the basic beginner sourdough bread timeline, don't be afraid to experiment and fine-tune your process. Try adjusting the hydration level of your dough; increasing water slightly (e.g., from 70% to 75%) can result in a more open crumb structure, though the dough will be stickier and harder to handle initially. Practice different shaping methods – a batard shape versus a boule can affect how the loaf bakes and the ratio of crust to crumb. Varying the cold proofing time in the refrigerator will noticeably change the tanginess of your bread.
Consider incorporating inclusions like seeds, nuts, or dried fruit after the initial mixing phase during bulk fermentation. Gently fold them in during one of your sets of stretches and folds.
Explore different baking vessels if you don't have a Dutch oven – while a Dutch oven is great for beginners, you can also bake sourdough on a baking stone or steel with added steam (like a tray of hot water in the bottom of the oven). Each small change you make to your beginner sourdough timeline and technique will offer valuable learning experiences and help you discover what works best for you and your desired loaf.
Conclusion: Embrace the Journey of Sourdough Baking
Frequently Asked Questions
What is the best time of day to start my sourdough starter for a beginner-friendly timeline?
Starting your starter in the morning allows you to monitor its progress throughout the day. This helps you adjust feeding schedules and observe the starter's activity more closely. It also fits better into a typical daily routine.
How long does the entire beginner sourdough bread timeline typically take?
The entire process, from starting your starter to baking your bread, usually takes around 7-10 days. This includes starter development, dough preparation, proofing, and baking. Remember patience is key!
What are the most important things to watch for in my sourdough starter during the beginner sourdough bread timeline?
Look for signs of activity like bubbling and doubling in size after feeding. A pleasant, slightly acidic smell is also a good indicator. Discarding a portion before feeding is crucial for maintaining its health.
How much hands-on time is required during the beginner sourdough bread timeline?
While the timeline spans several days, the actual hands-on time is minimal. You'll spend only about 10-15 minutes per day feeding your starter and then a bit longer during dough preparation and shaping.
What if my sourdough starter doesn't seem active within the suggested beginner sourdough bread timeline?
Don't be discouraged! Starters can be unpredictable. Continue feeding it regularly, and ensure it's kept in a warm environment. It might take a few extra days for it to become active and ready for baking.
Final Reflection: The Transformative Power of Time in Sourdough Baking
The seemingly simple act of baking sourdough bread reveals a profound truth about the power of patience and process. It's not just about creating a delicious loaf; it's about embracing a journey of discovery, one that mirrors the rhythms of nature itself. The long fermentation times, the careful nurturing of the starter, these aren't mere steps; they are essential components of the final product's unique character and flavor.
The impact of sourdough baking extends far beyond the kitchen. It's a practice that connects us to a long tradition of food craftsmanship, a reminder of simpler times when food production was deeply intertwined with natural processes. The waiting, the observing, the learning – these are all valuable lessons in themselves. Patience is a virtue, and in baking, it is the key to unlocking the full potential of your ingredients.
This quote, though not specifically about sourdough, perfectly encapsulates the essence of this baking style and its rewarding nature.
Now, consider your own journey. Perhaps you've just begun your sourdough adventure, or maybe you're a seasoned baker looking to refine your technique. Regardless of your experience level, remember the lessons learned within this timeline. Embrace the process, celebrate the small victories, and don't be afraid to experiment. The beauty of sourdough lies not only in the final loaf but in the journey itself – a journey that teaches patience, resilience, and the profound satisfaction of creating something truly special with your own two hands.
Unleash Your Inner Baker: Start Your Sourdough Journey Today!
Thanks for taking the time to learn about the magic of sourdough! We hope you now feel empowered to tackle this rewarding baking adventure. Ready to get your hands kneaded?
- Begin your sourdough starter today! Follow the simple steps outlined in the article and watch your starter come alive. This is the crucial first step toward delicious, homemade sourdough bread.
- Share your sourdough journey! Post a picture of your starter or your first loaf on social media using #BakeWithEaseSourdough – we'd love to see your progress!
- Explore more sourdough recipes on BakeWithEase.com – we've got plenty more baking adventures waiting for you!
What's your biggest sourdough baking question or concern? Let's discuss it in the comments!