
Basic Sourdough: How Temperature Affects Your Bake Explained

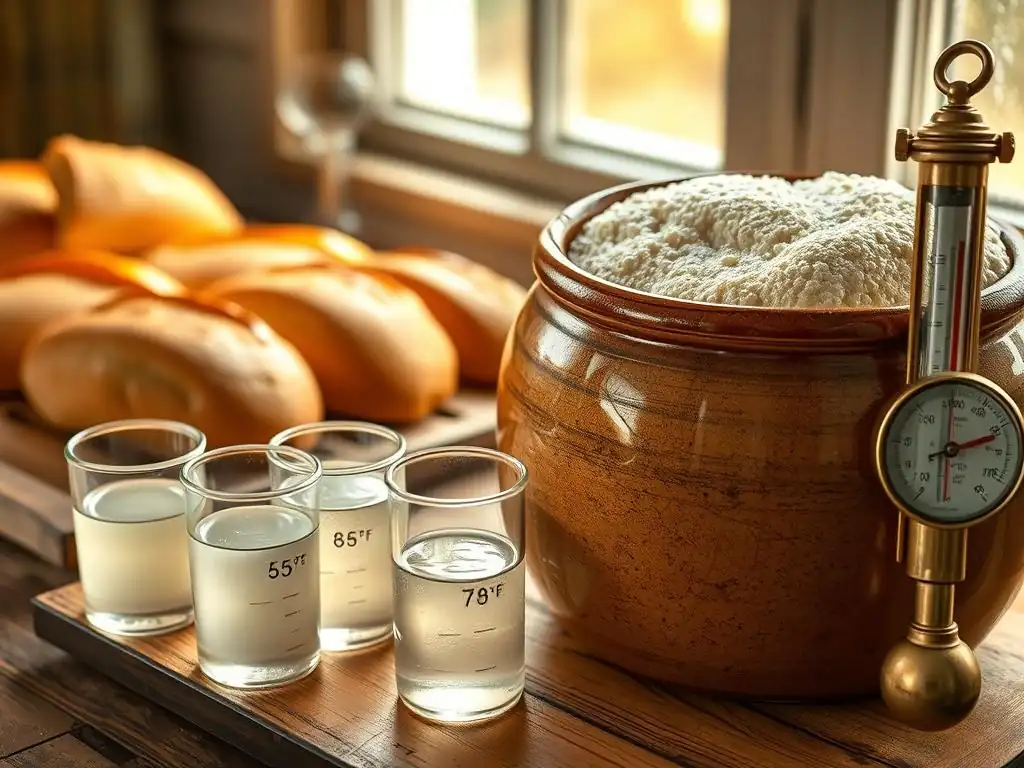
Welcome to BakeWithEase, your haven for all things baking! Ever wondered how much temperature truly impacts your sourdough? Unlocking the secrets of sourdough starter temperature control baking can be the key to a perfectly risen loaf. Dive in to discover how tweaking just a few degrees can transform your baking experience, from dense disappointments to light and airy masterpieces. Ready to take control of your bake?
- Introduction to Sourdough Baking and Temperature Sensitivity
- Understanding Sourdough Starter Temperature for Optimal Baking
- The Impact of Dough Temperature on Sourdough Bread
- Room Temperature's Influence on Sourdough Proofing
- Oven Temperature and Sourdough Crust Development
- Troubleshooting Sourdough Baking Problems Related to Temperature
- Tips for Maintaining Consistent Sourdough Temperatures
- Advanced Sourdough Temperature Techniques
- Conclusion: Mastering Sourdough Temperature for Consistent Results
- Frequently Asked Questions
- Final Reflection: Mastering the Art of Sourdough Through Temperature
- Unleash Your Inner Baker: Master Sourdough Temperature!
Introduction to Sourdough Baking and Temperature Sensitivity
Baking with sourdough is a rewarding journey, offering complex flavors and textures unmatched by commercial yeast. However, it introduces variables, and perhaps the most critical of these is temperature. Unlike commercial yeast, the wild yeasts and bacteria in a sourdough starter are highly sensitive to their environment, especially temperature. Understanding how temperature impacts your starter, dough, and bake is fundamental to achieving consistent, delicious results. It's not just about following a recipe; it's about managing biological processes.
Every stage of the sourdough process, from feeding your starter to baking the loaf, relies on microbial activity and chemical reactions that are significantly influenced by temperature. Subtle shifts can alter fermentation speed, flavor development, and even the final crust and crumb structure. Mastering sourdough starter temperature control baking is a cornerstone skill for any serious sourdough baker. It allows you to predict outcomes, troubleshoot issues, and ultimately, bake better bread more reliably.
Why Temperature Matters in Sourdough: A Beginner's Guide
Temperature acts as the primary regulator of the microbial ecosystem within your sourdough starter and dough. The wild yeasts and lactic acid bacteria (LAB) thrive within specific temperature ranges. When temperatures are too low, their activity slows dramatically, leading to sluggish fermentation and potentially allowing undesirable mold or bacteria to take hold. Conversely, excessively high temperatures can kill the microbes or cause them to become overly active and exhaust their food source too quickly, leading to a starter that collapses rapidly and dough that over-proofs before you're ready to bake.
Beyond the microbial activity, temperature affects the enzymes present in the flour and starter. These enzymes break down complex starches into simpler sugars, providing food for the microbes and contributing to flavor development. Temperature also impacts gluten development and the dough's hydration. Colder temperatures make dough stiffer and gluten development slower, while warmer temperatures make dough more extensible but can also lead to stickiness. Therefore, managing temperature is not just about the starter's health, but the overall dough structure and the intricate flavor profile that sourdough is known for.
BakeWithEase: Mastering Sourdough Temperature Control
At BakeWithEase, we believe that understanding the 'why' behind baking techniques empowers you to become a more intuitive and successful baker. Mastering sourdough starter temperature control baking is a prime example of this. It's a skill that transforms you from someone simply following instructions to someone actively managing the process. Our goal is to demystify this crucial element, providing clear explanations and practical tips that you can apply in your own kitchen, regardless of the climate or season.
Through detailed guides and real-world examples, we aim to help you recognize the signs your starter and dough are giving you regarding temperature. We'll explore how to measure temperatures accurately, how to adjust water temperature to hit a target dough temperature, and how to create environments that help maintain consistency. By focusing on sourdough starter temperature control baking, you gain the ability to bake on your schedule, adapting proofing times and fermentation stages to fit your day, rather than being dictated by unpredictable microbial activity.
Understanding Sourdough Starter Temperature for Optimal Baking
Your sourdough starter is the heart of your bread, and its health and activity are directly tied to its temperature. Think of it as a living culture that needs the right environment to thrive. The temperature at which you maintain and feed your starter significantly impacts the balance between the wild yeasts and lactic acid bacteria, influencing its leavening power and the flavor it imparts to your bread.
Maintaining a consistent temperature for your starter is key to predictable baking. Fluctuating temperatures can lead to inconsistent rise times and varying acidity levels in your starter, which in turn affects your dough. Learning to manage your sourdough starter temperature control baking starts with understanding the ideal conditions for your culture to flourish.
The Ideal Temperature Range for Sourdough Starter Activity
For most robust sourdough starters, the ideal temperature range for active fermentation is typically between 70°F and 80°F (21°C to 27°C). Within this range, both the wild yeasts responsible for leavening and the lactic acid bacteria contributing to flavor and acidity are highly active. At temperatures below this range, activity slows down considerably. For instance, at 60°F (15°C), your starter might take 12-24 hours or even longer to double after feeding, whereas at 75°F (24°C), it might double in just 4-6 hours.
Temperatures above 80°F (27°C) can accelerate activity rapidly, potentially leading to a starter that peaks and falls very quickly, sometimes within 2-3 hours. While this can be useful for speed, sustained high temperatures can favor certain types of bacteria that produce more acetic acid, potentially leading to a starter that smells strongly of vinegar and has less leavening power over time. Finding a consistent spot within the 70-80°F range is ideal for a balanced, predictable starter for your sourdough starter temperature control baking efforts.
How Sourdough Starter Temperature Affects Fermentation Speed
The speed at which your sourdough starter ferments is almost entirely dictated by its temperature. A difference of just a few degrees can halve or double the time it takes for your starter to reach its peak activity after feeding. For example, a starter fed 1:1:1 (starter:water:flour by weight) and kept at 75°F (24°C) might reliably double in volume within 4-6 hours. The same starter, fed identically but kept at 68°F (20°C), might take 8-12 hours to reach the same peak.
This direct relationship between temperature and fermentation speed is crucial for planning your baking schedule. If you need an active starter ready in a few hours, a warmer environment is beneficial. If you prefer to feed your starter before bed and have it ready in the morning, a cooler spot might be necessary. Effective sourdough starter temperature control baking involves knowing the temperature of your starter's environment and using that knowledge to predict when it will be ripe and ready to use in your dough.
Visual Cues: Recognizing Temperature Issues in Your Starter
Observing your sourdough starter provides vital clues about its health and the impact of its temperature. A starter kept at an optimal temperature (70-80°F / 21-27°C) will typically show predictable behavior: it will rise significantly after feeding, often doubling or tripling in volume, become bubbly and airy, and then slowly fall back down as it consumes its food. The texture will be light and bubbly, and the smell pleasant and slightly tangy.
If your starter is consistently sluggish, barely rising after 8-12 hours in a typical kitchen environment, it's likely too cold. You might see some bubbles, but minimal volume increase. Conversely, if your starter rises incredibly fast, peaking and falling within 2-3 hours and having a very strong, pungent smell, it might be too warm. A starter that rises quickly and then develops a watery layer (hooch) on top almost immediately after falling also suggests it's too warm and has exhausted its food source rapidly. Learning to read these signs is part of effective sourdough starter temperature control baking.
The Impact of Dough Temperature on Sourdough Bread
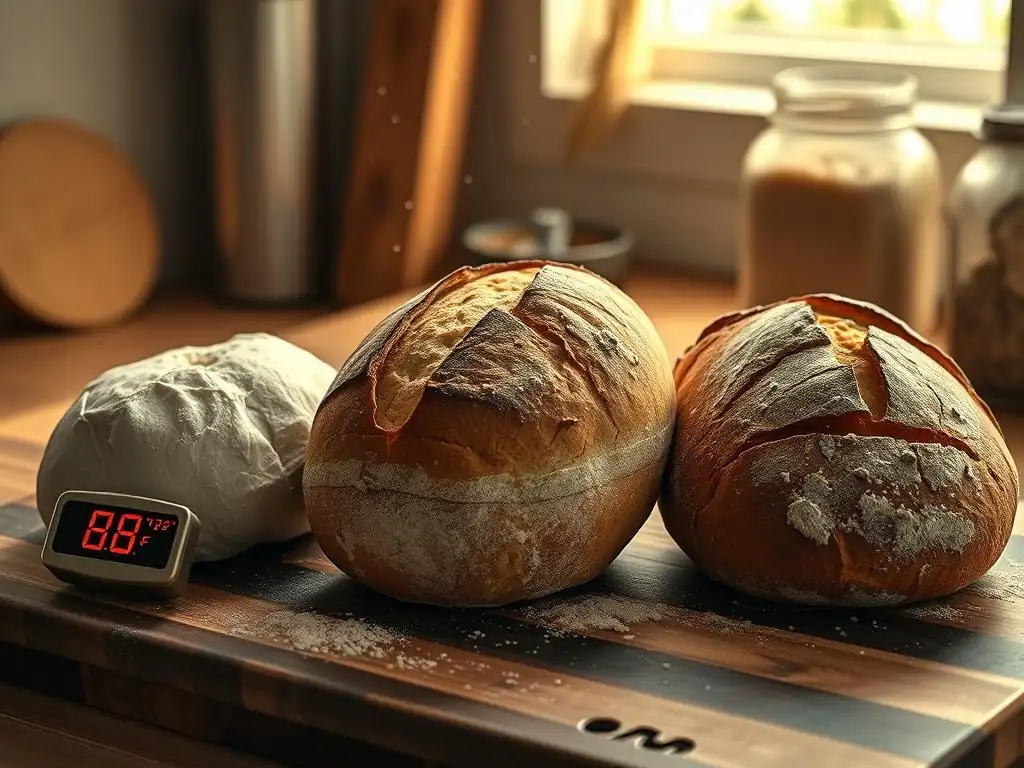
Just as temperature is critical for your starter, it's equally vital for your sourdough dough. The temperature of the dough throughout mixing, bulk fermentation, and proofing directly influences the rate of yeast activity, enzyme action, gluten development, and ultimately, the flavor and structure of your finished loaf. Ignoring dough temperature can lead to unpredictable fermentation times, over- or under-proofed dough, and compromised bread quality.
Achieving and maintaining a specific dough temperature allows for more control over the entire process. It helps ensure your dough develops properly, ferments at the desired pace, and is ready to bake when you plan. This attention to detail in managing your dough temperature is a key step in advancing your sourdough starter temperature control baking skills beyond just the starter itself.
Desired Dough Temperature (DDT): Achieving the Right Balance
Desired Dough Temperature (DDT) is a concept used by bakers to calculate the ideal temperature of the mixed dough. The goal is to start the bulk fermentation at a specific temperature that allows for optimal activity and development within a predictable timeframe. A common target DDT for sourdough is between 75°F and 78°F (24°C to 26°C). This range promotes a good balance between yeast activity (for rise) and bacterial activity (for flavor).
Calculating DDT involves considering the temperature of your ingredients (flour, starter, water) and the friction heat generated during mixing. A simplified formula often used is: Target DDT = (Flour Temp + Starter Temp + Water Temp + Friction Factor). While the friction factor varies depending on your mixer and mixing time (often estimated between 10-30°F or 5-15°C), the most easily adjustable variable is the water temperature. By adjusting the water temperature, you can significantly influence the final dough temperature and hit your target DDT, improving your sourdough starter temperature control baking.
Water Temperature's Role in Controlling Dough Temperature
The temperature of the water you add to your dough is the most effective lever you have for controlling the final dough temperature. Flour and starter temperatures contribute, but water, often making up a significant portion of the dough's weight, has the largest impact when adjusted. If your kitchen is cool and your ingredients are cold, you'll need warmer water to reach your target DDT. If your kitchen is warm, cooler water is necessary.
For example, if your target DDT is 76°F (24.5°C), and your flour is 70°F (21°C), your starter is 75°F (24°C), and you estimate a friction factor of 20°F (11°C), you can calculate the required water temperature. Using a simplified approach where (Target DDT * Number of Factors) - (Sum of Known Factors) = Water Temp Factor, and then solving for water temp. A simpler method is to just adjust based on experience or use a calculator.
For instance, if your dough is consistently coming out too cold, increase the water temperature in your next bake by a few degrees. Conversely, if it's too warm, decrease the water temperature. This direct control over water temperature is fundamental to successful sourdough starter temperature control baking in your dough.
Friction Factor: Accounting for Heat During Mixing
Mixing dough, especially in a stand mixer, generates heat due to the friction between the dough and the bowl/hook. This "friction factor" can raise the dough temperature by several degrees, sometimes as much as 10-15°F (5-8°C) or even more depending on the mixer, speed, and duration. Hand mixing generates less friction heat, perhaps only raising the temperature by 2-5°F (1-3°C).
Accurately determining your specific friction factor requires experimentation. Measure the temperature of your ingredients before mixing, calculate the theoretical dough temperature without friction, and then measure the dough temperature immediately after mixing. The difference is your friction factor. Once you know this, you can incorporate it into your DDT calculations to more accurately predict the required water temperature for effective sourdough starter temperature control baking.
Room Temperature's Influence on Sourdough Proofing
Proofing, or fermentation, is the period where your shaped dough rises before baking. This stage is heavily influenced by the ambient room temperature. The wild yeasts and bacteria continue their work, producing gases that leaven the dough and organic acids that develop flavor. The temperature of the proofing environment dictates the speed of this process and the balance of flavors developed.
Managing room temperature during proofing is a critical aspect of sourdough starter temperature control baking. It allows you to control how quickly your dough rises and how much flavor it develops. Too warm, and your dough might over-proof quickly, resulting in a dense crumb. Too cold, and the proofing might take excessively long, potentially leading to a loaf with less volume or a very sour flavor profile.
Bulk Fermentation Temperature: A Critical Stage
Bulk fermentation, the first rise after mixing and before shaping, is arguably the most critical temperature-sensitive stage for dough development and flavor. It's during this time that the dough builds strength, develops gluten structure through folds, and the complex flavors unique to sourdough begin to emerge. The temperature during bulk fermentation significantly impacts the rate of gas production and acid development.
A typical bulk fermentation at room temperature (around 75°F / 24°C) might take 4-6 hours, with the dough increasing significantly in volume (often 50-100%). If the temperature is cooler, say 68°F (20°C), bulk fermentation could easily take 8-12 hours or longer. This longer, cooler fermentation allows for slower gas production but often results in more complex flavor development due to the slower, more balanced activity of yeasts and bacteria. Understanding this relationship is key to mastering sourdough starter temperature control baking during the bulk rise.
Proofing in Warm vs. Cold Environments: Adjusting Your Technique
Proofing shaped dough can be done at various temperatures, each yielding different results. Warm proofing (e.g., 75-80°F / 24-27°C) is faster, often taking only 1-3 hours depending on the bulk fermentation. This is useful when you need to bake relatively quickly. However, rapid warm proofing can sometimes lead to less flavor development compared to slower methods.
Cold proofing, typically done in the refrigerator at 35-40°F (2-4°C), dramatically slows down fermentation. While yeast activity is significantly reduced, the lactic acid bacteria continue to produce acids, resulting in a more pronounced sour flavor and improved dough structure. Cold proofing can last anywhere from 8 hours to 48 hours or even longer, offering incredible flexibility in scheduling your bake. Choosing between warm and cold proofing, or combining them, is a powerful application of sourdough starter temperature control baking.
Retarding Sourdough: Using Cold Temperatures to Develop Flavor
Retarding, or cold fermentation, is the practice of placing the dough in a cool environment, most commonly the refrigerator, for an extended period. This technique is primarily used to slow down fermentation and enhance flavor development. At cold temperatures, the yeast slows down significantly, producing less gas, but the lactic acid bacteria remain relatively more active, producing more lactic and acetic acids.
This extended cold period allows enzymes in the flour more time to break down starches into sugars, providing more food for the microbes and contributing to a richer, more complex flavor profile. It also strengthens the dough's gluten structure, often leading to better oven spring. Retarding is a cornerstone technique for many bakers aiming for maximum flavor and flexibility in their sourdough starter temperature control baking process. A typical cold retard is 12-24 hours, but some bakers extend this much longer for very sour results.
Oven Temperature and Sourdough Crust Development
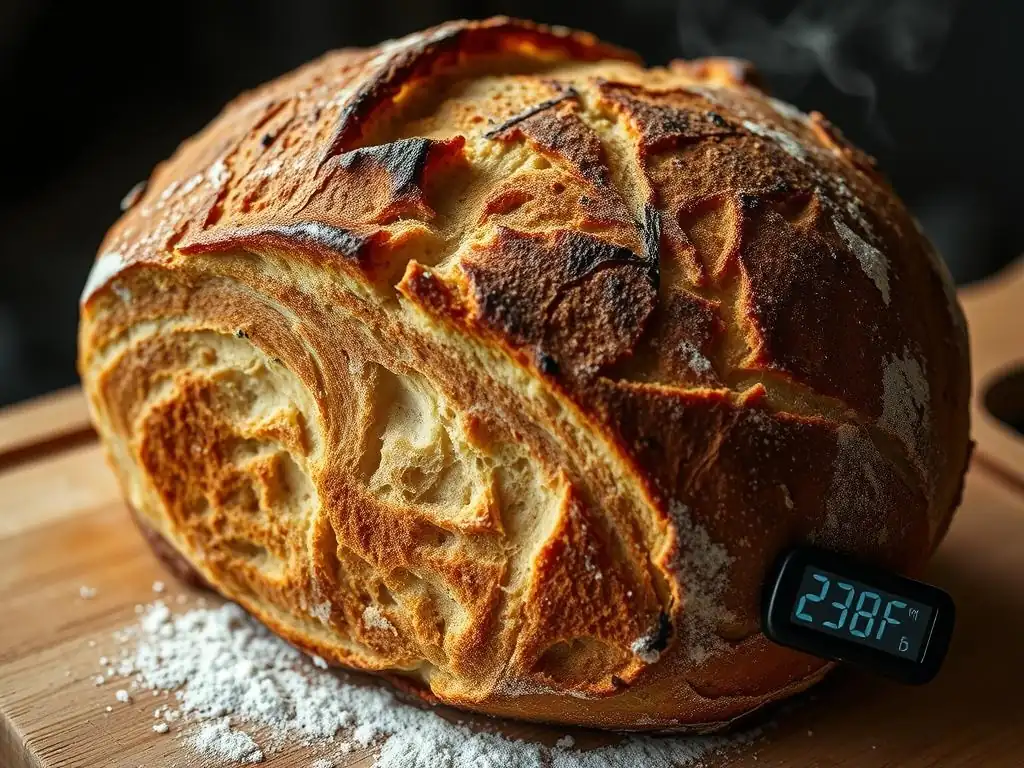
The temperature of your oven is the final critical factor in sourdough baking. A properly preheated, hot oven is essential for achieving a beautiful, well-risen loaf with a crisp, golden crust. The initial burst of heat when the dough enters the oven causes rapid gas expansion (oven spring) and sets the crust. The temperature profile throughout the bake influences the color, thickness, and texture of the crust, as well as the internal crumb structure.
Getting your oven temperature right is just as important as managing your sourdough starter temperature control baking during fermentation. An oven that is too cool will result in a pale, thick crust and poor oven spring, while one that is too hot might burn the crust before the inside is cooked through.
The Importance of a Hot Oven for Sourdough
Sourdough bread benefits greatly from being baked in a very hot oven, typically between 450°F and 500°F (230°C to 260°C) for at least the initial part of the bake. This high heat provides the necessary "oven spring" – the rapid expansion of gases within the dough before the crust sets. The hotter the oven, the more vigorous the initial rise. This is crucial for achieving a light, open crumb structure and good volume.
Furthermore, high heat is necessary for the Maillard reaction and caramelization to occur on the crust, which contribute to its color, flavor, and crispness. Baking sourdough in a vessel like a Dutch oven or on a baking stone that has been preheated in the hot oven helps transfer heat efficiently to the dough, maximizing oven spring and crust development. Without sufficient initial heat, your loaf may spread rather than rise upwards.
Steam's Role in Crust Formation and Oven Spring
Steam in the oven during the first 15-20 minutes of baking is crucial for sourdough. The moist environment keeps the surface of the dough pliable, allowing it to expand fully during oven spring without forming a hard crust too early. This allows the loaf to achieve its maximum volume before the crust sets. Once the crust has set, the steam is typically vented or the lid of a Dutch oven is removed to allow the crust to dry out and become crisp.
Without adequate steam, the crust forms too quickly, restricting the dough's expansion and resulting in less oven spring and a denser crumb. Common methods for creating steam include baking in a lidded Dutch oven, placing a tray of hot water or ice cubes on the bottom rack, or using a baking stone and covering the loaf with a metal bowl or steam pan. Effective sourdough starter temperature control baking also extends to managing the oven environment, including steam.
Baking Sourdough at Different Temperatures: Results and Recommendations
While a high initial temperature is generally recommended, the temperature profile for the rest of the bake can be adjusted. A common method is to bake at 475-500°F (245-260°C) for the first 15-20 minutes (often with steam), then reduce the temperature to 425-450°F (220-230°C) for the remaining 20-30 minutes to ensure the inside cooks thoroughly without burning the crust.
Baking at a consistently lower temperature (e.g., 400°F / 200°C) will result in a slower rise, a thicker, chewier crust, and potentially a less open crumb. Baking at excessively high temperatures (e.g., 500°F+ / 260°C+) risks burning the crust before the interior is cooked. Experimenting within the recommended range and adjusting based on your oven's hot spots and the desired crust outcome is part of mastering sourdough starter temperature control baking in the oven.
Many common sourdough baking issues can be traced back to temperature problems at various stages. Recognizing these issues and understanding how temperature contributes to them is essential for fixing them. Whether it's a sluggish starter, dough that won't rise, or a dense, gummy crumb, temperature is often the culprit.
Addressing temperature-related problems is a key part of improving your sourdough starter temperature control baking skills. It requires careful observation, accurate measurement, and a willingness to adjust your process based on the conditions in your kitchen.
Common Sourdough Issues and Temperature Solutions
- Sluggish Starter: If your starter isn't doubling within a predictable timeframe after feeding, it's likely too cold. Solution: Move it to a warmer spot (70-80°F / 21-27°C).
- Starter Peaks and Falls Too Quickly: The environment is too warm, causing microbes to consume food rapidly. Solution: Move it to a cooler spot (lower 70s°F / lower 20s°C).
- Dough Not Rising During Bulk Fermentation: The dough temperature is too low, or the room temperature is too cold. Solution: Ensure your DDT was hit, or find a warmer spot for bulk fermentation (ideally 75-78°F / 24-26°C).
- Dough Over-Proofing Rapidly: The dough temperature or proofing environment is too warm. Solution: Reduce bulk fermentation time slightly, or use a cooler spot for proofing, or consider cold proofing.
- Dense, Gummy Crumb: Can be caused by under-proofing (often due to cold temps) or baking at too low a temperature. Solution: Ensure adequate fermentation time at the correct temperature, and bake in a properly hot oven with steam.
- Pale, Thick Crust: Oven is not hot enough, or lacking steam. Solution: Ensure oven is fully preheated to a high temperature (450-500°F / 230-260°C) and use sufficient steam.
Addressing these issues involves careful monitoring and adjustment, making sourdough starter temperature control baking a continuous learning process.
Adjusting Your Sourdough Recipe for Different Climates
Your local climate significantly impacts the ambient temperature of your kitchen, which in turn affects your sourdough. Bakers in warm, humid climates will face different challenges than those in cool, dry climates. Recipes often provide guidelines based on "room temperature," but this can vary widely.
In a warm climate (e.g., kitchen consistently above 78°F / 26°C), fermentation will happen much faster. You'll need to adjust by using cooler water when mixing your dough to lower the DDT, potentially reducing bulk fermentation time, and possibly relying more on cold proofing to manage the speed. In a cool climate (e.g., kitchen consistently below 70°F / 21°C), you'll need to use warmer water, allow for longer fermentation times, or find warmer spots for your starter and dough. Understanding your climate and its effect on sourdough starter temperature control baking is vital for success.
Monitoring Sourdough Temperature: Tools and Techniques
Accurate temperature measurement is fundamental to effective sourdough starter temperature control baking. Relying solely on ambient room temperature isn't sufficient, as dough temperature can differ significantly.
Essential tools include:
- Digital Probe Thermometer: For measuring starter, water, and dough temperatures. Look for one with a thin probe.
- Infrared Thermometer: Useful for quickly checking the surface temperature of your baking stone or Dutch oven.
- Oven Thermometer: Crucial for verifying that your oven is actually reaching and maintaining the set temperature, as oven thermostats can be inaccurate.
Techniques involve measuring the temperature of your starter and ingredients before mixing, measuring the dough temperature immediately after mixing (for DDT), and measuring the ambient temperature of your proofing environment. Consistent monitoring allows you to make informed adjustments and improve your sourdough starter temperature control baking over time.
Tips for Maintaining Consistent Sourdough Temperatures
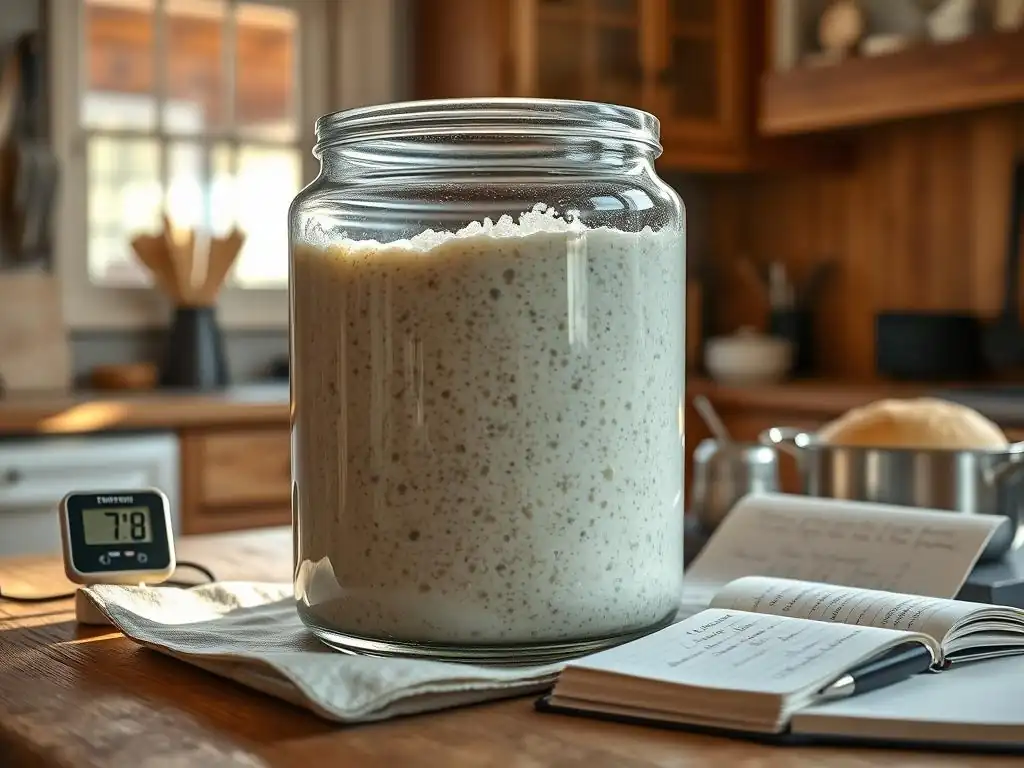
Maintaining consistent temperatures can be challenging, especially if your kitchen temperature fluctuates throughout the day or season. However, there are several techniques you can employ to create more stable environments for your starter and dough, leading to more predictable results in your sourdough starter temperature control baking.
These tips focus on creating microclimates or using simple tools to keep temperatures within the desired range, allowing you to bake on schedule and with greater confidence in the outcome of your loaf.
Creating a Temperature-Controlled Environment for Your Starter
Finding a consistently warm spot for your starter is key. Ideas include:
- Oven with Light On: The warmth from the oven light often creates a stable environment around 75-80°F (24-27°C). Place the starter inside (oven off, light on).
- Proofing Box: Dedicated proofing boxes or homemade versions using a cooler with warm water or a heat mat can provide precise temperature control.
- Water Bath: Place your starter jar in a container of warm water. Monitor and change the water as needed to maintain temperature.
- Near Warm Appliances: Spots near a refrigerator vent or water heater can be surprisingly warm, but check the temperature first to ensure it's not too hot.
- Insulated Container: Placing your starter jar inside a small cooler or an insulated bag can help stabilize its temperature against fluctuations.
Experiment with these methods to find what works best in your kitchen for reliable sourdough starter temperature control baking.
Using a Thermometer for Accurate Temperature Readings
As mentioned earlier, a thermometer is your best friend in sourdough baking. Don't guess temperatures; measure them.
- Measure your starter's temperature before feeding to understand its baseline activity.
- Measure the temperature of your flour and water before mixing.
- Measure the dough temperature immediately after mixing to check your DDT.
- Periodically check the temperature of your proofing environment.
Accurate readings allow you to make precise adjustments, such as slightly increasing or decreasing your water temperature for the next bake, directly improving your sourdough starter temperature control baking accuracy.
Sourdough Starter Temperature Control Baking: Best Practices
- Know Your Environment: Understand the typical temperature range of your kitchen throughout the day and seasons.
- Measure Consistently: Use a thermometer at key stages (starter, water, dough, proofing environment).
- Adjust Water Temperature: Use warmer or cooler water to hit your target DDT.
- Find a Warm Spot for Starter: Use the oven light, a proofing box, or another stable, warm location.
- Control Proofing Temperature: Use warmer spots for faster proofing or the refrigerator for slower, flavor-building proofing.
- Verify Oven Temperature: Use an oven thermometer to ensure your oven is heating correctly.
- Keep Records: Note temperatures and outcomes in your baking journal to learn what works in your specific conditions.
These best practices are foundational to successful sourdough starter temperature control baking.
Advanced Sourdough Temperature Techniques
Once you've mastered the basics of sourdough starter temperature control baking, you can explore more advanced techniques that leverage temperature to achieve specific results, such as enhanced flavor, improved structure, or greater scheduling flexibility. These methods often involve using specialized equipment or intentionally manipulating temperatures beyond the standard ranges.
These techniques allow experienced bakers to fine-tune their process and push the boundaries of flavor and texture in their sourdough loaves.
Using a Proofer for Precise Temperature Control
For bakers seeking ultimate control and consistency, a dedicated proofing box is an invaluable tool. These devices allow you to set and maintain a precise temperature and humidity level for your starter and dough, eliminating the variability of ambient room temperature. This is particularly useful if you live in a climate with extreme temperature swings or if you need very specific timing for your bakes.
A proofing box ensures your starter ferments predictably and your dough proofs exactly as intended, removing one of the major variables in sourdough baking. This level of precision significantly elevates your sourdough starter temperature control baking capabilities.
Cold Fermentation for Enhanced Flavor Development
As discussed earlier, cold fermentation (retarding) is a powerful technique for flavor development. By slowing down yeast activity while allowing bacterial activity to continue, you increase the production of organic acids, resulting in a tangier loaf. The duration of the cold ferment directly impacts the level of sourness and the complexity of flavor.
Experimenting with different cold fermentation lengths (e.g., 12, 24, 36, or even 48 hours at refrigerator temperatures) allows you to discover your preferred flavor profile. This intentional manipulation of temperature is a core advanced technique in sourdough starter temperature control baking.
Experimenting with Different Temperatures: Finding Your Sweet Spot
Ultimately, the "best" temperature for your sourdough starter and dough depends on your goals and your environment. While general ranges exist, experimenting with slight variations can yield surprising results.
- Try a slightly cooler bulk fermentation (e.g., 72°F / 22°C) for a longer, more complex flavor.
- Experiment with proofing at slightly warmer temperatures (e.g., 80°F / 27°C) if you need a faster turnaround, carefully monitoring to avoid over-proofing.
- Adjust your starter feeding ratio and temperature combination to achieve a starter that peaks exactly when you need it for your baking schedule.
This willingness to experiment and observe is key to truly mastering sourdough starter temperature control baking and finding the techniques that work best for you.
Conclusion: Mastering Sourdough Temperature for Consistent Results
Temperature is not just a factor in sourdough baking; it is arguably the most critical variable influencing the activity of your starter, the development of your dough, and the final outcome of your loaf. From the initial mixing temperature (DDT) to the proofing environment and the heat of the oven, temperature dictates the pace of fermentation, the balance of flavors, the development of gluten, and the quality of the crust and crumb.
By understanding how temperature affects each stage and learning to measure and control it, you gain immense power over your baking process. Mastering sourdough starter temperature control baking transforms unpredictable results into consistent successes, allowing you to bake delicious, beautiful sourdough bread reliably.
Recap of Key Temperature Factors in Sourdough Baking
- Starter Temperature: Ideal range (70-80°F / 21-27°C) is crucial for balanced activity and predictable timing.
- Dough Temperature (DDT): Hitting a target temperature (e.g., 75-78°F / 24-26°C) after mixing sets the stage for controlled fermentation.
- Proofing Temperature: Dictates fermentation speed and flavor development (warm = fast, cold = slow/flavor).
- Oven Temperature: High initial heat is essential for oven spring and crust formation.
Further Resources for Sourdough Baking Success on BakeWithEase.com
Mastering sourdough starter temperature control baking is a journey, and there's always more to learn. On BakeWithEase.com, you'll find a wealth of resources to continue building your skills. Explore our detailed guides on creating and maintaining a starter, step-by-step recipes for various sourdough breads, and troubleshooting tips for common issues. Our articles cover everything from basic techniques to advanced methods, all designed to help you bake with ease and achieve your best sourdough yet. Continue exploring and happy baking!
Frequently Asked Questions
What is the ideal temperature range for my sourdough starter?
The ideal temperature range for your sourdough starter is typically between 70-75°F (21-24°C). This range promotes optimal yeast activity and bacterial growth, leading to a healthy and active starter.
Why is temperature control so important when baking sourdough?
Temperature control is crucial because it directly impacts the fermentation process. Warmer temperatures accelerate fermentation, while cooler temperatures slow it down, affecting the flavor and rise of your sourdough.
How can I maintain a consistent temperature for my sourdough starter?
You can maintain a consistent temperature by using a proofing box, placing your starter in a warm oven with the light on, or simply finding a stable spot in your home that avoids drafts and extreme temperature fluctuations.
What happens if my sourdough starter gets too cold?
If your sourdough starter gets too cold, the fermentation process will slow down significantly. This can result in a weak starter that takes longer to rise and may produce sour flavors.
If your sourdough starter gets too hot, it can lead to over-fermentation and potentially kill off the yeast and bacteria. This can result in a sour, unpleasant flavor and a starter that fails to rise.
Final Reflection: Mastering the Art of Sourdough Through Temperature
Understanding sourdough starter temperature is not just a technical detail; it's the key that unlocks consistent, delicious bread. The seemingly simple act of baking sourdough becomes a complex dance of microbial activity, heavily influenced by temperature fluctuations. Ignoring this crucial element leads to unpredictable results, while mastering it empowers you to create consistently perfect loaves.
The journey of learning to control the temperature of my sourdough starter has been a transformative one. It's not just about achieving a perfect rise; it's about understanding the living organism I'm working with, respecting its needs, and appreciating the delicate balance required for successful baking. The baker's soul is in the bread.
This quote, though simple, encapsulates the deep connection between the baker and their craft, a connection profoundly shaped by the understanding of temperature's impact. The subtle shifts in activity, the variations in flavor profiles – all are a testament to the power of mindful temperature control.
Now, it's your turn. Consider the temperature of your environment, the nuances of your starter's behavior, and the impact of even minor fluctuations. Don't just follow recipes blindly; observe, adapt, and learn. Each loaf you bake is an opportunity to deepen your understanding, to refine your technique, and to experience the profound satisfaction of creating something truly beautiful and delicious from the simplest of ingredients. Embrace the challenge, and the rewards will be immeasurable.
Unleash Your Inner Baker: Master Sourdough Temperature!
Thanks for diving into the world of sourdough with us! You've now unlocked the secrets to understanding how temperature impacts your bake – a game-changer for consistent, delicious results. Ready to put your new knowledge to the test?
- Bake a perfect sourdough loaf: Use your newfound understanding of temperature control to create your most impressive loaf yet. Experiment with different proofing temperatures and note the results!
- Share your sourdough journey: Post a picture of your perfect sourdough creation on social media and tag #BakeWithEase – we'd love to see your baking success!
- Dive deeper into sourdough techniques: Explore our other articles on BakeWithEase.com (Though you can't click it here, we are eager for you to explore our other baking tips!) to further refine your sourdough skills.
What temperature will you try for your next sourdough bake, and what delicious recipe are you planning?