
Unlock Basic Sourdough: An Intriguing BeginnerFriendly Recipe

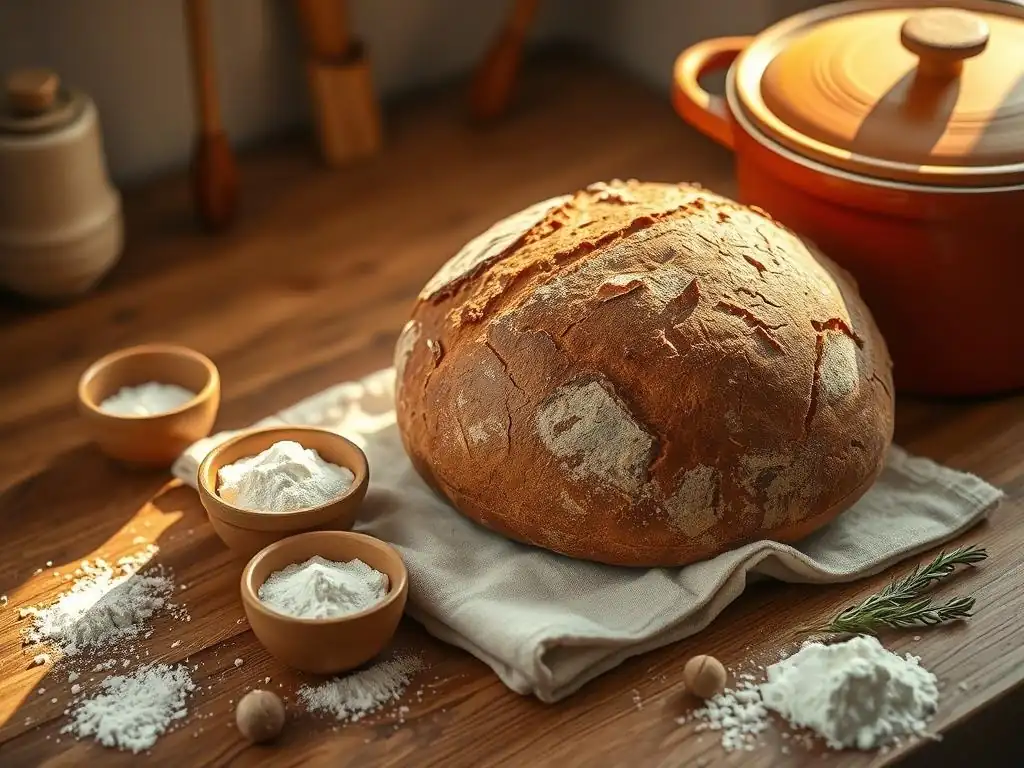
Welcome to BakeWithEase, your guide to unlocking the delicious world of baking!
Ready to embark on your sourdough journey? Even though you might think it's complex, our easy beginner sourdough recipe demystifies the process. Discover the secrets to creating a tangy, crusty loaf from scratch, and prepare to impress your friends and family. Intrigued? Let's get baking!
- BakeWithEase Presents: Your First Easy Beginner Sourdough Recipe
- Mastering the Basic Sourdough Recipe: Ingredients & Equipment
-
Step-by-Step: Your Easy Beginner Sourdough Recipe Guide
- Step 1: Activating Your Sourdough Starter for Optimal Rise
- Step 2: Autolyse - The Key to a Hydrated Sourdough Dough
- Step 3: Mixing the Dough: A Gentle Approach for Beginners
- Step 4: Bulk Fermentation: Understanding the Rise
- Step 5: Shaping Your Beginner Sourdough Loaf
- Step 6: Proofing: The Final Rise Before Baking
- Step 7: Baking Your First Sourdough: Oven Temperatures & Timing
- Troubleshooting Your Easy Sourdough Bread: Common Beginner Mistakes
- Sourdough Baking Tips for Beginners: Ensuring Success
- Enjoying Your Homemade Sourdough: Serving Suggestions & Storage
- Beyond the Basics: Next Steps in Your Sourdough Journey
-
Frequently Asked Questions
- What makes this sourdough recipe particularly easy for beginners?
- How long does it take to make this beginner sourdough recipe from start to finish?
- What if I don't have a sourdough starter? Can I still use this recipe?
- What kind of flour is best for this easy beginner sourdough recipe?
- What are some common mistakes beginners make when baking sourdough bread, and how can I avoid them?
- Final Reflection: The Humble Loaf, A Gateway to Baking Joy
- Unleash Your Inner Baker: Start Your Sourdough Journey Today!
BakeWithEase Presents: Your First Easy Beginner Sourdough Recipe
The Allure of Sourdough Bread: A Beginner's Perspective
Sourdough bread holds a special place in the baking world, captivating bakers with its tangy flavor, chewy texture, and beautiful crust. Unlike commercial bread that relies on instant yeast, sourdough uses a natural leavening agent – a fermented culture of flour and water called a starter. This living culture is teeming with wild yeast and beneficial bacteria, primarily lactic acid bacteria, which work together to make the dough rise and develop complex flavors.
For many beginners, the idea of baking with a starter can seem daunting, but the reward of pulling a warm, crackling loaf from your oven is incredibly satisfying. It's a journey into a more traditional, slower form of baking that connects you directly to the process.
The unique characteristics of sourdough come from the fermentation process. As the wild yeast consumes sugars in the flour, it produces carbon dioxide gas, which causes the dough to rise. Simultaneously, the lactic acid bacteria produce lactic and acetic acids.
These acids not only contribute to the signature tangy taste but also improve the bread's keeping qualities and make some nutrients more available. Baking your first easy beginner sourdough recipe is not just about making bread; it's about engaging with a living ingredient and experiencing the magic of natural fermentation firsthand. The process teaches patience and observation, skills invaluable to any baker.
Why this Easy Sourdough Recipe is Perfect for Beginners
Many sourdough recipes online can be overly complex, involving multiple steps, precise timings, and advanced techniques that can overwhelm someone new to the craft. This easy beginner sourdough recipe is specifically designed to simplify the process without sacrificing quality. We focus on core techniques that are manageable for a first-timer, breaking down each step into clear, actionable instructions. The ingredient list is kept minimal, typically just flour, water, salt, and your starter, making it easy to source and measure accurately.
Furthermore, this approach emphasizes understanding the why behind each step. For example, we'll explain why specific temperatures are recommended or why resting periods are important. By demystifying the process, this easy beginner sourdough recipe builds your confidence. We'll guide you through typical challenges beginners face, like handling sticky dough or achieving a good rise, providing practical solutions. Our goal is to make your first attempt at an easy beginner sourdough recipe a positive and successful experience, setting you up for many more loaves to come.
Mastering the Basic Sourdough Recipe: Ingredients & Equipment
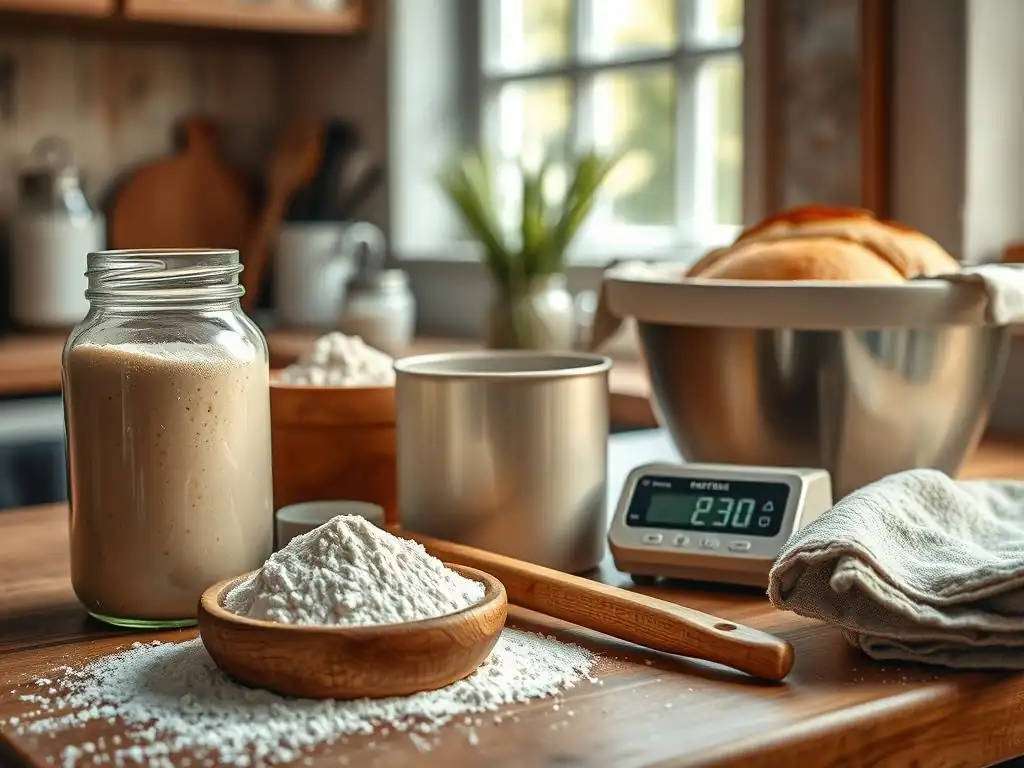
Essential Ingredients for a Beginner-Friendly Sourdough Loaf
To bake your first easy beginner sourdough recipe, you'll need just a few core ingredients. The most critical is an active, bubbly sourdough starter. An active starter should double in size within 4-8 hours after feeding and float when a small spoonful is dropped in water. You'll typically need around 100-150 grams of active starter for a standard loaf.
The primary dry ingredient is flour. For a basic sourdough, a mix of strong bread flour (around 12-14% protein content) and all-purpose flour often works well for beginners, providing structure and manageability. You might use 400 grams of bread flour and 100 grams of all-purpose flour, for example. The hydration level – the ratio of water to flour – is crucial.
For a beginner-friendly loaf, a hydration around 70-75% is often recommended, meaning if you use 500 grams of flour, you'd use 350-375 grams of water (plus the water in your starter). Water temperature is also important; using water between 75-80°F (24-27°C) can help regulate dough temperature and fermentation speed, especially in cooler kitchens. Finally, salt is essential for flavor and dough structure; non-iodized salt like fine sea salt is preferred, typically used at about 2% of the total flour weight (e.g., 10 grams for 500 grams of flour).
Must-Have Equipment for Baking Your First Sourdough Bread
While sourdough can seem equipment-heavy, you can start your easy beginner sourdough recipe with relatively basic tools. You'll need a large mixing bowl, preferably glass or plastic, with a capacity of at least 4-6 quarts to accommodate the rising dough. A digital kitchen scale is absolutely essential for accurate measurements of flour, water, starter, and salt. Baking is a science, and precision with grams leads to much better results than volume measurements (cups).
Other useful tools include a dough scraper or bench knife for handling the sticky dough, and a proofing basket (banneton) or a bowl lined with a floured tea towel to hold the dough during its final rise. For baking, the most common method for beginners is using a Dutch oven. A 5-quart or 6-quart cast iron Dutch oven with a lid creates a steamy environment that mimics professional ovens, resulting in a fantastic crust.
You'll also need parchment paper to easily transfer the dough into the hot Dutch oven and a sharp razor blade or lame for scoring the dough before baking. While not strictly necessary, an instant-read thermometer can be helpful for checking the internal temperature of the finished loaf (it should reach around 205-210°F or 96-99°C).
Step-by-Step: Your Easy Beginner Sourdough Recipe Guide
Step 1: Activating Your Sourdough Starter for Optimal Rise
An active starter is the cornerstone of a successful easy beginner sourdough recipe. About 4-12 hours before you plan to mix your dough, you need to 'feed' your starter to make it active and bubbly. This typically involves mixing a small amount of your existing starter with equal parts (by weight) of fresh flour and water.
For example, you might take 20 grams of starter from your jar and mix it with 40 grams of flour and 40 grams of water in a clean jar. The amount you feed depends on how much starter the recipe calls for; you want enough active starter for the dough plus a little left over to maintain your culture.
Once fed, loosely cover the jar and leave it at room temperature (ideally 70-78°F or 21-26°C). Observe your starter: it should begin to bubble, increase significantly in volume (ideally doubling or more), and show a domed top before starting to fall. The time this takes varies greatly depending on the starter's health and ambient temperature.
Your starter is ready to use for your easy beginner sourdough recipe when it's at its peak activity, usually when it has doubled or tripled in size and is full of bubbles. A simple test is the float test: drop a small bit into a glass of water; if it floats, it's ready!
Step 2: Autolyse - The Key to a Hydrated Sourdough Dough
Autolyse is a simple yet powerful technique in sourdough baking that significantly benefits dough structure and handling, making your easy beginner sourdough recipe even more manageable. It involves mixing just the flour and water from your recipe and letting them rest for a period before adding the starter and salt. This initial rest allows the flour to fully hydrate and the gluten proteins to start developing on their own without interference from salt (which tightens gluten) or starter (which begins fermentation).
For your easy beginner sourdough recipe, combine the flour and water in your mixing bowl and mix by hand or with a spatula just until no dry flour remains. The mixture will look shaggy and rough. Cover the bowl and let it rest for 30 minutes to 1 hour at room temperature. During this time, the dough will become smoother and more pliable, requiring less kneading later. This step is particularly helpful for beginners as it makes the subsequent mixing steps easier and contributes to a better open crumb structure in the final loaf.
Step 3: Mixing the Dough: A Gentle Approach for Beginners
After the autolyse period, it's time to incorporate your active sourdough starter and salt into the dough. Add the measured salt and the active starter on top of the autolysed dough. The goal is to evenly distribute these ingredients without being overly aggressive with the dough. A gentle approach is key for an easy beginner sourdough recipe, as it helps maintain the gluten structure that started to develop during autolyse.
Using wet hands or a dough scraper, gently fold and squeeze the starter and salt into the dough until they are fully incorporated. It might feel a bit messy initially, but keep working it until the dough looks uniform and the starter and salt are no longer visible as separate elements. This process usually takes about 5-10 minutes of gentle mixing and folding.
Once mixed, the dough should feel slightly more cohesive than after the autolyse. Cover the bowl again and let the dough rest for 20-30 minutes before beginning the bulk fermentation and folding steps. This rest allows the dough to relax before you start building strength through folds.
Step 4: Bulk Fermentation: Understanding the Rise
Bulk fermentation, also known as the first rise, is a critical stage in your easy beginner sourdough recipe where the dough develops flavor, structure, and volume. This period starts after you've mixed in the starter and salt and includes several sets of folds.
The dough is left to ferment at room temperature (ideally 75-80°F or 24-27°C, but adjust times for cooler/warmer kitchens) until it has increased significantly in size, typically by 50-100%, and shows signs of fermentation like bubbles on the surface and along the sides of the bowl. This process can take anywhere from 3 to 6 hours or even longer, depending heavily on the ambient temperature and the starter's activity.
During bulk fermentation, you'll perform a series of folds to build strength and structure in the dough. This is essential for achieving a good rise and an open crumb. Typically, you'll perform 3-4 sets of folds during the first 2-3 hours of bulk fermentation, with 20-30 minute rests between each set. Observing the dough is key; it should become progressively smoother, more elastic, and hold its shape better after each set of folds. By the end of bulk fermentation, the dough should feel light and airy, with visible bubbles.
Folding Techniques for a Strong Sourdough Structure
Performing folds during bulk fermentation is vital for developing gluten strength, which helps the dough trap gases produced by the starter and rise properly. These techniques also help equalize the dough temperature and distribute the yeast and bacteria evenly. For an easy beginner sourdough recipe, focusing on simple, effective folds is sufficient.
- Folding Techniques for a Strong Sourdough Structure
- Stretch and Folds: A common method where you wet your hands, grab one edge of the dough, stretch it upwards gently, and fold it over the opposite side of the dough in the bowl. Rotate the bowl and repeat this motion 3-4 times until all sides have been stretched and folded over.
- Coil Folds: Another gentle technique suitable for higher hydration doughs. With wet hands, slide your hands under the center of the dough in the bowl, lift it gently, allowing the edges to tuck under themselves, forming a coil. Lower the dough back into the bowl. Rotate the bowl and repeat 2-3 times.
Step 5: Shaping Your Beginner Sourdough Loaf
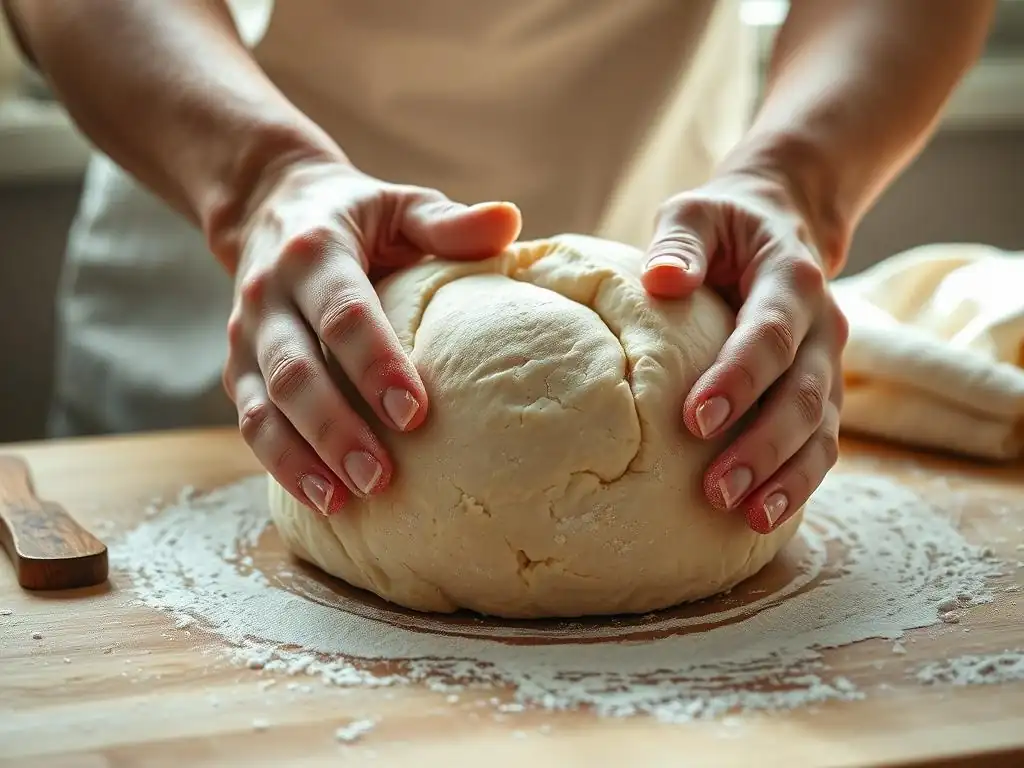
Once bulk fermentation is complete and the dough is airy and increased in volume, it's time to shape your easy beginner sourdough recipe loaf. Lightly flour your work surface – use just enough flour to prevent sticking, but not so much that it inhibits the dough from gripping the surface slightly, which is needed for tension. Gently scrape the dough out of the bowl onto the floured surface.
For a simple, round (boule) shape, gently preshape the dough into a rough ball by pulling the edges towards the center underneath. Let it rest for 15-20 minutes, uncovered, to relax the gluten. This rest makes the final shaping much easier. For the final shape, gently flatten the preshaped ball into a rough circle.
Fold the top edge down about two-thirds of the way, then fold the bottom edge up over the folded top edge. Turn the dough 90 degrees and repeat the folding process (like folding a letter). Finally, using your hands or a bench scraper, gently pull the dough towards you on the lightly floured surface to create tension on the surface, forming a tight ball. Place the shaped dough seam-side up in your floured proofing basket or lined bowl.
Step 6: Proofing: The Final Rise Before Baking
Proofing is the final rise your easy beginner sourdough recipe dough undergoes before it hits the heat of the oven. This stage allows the dough to lighten up further and develop more flavor. The most common method for beginner sourdough is cold proofing in the refrigerator. After shaping, cover your proofing basket or bowl (a plastic bag works well) and place it in the refrigerator for 8-12 hours, or even up to 24 hours. Cold proofing slows down fermentation significantly, making the dough easier to handle and score, and contributing to a tangier flavor and better oven spring.
Alternatively, if you're short on time, you can proof at room temperature for 1-3 hours. However, room temperature proofing requires careful monitoring as the dough can overproof quickly, especially in a warm kitchen (above 75°F or 24°C). The dough is ready to bake when it feels light and airy, and gently poking it with a wet finger leaves an indentation that slowly springs back halfway.
If it springs back immediately, it needs more time. If the indentation stays completely, it might be overproofed. For your easy beginner sourdough recipe, cold proofing is highly recommended for its forgiving nature and excellent results.
Step 7: Baking Your First Sourdough: Oven Temperatures & Timing
Baking your easy beginner sourdough recipe loaf correctly is crucial for achieving that beautiful crust and airy interior. Preheat your oven, with your Dutch oven inside, to a high temperature, typically 450-500°F (230-260°C). Allow it to preheat for at least 30-60 minutes to ensure the Dutch oven is thoroughly heated. This intense initial heat is what gives sourdough its characteristic oven spring and crust.
Carefully remove the hot Dutch oven from the oven. Gently invert your cold-proofed dough onto a piece of parchment paper. Score the top of the dough with a sharp blade or lame – a single deep cut is easiest for beginners and allows the loaf to expand evenly. Carefully lower the dough on the parchment paper into the hot Dutch oven.
Place the lid on the Dutch oven and bake for 20-25 minutes. The lid traps steam released by the dough, keeping the crust soft initially so the loaf can expand. After this initial period, remove the lid and continue baking for another 20-30 minutes, or until the crust is a deep golden brown and the internal temperature reaches 205-210°F (96-99°C). Let the loaf cool completely on a wire rack for at least 2-3 hours before slicing to allow the internal structure to set.
Troubleshooting Your Easy Sourdough Bread: Common Beginner Mistakes
Dealing with a Sticky Sourdough Dough
Sticky dough is a common challenge when starting your easy beginner sourdough recipe, especially with higher hydration levels. Dough hydration around 75% will naturally be stickier than lower hydration doughs. If your dough is excessively sticky and difficult to handle, it might be due to several factors: perhaps the flour isn't absorbing water as expected, or you might be working it too much without adequate rest periods.
To manage sticky dough, first ensure your hands and work surface are lightly floured or wet (wet hands often work better than floured for very sticky dough). Use a bench scraper frequently to help lift and move the dough. Don't be afraid to use a little extra flour on your hands and scraper during shaping, but avoid incorporating large amounts into the dough itself.
If the dough feels too wet even after mixing and resting, you can knead in a tablespoon or two of flour during the initial stages of bulk fermentation. Remember that sourdough dough often becomes less sticky as gluten develops through resting and folding. Patience is key; resist the urge to add too much flour too quickly.
Avoiding a Flat Sourdough Loaf: Tips and Tricks
A flat loaf is a disheartening outcome for any baker trying an easy beginner sourdough recipe. Several factors can contribute to this. The most common culprit is an inactive or weak sourdough starter. If your starter isn't doubling reliably after feeding, it won't produce enough gas to make the dough rise. Ensure your starter is active and passes the float test before mixing your dough.
Another cause is insufficient gluten development during bulk fermentation. If the dough doesn't have enough strength from folding, it won't be able to hold its shape during proofing and baking. Ensure you are performing enough sets of folds until the dough feels significantly stronger and holds its shape better.
Overproofing is also a major contributor to flat loaves; if the dough rises too much during bulk fermentation or proofing, the gluten structure can collapse, and it won't have the energy for oven spring. Pay attention to the dough's volume increase and the poke test during proofing. Finally, ensuring your oven and Dutch oven are properly preheated to a high temperature is vital for a good initial lift.
Fixing a Dense or Gummy Sourdough Crumb
A dense or gummy interior (crumb) is another common issue faced by beginners baking their first easy beginner sourdough recipe. This often indicates underproofing or insufficient fermentation. If the dough doesn't ferment long enough during bulk fermentation and proofing, the yeast won't produce enough carbon dioxide to create an open, airy structure. The gluten structure also needs time to relax and become extensible enough to expand.
Ensure your bulk fermentation goes long enough – the dough should increase significantly in volume (at least 50%, ideally closer to 75-100%) and show signs of fermentation. Pay close attention to the proofing stage as well; cold proofing helps develop flavor but requires adequate time (8+ hours). If the dough was underproofed, it will feel very dense and tight during shaping and won't expand much in the oven.
Another cause could be slicing the bread too soon after baking. The internal structure is still setting as the bread cools, and slicing into it while hot can result in a gummy texture. Always allow your easy beginner sourdough recipe loaf to cool completely on a wire rack for at least 2-3 hours before cutting.
Sourdough Baking Tips for Beginners: Ensuring Success
The Importance of Starter Health for Sourdough Baking
Your sourdough starter is the heart of your easy beginner sourdough recipe. Its health directly impacts the dough's rise, flavor, and overall success. A healthy starter is active, predictable, and smells pleasant – usually tangy, slightly sweet, or like ripe fruit, but not strongly acidic or like nail polish remover. Maintaining a regular feeding schedule keeps the yeast and bacteria in balance and ensures they are strong enough to leaven your bread effectively.
Feeding your starter with a consistent ratio of starter, flour, and water is crucial. Many bakers use a 1:1:1 ratio (e.g., 20g starter, 20g flour, 20g water) when feeding daily at room temperature, or larger ratios (like 1:2:2 or 1:3:3) if storing it in the fridge and feeding less often. Using good quality flour (like organic or unbleached bread flour) to feed your starter can also contribute to its vigor.
Observe your starter's activity after feeding; it should reliably double or triple within a predictable timeframe. If it's sluggish, try feeding it more frequently, using warmer water (78-80°F), or switching to a different type of flour for feeding. A robust starter is the best guarantee for a successful easy beginner sourdough recipe.
Understanding Sourdough Hydration: A Beginner's Guide
Hydration in sourdough refers to the ratio of water to flour by weight. It's expressed as a percentage: (Weight of Water / Weight of Flour) * 100%. For example, a recipe with 500g flour and 375g water (excluding water from the starter for simplicity) has 75% hydration (375/500 = 0.75 or 75%).
Hydration significantly impacts the dough's consistency and the final bread's texture. Higher hydration doughs (75%+) are wetter, stickier, and more challenging for beginners to handle but can result in a more open crumb. Lower hydration doughs (65-70%) are stiffer and easier to work with, producing a more even, close crumb.
For your easy beginner sourdough recipe, starting with a hydration level between 70-75% is recommended. This range offers a good balance between manageability and the potential for a nice open crumb. As you gain experience, you can experiment with higher hydrations.
Remember that different flours absorb water differently; whole wheat flour absorbs more water than white bread flour, and humidity can also play a role. It's okay to slightly adjust the water quantity based on how the dough feels, adding a little more water if it's too stiff or holding back a little if the flour seems less absorbent. Consistent use of a kitchen scale is paramount for accurate hydration calculations.
Scoring Your Sourdough Bread: Creating Beautiful Designs
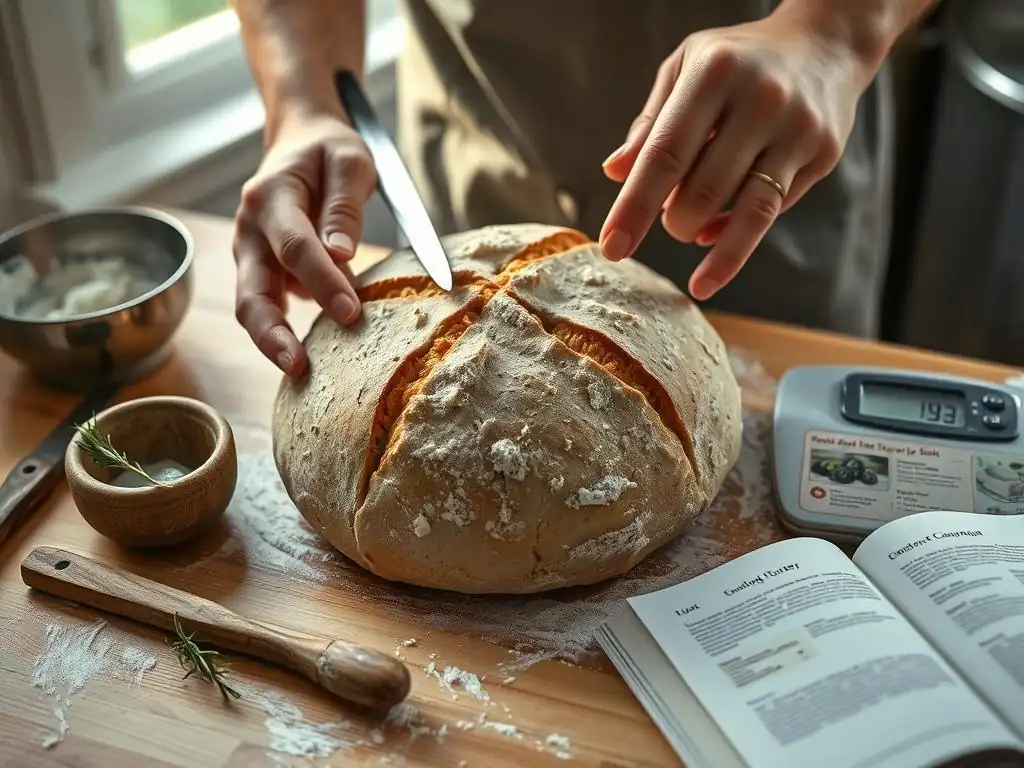
Scoring, or slashing, your easy beginner sourdough recipe loaf just before baking is more than just decorative; it's functional. As the dough hits the hot oven, it undergoes a rapid expansion called oven spring. Without scoring, the crust quickly sets, and the expanding gases will find the weakest point to burst through, often resulting in an uncontrolled, less attractive split. Scoring provides a controlled escape route for the steam and gases, allowing the loaf to expand predictably and achieve maximum volume.
For beginners, a single, deep slash down the center of the loaf is the easiest and most effective score. Use a very sharp blade, like a razor blade or a specialized lame, held at about a 30-degree angle to the dough surface. Make the cut confidently and quickly, about 1/2 to 1 inch deep. This single score allows the bread to open beautifully along the cut.
As you become more comfortable, you can experiment with multiple parallel slashes, ear-producing cuts, or simple patterns. The key is to score just before the dough goes into the hot oven, as the surface will firm up quickly. Cold-proofed dough is generally easier to score than room-temperature proofed dough because the surface is firmer.
Enjoying Your Homemade Sourdough: Serving Suggestions & Storage
Delicious Ways to Enjoy Your Freshly Baked Sourdough
Baking your first easy beginner sourdough recipe is a rewarding experience, and the best part is finally getting to taste it! Once your loaf has cooled completely (resist the urge to cut too early! ), the possibilities for enjoying it are endless. A simple slice toasted and spread with butter is a classic for a reason – it highlights the bread's tangy flavor and chewy texture. Pair it with good quality olive oil and balsamic vinegar for dipping.
Sourdough makes exceptional toast for avocado toast, eggs Benedict, or simply topped with jam or honey. Use it as the base for incredible sandwiches; the sturdy crust and tangy crumb stand up well to various fillings. It's also perfect for bruschetta, croutons for salads, or cubed and used in stratas or bread puddings. Don't forget the simple pleasure of serving warm slices alongside soup or stew, perfect for soaking up every last drop. Sharing your homemade easy beginner sourdough recipe loaf with friends and family is also a wonderful way to celebrate your baking achievement.
Properly Storing Your Sourdough Bread to Maintain Freshness
Proper storage is key to keeping your easy beginner sourdough recipe loaf fresh and delicious for as long as possible. Unlike commercial bread with preservatives, homemade sourdough relies on its natural acidity and fermentation process, but it still needs care. The best way to store a whole loaf is at room temperature, wrapped in a linen bread bag, a clean tea towel, or a paper bag.
Avoid plastic bags for whole loaves, as they trap moisture and can soften the crust and encourage mold growth. Stored this way, a whole loaf can stay fresh for 2-3 days, with the crust gradually softening.
If you've sliced the loaf, the exposed crumb will dry out more quickly. Store sliced sourdough in a plastic bag or airtight container at room temperature for 1-2 days. For longer storage, freezing is the best option. Allow the loaf to cool completely, then wrap it tightly in plastic wrap and then aluminum foil, or place it in a freezer-safe bag.
A whole loaf or large pieces can be frozen for several months. To enjoy frozen sourdough, thaw it at room temperature and refresh it in a warm oven (350°F/175°C) for 10-15 minutes to revive the crust. Slices can be toasted directly from frozen.
Beyond the Basics: Next Steps in Your Sourdough Journey
Exploring Different Flour Types for Sourdough Baking
Once you've successfully baked your easy beginner sourdough recipe using standard bread and all-purpose flours, you might be curious to explore how different flours impact your bread. Varying the flour type can dramatically change the flavor, texture, and nutritional profile of your sourdough. Whole wheat flour, for example, adds a nuttier flavor and more nutrients, but it also absorbs more water and can result in a denser loaf if not handled correctly. Many bakers use a percentage of whole wheat (e.g., 10-30%) blended with white flour.
Rye flour is another popular choice, known for its distinct tangy flavor and ability to stay fresh longer. Rye has different gluten-forming properties than wheat, so recipes using significant amounts of rye often have a different texture and require adjustments to hydration and technique. Spelt, kamut, and other ancient grains offer unique flavors and characteristics. Experimenting with these flours, perhaps starting by substituting 10-20% of the white flour in your easy beginner sourdough recipe, is a great way to deepen your understanding of sourdough and discover new favorite loaves.
Experimenting with Sourdough Flavors: Adding Herbs and Seeds
After mastering the plain easy beginner sourdough recipe, adding inclusions is a simple way to elevate your bread and introduce exciting new flavors and textures. Seeds are a very popular addition. You can add seeds like sesame, poppy, sunflower, flax, or pumpkin seeds directly into the dough during the mixing stage (often toasted first for enhanced flavor). A common approach is to add seeds at about 10-20% of the total flour weight. Another method is to create a "soaker" or "levain" with the seeds and some water/starter before incorporating them into the main dough.
Fresh or dried herbs can also bring wonderful aromas and tastes to your sourdough. Rosemary, thyme, and chives are excellent choices. Cheese, olives, roasted garlic, or sundried tomatoes are other popular savory additions. For a sweeter loaf, consider incorporating dried fruits like cranberries or raisins, cinnamon, or nuts. When adding inclusions to your easy beginner sourdough recipe dough, gently fold them in during the later stages of bulk fermentation to ensure even distribution without tearing the gluten structure you've worked to develop. Start with small amounts (e.g., 5-10% of flour weight for seeds/cheese) and adjust in future bakes.
Advancing Your Sourdough Skills: Resources and Further Learning
Baking your easy beginner sourdough recipe is just the first step on a rewarding journey. There's always more to learn and explore in the world of sourdough. Consider experimenting with different hydration levels to see how they affect the dough and the final loaf. Try different shaping techniques beyond the basic boule, such as batards (oval loaves). Learning to laminate the dough (stretching it into a thin sheet and folding it) or perform 'stitch' folds can further improve dough structure.
Exploring the impact of fermentation temperature and time is another area for growth. How does a longer, colder bulk fermentation change the flavor compared to a shorter, warmer one? Invest in a good sourdough cookbook or follow experienced sourdough bakers online. Join online communities or forums dedicated to sourdough baking where you can ask questions, share your results, and learn from others' experiences. Mastering the easy beginner sourdough recipe gives you a solid foundation; building upon it through continued practice and learning will unlock even more incredible baking possibilities.
Frequently Asked Questions
What makes this sourdough recipe particularly easy for beginners?
This recipe focuses on simplified techniques and readily available ingredients. We've eliminated complex steps often found in traditional sourdough methods, making it truly beginner-friendly.
How long does it take to make this beginner sourdough recipe from start to finish?
The entire process, including starter feeding and baking, takes approximately 2-3 days, but with minimal active time. Most of this is for fermentation and proofing.
What if I don't have a sourdough starter? Can I still use this recipe?
No, a sourdough starter is essential for this recipe. However, BakeWithEase.com offers guides on how to create your own starter from scratch!
What kind of flour is best for this easy beginner sourdough recipe?
We recommend using unbleached all-purpose flour for its consistency and ease of use. You can experiment with bread flour later, once you're more comfortable.
What are some common mistakes beginners make when baking sourdough bread, and how can I avoid them?
Common mistakes include over-proofing or under-proofing the dough and not scoring the loaf properly. Our recipe provides detailed instructions and visual aids to help you avoid these pitfalls.
Final Reflection: The Humble Loaf, A Gateway to Baking Joy
The enduring appeal of sourdough bread transcends mere sustenance; it's a testament to the power of simple ingredients transformed by time and patience. In a world of instant gratification, the slow fermentation process of sourdough offers a unique counterpoint, a mindful practice that yields incredibly rewarding results. This beginner-friendly recipe aims to demystify the process, making the seemingly daunting task of sourdough baking accessible to everyone.
The journey of making sourdough, from initial starter creation to the satisfying crust of the finished loaf, is a deeply personal one. It's a connection to a centuries-old tradition, a reminder of the simple pleasures found in creating something with your own hands. The process itself is meditative, a quiet rhythm of feeding, waiting, and shaping. As the great baker Jim Lahey once said, Bread baking is a metaphor for life. You put in the work, you wait patiently, and then you are rewarded with something beautiful and delicious.
This sentiment perfectly encapsulates the essence of the sourdough experience.
Now, it's your turn. Don't be intimidated by the seemingly complex process. Take the leap, nurture your starter, and experience the magic of transforming flour and water into something truly special. The satisfaction of slicing into a warm, crusty loaf, the aroma filling your kitchen – these are rewards that extend far beyond the simple act of baking. Embrace the journey, and discover the unexpected joy waiting for you in the humble art of sourdough.
Unleash Your Inner Baker: Start Your Sourdough Journey Today!
Thanks for taking the time to explore the world of sourdough with us! We hope you now feel empowered to tackle this seemingly complex bread. Ready to put your new knowledge into practice?
- Bake your first sourdough loaf! Use the recipe from the article as a starting point, and don't be afraid to experiment with different flours or hydration levels. This is where the real magic happens!
- Share your baking journey on social media – use #BakeWithEaseSourdough and tag us! We'd love to see your creations.
- Explore our other beginner-friendly recipes on BakeWithEase.com to further expand your baking skills.
What unique twist will you add to your first sourdough loaf? Let us know in the comments below!