
Simple Basic Sourdough Recipe for a Round Loaf

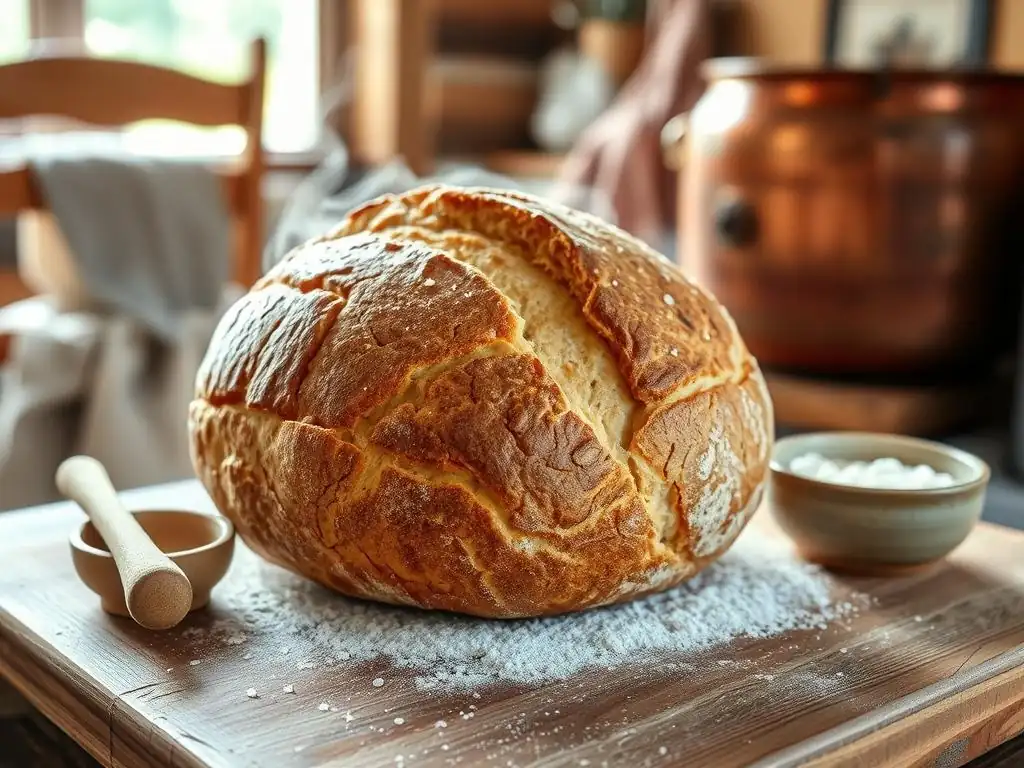
Welcome to BakeWithEase, your guide to unlocking the delightful world of baking! Ever dreamt of creating that perfect, crusty loaf at home? While this article dives into an intermediate level simple basic sourdough recipe for a round loaf, don't let that intimidate you. We'll break down each step, offering insights that even beginners can grasp. Curious about the secrets to that tangy flavor and airy crumb? Keep reading to discover the magic behind crafting your very own sourdough masterpiece!
- Introduction to Easy Beginner Sourdough Bread Baking
- Gathering Your Ingredients for a Basic Sourdough Loaf
-
Step-by-Step: Creating Your Round Sourdough Loaf
- Step 1: Preparing Your Sourdough Starter
- Step 2: Mixing the Dough: The Autolyse Stage
- Step 3: Incorporating the Starter and Salt
- Step 4: Bulk Fermentation: Developing Flavor and Strength
- Step 5: Shaping Your Round Sourdough Loaf
- Step 6: Proofing the Dough: The Final Rise
- Step 7: Baking Your Sourdough Loaf: Achieving a Perfect Crust
- Step 8: Cooling and Enjoying Your Homemade Sourdough
- Troubleshooting Common Sourdough Baking Problems
- Storing Your Homemade Sourdough Bread
- Variations on the Basic Sourdough Recipe
- Conclusion: Mastering the Art of Easy Sourdough Baking
- Frequently Asked Questions
- Final Reflection: The Humble Loaf, A Gateway to Baking Joy
- Unleash Your Inner Baker: Craft Your Perfect Sourdough Loaf!
Introduction to Easy Beginner Sourdough Bread Baking
Bake With Ease: Your Guide to Homemade Sourdough
Welcome to BakeWithEase, where we believe that baking should be accessible and enjoyable for everyone, especially when tackling something as rewarding as sourdough. Many people think sourdough is complicated, but with the right approach and a simple, reliable recipe, it's entirely achievable even for those new to the craft. This guide is designed to demystify the process, breaking down each step into manageable parts so you can confidently bake your very first, or your best yet, round sourdough loaf right in your own kitchen.
Our goal is to provide you with an easy beginner sourdough bread recipe that yields delicious results without requiring specialized equipment or advanced techniques. We'll walk you through everything from understanding your starter to achieving that coveted golden crust and airy crumb. Forget the intimidation; we're here to make baking this foundational bread a truly easy and rewarding experience for you, proving that homemade sourdough is well within your reach.
Why Choose This Easy Sourdough Recipe?
This specific easy beginner sourdough bread recipe has been fine-tuned to minimize common pitfalls while maximizing your chances of success on your first attempts. Unlike some complex recipes that demand precise ambient temperatures or multiple intricate folds, this method simplifies the process without sacrificing quality. We focus on clear indicators for each stage, making it easier for you to "read" your dough and understand what's happening.
By focusing on a basic round loaf, we eliminate the complexities of shaping more elaborate forms, allowing you to concentrate on the fundamental techniques of mixing, fermenting, and baking. This easy beginner sourdough bread recipe is ideal for building confidence. It uses standard kitchen equipment and provides a forgiving framework, ensuring that even if things aren't absolutely perfect, you'll still end up with a delicious, edible loaf that you can be proud of. It's the perfect starting point for your sourdough journey.
Gathering Your Ingredients for a Basic Sourdough Loaf
Essential Ingredients for Sourdough Bread
Making a simple sourdough loaf requires just four basic ingredients: active sourdough starter, flour, water, and salt. The beauty of this bread lies in the transformation these simple components undergo through fermentation. For a standard loaf around 800-1000 grams, you'll typically need about 100-200 grams of active starter, 500-600 grams of flour, 350-420 grams of water, and 9-12 grams of salt. These ratios can be adjusted slightly, but this provides a good starting point for an easy beginner sourdough bread recipe.
The quality of these ingredients matters. Using good quality flour and understanding your water source can impact the final result. While precise hydration levels (the ratio of water to flour) can vary, this easy beginner sourdough bread recipe aims for a moderate hydration dough, typically between 70-80%, which is easier for beginners to handle compared to very wet doughs. Having these four elements ready and measured is the first concrete step towards your homemade sourdough success.
Understanding Sourdough Starter: The Heart of Your Loaf
Your sourdough starter is a living culture of wild yeast and bacteria, essential for leavening your bread and developing its unique flavor. For this easy beginner sourdough bread recipe, your starter must be active and bubbly. This usually means it has been fed within the last 4-12 hours and has doubled or tripled in size, showing signs of vigorous activity. You can perform the "float test" – drop a small amount of starter into water; if it floats, it's generally ready.
Maintaining a healthy starter is crucial. Regular feeding (usually with equal parts flour and water by weight) keeps the yeast and bacteria thriving. A 1:1:1 feeding ratio (1 part starter, 1 part flour, 1 part water) is common for maintenance. Using a starter that isn't active enough is a common reason for a loaf not rising properly. Ensure your starter is at its peak activity before beginning this easy beginner sourdough bread recipe.
Flour Power: Choosing the Right Flour for Sourdough
For an easy beginner sourdough bread recipe, a good quality bread flour is often recommended. Bread flour has a higher protein content (typically 12-14%) compared to all-purpose flour (around 10-12%), which helps develop a stronger gluten network. This strength is important for trapping the gases produced by the starter, allowing the bread to rise and achieve a good structure.
While you can experiment with different flours later, starting with a reliable bread flour makes the dough easier to handle and predict. Some recipes incorporate a small amount of whole wheat or rye flour (e.g., 10-20% of the total flour weight) to add flavor and nutrients, as these flours can also boost starter activity. However, for a truly easy beginner sourdough bread recipe focusing on technique, sticking primarily to bread flour is a great choice.
Water Temperature: Key to Sourdough Success

The temperature of the water you use for mixing your sourdough dough plays a significant role in controlling the fermentation rate. Warm water (around 75-80°F or 24-27°C) encourages yeast activity and speeds up the initial bulk fermentation. Colder water (around 65-70°F or 18-21°C) slows things down, which can be useful if you live in a warm environment or want a longer fermentation for more complex flavors.
For this easy beginner sourdough bread recipe, using lukewarm water is often ideal as it provides a gentle start to the fermentation process. Avoid using hot water, which can kill your starter's yeast. Measuring water by weight is more accurate than volume, especially in baking, as flour absorption can vary. Using a kitchen scale for all ingredients, including water, contributes to more consistent results in your easy beginner sourdough bread recipe.
Salt: More Than Just Flavor in Sourdough
Salt is a crucial ingredient in sourdough bread, serving multiple purposes beyond just adding flavor. It helps control the rate of fermentation, slowing down yeast activity to prevent the dough from over-proofing too quickly. Salt also strengthens the gluten structure, which improves the dough's elasticity and ability to hold its shape and trap gases.
For an easy beginner sourdough bread recipe, using non-iodized salt like sea salt or kosher salt is generally preferred, as iodine can potentially interfere with yeast activity (though this effect is often debated and minor). The typical salt percentage in sourdough is between 1.8% and 2.2% of the total flour weight. Adding salt too early in the mixing process can sometimes inhibit gluten development initially, which is why it's often added after the initial mixing or autolyse stage.
Step-by-Step: Creating Your Round Sourdough Loaf
Step 1: Preparing Your Sourdough Starter
Before you start mixing your dough, ensure your sourdough starter is active and ready. This usually involves feeding your starter 4-12 hours before you plan to mix, using your standard feeding ratio (e.g., 1:1:1 or 1:2:2 starter:flour:water by weight). Leave it at room temperature until it has significantly increased in volume (doubled or tripled) and shows lots of bubbles.
An active starter is the foundation of a successful loaf in any easy beginner sourdough bread recipe. If your starter seems sluggish, try feeding it with slightly warmer water or placing it in a warmer spot in your kitchen (ideally around 75-80°F or 24-27°C) for a few hours to encourage activity. Once it's bubbly and passes the float test, it's time to bake!
Step 2: Mixing the Dough: The Autolyse Stage
Combine the flour and water (excluding the salt and starter) in a large mixing bowl. Mix them together with your hands or a spatula until no dry flour remains. The mixture will be shaggy and rough at this point, not smooth. This step is called the autolyse, and it's a simple technique that benefits any easy beginner sourdough bread recipe.
Cover the bowl and let the mixture rest for 30 minutes to 1 hour. This resting period allows the flour to fully hydrate and the gluten development to begin naturally without the interference of salt or starter. This process makes the dough easier to work with later and helps develop strength and extensibility.
Step 3: Incorporating the Starter and Salt
After the autolyse, add your active sourdough starter and salt to the dough. Dimple the surface of the dough to help distribute them. Using wet hands can prevent sticking.
Now, mix everything together thoroughly. You can use a "pinch and fold" method, repeatedly pinching and folding the dough in the bowl until the starter and salt are evenly incorporated. This initial mixing might take 2-5 minutes. The dough will feel sticky, but keep mixing until you feel everything is combined.
Step 4: Bulk Fermentation: Developing Flavor and Strength
Bulk fermentation is the critical period where the dough rests and rises at room temperature, developing flavor and strength. This stage typically lasts 4-6 hours at a room temperature of around 70-75°F (21-24°C), but can be longer or shorter depending on temperature and starter activity. The dough should increase in volume by about 30-50% during this time and feel lighter and gassier.
Understanding Bulk Fermentation
During bulk fermentation, the wild yeast in your starter consumes sugars in the flour and produces carbon dioxide gas, which causes the dough to rise. Simultaneously, the bacteria produce organic acids (like lactic and acetic acid), which give sourdough its characteristic tangy flavor and help break down gluten, making the bread more digestible. Monitoring the dough's volume increase and texture is more reliable than strictly following a time guideline.
Folding the Dough for Strength
To help develop gluten strength and structure during bulk fermentation, you will perform a series of folds. For this easy beginner sourdough bread recipe, perform 3-4 sets of "stretch and folds" or "coil folds" during the first 2-3 hours of bulk fermentation, spaced 30-60 minutes apart. To stretch and fold, wet your hands, grab one side of the dough, stretch it upwards gently, and fold it over the center.
Repeat on all four sides. Coil folds involve lifting the dough from the center with wet hands, allowing the ends to coil underneath, then gently placing it back in the bowl. These folds redistribute yeast and nutrients and build tension in the dough.
Step 5: Shaping Your Round Sourdough Loaf

Once bulk fermentation is complete (the dough is visibly larger, bubbly, and passes the "windowpane test" – stretching a small piece thin enough to see through), gently transfer the dough onto a lightly floured surface. Be careful not to deflate it too much. For a round loaf (called a boule), you'll perform a pre-shape and a final shape.
First, gently shape the dough into a rough ball or rectangle and let it rest for 15-20 minutes (this is called the bench rest). This allows the gluten to relax. Then, perform the final shape: gently coax the dough into a taut round ball using techniques like stitching or folding and pulling the edges underneath. The goal is to create surface tension on the outside while trapping gas inside.
Step 6: Proofing the Dough: The Final Rise
After shaping, the dough undergoes its final rise, known as proofing. This is where the shaped loaf rests before baking. For an easy beginner sourdough bread recipe, proofing in the refrigerator (cold proofing) is highly recommended.
Proofing in the Refrigerator (Cold Proof)
Place the shaped dough seam-side up into a floured proofing basket (banneton) or a bowl lined with a floured tea towel. Cover it and place it in the refrigerator for 8-12 hours, or even up to 24 hours. Cold proofing slows down fermentation significantly, allowing flavors to deepen and making the dough much easier to handle and score before baking. This cold rest also contributes to a better oven spring and crust.
Step 7: Baking Your Sourdough Loaf: Achieving a Perfect Crust
Baking is where the magic happens! A key to achieving a great crust in an easy beginner sourdough bread recipe is baking in a hot environment that traps steam initially. A Dutch oven is ideal for this, but you can also use a baking stone with a steam setup.
Preheating Your Oven
Place your Dutch oven (with the lid on) or baking stone in your oven and preheat it to a high temperature, typically 450-500°F (230-260°C), for at least 30-60 minutes. This ensures the vessel or stone is thoroughly heated, providing a strong initial burst of heat to the dough.
Scoring the Dough for Oven Spring
Just before baking, take your proofed dough out of the refrigerator. If using a banneton, invert the dough onto a piece of parchment paper or directly into your hot Dutch oven. Using a sharp blade (like a razor or lame), score the surface of the dough with a pattern. Scoring allows the dough to expand predictably in the oven (oven spring) and creates beautiful patterns on the crust. A simple cross or a single slash down the middle are good starting points for an easy beginner sourdough bread recipe.
Baking with a Dutch Oven or Baking Stone
Carefully transfer the scored dough into the preheated Dutch oven using the parchment paper as handles (or directly if not using paper). Place the lid on the Dutch oven. Bake with the lid on for 20-25 minutes. The lid traps steam released by the dough, which keeps the crust soft initially, allowing the loaf to expand fully.
After this time, remove the lid and continue baking for another 20-25 minutes, or until the crust is deep golden brown and the internal temperature reaches around 205-210°F (96-99°C). If using a baking stone, place the dough on the stone and create steam by adding a cup of hot water to a tray on the oven floor before quickly closing the door. Bake at the same temperatures and times.
Step 8: Cooling and Enjoying Your Homemade Sourdough
Once baked, carefully remove the loaf from the oven and transfer it to a wire rack to cool completely. This step is crucial! The internal structure of the bread is still setting, and slicing it too early will result in a gummy texture. Allow the loaf to cool for at least 1-2 hours before slicing.
Listen for the crackling sound as it cools – a good sign of a great crust! Slicing into your first homemade loaf baked with this easy beginner sourdough bread recipe is incredibly satisfying. Enjoy it simply with butter, use it for sandwiches, or share it with friends and family.
Troubleshooting Common Sourdough Baking Problems
My Sourdough Isn't Rising: Possible Causes and Solutions
One of the most common issues beginners face is a loaf that doesn't rise adequately, resulting in a dense crumb. The primary culprit is usually an inactive or weak sourdough starter. Ensure your starter is consistently fed and shows vigorous activity (doubling/tripling, lots of bubbles) before you use it. If it's sluggish, try feeding it 1:1:1 or 1:2:2 ratios with good quality flour and warm water (75-80°F) for a few days to strengthen it.
Another reason for poor rise can be insufficient bulk fermentation or proofing. Ensure your dough increases in volume by at least 30-50% during bulk fermentation and feels airy. If your kitchen is cool, bulk fermentation will take longer (potentially 6-10 hours at 68°F). Similarly, if cold proofing, ensure your starter was active enough to begin with, as the cold significantly slows activity but doesn't stop it entirely. Over-proofing can also cause a loaf to collapse in the oven.
The Dough is Too Sticky: How to Handle It
Sourdough dough, especially higher hydration doughs, is naturally sticky. For an easy beginner sourdough bread recipe, working with a slightly sticky dough is normal and indicates good hydration. However, if it's unmanageably sticky and won't hold any tension during shaping, there might be a few reasons. It could be slightly over-hydrated for the type of flour used or your skill level, or the gluten hasn't been sufficiently developed during bulk fermentation.
To handle sticky dough, use minimal flour on your work surface and hands. A bench scraper is an invaluable tool for manipulating sticky dough. Ensure you are performing enough sets of folds during bulk fermentation (3-4 sets in the first few hours) to build strength. If the dough is still too sticky after folds and bulk fermentation, you can try incorporating a little extra flour (a tablespoon at a time) during the pre-shaping or final shaping stage, although this should be a last resort. Practice makes perfect when handling sticky dough!
Achieving the Perfect Sourdough Crust and Crumb
A perfect sourdough loaf typically has a deep golden, crispy crust and an open, airy interior crumb. Achieving this requires attention to both fermentation and baking. For the crust, baking at high temperatures with steam is essential. The initial steam (provided by the Dutch oven lid or added water) keeps the surface moist, allowing the dough to expand fully before the crust hardens. Removing the lid or steam source later allows the crust to dry out and crisp up.
The crumb structure is primarily a result of healthy starter activity and proper gluten development during bulk fermentation and shaping. An active starter produces ample gas. Sufficient folding builds a strong gluten network capable of trapping that gas. Proper shaping creates surface tension that helps the loaf hold its structure and spring upwards in the oven. Cold proofing also contributes positively to both crumb and crust development by extending fermentation and making the dough easier to score for better oven spring.
Storing Your Homemade Sourdough Bread
Keeping Your Sourdough Fresh Longer
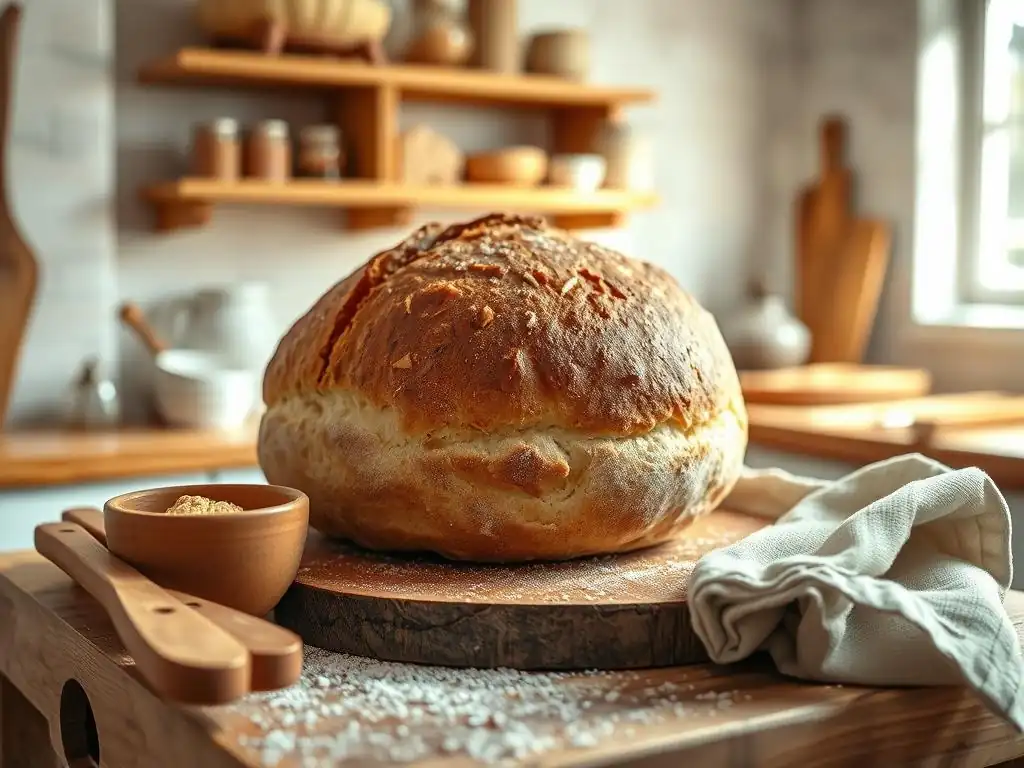
Homemade sourdough bread, especially from an easy beginner sourdough bread recipe, is best enjoyed fresh. However, you can store it to maintain quality for a few days. At room temperature, a whole loaf can be stored cut-side down on a cutting board for 1-2 days. Once sliced, store it in a paper bag to keep the crust from getting soggy, or wrap it loosely in a clean tea towel. Avoid airtight plastic bags or containers at room temperature, as they will soften the crust.
For longer storage, sourdough freezes exceptionally well. Allow the loaf to cool completely, then wrap it tightly in plastic wrap followed by aluminum foil or place it in a freezer bag. You can freeze a whole loaf or slice it first. Frozen sourdough can last for several months. To enjoy, thaw a whole loaf at room temperature, or pop frozen slices directly into a toaster. Reheating a whole or partial loaf in a preheated oven (350°F/175°C) for 10-15 minutes can help revive the crust.
Variations on the Basic Sourdough Recipe
Adding Seeds and Grains to Your Sourdough
Once you've mastered the basic easy beginner sourdough bread recipe, you can start experimenting with additions. Adding seeds and grains is a popular variation. You can incorporate seeds like sesame, poppy, sunflower, or flax directly into the dough during the mixing stage, typically at 5-10% of the total flour weight. This adds texture and flavor.
For larger grains or seeds like oats, quinoa, or larger seeds, consider soaking them in water for a few hours or overnight before adding them to the dough. This "soaker" prevents them from absorbing moisture from the dough during fermentation, which could result in a dry loaf. Adding 10-20% soaked grains (by weight of the flour) is a good starting point. Mix them in gently after the salt has been incorporated.
Exploring Different Flour Combinations for Unique Flavors
Another way to vary your sourdough is by using different types of flour. While this easy beginner sourdough bread recipe uses primarily bread flour, you can substitute a portion of it with whole wheat, rye, spelt, or other specialty flours. Replacing 10-20% of the bread flour with whole wheat or rye flour is a common and delicious variation that adds nutty, earthy notes and can boost fermentation slightly.
As you become more comfortable, you can increase the percentage of these alternative flours. Keep in mind that different flours absorb water differently and affect gluten development. Whole grain flours typically require more water. Experiment gradually, perhaps substituting just 50-100 grams of the bread flour initially, to see how it changes the dough handling and the final flavor of your easy beginner sourdough bread recipe.
Conclusion: Mastering the Art of Easy Sourdough Baking
Congratulations on taking the first steps towards baking your own simple, basic sourdough loaf! This easy beginner sourdough bread recipe is designed to make the process approachable and rewarding. By understanding the role of your active starter, the importance of fermentation time, and the basics of shaping and baking, you are well on your way to creating delicious bread at home.
Remember that baking sourdough is a journey, and each loaf is an opportunity to learn. Don't be discouraged by imperfections; even a less-than-perfect loaf is usually quite tasty. With practice, you'll become more attuned to the feel of the dough and the signs of a healthy fermentation. Keep experimenting, keep baking, and enjoy the incredibly satisfying process of making your own easy beginner sourdough bread recipe come to life.
Frequently Asked Questions
What makes this sourdough recipe "easy" for beginners?
This recipe focuses on simple ingredients and clear, step-by-step instructions, minimizing complex techniques often found in traditional sourdough baking. It also prioritizes a higher hydration for an easier-to-handle dough.
How long does it take to make this sourdough bread from start to finish?
While the active baking time is relatively short, sourdough requires a longer fermentation process. Expect the entire process, including feeding the starter, mixing, proofing, and baking, to take approximately 24-36 hours.
What if I don't have a sourdough starter?
You will need a mature and active sourdough starter before attempting this recipe. BakeWithEase.com likely has resources on creating and maintaining a sourdough starter.
Can I substitute any of the flours in this recipe?
For best results, we recommend using the flours specified in the recipe. However, you may be able to substitute a portion of the bread flour with all-purpose flour for a slightly softer crumb.
What temperature should I bake the sourdough bread at?
The recipe calls for a high initial baking temperature, usually around 450-500°F (232-260°C), to create a good crust. The temperature may then be lowered slightly to ensure the inside is fully baked.
Final Reflection: The Humble Loaf, A Gateway to Baking Joy
The simple act of baking sourdough bread, once a mysterious art, is now surprisingly accessible. This recipe, designed for the absolute beginner, demonstrates that crafting a beautiful, flavorful loaf from scratch is within everyone's reach. The satisfaction derived from this process transcends the simple act of eating; it's a connection to a centuries-old tradition, a testament to patience and the magic of fermentation.
The journey of sourdough baking, for me, has been a profound one. It's not just about the delicious crust and tangy crumb; it's about the rhythm of feeding the starter, the anticipation of the rise, and the quiet satisfaction of watching something grow from a simple mixture of flour and water. Bread is the staff of life,
a simple phrase, yet it encapsulates the profound connection between humanity and this fundamental food. The accessibility of this recipe allows more people to experience this connection, to understand the process, and to appreciate the effort that goes into creating something so fundamental.
Now, I invite you to try this recipe. Don't be intimidated by the seemingly complex process; embrace the simplicity and the journey. Let the rhythmic kneading and the warm aroma of baking bread fill your kitchen with a sense of calm and accomplishment. The reward isn't just a delicious loaf; it's the experience itself, a reminder that even the most basic things can bring immense joy and a deeper connection to the world around us. So, gather your ingredients, and let the baking begin!
Unleash Your Inner Baker: Craft Your Perfect Sourdough Loaf!
Thanks for taking the time to explore the world of sourdough with us! We hope you’ve gained the confidence to tackle this delicious, rewarding process. Now it's time to put your newfound knowledge into action.
- Bake your own sourdough masterpiece! Use the recipe from the article as a starting point, and don't be afraid to experiment with different flours or hydration levels. This is your chance to truly personalize your loaf.
- Share your sourdough journey! Post a picture of your finished loaf on social media and tag us – we’d love to see your baking success!
- Explore more sourdough recipes: Dive deeper into the world of sourdough breads by browsing our other articles on BakeWithEase.com (replace with actual link if needed). You might discover your new favorite recipe!
What unique ingredient or technique will you try in your next sourdough loaf? Let’s discuss in the comments!