
Scoring Basic Sourdough: Simple Techniques for Beginners

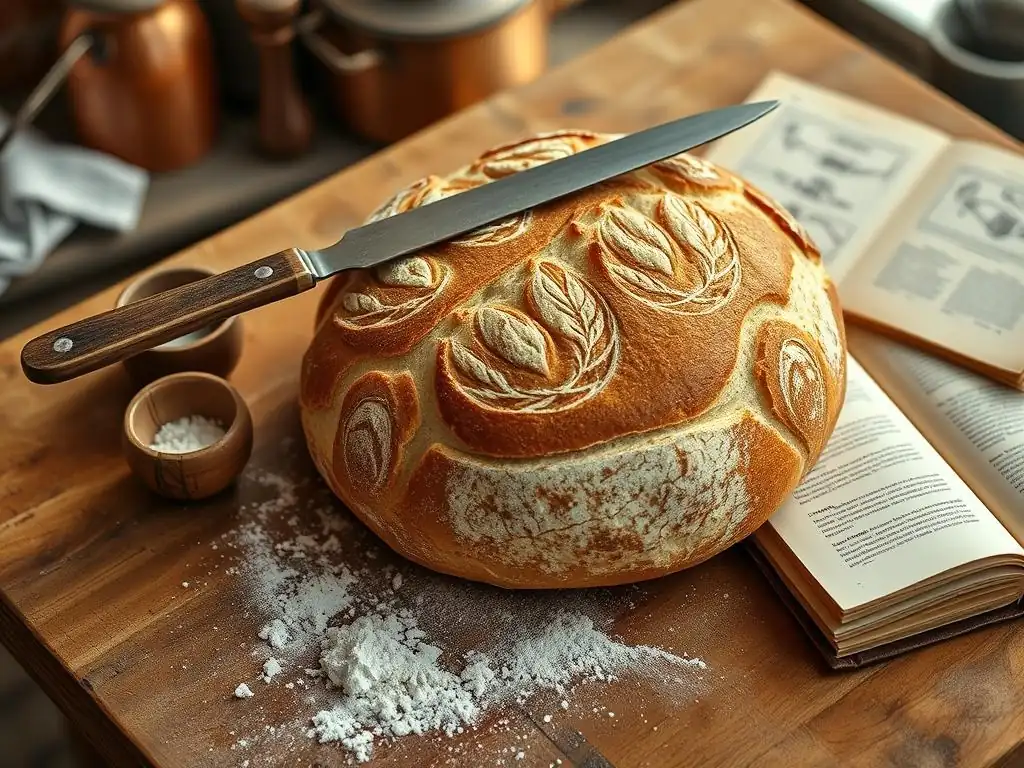
Welcome to BakeWithEase, your guide to baking bliss! Are you ready to transform your sourdough from rustic loaf to bakery-worthy masterpiece? This week, we're diving into easy sourdough scoring techniques that will elevate your baking game. Discover how a few simple cuts can dramatically improve your bread's rise and appearance. What secrets does the perfect score hold? Keep reading to unlock them!
- Scoring Sourdough: Techniques for Beginners
- Introduction to Sourdough Scoring
- Essential Tools for Sourdough Scoring
- Mastering Basic Sourdough Scoring Techniques: A Step-by-Step Guide
- Troubleshooting Common Sourdough Scoring Problems
- Beyond the Basics: Experimenting with Sourdough Scoring Designs
- Post-Bake Analysis: Learning from Your Sourdough Scoring
- Conclusion: Confidently Scoring Your Sourdough
- Frequently Asked Questions
- Final Reflection: The Art and Science of a Simple Score
- Unlock Your Inner Baker: Master Sourdough Scoring!
Scoring Sourdough: Techniques for Beginners
Introduction to Sourdough Scoring
Why Scoring Sourdough Matters: Achieving Optimal Oven Spring and Aesthetics
Scoring your sourdough dough before baking is far more than just adding a decorative flourish; it's a critical step for controlling the bread's expansion in the hot oven. When a loaf hits the intense heat of an oven, the moisture inside rapidly turns to steam, causing the dough to expand dramatically. This rapid expansion is known as "oven spring."
Without scores, the crust hardens quickly, and the steam will burst through the weakest point, often creating an uncontrolled, jagged split. By making deliberate cuts with easy sourdough scoring techniques, you give the steam a designated path to escape, directing the expansion for maximum lift and a beautifully shaped loaf.
Beyond function, scoring significantly impacts the aesthetic appeal of your finished bread. A well-executed score transforms a simple loaf into a work of art. Consider the difference between a loaf that has burst randomly and one with a clean, intentional pattern like a single ear or a symmetrical cross.
The controlled expansion facilitated by scoring not only allows for impressive oven spring, often increasing the loaf's volume by 30-50% in the first 10-15 minutes of baking, but it also encourages the formation of a gorgeous, crispy crust along the edges of the cuts, enhancing both texture and visual beauty. Mastering easy sourdough scoring techniques is key to achieving that coveted professional look and feel in your homemade bread.
Understanding Sourdough and Scoring
Sourdough bread is unique due to its leavening agent: a living culture of wild yeast and bacteria, rather than commercial yeast. This culture produces acids and gases during fermentation, giving sourdough its characteristic tangy flavor and airy crumb. Because sourdough fermentation often results in a dough with significant gas built up and a relatively strong gluten structure (especially after proper bulk fermentation and shaping), it has tremendous potential for oven spring. However, this potential can only be fully realized if the expanding gases have a way to escape the rapidly setting crust.
Scoring provides this necessary release valve. Think of it like cutting slashes in a pie crust to let steam escape. For sourdough, the scores are strategically placed cuts made just before the loaf goes into the oven. These cuts determine where the dough will expand. The technique used for scoring, including the angle, depth, and pattern of the cuts, directly influences the final shape, volume, and crust texture of the bread. Practicing easy sourdough scoring techniques helps beginners understand this relationship between the cut and the final baked result, allowing for more predictable and satisfying outcomes.
Essential Tools for Sourdough Scoring
The Scoring Lame: Types and Selection
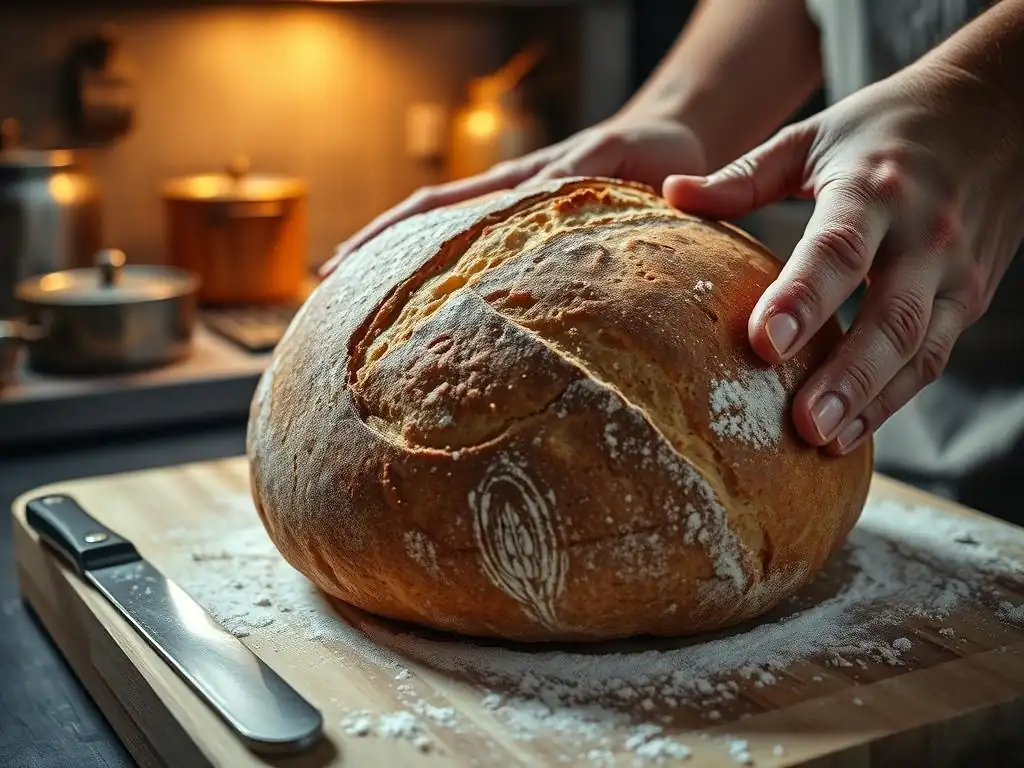
The primary tool for effective sourdough scoring is a lame (pronounced "lahm"), which is essentially a handle holding a razor blade. Using a razor blade allows for incredibly sharp, clean cuts, which is crucial for preventing the dough from dragging and ensuring the cuts open cleanly during baking. There are generally two types of lamés: straight and curved. Straight lamés hold the blade flat and are excellent for simple cuts, like a single straight slash or cross patterns, providing straightforward control for easy sourdough scoring techniques.
Curved lamés, on the other hand, hold the blade with a slight curve. This curvature allows you to make angled cuts that are parallel to the surface of the dough. These angled cuts are essential for creating the iconic "ear" – the beautiful, thin flap of crust that lifts up along a score.
While a curved lame can be slightly trickier initially, many bakers find it indispensable for achieving professional-looking results and mastering various easy sourdough scoring techniques. When selecting a lame, look for one with a comfortable grip and a secure blade holder. Some even come with interchangeable blades, allowing you to switch between straight and curved setups.
Other Helpful Tools: Water Spritzer, Dough Scraper
While a lame is the star of the show for scoring, a couple of other simple tools can greatly assist in the process. A small water spritzer bottle can be incredibly useful. Lightly misting the surface of your dough just before scoring can sometimes help the blade glide more smoothly through the dough, resulting in cleaner cuts, especially if your dough surface feels a little dry. This simple step can make applying easy sourdough scoring techniques even easier.
A dough scraper, particularly a bench scraper with a metal blade, is also invaluable when working with sourdough. Before you even get to the scoring stage, a scraper helps you handle the often-sticky dough during shaping. More relevant to scoring, a scraper can help you gently maneuver the proofed loaf from its proofing basket (banneton) onto your baking surface (like parchment paper on a peel or baking sheet) without deflating it. A steady, undamaged dough surface is key to making clean, effective scores that lead to beautiful oven spring using your easy sourdough scoring techniques.
Mastering Basic Sourdough Scoring Techniques: A Step-by-Step Guide
Step 1: Preparing Your Sourdough Dough for Scoring
Dough Proofing and Its Impact on Scoring
The state of your dough's proof is perhaps the most critical factor influencing how well it scores and expands. Dough that is underproofed will be tight and springy, resisting the blade and making clean cuts difficult. It might also burst unpredictably in the oven.
Conversely, dough that is overproofed will be very soft and fragile, potentially collapsing slightly when scored and offering little resistance, which can also lead to uncontrolled spreading rather than upward lift. The ideal dough for scoring is perfectly proofed – it should feel airy but still have enough structure to hold its shape and accept a clean cut without tearing or collapsing.
To check for proper proofing before attempting easy sourdough scoring techniques, use the "poke test." Gently press your finger into the dough about half an inch deep. If the indentation springs back immediately, it's underproofed. If it stays completely indented, it's overproofed. If the indentation slowly springs back halfway, it's likely perfectly proofed and ready for scoring. Achieving this optimal proof takes practice and depends on factors like ambient temperature and the activity of your starter, but a well-proofed dough makes all the difference in successful scoring.
Surface Tension: Achieving the Right Texture
A crucial element for successful scoring is having adequate surface tension on your dough. This means the outer layer of the dough should be slightly taut and dry compared to the interior. Good surface tension is developed during the shaping process, where you create a smooth, taught outer skin on the loaf. This taut surface provides the necessary resistance for your scoring blade to glide smoothly and make a clean incision without dragging or sticking.
If your dough surface is too wet or sticky, the lame will likely drag, resulting in messy, uneven cuts that won't open properly during baking. Using a proofing basket (banneton) dusted with rice flour helps create a dry, non-stick surface. Allowing the shaped loaf to sit uncovered in the refrigerator for the final proof also helps develop a firm, dry skin, making easy sourdough scoring techniques significantly easier to execute. Aim for a surface that feels smooth and slightly firm to the touch, not tacky or wet.
Step 2: Understanding Basic Sourdough Scoring Patterns
The Single Slash: For a Simple, Rustic Loaf
One of the most fundamental and effective scoring patterns is the single slash. This involves making one long, clean cut along the top of the loaf. For a round loaf (boule), the slash is typically curved, running from near one edge to the opposite edge. For an oval loaf (batard), the slash is usually straight down the center. This simple cut provides a primary weak point for the steam to escape, directing the oven spring primarily upwards and outwards along the score.
Using a curved lame at a low angle (almost parallel to the dough surface, around 20-30 degrees) is ideal for creating a single slash that results in a prominent "ear." The angled cut allows the top flap of dough to lift and crisp up beautifully. This is a fantastic pattern for beginners practicing easy sourdough scoring techniques, as it's straightforward but highly effective at controlling expansion and producing a classic, rustic look. Many iconic sourdough loaves feature just a single, well-executed slash.
The Cross Pattern: Promoting Expansion
Another basic yet effective pattern is the cross score. This involves making two cuts that intersect, usually in the center of a round loaf. The cuts can be straight or slightly curved. This pattern provides multiple points for the dough to expand from, leading to a more even, four-pointed bloom rather than a single ear. It's a very reliable pattern for ensuring good overall volume and preventing blowouts elsewhere on the loaf.
To execute a cross pattern using easy sourdough scoring techniques, make one cut across the top, then make a second cut perpendicular to the first, intersecting in the middle. The depth of these cuts is important; typically, about 1/2 inch (1-2 cm) is sufficient. This pattern is forgiving and consistently results in a pleasing, symmetrical loaf shape with a lovely crust pattern where the cuts separate during oven spring.
Parallel Lines: Creating a Decorative Effect
Parallel lines are a simple way to add a decorative touch while still providing avenues for expansion. This pattern involves making multiple straight cuts parallel to each other across the top of the loaf. For a batard, these lines often run diagonally across the loaf. For a boule, they might fan out from the center or run in a grid pattern.
While parallel lines might not produce a single dramatic "ear" like a deep single slash, they allow for even expansion across the top surface and create a beautiful segmented look as the crust crisps along each cut. Using a straight lame is often easiest for this pattern, holding the blade perpendicular or at a slight angle to the dough surface. Making three to five parallel cuts about 1/2 inch apart is a common approach when using easy sourdough scoring techniques for a decorative effect.
Step 3: The Actual Scoring Process: Achieving Clean, Controlled Cuts
Holding the Lame: Angle and Pressure Application
How you hold your lame is crucial for making clean cuts. For creating an "ear" with a single slash on a boule or batard, hold a curved lame at a very shallow angle, almost parallel to the dough surface, typically between 15 and 30 degrees. This angle allows the top flap of dough to peel back as you cut, creating the potential for that iconic lift. For more perpendicular cuts, like those in a cross pattern or straight parallel lines, you can hold the lame at a steeper angle, closer to 90 degrees, for a straightforward incision.
Apply firm, confident pressure when you score. Hesitant or shallow cuts are more likely to drag the dough and result in messy scores that don't open well. Imagine you are slicing through the outer skin and into the dough with a single, fluid motion. Too much pressure might go too deep and deflate the loaf; too little will just scratch the surface. Practice on scraps of dough or even paper folded like a loaf to get a feel for the right angle and pressure needed for various easy sourdough scoring techniques.
Scoring Depth: Balancing Expansion and Structure
The depth of your score significantly impacts the final loaf. A score that is too shallow (less than ¼ inch or 0.5 cm) may not provide enough of a release point, potentially leading to uncontrolled bursting elsewhere on the loaf. The crust might just knit back together during baking. A score that is too deep (more than 1 inch or 2.5 cm) can weaken the structure of the loaf, potentially causing it to spread outwards rather than spring upwards, or even collapse slightly.
For most basic patterns like the single slash or cross, a depth of around ½ to ¾ inch (1-2 cm) is a good starting point. This depth is sufficient to guide the steam release and allow for good oven spring without compromising the loaf's structure. As you gain experience with easy sourdough scoring techniques, you'll develop a feel for the right depth based on the dough's hydration and proof level.
Wetting the Lame: Preventing Sticking
A simple trick to help prevent the lame from sticking and dragging on the dough, especially with higher hydration doughs, is to dip the blade in a glass of water just before scoring. The water helps the sharp edge glide through the slightly sticky surface of the dough cleanly. After dipping, give it a quick shake to remove excess water.
This technique is particularly helpful when trying to execute multiple close cuts, like parallel lines, or when working with a dough that might not have developed as much surface tension as you'd like. Wetting the blade is a quick and easy tip that can significantly improve the cleanliness and precision of your scores, making your easy sourdough scoring techniques look more professional. Remember to re-wet the blade between scores if needed.
Troubleshooting Common Sourdough Scoring Problems
Dough Dragging on the Lame
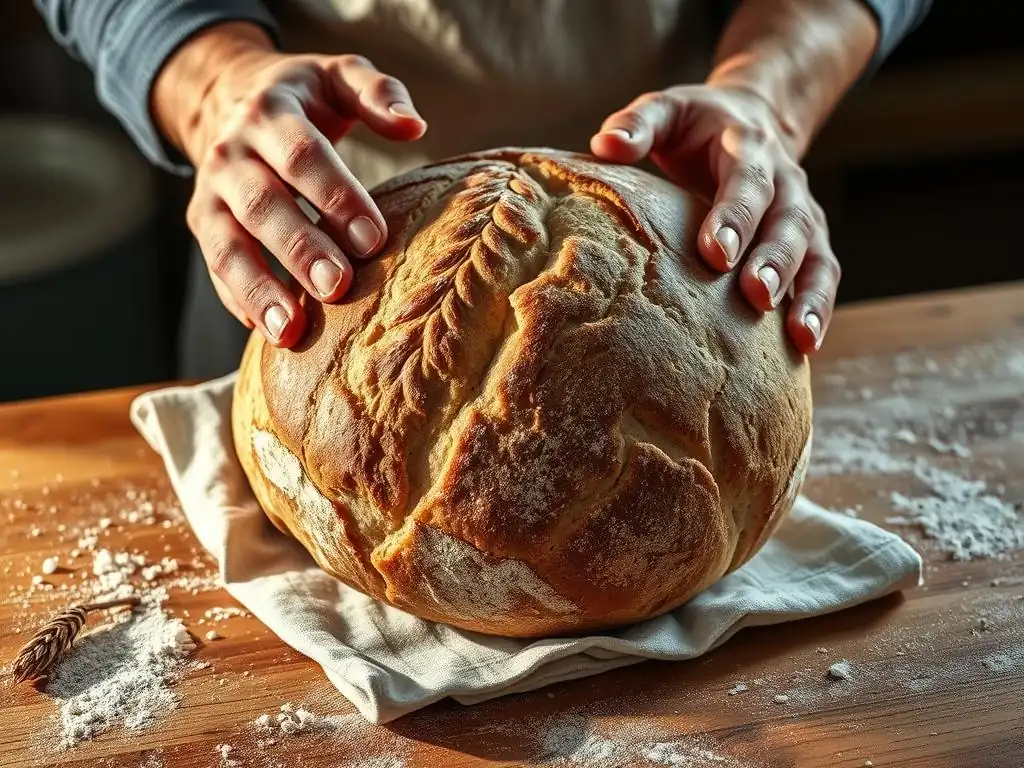
If your dough is dragging instead of cutting cleanly, several factors could be at play. The most common culprits are a dull blade, a sticky or wet dough surface, or hesitant scoring. Ensure your lame has a fresh, sharp razor blade; a dull blade will inevitably drag. Try dusting the surface of your dough with a little rice flour just before scoring, or lightly misting the blade with water, as discussed earlier, to reduce friction.
Another reason for dragging can be the speed and confidence of your cut. A slow, tentative score is more likely to catch and pull the dough. Try to make your cuts with a single, swift, confident motion. Also, check the proof level of your dough; overproofed dough can be very soft and prone to dragging. Adjusting your easy sourdough scoring techniques based on these factors can help achieve clean cuts.
Insufficient Oven Spring
Lack of sufficient oven spring after scoring can be disappointing. While scoring guides expansion, it can't create oven spring if the potential isn't there. The primary reasons for poor oven spring, even with good scoring, are often related to the dough itself: an inactive starter, insufficient bulk fermentation, underproofing (or sometimes overproofing), or weak gluten development.
However, scoring technique can also contribute. Scores that are too shallow may not provide an adequate release point, forcing the steam to try and find another way out, possibly resulting in minimal or uncontrolled bursts. Ensure your scores are deep enough (around ½ to ¾ inch) to allow for significant expansion. Also, ensure your oven is properly preheated to a high temperature (often 450-500°F or 230-260°C), as the initial burst of heat is crucial for maximum oven spring.
Uneven Expansion
If your loaf expands unevenly, with one side rising much more than the other, it's often related to the scoring pattern or execution. A single slash that isn't centered or is significantly deeper on one end than the other will direct more energy to the deeper, more open side. Similarly, cross patterns with uneven arm lengths or depths can lead to asymmetrical expansion.
To achieve more even expansion using easy sourdough scoring techniques, try to make your cuts symmetrical and consistent in depth across the pattern. For a single slash, aim for a consistent angle and depth along the entire length of the cut. For cross or parallel patterns, ensure the cuts are spaced evenly and are of similar depth. Uneven shaping before scoring can also contribute to this issue; a well-shaped loaf provides a uniform structure for the scores to work with.
Dough Collapse
Dough collapsing after scoring is a sign that the dough's structure is too weak to support the cuts, or the cuts were too deep for the dough's strength. This is most commonly seen with overproofed dough, which has lost much of its internal structure and gas retention capabilities. When you score overproofed dough, it simply doesn't have the tension to hold the shape, and the cuts can cause it to deflate.
Ensure your dough is not overproofed before scoring. The poke test should show a slow return. If you suspect your dough is slightly overproofed, use minimal, quick, and relatively shallow scores (closer to ¼ inch depth) to avoid stressing the fragile structure. Also, ensure your shaping created sufficient surface tension, as this external strength helps the loaf hold its form during scoring and initial oven spring.
Beyond the Basics: Experimenting with Sourdough Scoring Designs
Geometric Patterns for Visual Appeal
Once you're comfortable with basic single slashes, crosses, and parallel lines using easy sourdough scoring techniques, you can start experimenting with more elaborate geometric patterns. These designs can transform your loaf into a stunning centerpiece. Think of creating intricate leaf patterns, wheat stalks, grids, or even abstract designs. These often involve a combination of deeper structural cuts (like a central spine) and shallower, more decorative cuts around them.
For example, a common decorative pattern involves a central, slightly deeper score (often a single straight or curved line) with multiple smaller, parallel cuts radiating outwards from it, mimicking a leaf or feather. Another approach is a grid pattern using perpendicular parallel lines. These patterns require more precision and control over the lame, often using a straight blade for the decorative elements held at varying angles. Experimentation is key here, trying different angles, depths, and combinations of cuts on practice dough or less critical bakes.
Resources for Advanced Sourdough Scoring Techniques
While this article focuses on easy sourdough scoring techniques for beginners, the world of sourdough art is vast. To explore more advanced techniques and intricate designs, many resources are available. Look for dedicated books on sourdough baking that include sections on decorative scoring. Online baking communities and forums are also fantastic places to see examples of complex scoring patterns and learn the techniques used by experienced bakers.
Many skilled bakers share tutorials and guides on creating specific designs, from elaborate floral motifs to complex geometric shapes. While we can't provide specific links, searching for terms like "sourdough scoring art," "decorative bread scoring," or "advanced lame techniques" can lead you to valuable visual and instructional resources. Remember that mastering complex scoring takes practice, patience, and a good understanding of dough handling and proofing.
Post-Bake Analysis: Learning from Your Sourdough Scoring
Evaluating Crumb Structure and Crust Formation
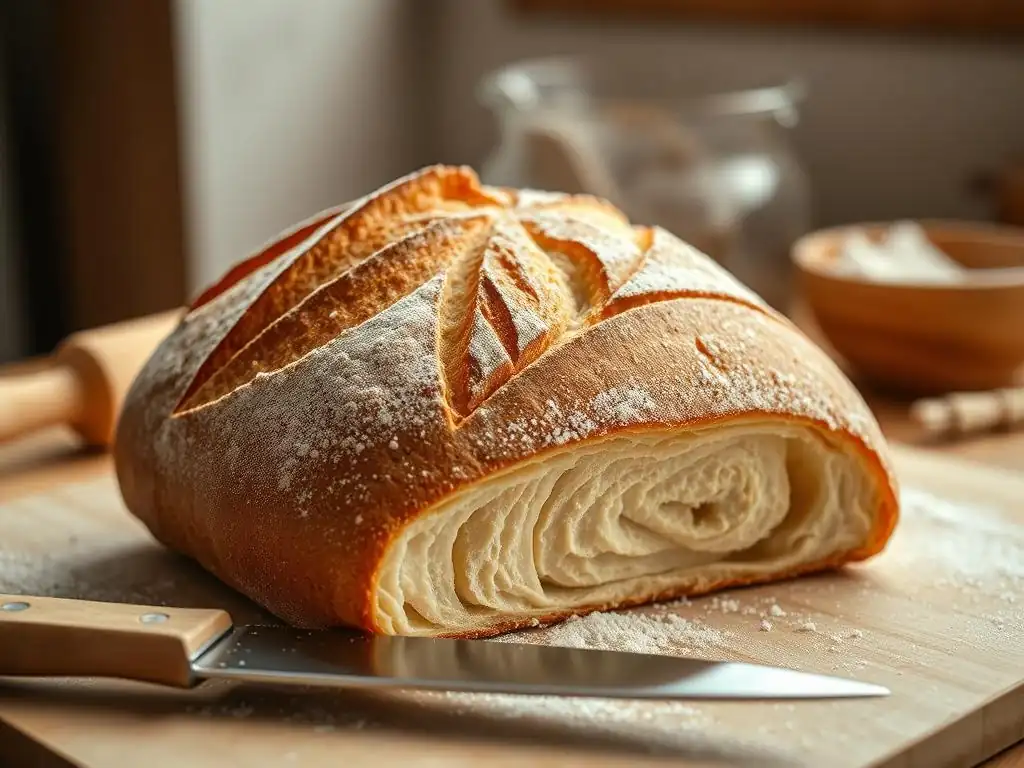
After your beautiful loaf has cooled, take time to analyze the results, paying particular attention to how your scores performed. Cut into the loaf and examine the crumb structure. Did the dough expand evenly from the scores, resulting in an open, airy crumb? Or is the crumb dense in some areas, perhaps indicating uneven expansion or insufficient oven spring related to your scoring? Look at the crust formation along the scores – did it crisp up beautifully and pull away cleanly, creating that desirable "ear" or crispy edge?
A well-scored loaf should have a consistent crumb throughout, with no dense spots caused by trapped steam trying to burst through an un-scored area. The crust along the cuts should be thinner and crispier than the main crust, adding textural contrast. By evaluating these aspects, you can see how your easy sourdough scoring techniques directly impacted the final bread and identify areas for improvement.
Refining Technique for Consistent Results
Each bake is a learning opportunity. If your scores didn't open as much as you hoped, consider if your dough was underproofed, if your scores were too shallow, or if your oven temperature was correct. If the loaf expanded unevenly, think about the symmetry and consistency of your cuts. If the dough dragged, maybe your blade wasn't sharp, or the surface needed more tension.
Keep notes on your bakes – the hydration level, proofing time, scoring pattern, and the outcome. This documentation helps you identify patterns and understand how different variables, including your easy sourdough scoring techniques, affect the final result. Don't be discouraged by imperfect loaves; every baker has them. Use the post-bake analysis to refine your process, adjust your technique slightly for the next bake, and move closer to achieving the perfect loaf consistently.
Conclusion: Confidently Scoring Your Sourdough
The Iterative Process of Sourdough Scoring
Scoring sourdough is a skill that improves with practice. It's an iterative process where you learn from each attempt. Your first scores might not be perfect, and that's completely normal. The key is to understand the why behind scoring – controlling expansion for oven spring and aesthetics – and then practice the how. Start with basic patterns like the single slash or cross, focusing on making clean, confident cuts at the right depth.
As you gain experience with easy sourdough scoring techniques, you'll develop a feel for how your specific dough behaves and how different cuts influence the final shape. Don't be afraid to experiment slightly from bake to bake, perhaps trying a slightly deeper cut or a different angle. Each loaf you bake and score adds to your experience and helps you refine your technique.
Continued Learning in Sourdough Baking
Mastering easy sourdough scoring techniques is just one part of the rewarding journey of sourdough baking. There is always more to learn, from understanding fermentation science to experimenting with different flours and hydration levels. Embrace the learning process and enjoy the tactile experience of working with dough.
Your scoring will improve naturally as your overall sourdough skills develop, particularly your ability to achieve optimal proofing and surface tension. Continue to read, watch, and bake. Share your results (and challenges!) with other bakers. With practice and patience, you'll confidently score your sourdough loaves, achieving beautiful results that are not only delicious but also a joy to behold.
Frequently Asked Questions
What is sourdough scoring and why is it important?
Sourdough scoring is the act of making cuts on the surface of the dough before baking. This is crucial for controlling the expansion of the bread during baking and creating an attractive crust.
What are some easy sourdough scoring techniques for beginners?
Beginner-friendly techniques include the single slash, the cross, and the simple curve. These methods are easy to execute and still allow for good oven spring.
What tool is best for scoring sourdough?
A lame, which is a razor blade attached to a handle, is the best tool. However, a sharp knife can also be used, though it might require more practice for clean cuts.
How deep should I score my sourdough?
The depth of the score depends on the desired effect, but generally, aim for about 1/4 to 1/2 inch deep. Deeper cuts encourage more expansion, while shallower cuts are more decorative.
What happens if I don't score my sourdough?
Without scoring, the bread will burst randomly at its weakest point, resulting in an unpredictable and often unattractive loaf. Scoring provides a controlled release for the gases produced during baking.
Final Reflection: The Art and Science of a Simple Score
Mastering the art of sourdough scoring isn't just about aesthetics; it's about unlocking the full potential of your loaf. A well-executed score allows for controlled expansion, preventing unsightly cracks and ensuring a beautiful, evenly risen boule. This seemingly simple technique is the culmination of understanding fermentation, dough hydration, and the delicate balance between restraint and release.
The journey of learning sourdough scoring, for me, has been a testament to the power of patience and observation. Each score, whether a simple cross or an intricate design, reflects the unique personality of the loaf and the baker's understanding of the process. It's a constant learning curve, a dance between intention and outcome. The baker's hands are the instruments of creation, shaping not just bread, but also a connection to the ancient art of baking.
This quote, while not directly about scoring, perfectly captures the feeling of crafting something beautiful and functional from simple ingredients and careful technique.
Now, it's your turn. Don't be intimidated by the seemingly complex world of sourdough scoring. Start with the basics, practice regularly, and observe the results. Each loaf will teach you something new, refining your technique and deepening your appreciation for this fundamental aspect of sourdough baking. Embrace the imperfections, celebrate the successes, and most importantly, enjoy the journey of creating your own perfect loaf.
Unlock Your Inner Baker: Master Sourdough Scoring!
Thanks for taking the time to explore the world of sourdough scoring! We hope you now feel more confident in understanding this crucial step to beautiful, flavourful loaves. Ready to put your new knowledge into practice?
- Try your hand at scoring your next loaf: Use the techniques discussed to create your own unique pattern. Don't be afraid to experiment!
- Share your baking triumphs (and even your mishaps!) on social media: Use #BakeWithEaseSourdough to connect with our community and inspire others.
- Consider exploring different scoring tools: What will you try next – a lame, a razor blade, or something even more creative?
What unique scoring pattern will you create for your next sourdough masterpiece?