
Your First Perfect Sourdough Loaf: A Simple Basic Recipe

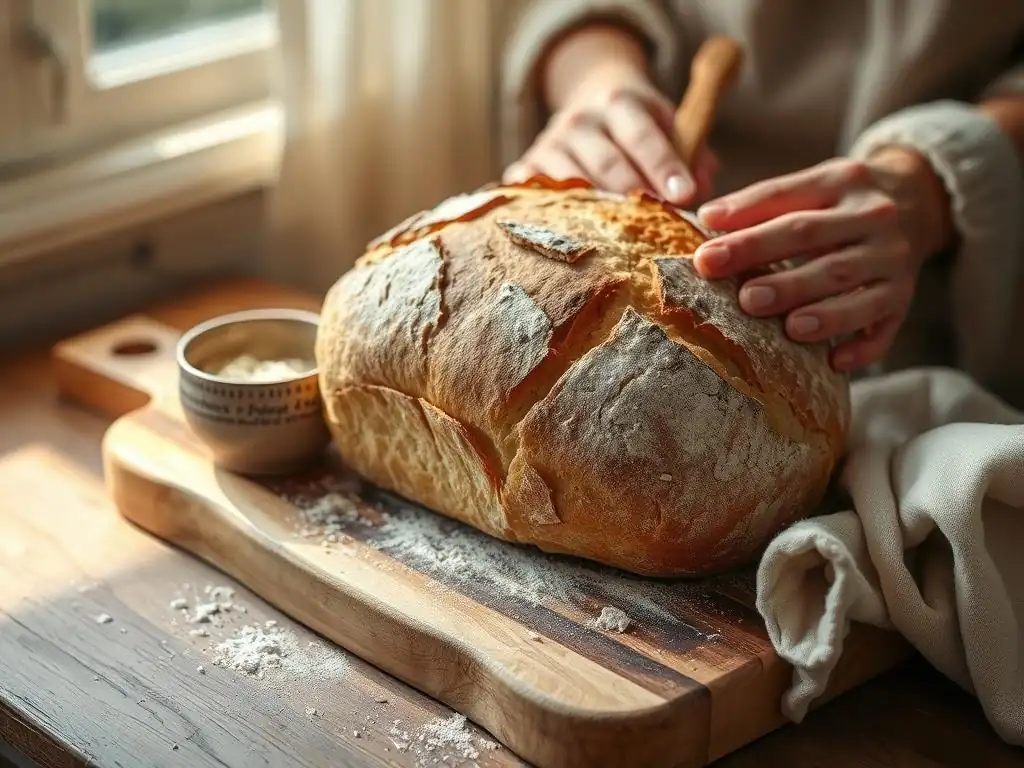
Welcome to BakeWithEase, where the joy of baking is just a recipe away! Ever dreamed of creating that perfectly crusty, tangy sourdough at home?
Dive into our Easy Beginner Sourdough Recipe and unlock the secrets to crafting your very first loaf. Don't let the name fool you; even if you're an intermediate baker, our simplified approach will demystify the process and leave you wondering why you didn't start sooner. Ready to embark on your sourdough adventure? Let's get baking!
- Rustic Country Sourdough: A Beginner's Guide to Baking Success
- Mastering Sourdough: An Accessible Recipe for New Bakers
- The Foundations of Sourdough Baking
-
Beginner's Sourdough Recipe: Detailed Instructions
- Step 1: Activating Your Sourdough Starter
- Step 2: Mixing the Dough - Autolyse for Flavor
- Step 3: Incorporating Starter and Sea Salt
- Step 4: Bulk Fermentation: The First Proof
- Step 5: Shaping Your Sourdough Round or Oval
- Step 6: Retarding in the Refrigerator (Cold Proof)
- Step 7: Baking Your Sourdough Loaf
- Step 8: Cooling and Enjoying Your Sourdough Creation
- Addressing Common Sourdough Baking Challenges
- Tips for Consistently Baking Excellent Sourdough
- Expanding Your Sourdough Skills
- Conclusion: Embracing the Art of Sourdough Baking
-
Frequently Asked Questions
- What makes this sourdough recipe easy for beginners?
- What are the key ingredients needed for this easy beginner sourdough recipe?
- How long does it take to make this sourdough loaf, from start to finish?
- What are some common mistakes beginners make when baking sourdough, and how can I avoid them with this recipe?
- Can I modify this recipe to add different flavors or ingredients?
- Final Reflection: The Unexpected Joys of Sourdough
- Unleash Your Inner Baker: Craft Your First Amazing Sourdough!
Rustic Country Sourdough: A Beginner's Guide to Baking Success
Mastering Sourdough: An Accessible Recipe for New Bakers
Embarking on Your Sourdough Adventure
Taking the plunge into sourdough baking can feel like stepping into a new world of flour, water, and time. Many aspiring bakers are intimidated by the perceived complexity, the need for a living starter, and the long fermentation times. However, mastering your first sourdough loaf is a deeply rewarding experience that unlocks a new level of baking satisfaction. This guide is crafted specifically to make that initial journey as smooth and successful as possible, providing a clear, step-by-step easy beginner sourdough recipe.
This accessible recipe demystifies the process, focusing on core techniques that build confidence. We'll walk you through each stage, from activating your starter to achieving that beautiful, rustic crust. You'll learn the 'why' behind each step, which is crucial for understanding the nuances of sourdough and adapting as you gain experience. Think of this as your friendly introduction to the world of naturally leavened bread, proving that a truly delicious loaf is within reach, even if you've never baked sourdough before.
Why This Recipe is Ideal for Sourdough Beginners
This particular easy beginner sourdough recipe is designed with simplicity and reliability in mind. It uses straightforward mixing techniques and a forgiving hydration level, meaning the dough is easier to handle compared to very wet, high-hydration doughs often found in more advanced recipes. The steps are broken down into manageable parts, reducing the feeling of being overwhelmed, which is common when tackling a new baking skill like this.
Furthermore, the recipe incorporates key rest periods and visual cues to help you understand what the dough should look like and feel like at each stage. This hands-on learning approach, guided by clear instructions, makes it an ideal starting point for anyone looking to bake their first sourdough loaf. By successfully following this simple beginner sourdough method, you'll build a strong foundation and gain the confidence needed to explore more complex sourdough variations in the future.
The Foundations of Sourdough Baking
What is Sourdough and Its Unique Qualities?
Sourdough is a type of bread that is leavened using a live fermented culture, known as a sourdough starter, instead of commercial yeast. This starter is a symbiotic community of wild yeast and lactic acid bacteria living in a mixture of flour and water. These microorganisms consume the sugars in the flour and produce carbon dioxide gas, which makes the bread rise, and organic acids, which give sourdough its characteristic tangy flavor and chewy texture. The fermentation process also helps break down gluten and phytic acid, potentially making sourdough bread easier to digest for some people.
The unique qualities of sourdough extend beyond its taste and texture. The longer fermentation times, often involving a cold proof in the refrigerator, allow for complex flavor development that you simply can't achieve with quick-rise commercial yeast. The natural acids produced also contribute to a longer shelf life compared to many other types of bread. Baking a loaf using an easy beginner sourdough recipe allows you to experience these benefits firsthand and appreciate the depth of flavor that comes from this traditional method.
Cultivating a Robust and Active Sourdough Starter
A healthy, active sourdough starter is the heart of any good sourdough loaf. It's a living culture that needs regular feeding (usually with equal parts flour and water by weight) to stay vigorous. A robust starter will typically double or even triple in size within 4 to 8 hours after feeding when kept at warm room temperature (around 70-75°F or 21-24°C) and will be full of bubbles. Its aroma should be pleasantly yeasty and slightly tangy, not overwhelmingly acidic or like nail polish remover.
Maintaining your starter involves consistent feeding, discarding a portion before feeding to manage its volume and keep the microbial population balanced. While you can create a starter from scratch in about 7-14 days, many beginners find it easier to get a small amount from a friend or purchase one online. Regardless of how you acquire it, understanding the signs of an active starter – like bubbling and predictable rise after feeding – is crucial for success with any easy beginner sourdough recipe.
Essential Ingredients for Authentic Sourdough Bread
Making authentic sourdough bread requires surprisingly few ingredients, but their quality matters. The foundation is typically bread flour, which has a higher protein content (around 12-14%) than all-purpose flour. This higher protein helps develop a strong gluten network, essential for trapping the gases produced by the starter and giving the loaf structure and chewiness. While you can use other flours, bread flour is recommended for a simple beginner sourdough recipe as it's more forgiving.
Besides flour and your active sourdough starter, the only other essential ingredients are water and salt. Filtered or non-chlorinated water is often preferred, as chlorine can potentially inhibit the activity of the wild yeast and bacteria in your starter. Fine sea salt or non-iodized salt is best, as iodine can also negatively impact fermentation. The purity and quality of these simple components significantly influence the final flavor and texture of your first sourdough loaf.
Beginner's Sourdough Recipe: Detailed Instructions
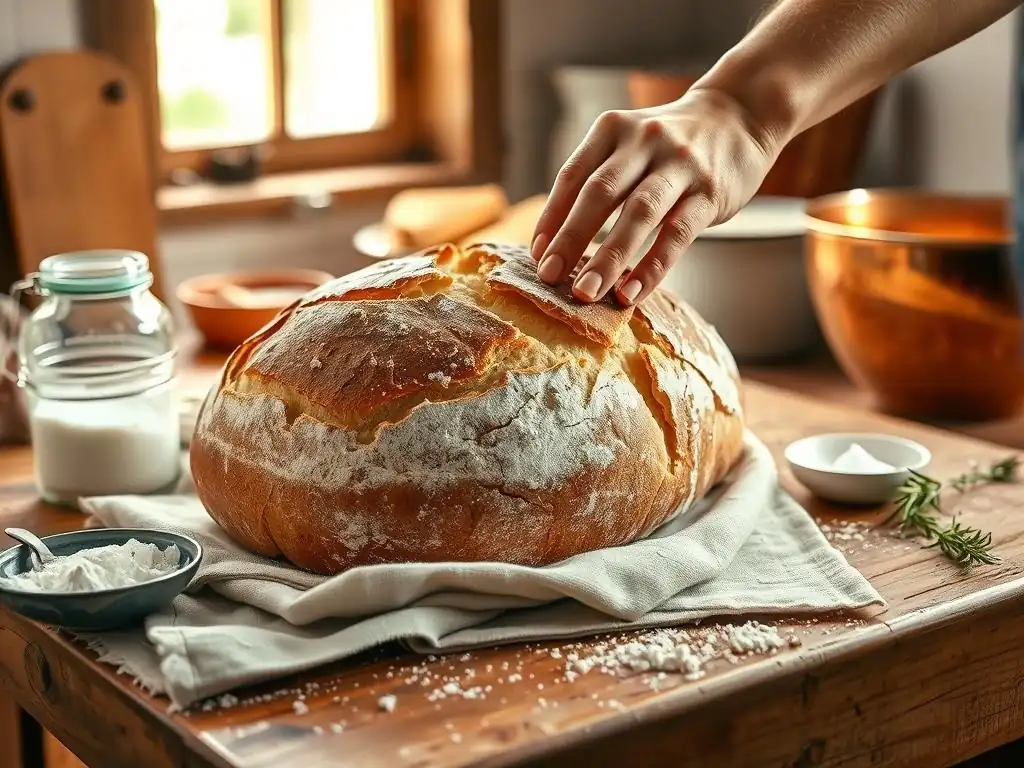
Step 1: Activating Your Sourdough Starter
Preparing Your Starter for Optimal Fermentation
To ensure your starter is ready to leaven your bread, you need to activate it. This usually involves taking a small amount of your established starter (often called the 'mother' or 'discard') and feeding it with fresh flour and water. The specific ratio can vary, but a common and effective method for a simple beginner sourdough is a 1:1:1 ratio by weight (e.g., 20g starter, 20g water, 20g flour). Mix this thoroughly in a clean jar or container.
After feeding, mark the level of the starter on the container (a rubber band works well). Place the container in a warm spot (around 75-80°F or 24-27°C is ideal for faster activation, but room temperature around 70°F is usually sufficient, just slower). Wait until the starter has significantly increased in volume, ideally doubled or even tripled, and is bubbly throughout. This typically takes 4-8 hours depending on the starter's health and ambient temperature. An active starter is key to a successful easy beginner sourdough recipe.
Assessing Starter Readiness: The Float Test
A simple and reliable way to check if your activated starter is ready for baking is the float test. Once your starter has doubled or tripled and looks bubbly and active, gently scoop a small spoonful (about half a teaspoon) from the peak of its rise. Carefully drop this spoonful into a glass of room-temperature water.
If the starter floats on the surface of the water, it is buoyant and active enough to leaven your dough – it's ready! If it sinks to the bottom, it means the starter hasn't produced enough gas yet and needs more time to ferment. This test helps ensure you're using your starter at its peak activity, which is crucial for achieving a good rise in your first sourdough loaf.
Step 2: Mixing the Dough - Autolyse for Flavor
Combining Flour and Water: The Autolyse Process
The first step in mixing your dough for this easy beginner sourdough recipe is the autolyse. This simple technique involves gently combining only the flour and water from the recipe and letting them rest for a period, typically 30 minutes to 1 hour. The term "autolyse" comes from the Greek words for "self" and "to loosen," referring to the enzymes naturally present in the flour that become active when hydrated.
During the autolyse, these enzymes begin to break down starches into sugars, which provides more food for the yeast and bacteria later, contributing to better flavor. More importantly for a beginner, this rest period allows the flour to fully absorb the water and the gluten network to start forming without the interference of salt or starter. This makes the dough much easier to mix and handle in subsequent steps, resulting in a smoother, more extensible dough with less effort – a great advantage when making your first sourdough loaf.
Step 3: Incorporating Starter and Sea Salt
Gentle Mixing Techniques for Sourdough Dough
After the autolyse period, it's time to add your active sourdough starter and salt to the dough. The starter provides the leavening power, and the salt controls the fermentation rate, strengthens the gluten structure, and enhances flavor. Gently dimple the surface of the dough to create space for the starter and salt. Add the starter first, spreading it over the dough, followed by the salt.
Now, you need to mix these ingredients into the dough. Avoid aggressive kneading at this stage. A gentle method like 'pinch and fold' or simply squeezing the dough between your fingers repeatedly is effective. Continue mixing gently until the starter and salt are fully incorporated and the dough feels slightly more cohesive. This might take 3-5 minutes. The dough will still be a bit shaggy, but the ingredients should be evenly distributed. Don't worry about developing full gluten strength yet; that will happen during the bulk fermentation. This gentle approach keeps your easy beginner sourdough recipe manageable.
Step 4: Bulk Fermentation: The First Proof
Understanding Time and Temperature in Bulk Fermentation
Bulk fermentation (or the first rise) is a critical stage where the dough develops flavor, structure, and volume. It begins after the starter and salt are mixed in and ends when you shape the dough. The duration of bulk fermentation is highly dependent on the ambient temperature and the activity of your starter. At a warm room temperature (around 75-80°F or 24-27°C), it might take 3-5 hours. At a cooler temperature (around 70°F or 21°C), it could take 6-10 hours.
During this time, the dough should increase in volume by about 30-50% for a typical easy beginner sourdough recipe. It should also become noticeably more airy and bubbly. Instead of relying solely on the clock, pay attention to the dough's appearance and feel. It should feel lighter, softer, and more extensible. Over-fermenting can lead to a slack, hard-to-shape dough, while under-fermenting results in a dense crumb. Learning to read your dough is a key skill in making a successful first sourdough loaf.
Performing Stretch and Folds for Dough Strength
During the first 1-2 hours of bulk fermentation, you will perform a series of 'stretch and folds'. This technique helps to build strength and structure in the dough without intensive kneading. Typically, you perform 3-4 sets of stretch and folds, spaced 30-45 minutes apart. To do a stretch and fold, wet your hands slightly to prevent sticking. Gently grab one side of the dough, stretch it upwards, and fold it over the opposite side. Rotate the bowl a quarter turn and repeat with the next side. Do this for all four sides, effectively folding the dough onto itself.
This process aligns the gluten strands, creating a stronger network that can better hold the gases produced by the starter. After each set of folds, the dough will feel tighter; it will relax again over the next 30-45 minutes, indicating it's ready for the next set. By the end of the stretch and fold series, the dough should feel significantly smoother, stronger, and more elastic. This simple technique is fundamental to achieving good structure in your easy beginner sourdough recipe.
Step 5: Shaping Your Sourdough Round or Oval
Shaping Techniques for a Boule or Batard
After bulk fermentation, it's time to shape your dough into its final form, typically a round (boule) or an oval (batard). Lightly flour your work surface – use just enough to prevent sticking, but not so much that it inhibits the dough from creating tension against the surface. Gently ease the dough out of its bulk fermentation container.
For a boule, gently preshape the dough into a loose round and let it rest for 15-20 minutes. This allows the gluten to relax. Then, perform the final shape by gently pulling the edges of the dough into the center and then flipping it over.
Using the surface tension, gently pull and tuck the dough underneath itself to create a tight, smooth ball. For a batard, you'll typically fold the dough into thirds, then roll it up tightly to create an oval shape. The goal is to create tension on the surface of the dough, which helps it hold its shape and contributes to a good oven spring when baking your first sourdough loaf.
Step 6: Retarding in the Refrigerator (Cold Proof)
Cold Proofing: Enhancing Flavor and Manageability
After shaping, the dough is placed in a banneton (a proofing basket) or a bowl lined with a floured kitchen towel, seam-side up. It's then covered and placed in the refrigerator for a cold proof, also known as retarding. This cold fermentation significantly slows down the yeast activity while allowing the lactic acid bacteria to continue producing acids. This process develops deeper, more complex flavors in your easy beginner sourdough recipe that you can't get from a warm proof alone.
The cold proof typically lasts for 8-16 hours, or even up to 24 hours for a stronger tang. This long, slow fermentation also makes the dough much easier to handle and score directly from the refrigerator, as it becomes firmer. This manageability is a significant advantage for a simple beginner sourdough baker. Plus, baking a cold loaf directly into a hot oven contributes to a better oven spring and a crispier crust.
Step 7: Baking Your Sourdough Loaf
Preheating Your Oven and Dutch Oven to Perfection
Baking sourdough requires high heat, especially in the initial stages, to achieve maximum oven spring and a beautiful crust. The most common method for home bakers, particularly for a first sourdough loaf, is using a Dutch oven. Preheat your oven with the empty Dutch oven inside to a high temperature, typically 450-500°F (230-260°C), for at least 30-60 minutes. This ensures the Dutch oven is screaming hot, which mimics the conditions of a professional bread oven.
The hot Dutch oven provides trapped steam around the loaf for the first part of the bake. This steam keeps the crust soft and pliable, allowing the dough to expand fully before the crust sets. This is absolutely crucial for achieving that characteristic open crumb and significant rise in your easy beginner sourdough recipe. Using oven mitts, carefully handle the hot Dutch oven throughout the baking process.
Scoring the Dough: Promoting Oven Spring
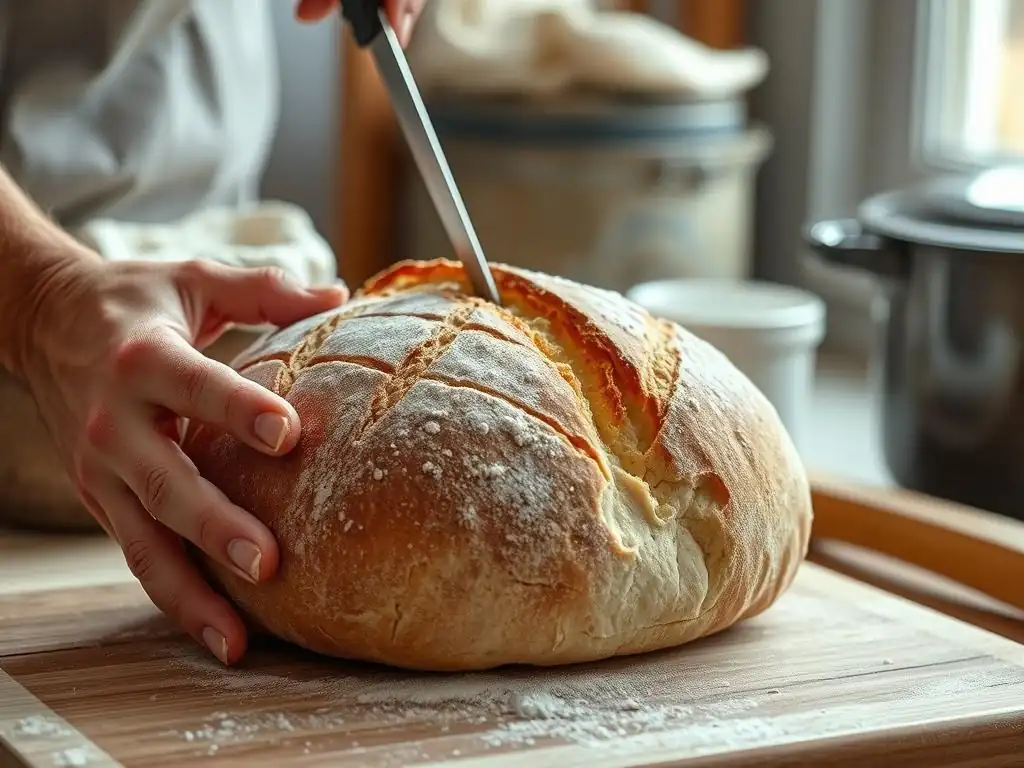
Just before baking, you need to score the surface of your cold dough. Scoring involves making shallow cuts on the top of the loaf using a sharp razor blade (called a lame) or a very sharp knife. These cuts aren't just for aesthetics; they serve a vital purpose. As the loaf bakes and expands rapidly in the hot oven (the "oven spring"), the scores provide weak points where the dough can tear predictably.
Without scoring, the expanding loaf would burst randomly at the weakest spot, resulting in a less controlled shape and potentially hindering optimal rise. For a simple beginner sourdough, a single deep slash down the middle or a cross shape are common and effective scoring patterns. Aim for a depth of about 1/2 inch. Scoring a cold loaf is much easier than scoring a room-temperature one, another benefit of the cold proofing step in this easy beginner sourdough recipe.
Baking Time and Temperature Recommendations
Baking typically happens in two stages within the Dutch oven. First, bake the loaf covered at a high temperature (e.g., 475°F or 245°C) for 20-25 minutes. The lid traps steam, allowing for maximum oven spring. After this initial period, carefully remove the lid. The loaf should have significantly increased in size and started to develop a pale crust.
For the second stage, reduce the oven temperature slightly (e.g., to 450°F or 230°C) and continue baking uncovered for another 20-25 minutes, or until the crust is a deep golden brown and the internal temperature reaches around 205-210°F (96-99°C). Baking uncovered allows the crust to crisp up and brown beautifully. These specific times and temperatures are approximate and might need slight adjustments based on your oven, but they provide a solid starting point for your first sourdough loaf.
Step 8: Cooling and Enjoying Your Sourdough Creation
Allowing the Loaf to Cool Thoroughly
Once your beautiful sourdough loaf is baked to perfection, it's absolutely essential to let it cool completely on a wire rack. This might be the hardest step, as the aroma of freshly baked bread is incredibly tempting! However, cutting into a hot loaf will result in a gummy texture because the internal structure is still setting and moisture is still redistributing within the loaf.
Allowing the loaf to cool for at least 2-3 hours (and ideally longer for larger loaves) ensures the starches fully set and the moisture equalizes throughout the crumb. This waiting period is crucial for achieving the best possible texture and flavor from your easy beginner sourdough recipe. Patience truly is a virtue at this final stage.
Storing Your Sourdough Bread for Optimal Freshness
Proper storage helps maintain the quality of your homemade sourdough. Once completely cooled, store the loaf at room temperature. Avoid refrigerating sourdough, as this can actually cause it to stale faster. The best way to store it is in a bread bag (linen or cotton are great), a paper bag, or a bread box. These options allow the crust to breathe somewhat while protecting the interior.
If you don't plan to eat the entire loaf within 2-3 days, it freezes exceptionally well. Slice the cooled loaf and place the slices in a freezer-safe bag or wrap the whole loaf tightly in plastic wrap followed by foil. Frozen sourdough can last for several months. To enjoy, simply thaw slices or the whole loaf at room temperature, or toast slices directly from frozen. Proper storage ensures you can savor the results of your first sourdough loaf for as long as possible.
Addressing Common Sourdough Baking Challenges

My Sourdough Isn't Rising: Troubleshooting Guide
One of the most common frustrations for beginners is a sourdough loaf that doesn't rise as expected. Several factors can contribute to this. The most frequent culprit is an inactive or weak sourdough starter. Ensure your starter is consistently doubling or tripling after feeding before you attempt to bake. Other issues include insufficient bulk fermentation time (the dough didn't develop enough gas before shaping), too low dough temperature during bulk fermentation, or insufficient tension created during shaping.
To troubleshoot, carefully review your starter's feeding schedule and activity. Ensure your bulk fermentation environment is warm enough (aim for 75-80°F if possible, or extend the time significantly at cooler temperatures). Pay attention to the dough's volume increase and texture during bulk fermentation, not just the clock. While this easy beginner sourdough recipe is designed to be forgiving, understanding these variables is key to consistent results.
Managing Sticky or Over-Hydrated Dough
Working with sourdough dough, especially for the first sourdough loaf, can feel quite sticky, particularly if you're used to enriched, lower-hydration doughs. This stickiness is normal to a degree, as sourdough often uses higher hydration levels (more water relative to flour) to achieve an open crumb. However, if the dough is excessively sticky and difficult to handle, it might be slightly over-hydrated or underdeveloped.
Ensure you are measuring your ingredients accurately, ideally by weight using a kitchen scale, as volume measurements for flour can be inaccurate. If the dough feels very wet during mixing, resist the urge to add too much extra flour, which can make the loaf dense. Instead, use techniques like wetting your hands slightly during stretch and folds or using a bench scraper to help manage the dough. As you gain experience with this simple beginner sourdough, you'll become more comfortable with the feel of a properly hydrated dough.
Preventing a Dense or Gummy Sourdough Texture
A dense or gummy crumb can be disappointing after all your effort. This is often linked to issues during fermentation or cooling. Under-fermentation (not allowing enough time for bulk fermentation or final proof) means the yeast didn't produce enough gas to create an open structure. Over-proofing can also lead to a dense loaf, as the structure might collapse after initially rising. Insufficient oven spring due to improper preheating or scoring can also contribute.
Additionally, cutting into the loaf before it has completely cooled is a major cause of a gummy texture. The internal steam needs time to dissipate and the starches to set. For this easy beginner sourdough recipe, pay close attention to the visual cues for fermentation (dough volume increase, bubbles) and be patient during the cooling process. Ensuring your oven and Dutch oven are fully preheated is also critical for maximizing oven spring and preventing density.
Tips for Consistently Baking Excellent Sourdough
Achieving Artisan Sourdough Scoring
Developing your scoring skills can elevate your first sourdough loaf from good to stunning. Practice makes perfect! Start with simple designs like a single bold slash or a cross. As you get more comfortable, experiment with multiple parallel slashes, decorative patterns, or even intricate designs using different types of blades (a straight razor blade is very sharp and effective).
Hold the lame or knife at a shallow angle (around 30 degrees) to the dough surface for an ear (a flap of crust that lifts during baking) or at a steeper angle (around 90 degrees) for cuts that open more evenly. Score confidently and relatively quickly. The cold dough from the refrigerator makes scoring much easier for this easy beginner sourdough recipe. Observing how your scores open during baking will help you refine your technique over time.
Producing a Crisp Crust and Open Crumb Structure
Achieving a crisp crust and an open, airy crumb is the hallmark of excellent sourdough. The high heat and steam provided by baking in a preheated Dutch oven are fundamental to both. The initial steam allows the dough to expand fully, contributing to the open crumb. Once the lid is removed, the direct high heat crisps and browns the crust.
Beyond the Dutch oven method used in this easy beginner sourdough recipe, ensuring your starter is active, your dough is properly fermented (not under or over), and you create good tension during shaping are all crucial for crumb structure. Allowing the loaf to cool fully is also vital for the final texture of the crumb. Experimenting with slightly longer uncovered bake times can help achieve a darker, crispier crust if you prefer.
Exploring Various Flours for Flavor Profiles
While this simple beginner sourdough recipe focuses on bread flour for ease of handling, exploring different flours can significantly change the flavor, texture, and appearance of your loaf. Adding a percentage of whole wheat flour (even 10-20%) will introduce nuttier flavors and a darker crumb. Rye flour, used in small amounts, adds a distinct tang and earthy notes.
Other options include spelt, kamut, or even specialty flours like einkorn. Each flour absorbs water differently and affects gluten development, so you might need to adjust the hydration slightly. Incorporating different flours is a great way to expand your skills after mastering your first sourdough loaf and discover new flavor dimensions in your baking.
Expanding Your Sourdough Skills
Incorporating Add-Ins to Sourdough (Nuts, Seeds, Olives)
Once you're comfortable with the basic easy beginner sourdough recipe, you can start experimenting with add-ins. Nuts, seeds, dried fruits, herbs, cheese, or olives can be folded into the dough during the second or third set of stretch and folds in the bulk fermentation stage. A common ratio is around 10-20% of the total flour weight in add-ins.
For example, you could add 50g of toasted seeds (like pumpkin or sunflower) and 50g of chopped walnuts to a loaf made with 500g of flour. Mixing them in during folds helps distribute them relatively evenly without tearing the gluten structure developed earlier. This is a fantastic way to customize your first sourdough loaf and subsequent bakes.
Adjusting Sourdough Hydration Levels for Different Results
This simple beginner sourdough recipe likely uses a moderate hydration level (perhaps around 70-75%). Hydration refers to the ratio of water to flour by weight (e.g., 375g water to 500g flour is 75% hydration). Increasing hydration (adding more water relative to flour) generally leads to a more open, airy crumb but makes the dough stickier and harder to handle. Decreasing hydration results in a denser crumb but a dough that is much easier to shape and score.
After mastering this easy beginner sourdough recipe, you might try slightly increasing the water by 20-30g in your next few loaves to see how the dough feels and how the crumb changes. This gradual adjustment is a great way to learn how hydration impacts the dough and final loaf texture, helping you bake the perfect first sourdough loaf that suits your preference and skill level.
Creating a Sourdough Starter from Scratch
While this guide assumes you have a starter, learning to create one from just flour and water is a rewarding project.
Conclusion: Embracing the Art of Sourdough Baking
Celebrating Your Sourdough Success
Congratulations! By following this guide, you've successfully baked your first sourdough loaf. Take a moment to appreciate the beautiful crust, the tangy aroma, and the satisfying weight of the bread in your hands. Slice into it and admire the crumb structure you've created through patience and technique. This achievement is a testament to your willingness to learn a new skill and engage with the fascinating process of natural fermentation.
Each loaf you bake will teach you something new. Observe how your starter behaves, how the dough feels, and how your oven performs. Don't be discouraged by imperfect loaves; they are all part of the learning journey. This easy beginner sourdough recipe is just the beginning. With practice, you'll gain intuition and confidence, allowing you to adapt recipes and troubleshoot challenges. Embrace the journey, share your successes (and lessons learned! ), and continue to enjoy the deeply satisfying art of baking sourdough bread.
Frequently Asked Questions
What makes this sourdough recipe easy for beginners?
This recipe focuses on simple techniques and a lower hydration dough, making it more manageable for beginners to handle. It also includes detailed step-by-step instructions.
What are the key ingredients needed for this easy beginner sourdough recipe?
You'll need a mature sourdough starter, bread flour, water, and salt. The recipe emphasizes using readily available ingredients.
How long does it take to make this sourdough loaf, from start to finish?
The entire process, including starter preparation, mixing, bulk fermentation, shaping, and baking, can take around 24-36 hours. Most of this time is hands-off.
What are some common mistakes beginners make when baking sourdough, and how can I avoid them with this recipe?
Common mistakes include over-proofing or under-proofing the dough, and using a weak starter. This recipe provides clear indicators for fermentation and starter readiness.
Can I modify this recipe to add different flavors or ingredients?
Yes, after mastering the basic recipe, you can experiment with additions like herbs, seeds, or dried fruit. But start with the original recipe to understand the fundamentals first.
Final Reflection: The Unexpected Joys of Sourdough
The humble sourdough starter, once a niche pursuit, has blossomed into a global baking phenomenon. It's more than just a trend; it's a testament to our enduring connection with food, craft, and the simple pleasures of creating something delicious from scratch. This accessible recipe, designed for beginners, aims to unlock that very connection, proving that the seemingly daunting world of sourdough is within everyone's reach.
The journey of baking sourdough, with its unpredictable rises and the subtle nuances of flavor development, mirrors life itself. It's a process that demands patience, attention, and a willingness to embrace imperfection. The reward, however, is immeasurable. The satisfying aroma of a freshly baked loaf, the crust's satisfying crackle, the tangy, complex flavor – these are sensory experiences that transcend the simple act of eating. Bread is the staff of life,
they say, and in the case of sourdough, it's a staff imbued with a deep sense of satisfaction and accomplishment.
Now, I invite you to take the leap. Don't be intimidated by the seemingly complex process. Start small, nurture your starter, and embrace the journey. The first perfect loaf might not arrive immediately, but the lessons learned along the way – patience, observation, and a deep appreciation for the simple things – are gifts that will extend far beyond the kitchen. The world awaits your first perfect sourdough loaf – and the countless others that will follow.
Unleash Your Inner Baker: Craft Your First Amazing Sourdough!
Thanks for taking the time to explore the world of sourdough baking with us! We hope you now feel confident in tackling this rewarding craft. Ready to take the next step?
- Bake your first loaf! Use the recipe as a guide, but don't be afraid to experiment – that's part of the fun! Remember to track your process for future improvements.
- Share your sourdough journey! Post a picture of your loaf on social media and tag us – we'd love to see your creation!
- Explore our other resources: Dive into our comprehensive sourdough guide for troubleshooting tips and more advanced techniques.
What unique flavor will your first perfect sourdough loaf have?