
Basic Sourdough Recipe: Using a Banneton Basket Effectively

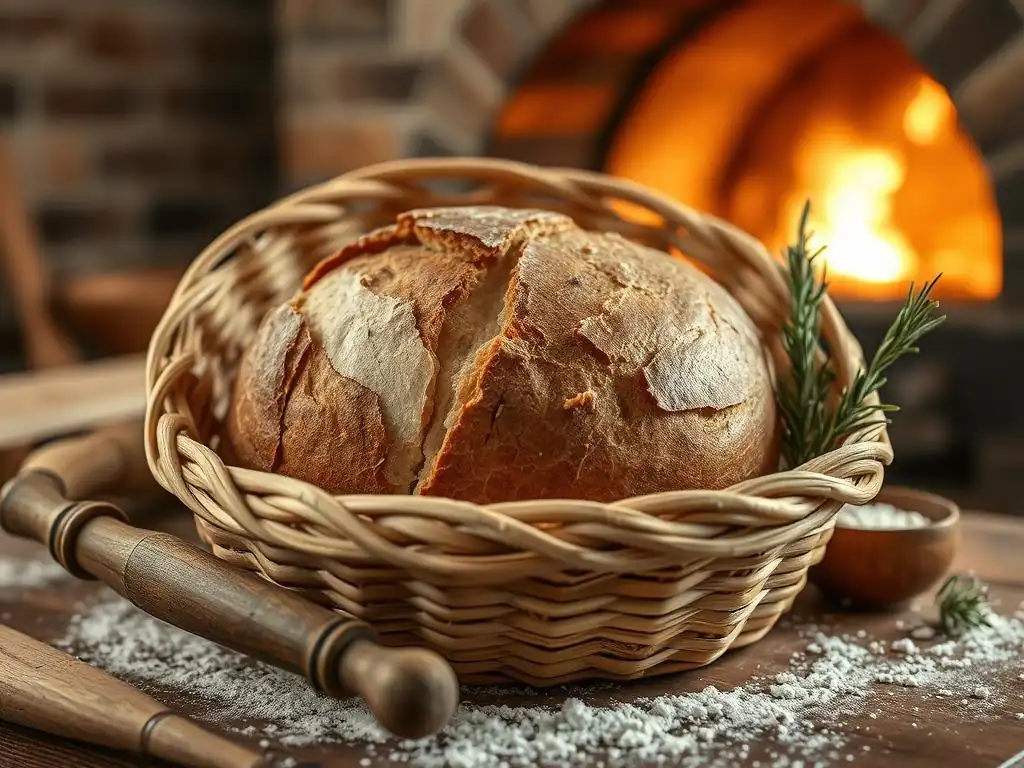
Welcome to BakeWithEase, your haven for all things baking! Ever wondered how to achieve that perfectly shaped, rustic loaf? This guide delves into the secrets of using a sourdough banneton basket, unlocking the potential for consistently beautiful and delicious sourdough. Discover practical sourdough banneton basket instructions baking and elevate your baking game today. Intrigued? Read on to transform your sourdough journey!
- Introduction to Sourdough Baking with Banneton Baskets
- Essential Sourdough Banneton Basket Instructions for Baking
- Using the Banneton Basket for Proofing Sourdough
- Baking Your Sourdough Loaf from the Banneton
- Troubleshooting Common Banneton Basket Baking Issues
- Cleaning and Maintaining Your Banneton Basket
- Beyond the Basics: Advanced Sourdough Techniques with a Banneton
- Conclusion: Enjoying Your Home-Baked Sourdough with BakeWithEase
-
Frequently Asked Questions
- What is a banneton basket and why is it important for sourdough baking?
- How do I prepare my banneton basket before using it for sourdough?
- What is the best way to clean a banneton basket after using it?
- How long should I proof my sourdough in a banneton basket?
- Can I bake my sourdough bread directly in the banneton basket?
- Final Reflection: The Humble Banneton and the Art of Sourdough
- Unleash Your Inner Baker: Master the Banneton!
Introduction to Sourdough Baking with Banneton Baskets
What is a Banneton Basket and Why Use One for Sourdough?
A banneton basket, also known as a proofing basket, is a traditional tool used in bread making, particularly for sourdough. It's typically made from rattan, cane, or sometimes wood pulp, and its primary function is to provide structure and support to the shaped dough during its final rise (proofing).
The coiled pattern of the basket also imprints a beautiful, rustic design on the surface of the loaf, which becomes visible after baking. Using a banneton helps the dough maintain its shape as it expands, preventing it from spreading out flatly, especially with high-hydration sourdoughs which tend to be wetter and less rigid.
Beyond just shaping and aesthetics, a banneton also helps manage the moisture content of the dough's surface. The natural fibers of the basket wick away a small amount of moisture from the exterior of the dough. This slight drying effect creates a thin 'skin' on the surface, which makes scoring easier just before baking and contributes to a better crust development in the oven. For anyone learning sourdough banneton basket instructions baking, understanding this dual role of support and moisture management is key to achieving a successful loaf with a great crust and shape.
BakeWithEase's Guide to Successful Sourdough Baking
Welcome to the rewarding world of sourdough baking! At BakeWithEase, we believe that mastering sourdough, especially using a banneton basket, is an achievable goal for anyone willing to learn. This guide breaks down the process, focusing on clear sourdough banneton basket instructions for baking a beautiful and delicious loaf. We'll walk you through everything from preparing your essential tools, like the banneton, to mixing, proofing, shaping, and finally baking your sourdough.
Successful sourdough baking relies on understanding the stages of fermentation and handling the dough correctly. Using a banneton basket effectively is a critical step in the latter part of the process, ensuring your dough is properly supported and ready for the heat of the oven. By following these instructions, you'll gain confidence in using this traditional tool and significantly improve the shape and texture of your homemade sourdough bread. Let's dive into the essential steps for baking sourdough using a banneton basket.
Essential Sourdough Banneton Basket Instructions for Baking
Preparing Your Banneton Basket for Sourdough
Proper preparation of your banneton basket is crucial to prevent your precious sourdough dough from sticking. This is especially important for new baskets or when working with wetter doughs. Taking a few simple steps ensures a smooth release of the dough just before baking, preserving its shape and your sanity.
The preparation involves two key stages: seasoning a new basket and then properly flouring it before each use. Over time, a well-used and properly maintained banneton will develop a fine coating of flour that further aids in non-sticking, making the process even easier. Following these sourdough banneton basket instructions baking will set you up for success.
Seasoning a New Banneton Basket: A Crucial First Step
When you get a new banneton basket, it's beneficial to season it before its first use. This helps fill the tiny gaps in the natural material and creates a base layer that prevents dough from embedding itself and sticking later. A simple way to season a basket is to lightly mist it with water, then generously flour it, typically with rice flour or a blend of rice flour and wheat flour. Let the flour settle into the fibers for several hours or even overnight.
After the flour has had time to settle, gently tap out any excess. Some bakers even recommend baking the floured, empty basket in a warm oven (around 250°F or 120°C) for about 30 minutes to really dry and set the flour into the basket's weave. This step is optional but can enhance the non-stick properties. This initial seasoning is a foundational part of good sourdough banneton basket instructions baking practice.
Flour Dusting Techniques for Banneton Baskets: Preventing Sticking
Before placing your shaped sourdough dough into the banneton for proofing, you must flour it adequately. The best flour for this is often rice flour because its particles are rounder and don't absorb moisture from the dough's surface as readily as wheat flour, making sticking less likely. A 50/50 mix of rice flour and all-purpose or bread flour also works well.
To flour the basket, sprinkle a generous amount of your chosen flour into the basket. Then, tilt and rotate the basket, gently tapping it, to ensure the flour coats the entire interior surface, including the sides and corners. You want a visible, even layer of flour. Don't be afraid to use enough; excess flour can be brushed off the loaf later if needed, but not enough flour means guaranteed sticking. A good dusting is a cornerstone of reliable sourdough banneton basket instructions baking.
Basic Sourdough Recipe: A Step-by-Step Guide
Baking a basic sourdough loaf is a rewarding process that typically takes around 24 hours from mixing to cooling, though most of that time is passive fermentation. This recipe provides a solid foundation for beginners and is designed to work well with a banneton basket for proofing. It uses a standard hydration level that is manageable while still producing a moist crumb.
This guide focuses on the key stages of the process, from combining your simple ingredients to the final shaping before placing the dough into the banneton basket. Mastering these steps is essential before you even get to the critical sourdough banneton basket instructions baking phase.
Ingredients for Your First Sourdough Loaf
For a standard size loaf (around 900-1000g), you will need just four basic ingredients: active sourdough starter, flour, water, and salt. The precise amounts can vary slightly depending on your starter's hydration and activity, but a common starting point is:
- 100g active sourdough starter (fed 4-12 hours prior and bubbly)
- 350g warm water (around 80-85°F or 27-30°C)
- 500g strong bread flour (protein content 12% or higher)
- 10g fine sea salt
Using good quality bread flour with sufficient protein is important for developing gluten structure, which is vital for the dough's strength and ability to hold its shape, especially when proofing in a banneton. Ensure your starter is vigorous and recently fed for the best results.
Mixing the Dough: Achieving the Right Consistency
The first step is often the autolyse phase, which helps the flour absorb water and gluten development begin. In a large mixing bowl, combine the warm water and the 500g of bread flour. Mix with your hands or a spatula until no dry bits of flour remain. The mixture will be shaggy and sticky. Cover the bowl and let it rest for 30 minutes to 1 hour. This rest period allows enzymes to break down starches, making subsequent mixing easier.
After the autolyse, add the 100g of active starter and 10g of salt to the dough. Mix thoroughly to incorporate these ingredients. You can use your hands, a stand mixer, or a dough whisk. Knead or mix until the salt and starter are fully integrated and the dough starts to show some initial elasticity. It will still be quite sticky, but it should start to pull away from the sides of the bowl slightly.
Bulk Fermentation: Developing Flavor and Strength
Bulk fermentation (or the first rise) is where the magic of sourdough really happens. This phase, lasting typically 4-6 hours at room temperature (around 75°F or 24°C), allows the starter to produce lactic acid, developing the characteristic sourdough flavor, and for gluten structure to strengthen. During this time, you'll perform a series of 'stretch and folds' or 'coil folds' every 30-60 minutes for the first 2-3 hours.
To perform a stretch and fold, wet your hand slightly, grab one side of the dough, stretch it gently upwards, and fold it over the rest of the dough. Rotate the bowl and repeat 3-4 times. This process builds strength and structure without aggressive kneading. The dough should become progressively smoother, less sticky, and more elastic with each set of folds. By the end of bulk fermentation, the dough should have increased in volume by about 50-75% and feel airy and bubbly.
Shaping the Sourdough: Preparing for the Banneton
Once bulk fermentation is complete, gently turn the dough out onto a lightly floured surface. Avoid degassing it too much. Shape the dough into a taut round (a boule) or an oval (a batard), depending on the shape of your banneton basket. The goal is to create surface tension, which helps the loaf hold its shape during proofing and baking. There are many techniques for shaping; a common one involves folding the edges towards the center and then using your hands to pull the dough towards you, creating tension across the bottom.
After shaping, let the dough rest on the counter for 10-20 minutes, uncovered, to allow the gluten to relax slightly. This brief rest makes the final step of placing it into the banneton easier. Proper shaping is the immediate precursor to the sourdough banneton basket instructions baking phase.
Using the Banneton Basket for Proofing Sourdough
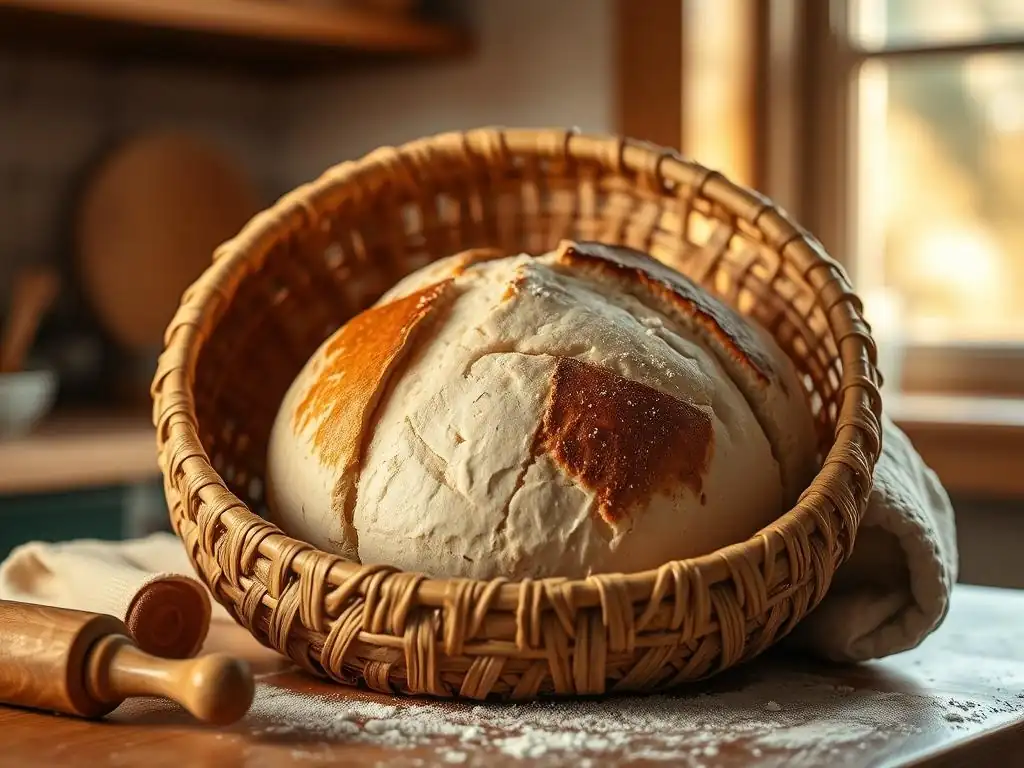
Proofing is the final rise before baking, and using a banneton basket is ideal for this stage. The basket supports the shaped dough, allowing it to expand upwards rather than outwards, which results in a taller, more attractive loaf with better oven spring. Getting the proofing time right is crucial, as it directly impacts the final texture and appearance of your sourdough.
Following the correct sourdough banneton basket instructions baking during the proofing phase is key to a successful bake. It involves carefully placing the dough, monitoring its progress, and deciding whether to proof at room temperature or in the refrigerator.
Placing the Shaped Dough in the Banneton Basket
Once your dough has had its brief rest after shaping, it's ready for the floured banneton basket. Carefully pick up the shaped dough. If you shaped it into a boule, it goes into a round banneton. If you shaped it into a batard, it goes into an oval one. Place the dough into the basket seam-side up. This is important because when you invert the dough onto your baking surface, the seam side will become the bottom, and the smooth, taut surface that was against the basket will become the top that you score.
Ensure the dough sits snugly in the basket. If the basket is significantly larger than your dough, the dough might spread too much. Cover the top of the basket with a clean kitchen towel, a plastic bag, or a dedicated plastic cover to prevent the dough from drying out while it proofs. This simple step is a core part of the sourdough banneton basket instructions baking process.
Proofing Time: Monitoring Dough Development in the Basket
The proofing time in the banneton basket can vary significantly depending on the temperature of your kitchen and the activity of your starter. At average room temperature (around 70-75°F or 21-24°C), proofing might take 2-4 hours. The dough is ready when it looks visibly expanded (perhaps 30-50% increase from when it went into the basket) and passes the "poke test."
To perform the poke test, gently press the dough with a lightly floured finger. If the indentation springs back immediately, the dough is under-proofed. If it springs back very slowly, leaving a small indentation, it's likely perfectly proofed. If the indentation remains completely, the dough is likely over-proofed. Getting this timing right is a critical skill in sourdough banneton basket instructions baking.
Cold Proofing Sourdough in a Banneton Basket: Benefits and Instructions
Cold proofing in the refrigerator is a popular technique for sourdough, often done in the banneton basket. This slower, colder fermentation (usually 8-16 hours, but sometimes up to 24 hours) offers several benefits: it develops deeper flavor, makes the dough easier to handle and score when cold, and allows you to bake on your schedule rather than being tied to room temperature proofing times.
After placing the shaped dough into the floured banneton basket, cover it well (a plastic bag works great to prevent drying) and place it directly into the refrigerator (around 38-40°F or 3-4°C). The cold significantly slows down fermentation. When you are ready to bake, you will typically take the dough directly from the fridge and bake it immediately. Cold proofing in a banneton is a key technique in advanced sourdough banneton basket instructions baking.
Baking Your Sourdough Loaf from the Banneton
The moment of truth arrives when your proofed dough is ready to hit the heat. Baking sourdough properly, especially after proofing in a banneton, requires a hot environment, ideally with steam, to achieve that desirable oven spring and a wonderfully crisp crust. Most home bakers achieve this by using a Dutch oven or a baking stone with added steam.
These steps outline how to transfer the dough from the banneton and bake it to perfection. Mastering the transfer and baking process is the culmination of your sourdough banneton basket instructions baking efforts.
Preheating Your Oven and Dutch Oven (or Baking Stone)
Properly preheating your oven and baking vessel is paramount for achieving good oven spring. Place your Dutch oven (with the lid on) or baking stone (with a tray or cast iron pan for steam below it) in the oven and preheat to a high temperature, typically 450-500°F (230-260°C). Allow the oven and vessel to preheat for at least 30-60 minutes after it reaches temperature. This ensures the heat is fully saturated through the pot or stone, providing an intense initial heat burst to the dough.
Using a Dutch oven traps the steam released by the dough itself, creating the ideal humid environment for the first part of the bake, allowing the crust to expand before hardening. If using a baking stone, you'll need to generate steam manually by pouring hot water into the preheated tray/pan just as you load the loaf.
Inverting the Dough from the Banneton: A Gentle Technique
When your oven and Dutch oven are fully preheated, it's time to transfer the dough from the banneton. This step requires a bit of care to avoid deflating the dough. Place a piece of parchment paper or a baking peel dusted with cornmeal or flour over the top of the banneton basket (the side with the dough).
Holding the parchment/peel firmly against the basket, quickly and confidently invert the basket. The dough should release onto the parchment or peel, with the beautifully floured, smooth side now facing up. Gently lift the banneton away. If any small bits of dough stick, you can try gently flexing the basket slightly, but avoid pulling on the dough itself. This inversion is a key part of the sourdough banneton basket instructions baking sequence.
Scoring the Sourdough Loaf: Creating Beautiful Designs
With the dough now inverted and ready, it's time to score it. Scoring involves making intentional cuts on the surface of the dough using a sharp blade (a baker's lame or a razor blade works best). Scoring serves a crucial purpose: it allows the dough to expand in a controlled manner during the intense heat of the oven, preventing blowouts in undesirable places. It also allows you to create beautiful patterns on your loaf.
Make your cuts relatively quickly and confidently, about 1/4 to 1/2 inch deep. A common simple score is a single long cut down the length of a batard or a cross shape on a boule. More intricate patterns are possible with practice. Scoring is the final step before the dough goes into the oven, marking the transition from proofing using sourdough banneton basket instructions baking to the actual bake.
Baking the Sourdough: Achieving a Perfect Crust and Crumb
If using a Dutch oven, carefully lower the scored dough on the parchment paper into the hot pot. Put the lid back on immediately. Bake with the lid on for the first 20-25 minutes at your high preheating temperature (e.g., 450°F/230°C). This lidded phase traps steam, promoting maximum oven spring and preventing the crust from setting too early.
After the initial lidded bake, carefully remove the lid. The loaf should have expanded significantly and look pale but puffy. Lower the oven temperature slightly (e.g., to 425°F/220°C) and continue baking for another 20-30 minutes, or until the crust is a deep golden brown and the internal temperature of the loaf is around 200-210°F (93-99°C). If using a baking stone, load the loaf, add steam, and bake at high heat, reducing temperature and removing steam source after 15-20 minutes. Achieving the perfect bake is the ultimate goal of following sourdough banneton basket instructions baking.
Troubleshooting Common Banneton Basket Baking Issues
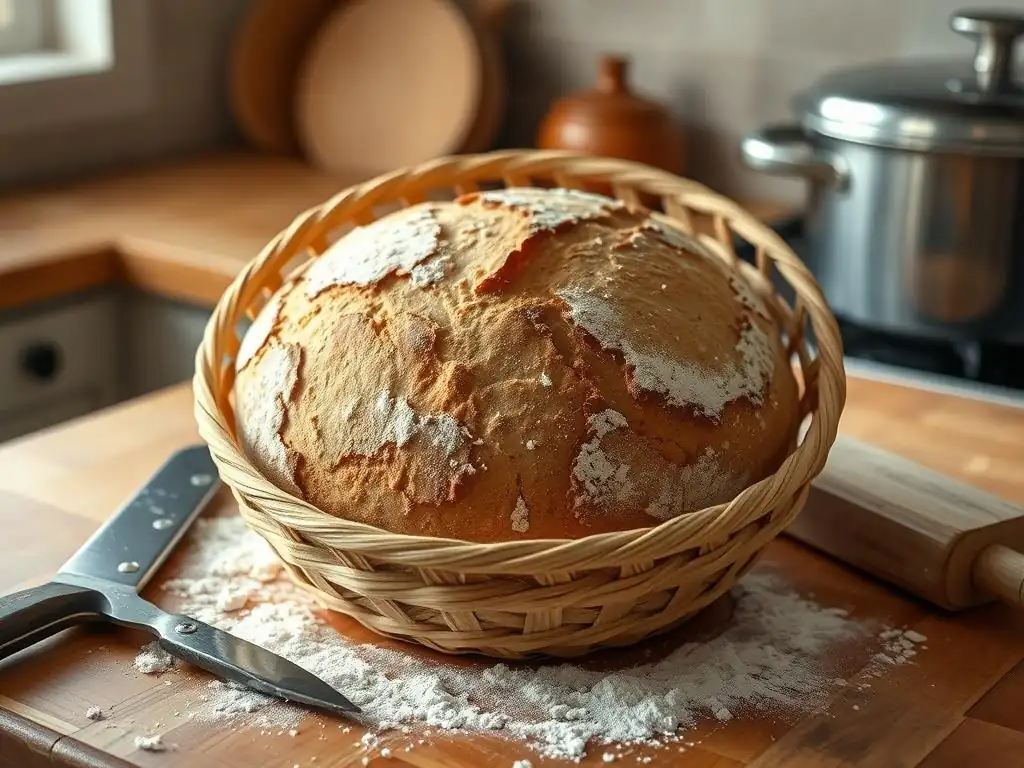
Even with careful adherence to sourdough banneton basket instructions baking, you might encounter issues. Identifying and addressing these problems is part of the learning process and will help you improve your results over time. Two of the most common frustrations involve dough sticking to the basket or dealing with proofing errors.
Don't get discouraged if your first few loaves aren't perfect. Sourdough baking has a learning curve, and troubleshooting is a normal part of the journey.
Dough Sticking to the Banneton: Prevention and Solutions
Dough sticking to the banneton is perhaps the most common issue. Prevention is key: ensure your basket is properly seasoned (if new) and generously floured before every use, especially with rice flour or a rice/wheat flour blend. Make sure the dough's surface is taut after shaping; a slack dough is more likely to stick.
If your dough is stuck when you try to invert it, don't panic. Gently try tapping the bottom of the basket. If it's still stuck, carefully loosen the edges with a thin spatula or bench scraper. For stubborn sticking, you might need to carefully peel the basket away from the dough, which can damage the shape. In severe cases, if the dough is completely stuck and tearing, it might be better to bake it in a loaf pan instead of freeform. Learning how to prevent and fix sticking is vital for successful sourdough banneton basket instructions baking.
Over-Proofed Dough in the Banneton: Salvaging Your Loaf
An over-proofed dough in the banneton will look very puffy, might have large bubbles on the surface, and will not hold its shape well when inverted (it may spread quickly). The poke test will show no spring back. While an over-proofed loaf won't have great oven spring or structure, it's usually still bakeable and will taste fine.
To salvage an over-proofed loaf, handle it very gently when inverting. Scoring might be difficult as the surface will be very delicate; make quick, shallow cuts or even skip scoring if it's too fragile. Bake it as you normally would, but be aware it might not rise much more in the oven. For future loaves, shorten the proofing time, especially if proofing at room temperature, or use the cold proofing method which is more forgiving of timing. Recognizing and managing over-proofing is part of mastering sourdough banneton basket instructions baking.
Uneven Baking: Tips for Consistent Results
Uneven baking can manifest as one side of the loaf being darker than the other or inconsistencies in the crumb. This is often related to uneven oven temperature or hot spots. If you're baking on a stone, ensure it's centered in the oven. If using a Dutch oven, ensure the oven itself is calibrated and preheated thoroughly.
Rotating the Dutch oven or baking stone halfway through the second, uncovered baking phase (after the lid is removed) can help promote even browning. If you consistently get uneven results, consider using an oven thermometer to check for accurate temperature and hot spots. Consistent technique is key to achieving reliable results when following sourdough banneton basket instructions baking.
Cleaning and Maintaining Your Banneton Basket
Proper care of your banneton basket ensures its longevity and continued non-stick performance. Cleaning it correctly prevents mold growth and dough buildup, which can hinder future bakes. Maintenance is relatively simple but important.
Integrating these cleaning and maintenance steps into your routine is just as important as the sourdough banneton basket instructions baking themselves.
Proper Cleaning Techniques for Banneton Baskets
Ideally, you should avoid washing your banneton basket with water, as this can damage the natural material and encourage mold. For routine cleaning after use, simply let the basket dry completely (this is crucial!). Once dry, use a stiff brush (like a pastry brush or a dedicated banneton brush) to brush out any excess flour and stuck-on dough bits from the coils. Do this outdoors if possible, as it can be dusty.
If you have stubborn, dried dough stuck in the weave, you can try scraping it gently with a butter knife or the edge of a bench scraper before brushing. Only in extreme cases, if there is significant buildup that brushing won't remove, you might consider a very light scrub with a barely damp brush (no soap!) followed by thorough drying in a warm, airy place or even a very low oven (like 200°F or 90°C) for an hour or two to ensure it's completely dry.
Storing Your Banneton Basket to Prevent Mold
Storing your banneton basket correctly is vital to prevent mold growth, especially in humid environments. Always ensure the basket is completely dry before storing it. Never store it in a plastic bag or airtight container immediately after use.
Store your banneton in a dry, well-ventilated area. An open shelf in your pantry or on a counter is usually suitable. Ensure air can circulate around it. If you live in a very humid climate, you might consider storing it with a desiccant packet or even briefly warming it in a low oven after brushing to ensure it's bone dry before putting it away. Proper storage protects your investment and ensures your banneton is ready for your next sourdough banneton basket instructions baking session.
Beyond the Basics: Advanced Sourdough Techniques with a Banneton
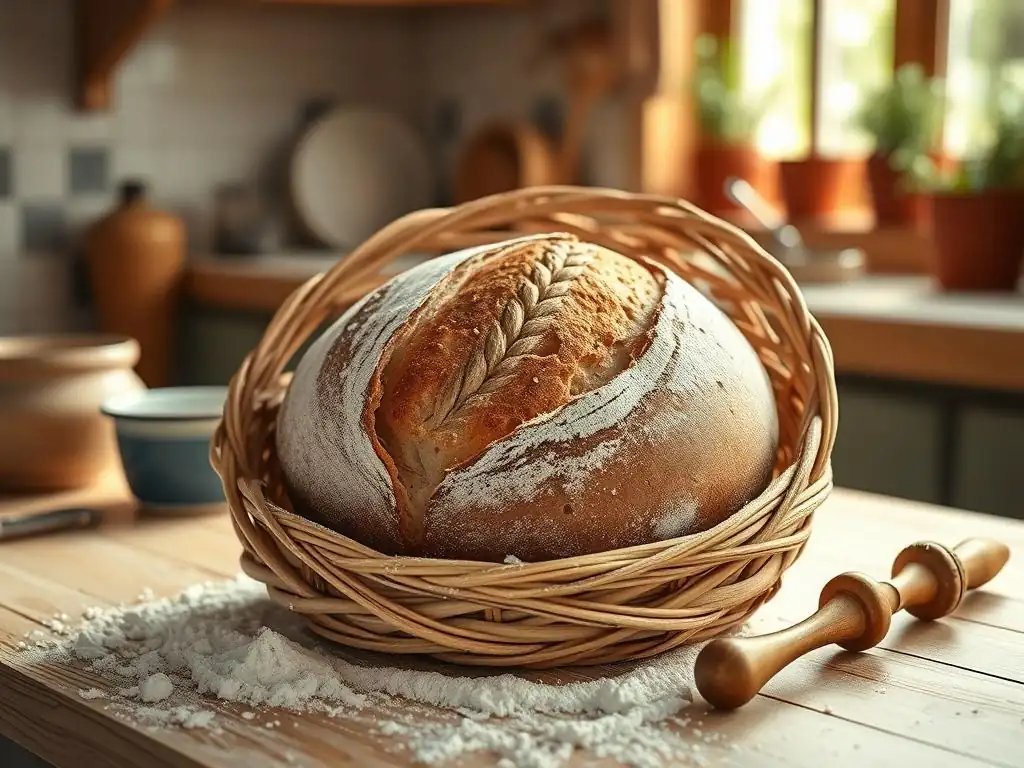
Once you've mastered the basic sourdough recipe and feel comfortable using your banneton basket, you can start experimenting with more advanced techniques. The banneton remains a valuable tool as you explore different flours, add exciting inclusions, and refine your scoring artistry.
These advanced techniques build upon your understanding of sourdough banneton basket instructions baking and allow you to customize your loaves further.
Experimenting with Different Flour Types
Using a banneton basket is perfect for proofing doughs made with a variety of flours beyond just strong white bread flour. Whole wheat, rye, spelt, or even specialty grains like einkorn or kamut can be incorporated into your sourdough. These flours often result in stickier doughs or doughs with less gluten development, making the support provided by a banneton even more beneficial during proofing.
When using significant amounts of whole grains or rye, you might find the dough is stickier. Increasing the amount of rice flour used to dust the banneton becomes particularly important. The structure from the banneton helps these sometimes more challenging doughs maintain their shape before hitting the oven heat.
Adding Inclusions to Your Sourdough
Adding inclusions like seeds, nuts, dried fruits, cheese, or herbs can elevate your sourdough loaf. These additions are typically mixed into the dough during the later stages of bulk fermentation. Dough with inclusions can sometimes be heavier or more difficult to shape and handle.
Proofing dough with inclusions in a banneton provides the necessary support to prevent the loaf from spreading excessively under the weight of the added ingredients during its final rise. Ensure the inclusions are distributed evenly and don't interfere too much with the dough's surface that will be against the basket, as this could potentially lead to sticking.
Mastering Sourdough Scoring Techniques
As you gain confidence, you can move beyond simple cuts and explore intricate scoring patterns. These patterns not only look impressive but can also influence how the loaf expands in the oven. Using a banneton basket helps ensure a smooth, taut surface on the dough, which is the ideal canvas for detailed scoring.
Whether you're aiming for elaborate ear development with deep angled cuts or decorative patterns using a stencil and shallow cuts, the firm, cold surface of a dough proofed in a banneton (especially cold-proofed) is much easier to score cleanly than a warm, slack dough. Practicing scoring on dough proofed using sourdough banneton basket instructions baking will significantly improve your results.
Conclusion: Enjoying Your Home-Baked Sourdough with BakeWithEase
You've followed the steps, nurtured your dough, and successfully used your banneton basket. The aroma filling your kitchen as your sourdough bakes is one of the most rewarding parts of the process. Taking that beautiful, crusty loaf out of the oven, admiring the pattern from the banneton and your scoring, is a moment of pure baking satisfaction.
Using a banneton basket is a simple yet effective technique that significantly improves the shape and crust of your sourdough bread. By following these sourdough banneton basket instructions baking, you've added a valuable skill to your baking repertoire.
There's immense joy in sharing something you've created with your own hands. Slice into your warm loaf, admire the open, airy crumb you've achieved, and share it with friends and family. Whether it's slathered with butter, used for a delicious sandwich, or simply enjoyed on its own, your homemade sourdough is a testament to your effort and growing skills.
Consider taking photos of your loaf – from the shaped dough in the banneton to the finished bake – and sharing them online. Connecting with other bakers and showing off your progress is a great way to stay motivated and learn new tips. Your success is an inspiration!
Continuing Your Sourdough Journey
Baking sourdough is a continuous journey of learning and refinement. Each loaf teaches you something new about your starter, your dough handling, and your oven. Keep experimenting with different flours, hydration levels, and techniques. Try different proofing times and temperatures.
The sourdough banneton basket instructions baking you've learned here are foundational. As you continue, you might explore using different types of bannetons (like linen-lined ones), experimenting with longer cold proofs, or delving into more complex dough formulas. Keep baking, keep learning, and most importantly, keep enjoying the process and the delicious results! BakeWithEase is here to support you every step of the way.
Frequently Asked Questions
What is a banneton basket and why is it important for sourdough baking?
A banneton basket, also known as a proofing basket, is a container used to support and shape sourdough dough during its final rise. It helps the dough maintain its form and develop a desirable crust.
How do I prepare my banneton basket before using it for sourdough?
Before using, generously dust the banneton with rice flour. This prevents the dough from sticking and ensures easy release after proofing. Some bakers also season the basket with a thin layer of oil initially.
What is the best way to clean a banneton basket after using it?
After each use, allow the basket to dry completely. Then, gently tap out any excess flour. Avoid washing it with water, as this can damage the natural fibers and promote mold growth.
How long should I proof my sourdough in a banneton basket?
Proofing time depends on factors like temperature and the activity of your starter. Generally, proofing in the fridge overnight (cold proofing) yields best results. Watch for the dough to increase in size and become slightly puffy.
Can I bake my sourdough bread directly in the banneton basket?
No, you should not bake your sourdough directly in the banneton basket. The banneton is only for proofing the dough. You must carefully invert the dough onto a preheated baking surface, such as a Dutch oven or baking stone, before baking.
Final Reflection: The Humble Banneton and the Art of Sourdough
The perfect sourdough loaf isn't just about the starter; it's about the journey, and a crucial part of that journey is mastering the banneton basket. This seemingly simple tool plays a vital role in shaping the final product, influencing the iconic ear formation and overall crumb structure we all crave. Ignoring its potential is like neglecting a key ingredient – you'll miss out on the full, beautiful expression of your sourdough's character.
The banneton's influence extends beyond the purely technical. It represents a connection to a long tradition of bread making, a tangible link to generations past who shaped their loaves with similar tools. Bread is the staff of life,
they say, and the banneton, in its quiet way, helps us appreciate the artistry and care involved in creating that staff. It's a reminder that even the simplest tools can elevate a craft, transforming a simple loaf into something truly special. The rhythmic act of shaping the dough within the basket, the satisfying feel of the linen against the dough – these are moments of mindful creation that enrich the whole baking experience.
Now, armed with a deeper understanding of the banneton's role, I invite you to experiment. Try different flours, hydration levels, and proofing times, observing how each change affects the final rise and the overall look of your bread. Don't be afraid to fail; each attempt brings you closer to mastering this ancient craft. Remember the joy of the process, the satisfaction of creating something beautiful and delicious with your own hands. The perfect sourdough loaf awaits – and the banneton is your key to unlocking its potential.
Unleash Your Inner Baker: Master the Banneton!
Thanks for taking the time to learn about using a banneton basket for your sourdough! You're now equipped with the knowledge to elevate your baking game. Ready to put your new skills to the test?
- Shape and rise your next sourdough loaf in your banneton: Practice makes perfect! Try a new recipe or experiment with different flours and hydration levels.
- Share your baking journey: Show us your perfectly risen sourdough loaves on social media! Use #BakeWithEaseBanneton to connect with other bakers.
- Explore advanced banneton techniques: Dive deeper into scoring patterns and shaping methods to create truly stunning loaves.
So, what unique scoring pattern will you try next to personalize your sourdough masterpiece?