
Troubleshooting Dough That's Too Stiff to Work With

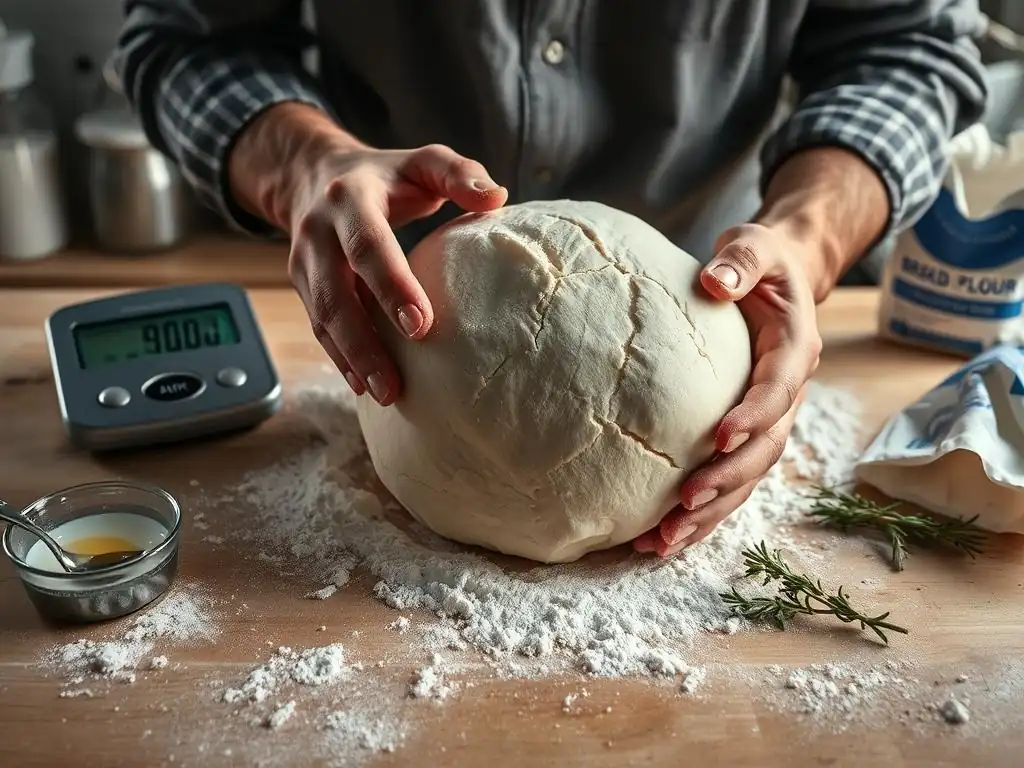
Welcome to BakeWithEase, your kitchen companion for conquering the world of baking! Ever wrestled with a dough that just won't cooperate? You're not alone! This week, we're diving deep into stiff dough troubleshooting tips to help you rescue even the most stubborn mixtures. Discover the secrets to achieving that perfect, pliable texture and unlock a world of baking possibilities. Read on to find out how!
- Pizza Dough Troubleshooting: A Baker's Guide to Perfect Crust
- Stiff Pizza Dough Troubleshooting: Practical Solutions for Bakers
- Preventing Stiff Pizza Dough: Proactive Baking Techniques
- Advanced Tips for Handling Difficult Pizza Dough
- Achieving the Perfect Pizza Dough Consistency: Key Takeaways for Bakers
- Frequently Asked Questions
- Final Reflection: Embracing the Art of Dough Mastery
- Rescue Your Stiff Dough: Tips & Tricks for Baking Success!
Pizza Dough Troubleshooting: A Baker's Guide to Perfect Crust
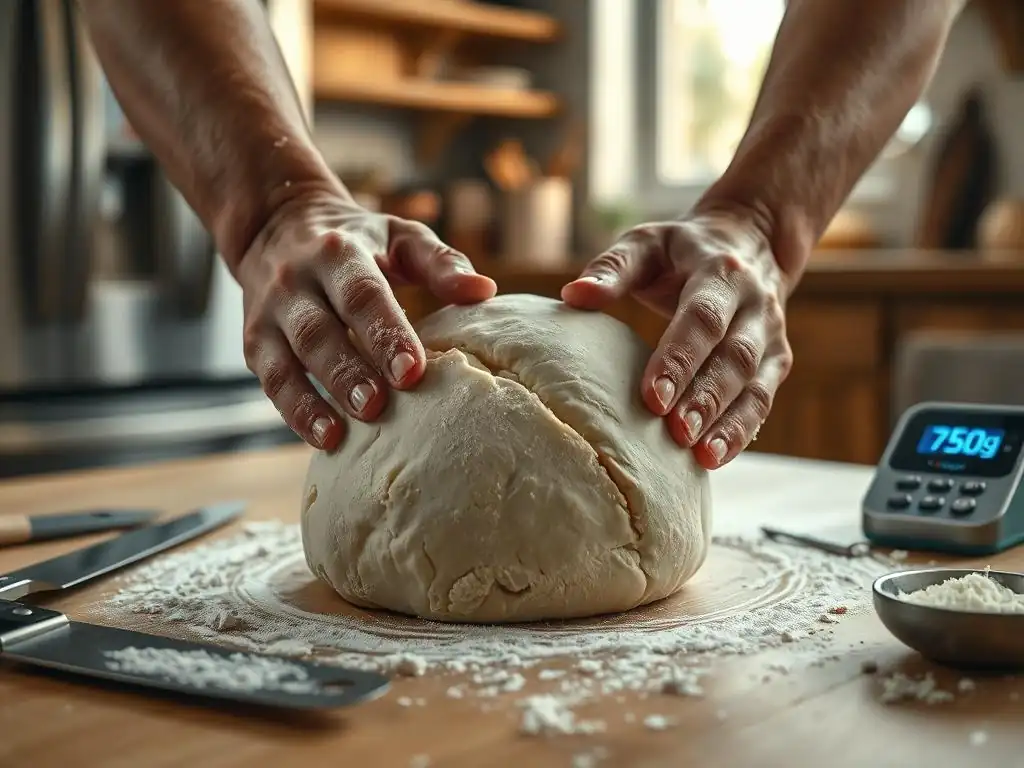
Common Causes of Stiff Pizza Dough: A Baker's Perspective
A primary culprit behind stiff pizza dough is an imbalance in the ingredient ratios. When a recipe calls for 500 g of flour but only 275 ml of water (55% hydration), the resulting dough can feel as rigid as a brick. Professional pizzerias often work at 60–65% hydration to ensure pliability; home bakers who unknowingly dip below that range will notice a tough texture that resists stretching.
Environmental factors also play a key role. In a dry environment (relative humidity under 30%), flour absorbs moisture from the air, effectively reducing dough hydration by up to 3%. This can transform a once-supple ball of dough into a challenging lump, even if you measured everything correctly. Stiff dough troubleshooting tips often begin with checking your kitchen’s humidity and adjusting water content accordingly.
“I followed my grandmother’s 3-ingredient dough recipe exactly, but in our mountain home (20% humidity), the dough was nearly impossible to handle,” reports Maria, a home baker from Colorado. “Increasing water by 15 ml per 250 g of flour solved the problem.”
The Role of Flour in Pizza Dough Stiffness: 00 Flour vs. Bread Flour
Not all flours behave the same. 00 flour, favored in Neapolitan pizza for its fine grind and lower protein (around 11%–12%), absorbs slightly less water than high-gluten bread flour (12.5%–14%). If you substitute bread flour for 00 flour without tweaking hydration, expect a denser, stiffer dough due to greater gluten development.
Conversely, using 00 flour in high-humidity climates can lead to a gummy, overly soft dough. Bakers aiming for a crisp, airy crust often settle on a blend: 70% 00 flour + 30% bread flour, achieving around 62% hydration for balanced elasticity. Experimenting with flour types and measuring protein content on the package can drastically reduce the need for mid-mix corrections.
Water Content and Dough Hydration: Finding the Ideal Pizza Dough Balance
Ideal pizza dough hydration typically ranges from 58% to 70%, depending on style:
- Neapolitan: ~58%–62%
- New York–style: ~62%–65%
- Detroit: ~65%–70%
Use the formula:
hydration (%) = (water weight ÷ flour weight) × 100
to calculate precise water amounts. At 65% hydration with 500 g flour, you’ll add 325 ml water. Consistency here is vital; too little water results in stiff, unyielding dough, while too much leads to slack, sticky dough.
If your dough feels excessively tight after mixing, record your hydration percentage and environmental conditions in a baking journal. Adjust by +1–2% water (5–10 ml for every 500 g flour) on your next attempt until you find your kitchen’s sweet spot.
Yeast Activity and Pizza Dough Texture: Ensuring Proper Rise
Active yeast not only leavens dough but also contributes to extensibility through gas production. Underused yeast (below 1% by flour weight) can slow fermentation, leaving the dough dense and less extensible. For a 500 g flour batch, 2% instant yeast (10 g) yields a predictable 12-hour cold ferment, producing a pliable crumb structure.
Conversely, over-yeasting (3%–4%) can cause over-proofing, followed by collapse and stiffness as gluten network weakens. Always opt for recipe-appropriate yeast levels:
- Classic slow ferment: 1%–1.5% yeast, 18–24 hr bulk
- Quick ferment: 2%–2.5% yeast, 8–12 hr bulk
Monitoring dough volume (should double in size) and using the poke test—lightly indenting with a finger; if it springs back slowly, the dough is ready—are key techniques in your Stiff dough troubleshooting tips toolkit.
Stiff Pizza Dough Troubleshooting: Practical Solutions for Bakers
Solution 1: Adding Moisture to Stiff Pizza Dough - A Step-by-Step Guide
How to Gradually Incorporate Water into Stiff Pizza Dough
- Gather: a kitchen spray bottle, 30 ml water, bench scraper.
- Lightly mist the dough surface with 10 ml of water.
- Fold the dough over itself for 30 seconds, then rest 5 minutes.
- Repeat until the dough reaches desired elasticity (approximately 20 ml total for a 300 g dough piece).
- Test by stretching a small piece—if it forms a thin membrane (the “windowpane test”), you’ve hit the mark.
Using Olive Oil to Soften Stiff Pizza Dough
- Add 1 teaspoon (5 ml) of extra-virgin olive oil to a 300 g dough ball.
- Knead for 1–2 minutes until fully incorporated.
- The oil acts as a lubricant, improving extensibility without altering hydration ratios.
Note: Olive oil reduces gluten friction, making the dough more elastic and easier to shape into a 12″ pie.
Solution 2: Adjusting Flour Quantity for a More Pliable Pizza Dough
Recognizing the Signs of Over-Floured Pizza Dough
- Crumbly edges when you try to shape the dough.
- Visible dry patches on the surface after kneading.
- Difficulty forming a cohesive ball even after 8 minutes of kneading.
How to Correct Pizza Dough That Has Too Much Flour: Precise Adjustments
- Remove 10–15 g of excess flour from the dough by gently brushing it off.
- Add 5–10 ml water, knead for 1 minute, rest 5 minutes, and re-evaluate.
- Repeat in small increments until the dough responds with smooth, elastic behaviour.
Solution 3: Kneading Techniques for Stiff Pizza Dough: Developing Gluten Effectively
The Importance of Proper Kneading Time for Pizza Dough Elasticity
Adequate kneading (typically 8–10 minutes by hand or 5–6 minutes in a stand mixer at low speed) aligns gluten strands, contributing to elasticity and extensibility. Under-kneading (under 6 minutes) leaves a coarse crumb, while over-kneading (beyond 12 minutes) can heat the dough excessively, causing a stiff, rubbery texture.
Alternative Kneading Methods for Stiff Pizza Dough: No-Knead Method
- Combine 500 g flour, 325 ml water, 10 g salt, 2 g instant yeast.
- Stir until just combined; dough will be shaggy.
- Cover and rest 18–20 hr at 4 °C (cold ferment).
- The long autolyse and gentle gas release develop gluten without intense mechanical action, yielding a soft, stretchable dough.
Solution 4: Rest and Relaxation: Allowing Pizza Dough to Hydrate Fully
The Autolyse Method: Pre-Hydrating Flour for Better Pizza Dough Texture
- Mix flour and water only; no yeast or salt.
- Rest 20–30 minutes, allowing enzymes to break down starches and proteins.
- Add salt and yeast, then knead briefly.
- This process boosts water absorption, enhancing dough softness and reducing kneading time by up to 40%.
Cold Fermentation for Stiff Pizza Dough: Maximizing Dough Softness
- Bulk ferment at 4 °C for 48–72 hours.
- Extended cold proof encourages slow yeast activity and enzyme function, increasing gluten extensibility.
- When shaped, dough will yield like butter, making spreading and shaping effortless.
Preventing Stiff Pizza Dough: Proactive Baking Techniques
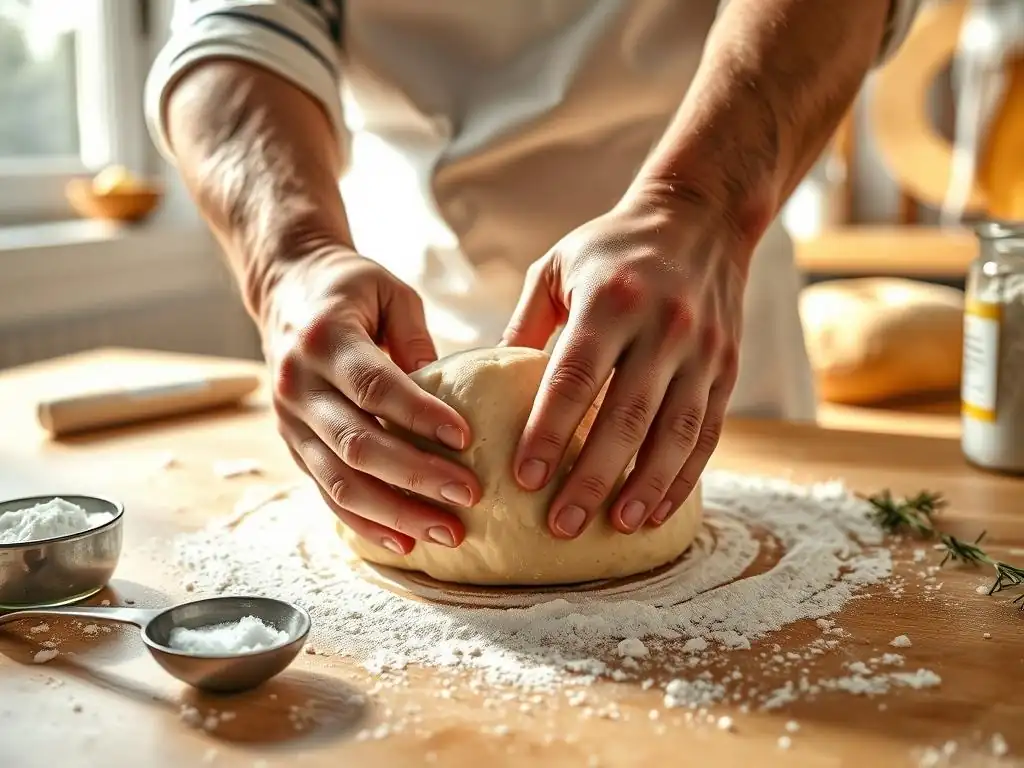
Measuring Ingredients Accurately: Ensuring Consistent Results
- Always weigh flour with a digital scale; a cup can vary by 20 g depending on packing.
- Use a liquid-measuring cylinder for water within ±2 ml accuracy.
- Note:precision in ingredient ratios is your first line of defense in any stiff dough troubleshooting tips scenario.
Choosing High-Quality Flour for Pizza: Impact on Dough Texture
- Opt for flours with reliable protein labeling (11.5%–13.5%).
- Purchase from reputable mills; off-brand flours can vary by ±1% protein.
- Fresher flour (under 6 months old) absorbs water more predictably, reducing the risk of stiffness.
Monitoring Dough Hydration During Mixing: Avoiding Overly Dry Dough
- After 2 minutes of mixing, perform the slap-and-fold test: dough should stretch without tearing.
- If it breaks at 50% extension, slowly add 5–10 ml water.
- This in-process check saves you from a too-stiff mishap halfway through kneading.
Mastering Kneading Techniques: Preventing Over-Kneading and Stiff Dough
- Use a timer: aim for 8 minutes by hand, 5 minutes in a mixer at speed 2.
- Watch for a smooth, cohesive surface—stop kneading immediately once achieved.
- Overworked dough will feel tense and resist shaping, a sign you need to let it rest.
Advanced Tips for Handling Difficult Pizza Dough
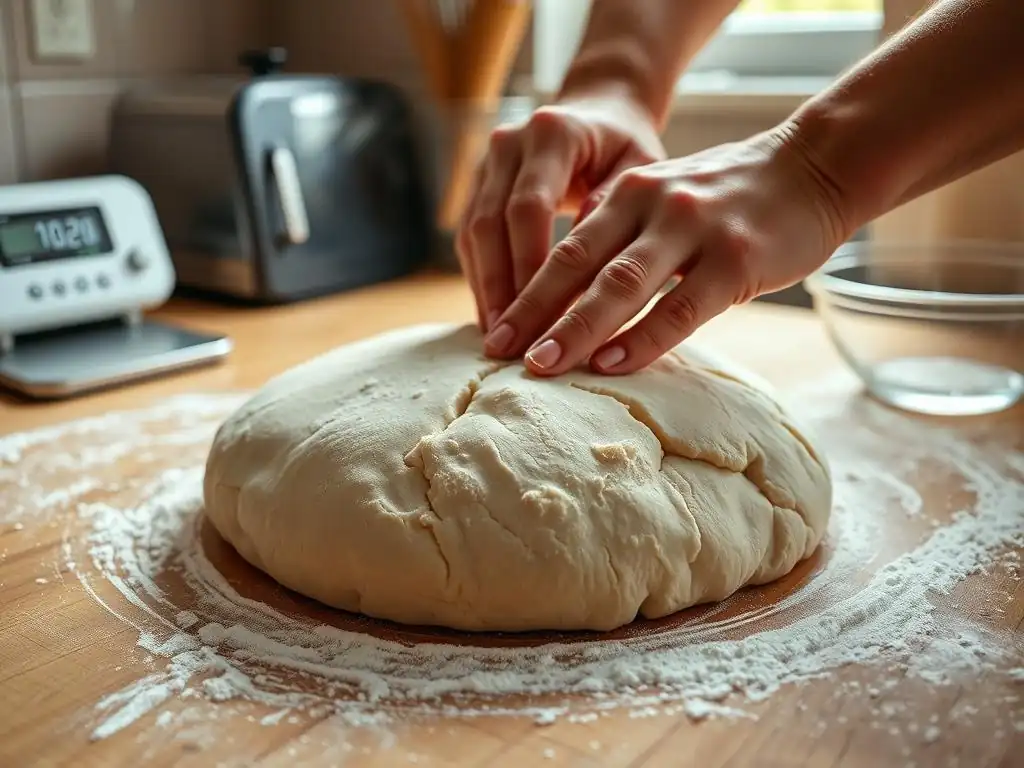
Working with Stiff Dough in Different Pizza Styles: Neapolitan vs. New York
- Neapolitan (58% hydration) requires short, high-heat bake (900 °F for 90 sec). A slightly stiffer dough here helps maintain shape.
- New York (65% hydration) bakes at 550 °F for 6–8 min; flexibility is key for wide hand-stretching. Adjust dough consistency to match each style’s thermal profile.
Dealing with Stiff Dough in Cold Climates: Adjusting Proofing Times
- In sub-15 °C kitchens, bulk proof can take 30–40% longer. Use a proofing box or place dough on top of a warm appliance (50–60 °C surface) to maintain timely fermentation.
- Alternatively, increase yeast by 0.5% to offset slow rise, then revert to standard levels once ambient temperatures normalize.
Rescue Techniques for Severely Stiff Pizza Dough: When All Else Fails
- Steam bath: Place dough in a 30 °C humid environment (cover a bowl with a damp towel and place inside a turned-off oven with the light on) for 20 minutes.
- Repeat stretch-and-folds every 15 minutes for an hour to gradually build extensibility.
- If dough is beyond redemption (tears with every stretch), blend in a fresh 1:1 ratio of new dough and re-ferment for 90 minutes.
Achieving the Perfect Pizza Dough Consistency: Key Takeaways for Bakers
- Consistent hydration (58%–65%) and accurate weighing are non-negotiable.
- Adjust flour type, water content, and kneading based on style and climate.
- Utilize autolyse, cold fermentation, and moisture addition as proactive stiff dough troubleshooting tips to ensure every pizza crust is a masterpiece.
Frequently Asked Questions
What causes dough to become too stiff to work with?
Dough stiffness often arises from too much flour being added, insufficient liquid, or over-kneading, leading to a dry and unyielding texture.
How can I fix dough that's already too stiff?
The primary fix involves adding small amounts of liquid, like water or milk, and kneading it in gently. Avoid adding more flour.
What are some signs that my dough is too stiff before I even start baking?
The dough will feel dense and difficult to stretch. It might tear easily instead of being pliable and smooth.
Can resting the dough help soften a stiff dough?
Yes, resting allows the gluten to relax and the liquids to fully hydrate the flour, potentially softening the dough slightly.
What are some preventative measures to avoid stiff dough in the first place?
Always measure ingredients accurately, and add liquid gradually while monitoring the dough's consistency. Avoid over-kneading, especially with certain types of dough.
Final Reflection: Embracing the Art of Dough Mastery
In the world of baking, the ability to troubleshoot stiff dough is not just a technical skill; it is a vital part of the creative process. As we navigate the intricacies of dough preparation, understanding how to adjust and adapt our techniques can lead to delightful culinary outcomes. The journey from a stubborn, unyielding mass to a beautifully pliable dough is a testament to the patience and skill that every baker cultivates.
The challenges of working with stiff dough resonate deeply within the baking community, reflecting our shared experiences and aspirations. Each time we face a dough that refuses to cooperate, we are reminded of the importance of adaptability and resilience in both baking and life. As renowned chef Julia Child once said, No one is born a great cook, one learns by doing.
This sentiment encapsulates the essence of our journey as bakers, where every misstep is an opportunity for growth and learning.
As you reflect on the tips and techniques shared in this article, I encourage you to embrace the challenges that come with baking. Consider each batch of dough, whether stiff or supple, as a canvas for your creativity. Take the lessons learned here and apply them in your kitchen, allowing them to inspire you to experiment and innovate. Remember, the joy of baking lies not just in the final product, but in the process of discovery and the satisfaction of overcoming obstacles. So, roll up your sleeves, and let the adventure of baking unfold!
Rescue Your Stiff Dough: Tips & Tricks for Baking Success!
Thanks for taking the time to explore our troubleshooting guide for stiff dough! We hope you gained valuable insights into rescuing your baking projects. Now, it's time to put that knowledge into action!
- Try our "Dough Rehab" method: This simple technique, detailed in the article, will help you loosen up your dough even after it seems hopeless. Give it a shot – you might be surprised!
- Share your stiff dough stories (and solutions!): Let's build a community of bakers. Share your experiences and tips in the comments below—we’d love to hear from you!
- Experiment with different hydration levels in your next recipe: Understanding water content is key to perfect dough. Try adjusting the water amount in a future recipe to achieve the right consistency.
So, what will your next baking adventure be, and how will you prevent a stiff dough disaster?