
Culinary Blow Torch 101: Perfect Caramelized Sugar, Meringue, and More

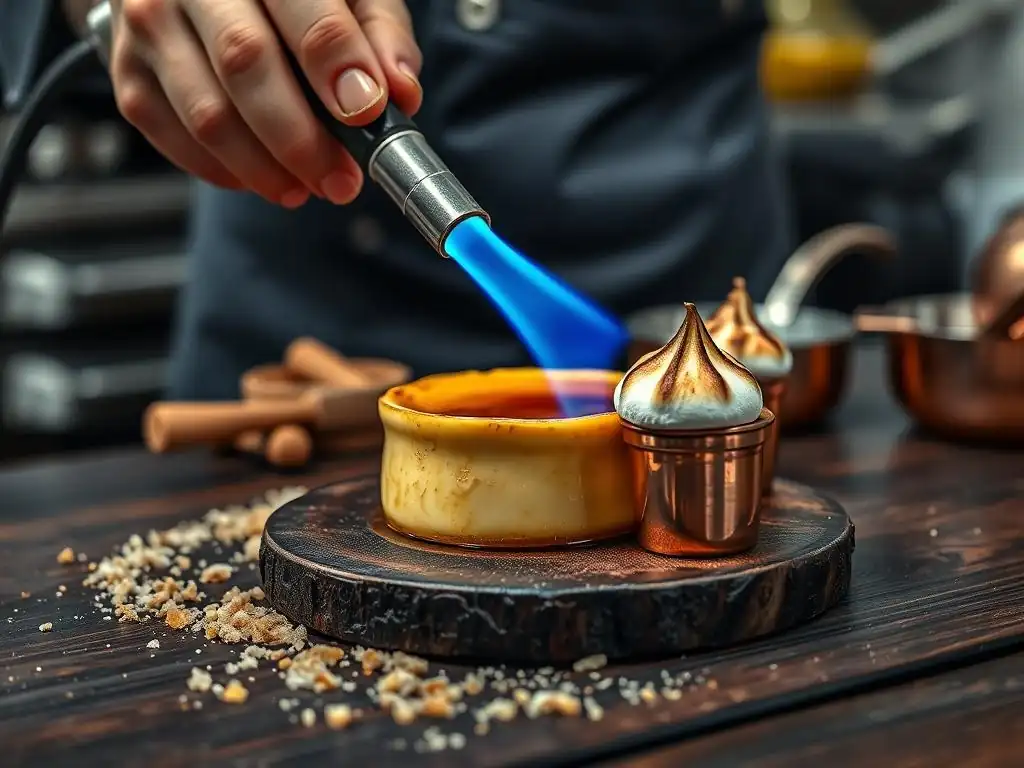
Welcome to BakeWithEase, your trusted guide to baking brilliance! Ever wondered how to use a blow torch to achieve that perfectly caramelized sugar crust or a stunningly browned meringue? Dive into our comprehensive guide and unlock the secrets to professional-level finishes on your favorite baked goods. Get ready to elevate your baking game and impress everyone with your newfound culinary torching skills! Let's get started...
- BakeWithEase's Guide to Mastering the Culinary Blow Torch
- Safety First: How to Use a Blow Torch Safely in the Kitchen
- Mastering the Technique: How to Use a Blow Torch for Perfect Results
- Blow Torch Baking Applications: Caramelized Sugar, Meringue, and Beyond
- Cleaning and Maintaining Your Culinary Blow Torch
- Where to Buy a Culinary Blow Torch: Choosing the Best Option for Your Needs
- Conclusion: Unleash Your Baking Potential with a Culinary Blow Torch
-
Frequently Asked Questions
- How can a culinary blow torch enhance my baking, as mentioned on BakeWithEase?
- What safety precautions should I take when learning how to use a blow torch for baking?
- What are some common baking applications beyond crème brûlée where I can use a culinary blow torch?
- What type of fuel is recommended for a culinary blow torch according to BakeWithEase?
- Can I use a culinary blow torch to improve the texture of certain baked goods?
- Final Reflection: Mastering the Culinary Blow Torch: A Flame to Ignite Your Creativity
- Unlock Your Inner Pastry Chef: Master the Culinary Blow Torch!
BakeWithEase's Guide to Mastering the Culinary Blow Torch
What is a Culinary Blow Torch and Why Use One?
A culinary blow torch, often called a kitchen torch, is a small, handheld torch specifically designed for use in food preparation. It produces a focused, high-temperature flame, typically powered by butane or propane fuel. While its industrial cousins are used for soldering or welding, the kitchen version is calibrated for more delicate tasks, offering precise heat application right where you need it. Mastering how to use blow torch opens up a new dimension in baking, allowing you to achieve textures and finishes that are difficult or impossible with conventional oven heat.
Using a kitchen torch allows for rapid surface browning or caramelization without significantly cooking the interior of the food. This is invaluable in baking for tasks like creating that signature crackling sugar crust on crème brûlée or achieving a perfectly toasted meringue topping without melting the delicate dessert underneath. It provides control and speed, which are crucial when working with heat-sensitive ingredients or desiring a specific surface finish. Learning how to use a blow torch effectively is a skill that can elevate many desserts from good to spectacular.
Benefits of Using a Blow Torch in Baking
The advantages of incorporating a culinary blow torch into your baking toolkit are numerous. One of the primary benefits is the ability to achieve instant, localized caramelization. For instance, when making crème brûlée, you can transform a smooth layer of sugar into a brittle, glassy crust in under a minute, creating that delightful textural contrast with the creamy custard below. This process is far faster and more controllable than using a broiler, which heats the entire dish and risks overheating or curdling the custard.
Beyond caramelization, a kitchen torch is indispensable for browning meringue. Whether you're topping a lemon meringue pie or finishing off a baked Alaska, using a blow torch allows you to toast the peaks of the meringue to a beautiful golden-brown hue, enhancing both visual appeal and flavor through the Maillard reaction, without drying out the meringue or overbaking the base.
Other benefits include quickly melting cheese on gratins or baked pasta dishes for a bubbly top, skinning peppers or tomatoes with ease, and even adding a smoky char to ingredients. Understanding how to use blow torch techniques expands your creative possibilities significantly.
Different Types of Culinary Blow Torches: Which is Right for You?
Choosing the right culinary blow torch depends largely on your intended use and budget. The most common types are categorized by the fuel they use and the style of the torch head. For typical home baking tasks like caramelizing sugar or browning meringue, a standard butane torch is usually sufficient and the most popular choice.
Butane Torches: The Standard Choice
Butane torches are the most widely available and easiest to use culinary torches. They are typically smaller, lighter, and more affordable than propane options. Butane torches produce a smaller, more controlled flame, which is ideal for delicate tasks like browning meringue or creating the thin, even crust on crème brûlée. They often feature a built-in fuel tank that is refilled from standard butane canisters, similar to those used for lighters.
When learning how to use blow torch for baking, a butane torch is often recommended as a starting point due to its ease of handling and suitability for common dessert finishes. A typical butane torch flame reaches temperatures around 2,000°F (approx. 1,100°C), providing ample heat for rapid surface work.
Propane Torches: For More Intense Heat
Propane torches, while also used in kitchens, are generally more powerful than butane torches. They use larger, screw-on propane canisters, similar to those used for camping stoves. Propane flames burn hotter, potentially reaching temperatures over 3,600°F (approx. 2,000°C). While this higher heat can be useful for searing meat or charring vegetables quickly, it can be too intense for delicate baking tasks like browning meringue, risking burning rather than browning. Propane torches are often larger and less maneuverable, making precise work on small desserts more challenging. If your primary use is baking finishes, a butane torch is usually preferable.
Torch Head Styles: Angle vs. Pencil Flame
Culinary torches come with different head styles. The most common is an angled head, where the flame nozzle is set at an angle to the fuel tank. This design is ergonomic and allows you to easily direct the flame downwards onto a flat surface like a crème brûlée. Other torches have a more direct, pencil-style flame.
While both can work, the angled head is often more convenient for the typical overhead application required in baking. Some models also feature adjustable flame sizes and locking mechanisms for continuous use. When considering how to use blow torch effectively, the torch head style impacts comfort and precision.
Safety First: How to Use a Blow Torch Safely in the Kitchen
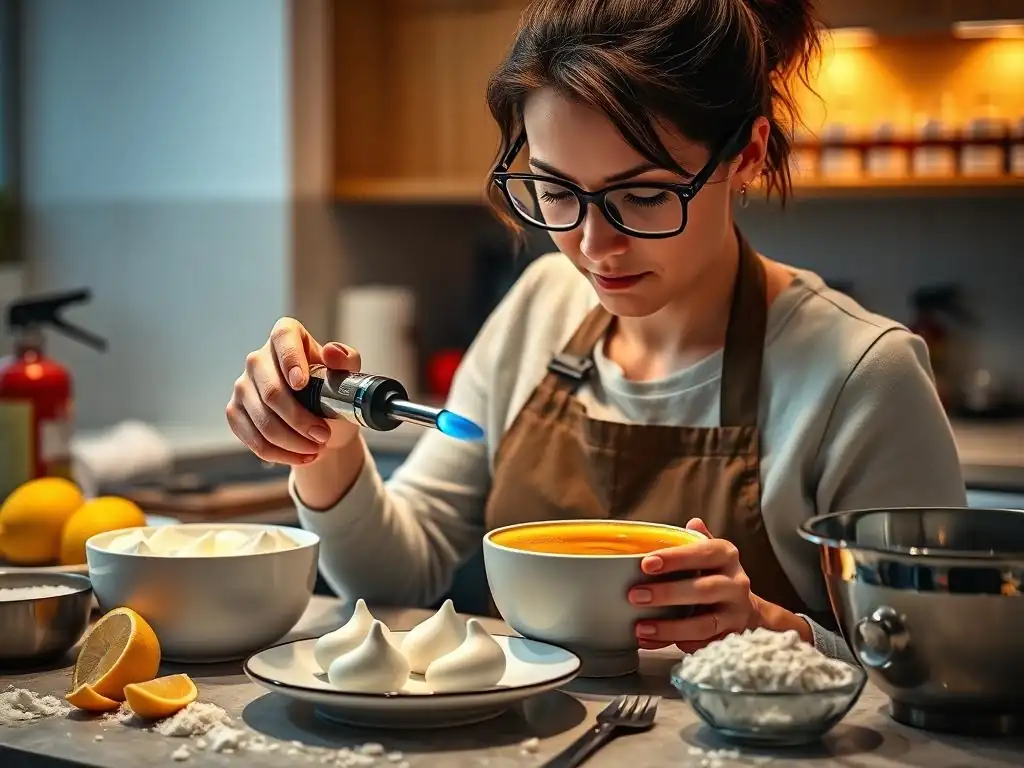
Safety is paramount when using any tool that produces a high-temperature flame in your kitchen. A culinary blow torch, while designed for food, still requires careful handling to prevent burns, fires, or other accidents. Always read the manufacturer's instructions thoroughly before attempting to use your blow torch for the first time. Treat the flame with respect, just as you would a hot oven or stovetop burner.
Ensure you work in a well-ventilated area, away from flammable materials such as curtains, paper towels, or aerosol cans. Have a fire extinguisher rated for grease fires (Class K or Class F) readily accessible in your kitchen. Never leave a lit torch unattended, even for a moment. Understanding and following safety protocols is the most critical part of learning how to use blow torch for baking.
Essential Safety Precautions When Using a Kitchen Torch
Before lighting the torch, ensure the area is clear of clutter and flammable objects. Wear appropriate clothing – avoid loose sleeves that could dangle near the flame. Always hold the item you are torching on a heatproof surface, such as a ceramic plate or a metal baking sheet; never hold it directly in your hand while torching. Keep children and pets a safe distance away from your workspace while the torch is in use.
After turning off the torch, remember that the nozzle will remain extremely hot for several minutes. Do not touch it and allow it to cool completely before storing it. Store the torch upright in a safe place where it cannot be accidentally knocked over or accessed by children. Implementing these precautions is fundamental to using a kitchen torch safely and effectively.
Handling and Storing Butane or Propane Safely
Butane and propane are highly flammable gases. They must be handled and stored with extreme care. Always store fuel canisters in a cool, dry place, away from direct sunlight, heat sources, sparks, or open flames. Never store fuel canisters inside a hot car or near appliances that generate heat. Ensure the storage area is well-ventilated.
When refilling a butane torch, do so in a well-ventilated area, away from any ignition sources. Hold the torch and canister upright and insert the canister nozzle firmly into the torch's fill valve. You will hear or see the liquid gas transferring. Stop filling when it starts to overflow or after about 10-15 seconds, as overfilling can be dangerous. Dispose of empty canisters according to local regulations. Proper fuel handling is an integral part of learning how to use blow torch responsibly.
Recognizing and Preventing Flare-Ups
Flare-ups can occur when using a blow torch, often due to excess fuel, improper filling, or residue on the torch nozzle. A flare-up is a sudden, larger-than-expected burst of flame. To prevent flare-ups, ensure you are using the correct type of fuel for your torch and that it is filled according to the manufacturer's instructions. Avoid overfilling butane torches.
Keep the torch nozzle clean and free from food debris or grease. If a flare-up occurs, remain calm. Do not point the torch towards anyone or anything flammable. If possible, turn off the fuel supply immediately. If the flare-up persists or ignites surrounding materials, use your fire extinguisher if safe to do so, or evacuate and call emergency services. Prevention through proper maintenance and handling is key when using a culinary blow torch.
Mastering the Technique: How to Use a Blow Torch for Perfect Results
Using a culinary blow torch effectively is about control, distance, and movement. The goal is typically to heat the surface quickly and evenly without cooking the interior or burning the edges. This requires a steady hand and paying close attention to the color change of the food item. Practice on something less critical, like a piece of bread or a marshmallow, before attempting it on your prize-winning meringue pie.
The technique involves moving the flame continuously over the surface rather than holding it still in one spot. This motion distributes the heat evenly and prevents scorching. Adjusting the flame size and intensity is also crucial; a medium, steady flame is often best for most baking applications. Learning how to use blow torch with the right technique ensures beautiful, professional-looking results.
Step-by-Step Guide to Using a Culinary Torch
Follow these basic steps for safely and effectively using a culinary torch:
Filling the Torch with Butane
- Ensure the torch is turned off and completely cooled.
- Work in a well-ventilated area, away from any open flames or sparks.
- Hold the torch upside down.
- Insert the nozzle of the butane fuel canister vertically into the torch's fill valve at the base.
- Apply firm pressure for about 10-15 seconds. You may see or hear the gas transferring.
- Remove the canister. A small amount of gas might escape; this is normal.
- Wait a few minutes (e.g., 3-5 minutes) for the gas to settle and reach room temperature before attempting to light the torch. This helps prevent flare-ups.
Adjusting the Flame for Optimal Results
- Turn the gas adjustment knob (usually near the igniter) slightly open.
- Press the ignition button. The torch should light.
- Adjust the knob to achieve the desired flame size. For most baking tasks, a medium-sized, blue flame with a visible inner cone is ideal. Avoid a large, flickering yellow flame, which indicates incomplete combustion and less focused heat.
- Practice adjusting the flame on a safe surface to get a feel for the controls.
Maintaining a Safe Distance and Angle
- Hold the torch at an angle (around 45-60 degrees) to the surface you are torching.
- Keep the torch nozzle a safe distance from the food, typically 2-4 inches (approx. 5-10 cm), depending on the intensity of your torch and the food item.
- Move the torch continuously in smooth, sweeping motions across the surface. Do not hold the flame stationary.
- Watch the food carefully for the desired color change (e.g., golden brown for meringue, deep amber for sugar).
Achieving Even Caramelization: Tips and Tricks
Even caramelization is the mark of a skilled hand when using a culinary blow torch. The key is consistent movement and patience. Start with a thin, even layer of granulated sugar on your dessert (about 1-2 teaspoons per 4-inch ramekin for crème brûlée). Ensure the surface is smooth and dry.
Hold the torch at the recommended distance (2-4 inches) and sweep the flame back and forth across the sugar. Work in small sections, watching as the sugar melts, bubbles, and turns from clear to light amber, then to a rich, deep amber. Keep the torch moving constantly to avoid burning spots. If you see smoke, you're likely too close or moving too slowly – pull back and speed up your movement. Achieving that perfect, glassy crust requires practice, but mastering how to use blow torch for caramelization is incredibly rewarding.
Avoiding Common Mistakes When Using a Blow Torch
Several common pitfalls can occur when using a kitchen torch. One is holding the flame too close to the food, which results in scorching or burning instead of even browning or caramelization. Another is holding the flame stationary, creating hot spots and uneven results. Not moving the torch enough is a frequent error.
Using too large or too yellow a flame is also a mistake; a focused blue flame offers better control and more efficient heat transfer. Forgetting to work on a heatproof surface or too close to flammable items are critical safety errors. Finally, not allowing butane torches to settle after filling can lead to initial large flare-ups. By being mindful of these points, you can significantly improve your results and safety when using a culinary blow torch.
Blow Torch Baking Applications: Caramelized Sugar, Meringue, and Beyond
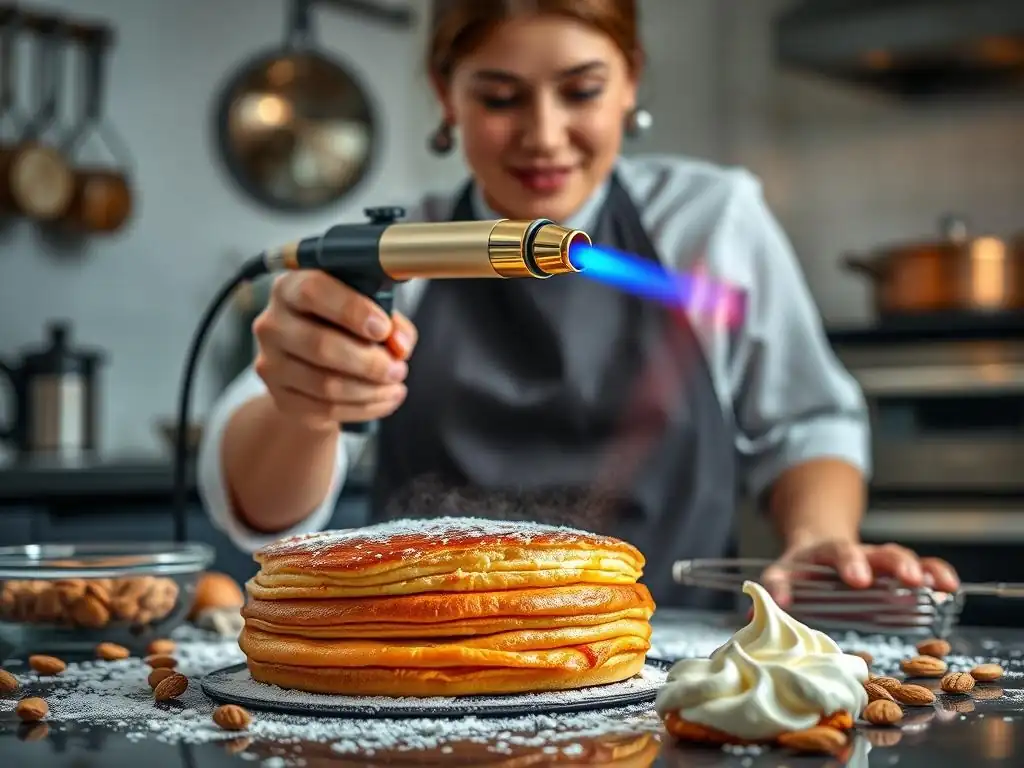
The culinary blow torch shines in desserts, but its utility extends further in the kitchen. Its ability to apply intense, localized heat makes it versatile for various finishing touches. From classic French custards to modern dessert twists, knowing how to use blow torch techniques opens up many culinary possibilities.
Creating Perfect Caramelized Sugar Toppings
The most iconic use of a kitchen torch in baking is creating a crisp, caramelized sugar crust. This technique adds a delightful crunch and slightly bitter complexity that contrasts beautifully with creamy or soft textures underneath.
Crème brûlée: The Classic Blow Torch Dessert
Crème brûlée literally means "burnt cream," and the blow torch is the essential tool for achieving that signature 'burnt' sugar top. After chilling the custard thoroughly (typically for at least 4 hours, preferably overnight, to ensure it's firm and cold), sprinkle a thin, even layer of granulated sugar over the surface. About 1-2 teaspoons per standard ramekin is usually sufficient; too much sugar results in a thick, hard-to-break crust.
Use the torch with a medium flame, held 2-4 inches away, moving in continuous circles or sweeps until the sugar melts into a liquid, bubbles, and turns a deep amber color. Allow the torched sugar to cool for a few minutes until it hardens into a glass-like crust. The temperature of the custard should ideally remain cold beneath the hot sugar layer.
Caramelizing Sugar on Tarts and Other Pastries
Beyond crème brûlée, a blow torch can caramelize sugar on various pastries. A common application is torching the sugar topping on certain tarts, like a tarte Tatin (after inverting) or fruit tarts where a sugar glaze is desired. You can also sprinkle a little sugar on top of muffins or scones before a final quick pass with the torch for a slightly crisp, sweet finish. For pastries, ensure the surface is relatively flat or the sugar is concentrated where you want the effect. Again, use continuous motion and watch carefully to prevent burning, as pastry dough can char quickly.
Achieving Flawless Meringue: Tips for Browning
Browning meringue with a blow torch is perhaps the second most popular application in baking. It adds visual appeal and a lovely toasted flavor to the sweet, airy foam. This is particularly useful for meringues used as toppings, like those on pies or baked Alaska, where baking the entire dessert further might overcook the base.
Toasted Meringue on Pies and Cakes
For meringue-topped pies (like lemon meringue pie) or cakes, pipe or spread the meringue over the cooled filling or cake layer, ensuring it touches the crust or cake edge all around to prevent shrinkage. Create peaks and swirls with the back of a spoon or a piping bag – these peaks will catch the flame beautifully. Using a medium flame on your culinary torch, hold it 2-3 inches away and move it rapidly over the meringue peaks. The meringue will quickly turn golden brown.
Focus on the peaks for definition and a gradient of color. Avoid holding the flame too long in one spot, as meringue burns very easily. A quick pass is often all that's needed. Mastering how to use blow torch for meringue yields that classic toasted look in seconds.
Making Swiss Meringue with a Blow Torch
While Swiss meringue is primarily cooked over a double boiler to dissolve the sugar and heat the egg whites safely, a blow torch can be used for a final aesthetic touch or for partially cooking small amounts for specific uses (though the double boiler method is recommended for safety and stability). Once the Swiss meringue is whipped to stiff peaks, it can be piped onto desserts and then torched for browning, just like Italian or French meringue toppings. The torch provides that final, beautiful toasted finish without needing to put the dessert back into a hot oven.
Expanding Your Culinary Torch Repertoire: Beyond Sugar and Meringue
The utility of a kitchen torch isn't limited to just sweet finishes. It can be a handy tool for various savory applications too, offering quick browning or charring where needed.
Searing Meat for Sous Vide
Although not strictly baking, many home cooks who bake also use techniques like sous vide. After cooking meat sous vide, it often lacks a browned crust. A blow torch is an excellent tool for quickly searing the surface of small cuts of meat or poultry, creating a flavorful crust without cooking the interior any further. Use a higher flame setting than for baking and move the torch constantly over the surface until a desirable brown crust forms. This is a prime example of how to use blow torch outside of traditional dessert making.
Toasting Coconut Flakes
Toasting coconut flakes for a cake or dessert topping can be done in a pan or oven, but a blow torch offers speed and precision for small quantities. Spread a thin layer of shredded or flaked coconut on a heatproof surface. Use a low flame and move the torch quickly over the flakes, stirring occasionally, until they turn golden brown. Be very careful, as coconut burns extremely fast due to its oil content. This method provides quick, even toasting.
Melting Cheese on Baked Dishes
For dishes like individual macaroni and cheese portions, gratins, or French onion soup where you want a bubbly, browned cheese topping without heating the entire dish, a blow torch is perfect. Sprinkle your shredded cheese over the dish and use a medium flame, held a few inches away, sweeping over the cheese until it melts and browns to your liking. This gives you that appealing crust much faster than a broiler.
Cleaning and Maintaining Your Culinary Blow Torch
Proper cleaning and maintenance are essential for ensuring your culinary blow torch functions safely and effectively for years to come. A well-maintained torch is less likely to have performance issues or safety hazards like flare-ups.
Proper Cleaning Procedures for Long-Term Use
Always ensure the torch is completely cooled and the fuel valve is closed before attempting to clean it. The primary area to keep clean is the nozzle. Food debris, grease, or sugar residue can clog the nozzle and affect the flame. Use a soft cloth or a cotton swab dipped in a small amount of rubbing alcohol to gently wipe down the exterior of the nozzle and the torch body. Avoid getting moisture into the fuel valve or ignition mechanism.
If there is stubborn residue around the nozzle, you can use a small, soft brush (like a toothbrush) to carefully dislodge it. Never use sharp objects or abrasive cleaners, as these can damage the torch. Ensure the torch is completely dry before storing or refilling it. Regular, gentle cleaning after use will keep your torch in top condition.
Troubleshooting Common Blow Torch Issues
Sometimes, a culinary torch may not light or may produce an inconsistent flame. If the torch won't light, first check if it has enough fuel. Butane torches need to be refilled periodically. Ensure the gas adjustment knob is slightly open before pressing the igniter. If it still doesn't light, the igniter might be the issue, though this is less common.
An inconsistent or sputtering flame can be caused by low fuel, improper filling (not waiting for the gas to settle), or a partially clogged nozzle. Try refilling the torch correctly and waiting a few minutes. If the issue persists, gently cleaning the nozzle as described above might help. If problems continue, consult the manufacturer's troubleshooting guide or contact their support. Knowing how to use blow torch maintenance tips can save you frustration.
Extending the Life of Your Culinary Blow Torch
To maximize the lifespan of your culinary blow torch, always use the correct type of high-quality fuel recommended by the manufacturer. Cheap or impure fuel can clog the torch. Store the torch properly – upright, in a safe, dry place, away from extreme temperatures and out of reach of children. Avoid dropping the torch, as this can damage the internal components or the fuel tank seal.
Perform regular visual inspections for any signs of damage, such as cracks in the casing or nozzle. Always ensure the fuel valve closes completely when the torch is off. By following these simple maintenance steps, your culinary blow torch will be a reliable tool in your baking adventures for a long time.
Where to Buy a Culinary Blow Torch: Choosing the Best Option for Your Needs
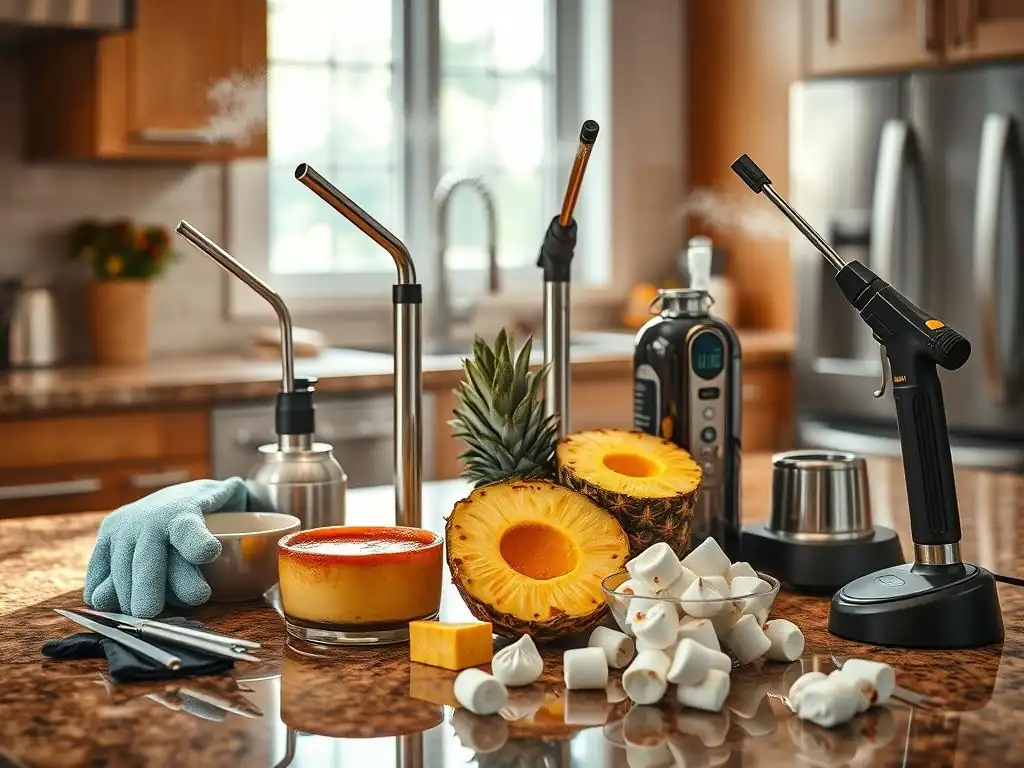
Culinary blow torches are widely available, both online and in physical stores. You can find them at kitchen supply stores, department stores with a kitchenware section, hardware stores, and major online retailers. Prices can range from around $15 for basic models to over $50 for higher-end torches with more features or larger fuel capacities.
Factors to Consider When Purchasing a Kitchen Torch
When choosing a culinary blow torch, consider a few key factors. Safety features are paramount; look for models with a safety lock to prevent accidental ignition and a sturdy base or stand if you plan to set it down while full. The fuel type (butane is standard for baking) and ease of refilling are also important. Consider the size and ergonomics – does it feel comfortable and balanced in your hand? An adjustable flame is a useful feature for varying tasks.
Read reviews to gauge reliability and performance. Some users report issues with ignition or fuel leaks in cheaper models. Investing slightly more in a reputable brand known for safety and durability can be worthwhile. Think about how often you plan to use it and for what specific tasks when making your choice. Understanding these factors helps you decide how to use blow torch selection criteria effectively.
Recommended Culinary Blow Torch Brands and Models
Several brands are well-regarded for their culinary blow torches. Brands like OXO, Iwatani (known for their portable stoves and torches), BonJour, and Sondiko are often recommended for home kitchen use. The OXO Good Grips Torch is popular for its stable base and comfortable grip. Iwatani's torches, while sometimes propane-based, are known for reliability; ensure you select a culinary butane model if that's your preference. Sondiko often offers affordable, user-friendly butane options.
Look for models that specifically state they are for culinary use, as these are designed with appropriate safety features and flame control for food applications. Comparing features like ignition style (piezo ignition is common and reliable), flame adjustment range, and fuel capacity will help you find the best fit for your baking needs.
Conclusion: Unleash Your Baking Potential with a Culinary Blow Torch
Frequently Asked Questions
How can a culinary blow torch enhance my baking, as mentioned on BakeWithEase?
A culinary blow torch allows for precise and controlled browning, creating beautiful caramelized sugar crusts on desserts like crème brûlée and perfectly toasted meringue peaks. It adds a professional touch to your home baking.
What safety precautions should I take when learning how to use a blow torch for baking?
Always use the blow torch in a well-ventilated area and keep a safe distance from flammable materials. Make sure to use a stable surface and wear heat-resistant gloves for added protection.
What are some common baking applications beyond crème brûlée where I can use a culinary blow torch?
Besides crème brûlée, a culinary blow torch is great for browning meringue toppings on pies, caramelizing the tops of fruit tarts, and even toasting marshmallows on S'mores desserts.
What type of fuel is recommended for a culinary blow torch according to BakeWithEase?
BakeWithEase typically recommends using butane fuel, which is widely available and provides a clean and consistent flame for baking applications. Check your torch's instructions for specific fuel requirements.
Can I use a culinary blow torch to improve the texture of certain baked goods?
While not directly changing the internal texture, the controlled heat can create a crisp outer layer on certain items, enhancing the overall texture and flavor profile. This is especially useful for achieving a desired crust.
Final Reflection: Mastering the Culinary Blow Torch: A Flame to Ignite Your Creativity
The culinary blow torch, once a niche tool, has become a staple in both professional and home kitchens, transforming simple dishes into culinary masterpieces. Its ability to achieve perfectly caramelized sugars, crisp meringues, and beautifully browned toppings elevates the everyday cooking experience, proving that sometimes, a little heat can go a long way.
The impact of this seemingly simple tool extends beyond mere technique; it represents a shift in home cooking towards a more adventurous and precise approach. The ability to control such a powerful element – fire – in the kitchen empowers cooks to experiment and achieve results previously thought unattainable at home. The kitchen is the heart of the home, and the tools we use shape our culinary experiences.
This sentiment rings true as the blow torch allows us to explore new textures and flavors, adding a touch of professional flair to our everyday meals.
Now, consider your own kitchen. What dish have you always wanted to perfect? Perhaps a crème brûlée with that flawlessly cracked sugar crust, or a perfectly browned marshmallow topping for your hot chocolate. I encourage you to pick up a culinary blow torch, embrace the controlled flame, and unlock a new level of culinary creativity. The journey of mastering this tool is not just about technique; it's about embracing the possibilities and adding a spark of excitement to your cooking.
Unlock Your Inner Pastry Chef: Master the Culinary Blow Torch!
Thanks for exploring the world of culinary blow torches with us! We hope you've gained the confidence to add a touch of professional flair to your baking and cooking. Now it's time to put your newfound knowledge into action.
- Experiment with a new recipe: Try caramelizing the sugar on your next crème brûlée or perfectly browning a meringue – you'll be amazed by the results! This is your chance to really perfect that technique.
- Share your creations: Show us your blow-torch masterpieces! Tag us on social media and inspire others with your culinary artistry.
- Explore alternative uses: Did you know you can use a culinary torch for more than just desserts? Think about searing meats or even toasting marshmallows for a gourmet twist.
What surprising dish will you elevate with the power of the culinary blow torch next? Let us know in the comments below!