
Stop Stale Bread: Easy Tips for Storing Your Loaves Perfectly

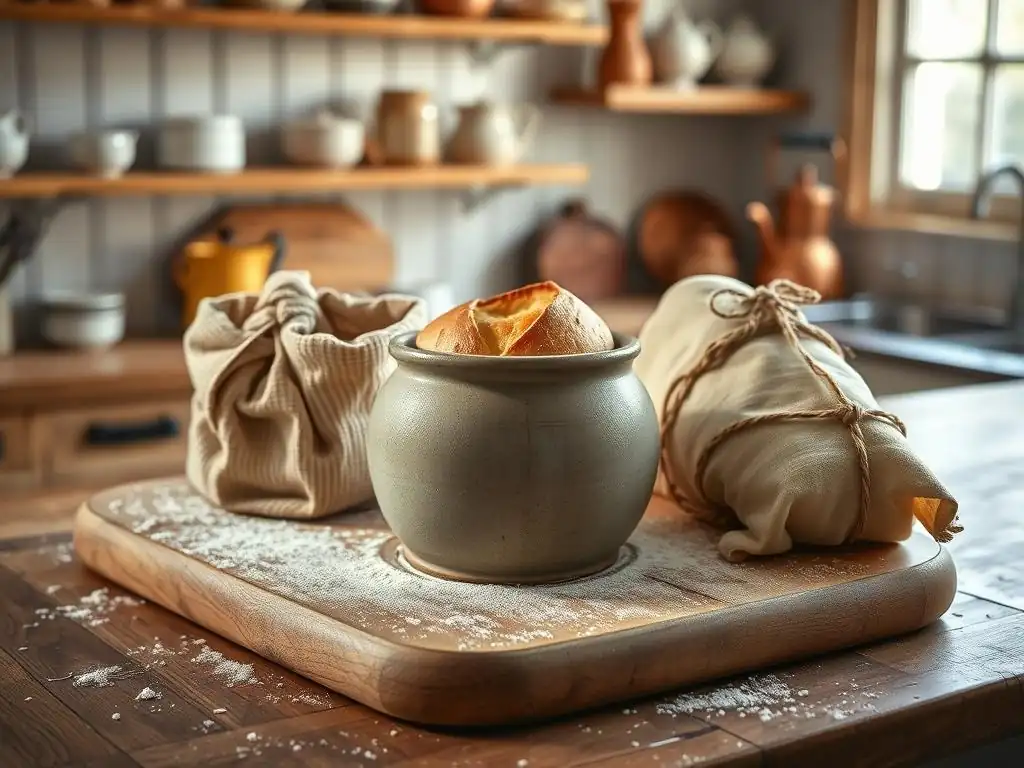
Welcome to BakeWithEase, your haven for baking bliss! Tired of perfectly baked bread turning stale before you can enjoy it? Unlock the secrets to lasting freshness in our latest guide. Discover how storing bread properly can extend its life, transforming your baking from a fleeting pleasure into a delicious, enduring experience. Intrigued? Let's dive in and uncover the simple techniques you need to know!
- Introduction: Keeping Your Bread Fresh
- Why Does Bread Go Stale? Understanding Retrogradation
- The Importance of Storing Bread Properly to Extend its Life
- Best Methods for Storing Bread Properly: A Comprehensive Guide
- Simple Tips and Tricks to Prevent Stale Bread
- Common Bread Storage Mistakes to Avoid
- Choosing the Right Bread Storage Containers
- Conclusion: Enjoy Fresh Bread Every Day
- Frequently Asked Questions
- Final Reflection: The Enduring Crust: Preserving Bread, Preserving Traditions
- Unlock the Secret to Perfectly Fresh Bread!
Introduction: Keeping Your Bread Fresh
There's nothing quite like the aroma and taste of freshly baked bread. Whether it's a rustic sourdough from your local bakery or a warm loaf straight from your own oven, enjoying bread at its peak is a simple pleasure. However, this joy can quickly turn into disappointment when your beautiful loaf becomes hard, dry, or moldy after just a day or two. Learning the art of storing bread properly is key to preserving its texture, flavor, and overall quality, significantly extending its usable life and ensuring you get to savor every slice.
Understanding why bread goes stale is the first step towards preventing it. It's not just about keeping it from drying out; a complex process is at play. By implementing a few simple, effective strategies for storing bread properly, you can dramatically slow down the staling process and avoid unnecessary food waste. Let's dive into the science behind staling and explore the best methods to keep your loaves wonderfully fresh for as long as possible.
Why Does Bread Go Stale? Understanding Retrogradation
Bread doesn't just dry out when it gets old; the primary culprit behind staling is a scientific process called retrogradation. This process involves the starch molecules within the bread's crumb. When bread is baked, the starch granules absorb water and swell, a process known as gelatinization, making the bread soft and pliable. As the bread cools and ages, these starch molecules begin to recrystallize and realign themselves, forcing the water out.
This migration of water from the starch back into the surrounding structure causes the bread's crumb to become firm, rigid, and crumbly – what we perceive as staleness. It's not simply a loss of moisture from the loaf (though that plays a role); it's a change in the internal structure of the bread itself. Understanding this molecular transformation is crucial for implementing effective storage methods that combat retrogradation and keep your bread tasting fresh.
The Science Behind Retrogradation
Retrogradation is a fascinating chemical change. During baking, the high heat causes the starch molecules (amylose and amylopectin) to absorb water and unwind from their tightly packed granular structure, forming a gel-like matrix that gives bread its soft texture. As the bread cools, the amylose molecules, which are linear, quickly begin to reassociate and form crystalline structures, squeezing out water.
Over time, the branched amylopectin molecules also slowly re-crystalize, further contributing to the hardening of the crumb. This process is most rapid at temperatures just above freezing, typically between 0°C and 10°C (32°F and 50°F), which is why refrigerating bread actually speeds up staling compared to storing it at room temperature.
While retrogradation is the main driver of staling, moisture loss from the bread's surface also contributes to the feeling of dryness, especially for crusty loaves. The balance between preventing the internal molecular changes and managing external moisture is key to effective bread storage. For example, a sealed plastic bag prevents external moisture loss but traps internal moisture, which can soften the crust and, paradoxically, slightly slow retrogradation in the crumb but also create an environment conducive to mold growth. Finding the right storage method depends on the bread type and how quickly you plan to eat it.
Factors Affecting Bread Freshness: Moisture, Temperature, and Ingredients
Several factors influence how quickly bread goes stale. Moisture is critical; bread with higher moisture content, like many enriched or soft sandwich loaves, often stays soft longer initially but can also be more prone to mold. Drier, crustier loaves may feel stale sooner due to crust hardening and moisture loss from the surface, even if the crumb's retrogradation is happening at a similar rate internally.
Temperature plays a significant role, as mentioned earlier. Storage at typical refrigeration temperatures accelerates the retrogradation process. Room temperature storage, ideally around 20-22°C (68-72°F), is generally best for short-term storage (1-3 days) for most bread types. Freezing, however, halts retrogradation almost completely, making it the best option for long-term storage.
Finally, ingredients matter. Bread made with fats (like butter or oil), milk, or eggs tends to stay softer longer because these ingredients interfere with starch retrogradation. For instance, a brioche loaf with significant butter and egg content might stay soft for several days at room temperature, while a lean baguette made only with flour, water, yeast, and salt will likely become hard within a day.
The Importance of Storing Bread Properly to Extend its Life
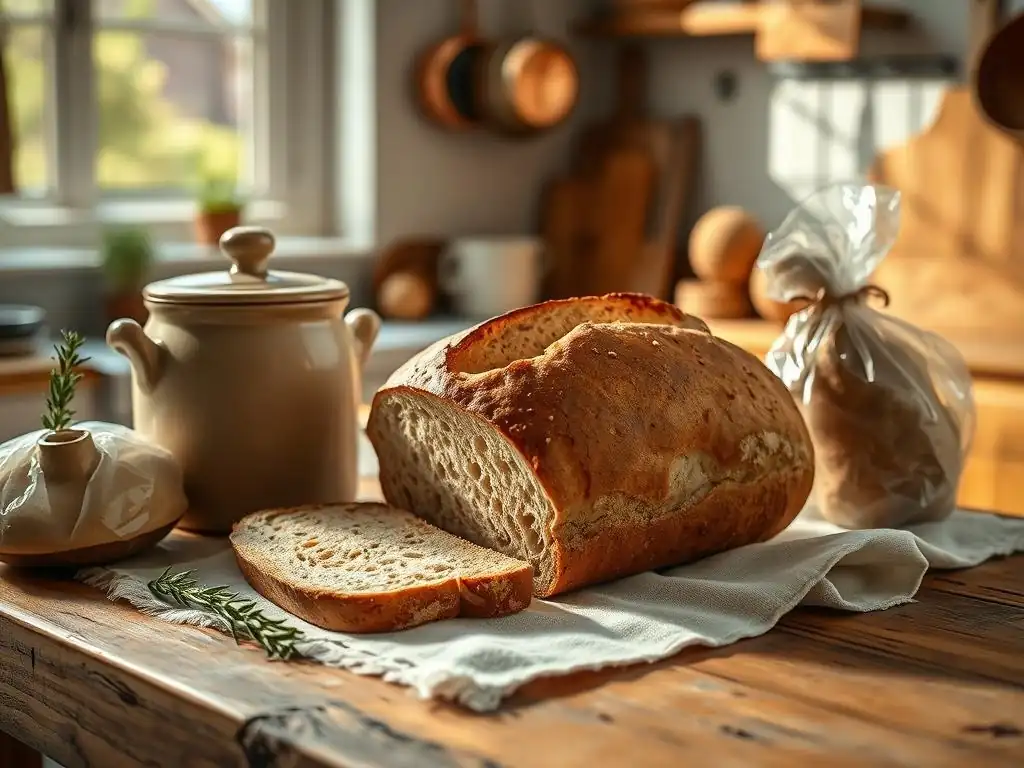
Storing bread properly is more than just keeping it edible; it's about maintaining the qualities that make it enjoyable – the soft crumb, the crisp crust, the inviting aroma. Effective storage significantly extends the period during which your bread remains delicious and safe to eat.
Without proper storage, a loaf might be at its best for only 24 hours, but with the right techniques, you can easily double or triple its fresh lifespan at room temperature, or even preserve it for months in the freezer. This means fewer trips to the bakery or grocery store and more opportunities to enjoy your favorite bread exactly how it should be.
Beyond the immediate benefit of better-tasting bread, mastering storage techniques is a powerful way to combat food waste. Bread is one of the most commonly wasted food items globally. According to some estimates, up to 44% of bread produced in the UK is wasted, often because it goes stale or moldy before it can be eaten. By implementing simple strategies for storing bread properly, households can dramatically reduce the amount of bread they throw away, saving money and contributing to a more sustainable approach to food consumption.
Maximizing Bread Freshness: Preventing Mold and Dryness
Maximizing bread freshness involves a dual approach: preventing excessive moisture loss (which causes dryness and a hard crust) and preventing excessive moisture buildup (which encourages mold growth). The ideal storage method strikes a balance.
For example, a paper bag allows the crust to remain crisp initially by letting moisture escape, but it offers little protection against drying over time, leading to a very hard loaf within a day or two. Conversely, a plastic bag effectively prevents moisture loss from the crumb, keeping it soft, but traps surface moisture released by the bread, which can make the crust soggy and create a humid environment ripe for mold spores to flourish, especially in warmer, humid conditions.
The key is to understand the specific needs of the bread type and the intended storage duration. Storing bread properly often means choosing a container or method that manages humidity effectively. For instance, a well-designed bread box with controlled ventilation can offer a good compromise for room temperature storage, keeping the interior relatively stable while allowing some air circulation. For longer-term preservation, freezing is unparalleled because the low temperature essentially pauses both retrogradation and microbial growth, allowing you to enjoy a loaf that tastes remarkably close to fresh even weeks or months later, provided it is wrapped correctly.
Reducing Food Waste by Storing Bread Correctly
Reducing food waste is a critical global challenge, and proper bread storage is a simple yet impactful way individuals can contribute to the solution. When bread goes stale or moldy prematurely, it represents wasted resources from farming and production through transportation and packaging. By learning how to store bread properly extend life, consumers can ensure they consume a much larger portion of the bread they purchase or bake. This not only saves money but also lessens the environmental footprint associated with food production and waste disposal.
Consider a typical household that throws away half a loaf of bread each week due to spoilage. Over a year, this amounts to approximately 26 loaves of bread wasted. By adopting better storage habits, such as freezing half the loaf immediately after purchase or baking, or using a proper bread box for short-term storage, that household could potentially cut their bread waste significantly, perhaps by 80-90%. This simple change, multiplied across millions of households, translates into a substantial reduction in overall food waste, highlighting the powerful impact of storing bread properly on both personal budgets and environmental sustainability.
Best Methods for Storing Bread Properly: A Comprehensive Guide
Choosing the best way to store your bread depends largely on how quickly you plan to eat it and the type of bread it is. There isn't a single one-size-fits-all answer, but understanding the pros and cons of different methods will help you make the right choice for your loaf. The two primary environments for storing bread are room temperature and the freezer, each suited for different durations and bread styles.
For short-term enjoyment (1-3 days), room temperature storage is usually preferred to maintain accessibility and flavor. However, the container matters significantly. For longer-term needs (beyond a few days or up to several months), the freezer is the undisputed champion. Freezing effectively pauses the staling process and prevents mold, allowing you to preserve that fresh-baked quality for much longer, making storing bread properly extend life significantly.
Storing Bread at Room Temperature: Optimal Practices
Storing bread at room temperature is ideal for loaves you plan to consume within a few days. The goal here is to protect the bread from drying out too quickly while allowing some air circulation to prevent mold growth, especially for crusty breads. Avoid placing bread in direct sunlight or near heat sources like ovens or warm appliances, as heat accelerates both drying and mold development. A cool, dry spot in your kitchen is best.
The type of container is paramount for room temperature storage. While simply leaving bread on the counter exposed to air will lead to rapid staling (especially for crusty loaves), sealing it completely in plastic can trap moisture, softening the crust and increasing mold risk. The optimal method often involves a balance, such as using a bread box or wrapping techniques that provide some protection without creating a humid microclimate.
Choosing the Right Bread Box: Material and Ventilation
A bread box is a traditional and often effective way of storing bread at room temperature. Its primary function is to provide a consistent, dark environment that protects the bread from air exposure and light, while often offering some level of ventilation to prevent excess moisture buildup. Bread boxes come in various materials, including wood, metal, and plastic, each with slight variations in how they regulate humidity and temperature.
Wooden bread boxes, particularly those made from bamboo or unfinished wood, can absorb some excess moisture, helping to keep crusty bread from becoming soggy. Metal bread boxes, while durable and easy to clean, can sometimes trap more humidity, so ventilation is key. Look for bread boxes with small vents or loosely fitting lids. A good bread box helps strike the balance needed for storing bread properly for a few days, keeping the interior relatively stable and extending the loaf's freshness compared to leaving it fully exposed.
Paper Bags vs. Plastic Bags: Short-Term Storage Pros and Cons
When it comes to short-term storage on the counter, the choice between paper and plastic bags significantly impacts the bread's texture. Paper bags (like the ones often provided by bakeries) are excellent for maintaining a crisp crust initially because they allow moisture to escape. This is perfect for artisan loaves, baguettes, or sourdoughs where a crunchy crust is desired. However, they offer minimal protection against moisture loss from the loaf, meaning the bread will dry out and become hard relatively quickly, often within 12-24 hours depending on the environment.
Plastic bags, on the other hand, are highly effective at preventing moisture loss from the bread's interior, keeping the crumb soft and pliable for longer. This makes them a good choice for soft sandwich breads or enriched loaves where maintaining a soft texture is the priority.
The major drawback is that they trap all moisture, including that evaporating from the bread's surface, which can make the crust soggy and create a humid environment that accelerates mold growth, especially if the bread wasn't fully cooled before bagging or if the kitchen is warm and humid. For storing bread properly to maintain a soft crumb, plastic is often the go-to for a day or two, but vigilance against mold is necessary.
Freezing Bread for Long-Term Storage: A Step-by-Step Guide
Freezing is the most effective method for storing bread for more than a few days, allowing you to preserve its quality for up to several months. The low temperature in the freezer effectively halts the staling process (retrogradation) and prevents mold and bacterial growth. Properly frozen and thawed bread can taste remarkably similar to fresh bread, making this an excellent way to handle larger loaves, bulk purchases, or homemade bread you won't finish quickly.
The key to successful freezing lies in protecting the bread from freezer burn, which occurs when moisture evaporates from the food's surface and forms ice crystals, leading to dry, discolored spots. This requires airtight packaging. By taking a few simple steps to prepare and wrap your bread before freezing, you ensure that storing bread properly extends its life significantly without sacrificing quality.
Preparing Bread for Freezing: Slicing, Wrapping, and Sealing
Proper preparation is crucial for successful freezing. First, ensure the bread is completely cooled to room temperature before wrapping. Freezing warm bread will create condensation inside the packaging, leading to ice crystals and potential freezer burn or a soggy loaf upon thawing. For convenience, consider slicing the bread before freezing. This allows you to thaw just a few slices at a time, rather than the entire loaf, reducing waste and making it easier to access.
Once cooled (and sliced, if desired), wrap the bread tightly. A two-layer wrapping system is often recommended for maximum protection against freezer burn. Start with an inner layer of plastic wrap or foil, ensuring it's pressed firmly against the bread's surface to eliminate air pockets. Then, add an outer layer of a freezer bag or heavy-duty foil. Label the package with the date and contents (e.g., "Sourdough, Sliced, 10/26"). This meticulous wrapping is essential for storing bread properly in the freezer and preserving its texture and flavor for months.
Thawing Frozen Bread: Best Practices for Texture and Flavor
Thawing frozen bread correctly is just as important as freezing it properly. The best method depends on whether the bread is a whole loaf or sliced. For individual slices, you can often toast them directly from frozen, or simply lay them out on a plate for 15-30 minutes at room temperature. They thaw very quickly.
For a whole loaf, the ideal method is a slow thaw at room temperature. Remove the loaf from the freezer and its packaging (to prevent condensation from making the crust soggy) and let it sit on the counter for several hours until fully thawed. A standard loaf might take 4-6 hours, while a larger loaf could take longer.
To restore a crisp crust, you can briefly warm the thawed loaf in a preheated oven (around 180°C or 350°F) for 5-10 minutes. Avoid thawing bread in the microwave, as this can make it tough and rubbery. Patience during thawing ensures that storing bread properly via freezing yields a result very close to fresh.
Storing Different Types of Bread: Specific Considerations
Not all bread is created equal, and their ideal storage methods can vary based on their composition and desired texture. A soft sandwich loaf has different needs than a crusty baguette or a hearty rye. Understanding these differences helps in storing bread properly for each type.
For example, loaves with a very hard, crisp crust (like baguettes) are particularly susceptible to becoming soft and chewy in humid environments like plastic bags. Conversely, very soft, tender loaves need protection from crushing and drying. Tailoring your storage method to the specific bread type ensures you maintain its best qualities.
Storing Sourdough Bread: Maintaining Crust and Flavor
Sourdough bread, known for its tangy flavor and often chewy interior with a substantial crust, benefits from storage methods that preserve its unique characteristics. For the first day or two, storing sourdough at room temperature is usually best. A simple paper bag or a linen bread bag is often preferred initially to keep the crust crisp by allowing excess moisture to escape.
However, after 24-48 hours, a paper bag will lead to significant drying. For longer room temperature storage (up to 3-4 days), transferring it to a bread box or loosely wrapping it in a beeswax wrap or a combination of paper and plastic (e.g., wrapping in paper and placing inside a loosely tied plastic bag) can help retain some moisture in the crumb while trying to minimize crust softening.
For storage beyond 3-4 days, or to preserve that fresh-baked quality for weeks, freezing is the superior method, using the double-wrapping technique described earlier. Storing sourdough properly requires balancing the desire for a crisp crust with the need to prevent the crumb from drying out completely.
Storing Crusty Bread: Preventing Softening
Crusty breads, such as baguettes, ciabatta, or rustic country loaves, are all about that satisfying crackle and chew. The enemy of a crisp crust is moisture. Therefore, methods that trap humidity, like tightly sealed plastic bags, should generally be avoided for immediate storage if maintaining crust is the priority.
For the first day, storing these loaves uncovered on the counter (cut-side down if already sliced) or in a paper bag is ideal for preserving the crust. However, they will go stale and hard rapidly this way. A bread box with good ventilation is a reasonable compromise for 1-2 days.
For longer storage, freezing is the only way to truly preserve the original texture. Wrap tightly for freezing, and upon thawing, a quick reheat in a hot oven can help revive some of the crust's crispness. Storing bread properly to keep the crust crisp is challenging beyond the first day without freezing.
Storing Soft Bread: Preventing Crushing and Mold
Soft breads, like sandwich loaves, brioche, challah, and dinner rolls, prioritize a tender, yielding crumb. These breads are less prone to drying out quickly due to their higher fat or sugar content, but they are susceptible to crushing and mold. A plastic bag is often the standard storage method for these types, as it effectively keeps the crumb soft by preventing moisture loss.
To prevent crushing, store soft bread in its original bag or a dedicated bread container that protects its shape. Ensure the bread is fully cooled before bagging to minimize condensation, which can lead to mold. If you won't finish a soft loaf within 3-4 days, especially in warm or humid conditions, freezing is highly recommended. Slice the loaf first, then wrap sections or the whole loaf tightly before freezing. Storing bread properly for soft varieties focuses on maintaining softness and preventing mold and physical damage.
Simple Tips and Tricks to Prevent Stale Bread
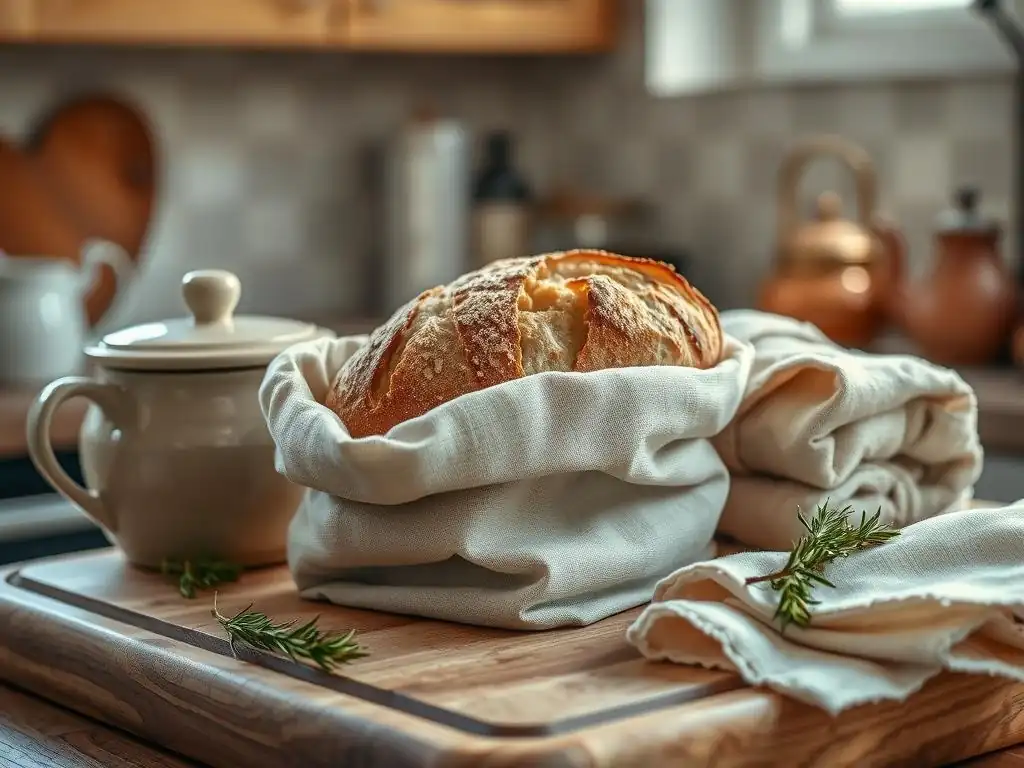
Beyond the main storage methods, a few simple habits can make a big difference in how long your bread stays fresh. These tips are easy to incorporate into your routine and help ensure you get the most enjoyment out of every loaf, proving that storing bread properly is often in the details.
From how you handle the bread immediately after baking or purchasing to how you slice it, these small adjustments can significantly impact the bread's lifespan on your counter or in your pantry.
Cooling Bread Completely Before Storing
This is perhaps one of the most crucial, yet often overlooked, steps in preventing premature staling and mold. Bread continues to release steam and moisture as it cools after baking. If you seal bread in a bag or container while it's still warm, that moisture becomes trapped.
This trapped moisture creates a humid environment inside the storage container, which is the perfect breeding ground for mold spores. Moreover, the internal structure of the bread is still setting as it cools; sealing it too early can negatively affect its final texture. Always wait until the bread has cooled completely to room temperature, which can take 2-4 hours for a standard loaf, before attempting to store it in any sealed container. This simple step is fundamental to storing bread properly and preventing spoilage.
Using a Serrated Bread Knife for Clean Slices
While it might seem minor, how you slice your bread can impact its freshness, especially if you're storing a partially cut loaf. Using a sharp serrated bread knife allows you to cut through the crust and crumb cleanly with a sawing motion, rather than crushing or tearing the bread.
A clean cut minimizes damage to the crumb structure and creates a smooth surface. A rough or jagged cut exposes more surface area of the delicate interior to the air, leading to faster drying and staling of the cut face. For a partially eaten loaf, storing it cut-side down on a clean surface (like a cutting board) or wrapping the cut end tightly can help protect that exposed surface from drying out. This small detail contributes to storing bread properly and keeping the remaining portion fresher.
Reviving Stale Bread: Quick Fixes to Restore Freshness
Even with the best storage practices, sometimes bread goes a little stale. Don't despair! Stale bread isn't necessarily wasted bread. While you can't reverse retrogradation entirely, you can add moisture back to make it palatable again for immediate consumption. These techniques are great for reviving a crusty loaf or making a soft loaf usable for sandwiches.
Keep in mind that these methods are temporary fixes for eating the bread right away; they don't prolong its storage life. They are simply ways to make slightly stale bread enjoyable again, offering a second chance before it's destined for breadcrumbs or croutons.
Reheating in the Oven: Adding Moisture for Softness
One of the most effective ways to revive a slightly stale loaf, especially a crusty one that has become hard, is to reheat it in the oven with a bit of added moisture. Lightly dampen the crust of the whole loaf under running water (yes, really!) or by using a pastry brush. Don't soak it, just get the surface moist.
Place the damp loaf directly on the rack in a preheated oven at around 150-180°C (300-350°F) for 5-10 minutes. The moisture on the surface turns to steam, which is absorbed by the crust and crumb, softening the interior and often reviving the crispness of the crust as the water evaporates. This works best for loaves that are just a day or two past their prime. Storing bread properly initially minimizes the need for revival, but this is a handy trick.
Steaming Stale Bread: Reviving Crust and Interior
Steaming is another excellent method, particularly for smaller pieces or slices, or for bread that has gone quite hard. You can do this by placing a basket or colander over a pot of simmering water, placing the bread inside, and covering it for a few minutes. The steam penetrates the bread, adding moisture and softening both the crust and the crumb.
Alternatively, you can use a microwave with a small cup of water alongside the bread (though be cautious not to over-microwave, which can make it tough). For crusty bread, steaming followed by a quick finish in a hot oven can help crisp the exterior again. Steaming is a rapid way to add moisture back, making the bread edible and pleasant to eat immediately, demonstrating that even slightly stale bread can be salvaged with the right technique.
Common Bread Storage Mistakes to Avoid
Knowing the best practices for storing bread properly is important, but it's equally vital to be aware of common pitfalls that can accelerate staling or lead to spoilage. Avoiding these mistakes will dramatically improve your success rate in keeping bread fresh.
Many of these errors involve temperature, air exposure, or relying solely on external indicators rather than observing the bread itself. Steering clear of these habits will ensure your efforts in storing bread properly pay off.
Leaving Bread Exposed to Air: Promoting Staling
Leaving bread, especially sliced bread or crusty loaves, exposed to the open air is one of the fastest ways to guarantee it goes stale quickly. Air circulation causes moisture to evaporate rapidly from the bread's surface and interior, accelerating the drying process and the feeling of hardness associated with staleness.
While some air circulation is beneficial in a bread box to prevent mold, direct and constant exposure to ambient air on a countertop or in a bread basket without any covering offers no protection. A loaf left uncovered can become noticeably hard and dry within just a few hours, particularly in dry environments. Even a loose covering, like a tea towel, offers minimal protection compared to proper storage methods. Storing bread properly means shielding it from excessive air exposure.
Storing Bread Near Heat Sources: Accelerating Degradation
Storing bread near appliances that generate heat, such as ovens, toasters, dishwashers, or even on top of a refrigerator (which often vents heat), is detrimental to its freshness. Elevated temperatures not only encourage faster moisture loss from the bread but also accelerate the retrogradation process within the starch molecules.
Warm environments are also much more conducive to mold growth. Mold spores, which are often present in the air, thrive in warmth and humidity. Placing bread in a warm spot creates the ideal conditions for mold to appear much sooner than it would in a cool, dry place. Always choose a cool, dark spot in your kitchen or pantry for room temperature storage, far away from any heat-emitting appliances, as part of storing bread properly.
Relying Solely on "Best By" Date: Observing Bread Quality
While "Best By" or "Sell By" dates on commercially produced bread can offer a general guideline, they are not absolute indicators of freshness or safety, especially once the bread has been opened or stored improperly. These dates are often more about peak quality than safety.
Instead of blindly following the date, rely on your senses. Look for visible mold growth (which can appear as fuzzy spots of various colors). Smell the bread – off-odors indicate spoilage. Feel the texture – is it excessively hard or slimy? Trust your judgment based on the bread's actual condition and how it has been stored. Storing bread properly certainly helps it last closer to or even beyond these dates, but always inspect the bread before consuming it.
Choosing the Right Bread Storage Containers
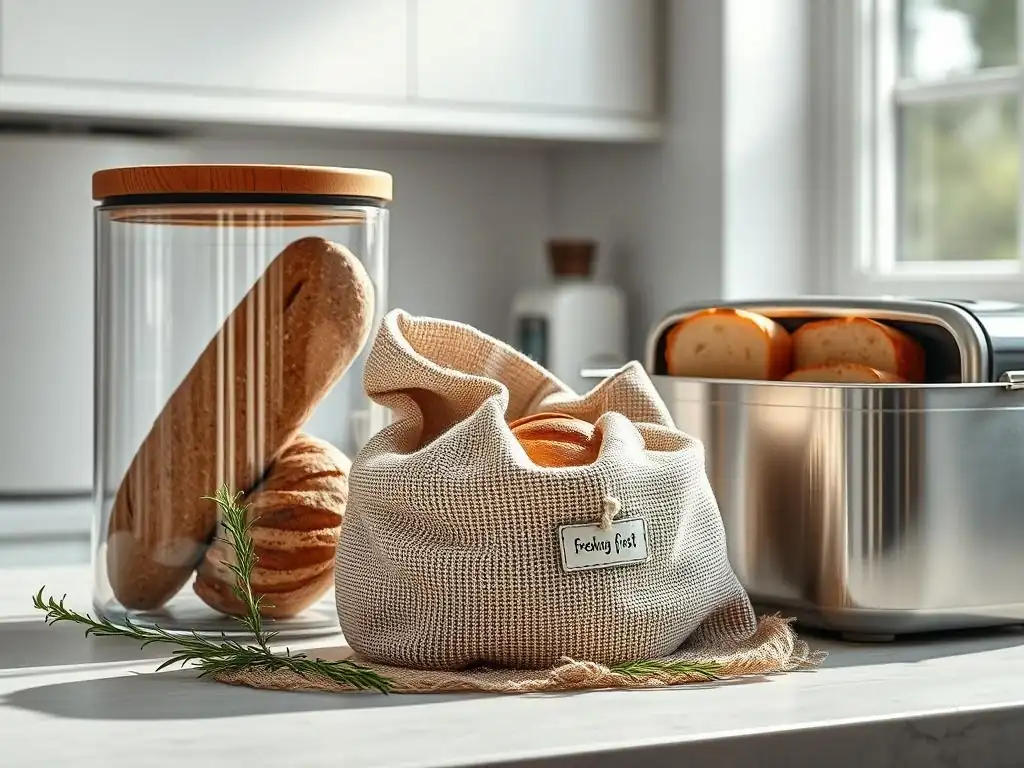
The container you choose for storing bread plays a significant role in its lifespan and quality. Different containers offer varying levels of air circulation and moisture control, making some better suited for certain types of bread or storage durations than others.
Selecting the appropriate vessel is a key component of storing bread properly, helping to create the optimal microenvironment to keep your loaf fresher for longer, whether it's a rustic artisan loaf or a soft sandwich bread.
Bread Boxes: Traditional Storage for Room Temperature
Bread boxes are a classic choice for storing bread at room temperature, offering a balance between protection and ventilation. They shield the bread from light and air currents that cause rapid drying while typically allowing enough air exchange to prevent excessive humidity buildup, which can lead to mold.
Materials like wood can help regulate humidity naturally. A well-ventilated metal or plastic bread box can also work effectively. While a bread box won't keep bread as soft as a sealed plastic bag for the first day, it generally provides a better environment for maintaining a reasonable texture for 2-4 days for many types of bread, especially those with a crust, compared to fully airtight storage. Storing bread properly in a bread box is a time-tested method for short to medium-term counter storage.
Airtight Containers: Controlling Humidity
Airtight containers, such as plastic bags, sealed plastic bins, or tightly wrapped foil/plastic wrap combinations, are highly effective at preventing moisture loss from the bread's crumb. This is why soft sandwich loaves stay soft in their plastic bags. They create a sealed environment where the moisture from the bread stays trapped inside the container.
While excellent for maintaining a soft interior, the lack of air circulation means that any moisture released by the bread (steam from cooling or evaporation from the surface) remains trapped, increasing the humidity within the container. This high humidity makes the crust soggy and, more importantly, creates an ideal environment for mold to grow rapidly, especially if the bread wasn't completely cool or if the ambient temperature is warm.
Use airtight containers cautiously for short periods or for freezing, where the low temperature inhibits mold. Storing bread properly in airtight containers requires careful consideration of cooling and potential mold risk.
Reusable Bread Bags: Eco-Friendly and Breathable
Reusable bread bags, often made from linen, cotton, or beeswax-infused fabric, offer an eco-friendly alternative to single-use plastic or paper bags. These bags typically provide more breathability than plastic, allowing some air circulation which can help keep crusts slightly firmer than plastic, while still offering more protection against drying than a paper bag or leaving the bread exposed.
Linen bags are particularly popular for artisan and sourdough loaves as they offer a good balance for room temperature storage over a few days. Beeswax wraps can be molded tightly around the bread, offering a more moisture-retentive seal than cloth alone, while still being somewhat breathable. While they may not keep bread perfectly fresh for as long as freezing, reusable bags are a good option for storing bread properly on the counter for a few days while being mindful of the environment.
Conclusion: Enjoy Fresh Bread Every Day
Mastering the art of storing bread properly is a simple yet powerful way to enhance your enjoyment of this staple food, reduce food waste, and save money. By understanding the science of staling (retrogradation) and the factors that influence it, you can make informed decisions about the best way to care for your loaves.
Whether you opt for a traditional bread box, embrace the convenience of freezing, or utilize reusable bags, the key is to choose a method that balances preventing dryness with avoiding mold, tailored to the type of bread and how quickly you plan to eat it. Implementing practices like cooling bread completely, using a good knife, and knowing how to revive a slightly stale loaf further contributes to maximizing freshness. By consistently storing bread properly extend life, you ensure that delicious, high-quality bread is always within reach, ready to be enjoyed slice by perfect slice.
Frequently Asked Questions
How does proper storage extend the life of my bread?
Proper storage methods, such as using an airtight container or freezing, slow down the staling process. This keeps your bread fresher for longer by preventing moisture loss and mold growth.
What's the best way to store bread at room temperature?
At room temperature, store bread in a bread box or wrapped tightly in plastic wrap or a reusable bread bag. This helps maintain its moisture content and prevents it from drying out too quickly.
Can I freeze bread to keep it fresh for a longer time?
Yes, freezing bread is a great way to extend its shelf life significantly. Wrap the loaf tightly in plastic wrap and then in foil or place it in a freezer bag for best results.
What's the difference between storing store-bought bread versus homemade bread?
Homemade bread often lacks preservatives found in store-bought bread. Therefore, it may stale faster. Both benefit from proper storage, but homemade bread might require slightly more attention to sealing.
How do I revive stale bread?
You can revive slightly stale bread by lightly sprinkling it with water and baking it in a warm oven for a few minutes. This rehydrates the bread, making it softer.
Final Reflection: The Enduring Crust: Preserving Bread, Preserving Traditions
The seemingly simple act of storing bread properly is far more than just preventing waste; it's a direct connection to the history of food preservation and a testament to our enduring relationship with this staple. Failing to store bread correctly not only leads to premature spoilage and wasted resources but also diminishes the enjoyment of a perfectly baked loaf. In a world increasingly focused on sustainability and mindful consumption, mastering the art of bread storage becomes a crucial skill.
The impact of properly storing bread extends beyond the individual household. It speaks to a larger cultural appreciation for food, a respect for the craft of baking, and a commitment to reducing food waste. Bread is the staff of life,
a common saying reminds us of its fundamental importance. By understanding and applying the simple techniques discussed in this article, we actively participate in a long-standing tradition of resourcefulness and appreciation for the bounty of the earth. This isn't merely about extending the life of a loaf; it's about honoring the process that brought it into being.
Now, consider your own kitchen. Think about the last loaf you purchased – did you store it correctly? What changes can you make to ensure that your bread remains fresh and delicious for longer? I encourage you to take the information presented here and apply it to your own life, not just to save money and reduce waste, but to cultivate a deeper appreciation for the simple pleasures of a perfectly preserved loaf of bread. Let's all work together to stop stale bread and embrace the enduring satisfaction of a truly fresh, flavorful bite.
Unlock the Secret to Perfectly Fresh Bread!
Thanks for taking the time to learn how to keep your bread tasting its absolute best! We hope you now feel confident in tackling stale bread woes. Ready to put your newfound knowledge into practice?
- Try our recommended storage methods: Experiment with freezing, using a bread box, or even repurposing your bread for delicious treats! This is the key to longer-lasting freshness.
- Share your bread-storing successes (or challenges!) with our community in the comments below. We love hearing from you!
- Check out our other baking tips to further elevate your baking game.
Ready to say goodbye to stale bread for good? What's your favorite bread-keeping tip?