
Why Enriched Doughs Are Tricky to Rise & How to Succeed

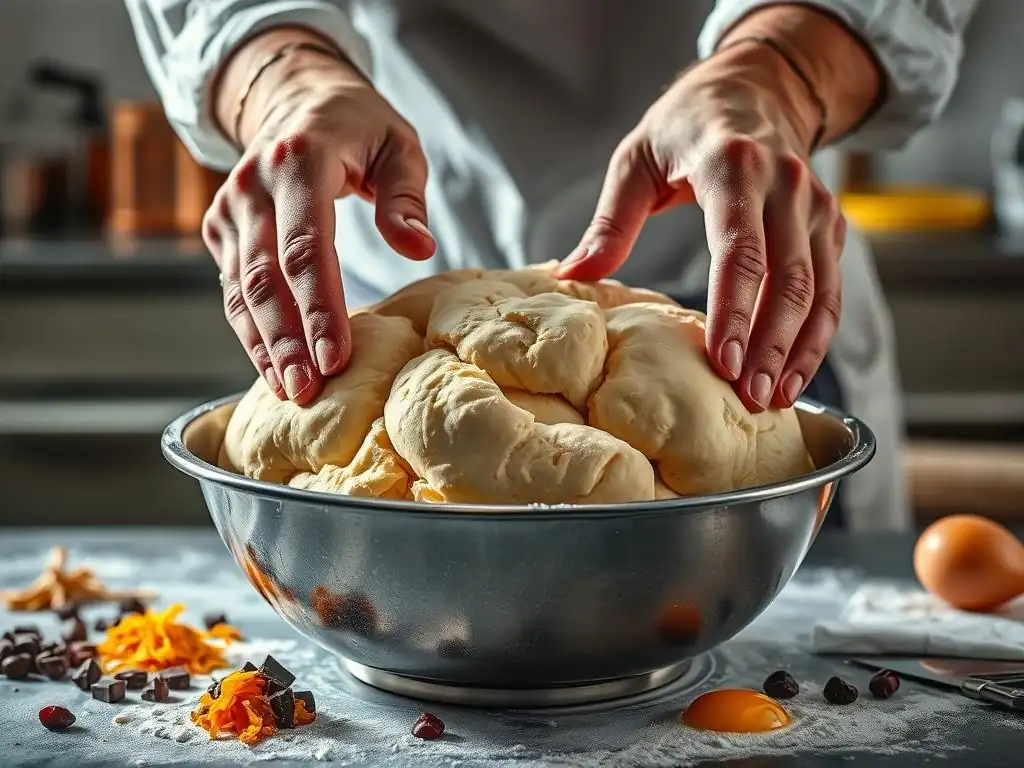
Welcome to BakeWithEase, where we demystify the world of baking! Ever wrestled with an enriched dough that stubbornly refuses to rise? You're not alone. In this article, we'll unravel the secrets behind those tricky doughs, offering practical tips and proven techniques to help you achieve the perfect rise, every time. Ready to conquer your baking fears and unlock the delicious potential of enriched breads and pastries? Let's get started!
- Mastering Brioche: Techniques for a Perfect Rise (BakeWithEase.com)
- Understanding Brioche and its Unique Challenges
- The Science Behind Slow Rise in Brioche: Why It Takes Longer
- Troubleshooting Brioche Rise Problems: Common Issues and Solutions
- Mastering the Rise: Essential Techniques for Successful Brioche Baking
- Proving Brioche: Time, Temperature, and Technique
- Recipe Adjustments for Better Brioche Rise: Tips and Tricks
- Examples of Brioche Applications and Specific Rising Considerations
- Advanced Techniques for Boosting Brioche Fermentation
- Preventing Over-Proofing in Brioche: Recognizing the Signs
- Conclusion: Achieving Baking Success with Brioche
-
Frequently Asked Questions
- Why do enriched doughs sometimes struggle to rise compared to leaner doughs?
- What is the ideal temperature for proofing enriched dough to ensure a good rise?
- How does over-kneading affect the rise of enriched doughs?
- Can the type of yeast used impact the rise of enriched doughs?
- What role does proper hydration play in the rise of enriched doughs?
- Final Reflection: Mastering the Art of Enriched Doughs
- Unlock Your Dough's Potential: Rise to the Occasion!
Mastering Brioche: Techniques for a Perfect Rise (BakeWithEase.com)
Brioche, with its rich, buttery crumb and slightly sweet flavor, is a true delight in the world of baking. However, many bakers find that achieving a good rise with brioche can be particularly challenging compared to leaner bread doughs. Understanding the unique properties of this enriched dough is key to overcoming common enriched dough rise problems and enjoying consistently successful results.
Understanding Brioche and its Unique Challenges
Brioche stands apart from many other bread doughs due to its high content of fat (butter) and eggs, and often sugar. These enriching ingredients contribute to its luxurious texture and taste but also significantly impact the fermentation process carried out by yeast. This is where many enriched dough rise problems begin.
Defining Brioche: Richness from Butter and Eggs
Brioche is fundamentally a yeast-leavened dough characterized by a substantial amount of butter and eggs incorporated into the basic flour, water (or milk), yeast, and salt mixture. While a standard lean bread might have minimal or no added fat beyond what's in the flour, brioche recipes often call for butter amounts ranging from 50% to over 100% of the flour weight. For instance, a classic brioche recipe using 500g of flour might include 250g to 500g (or even more) of cold butter, cubed, and often 4 to 8 whole eggs.
This high percentage of enriching ingredients is what gives brioche its distinctive tender crumb, golden color, and rich flavor. Unlike a rustic baguette, which relies on strong gluten development and minimal ingredients for its structure and open crumb, brioche develops a softer, more cake-like structure. The sheer volume of fats and proteins from the butter and eggs fundamentally alters the dough's environment, presenting initial challenges for yeast activity and subsequent enriched dough rise problems.
The Impact of Butter, Eggs, and Sugar on Yeast Activity
The enriching ingredients in brioche—butter, eggs, and often sugar—each play a role in influencing yeast fermentation, and not always in a way that promotes a rapid rise. Butter, being a fat, can coat yeast cells and inhibit their access to the starches and sugars they need to consume for energy and gas production. While yeast can eventually work through this, it often slows down the initial fermentation rate significantly compared to a lean dough.
Eggs contribute protein and fat, which enrich the dough but also make it denser and heavier. The proteins can interact with gluten development, and the fats, like butter, can impede yeast. Sugar, while providing readily available food for yeast in moderation, can be detrimental in high concentrations. A brioche dough might contain 5-15% sugar (relative to flour weight). At higher levels, sugar can draw moisture out of yeast cells via osmosis, effectively dehydrating and slowing them down, contributing to enriched dough rise problems.
The Science Behind Slow Rise in Brioche: Why It Takes Longer
It's a common experience: you mix your brioche dough, and it just sits there, seemingly doing nothing for the first hour or two. This sluggish start is not necessarily a sign of failure but rather a normal consequence of the dough's composition. Understanding the scientific principles at play helps manage expectations and implement strategies to encourage a proper rise, mitigating enriched dough rise problems.
How Sugar Inhibits Yeast Fermentation: The Science Explained
While yeast needs sugar to produce carbon dioxide (the gas that makes bread rise) and alcohol, excessive sugar can actually hinder fermentation. This is due to osmosis. Yeast cells have a semipermeable membrane. In a dough with high sugar concentration, the water potential inside the yeast cell is higher than in the surrounding dough matrix. Water then moves out of the yeast cell into the dough to try and equalize the concentration, a process called plasmolysis.
This loss of water dehydrates the yeast cells, making them less active or even dormant until they can adapt to the sugary environment. Think of it like trying to work when you're very thirsty. While some osmophilic yeasts are more tolerant of high sugar levels, standard baker's yeast (Saccharomyces cerevisiae) can struggle. This osmotic stress is a primary reason why highly sweetened enriched doughs like brioche often have a slower initial rise compared to lean doughs with minimal sugar.
The Role of Butter in Gluten Development and Dough Density
Butter, when incorporated into dough, interferes with the development of gluten. Gluten is formed when the proteins in flour (glutenin and gliadin) hydrate and are worked through kneading, forming a network that traps the gas produced by yeast. Butter, being a fat, coats these protein strands, preventing them from linking together effectively. This is why brioche dough is often soft and extensible but can feel less elastic than a lean dough.
Furthermore, the large quantity of butter makes the dough significantly denser and heavier than a lean dough. Yeast has to work harder to inflate this heavier matrix. Imagine trying to lift a heavy blanket versus a light sheet. The gas bubbles produced by fermentation face more resistance trying to expand within the dense, butter-laden dough structure. This increased resistance contributes to the slower visible rise and is a common factor in enriched dough rise problems.
Egg's Effect on Dough Structure and Yeast Performance
Eggs contribute both protein and fat to brioche dough. The proteins, primarily albumin and globulin, interact with the gluten network, adding richness and structure. However, they also contribute to the dough's overall density and richness, making it a more challenging environment for yeast activity. The fats in the egg yolk, similar to butter, can coat yeast cells and impede their function.
Additionally, eggs add a significant amount of liquid to the dough, but this liquid is rich in dissolved solids (proteins, fats, sugars). While hydration is necessary for yeast and gluten development, the type of hydration matters. Water is pure H₂O, allowing for efficient hydration and yeast activity. Egg, being a complex mixture, hydrates differently and contributes to the overall richness and density that slows down fermentation. The proteins also contribute to the structure, making the dough firmer and requiring more yeast effort to create volume.
Troubleshooting Brioche Rise Problems: Common Issues and Solutions
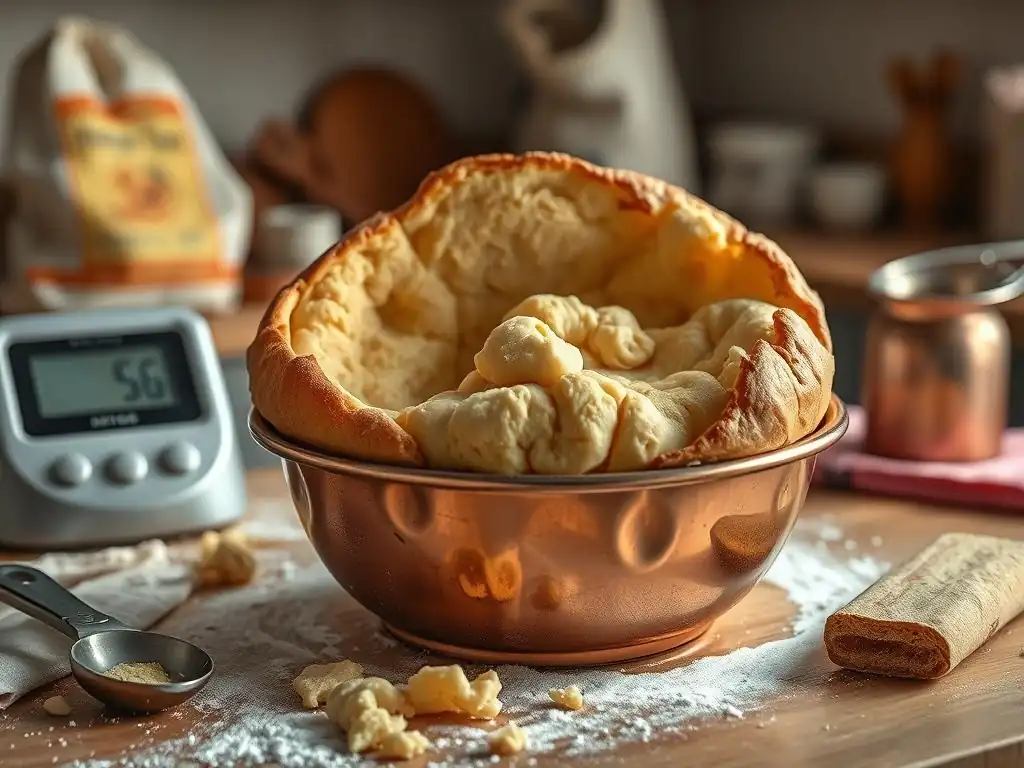
Experiencing a slow or non-existent rise in your brioche dough can be frustrating, but it's often due to identifiable factors related to the dough's unique composition and handling. Recognizing the signs and understanding the common pitfalls is the first step to successful brioche baking and resolving enriched dough rise problems.
Identifying the Signs of a Poorly Risen Brioche Dough
A properly risen brioche dough should significantly increase in volume during the fermentation stage, typically doubling or even tripling in size depending on the recipe and proofing conditions. It should feel light and airy, and when gently poked, an indentation should remain, slowly springing back halfway (this is the "poke test"). A poorly risen dough, conversely, shows minimal or no volume increase after the expected time.
Other signs include a dense, heavy mass that feels cold and inactive. There might be little to no visible bubbling on the surface or sides of the dough container. The dough might also appear tight and resistant when handled, indicating insufficient fermentation has occurred to relax the gluten structure. These symptoms are classic indicators of enriched dough rise problems that need addressing.
Common Mistakes That Hinder Brioche Rising
Several common errors can lead to enriched dough rise problems in brioche. One frequent issue is insufficient kneading; brioche requires thorough mixing to develop the gluten structure necessary to support the heavy dough, often taking 10-20 minutes in a stand mixer. Another mistake is adding cold butter too early or incorrectly, which can prevent proper emulsification and distribution, creating pockets that inhibit yeast.
Using inactive or expired yeast is a fundamental problem for any bread, but it's particularly detrimental in a challenging dough like brioche. Incorrect dough temperature is also critical; if the dough is too cold (below 20°C or 68°F), yeast activity will be very slow. Conversely, if it's too hot (above 35°C or 95°F), the yeast can be killed. Finally, impatience is a common culprit; brioche simply takes longer to rise than lean doughs, and cutting the fermentation time short will result in a poor rise.
Mastering the Rise: Essential Techniques for Successful Brioche Baking
Success with brioche relies on specific techniques that accommodate its rich nature and support yeast activity despite the challenging environment. Implementing these strategies can dramatically improve your results and help you overcome enriched dough rise problems.
Choosing the Right Yeast for Brioche: Fresh vs. Instant
The type of yeast you choose can impact the rise, especially in enriched doughs. Both active dry yeast and instant dry yeast (sometimes called rapid-rise or quick-rise) can be used, but instant yeast is generally more vigorous and reliable, making it a good choice for brioche. Instant yeast can usually be mixed directly into the dry ingredients, whereas active dry yeast typically needs to be proofed in warm liquid first (around 40-46°C or 105-115°F) to ensure it's alive and active before adding it to the dough.
Fresh yeast (also called compressed yeast) is another option, often favored by professional bakers for its consistent activity and subtle flavor contribution. If using fresh yeast, you'll typically need about 2-3 times the weight of instant dry yeast specified in a recipe. For example, if a recipe calls for 7g of instant yeast, you might use 15-20g of fresh yeast. Fresh yeast should be crumbled into the liquid ingredients to dissolve before mixing. Regardless of the type, ensure your yeast is fresh and stored correctly to guarantee potency and avoid enriched dough rise problems.
Optimizing Dough Temperature for Optimal Fermentation
Temperature is perhaps the most critical factor for yeast activity. Yeast thrives in a warm environment, but not too hot. For brioche, aiming for a dough temperature between 24°C and 27°C (75°F and 80°F) after mixing is ideal. This range promotes active fermentation without being so warm that it negatively impacts the butter or risk killing the yeast. Colder doughs (below 20°C or 68°F) will rise much slower, potentially leading to very long fermentation times.
Achieving the correct dough temperature starts with ingredient temperature. Using milk or water warmed to around 30-35°C (85-95°F) can help. Ensure eggs and butter are at the temperature specified by the recipe (often cold butter added gradually) and account for the heat generated during kneading, especially in a stand mixer. Using a thermometer to check the dough temperature is highly recommended to troubleshoot potential enriched dough rise problems related to temperature.
The Importance of a Well-Developed Gluten Structure
Even though brioche is rich, it still relies on a strong gluten network to trap the carbon dioxide gas produced by the yeast. Without sufficient gluten development, the dough won't have the structure to hold the gas, resulting in a dense, squat loaf even if the yeast is active. This means thorough kneading is essential, often requiring significantly more time than for lean doughs.
Brioche dough is typically very wet and sticky initially due to the high fat and egg content. Kneading, either by hand (can take 20-30 minutes) or in a stand mixer with a dough hook (typically 10-20 minutes on medium speed), develops the gluten.
You'll know the gluten is sufficiently developed when the dough pulls away cleanly from the sides of the bowl (in a mixer) and passes the "windowpane test" – you should be able to stretch a small piece of dough thinly enough to see light through it without it tearing. Proper gluten development is foundational to overcoming enriched dough rise problems.
Proving Brioche: Time, Temperature, and Technique
The fermentation or "proving" stages are where the magic happens – the yeast produces gas, and the dough rises. Brioche often undergoes two proving stages: a bulk fermentation (first rise) and a final proof (second rise) after shaping. Both require careful attention to time, temperature, and environment to ensure a successful rise and avoid enriched dough rise problems.
Bulk Fermentation vs. Proofing: Understanding the Difference for Brioche
Bulk fermentation refers to the initial rise of the entire mass of dough after mixing and kneading, before it's divided and shaped. For brioche, this stage is crucial for developing flavor and initiating the significant volume increase. Due to the enriching ingredients, the bulk fermentation for brioche is often done in a cool environment, like the refrigerator, for an extended period (8-12 hours or even up to 24 hours). This slow, cold rise allows the yeast to work gradually, developing complex flavors while also firming up the butter, which makes the dough easier to handle and shape later.
Proofing, or the final proof, occurs after the dough has been shaped into its final form (loaf, rolls, etc.). This stage is typically done at a warmer temperature than the cold bulk fermentation, allowing the yeast to become more active and produce the final burst of gas needed for oven spring. The goal is for the shaped dough to increase significantly in volume and become light and airy before baking.
Creating the Ideal Proofing Environment: Humidity and Warmth
Yeast is most active in a warm environment, typically between 24°C and 27°C (75°F and 80°F) for the final proof. Consistency in temperature is important. Avoid drafty areas or places with fluctuating temperatures. A slightly humid environment is also beneficial as it prevents the surface of the dough from drying out and forming a skin, which can restrict the rise.
You can create an ideal proofing environment in several ways:
- Place the dough in a slightly warmed oven (turned off, with the light on, which usually provides enough warmth).
- Use a proofing box if you have one.
- Place the dough in a covered container or loosely cover with plastic wrap or a damp towel, then put it in a warm spot.
- Place the covered dough near a warm appliance, but not directly on a hot surface.
Maintaining the right temperature and humidity helps yeast perform optimally during the final proof, minimizing enriched dough rise problems at this critical stage.
Knowing When Your Brioche is Ready: The Poke Test and Volume Increase
Determining when your brioche dough is perfectly proofed before baking is essential. Over-proofing or under-proofing can both lead to undesirable results. During the final proof, the shaped dough should significantly increase in volume, typically doubling or nearly doubling in size, depending on the recipe and desired outcome.
The "poke test" is a reliable indicator. Gently but firmly press a floured finger into the side of the shaped dough about half an inch deep.
- If the indentation springs back immediately, the dough is under-proofed and needs more time.
- If the indentation slowly springs back halfway and leaves a small dent, the dough is likely perfectly proofed and ready to bake.
- If the indentation remains completely and doesn't spring back at all, the dough is likely over-proofed (more on this later).
Paying close attention to both visual volume increase and the poke test helps ensure your brioche is ready for the oven, preventing enriched dough rise problems related to timing.
Recipe Adjustments for Better Brioche Rise: Tips and Tricks
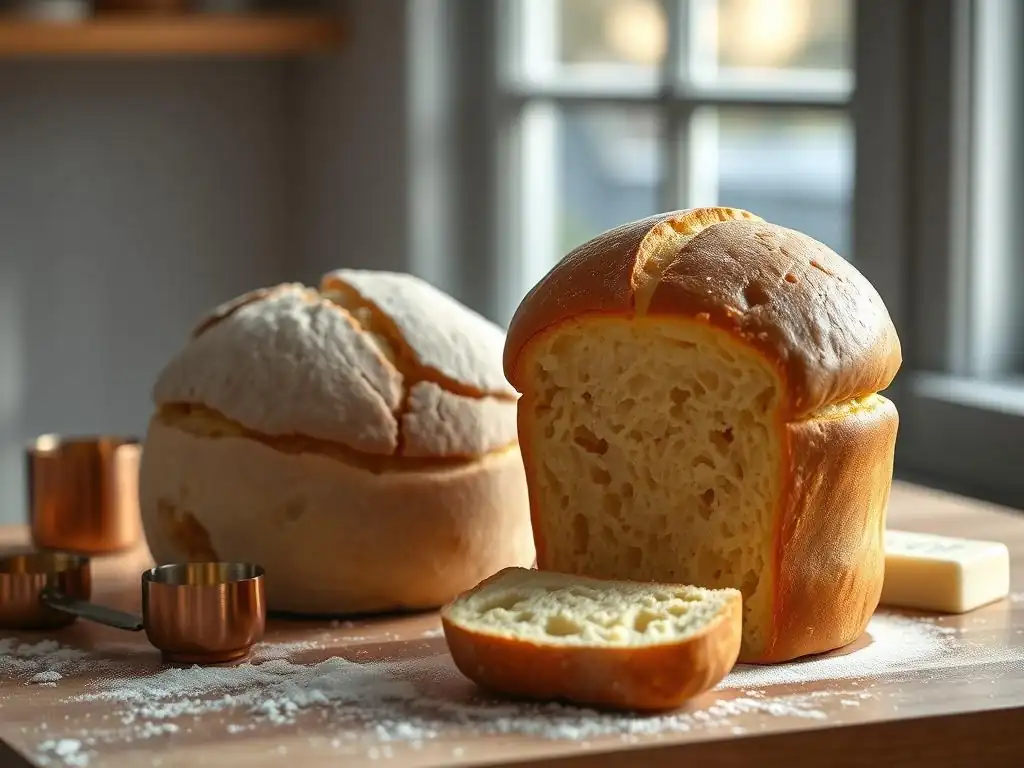
Sometimes, slight modifications to a recipe or your approach can make a significant difference in achieving a successful rise with enriched doughs. These adjustments focus on supporting yeast activity and managing the impact of the enriching ingredients.
Adjusting Sugar Levels for Balanced Sweetness and Rise
While sugar is essential for brioche flavor, high levels can inhibit yeast. If you consistently face enriched dough rise problems in very sweet brioche recipes, consider slightly reducing the sugar content, perhaps by 10-20%. This small reduction might not drastically alter the sweetness but can significantly reduce the osmotic stress on the yeast, allowing it to ferment more efficiently.
Alternatively, you can ensure the yeast has a head start before introducing a large amount of sugar. Some recipes suggest mixing the flour, liquid, yeast, and a small amount of sugar first, allowing them to ferment briefly (an autolyse or short preferment) before adding the remaining sugar, butter, and eggs. This gives the yeast time to become active in a less stressful environment.
Incorporating Butter Correctly for Improved Texture and Fermentation
The method and temperature of butter incorporation are crucial. Most brioche recipes call for cold, cubed butter to be added gradually to the dough after some initial mixing and gluten development. This allows the butter to be evenly distributed and emulsified into the dough matrix. If butter is added too early or is too soft, it can coat the flour proteins prematurely, inhibiting gluten development and creating greasy pockets that suppress yeast activity, leading to enriched dough rise problems.
Adding cold butter bit by bit while the mixer is running allows each addition to be fully incorporated before the next is added. This process can take 10-15 minutes or more. The dough will often look like it's breaking apart initially but will eventually come together into a smooth, shiny, and elastic mass as the butter is absorbed and gluten develops around it. Proper butter incorporation results in a finer, more tender crumb and supports a better rise.
Using Milk Alternatives: Adapting Recipes for Dietary Needs
Many brioche recipes use milk, which contributes richness and aids browning. If you need to use a milk alternative (e.g., almond milk, soy milk, oat milk), be aware that these might affect the dough slightly. Unsweetened versions are generally best to avoid adding more sugar that could inhibit yeast. Plant-based milks often have different protein and fat compositions than dairy milk, which could subtly alter the dough's texture and hydration.
When substituting, use the same volume of the alternative milk as the dairy milk specified. You might find the dough feels slightly different during kneading or requires a tiny adjustment in flour or liquid to achieve the correct consistency. While the primary enriched dough rise problems stem from butter, eggs, and sugar, understanding how milk alternatives might interact with the dough can help fine-tune your process and ensure a successful rise.
Examples of Brioche Applications and Specific Rising Considerations
Brioche dough is incredibly versatile and can be shaped into various forms, each presenting slightly different considerations during the rising process. The way the dough is shaped impacts its structure and how it behaves during fermentation and baking.
Brioche Buns: Achieving a Light and Airy Texture
Brioche buns, often used for burgers or sandwiches, are typically shaped into small, individual rounds. The goal is a light, fluffy texture with a soft crust. For buns, achieving adequate rise during the final proof is crucial for a good texture. The smaller size means they might proof slightly faster than a large loaf, so careful monitoring is necessary.
Ensuring each bun is tightly shaped creates surface tension, which helps the bun hold its shape and rise upwards rather than spreading too much. Placing buns relatively close together on a baking sheet allows them to support each other as they rise, resulting in softer sides. Over-proofing small buns is a common issue, leading to a fragile structure that can collapse in the oven. Aim for buns that are visibly increased in size and feel soft and airy before baking.
Brioche Loaf: Ensuring a Proper Rise for Uniform Shape
A brioche loaf, whether baked in a pan or freeform, requires a strong, even rise to achieve a good shape and consistent crumb structure. For pan loaves, ensuring the dough fills the pan adequately (often about 2/3 to 3/4 full) before the final proof is important. The dough should rise to just above the rim of the pan during proofing.
Freeform loaves require excellent gluten development and shaping technique to hold their shape without collapsing. The cold bulk fermentation is particularly helpful here, as the firmed-up butter provides structure during shaping. Scoring the top of the loaf before baking allows for controlled expansion, preventing the crust from tearing unevenly. An under-proofed loaf will be dense and heavy, while an over-proofed loaf might spread or collapse.
Brioche Nanterre: Rising Considerations for Tiered Loaves
Brioche Nanterre is a classic loaf made from several balls of dough placed side-by-side in a loaf pan, creating a beautiful, pull-apart structure. Each ball needs to proof sufficiently to join together and fill the pan. The challenge here is ensuring even proofing across all the balls.
Placing the shaped balls snugly in the pan encourages them to fuse during the rise. As they proof, they should expand to fill the pan and merge, creating the characteristic tiered look. The final proof for a Nanterre loaf might take slightly longer than individual buns due to the combined mass. Ensuring the dough is properly proofed means the individual sections will be light and airy, pulling apart easily after baking. Monitoring the overall volume increase in the pan is key.
Advanced Techniques for Boosting Brioche Fermentation
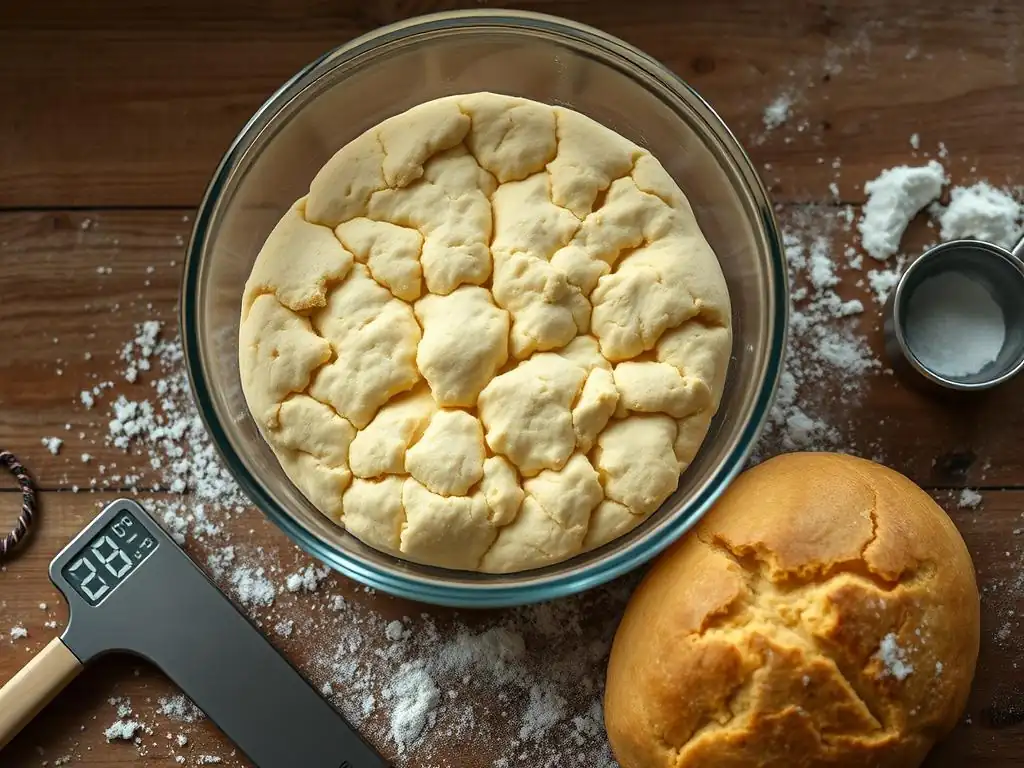
For those looking to further improve their brioche or tackle persistent enriched dough rise problems, incorporating advanced techniques can enhance both flavor and rise. These methods manipulate fermentation timing and dough structure to support yeast activity.
Using a Preferment: Enhancing Flavor and Rise
A preferment, such as a poolish or a biga, involves mixing a portion of the flour, water, and yeast hours or even a day in advance. This mixture ferments before being added to the final dough. Using a preferment in brioche offers several benefits:
- Flavor Development: The long, slow fermentation of the preferment creates complex flavors that are absent in a straight dough.
- Increased Yeast Activity: The yeast in the preferment is already active and vigorous when added to the main dough, giving it a head start in the challenging enriched environment.
- Improved Dough Handling: Preferments can contribute to better gluten development and dough extensibility.
Incorporating a preferment means adjusting the main recipe's flour, liquid, and yeast amounts. While it adds an extra step and planning time, the resulting improvement in both flavor and rise can be well worth the effort for tackling enriched dough rise problems.
The Autolyse Method: Improving Gluten Development
The autolyse technique involves mixing just the flour and liquid (water or milk) from a recipe and letting it rest for 20-60 minutes before adding the yeast, salt, and other ingredients. This resting period allows the flour to fully hydrate and enzymes naturally present in the flour to begin breaking down proteins, which facilitates gluten development with less kneading later.
For brioche, an autolyse can be particularly beneficial as it helps establish the gluten network before the enriching ingredients like butter and eggs are added, which can interfere with gluten formation. By allowing the flour and liquid to hydrate and start forming gluten first, the dough becomes more extensible and easier to knead to the proper development stage required to support the heavy dough and achieve a good rise. This can be a powerful tool against enriched dough rise problems.
Dough Strengthening Techniques: Folding and Kneading
Beyond the initial intensive kneading, techniques like stretch and folds during the bulk fermentation can further strengthen the gluten network. For brioche, which can be quite soft, a few sets of gentle stretch and folds during the initial part of the bulk fermentation (if not doing a cold proof) can help build structure.
This involves gently stretching the dough from the edges and folding it towards the center. Repeating this process around the dough mass every 30-60 minutes for the first couple of hours of bulk fermentation helps align the gluten strands and build tension. While not always necessary, especially with proper initial kneading and a cold proof, these techniques can provide an extra boost to dough strength, ensuring it has the capacity to trap gas and rise effectively, combating enriched dough rise problems.
Preventing Over-Proofing in Brioche: Recognizing the Signs
While under-proofing leads to dense brioche, over-proofing can be just as detrimental, if not more so. Over-proofed dough has exhausted its rising potential and can collapse, resulting in a poor texture and volume.
The Risks of Over-Proofing and How to Avoid Them
Over-proofing occurs when the dough is allowed to rise for too long or in too warm an environment, causing the yeast to produce too much gas and then start to run out of food or the gluten structure to weaken under the excessive pressure. Signs of over-proofing include:
- The dough has risen significantly but looks fragile or has started to sag.
- The poke test results in an indentation that doesn't spring back at all.
- There might be large, uneven bubbles on the surface.
- The dough smells strongly alcoholic.
Over-proofed brioche often collapses when moved or placed in the oven, resulting in a dense, heavy, and sometimes gummy texture. To avoid this, monitor the dough closely, especially during the final proof. Use the poke test as your guide and be mindful of the ambient temperature. If your kitchen is warmer than usual, the proofing time will be shorter. Err on the side of slightly under-proofing if unsure, as you'll still get oven spring.
Rescuing Over-Proofed Brioche Dough
If you suspect your brioche dough has over-proofed during the final rise, all is not lost, though the resulting texture may not be perfect. You can attempt to gently deflate the dough, reshape it, and give it a very short second proof (perhaps 15-30 minutes), just enough to see minimal volume increase and pass a quick poke test.
Alternatively, if it's severely over-proofed and collapsing, you might try using it for a different application where the structure is less critical, like making bread pudding or croutons, after baking it as is. While you can't fully restore the dough's original rising power once it's over-proofed, these methods can sometimes salvage the batch and minimize waste. Recognizing the signs early is the best prevention against this particular enriched dough rise problem.
Conclusion: Achieving Baking Success with Brioche
Baking brioche successfully, despite the common enriched dough rise problems, is a rewarding experience. It requires patience, attention to detail, and an understanding of how the rich ingredients interact with yeast. By focusing on ingredient temperatures, thorough kneading, proper butter incorporation, and creating the right environment for both bulk fermentation and final proofing, you can significantly improve your chances of achieving that coveted light, airy, and delicious crumb.
Recap of Key Strategies for Overcoming Brioche Rise Problems
To recap, mastering the rise in brioche involves several key strategies:
- Use fresh, active yeast, potentially opting for instant yeast for reliability.
- Ensure your dough temperature is optimal (24-27°C or 75-80°F) after mixing.
- Knead thoroughly to develop a strong gluten network capable of supporting the rich dough.
- Incorporate cold butter gradually and correctly.
- Utilize a cold bulk fermentation (8-24 hours in the refrigerator) for flavor and structure.
- Create a warm, slightly humid environment for the final proof.
- Monitor the final proof closely using the poke test to avoid over-proofing.
- Consider techniques like preferments or autolyse for enhanced results.
By implementing these techniques and paying attention to the specific needs of this enriched dough, you can confidently tackle enriched dough rise problems and bake beautiful, perfectly risen brioche every time.
Frequently Asked Questions
Why do enriched doughs sometimes struggle to rise compared to leaner doughs?
Enriched doughs contain a higher percentage of fat and sugar, which can weigh down the yeast and inhibit its activity. The fat coats the gluten, hindering its development and trapping the gases produced by the yeast.
What is the ideal temperature for proofing enriched dough to ensure a good rise?
The ideal temperature for proofing enriched dough is slightly warmer than leaner doughs, around 75-80°F (24-27°C). This provides the yeast with an optimal environment to thrive and overcome the inhibiting effects of the fats and sugars.
How does over-kneading affect the rise of enriched doughs?
Over-kneading can actually weaken the gluten structure in enriched doughs, making it more difficult for the dough to retain the gases produced by the yeast. This leads to a deflated or dense final product.
Can the type of yeast used impact the rise of enriched doughs?
Yes, using instant or rapid-rise yeast can be beneficial for enriched doughs, as they tend to have a higher activity level and can power through the extra fats and sugars more effectively than active dry yeast.
What role does proper hydration play in the rise of enriched doughs?
Adequate hydration is crucial. Enriched doughs often require slightly higher hydration than leaner doughs to compensate for the moisture absorbed by the fats and sugars. This helps the gluten develop properly and supports a good rise.
Final Reflection: Mastering the Art of Enriched Doughs
The challenges of working with enriched doughs are not merely technical hurdles; they represent a crucial gateway to understanding the delicate balance of ingredients and processes in baking. Mastering this balance unlocks a world of flavour and texture, from the flaky layers of croissants to the tender crumb of brioche. But the journey, as we've explored, requires patience, precision, and a willingness to learn from both successes and failures.
The subtle interplay of fats, sugars, and liquids in enriched doughs profoundly impacts their rise, a process that reflects a larger culinary narrative of careful attention to detail. The seemingly simple act of baking becomes a meditation on balance and harmony. As the renowned baker, Paul Hollywood, once said, Baking is a science, but it's also an art. You need to understand the science to be able to create the art.
This quote perfectly encapsulates the journey of working with enriched doughs – a blend of scientific understanding and artistic intuition.
Now, armed with a deeper understanding of the factors influencing enriched dough rise, I invite you to embrace the challenge. Don't be discouraged by initial setbacks; view them as opportunities for learning and refinement. Experiment with different techniques, adjust your recipes based on your environment and ingredients, and most importantly, trust your instincts. The reward for mastering enriched doughs is not just delicious bread, but a deeper appreciation for the artistry and precision inherent in the baking process. So, go forth and bake!
Unlock Your Dough's Potential: Rise to the Occasion!
Thanks for diving into the world of enriched doughs! We hope you now feel more confident in tackling those delicious, but sometimes finicky, recipes. Ready to put your new knowledge into practice?
- Bake your dream loaf: Try the recipe mentioned in the article (or a similar one you've been eyeing! ), paying close attention to the techniques we discussed. Document your process – you might discover a new favorite tip!
- Share your baking journey: Show us your results! Tag us on social media – we’d love to see your beautiful creations and learn from your experiences.
- Explore different enriched doughs: Challenge yourself to try a new enriched dough recipe – perhaps a croissant or brioche – and see how your skills have improved!
What unique challenge are you most excited to conquer in your next enriched dough adventure?