
Can You Freeze That? A Guide to Freezing Different Baked Goods

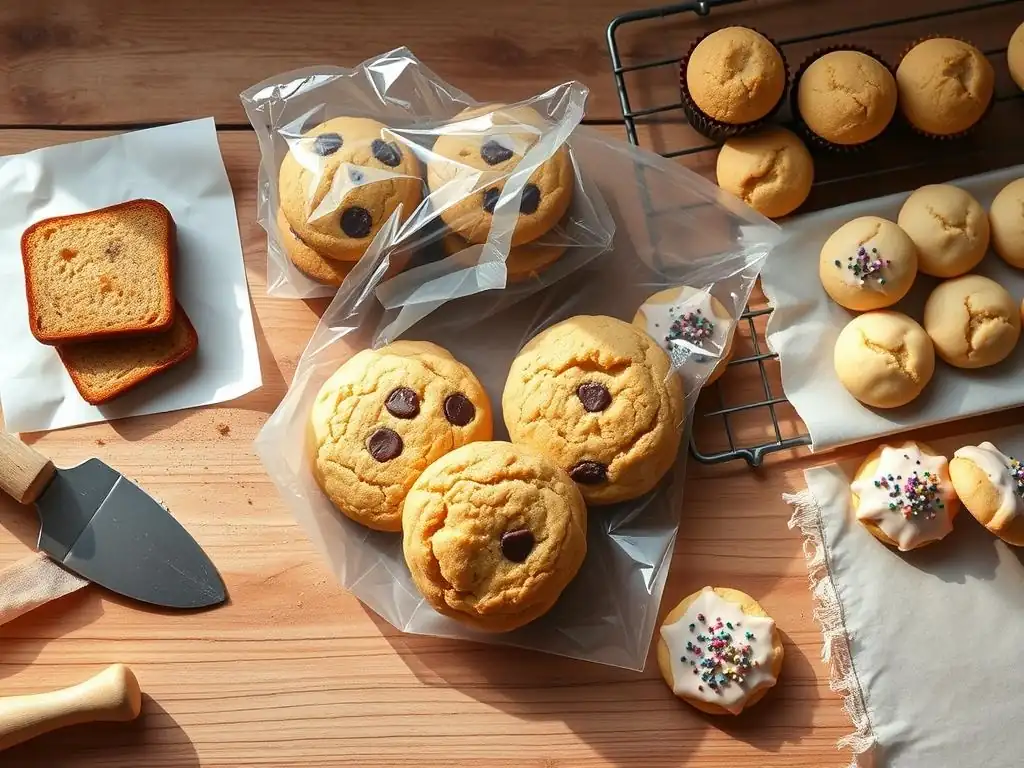
Welcome to BakeWithEase, where unlocking baking mastery is our mission! Ever wondered if that delicious batch of cookies or that perfectly risen loaf can survive the freezer? Dive into our comprehensive guide and discover the secrets to freezing baked goods perfectly easy, ensuring your treats stay fresh and ready to enjoy whenever cravings strike. Prepare to revolutionize your baking routine and minimize waste – your delicious adventure starts now!
- Freezing Baked Goods: A Comprehensive Guide
- Introduction to Freezing Baked Goods
- Essential Equipment for Freezing Baked Goods
- Freezing Different Types of Baked Goods
- Preparing Baked Goods for Freezing
- Thawing Frozen Baked Goods
- Troubleshooting Freezing Issues
- Maximizing Shelf Life of Frozen Baked Goods
- Conclusion
- Frequently Asked Questions
- Final Reflection: The Enduring Delight of Perfectly Frozen Baked Goods
- Unlock Your Freezer's Baking Potential!
Freezing Baked Goods: A Comprehensive Guide
Introduction to Freezing Baked Goods
Benefits of Freezing for Bakers
Freezing baked goods offers a multitude of advantages for both novice and experienced bakers. One of the primary benefits is the significant reduction in food waste. Imagine you've baked a large batch of muffins or a celebratory cake, but you know you won't consume it all before it goes stale. Freezing allows you to preserve the freshness and quality of these items for weeks, sometimes even months, ensuring that your baking efforts don't go to waste. This not only saves money but also aligns with sustainable kitchen practices.
Beyond waste reduction, freezing is a powerful tool for managing time efficiently. You can dedicate a baking session to produce goods for future events, busy weekdays, or unexpected guests. For instance, you could bake several loaves of bread or dozens of cookies when you have a free afternoon, then simply thaw them as needed. This makes last-minute entertaining a breeze and ensures you always have homemade treats on hand without the rush of baking from scratch every time. Freezing baked goods perfectly easy when you plan ahead!
Freezing Baked Goods: An Overview
Understanding the basics of how freezing affects baked goods is crucial for success. Freezing essentially pauses the staling process and inhibits the growth of microorganisms by lowering the temperature significantly, typically to 0°F (-18°C) or below. However, it's not a magical solution for everything, and the way you freeze and thaw impacts the final texture and flavor. Different types of baked goods, from delicate pastries to sturdy loaves of bread, require specific handling to maintain their quality.
The key to successful freezing baked goods perfectly easy lies in proper preparation and packaging. Air is the enemy of frozen goods, leading to freezer burn and moisture loss. Therefore, ensuring items are completely cooled before wrapping and using airtight packaging is paramount. While freezing extends the shelf life considerably, it doesn't last forever. Most baked goods maintain optimal quality for about 1-3 months in the freezer, though some, like lean bread, might last longer, and richer items or those with delicate fillings might have a slightly shorter peak quality period.
Essential Equipment for Freezing Baked Goods
Choosing Freezer-Safe Containers
Selecting the right containers is a critical step in preserving the quality of your frozen baked goods. Airtight containers, made of durable plastic or glass, are excellent choices because they create a barrier against air and prevent items from getting crushed. Glass containers are particularly good as they don't absorb odors and are often oven-safe (check manufacturer instructions), allowing for easy reheating after thawing. Make sure the containers are labeled as "freezer-safe" to ensure they can withstand the low temperatures without cracking.
When choosing containers, consider the size and shape relative to the baked goods you plan to store. Stackable rectangular containers are efficient for maximizing freezer space. For delicate items like decorated cupcakes or pastries, containers with individual compartments or sufficient height are necessary to prevent damage. While containers offer robust protection, they can take up significant space, so consider if they are the most practical option for large quantities or oddly shaped items.
Importance of Proper Wrapping Materials
Proper wrapping is perhaps the most vital step in preventing freezer burn and maintaining moisture content. A multi-layer approach is often recommended for best results. Start by wrapping the completely cooled baked good tightly in plastic wrap, ensuring no surfaces are exposed to air. This initial layer conforms closely to the item's shape, minimizing trapped air.
Following the plastic wrap, add a second layer of protection using aluminum foil or a freezer-safe bag. Heavy-duty aluminum foil provides an excellent barrier, especially for items with irregular shapes. Freezer bags, specifically designed to be thicker than standard food storage bags, are also effective and can be easier to use for items like cookies or muffins. Squeeze out as much air as possible before sealing the bag. Combining these layers creates a robust defense against the dry, cold freezer air, making freezing baked goods perfectly easy while preserving their texture.
Helpful Tools for Freezing Baked Goods
Beyond containers and wraps, several other tools can simplify the process of freezing baked goods. Cooling racks are essential for ensuring baked goods are completely cool before packaging. Placing warm items in the freezer can lead to condensation inside the packaging, which turns into ice crystals and degrades quality. Allowing items to cool fully on a rack, typically for 1-2 hours for smaller items and longer for larger cakes or loaves, is non-negotiable.
Parchment paper or wax paper is incredibly useful for preventing items from sticking together. For instance, when freezing individual cookies, brownies, or even slices of cake, placing a sheet of parchment paper between layers in a container or bag allows you to easily remove just what you need without thawing the entire batch. A permanent marker and freezer tape or labels are also indispensable for clearly labeling the contents and date, helping you keep track of your frozen inventory and ensuring you use items within their peak quality window.
Freezing Different Types of Baked Goods
Freezing Bread and Loaves
Freezing Yeast Breads
Yeast breads, like your classic sandwich loaf or rustic sourdough, freeze exceptionally well due to their relatively low fat and moisture content compared to richer baked goods. To freeze a whole loaf, ensure it is completely cool. Wrap it tightly in plastic wrap, followed by a layer of heavy-duty aluminum foil or place it in a freezer bag, squeezing out excess air. For best results, freeze bread when it's as fresh as possible, ideally within a day or two of baking.
Frozen yeast bread maintains excellent quality for about 2-3 months. Thawing is best done slowly; remove the loaf from the freezer, unwrap it completely to prevent condensation on the crust, and let it sit at room temperature for several hours or overnight. For a revived crust, you can briefly reheat the thawed loaf in a preheated oven at 350°F (175°C) for 10-15 minutes.
Freezing Quick Breads
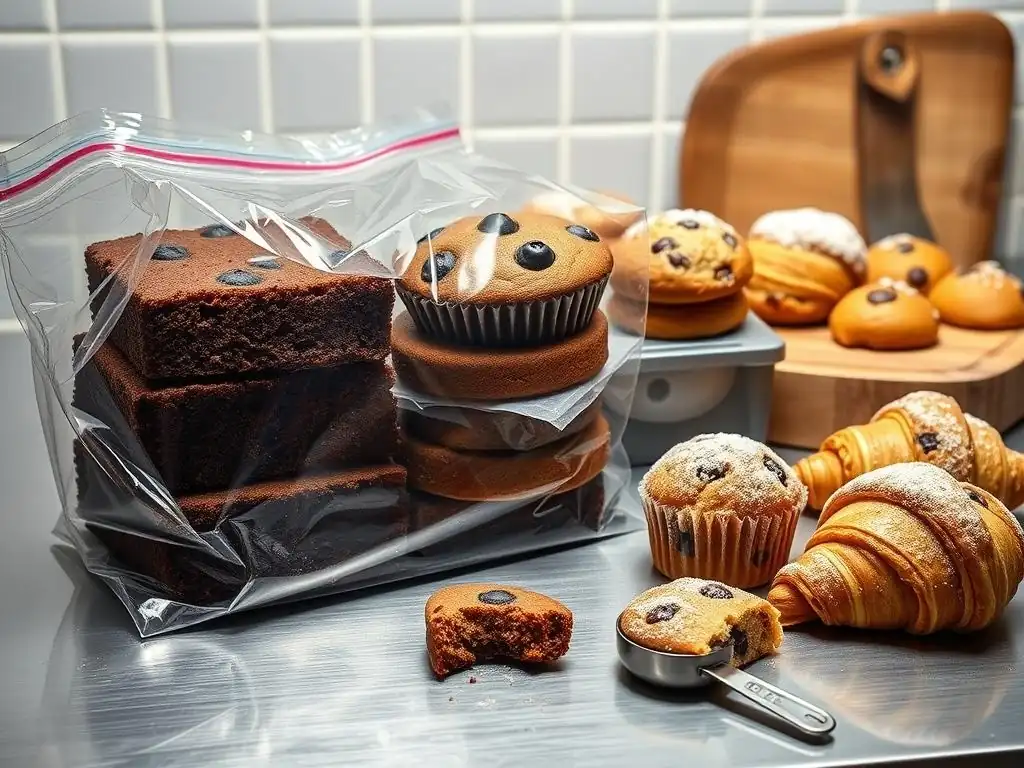
Quick breads, such as banana bread, zucchini bread, or muffins, tend to be denser and moister than yeast breads, often containing fruits, vegetables, or more fat. These characteristics mean they also freeze very well, retaining moisture effectively. Ensure the quick bread or muffins are entirely cool before packaging.
Wrap individual muffins or slices tightly in plastic wrap, then place them in a freezer bag or airtight container. A whole loaf of quick bread should be wrapped like a yeast loaf (plastic wrap then foil or freezer bag). Quick breads usually keep well in the freezer for 2-3 months. Thaw individual portions or slices at room temperature for an hour or two, or a whole loaf overnight. Microwaving individual muffins or slices for a few seconds can warm them up nicely.
Freezing Sliced Bread vs. Whole Loaves
Deciding whether to freeze a whole loaf or slice it first depends on how you plan to use it. Freezing a whole loaf is ideal if you'll use the entire loaf relatively quickly after thawing, perhaps for sandwiches over a few days. It helps maintain the bread's internal moisture and prevents drying out during storage.
Freezing sliced bread is incredibly convenient for daily use. Once the loaf is cool, slice it to your desired thickness. Stack the slices with a small piece of parchment or wax paper between each slice or small stacks of slices to prevent sticking.
Then, wrap the stack tightly in plastic wrap and place it in a freezer bag, pressing out the air. This method allows you to pull out just a slice or two at a time and pop them directly into a toaster, making freezing baked goods perfectly easy for breakfast or snacks. Sliced bread thaws very quickly, often within minutes at room temperature.
Freezing Cakes
Freezing Layer Cakes
Freezing layer cakes requires careful handling to preserve their structure and moisture. For best results, freeze unfrosted layers separately. Ensure the cake layers are completely cool. Wrap each layer individually and tightly in plastic wrap, then follow with a layer of aluminum foil or a freezer bag. This double wrapping is crucial for preventing freezer burn and moisture loss.
Frozen unfrosted cake layers can be stored for up to 2-3 months. To thaw, remove the layers from the freezer and unwrap them before they start to condense. Let them thaw at room temperature for several hours. Once thawed, you can frost and assemble the cake as usual. If freezing a fully frosted cake, freeze it uncovered on a baking sheet until the frosting is firm (about 1-2 hours), then wrap it carefully in plastic wrap and foil. Thaw frosted cakes slowly in the refrigerator overnight to prevent the frosting from becoming watery or damaged.
Freezing Cupcakes
Cupcakes are relatively easy to freeze, making them perfect for baking ahead. Ensure the cupcakes are completely cool before freezing. If unfrosted, they can be placed side-by-side in an airtight container or wrapped individually in plastic wrap and then placed in a freezer bag.
For frosted cupcakes, it's best to flash freeze them first. Place the frosted cupcakes on a baking sheet and freeze until the frosting is firm, usually 1-2 hours. Once firm, transfer them to an airtight container with space between them, or gently wrap each frozen cupcake in plastic wrap before placing them in a container. This prevents the frosting from sticking to the container or other cupcakes.
Frozen cupcakes are best used within 2-3 months. Thaw unfrosted cupcakes at room temperature for about an hour. Thaw frosted cupcakes in the refrigerator for several hours or overnight to protect the frosting.
Freezing Unfrosted vs. Frosted Cakes
There are distinct advantages to freezing cakes unfrosted versus frosted. Freezing unfrosted cake layers generally yields better results in terms of texture and moisture. The cake itself freezes and thaws beautifully, and you get the benefit of applying fresh frosting just before serving, which looks and tastes best. This method also makes stacking and storing layers easier in the freezer.
Freezing frosted cakes is certainly possible and convenient if you need to save a decorated cake or want to have ready-to-serve portions. However, the frosting's texture can sometimes change upon thawing, particularly if it's a delicate meringue or whipped cream-based frosting. Buttercream and cream cheese frostings tend to fare better. As mentioned, flash freezing frosted cakes helps protect the decoration during the initial freezing and subsequent wrapping process. Thawing frosted cakes slowly in the refrigerator is crucial to minimize condensation damage to the frosting.
Freezing Cookie Dough
Freezing cookie dough is one of the most popular and convenient ways to use your freezer. It allows you to have freshly baked cookies on demand without the full prep time. Most cookie doughs freeze well, including drop cookies (like chocolate chip), slice-and-bake logs, and even cut-out cookie dough.
For drop cookies, scoop the dough into balls and place them close together on a baking sheet lined with parchment paper. Freeze until firm (about 1-2 hours). Once firm, transfer the dough balls to a freezer bag or airtight container. For slice-and-bake dough, form the dough into logs, wrap tightly in plastic wrap, and then foil. Cut-out cookie dough can be shaped into disks, wrapped in plastic wrap, and frozen. Frozen cookie dough typically lasts 3-6 months. You can often bake frozen dough balls directly from the freezer, adding a minute or two to the baking time.
Freezing Baked Cookies
Baked cookies can also be frozen successfully, offering a quick treat whenever you want one. Ensure the cookies are completely cool before freezing. If they are plain cookies (like shortbread or sugar cookies), you can stack them with parchment or wax paper in between layers within an airtight container or freezer bag.
For cookies with delicate decorations or fillings, it's best to freeze them in a single layer on a baking sheet until firm before transferring them to a container. This prevents them from sticking together or the decoration from being smudged. Baked cookies generally maintain peak quality in the freezer for 2-3 months. Thaw them at room temperature for 30-60 minutes. Crisp cookies might lose some crispness, but warming them briefly in a low oven (around 300°F / 150°C) can help restore it.
Freezing Different Types of Cookies
Different cookie types have varying freezing characteristics. Lean cookies like shortbread or biscotti freeze and thaw very well, retaining their crispness if properly wrapped. Chewy cookies, like oatmeal raisin or chocolate chip, also freeze successfully, though their chewiness might be slightly altered upon thawing.
Cookies with delicate components, like meringue or some soft fillings, are less ideal candidates for freezing as their texture can degrade significantly. Bar cookies (like brownies or blondies) freeze beautifully. Cut them into individual servings after baking and cooling, then wrap each piece in plastic wrap before placing them in a container. This makes grabbing a single serving incredibly easy, making freezing baked goods perfectly easy for portion control.
Freezing Pastries
Freezing Pies and Tarts
Pies and tarts, whether baked or unbaked, can often be frozen. Freezing unbaked fruit pies is a great way to prepare for future events. Assemble the pie as usual, but do not cut vents in the top crust. Wrap the entire pie tightly in plastic wrap, followed by a layer of foil or a freezer-safe bag. Freeze for up to 3-4 months. To bake from frozen, unwrap, cut vents, and bake in a preheated oven, adding extra baking time and potentially shielding the crust to prevent over-browning.
Baked pies and tarts can also be frozen once completely cooled. Wrap tightly in plastic wrap and then foil. They are best consumed within 1-2 months for optimal quality. Thaw baked pies at room temperature or in the refrigerator. Some prefer to reheat thawed fruit pies in a low oven (around 300-350°F / 150-175°C) to warm them through and re-crisp the crust, typically for 20-30 minutes. Cream-based pies generally don't freeze well as the filling can separate or become watery.
Freezing Croissants and Doughnuts
Freezing croissants and doughnuts works best if they are unglazed or unfrosted. Baked and cooled croissants can be wrapped individually in plastic wrap and stored in a freezer bag or container for up to 2 months. To reheat, thaw at room temperature for 30-60 minutes, then warm in a moderate oven (350°F / 175°C) for 5-10 minutes to restore flakiness.
Unfilled, unglazed doughnuts can be frozen similarly, wrapped individually and stored in a container for 1-2 months. Thaw at room temperature for about an hour. Glazed or filled doughnuts are less ideal for freezing as the glaze can become sticky or damaged, and fillings might separate. If you must freeze them, flash freeze first, then wrap carefully and store, but expect some texture changes upon thawing.
Freezing Scones and Biscuits
Scones and biscuits are excellent candidates for freezing, both baked and unbaked. Freezing unbaked dough allows for fresh-baked goods anytime. Shape the dough into scones or cut biscuits, place them on a baking sheet lined with parchment paper, and freeze until solid (about 1-2 hours). Transfer the frozen pieces to a freezer bag or container. They can be stored for up to 3 months. Bake directly from frozen, adding a few extra minutes to the baking time.
Baked and cooled scones or biscuits can be wrapped individually in plastic wrap and stored in a freezer bag or container for 1-2 months. Thaw at room temperature for an hour or reheat gently in a low oven (300°F / 150°C) for 10-15 minutes to warm through and soften slightly. Freezing baked goods perfectly easy when they are sturdy like scones or biscuits!
Preparing Baked Goods for Freezing
Cooling Baked Goods Completely
This is a step that absolutely cannot be skipped when freezing baked goods. Any residual warmth in a baked item will create condensation inside the packaging once it's placed in the cold freezer environment. This condensation turns into ice crystals, which are sharp and can damage the cellular structure of the baked good, leading to a dry, crumbly texture and freezer burn.
Ensure cakes, breads, cookies, and pastries are cooled completely to room temperature before you even think about wrapping them. This often means letting them sit on a wire cooling rack for several hours after coming out of the oven. For larger items like loaves of bread or whole cakes, this might take 2-4 hours. Smaller items like cookies or muffins might only need 30-60 minutes. Patience here pays off significantly in the quality of the thawed product.
Wrapping Baked Goods Properly
As discussed earlier, proper wrapping is the first line of defense against freezer burn and moisture loss. The goal is to create an airtight seal around the baked good. For most items, starting with a layer of plastic wrap tightly pressed against the surface is ideal. This minimizes the amount of air trapped directly around the food.
Follow the plastic wrap with a second layer of protection. This could be heavy-duty aluminum foil, which is excellent for molding around irregular shapes and creating a tight seal. Alternatively, a freezer-specific bag, which is thicker and more durable than standard food storage bags, works well, especially for multiple smaller items. When using bags, press out as much air as possible before sealing. For items placed in rigid containers, ensure the container has a tight-fitting, airtight lid. Double-wrapping or using a combination of methods provides the best protection, making freezing baked goods perfectly easy to achieve quality results.
Labeling and Dating Frozen Baked Goods
While seemingly simple, properly labeling and dating your frozen baked goods is a crucial step for effective freezer management and quality control. Without clear labels, it's easy to forget what's in a wrapped package, leading to mystery items lurking in the back of the freezer. More importantly, dating helps you keep track of how long items have been stored, ensuring you use them within their recommended timeframe for best quality.
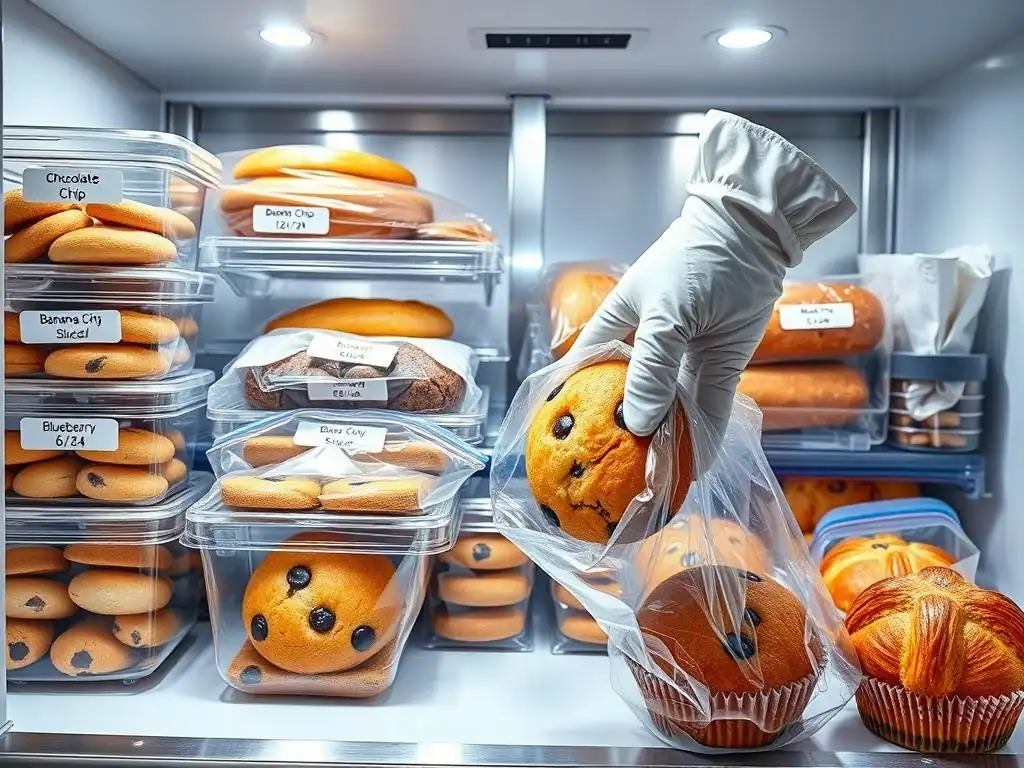
Use a permanent marker and freezer tape or dedicated freezer labels. Clearly write the contents (e.g., "Chocolate Chip Cookies," "Banana Bread Loaf," "Unbaked Apple Pie") and the date it was frozen. Including the quantity (e.g., "1 dozen," "8 slices") or any special instructions (e.g., "Thaw in fridge") can also be helpful. Place the label somewhere easily visible on the package. Rotating your stock based on these dates (First-In, First-Out or FIFO method) helps prevent items from exceeding their optimal storage duration.
Thawing Frozen Baked Goods
Thawing Bread and Loaves
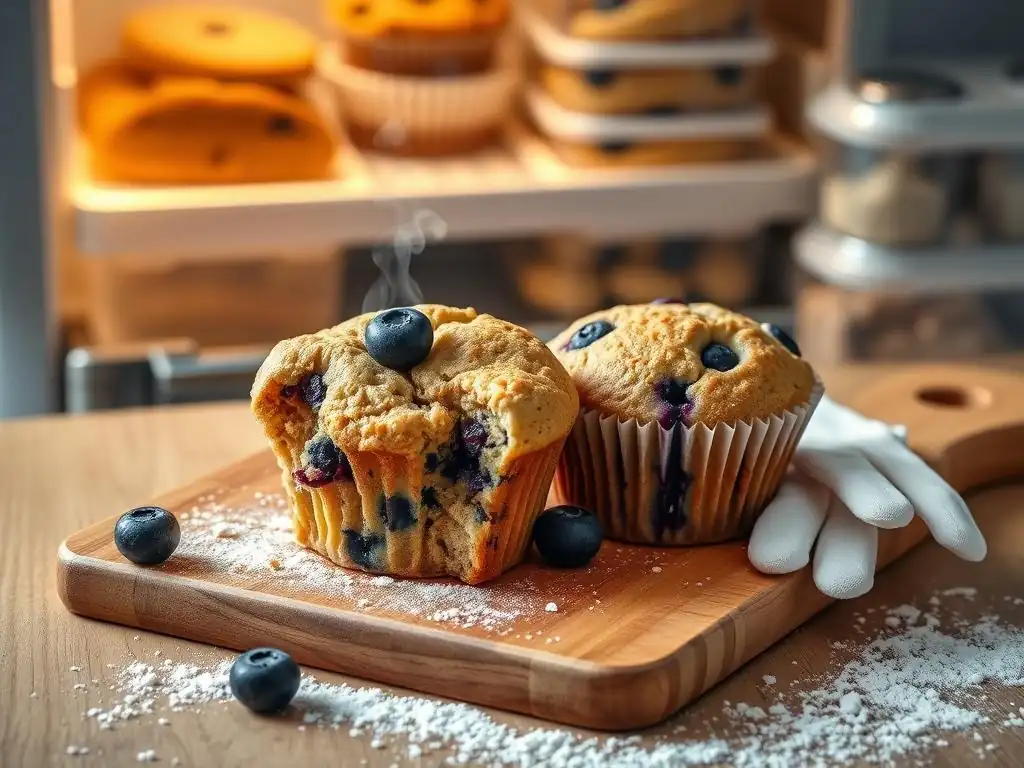
Thawing bread properly helps restore its texture and prevents sogginess. The best method for thawing whole loaves or sliced bread is generally at room temperature. Remove the bread from the freezer and unwrap it completely before it begins to thaw and condensation forms on the packaging. Place the unwrapped loaf or slices on a wire rack to allow air circulation.
A whole loaf will typically take 4-8 hours to thaw at room temperature, depending on its size and density. Sliced bread thaws much faster, often within 30-60 minutes. For a warm, crusty loaf that mimics fresh-baked quality, you can reheat a thawed whole loaf in a preheated oven at 350°F (175°C) for 10-15 minutes. Individual slices can be toasted directly from frozen or thawed.
Thawing Cakes
How you thaw a cake depends on whether it's frosted or unfrosted. Unfrosted cake layers or whole unfrosted cakes should be removed from the freezer and unwrapped while still frozen to prevent condensation from forming on the cake itself. Place the unwrapped cake on a wire rack to thaw at room temperature.
A whole unfrosted cake might take 2-4 hours to thaw, while individual layers will be faster. Once thawed, they are ready to be frosted. For frosted cakes, the refrigerator is the safest place to thaw. Remove the cake from the freezer and place it, still wrapped, in the refrigerator. Thawing in the fridge minimizes temperature fluctuations that can damage delicate frostings. A frosted cake might take 6-12 hours or even overnight to thaw in the refrigerator. Once thawed, it can be left at room temperature for about 30 minutes before serving if desired.
Thawing cookies is generally straightforward. Most baked cookies can be removed from the freezer and simply left at room temperature. If they were frozen in a container or bag, it's often best to remove them from the packaging as they thaw to prevent condensation buildup, especially for crisp cookies.
Cookies typically thaw within 30-60 minutes at room temperature. For cookies that you want to regain a bit of warmth and softness (like chocolate chip), a brief warm-up in a microwave (just a few seconds!) or a low oven (300°F / 150°C) for 5-10 minutes can work wonders. Frozen cookie dough balls can often be baked directly from frozen, simply adding a minute or two to the standard baking time.
Thawing Pastries
Thawing pastries varies depending on the type. Baked pies and tarts can be thawed at room temperature for a few hours or overnight in the refrigerator. For a crisp crust, reheating in a low oven (300-350°F / 150-175°C) for 15-30 minutes after thawing is often recommended, especially for fruit pies.
Baked croissants and doughnuts are best thawed at room temperature for 30-60 minutes. Warming croissants briefly in a moderate oven (350°F / 175°C) helps restore their flaky texture. Unbaked scones and biscuits should be baked directly from frozen; do not thaw them first, as this can affect their rise and texture. Simply place the frozen dough on a baking sheet and bake as directed, adding 2-5 minutes to the baking time.
Troubleshooting Freezing Issues
Preventing Freezer Burn
Freezer burn is the nemesis of frozen baked goods, resulting in dry, discolored spots with an unpleasant texture. It occurs when air reaches the surface of the food, causing ice crystals to form and moisture to evaporate directly from the food into the cold, dry freezer air (sublimation). The key to prevention is minimizing air exposure.
- Wrap items tightly: Use plastic wrap pressed directly against the surface of the baked good.
- Use a second layer: Add aluminum foil or a freezer-safe bag for extra protection.
- Remove excess air: Squeeze as much air out of freezer bags as possible before sealing.
- Use airtight containers: Ensure lids fit snugly.
- Cool completely: Never freeze warm items, as condensation leads to ice.
- Minimize opening the freezer door: Frequent temperature fluctuations can worsen freezer burn.
Following these steps makes freezing baked goods perfectly easy to avoid this common problem.
Dealing with Changes in Texture
Even with proper freezing, some baked goods may experience slight texture changes upon thawing. Lean items like bread or crisp cookies tend to fare well, while moist or delicate items can be more challenging. Cakes might become slightly denser or crumbly if not wrapped perfectly. Custard or cream fillings are particularly prone to becoming watery or separating.
While you can't fully reverse texture changes once they've happened, sometimes reheating can help. Warming bread or crisp cookies in the oven can restore some of their original texture. For cakes that seem a bit dry, serving them with a sauce, whipped cream, or ice cream can compensate. Prevention is truly key here: ensure items are cooled, wrapped tightly, and used within the recommended freezer time.
Addressing Loss of Flavor
Freezing generally preserves flavor well, but over time, or if not properly sealed, flavors can become muted or pick up off-flavors from the freezer environment. Richer baked goods, like those with butter or nuts, are more susceptible to developing stale or off flavors over extended freezing periods due to the fat content oxidizing.
To minimize flavor loss:
- Freeze items when they are at their peak freshness and flavor.
- Use airtight packaging to prevent exposure to other freezer odors.
- Use frozen goods within their optimal storage timeframe (typically 1-3 months).
- Consider adding a pinch of salt or a fresh spice garnish after thawing if the flavor seems dull.
Proper packaging and rotation are the best strategies for maintaining the delicious flavor of your frozen baked goods.
Maximizing Shelf Life of Frozen Baked Goods
Maintaining Proper Freezer Temperature
The temperature of your freezer plays a critical role in how long your baked goods maintain their quality. For optimal preservation, your freezer should be set to 0°F (-18°C) or lower. Temperatures higher than this can lead to faster degradation of quality, including texture changes, flavor loss, and an increased risk of freezer burn.
Check your freezer's thermometer periodically to ensure it's holding the correct temperature. Avoid placing large quantities of warm items into the freezer at once, as this can raise the overall temperature significantly and affect everything inside. A stable, low temperature is your best friend in making freezing baked goods perfectly easy for long-term storage.
Rotating Frozen Inventory
Just like in a grocery store, applying the "First-In, First-Out" (FIFO) method to your home freezer inventory is essential for maximizing quality and minimizing waste. This means using the oldest items in your freezer first. This is where clear labeling with dates becomes indispensable.
When you add new items to the freezer, place them behind or underneath older items of the same type. When you need something, reach for the items at the front or top that have been there the longest. Regularly rotating your stock ensures that your baked goods are consumed while they are still within their peak quality window, preventing them from sitting in the freezer for too long and succumbing to freezer burn or flavor degradation.
Knowing When to Discard Frozen Baked Goods
While freezing extends the life of baked goods considerably, it doesn't make them immortal. Even perfectly wrapped items will eventually decline in quality. Most baked goods are best used within 1-3 months for optimal flavor and texture. While they might technically be safe to eat after this period (provided they remained frozen solid), their quality will likely have diminished significantly.
Inspect items for signs of severe freezer burn (large, dry, discolored patches) or off-odors. If an item looks or smells questionable, it's best to discard it. While some minor freezer burn can be trimmed away, extensive damage will result in an unappetizing product. Regularly checking your freezer's contents and adhering to the 1-3 month guideline for most items will help you enjoy your frozen baked goods at their best.
Conclusion
Freezing Baked Goods: A Baker's Tool
Mastering the art of freezing baked goods is a valuable skill that empowers bakers to save time, reduce waste, and always have delicious treats on hand. From preserving a loaf of homemade bread to prepping cookie dough for spontaneous baking sessions, the freezer is an invaluable tool. By understanding the specific needs of different baked items and following best practices for cooling, wrapping, and thawing, you can ensure that your frozen creations retain their flavor, texture, and appeal.
Freezing baked goods perfectly easy when you have the right knowledge and equipment. It allows you to bake smarter, not harder, making elaborate pastries or large batches of cookies manageable for any occasion. Embrace your freezer as an extension of your pantry and unlock a new level of baking convenience and efficiency.
Freezer-Friendly Recipes
Many recipes are particularly well-suited for freezing, offering excellent results upon thawing. Look for recipes for sturdy cakes (like pound cake or loaf cakes), most types of cookies and cookie dough, quick breads, muffins, brownies, and yeast breads. Fruit pies also freeze very well, especially when frozen unbaked.
- Task List:
- Find a reliable recipe for classic chocolate chip cookies.
- Bake a batch and freeze half the dough as balls.
- Bake the other half and freeze half of the baked cookies.
- Compare the quality of cookies baked from frozen dough vs. thawed baked cookies after a few weeks.
Experiment with freezing different items from your favorite recipes to discover what works best for your needs. Freezing baked goods perfectly easy when you start with recipes known for their freezer-friendliness.
Frequently Asked Questions
What types of baked goods freeze best?
Generally, breads, cakes (especially unfrosted), cookies, and some pastries freeze well. The key is to wrap them properly to prevent freezer burn and maintain their original texture upon thawing.
How do I properly wrap baked goods for freezing?
Use a combination of plastic wrap and aluminum foil, or freezer-safe bags. Ensure the baked good is completely cool before wrapping. The goal is to create an airtight barrier to prevent moisture loss.
How long can I freeze baked goods?
Most baked goods can be frozen for 2-3 months without significant loss of quality. While they may be safe to eat beyond that, the flavor and texture will likely degrade over time.
What's the best way to thaw frozen baked goods?
Thaw them slowly in the refrigerator or at room temperature. Avoid using the microwave, as it can make them soggy. For cakes, you might need to re-ice them after thawing.
Can I freeze already frosted cakes or glazed pastries?
Freezing frosted cakes or glazed pastries can be tricky. The frosting or glaze might change texture or become sticky. It's often best to freeze these unfrosted or unglazed and add the finishing touches after thawing for optimal results.
Final Reflection: The Enduring Delight of Perfectly Frozen Baked Goods
The ability to freeze baked goods perfectly and easily isn't just a kitchen hack; it's a time-saving revolution. Imagine a world where freshly baked cookies, muffins, or bread are always just a quick thaw away, ready to satisfy any craving. This convenience, once a luxury, is now within everyone's reach thanks to the simple techniques outlined in this guide.
The impact of readily available frozen baked goods extends beyond mere convenience; it's a testament to our evolving relationship with food. We're increasingly mindful of reducing food waste and maximizing efficiency in the kitchen. Freezing allows us to enjoy the fruits (or should we say, the baked goods) of our labor without the pressure of immediate consumption. Waste less, bake more, and enjoy the bounty whenever you please!
– that's the ethos this guide champions. This simple act of freezing transforms the ordinary into the extraordinary, allowing us to savor homemade goodness long after the oven has cooled.
Now, consider your own baking journey. What treasured recipes are waiting to be frozen and enjoyed again? Perhaps it's that family-favorite cake, the perfect batch of cookies for a spontaneous gathering, or even the artisan bread that brings joy to your breakfast table. I encourage you to embrace the art of freezing, not as a last resort, but as a powerful tool to enhance your baking experience. Experiment with the techniques discussed, adapt them to your own style, and unlock the boundless possibilities of perfectly preserved baked delights.
Unlock Your Freezer's Baking Potential!
Thanks for joining us on this delicious journey into the world of frozen baked goods! You've now learned how to preserve your favorite treats and enjoy them later. Ready to put your new skills to the test?
- Freeze your next batch: Don't let those extra muffins or cookies go to waste! Use our guide to freeze them properly and enjoy them fresh whenever you want.
- Share your freezing success (or even your freezer fails!): Let's build a community of baking enthusiasts – tell us your experiences in the comments below!
- Explore our other articles for more baking tips and tricks – you might just discover your new favorite recipe!
What's your go-to baked good for freezing, and why?