
The Chemistry of Sugar and Fat Creaming: The Foundation of Many Bakes

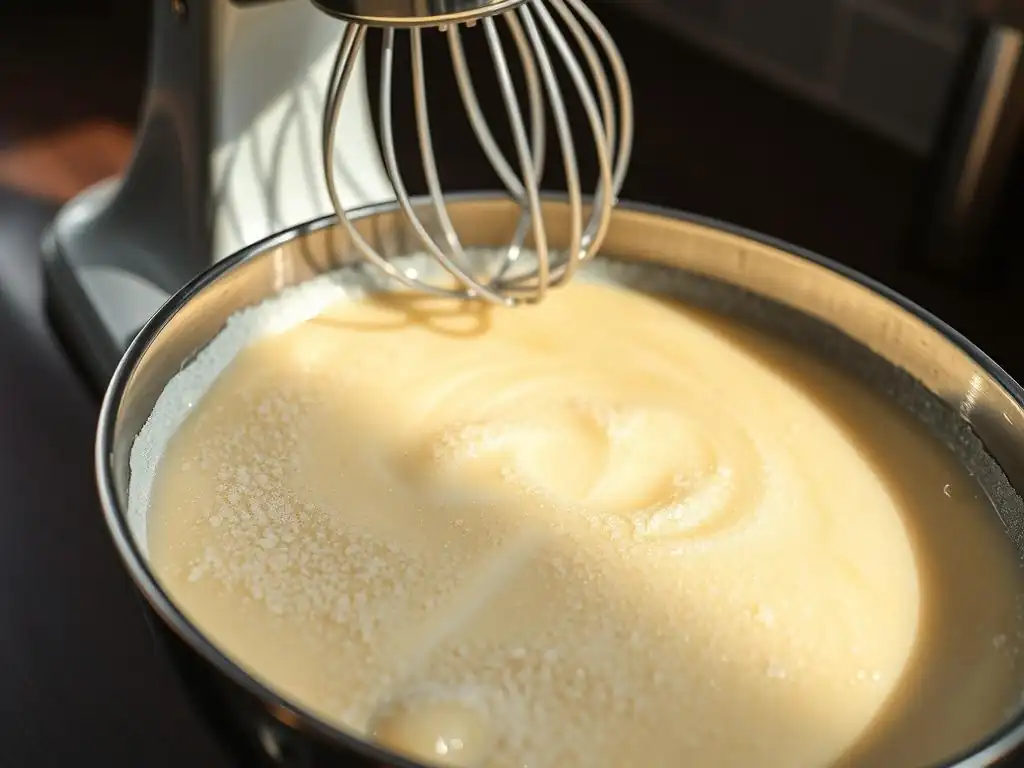
Welcome to BakeWithEase, your partner in baking success! Ever wondered about the secret to light and airy cakes? This article delves into the fascinating world of sugar fat creaming chemistry, a fundamental process that unlocks delicious possibilities. Uncover the science behind this essential technique and elevate your baking from good to extraordinary. Ready to create bakes that are both beautiful and bursting with flavor?
- Introduction to Sugar Fat Creaming in Baking
- Understanding the Science Behind Sugar and Fat Creaming
- The Role of Fat in Sugar Creaming: Choosing the Right Fat
- Sugar's Contribution to Creaming: Granulated vs. Caster Sugar
- The Creaming Process: A Step-by-Step Guide
- Troubleshooting Common Creaming Problems
- The Impact of Creaming on Different Baked Goods
- Advanced Creaming Techniques for Enhanced Baking Results
- Mastering Sugar and Fat Creaming: Tips and Tricks
- Conclusion: Elevating Your Baking with Sugar Fat Creaming Chemistry
- Frequently Asked Questions
- Final Reflection: Unlocking the Sweet Science of Baking
- Unlock Your Baking Potential: Master the Creaming Method!
Introduction to Sugar Fat Creaming in Baking
- Why Sugar Fat Creaming is Crucial for Baking Success
- Achieving Light and Tender Baked Goods: The Importance of Creaming
Creaming sugar and fat is one of the most fundamental techniques in baking, particularly for cakes, cookies, and certain quick breads. It's more than just mixing; it's a physical and chemical process that lays the groundwork for the texture and structure of your final baked good. Proper sugar fat creaming is essential because it incorporates tiny air pockets into the fat. These air pockets are crucial because they expand when heated in the oven, helping the baked item rise and achieve a light, airy texture.
The success of many classic recipes, from a simple vanilla cake to chewy chocolate chip cookies, hinges significantly on this initial creaming step. When sugar crystals are beaten into softened fat, they cut through the fat, creating small cavities that trap air. This trapped air is the primary leavening agent in many recipes, working alongside or sometimes even in place of chemical leaveners like baking powder or soda. Mastering the chemistry of sugar and fat creaming is a key step towards consistently achieving light, tender, and well-risen baked goods.
Understanding the Science Behind Sugar and Fat Creaming
- The Molecular Interactions: Fat, Sugar, and Air Incorporation
- How Sugar Crystals Affect Creaming Texture and Stability
At a microscopic level, sugar fat creaming involves fascinating interactions between solid sugar crystals and the semi-solid fat. As mechanical energy (mixing) is applied, the sharp edges of the sugar crystals cut into the pliable fat, creating numerous small spaces. Simultaneously, air is folded into this mixture and gets trapped within these sugar-created cavities. The fat acts as a binder, holding the sugar crystals and the trapped air in a stable matrix. This process increases the volume of the mixture and changes its color from the original fat hue to a paler shade, indicative of successful air incorporation.
The size and shape of the sugar crystals play a significant role in the efficiency of this air incorporation. Larger, sharper crystals like granulated sugar are more effective at cutting through the fat and creating larger air pockets initially. Finer sugars, like caster sugar, create smaller, more numerous pockets, leading to a finer crumb structure.
The stability of the creamed mixture relies on the fat's ability to hold these air bubbles until the structure of the baked good sets during baking. If the fat is too warm or the mixture is over-creamed, the fat might not be able to hold the air effectively, leading to a denser result.
The Role of Fat in Sugar Creaming: Choosing the Right Fat
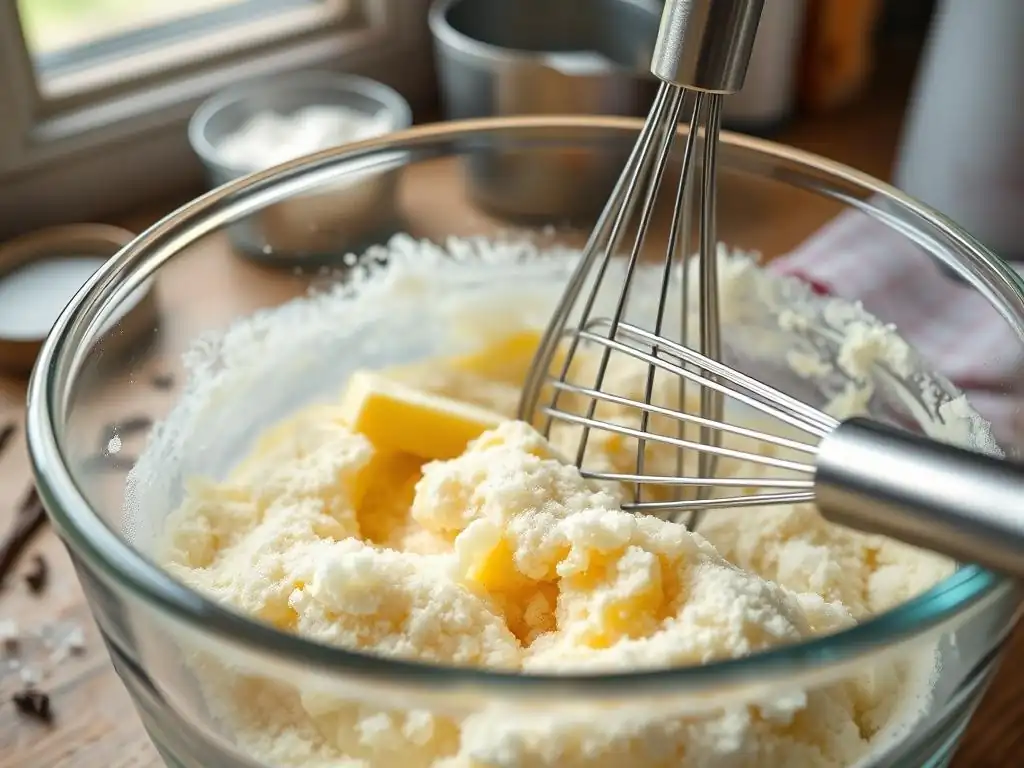
Types of Fat for Creaming: Butter vs. Shortening vs. Margarine
The type of fat used dramatically influences the outcome of sugar fat creaming. Butter, being approximately 80-82% fat and 16-18% water (with milk solids), is a popular choice due to its flavor. Its specific fat content and water presence affect its plasticity and melting point, influencing how well it can trap air compared to 100% fats. When creaming butter and sugar, the water in the butter also interacts with the sugar, starting to dissolve some crystals, which can contribute to spread in cookies but also tenderness in cakes.
Shortening, typically 100% hydrogenated vegetable oil, has a higher melting point than butter and contains no water. This makes it exceptionally good at trapping and holding air during creaming, often leading to a lighter, higher-rising cake compared to one made solely with butter. Margarine varies widely in fat content (from about 40% to 80%) and water content depending on the type (stick vs. tub), making its performance in creaming less predictable.
A stick margarine with 80% fat behaves more similarly to butter than a lower-fat tub variety, which may incorporate less air and lead to a denser product. Using the right fat is crucial for achieving the desired sugar fat creaming chemistry.
The Impact of Fat Temperature on Creaming
The temperature of the fat is perhaps the single most critical factor for successful sugar fat creaming. Fat that is too cold is hard and resistant; sugar crystals cannot effectively cut through it to create air pockets, resulting in a dense mixture with poor aeration. Imagine trying to mix cold, hard butter – it just breaks into chunks and smears the sugar. This leads to under-creaming and a lack of necessary air incorporation.
Conversely, fat that is too warm (melted or excessively soft) cannot hold the air pockets created by the sugar crystals. The air bubbles will simply escape from the liquid or overly soft fat. For butter, a temperature range of 65-68°F (18-20°C) is generally considered ideal for creaming. At this temperature, butter is pliable enough for the sugar crystals to cut through easily, yet firm enough to hold the trapped air. Using fat within the optimal temperature range ensures efficient sugar fat creaming and maximizes air incorporation.
- Ideal Temperature for Butter Creaming: A Guide to Softening
The ideal temperature for butter for creaming is often described as "room temperature," but this can be misleading as room temperature varies. A more precise guide is 65-68°F (18-20°C). At this temperature, butter should be soft enough to make a slight indentation when pressed gently with a finger, but still firm enough to hold its shape. It should not be greasy or shiny, which indicates it is too warm.
To achieve this temperature, you can leave butter out of the refrigerator for 30-60 minutes depending on your room temperature. If you're in a hurry, cut the cold butter into small cubes and let them sit for 15-20 minutes. Avoid microwaving butter to soften it for creaming, as this often melts portions unevenly, compromising its ability to properly cream with sugar.
Sugar's Contribution to Creaming: Granulated vs. Caster Sugar
Granulated Sugar: Creating Air Pockets in the Fat
Granulated sugar, the common white table sugar, is composed of relatively large, sharp crystals. When these crystals are beaten into softened fat during sugar fat creaming, they act like tiny knives, cutting through the fat and creating numerous small spaces or voids. As the mixer paddles continue to beat, air is simultaneously incorporated and trapped within these voids.
The size and hardness of granulated sugar crystals are particularly effective at this initial cutting action. They physically disrupt the fat structure more significantly than finer sugars, leading to the creation of robust air pockets. This process is fundamental to the leavening achieved through the creaming method, contributing significantly to the rise and texture of baked goods like pound cakes or sturdy cookies.
Caster Sugar: Achieving a Smooth and Fine Texture
Caster sugar (also known as superfine sugar) has much smaller crystals than granulated sugar, though not as fine as powdered sugar. When used in sugar fat creaming, these smaller crystals create more numerous, but smaller, air pockets compared to granulated sugar. This leads to a creamed mixture that is often smoother and finer in texture.
Using caster sugar can result in a baked good with a finer, more velvety crumb structure, such as delicate sponge cakes. While it may not incorporate quite as much initial volume of air as granulated sugar in the same mixing time, the smaller, more evenly distributed air cells can contribute to a consistently fine texture throughout the bake. The sugar particle size directly impacts the microstructure formed during the creaming process.
Sugar Particle Size and Creaming Efficiency
The efficiency of sugar fat creaming is directly tied to the sugar's particle size. Larger crystals, like those in granulated sugar, are highly effective at cutting through fat and creating air pockets, leading to significant volume increase. A typical creaming time for granulated sugar and butter might be 5-7 minutes to achieve a pale, fluffy mixture.
Finer sugars, like caster sugar, create a different kind of structure. While they also cut into the fat and incorporate air, the resulting air pockets are smaller and more numerous, leading to a denser but potentially finer-crumbed result. Creaming with caster sugar might appear smooth and creamy sooner, perhaps within 3-5 minutes, but the total volume increase might be slightly less than with granulated sugar over the same period. The choice of sugar depends on the desired final texture of the baked good, influencing the specific sugar fat creaming chemistry at play.
The Creaming Process: A Step-by-Step Guide
Step 1: Preparing the Fat and Sugar
Begin with your fat (typically butter or shortening) at the correct temperature – around 65-68°F (18-20°C) for butter. If using butter straight from the fridge, cut it into smaller pieces to help it warm up faster and more evenly. Measure both the fat and the sugar accurately using a kitchen scale for best results, as volume measurements can be less precise.
Place the softened fat and the measured sugar into the bowl of your stand mixer or a large mixing bowl if using a hand mixer. Ensure your mixing bowl and attachments are clean and dry, as any moisture can hinder proper sugar fat creaming.
Step 2: The Creaming Action: Mixing Speed and Duration
Start mixing on a low speed initially for about 30 seconds to just combine the sugar and fat without sending sugar flying out of the bowl. Once the sugar is slightly incorporated into the fat, increase the mixer speed to medium (typically speed 3 or 4 on a stand mixer). Allow the mixture to beat continuously. The sugar crystals will begin to cut through the fat, and air will be incorporated. This step requires patience; creaming often takes 5 to 10 minutes, sometimes longer depending on the quantity and temperature of ingredients and the power of your mixer.
Step 3: Recognizing the Perfect Creamed Mixture
Knowing when to stop is key to successful sugar fat creaming. Over-creaming can cause the fat to warm up too much and lose its ability to hold air, while under-creaming means insufficient air has been incorporated.
- Visual Cues: Pale Color and Increased Volume
The most telling signs of properly creamed sugar and fat are visual. The mixture should transform from the original color of the fat (e.g., yellow butter) to a significantly paler shade, often described as light yellow or even off-white, similar to whipped cream. Alongside the color change, the mixture should have visibly increased in volume, becoming airy and fluffy. This indicates that millions of tiny air pockets have been successfully trapped within the fat-sugar matrix.
- Texture Indicators: Light and Fluffy
Beyond the visual cues, the texture of the creamed mixture is a crucial indicator. When you stop the mixer and look at the mixture, it should appear light, fluffy, and aerated, not dense or greasy. If you were to take a spoonful, it should feel light and airy, not heavy. The sugar crystals should no longer feel gritty and separate; they should be evenly dispersed within the fluffy fat, having done their job of creating air pockets during the sugar fat creaming process.
Troubleshooting Common Creaming Problems
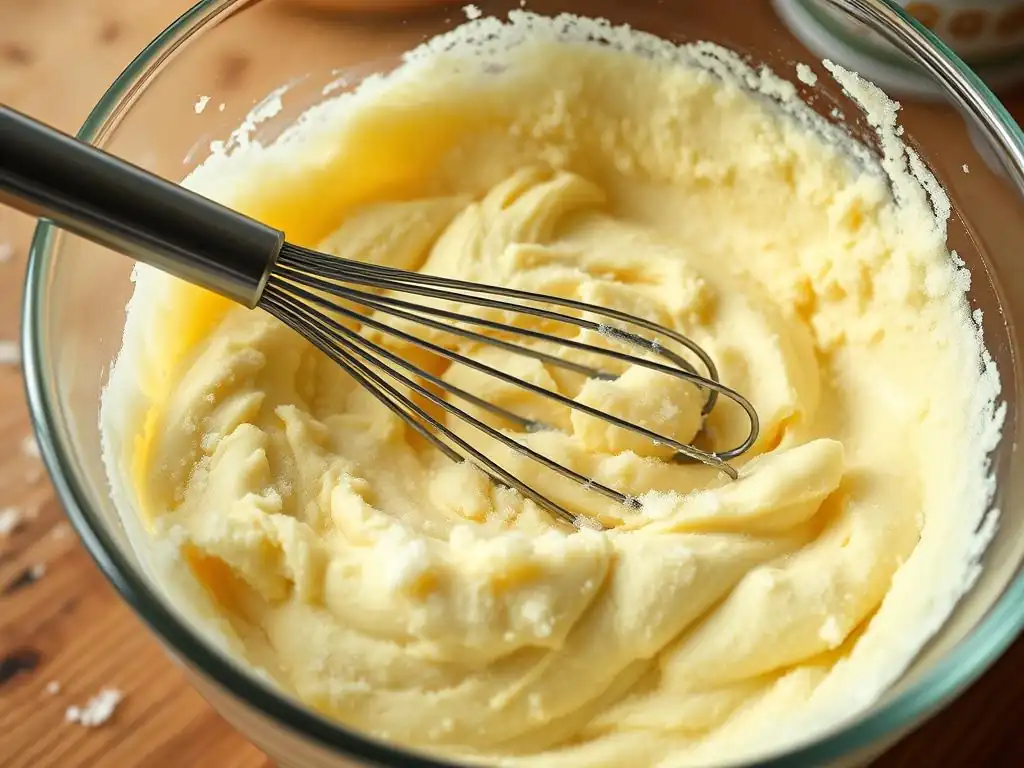
Over-Creaming: What Happens and How to Fix It
Over-creaming occurs when the fat and sugar mixture is beaten for too long or at too high a speed, especially if the fat is slightly too warm to begin with. As the mixture is beaten excessively, the mechanical action generates heat, which can soften or even partially melt the fat. When the fat becomes too soft or liquid, it loses its ability to hold the trapped air bubbles effectively. The mixture might appear separated, greasy, or even collapse slightly, losing its fluffy volume.
Unfortunately, there's no perfect fix for severely over-creamed fat and sugar; you can't magically put the air back in once the fat structure is compromised. However, if it's only slightly over-creamed (a bit greasy but still has some volume), you can try chilling the mixture in the refrigerator for 10-15 minutes to firm up the fat slightly before proceeding with the recipe. In the future, pay close attention to the visual and textural cues (pale, fluffy, increased volume) and stop mixing as soon as these are achieved, typically within 5-10 minutes.
Under-Creaming: Identifying and Correcting the Issue
Under-creaming is perhaps a more common issue and is often due to using fat that is too cold or not mixing for long enough. The signs of under-creaming are a mixture that is dense, still retains the original color of the fat, and has minimal or no increase in volume. You might still feel distinct sugar granules throughout the mixture. Insufficient air has been incorporated during the sugar fat creaming process.
The good news is that under-creaming is usually fixable. If you notice your mixture is dense and hasn't lightened in color after the recommended creaming time, continue mixing. Ensure your fat was at the correct temperature to start with. If it was too cold, let the mixture sit for a few minutes to slightly warm up (being careful not to let it get too warm), or gently warm the mixing bowl exterior with your hands for a moment, then resume mixing at medium speed. Continue beating until the mixture becomes pale, fluffy, and significantly increased in volume.
Dealing with Temperature Issues During Creaming
Temperature is paramount in sugar fat creaming. If your kitchen is very warm, your fat might soften too quickly, leading to over-creaming or a greasy texture. In this case, you can pause the creaming process and chill the bowl (with the mixture inside) in the refrigerator for 10-15 minutes to firm up the fat slightly before resuming mixing. This can help stabilize the air pockets.
Conversely, if your kitchen is cold or your fat was slightly too cold to start, the creaming process will take longer, and you risk under-creaming. Ensure your ingredients are at the proper temperature before you begin. If the mixture isn't creaming properly due to coldness, continue mixing, potentially for a few extra minutes, or gently warm the outside of the bowl as described above. Maintaining the fat within the optimal temperature range (around 65-68°F for butter) is key to successful sugar fat creaming chemistry.
The Impact of Creaming on Different Baked Goods
Creaming's Role in Cake Texture and Rise
In cakes, especially those using the creaming method (like pound cakes or butter cakes), proper sugar fat creaming is the primary driver of leavening and crumb structure. The air incorporated during creaming creates tiny bubbles that expand in the oven's heat. This expansion causes the cake to rise. Furthermore, as the cake bakes, the fat melts, and the sugar dissolves, leaving behind voids where the air bubbles were.
These voids contribute to the open, tender crumb structure characteristic of creamed cakes. A well-creamed mixture results in a cake with good volume, a light texture, and an even, delicate crumb. Insufficient creaming leads to a denser, heavier cake with a tighter crumb and less rise, as there weren't enough initial air pockets to expand during baking.
For cookies, sugar fat creaming plays a slightly different but equally important role, impacting both texture and spread. The air incorporated during creaming contributes to lift and a slightly lighter texture, preventing the cookie from being completely flat and dense. However, the extent of creaming also influences how much a cookie spreads.
When butter is creamed with sugar, some of the sugar dissolves in the water content of the butter. This dissolved sugar contributes to spread during baking. More extensive creaming (longer mixing time) can sometimes lead to slightly more spread as the butter softens further and more sugar dissolves. The balance between creaming for aeration and managing spread is part of the art of cookie baking. For example, a chewy chocolate chip cookie recipe might call for less creaming than a crisp shortbread, where aeration is less critical than achieving a tender snap.
Different recipes call for varying degrees of sugar fat creaming based on the desired final texture. For a classic Vanilla Cake using the creaming method, you would typically cream softened butter and sugar together for 5-8 minutes until very pale and fluffy, maximizing air incorporation for a light and airy crumb and good rise. This robust creaming is essential for the cake's structure.
For Chewy Chocolate Chip Cookies, the creaming time is often shorter, perhaps 2-4 minutes, until just pale and fluffy, not excessively so. This incorporates enough air for a slight lift but doesn't overdevelop the mixture, which could lead to excessive spread or a cake-like texture rather than a chewy one. Some cookie recipes even call for just mixing until combined, minimizing creaming to produce a denser, chewier result with less spread. Understanding the goal of the recipe dictates the appropriate sugar fat creaming technique.
Advanced Creaming Techniques for Enhanced Baking Results
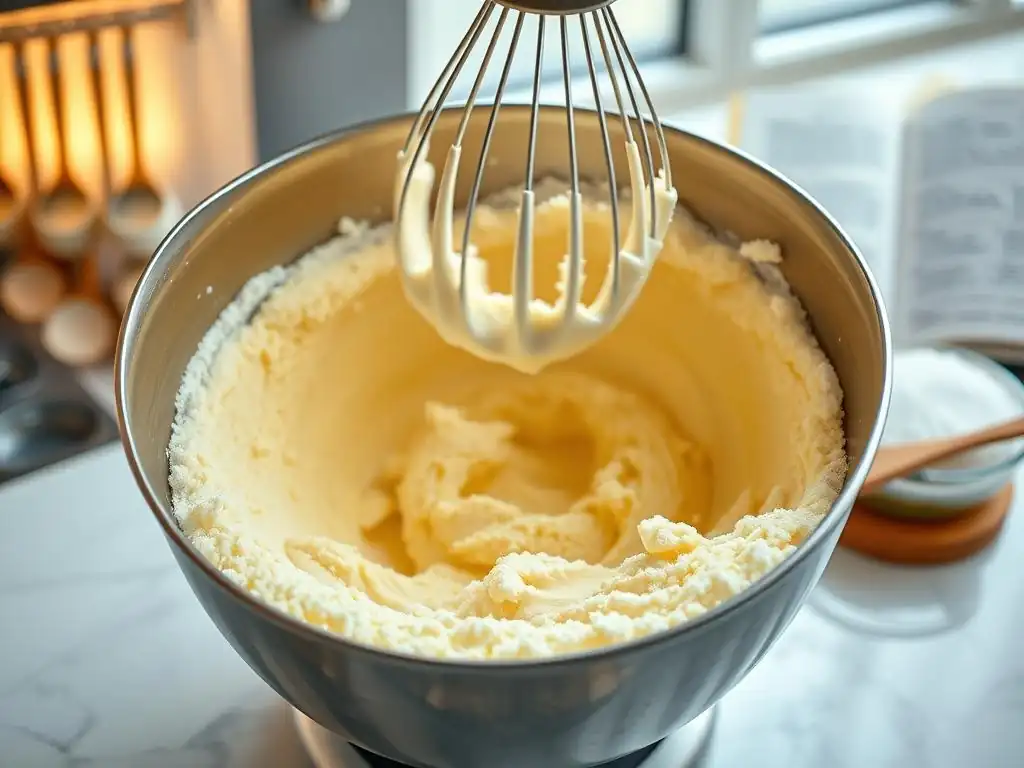
Incorporating Other Ingredients During Creaming [Eggs, Extracts]
After the initial sugar fat creaming is complete, other wet ingredients, most commonly eggs and extracts (like vanilla), are added. It's crucial to add these gradually. Eggs should typically be added one at a time, beating well after each addition until fully incorporated before adding the next. This allows the egg's lecithin to emulsify with the fat and sugar mixture, creating a stable emulsion.
Adding eggs too quickly can cause the mixture to curdle or separate, making it difficult to recover the smooth, aerated texture achieved during the initial creaming. Extracts are usually added with the last egg or right after. The emulsification process further stabilizes the air trapped during the sugar fat creaming phase and helps create a cohesive batter when the dry ingredients are added.
Reverse Creaming Method: A Deeper Dive
While the standard method involves creaming fat and sugar first, the reverse creaming method flips this order. In this technique, the dry ingredients (flour, sugar, leaveners, salt) are mixed together first. Then, softened fat is added to the dry ingredients and mixed until the mixture resembles coarse crumbs or wet sand. This coats the flour particles with fat, inhibiting gluten development.
Finally, the wet ingredients (eggs, milk, extracts) are gradually added. This method results in a cake with a very fine, velvety, and tender crumb, less prone to toughness because gluten development is minimized. While it doesn't rely on incorporating air into the fat with sugar crystals in the same way as the standard method, the initial coating of flour with fat still helps create tiny air pockets and contributes to leavening and texture in a different chemical pathway.
The principles of sugar fat creaming chemistry apply even when adapting recipes for specific dietary needs. For Gluten-Free Cakes, proper creaming is arguably even more critical because gluten-free flours lack the structural network that gluten provides. Maximizing air incorporation during creaming provides essential lift and helps create a lighter texture in the absence of a strong gluten structure. You would still aim for a pale, fluffy mixture, potentially mixing slightly longer than usual to ensure maximum aeration.
For Vegan Cookies, butter is replaced with a plant-based fat like vegan butter sticks or shortening. The creaming process remains similar: beat the softened vegan fat with sugar until pale and fluffy. The key is using a vegan fat product designed for baking, typically one that mimics the fat content and plasticity of butter (around 80% fat). Liquid oils are not suitable for creaming as they cannot trap air. Understanding the properties of the fat substitute is vital for successful sugar fat creaming in vegan baking.
Mastering Sugar and Fat Creaming: Tips and Tricks
- The Importance of Measuring Ingredients Accurately
- Using the Right Equipment for Optimal Creaming
- Scraping Down the Bowl for Even Creaming
Accurate measurement of both sugar and fat is paramount for successful sugar fat creaming. Using too little fat means there aren't enough spaces for air to be trapped; too much can lead to a greasy mixture that collapses. Similarly, the ratio of sugar to fat affects the consistency and aeration. Using a kitchen scale provides the most reliable measurements compared to volume cups, which can vary depending on how ingredients are packed. Precise measurements ensure the correct sugar fat creaming chemistry occurs.
Using the right equipment makes a significant difference. A stand mixer with the paddle attachment is ideal for creaming large quantities and provides consistent, powerful mixing. A hand mixer can also work well, especially for smaller batches, but requires more manual effort and attention to ensure all ingredients are incorporated. Ensure your equipment is clean and dry before starting.
Regularly stopping the mixer to scrape down the sides and bottom of the bowl with a rubber spatula is essential. Sugar and fat can cling to the sides or pool at the bottom, not getting properly mixed and aerated. Scraping ensures that all the mixture undergoes the same sugar fat creaming process, resulting in a uniform consistency, even color, and consistent air incorporation throughout the batch. Aim to scrape down the bowl at least 2-3 times during the creaming process.
Conclusion: Elevating Your Baking with Sugar Fat Creaming Chemistry
- Recap of Key Creaming Principles
- Encouragement for Experimentation and Practice
Understanding the sugar fat creaming chemistry – how sugar crystals cut into fat to trap air, the importance of fat temperature, and the role of sugar particle size – is foundational to mastering many baking recipes. We've covered the process from selecting the right fat and sugar to executing the creaming action and troubleshooting common issues like under- or over-creaming. This seemingly simple step is a powerful leavening technique that directly impacts the texture, rise, and overall success of your baked goods, from light cakes to perfectly textured cookies.
Armed with this knowledge of sugar fat creaming, you're ready to elevate your baking. Pay attention to ingredient temperatures, mix for the recommended time (watching for those visual and textural cues! ), and don't forget to scrape the bowl. Experiment with different fats and sugars in your favorite recipes to see how they affect the outcome. Practice makes perfect, and with a solid understanding of the chemistry involved, you'll consistently achieve beautifully creamed mixtures and, in turn, consistently delicious results from your oven.
Frequently Asked Questions
What is the significance of sugar and fat creaming in baking?
Creaming sugar and fat is a crucial first step in many recipes because it incorporates air into the mixture. This aeration provides leavening power and contributes to a light and fluffy texture in the final baked product.
How does the "creaming" process work chemically?
The creaming process involves beating fat (typically butter) and sugar together. The sharp sugar crystals cut into the fat, creating air pockets. The fat then stabilizes these air bubbles, preventing them from collapsing during baking.
What types of fats are best suited for creaming?
Solid fats, like butter and shortening, are the most effective for creaming. They have the structure needed to hold air and create a stable emulsion. Oils are generally not suitable due to their lack of solid structure.
Why is it important to use room-temperature butter for creaming?
Room-temperature butter is soft enough to be easily worked and to incorporate air effectively. If the butter is too cold, it will be difficult to cream; if it's too warm, it will melt and won't hold air properly.
What happens if I over-cream the sugar and fat?
Over-creaming can lead to a dense and greasy final product. The air bubbles can become too large and collapse during baking, resulting in a less desirable texture. Proper mixing time is key.
Final Reflection: Unlocking the Sweet Science of Baking
The chemistry of sugar and fat creaming isn't just a technical detail; it's the very foundation upon which countless beloved baked goods are built. Understanding this process, as we've explored, unlocks a deeper appreciation for the artistry and precision involved in baking, moving beyond simple recipes to a true understanding of the transformative power of ingredients. This knowledge empowers bakers of all levels to troubleshoot issues, experiment with flavors, and ultimately create more delicious and consistent results.
The impact of understanding this fundamental chemical reaction extends far beyond the kitchen. It highlights the interconnectedness of seemingly disparate fields – chemistry, culinary arts, and even history, as creaming methods have evolved alongside baking techniques across cultures. The best bakers are scientists in disguise,
a phrase I've often heard, truly resonates here. This isn't just about following instructions; it's about understanding the why behind the how, allowing for greater creativity and innovation in the kitchen.
Now, consider your own baking journey. What new possibilities does this deeper understanding of sugar and fat creaming unlock for you? Will you experiment with different fats, explore the impact of temperature, or perhaps even attempt a recipe you previously considered too challenging? Embrace the scientific method in your baking, observe, adapt, and most importantly, enjoy the delicious results of your newfound knowledge. The world of baking awaits your exploration, armed with the chemistry of success.
Unlock Your Baking Potential: Master the Creaming Method!
Thanks for exploring the fascinating world of sugar and fat creaming! You've now got a deeper understanding of this crucial baking technique – a foundation for countless delicious treats. Ready to put your newfound knowledge into action?
- Whip up a batch of your favorite cookies using the creaming method. Pay close attention to the texture and consistency as you mix – you'll notice a real difference!
- Share your baking successes (or challenges!) on social media using #BakeWithEaseCreaming. Let's build a community of bakers mastering this essential technique.
- Experiment with different fats and sugars to see how they impact the final outcome. Try substituting butter for shortening or granulated sugar for caster sugar—what do you discover?
What surprising flavor or texture combinations will you create by mastering the creaming method?