
Shaping Your First Basic Sourdough Loaf (Easy Method)

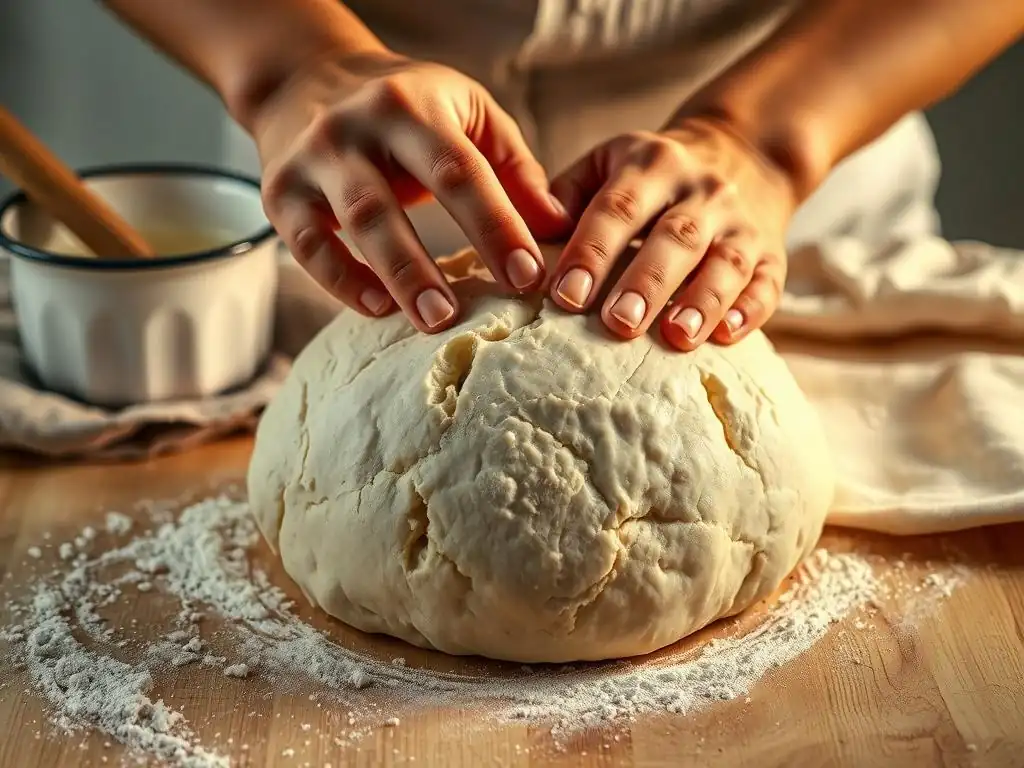
Welcome to BakeWithEase, your haven for all things baking! Ever wondered if you could achieve that perfectly round sourdough loaf at home? You absolutely can. This week, we're diving into the art of easy sourdough loaf shaping, demystifying the process with a simple method even beginners can master. Get ready to transform your bubbly starter into a beautiful and delicious creation. Intrigued? Keep reading to unlock the secrets!
- Introduction to Easy Sourdough Shaping for Beginners
- Understanding Sourdough Dough Consistency for Shaping
- Essential Tools for Shaping a Sourdough Loaf
-
Step-by-Step Guide to Easy Sourdough Loaf Shaping
- Step 1: Preparing Your Work Surface for Sourdough
- Step 2: Gently Dividing and Pre-Shaping the Sourdough Dough
- Step 3: The Rest Period: Allowing Gluten to Relax
- Step 4: Final Shaping: Creating Tension and Structure
- Step 5: Placing the Shaped Loaf in a Banneton Basket
- Step 6: Proofing Your Shaped Sourdough Loaf
- Visual Guide: Easy Sourdough Shaping Techniques
- Troubleshooting Common Sourdough Shaping Problems
- Baking Your Perfectly Shaped Sourdough Loaf
- Tips and Tricks for Consistent Sourdough Shaping
- Elevate Your Sourdough: Beyond the Basic Shape
- Conclusion: Achieving Sourdough Success with Easy Shaping
-
Frequently Asked Questions
- What is easy sourdough loaf shaping, and why is it important?
- What are the essential tools I need for easy sourdough loaf shaping?
- How long should I let my sourdough dough rest after the bulk fermentation before shaping?
- What's the best technique for creating surface tension during shaping?
- What if my sourdough dough is too sticky to shape easily?
- Final Reflection: The Humble Art of Shaping Your Sourdough
- Unleash Your Inner Baker: Craft Your Perfect Sourdough!
Introduction to Easy Sourdough Shaping for Beginners
Shaping your first basic sourdough loaf can feel like a daunting step, but it's a fundamental skill that significantly impacts the final bake. This guide focuses on an easy sourdough loaf shaping method designed specifically for beginners at BakeWithEase. We'll break down the process into simple, manageable steps, helping you build confidence and achieve a beautiful, well-structured loaf right from the start. Mastering easy sourdough shaping is key to getting that perfect rise and crust.
Understanding the 'why' behind shaping is just as important as the 'how'. Proper shaping creates tension on the surface of the dough, which acts like a skin during baking. This tension helps the loaf hold its shape in the oven and encourages a good oven spring, resulting in a higher, airier crumb. Without adequate tension from easy sourdough loaf shaping, your dough might spread out flatly, leading to a dense, disc-like loaf instead of a majestic boule or batard.
Why Mastering Sourdough Shaping is Crucial
Mastering the art of easy sourdough loaf shaping is paramount for several reasons, primarily related to the structure and appearance of your final bread. A well-shaped loaf holds its form during proofing and baking, preventing it from spreading excessively. This structural integrity is vital for achieving a tall, airy loaf with a desirable open crumb structure. Consider two loaves made from the same dough: one poorly shaped and one expertly shaped. The poorly shaped loaf might expand sideways, resulting in a flat bread, while the well-shaped one will rise upwards, exhibiting a beautiful dome and better internal texture.
Beyond structure, shaping also impacts the crust. The tension created on the surface during shaping contributes to the development of a crisp, flavorful crust. It also prepares the loaf for scoring, allowing bakers to create decorative patterns or strategic cuts that guide the oven spring and prevent blowouts. For instance, a tight boule shape provides a robust surface for a single, deep score, often leading to a dramatic "ear" – a coveted feature among sourdough enthusiasts. Mastering easy sourdough loaf shaping sets the stage for both structural success and aesthetic appeal in your finished bread.
BakeWithEase's Simple Approach to Sourdough Shaping
At BakeWithEase, our simple approach to easy sourdough loaf shaping demystifies the process, focusing on building fundamental skills without unnecessary complexity. We emphasize gentle handling and understanding the dough's behavior rather than relying on complex techniques that can be overwhelming for newcomers. Our method typically involves a few key movements designed to create surface tension efficiently and effectively, even with high-hydration doughs that can be tricky for beginners.
This simple approach breaks down shaping into distinct stages: the initial pre-shape and the final shape. The pre-shape is a gentle preliminary step that helps round or shape the dough slightly and allows the gluten to relax, making the final shape easier. The final shape then focuses on tightening the surface and creating that essential tension. We teach bakers to feel the dough, recognizing when enough tension has been built, rather than adhering to rigid, overly complicated sequences of folds. This intuitive, friendly method makes easy sourdough loaf shaping accessible to everyone.
Understanding Sourdough Dough Consistency for Shaping
The consistency of your sourdough dough is perhaps the most critical factor influencing how easy (or difficult) shaping will be. Sourdough doughs can range significantly in hydration, from lower hydration doughs (around 65-70% water relative to flour) that are firmer and easier to handle, to high hydration doughs (80% or more) that are stickier and require more practice. Recognizing the ideal texture for shaping is key to success.
A dough that has been properly developed through mixing, autolyse, and fermentation will have a certain elasticity and strength. When you perform a stretch and fold, it should resist slightly and hold its shape without immediately collapsing. If the dough feels overly slack or tears easily, it might need more development or fermentation time. Conversely, if it feels very tight and resists stretching, it might be underdeveloped or over-fermented. Understanding these cues makes easy sourdough loaf shaping much more intuitive.
Recognizing the Ideal Dough Texture for Easy Handling
The ideal sourdough dough texture for easy handling and shaping strikes a balance between extensibility (ability to stretch) and elasticity (ability to spring back). After bulk fermentation, a well-developed dough should feel alive and slightly aerated. When you gently pull on a piece, it should stretch without tearing easily, exhibiting a smooth, somewhat glossy surface underneath. It should also have enough internal structure to hold a basic shape after a gentle fold.
A good test is the "windowpane test," though for shaping, you're looking more at the dough's overall feel and response to touch. A dough that's ready for easy sourdough loaf shaping will feel soft yet resilient. It shouldn't be excessively sticky that it clings aggressively to your hands or the work surface, nor should it be so stiff that it's hard to manipulate. It should have a slight tackiness but release relatively cleanly with minimal flour on your hands or bench scraper.
Troubleshooting Common Dough Issues: Too Sticky or Too Wet
Encountering sticky or overly wet dough is a common hurdle in easy sourdough loaf shaping, especially with higher hydration recipes. If your dough is excessively sticky, it might be due to high hydration, insufficient gluten development, or perhaps slightly too much fermentation. To manage very sticky dough, resist the urge to add excessive flour, which can toughen the bread. Instead, use a small amount of flour on your hands and work surface, or dampen your hands with water.
Another approach for overly wet dough is to use a bench scraper extensively during shaping to help manipulate the dough without it sticking everywhere. Ensure your bulk fermentation is complete; sometimes dough is sticky because it hasn't developed enough strength yet. If the dough is truly too wet for comfortable handling, you might consider slightly reducing the water in your next batch. However, with practice and the right technique, even high-hydration doughs can be shaped using an easy sourdough loaf shaping method.
Essential Tools for Shaping a Sourdough Loaf
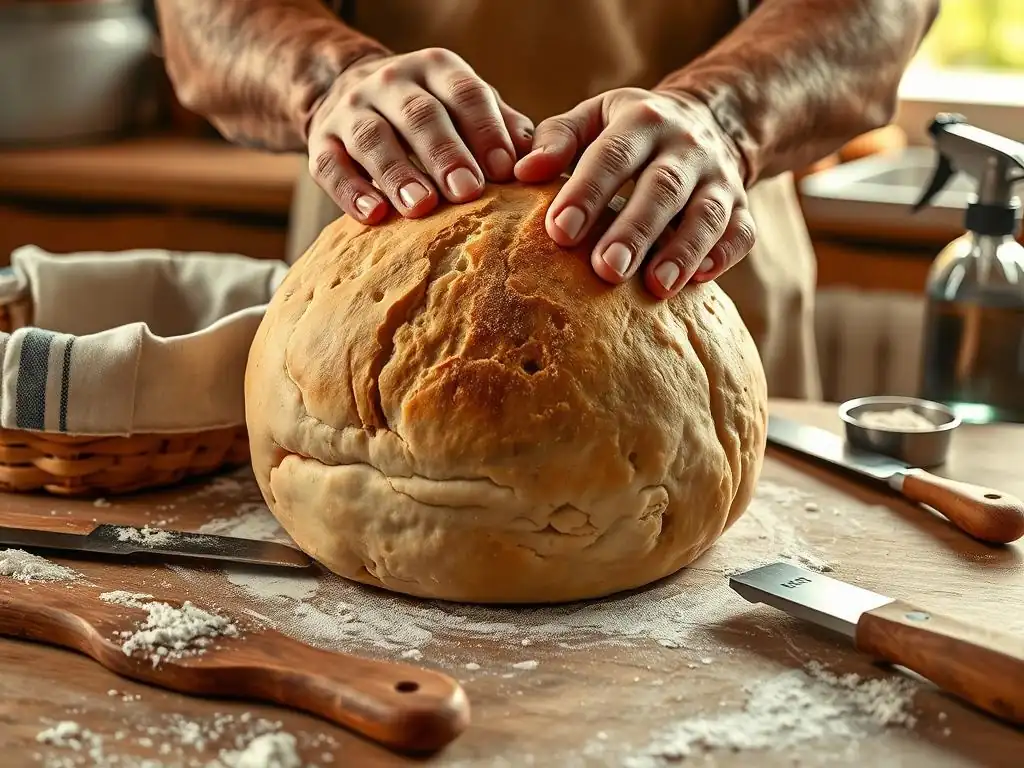
You don't need a vast collection of specialized equipment to begin shaping sourdough. In fact, the essential tools for easy sourdough loaf shaping are quite minimal and likely items you already have in your kitchen. Focusing on a few key items helps keep the process simple and approachable for beginners.
Having the right basic tools makes a significant difference in managing the dough, especially sticky sourdough. A clean work surface, a good bench scraper, and perhaps a bowl are the absolute necessities. These tools facilitate handling the dough gently and effectively, allowing you to focus on the shaping technique itself rather than fighting with the dough sticking everywhere.
The Minimalist Toolkit: What You Really Need
For easy sourdough loaf shaping, your minimalist toolkit should include:
- A clean work surface: A countertop, large cutting board, or even a large piece of parchment paper works. Ideally, it's a non-porous surface that you can lightly flour.
- A bench scraper: This is indispensable. A sturdy metal or plastic bench scraper helps you lift, turn, and manipulate the sticky dough without damaging it. It's also crucial for dividing dough and cleaning your surface.
- A light dusting of flour: Just enough to prevent sticking, typically all-purpose or bread flour. Too much flour can create dry spots in the dough.
With just these three items, you have everything you need to effectively perform easy sourdough loaf shaping. The bench scraper, in particular, becomes an extension of your hand when dealing with wet or sticky dough, allowing for cleaner movements and better control.
Optional Tools for Enhanced Sourdough Shaping
While not strictly necessary for the basic easy sourdough loaf shaping method, certain optional tools can enhance the process or final result:
- Banneton Basket (Proofing Basket): These baskets, typically made of rattan or wood pulp, support the dough during its final proofing stage, helping it hold its shape and creating a lovely spiral pattern on the crust. They are particularly useful for higher hydration doughs.
- Rice Flour: Often used to dust banneton baskets. Rice flour doesn't contain gluten, so it's less likely to be absorbed by the dough, preventing sticking to the basket.
- Dough Whisk or Mixer: Useful for the initial mixing phase, ensuring ingredients are well combined before bulk fermentation and shaping.
- Kitchen Scale: Essential for accurate ingredient measurement, which directly impacts dough consistency and, therefore, shaping ease. While not used during shaping, it's vital for the process leading up to it.
Using a banneton, for example, significantly simplifies the final proofing step after easy sourdough loaf shaping, ensuring the loaf maintains its tension and shape before baking.
Step-by-Step Guide to Easy Sourdough Loaf Shaping
This step-by-step guide focuses on an easy sourdough loaf shaping method suitable for a basic boule (round loaf). This method is designed to be straightforward and effective for beginners.
Step 1: Preparing Your Work Surface for Sourdough
Preparation is key to successful easy sourdough loaf shaping. Begin by ensuring your work surface is clean and dry. Then, lightly dust a small area (about 1-2 square feet) with flour. The amount of flour needed will depend on the hydration of your dough; stickier doughs require slightly more, but always err on the side of less. You can always add a little more if needed.
Use your hand or a clean cloth to spread the flour evenly across the designated shaping area. You want a thin, uniform layer, not piles of flour. This light dusting provides just enough barrier to prevent the dough from sticking while allowing you to manipulate it easily. Having your bench scraper readily available is also part of this preparation step.
Step 2: Gently Dividing and Pre-Shaping the Sourdough Dough
If you are baking multiple loaves from one batch, gently divide the dough using your bench scraper. Avoid tearing the dough; use the scraper to make a clean cut. Once divided, it's time for the pre-shape. For a boule, the pre-shape is typically a gentle round. Gently fold the edges of each dough portion towards the center, creating a rough ball.
Then, gently cup your hands around the dough and use the surface friction to lightly round it into a loose ball. Don't try to create significant tension yet; the goal is just to gather the dough and give it a preliminary shape. This step helps organize the gluten structure and makes the final easy sourdough loaf shaping much more manageable. Work quickly but gently to avoid degassing the dough too much.
Step 3: The Rest Period: Allowing Gluten to Relax
After pre-shaping, it's crucial to give the dough a rest period, often called the bench rest. Cover the pre-shaped dough balls loosely with a clean kitchen towel or plastic wrap to prevent a skin from forming. Let them rest on the work surface for 20 to 30 minutes.
This rest period allows the gluten that was tightened during the pre-shape to relax. If you tried to do the final shape immediately after pre-shaping, the dough would be too tight and resistant, making it difficult to create the necessary surface tension without tearing. The bench rest makes the dough more pliable and receptive to the final easy sourdough loaf shaping steps. You'll notice the dough will have relaxed slightly and spread out a little during this time.
Step 4: Final Shaping: Creating Tension and Structure
After the rest period, the dough is ready for the final easy sourdough loaf shaping. For a boule, gently flip the pre-shaped dough over so the seam is facing up. You'll use a series of folds and tucks to create significant surface tension. Imagine you're wrapping the dough tightly.
Gently pull one edge of the dough out and fold it towards the center, pressing lightly to seal. Rotate the dough and repeat this pulling and folding motion several times, working your way around the dough. As you fold, you should start to feel tension building on the underside.
Once you have folded all sides towards the center, flip the dough over so the smooth side is facing up. Use your hands or the bench scraper to gently cup the dough and rotate it slightly, tucking the edges underneath and creating a smooth, taut surface on top. This action builds the final tension needed for a good oven spring.
Step 5: Placing the Shaped Loaf in a Banneton Basket
Once your dough has been shaped using the easy sourdough loaf shaping method, it needs to be placed in a proofing basket (banneton) or an alternative for its final rise. If using a banneton, heavily dust it with flour or rice flour, especially if it's your first time or you have a high-hydration dough. Rice flour is highly recommended as it prevents sticking much better than wheat flour. Ensure the flour gets into all the crevices of the basket if it has a pattern.
Gently lift your shaped dough, keeping the taut surface intact, and place it seam-side up into the floured banneton. The seam-side up placement means that when you invert the dough onto your baking surface, the smooth, taut side will be on top, ready for scoring. Ensure the dough fits snugly in the basket; the basket provides support, helping the dough maintain its shape as it proofs.
Using a Banneton Basket for Perfect Sourdough Shape
Using a banneton basket is a popular method for achieving a perfectly shaped sourdough loaf during the final proof. The basket provides crucial support, preventing the dough from spreading outwards and helping it maintain its height and tension. This is particularly beneficial for wetter doughs that might otherwise flatten during proofing. The material of the banneton (like rattan) also wicks away a small amount of moisture from the surface of the dough, which can contribute to a crispier crust.
To use a banneton effectively for easy sourdough loaf shaping and proofing, dust it generously with rice flour. Place the shaped dough, seam-side up, into the basket. Cover the basket with a plastic bag or shower cap to prevent the dough from drying out. The basket ensures that as the dough expands during proofing, it does so upwards, supported by the basket walls, resulting in a well-rounded or elongated shape depending on the basket type.
Alternatives to a Banneton Basket for Proofing
If you don't have a banneton basket, don't worry! You can still achieve a great shape using alternatives for the final proof after your easy sourdough loaf shaping. A simple bowl lined with a well-floured kitchen towel works effectively. Choose a bowl size that allows the dough to fill it comfortably but still provides support. Dust the towel generously with flour (rice flour works best here too) before placing the shaped dough seam-side up inside.
Another alternative is to proof the dough on a piece of parchment paper. After shaping, place the dough on parchment paper and then place the parchment paper inside a Dutch oven or on a baking sheet. You can create support around the dough using crumpled towels or other items to prevent it from spreading too much, especially if it's a wetter dough. While these methods might not give you the distinct pattern of a banneton, they will still help the dough hold its shape during the critical proofing stage.
Step 6: Proofing Your Shaped Sourdough Loaf
Once your shaped sourdough loaf is nestled in its proofing basket or alternative, it needs time to proof. This final rise allows the dough to increase in volume and develop flavor before baking. Proofing can happen at room temperature or in the refrigerator (cold proofing). Cold proofing in the refrigerator (usually 8-12 hours, sometimes up to 24+ hours) is often preferred after easy sourdough loaf shaping as it develops more complex flavors, makes the dough easier to score, and fits conveniently into a busy schedule.
Room temperature proofing is faster (typically 1-4 hours, depending on ambient temperature and dough activity) but requires closer monitoring to avoid over-proofing. The dough is ready when it has increased in volume and feels light and airy. A gentle poke test can indicate readiness: if the dough springs back slowly, leaving a slight indentation, it's likely ready. If it springs back immediately, it needs more time. If the indentation remains completely, it might be over-proofed. Proper proofing after easy sourdough loaf shaping is crucial for a good rise in the oven.
Visual Guide: Easy Sourdough Shaping Techniques
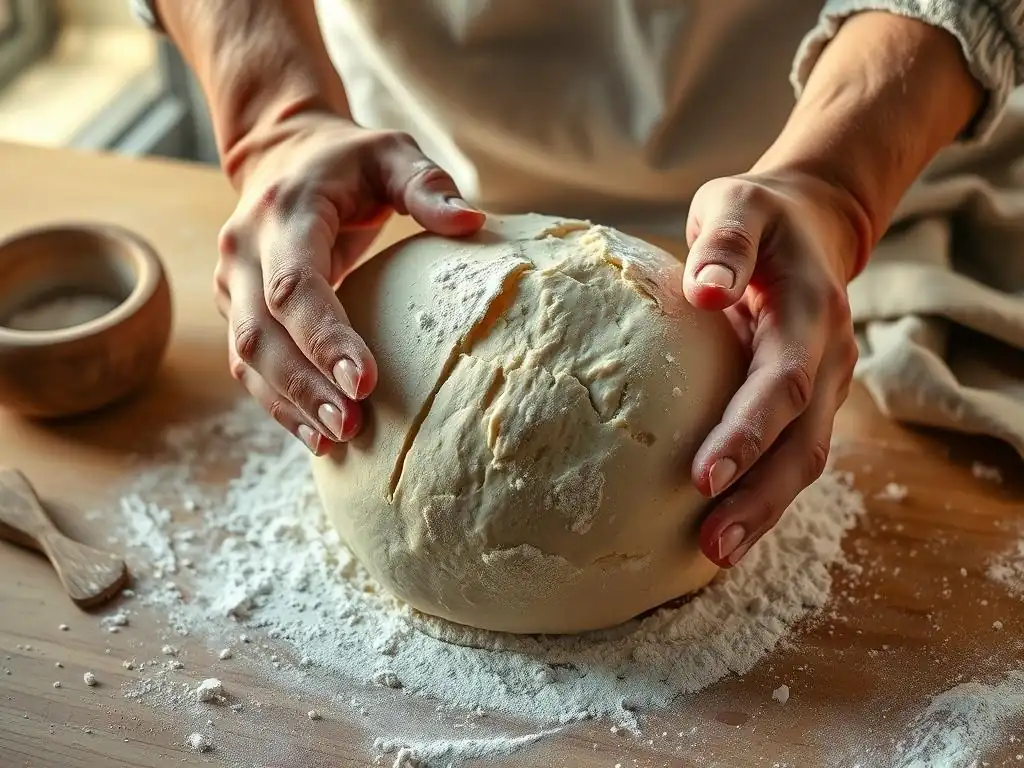
Note: As per instructions, no actual images or videos are included. This section describes what such a visual guide would contain.
Photo Tutorial: Step-by-Step Shaping Process
A photo tutorial would visually walk you through each stage of the easy sourdough loaf shaping process. It would start with a photo of the dough after bulk fermentation, showing its bubbly surface. Subsequent photos would illustrate preparing the work surface with flour, gently dividing the dough (if necessary), and the initial pre-shape step – showing the dough being folded onto itself to create a rough ball.
The tutorial would then show the dough resting during the bench rest. The final shaping sequence would be detailed with multiple images: showing the dough flipped seam-side up, pulling and folding the edges towards the center, and finally, flipping the dough over and using hands to tuck the edges underneath to create a smooth, taut surface. The final image would show the perfectly shaped boule ready to be placed in a banneton.
Video Demonstration: Mastering the Easy Shaping Method
A video demonstration provides a dynamic view of the easy sourdough loaf shaping technique, showing the fluidity and feel of the process. It would begin with a shot of the dough after bulk fermentation, highlighting its texture and movement. The video would then demonstrate the gentle handling required during pre-shaping, showing how the dough responds to the baker's touch.
The core of the video would be the final shaping, illustrating the pull-and-fold technique from multiple angles, showing how the surface tension is built. It would clearly demonstrate the feel of the dough as it tightens and the final tucking motion to create a smooth exterior. The video would emphasize the importance of using a bench scraper effectively and handling the dough gently throughout the easy sourdough loaf shaping process, providing a clear visual example of the desired technique and dough behavior.
Troubleshooting Common Sourdough Shaping Problems
Even with an easy sourdough loaf shaping method, you might encounter common issues. Understanding these problems and how to address them is part of the learning process and will improve your results over time.
Dealing with Sticky Dough During Shaping
Sticky dough is perhaps the most frequent challenge in easy sourdough loaf shaping, especially for beginners or when working with high-hydration recipes (like 75% hydration or higher). The key is to manage the stickiness without incorporating excessive flour. As mentioned earlier, a light dusting of flour on the surface and your hands is your first line of defense. Use just enough so the dough doesn't weld itself to everything.
Employ your bench scraper actively. Use it to scrape the dough from the surface, to help lift and fold, and to assist in tucking the edges during the final shape. If the dough is very sticky, slightly dampening your hands with water instead of flour can also help. Remember that some stickiness is normal, especially with flavorful, high-hydration doughs. Patience and confident, quick movements are often more effective than hesitant, slow ones when dealing with sticky dough during easy sourdough loaf shaping.
Preventing Tearing and Creating a Smooth Surface
Tearing during easy sourdough loaf shaping often indicates that the dough is either underdeveloped (gluten structure isn't strong enough) or that you are being too rough or trying to stretch it too far. Ensure your bulk fermentation has allowed sufficient gluten development through stretch and folds or coil folds. If the dough feels tight and resistant after the bench rest, it might need a slightly longer rest period to relax before final shaping.
To create a smooth surface, focus on the tucking motion during the final shaping. As you rotate the dough, use your hands or bench scraper to gently push and tuck the edges underneath the base of the loaf. This action stretches the top surface tautly, creating that smooth skin. Avoid excessive flour on the top surface during shaping, as this can create dry patches or affect scoring later. Gentle, consistent tension building is key to a smooth surface during easy sourdough loaf shaping.
Achieving a Tight and Round Sourdough Loaf
Achieving a tight and round (or oval, for a batard) shape is the primary goal of easy sourdough loaf shaping. This tightness comes from creating sufficient surface tension in the final steps. If your loaf is spreading out and lacks height after shaping, you likely haven't built enough tension. Revisit the folding and tucking steps, ensuring you are pulling the dough tautly over itself and sealing the seams underneath.
Practicing the final shaping movement – cupping the dough with your hands or bench scraper and rotating it while tucking the base – is essential. This motion cinches the dough together and creates that smooth, taut exterior. It might take a few attempts to get the feel right. Don't be discouraged if your first few loaves aren't perfectly round; each shaping attempt is practice towards mastering easy sourdough loaf shaping techniques.
Baking Your Perfectly Shaped Sourdough Loaf
The moment of truth arrives after proofing: baking your perfectly shaped sourdough loaf. How you bake it will significantly impact its rise, crust, and overall appearance, complementing the effort put into easy sourdough loaf shaping.
Scoring Techniques for a Beautiful Sourdough Ear
Scoring, or slashing, your shaped sourdough loaf just before baking serves both functional and aesthetic purposes. Functionally, the cuts allow the dough to expand in a controlled manner in the hot oven, preventing random blowouts. Aesthetically, scoring creates patterns and, if done correctly, can produce the coveted "sourdough ear" – a raised flap of crust along a main score line.
For a basic boule shaped using an easy sourdough loaf shaping method, a simple, deep score is often best. Using a sharp razor blade (lame), make a single, confident cut across the top of the loaf, about 1/2 inch deep. Angle the blade at about 30-45 degrees relative to the dough surface. This angle helps create the ear. For a batard, a few parallel scores or a single score down the middle are common. Practice makes perfect with scoring; don't be afraid to experiment on different loaves.
Baking Temperatures and Times for Optimal Rise
Baking sourdough typically involves high temperatures, often starting very hot to encourage maximum oven spring. A common method is baking in a preheated Dutch oven. Preheat your oven to a high temperature, such as 450-500°F (230-260°C), with the Dutch oven inside, for at least 30-60 minutes. This ensures the vessel is scorching hot.
Carefully transfer your shaped and scored loaf into the hot Dutch oven. Bake covered for 20-25 minutes. The lid traps steam released by the dough, keeping the crust soft initially and allowing the loaf to expand fully.
After this initial phase, remove the lid and reduce the oven temperature slightly (e.g., to 425-450°F or 220-230°C). Continue baking uncovered for another 20-30 minutes, or until the crust is deep golden brown and the internal temperature reaches around 205-210°F (96-99°C). This two-stage baking process maximizes rise and develops a beautiful crust on your loaf shaped using the easy sourdough loaf shaping method.
Cooling Your Sourdough Loaf After Baking
Perhaps the hardest part of the sourdough journey after successfully baking your loaf is waiting for it to cool. Once removed from the oven, the loaf is still undergoing chemical processes as it cools. The internal structure is setting, and moisture is redistributing. Cutting into a hot loaf prematurely can result in a gummy, dense crumb.
Place the baked loaf on a wire cooling rack immediately after taking it out of the oven. This allows air circulation on all sides, preventing the bottom crust from becoming soggy. Let the loaf cool completely, ideally for 2-3 hours, before slicing. This patience is rewarded with the best possible texture and flavor from your beautifully shaped and baked easy sourdough loaf shaping creation.
Tips and Tricks for Consistent Sourdough Shaping
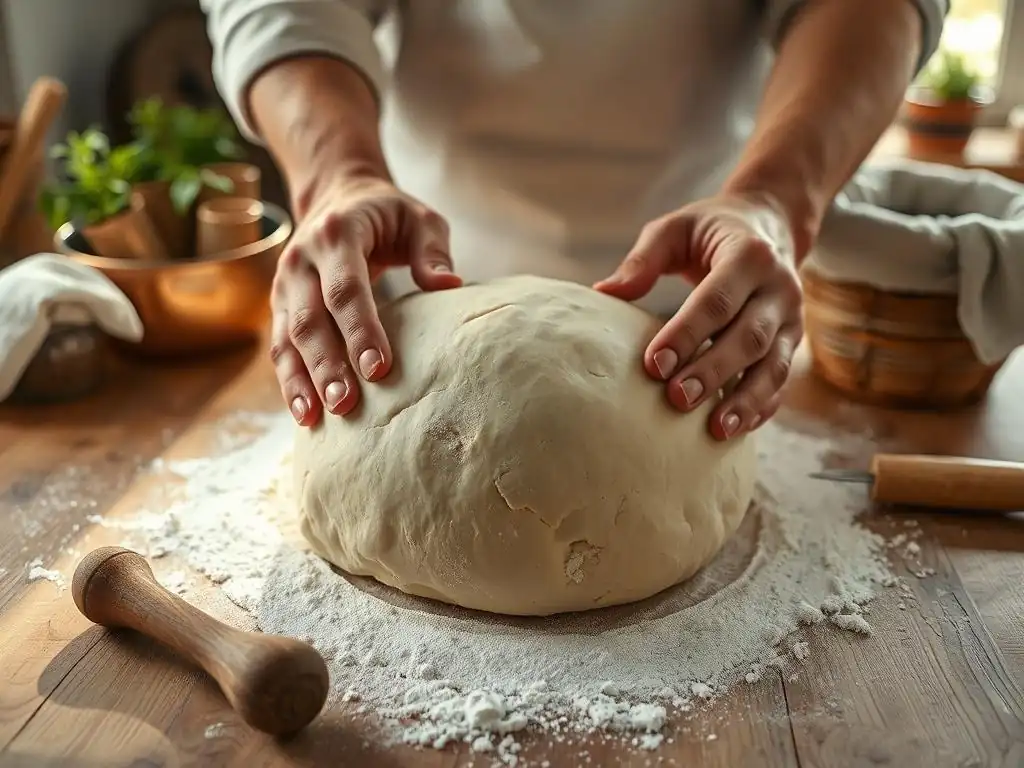
Achieving consistent results with easy sourdough loaf shaping comes with practice and attention to a few key details.
Maintaining Dough Hydration for Easy Shaping
The hydration level of your dough significantly impacts how easy it is to shape. Lower hydration doughs (65-70%) are generally firmer and hold their shape well, making them ideal for beginners practicing easy sourdough loaf shaping. As you become more comfortable, you can gradually increase hydration.
Consistency in measuring your ingredients, particularly water, is crucial for maintaining the desired hydration level batch after batch. Use a kitchen scale for accuracy. If you're working with a new recipe or flour type, be aware that absorption rates can vary, potentially affecting the dough's feel. Adjust slightly if necessary in subsequent batches, but always aim for consistent hydration based on your recipe to make easy sourdough loaf shaping predictable.
The Importance of Gentle Handling
While shaping involves creating tension, it's essential to handle the dough gently throughout the process, especially during easy sourdough loaf shaping for beginners. Avoid punching down the dough or degassing it excessively during pre-shaping and final shaping. The air pockets created during fermentation contribute to the open crumb structure.
Gentle handling preserves these precious air bubbles. Use confident but light movements. Think of guiding the dough into shape rather than forcing it. This approach not only helps maintain crumb structure but also makes the easy sourdough loaf shaping process more pleasant and less likely to result in torn or damaged dough.
Practicing and Refining Your Sourdough Shaping Technique
Like any skill, mastering easy sourdough loaf shaping requires practice. Don't expect perfection on your first attempt. Each loaf you shape provides valuable learning experience. Pay attention to how the dough feels, how it responds to your movements, and how the shape holds during proofing and baking.
Consider keeping a baking journal to note down dough hydration, fermentation times, and observations about your shaping process and results. This helps you identify what works and what doesn't. Watching videos (like the one described earlier) and practicing the motions even without dough can also be beneficial. With consistent effort and refinement, you'll become adept at easy sourdough loaf shaping.
Elevate Your Sourdough: Beyond the Basic Shape
Once you're comfortable with the basic easy sourdough loaf shaping techniques for a boule, you might want to explore other possibilities.
Exploring Different Sourdough Loaf Shapes
The world of sourdough shaping extends beyond the simple boule. The batard (oval shape) is another fundamental shape, often achieved with a slightly different folding sequence during the final shape to create an elongated form. Other shapes include baguettes, rolls, or even decorative braids and knots.
Each shape requires specific easy sourdough loaf shaping techniques to build tension appropriate for that form. For instance, shaping a baguette involves folding and rolling to create length and even thickness. Experimenting with different shapes keeps baking exciting and allows you to tailor your bread to different uses, from slicing for sandwiches (batard) to serving with soup (boule).
Adding Inclusions After Shaping: Seeds, Herbs, and More
After successfully shaping your easy sourdough loaf, you can elevate it further by adding inclusions to the exterior. This is typically done just before placing the loaf in the banneton for proofing. Popular inclusions include sesame seeds, poppy seeds, rolled oats, or a mix of seeds. For savory loaves, you could add dried herbs or flaky sea salt.
To add inclusions, lightly mist the surface of your shaped dough (the side that will be the bottom in the banneton, which becomes the top when baked) with water or brush it with egg wash. Then, roll or press the dough into a plate filled with your desired seeds or herbs. Ensure they adhere well. This adds flavor, texture, and visual appeal to your beautifully shaped easy sourdough loaf.
Conclusion: Achieving Sourdough Success with Easy Shaping
Mastering easy sourdough loaf shaping is a significant step towards consistent and successful sourdough baking. It's a skill that builds confidence and directly impacts the structure, rise, and appearance of your final loaf. By understanding your dough, using minimal essential tools, and following a simple step-by-step process, you can confidently shape beautiful loaves.
Remember that practice is key. Don't be discouraged by initial imperfections. Each attempt refines your feel for the dough and your technique. With the easy sourdough loaf shaping methods outlined here, you are well on your way to achieving those tall, airy, and delicious sourdough loaves you've been dreaming of. Happy shaping!
Frequently Asked Questions
What is easy sourdough loaf shaping, and why is it important?
Easy sourdough loaf shaping refers to simple techniques that help you form your dough into a manageable shape before baking. Proper shaping creates surface tension and helps the loaf hold its form during baking.
What are the essential tools I need for easy sourdough loaf shaping?
You'll primarily need a clean work surface, a bench scraper (or dough scraper), and a proofing basket (banneton). Optionally, a little flour for dusting can prevent sticking.
How long should I let my sourdough dough rest after the bulk fermentation before shaping?
A short rest, typically 15-30 minutes, after bulk fermentation allows the dough to relax slightly, making it easier to handle and shape.
What's the best technique for creating surface tension during shaping?
The best technique usually involves gently pulling the dough towards you, tucking it underneath itself, and rotating. This creates a taut outer layer crucial for oven spring.
What if my sourdough dough is too sticky to shape easily?
If the dough is very sticky, try using more flour on your work surface and hands. Also, ensure your bulk fermentation hasn't gone too far, as over-proofed dough can be difficult to handle.
Final Reflection: The Humble Art of Shaping Your Sourdough
The seemingly simple act of shaping a sourdough loaf is far more than just aesthetics; it's the culmination of patience, understanding, and a deep connection with the fermentation process. Mastering this crucial step unlocks the potential for a beautifully risen, evenly baked loaf, transforming a potentially frustrating experience into a deeply satisfying one. The ease with which you can achieve this, as outlined in this guide, should empower even the most novice baker.
The journey of shaping my first sourdough loaf was a revelation. It wasn't just about achieving a perfect boule; it was about understanding the delicate balance of gluten development and gas retention. The bread is the mirror of the baker.
This quote, though its origin is debated, perfectly encapsulates the connection between the care taken in shaping and the final result. The subtle nuances of handling the dough, feeling its elasticity, and gently coaxing it into form are deeply rewarding, reflecting the time and effort invested in the entire process. This simple act connects us to a tradition of baking that spans centuries.
Now, it's your turn. Don't be intimidated by the seemingly complex world of sourdough. Take the techniques outlined in this article, experiment with them, and trust your intuition. Each loaf, regardless of its imperfections, represents a step forward on your baking journey. Embrace the process, enjoy the aroma, and savor the taste of your own handcrafted sourdough bread. The satisfaction is immeasurable, and the journey, surprisingly, is easy.
Unleash Your Inner Baker: Craft Your Perfect Sourdough!
Thanks for joining us on this sourdough journey! We hope you now feel confident in taking on this classic bread. You've gained valuable insights into a simple yet rewarding baking process. Ready to put your new skills to the test?
- Bake your first sourdough loaf today! Use the recipe and tips from this article as your guide. Don't be afraid to experiment – even small adjustments can make a big difference!
- Share your baking journey: Tag us on social media (@BakeWithEase) with a photo of your finished loaf! We’d love to see your creations.
- Explore more sourdough recipes and techniques on BakeWithEase.com to expand your baking horizons. Find your next favorite recipe!
What unique twist will you add to your sourdough creation to make it truly your own?