
Easy Basic Sourdough Bread Recipe for Beginners

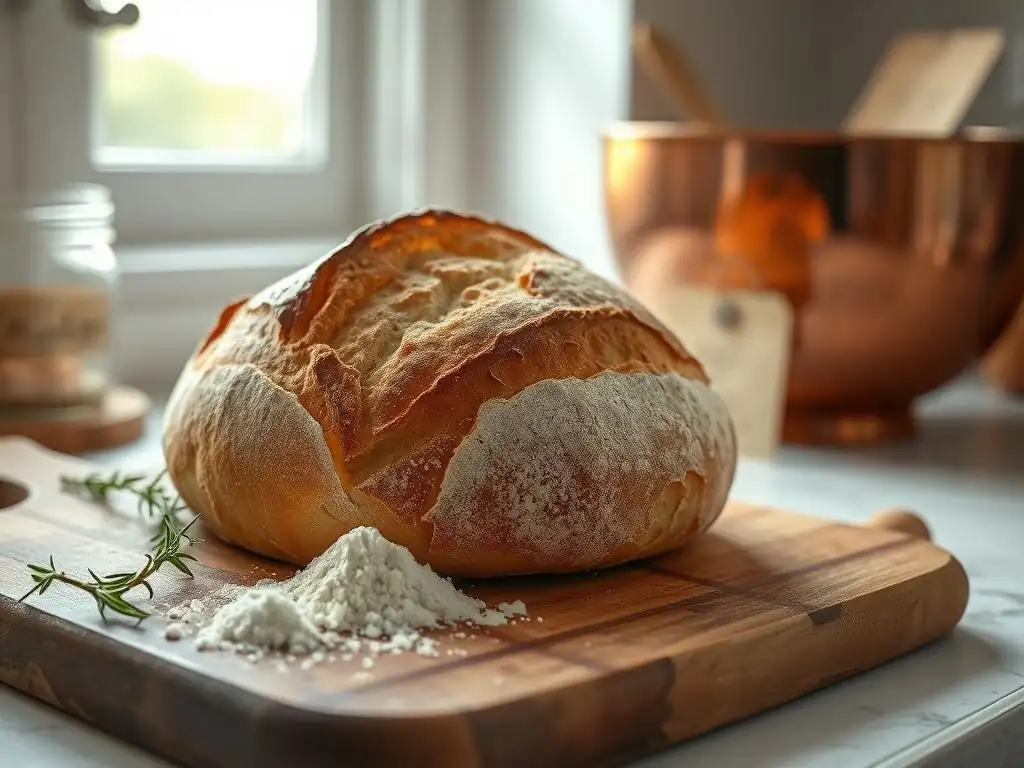
Welcome to BakeWithEase, your haven for all things baking! Are you ready to unlock the magic of sourdough, even if you're just starting your baking journey? This week, we're diving into an easy beginner sourdough bread recipe, a seemingly complex creation made surprisingly simple. While this recipe is categorized as "Intermediate Baking", don't let that scare you! We'll break down each step, ensuring your first (or next!) sourdough loaf is a resounding success. Curious to learn the secrets to a perfectly tangy, crusty loaf? Let's get started and transform simple ingredients into something extraordinary!
- Classic Sourdough Bread Recipe: A Step-by-Step Guide
- Introduction to Sourdough Baking
- Assembling Your Sourdough Bread Ingredients
-
Step-by-Step: Sourdough Bread Recipe Instructions
- Step 1: Activating Your Sourdough Starter (Levain Build)
- Step 2: Mixing the Dough - Autolyse and Initial Mix
- Step 3: Bulk Fermentation: Managing the Rise
- Step 4: Shaping Your Sourdough Loaf - Creating Tension
- Step 5: Proofing: Cold or Room Temperature?
- Step 6: Scoring Your Sourdough Bread - Design and Function
- Step 7: Baking Your Sourdough - Oven Setup and Bake Time
- Sourdough Baking Tips for Success
- Beyond the Basics: Exploring Sourdough Techniques
- Enjoying Your Homemade Sourdough Bread
- Conclusion: Embrace the Sourdough Baking Process
-
Frequently Asked Questions
- What exactly makes this sourdough recipe "easy" for beginners?
- How long does the entire sourdough process take, from start to finish?
- What if I don't have a sourdough starter? How can I obtain or create one?
- Can I substitute ingredients in this easy sourdough recipe?
- What are some common mistakes beginners make with sourdough and how can I avoid them?
- Final Reflection: The Humble Loaf and the Joy of Sourdough
- Unleash Your Inner Baker: Start Your Sourdough Journey!
Classic Sourdough Bread Recipe: A Step-by-Step Guide
Introduction to Sourdough Baking
The Appeal of Sourdough: Flavor and Benefits
Sourdough bread holds a unique place in the baking world, cherished for its tangy flavor, chewy texture, and rustic crust. Unlike commercial bread that relies on baker's yeast, sourdough uses a 'starter' – a fermented mixture of flour and water teeming with wild yeast and beneficial bacteria. This natural leavening agent not only gives sourdough its distinctive taste but also offers potential health benefits.
The fermentation process breaks down gluten and phytic acid, potentially making the nutrients more bioavailable and the bread easier to digest for some people. Furthermore, the slow fermentation contributes to a lower glycemic index compared to many commercially produced loaves.
Beyond the health aspects, the deep, complex flavor of sourdough is truly captivating. It develops over hours, sometimes days, as the wild yeast and lactobacilli in the starter do their work. This creates a bread that is both simple in ingredients yet profound in taste. Achieving that perfect balance of tang and sweetness, combined with a satisfyingly crispy crust and an open, airy crumb, is a rewarding goal for any baker. Many find the process itself meditative and enjoyable, connecting them to a centuries-old tradition of bread making.
Why This Recipe is Beginner-Friendly
Embarking on your sourdough journey might seem daunting, but this easy beginner sourdough bread recipe is specifically designed to simplify the process without sacrificing quality. We break down each step into manageable tasks, explaining the 'why' behind the techniques. We focus on a basic, forgiving formula that uses common ingredients and requires minimal specialized equipment beyond a healthy starter and a Dutch oven. The instructions are clear, concise, and geared towards helping new bakers understand the fundamental principles of sourdough baking, such as recognizing dough development and managing fermentation.
We've chosen methods that are less sensitive to minor variations, providing flexibility for those still learning to read their dough. For instance, the bulk fermentation guidance includes visual cues to help you gauge readiness, rather than relying solely on strict timing which can vary based on ambient temperature. This simple sourdough recipe for beginners emphasizes key stages like the autolyse, bulk fermentation with folds, and shaping, demystifying them with straightforward explanations. By following this guide, you'll build confidence and gain the practical experience needed to successfully bake your first delicious loaf of basic sourdough bread for new bakers.
Assembling Your Sourdough Bread Ingredients
Essential Ingredients for a Sourdough Loaf
Creating a beautiful sourdough loaf requires just a few core ingredients, highlighting the simplicity of this ancient craft. The foundation is, of course, your active sourdough starter, which provides the lift and the signature tangy flavor. Beyond the starter, you'll need flour, water, and salt.
The type of flour significantly impacts the bread's structure and texture; bread flour, with its higher protein content (typically 12-14%), is often recommended for beginners as it develops gluten easily, providing strength to the dough. Water is crucial for hydration and activating the gluten network – filtered water is often preferred to avoid chlorine, which can potentially affect the microbes in the starter. Lastly, salt is essential for flavor, controlling fermentation speed, and strengthening the gluten structure.
For this easy beginner sourdough bread recipe, we recommend starting with a good quality bread flour and clean, room-temperature water. Using approximately 375-400 grams of bread flour, 250-280 grams of water, 7-10 grams of fine sea salt, and 100 grams of active starter is a common ratio that yields a manageable dough hydration suitable for novice bakers. These quantities are designed for a standard-sized loaf, perfect for getting acquainted with the process. Avoid iodized salt, as it can sometimes interfere with fermentation; fine sea salt or kosher salt are excellent choices.
Understanding and Maintaining Your Sourdough Starter
Your sourdough starter is a living ecosystem, a symbiotic culture of wild yeast and lactic acid bacteria. Understanding its needs is key to successful sourdough baking. An active starter, often referred to as levain when specifically fed for a bake, should be bubbly, have a pleasant, slightly tangy aroma, and reliably double in size within 4-8 hours after feeding, depending on the temperature.
Maintaining your starter typically involves regular feeding with flour and water. A common feeding ratio is 1:1:1 – one part starter, one part flour, one part water by weight. For example, feeding 25g of starter with 25g of flour and 25g of water.
Consistency in feeding schedule and temperature helps keep your starter vigorous. If you bake frequently (several times a week), keeping your starter at room temperature with daily feedings works well. For less frequent baking, storing your starter in the refrigerator slows down its activity, requiring only weekly feedings.
Remember to take it out and feed it at room temperature for a day or two before you plan to bake to ensure it's active and ready. Discarding a portion before feeding helps maintain a manageable quantity and ensures the microbes have enough fresh food to consume, leading to a stronger starter for your easy beginner sourdough bread recipe.
Selecting the Right Flour Blend
The choice of flour is fundamental to your sourdough bread's outcome. For beginners, using 100% bread flour is highly recommended. Bread flour has a higher protein content than all-purpose flour, typically ranging from 12% to 14%. This higher protein level means more gluten can be developed, resulting in a stronger dough structure that can trap the gases produced by the starter, giving you a good rise and an open crumb. While all-purpose flour (around 10-11.7% protein) can be used, it might result in a slightly flatter loaf or a denser crumb for those new to handling high-hydration doughs.
As you gain confidence with this easy beginner sourdough bread recipe, you can experiment with incorporating small percentages of other flours. Whole wheat flour or rye flour, for example, add wonderful flavor and nutrients, but they absorb more water and can make the dough stickier and harder to handle. Starting with 10-20% whole wheat or rye mixed with bread flour is a good way to introduce these varieties. Pay attention to the flour's protein content listed on the package; a higher percentage generally indicates a flour better suited for developing strong gluten networks needed for rustic loaves.
Step-by-Step: Sourdough Bread Recipe Instructions
Step 1: Activating Your Sourdough Starter (Levain Build)
The first crucial step in baking your easy beginner sourdough bread is ensuring your starter is active and ready to leaven your dough. This is often done by creating a 'levain' or 'preferment' specifically for the bake. The night before or the morning of your bake (depending on your schedule), take a small amount of your mature starter and feed it.
A common ratio for building a levain is 1 part starter, 2 parts flour, and 2 parts water (1:2:2 ratio). For example, you might mix 20 grams of your active starter with 40 grams of bread flour and 40 grams of water in a clean jar. This higher feeding ratio gives the starter plenty of food and helps it reach its peak activity.
Allow the levain to ferment at room temperature until it is bubbly, has roughly doubled or tripled in volume, and passes the float test. The float test involves dropping a small spoonful of the levain into a glass of water; if it floats, it's ready. This usually takes between 4 to 8 hours at a room temperature of 72-78°F (22-26°C).
Using the levain at its peak ensures maximum leavening power for your basic sourdough bread for new bakers. If your kitchen is cooler, it might take longer; if warmer, it will be faster. Watch the activity, not just the clock.
Step 2: Mixing the Dough - Autolyse and Initial Mix
Once your levain is active, it's time to mix the main dough. This process often begins with an 'autolyse,' a simple step where you mix the flour and water from your recipe together and let them rest. For this easy beginner sourdough bread recipe, combine 375g bread flour with 250g water in a large mixing bowl.
Mix just until no dry flour remains – it will look shaggy and unappealing. Cover the bowl and let it rest for 30 minutes to 1 hour. This resting period allows the flour to fully hydrate and the gluten development to begin naturally, making the dough easier to work with later.
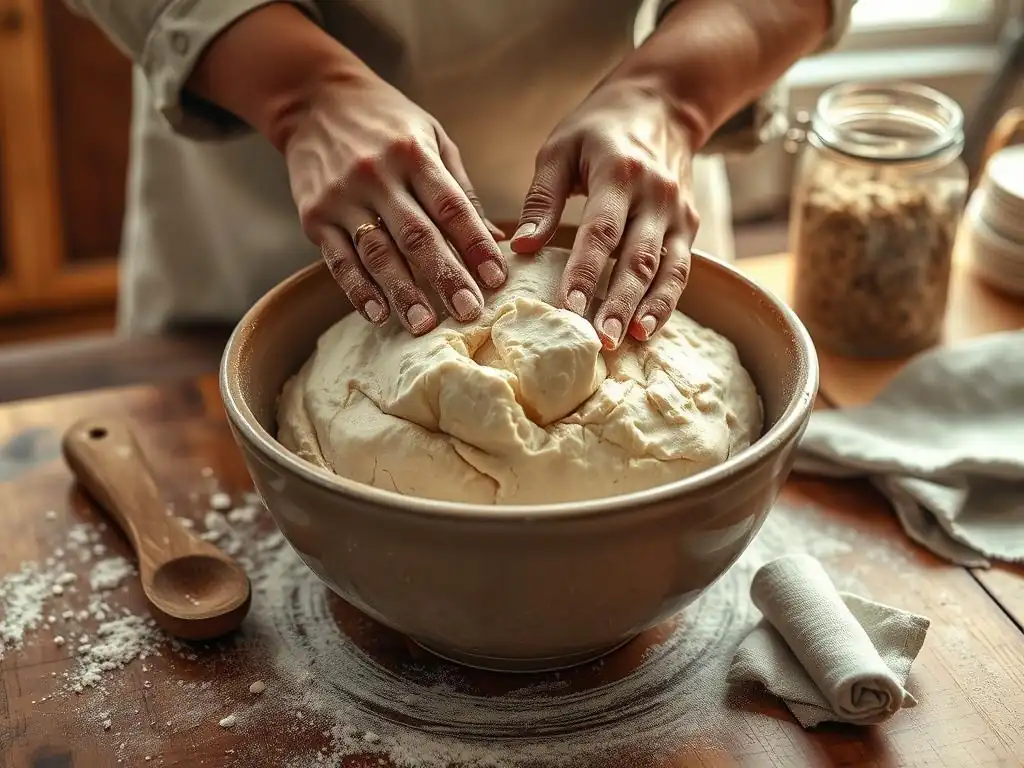
After the autolyse, add your active levain (100g) and salt (8g) to the dough. Dimple the levain and salt into the dough with wet fingers. Then, use your hands to gently mix and squeeze the dough, incorporating the levain and salt until everything is evenly distributed. The dough will feel sticky at this stage.
Continue mixing for a couple of minutes until the dough starts to come together slightly. Cover the bowl again and let it rest for 20-30 minutes before starting the bulk fermentation process. This initial rest helps the salt integrate and the gluten relax slightly before the first set of folds.
Step 3: Bulk Fermentation: Managing the Rise
Bulk fermentation, or the first rise, is a critical stage where flavor and structure develop. After the initial mix and rest, the dough needs several sets of folds over the next few hours. For this easy beginner sourdough bread recipe, perform 4 sets of stretch and folds during the first 2 hours of bulk fermentation, with 30 minutes rest between each set.
To do a stretch and fold, dampen your hand, grab one side of the dough, stretch it upwards gently, and fold it over the center. Rotate the bowl and repeat for all four sides. This builds strength and structure in the dough.
After the initial 2 hours with folds, let the dough rest undisturbed for the remainder of the bulk fermentation. The total time for bulk fermentation depends heavily on your ambient temperature. At a room temperature of 75-78°F (24-26°C), bulk fermentation might take 4-5 hours total from the moment you added the starter.
Look for visual cues: the dough should increase in volume by about 50-75%, look noticeably puffier, have some bubbles on the surface, and feel lighter and more aerated. Over-fermentation can lead to a slack, hard-to-shape dough, while under-fermentation results in a dense crumb. Aim for that sweet spot.
Step 4: Shaping Your Sourdough Loaf - Creating Tension
Shaping is where you organize the gluten structure and create tension on the surface of the dough, which helps it hold its shape and contributes to oven spring. After bulk fermentation, gently turn the dough out onto a lightly floured surface. Be careful not to degas it too much. For a round loaf (boule), gently pre-shape the dough into a rough ball or rectangle, depending on its initial shape, and let it rest for 20-30 minutes. This 'bench rest' allows the gluten to relax, making the final shaping easier.
For the final shaping of your easy beginner sourdough bread, you want to create surface tension. For a boule, gently pull the dough towards you with cupped hands, rotating slightly, to create a taut surface. Avoid using too much flour, as this can prevent the seams from sealing. The goal is a smooth, tight ball.
If shaping a batard (oval), gently fold the dough into thirds lengthwise, then roll it up tightly from one end, sealing the seam. Place the shaped dough seam-side up in a well-floured proofing basket (banneton). Rice flour works particularly well for dusting bannetons as it resists sticking.
Step 5: Proofing: Cold or Room Temperature?
Proofing is the final rise before baking, allowing the shaped dough to develop flavor and aeration. You have two main options: room temperature proofing or cold proofing in the refrigerator. Room temperature proofing is faster, typically taking 1-3 hours depending on warmth. The dough should look visibly puffed but not doubled, and when gently poked with a wet finger, the indentation should spring back slowly but not completely. This method is quicker but offers less flavor development and can be harder to time perfectly for beginners.
Cold proofing in the refrigerator is often recommended for an easy beginner sourdough bread recipe because it slows down fermentation significantly, making the timing more flexible (8-14 hours is common, but it can go longer). The cold also helps firm up the dough, making it much easier to score before baking. Place the shaped dough in its banneton into the refrigerator immediately after shaping. This long, slow fermentation develops more complex flavors and contributes to a better crust and crumb structure. You can bake directly from the cold proof.
Step 6: Scoring Your Sourdough Bread - Design and Function
Scoring your sourdough loaf just before baking is essential for controlling oven spring and adding a beautiful artisanal touch. As the bread bakes, it expands rapidly in the hot oven (oven spring). If the surface isn't scored, the loaf will burst unpredictably at the weakest point. Scoring allows you to guide this expansion. Use a very sharp blade, like a razor blade (a 'lame' is ideal), to make swift, confident cuts about 1/4 to 1/2 inch deep.
For a basic sourdough bread for new bakers, a simple single slash down the length of an oval loaf or a cross shape on a round loaf works perfectly. You can angle the blade slightly (around 30 degrees) to create a 'ear' – a lifted flap of crust that crisps up beautifully. Practice makes perfect with scoring; don't worry if your first attempts aren't picture-perfect.
The primary function is releasing tension to allow expansion, so even a functional score will yield good results. Scoring cold dough (straight from the fridge) is significantly easier than scoring dough proofed at room temperature, as the surface is firmer.
Step 7: Baking Your Sourdough - Oven Setup and Bake Time
Baking sourdough requires a very hot oven, initially with steam, to achieve that signature crispy crust and maximum oven spring. The most common method for home bakers is using a Dutch oven. Preheat your oven with the empty Dutch oven inside to a high temperature, typically 450-500°F (230-260°C), for at least 30-60 minutes. This ensures the pot is scorching hot. Carefully transfer your scored dough from the banneton into the hot Dutch oven (use parchment paper for easy transfer).
Bake the bread covered for the first part of the bake – usually 20-25 minutes at 450°F (230°C). The lid traps the steam released by the dough, keeping the surface moist and allowing it to expand fully before the crust sets. After the initial covered bake, carefully remove the lid and continue baking uncovered for another 20-30 minutes at a slightly lower temperature, say 425-450°F (220-230°C).
This allows the crust to brown and crisp up beautifully. The bread is done when the crust is deep golden brown and the internal temperature reaches 200-210°F (93-99°C). Let it cool completely on a wire rack for at least 1-2 hours before slicing – slicing too early can result in a gummy crumb.
Sourdough Baking Tips for Success
Optimizing Oven Temperature and Steam
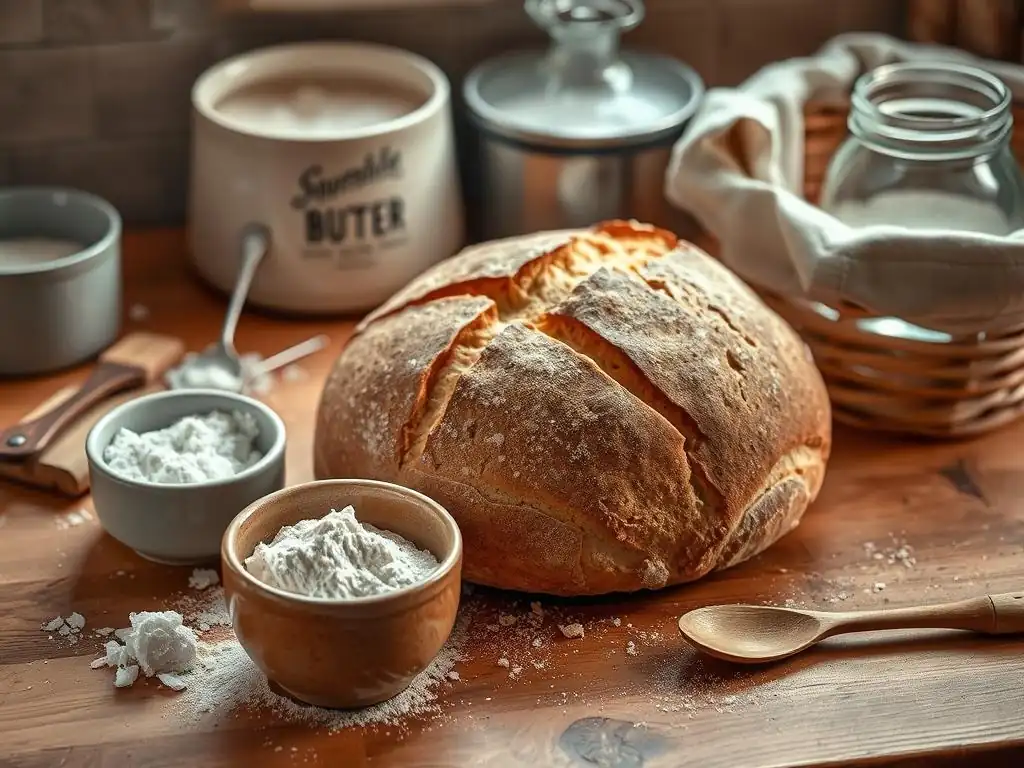
Achieving the perfect crust and crumb in your easy beginner sourdough bread heavily relies on proper oven temperature and steam management. A high initial temperature, typically 450-500°F (230-260°C), provides the necessary thermal shock for maximum oven spring. Preheating your oven and baking vessel (like a Dutch oven or baking stone with steam setup) for a full hour ensures they are evenly heated, which is crucial for a consistent bake. Using an oven thermometer can help verify your oven's actual temperature, as they can often be inaccurate.
Steam is equally vital during the first phase of baking. It keeps the surface of the dough pliable, allowing it to expand without forming a hard crust too early. Baking in a covered Dutch oven is the easiest way to create a steamy environment at home, as the moisture released by the dough is trapped inside.
If you're not using a Dutch oven, you'll need an alternative steam method, such as placing a tray of hot water or ice cubes on the bottom rack of your oven during preheating. After the initial 20-25 minutes, removing the lid or steam source allows the crust to dry out and crisp up, developing that characteristic golden-brown color.
Understanding Dough Hydration and Feel
Dough hydration refers to the ratio of water to flour by weight in your recipe. It's expressed as a percentage (water weight / flour weight * 100). This easy beginner sourdough bread recipe uses a hydration level around 67-75% (250-280g water / 375g flour), which is considered moderately hydrated and relatively easy for beginners to handle compared to very wet doughs (80%+).
Understanding how hydration affects dough feel is key. Higher hydration doughs are stickier and more challenging to shape but can result in a more open, airy crumb. Lower hydration doughs are easier to handle and shape but tend to produce a denser crumb.
As you work through the steps, pay attention to how the dough feels. Does it seem excessively sticky or very stiff? Environmental factors like humidity and the type of flour can affect how much water the dough absorbs. The provided water quantity is a guideline; you might need to adjust slightly based on your specific flour and conditions. A well-hydrated dough for this basic sourdough bread for new bakers should feel extensible yet still have enough structure to hold tension when shaping. Learning to 'read' your dough's feel is a skill that develops with practice.
Troubleshooting Common Sourdough Issues - Flat Loaf, Gummy Crumb
Even with a simple sourdough recipe for beginners, you might encounter challenges. A common issue is a flat loaf that spreads rather than rises upwards. This can be caused by several factors: an inactive starter (ensure it passes the float test! ), under-developed gluten (not enough folds or mixing), over-proofed dough (it fermented too long and lost its structure), or insufficient surface tension during shaping. Reviewing your starter's activity and focusing on building strength during bulk fermentation and creating tension during shaping can help.
Another frequent problem is a gummy or dense crumb. This is often a sign of under-baking or slicing the bread too soon before it has fully cooled. Ensure your oven is at the correct temperature and bake the loaf until the crust is deeply colored and the internal temperature is 200-210°F (93-99°C). Always let your sourdough cool completely on a wire rack for at least 1-2 hours (or longer for large loaves) before slicing. The internal structure is still setting as it cools. Other causes can include under-fermentation or using flour with insufficient protein content.
Storage Tips for Freshly Baked Sourdough - Maintaining Freshness
Proper storage is key to keeping your easy beginner sourdough bread fresh and delicious. Once your loaf has cooled completely (this is crucial! ), store it at room temperature. Avoid refrigerating sourdough, as this can actually make it go stale faster due to a process called retrogradation of starch. The best way to store a whole loaf is simply cut-side down on a cutting board if you've already made a slice. The exposed crumb can dry out quickly.
For longer storage or if the loaf is cut, wrap it in a linen bread bag, a cotton towel, or a paper bag. These materials allow the crust to breathe, helping to maintain its crispness better than plastic. Avoid airtight plastic wrap or containers if you want to preserve the crust; they trap moisture and can make the crust soft and rubbery.
A well-baked sourdough loaf stored properly at room temperature can stay fresh for 2-3 days. If you won't eat it within a few days, slicing the cooled loaf and freezing the slices in an airtight bag or container is an excellent option. To enjoy, simply toast the frozen slices.
Beyond the Basics: Exploring Sourdough Techniques
Incorporating Whole Grains and Alternative Flours
Once you've successfully baked this easy beginner sourdough bread recipe a few times, you might want to experiment with different flours to alter flavor, texture, and nutrition. Incorporating whole grain flours like whole wheat, rye, or spelt introduces more fiber, nutrients, and distinct tastes. Whole wheat flour, for instance, adds a nuttier flavor and denser texture. Rye provides a more pronounced tang and a slightly sticky dough. When starting, substitute only a small percentage of the bread flour – perhaps 10-20% – with the alternative flour.
Adding whole grains changes the dough's hydration needs and handling characteristics. Whole grain flours absorb more water than white flour, so you might need to increase the water slightly. They also contain bran and germ, which can interfere with gluten development, potentially resulting in a slightly denser loaf. Be prepared for a stickier dough and adjust your handling techniques accordingly, perhaps using slightly wetter hands or a bench scraper more often. Experiment gradually, increasing the percentage of alternative flours in future bakes as you become more comfortable with their unique properties.
Adjusting Hydration for Different Results
Adjusting the hydration level of your dough is a way to fine-tune the texture of your sourdough bread. This easy beginner sourdough bread recipe uses a moderate hydration for manageability. Increasing the hydration (adding more water relative to flour) generally leads to a more open, airy crumb structure with larger holes, and a thinner, crispier crust. For example, moving from 70% hydration to 80% hydration means using 80g of water per 100g of flour. This requires a stronger starter and more developed gluten to support the extra water.
Working with higher hydration doughs (80%+) is more challenging as they are much stickier and require gentle handling during bulk fermentation and shaping to avoid degassing. Techniques like the 'stretch and fold' are crucial for building strength. Conversely, decreasing hydration (e.g., to 60-65%) makes the dough much easier to handle and shape, producing a loaf with a tighter, more uniform crumb. This can be preferable for sandwich bread. Experimenting with hydration allows you to control the final characteristics of your basic sourdough bread for new bakers and beyond.
Enjoying Your Homemade Sourdough Bread
Serving Suggestions: Enhancing the Flavor
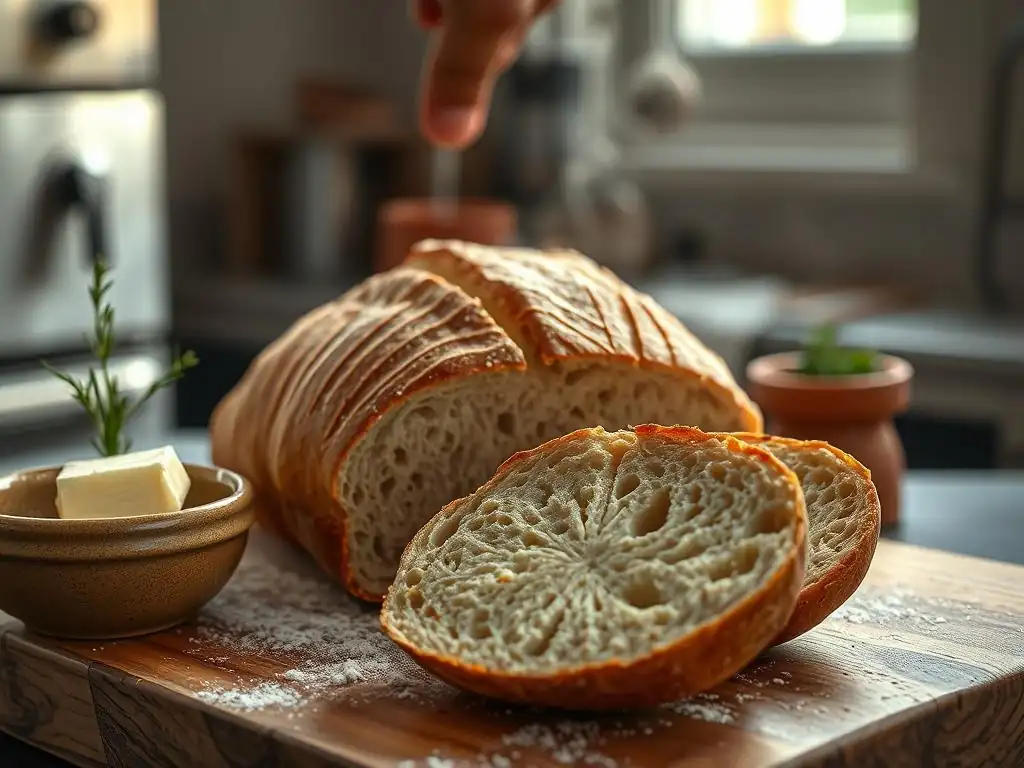
Your freshly baked easy beginner sourdough bread is delicious on its own, but its tangy flavor and satisfying texture make it a versatile base for many culinary delights. Simple serving suggestions often highlight its qualities best. A thick slice toasted and slathered with good quality butter is a classic for a reason. Pair it with a sprinkle of flaky sea salt for an extra touch. It's also the perfect bread for dipping into olive oil, perhaps infused with garlic or herbs.
Beyond simple toast, sourdough makes fantastic sandwiches. Its sturdy structure holds up well to fillings, and the tang complements everything from simple ham and cheese to more elaborate grilled vegetables or smoked salmon. Consider using it for bruschetta, rubbed with garlic and topped with fresh tomatoes and basil, or for a hearty panzanella salad where cubes of bread soak up a flavorful vinaigrette. Even a simple slice alongside soup or stew elevates the meal.
Recipes Using Sourdough Discard
Maintaining a sourdough starter often generates 'discard' – the portion you remove before feeding. While you can simply discard it, it's a shame to waste this flavorful ingredient! Sourdough discard, which is less active than a fed starter, is perfect for recipes where you don't rely solely on it for leavening, or where you use it in combination with baking soda or powder. This is a great way to use up excess starter while enjoying new treats.
Many delicious recipes utilize sourdough discard. Think pancakes, waffles, muffins, quick breads, crackers, or even pasta dough. The discard adds a subtle tang and complexity that elevates these everyday items. For example, a simple discard pancake recipe might call for 100g sourdough discard, 100g milk, 1 egg, 1 tbsp melted butter, 1 tbsp sugar, and 1 tsp baking powder, mixed together and cooked like regular pancakes. Using discard is an economical and tasty way to ensure no part of your sourdough journey goes to waste.
Conclusion: Embrace the Sourdough Baking Process
Baking your first loaf using this easy beginner sourdough bread recipe is a rewarding achievement. It's a journey that connects you to traditional baking methods and results in a loaf far superior to most store-bought options. While there may be challenges along the way – perhaps an under-proofed loaf or an uneven score – each bake is a learning experience. Pay attention to the look and feel of the dough at each stage, from the bubbly levain to the tension of the shaped loaf.
Embrace the process, practice patience, and don't be afraid to experiment once you feel comfortable with the basics. This simple sourdough recipe for beginners provides a solid foundation. With a little practice, you'll be consistently baking beautiful, flavorful loaves of basic sourdough bread for new bakers and impressing yourself and your friends. The satisfaction of pulling a warm, crackling loaf from your oven is truly unparalleled. Happy baking!
Frequently Asked Questions
What exactly makes this sourdough recipe "easy" for beginners?
This recipe simplifies sourdough by focusing on basic techniques and using easy-to-find ingredients. It also provides a detailed, step-by-step guide to minimize confusion.
How long does the entire sourdough process take, from start to finish?
The entire process, including feeding the starter, mixing, bulk fermentation, and baking, typically takes around 24-48 hours. Most of this time is for passive fermentation.
What if I don't have a sourdough starter? How can I obtain or create one?
BakeWithEase offers resources on creating your own sourdough starter from scratch. Alternatively, you can purchase a live starter online or from a local bakery.
Can I substitute ingredients in this easy sourdough recipe?
While possible, substituting ingredients can affect the outcome. For best results, stick to the recommended ingredients, especially when starting out.
What are some common mistakes beginners make with sourdough and how can I avoid them?
Common mistakes include over-proofing or under-proofing the dough, using incorrect starter ratios, and not scoring the loaf properly. BakeWithEase provides tips to avoid these pitfalls.
Final Reflection: The Humble Loaf and the Joy of Sourdough
The enduring appeal of sourdough bread lies not just in its tangy flavor, but in the simple act of creation itself. In a world of instant gratification, the slow fermentation and patient nurturing required for sourdough offer a powerful counterpoint, a tangible connection to a centuries-old tradition. This recipe, designed for absolute beginners, aims to demystify the process and unlock the joy of baking this remarkable bread for everyone.
The journey of making sourdough, from starter creation to the first perfectly risen loaf, is a deeply rewarding experience. It's a testament to the power of patience and the magic of natural fermentation. The process itself becomes a meditative practice, a quiet moment of connection with the ingredients and the process. Bread is the staff of life,
they say, and in making sourdough, we truly reconnect with that fundamental truth, understanding the effort and care that goes into creating something so essential.
Now, it's your turn. Don't be intimidated by the seemingly complex nature of sourdough. Take the leap, nurture your starter, and experience the satisfaction of baking your own loaf. The journey might have its challenges, but the reward – that first bite of warm, crusty, tangy sourdough – is an experience you won't soon forget. Embrace the process, enjoy the journey, and discover the simple joy of baking your own bread.
Unleash Your Inner Baker: Start Your Sourdough Journey!
Thanks for taking the time to explore the world of sourdough with us! We hope you gained valuable insights into making this delicious bread. Now it's time to put your newfound knowledge into practice.
- Bake your first sourdough loaf: Grab those ingredients, follow the recipe, and experience the magic of sourdough baking firsthand. It's more rewarding than you might think!
- Share your baking adventure: Post a picture of your creation on social media – tag us @BakeWithEase (imaginary social media handle) and inspire others to start their own sourdough journey!
- Experiment with different flours or additions: Once you’ve mastered the basics, try adding whole wheat flour, rye, or even some nuts and seeds for a unique twist.
Ready to transform your kitchen into a sourdough haven? What unique ingredient will you add to your first loaf?