
Tempering Chocolate Made Easy: The Seeding Method for Beginners.

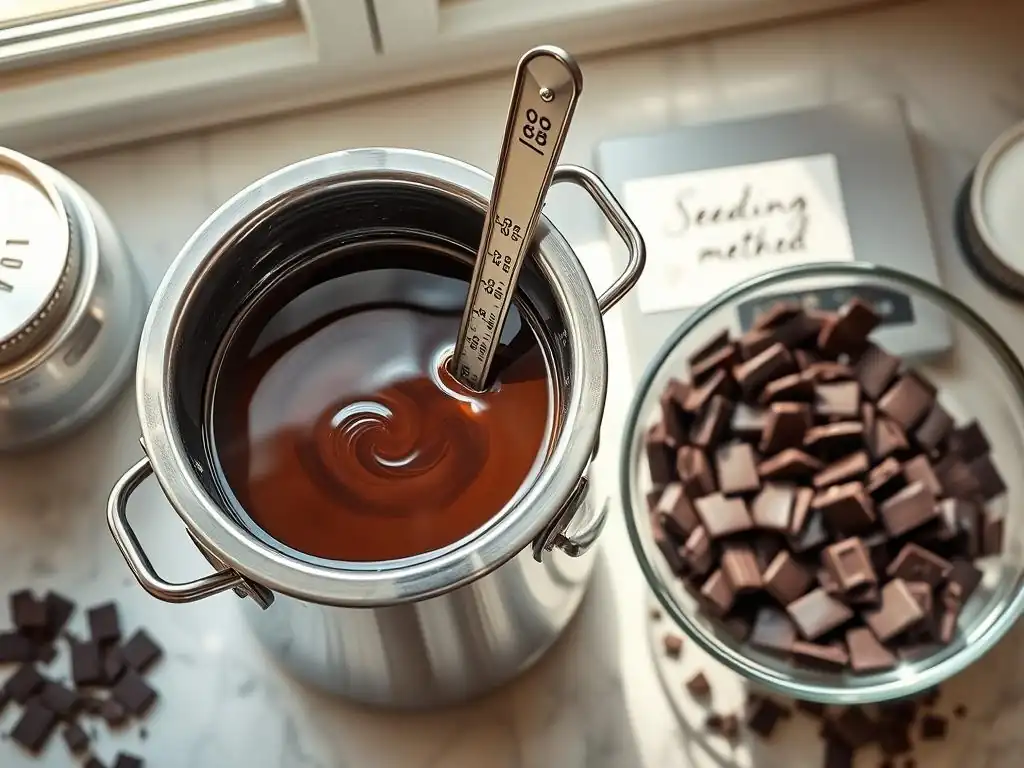
Welcome to BakeWithEase, your trusted companion on your baking journey! Ever dreamt of creating professional-looking chocolates at home? You're in the right place. Dive into the secrets of the easy chocolate tempering seeding method and unlock a world of smooth, glossy creations. Curious how simple it can be? Let's get started and transform your chocolate skills today!
- Mastering Chocolate Tempering: The Seeding Method for Beginners
- Your Guide to Perfect Chocolate Tempering at Home
- Understanding Chocolate Tempering: Achieving Shine and Snap
- The Seeding Method: A Simple Technique for Chocolate Tempering
- Step-by-Step Guide: Tempering Chocolate Using the Seeding Method
- Troubleshooting Common Chocolate Tempering Issues
- Tips and Tricks for Successful Chocolate Tempering
- Storing Tempered Chocolate: Maintaining Quality
- Using Your Perfectly Tempered Chocolate: Applications
- Conclusion: Tempering Chocolate Made Easy
-
Frequently Asked Questions
- What exactly is the "seeding method" for tempering chocolate, and why is it important?
- Is the seeding method suitable for all types of chocolate (dark, milk, white)?
- What happens if I don't temper my chocolate correctly using the seeding method?
- What's the easiest way to monitor the temperature of the chocolate during the seeding method?
- Can I re-temper chocolate that didn't set properly after using the seeding method?
- Final Reflection: The Sweet Science of Effortless Tempering
- Unlock Your Inner Chocolatier: Master the Seeding Method!
Mastering Chocolate Tempering: The Seeding Method for Beginners
Your Guide to Perfect Chocolate Tempering at Home
Achieving that beautiful shine and satisfying snap on homemade chocolates can seem like a daunting task, often reserved for professional chocolatiers. However, with the right technique, even beginners can master the art of chocolate tempering at home. This guide focuses on the easy chocolate tempering seeding method, a reliable technique that simplifies the process and delivers consistent, professional-looking results without needing complex equipment. Whether you're dipping strawberries, making chocolate bark, or crafting delicate decorations, understanding and applying the seeding method will elevate your confectionery creations from good to truly spectacular.
Tempering chocolate is more than just melting it; it's about controlling the crystallization process of the cocoa butter within the chocolate. When chocolate is simply melted and cooled, the cocoa butter crystals form randomly, resulting in a dull, streaky appearance and a soft, crumbly texture.
Properly tempered chocolate, on the other hand, has a uniform crystalline structure, giving it that desirable glossy finish, a firm snap when broken, and resistance to melting at room temperature. Mastering this fundamental technique opens up a world of possibilities in baking and candy making, making your homemade treats not only delicious but also visually stunning.
Understanding Chocolate Tempering: Achieving Shine and Snap
What is Tempered Chocolate and Why is it Important?
Tempered chocolate refers to chocolate that has been melted and cooled through a specific temperature curve to encourage the formation of stable beta (β) crystals in the cocoa butter. These stable crystals are responsible for the desirable characteristics of high-quality chocolate: a smooth, glossy surface, a clean snap when broken, and resistance to blooming (the grayish streaks or spots that can appear on untempered chocolate). Without tempering, melted chocolate will cool into a soft, dull, and sometimes crumbly mass that melts easily in your hands and lacks visual appeal.
The importance of tempering cannot be overstated for certain applications. If you're making chocolate candy, dipping items like fruits or pretzels, creating chocolate decorations, or molding bonbons, tempering is crucial. It ensures your finished products look professional, hold their shape at room temperature, and have a pleasant mouthfeel. While untempered chocolate is perfectly fine for baking into cakes or cookies where texture and appearance aren't paramount, any application where the chocolate will be solid at room temperature benefits immensely from proper tempering.
The Science Behind Tempering: Beta Crystals and Stability
Chocolate contains cocoa butter, a fat that can crystallize in several different forms, known as polymorphs. These different crystal forms melt at varying temperatures and have different structures. When chocolate is simply melted, all existing crystals are destroyed. As it cools, cocoa butter tries to form crystals, but without guidance, it forms a mix of unstable and stable forms (primarily forms I through VI). The most stable and desirable form for confectionery is the beta (β) crystal, or Form V, which melts at around 33.8°C (93°F).
Tempering is the process of manipulating the temperature of the chocolate to encourage the formation and proliferation of these stable Form V crystals while preventing the formation of unstable forms. This is typically achieved by melting the chocolate completely, cooling it down to a specific temperature range where Form V crystals begin to form but unstable crystals melt, and then slightly warming it back up to a working temperature.
This controlled process ensures that when the chocolate cools and solidifies, the majority of the cocoa butter is in the stable Form V crystal structure, resulting in the desired snap, shine, and bloom resistance.
Benefits of Properly Tempered Chocolate: Appearance, Texture, and Shelf Life
Properly tempered chocolate offers a multitude of benefits that significantly enhance the quality of your confectionery. The most immediately noticeable benefit is its appearance. Tempered chocolate sets with a beautiful, smooth, and glossy finish, free from streaks or dull spots. This visual appeal is essential for professional-looking candies and decorations.
Beyond aesthetics, the texture is vastly improved. Tempered chocolate has a firm, clean snap when broken, unlike untempered chocolate which is soft and crumbly. It also melts smoothly and evenly in the mouth, contributing to a superior eating experience. Furthermore, tempering prevents cocoa butter bloom, the unsightly grayish film that can develop on untempered chocolate over time, significantly extending its shelf life and maintaining its quality at room temperature.
The Seeding Method: A Simple Technique for Chocolate Tempering
What is the Seeding Method?
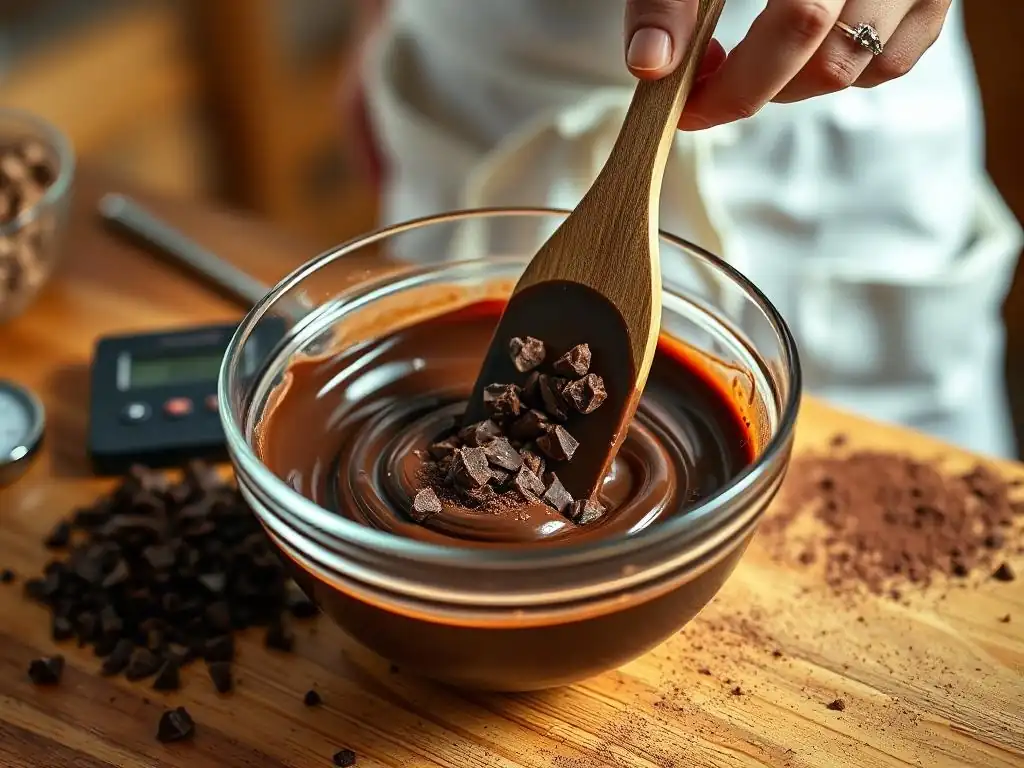
The seeding method is one of the most accessible and widely used techniques for tempering chocolate, particularly favored by home bakers and beginners. It involves melting a portion of the chocolate completely and then adding finely chopped or grated untempered chocolate (the "seed") to the melted chocolate. The seed chocolate contains stable cocoa butter crystals (Form V) from its original manufacturing process.
As the melted chocolate cools and the seed chocolate melts into it, the stable crystals from the seed act as templates or "seeds," encouraging the cocoa butter in the melted chocolate to crystallize into the same stable form. This method effectively guides the crystallization process without requiring precise temperature curves and constant monitoring in the same way as other methods, making it an easy chocolate tempering seeding method to learn and execute.
Why Choose the Seeding Method? Simplicity and Control
The primary advantage of the seeding method is its simplicity. Unlike the traditional tabling method, which requires a large, cool surface and skillful manipulation, or the direct method, which is less precise, the seeding method can be performed using basic kitchen equipment like bowls and a thermometer. It removes some of the guesswork associated with hitting exact temperature points solely through heating and cooling.
Furthermore, the seeding method offers a degree of control. By adding seed chocolate gradually and stirring, you can visibly see the chocolate thicken as it cools and crystals form. This allows you to react and adjust more readily than methods that rely solely on temperature readings. It's a forgiving technique that makes achieving a good temper much more achievable for those new to the process, truly living up to the promise of an easy chocolate tempering seeding method.
Required Equipment and Ingredients for Seeding
To successfully temper chocolate using the seeding method, you'll need a few basic items:
- Chocolate: High-quality couverture chocolate is recommended as it has a higher percentage of cocoa butter, making it easier to temper. However, most good quality bar chocolate (not chocolate chips, which contain stabilizers) can be used. You'll need two portions: one to melt and one to use as seed.
- Double Boiler or Microwave: A double boiler (a bowl set over a pot of simmering water) or a microwave is needed to gently melt the initial portion of chocolate. Gentle, even heat is crucial to avoid scorching.
- Heatproof Bowls: Two or three heatproof bowls are useful – one for melting, one for the seed chocolate, and potentially one for the finished tempered chocolate.
- Spatula: A rubber or silicone spatula for stirring is essential.
- Thermometer: An accurate digital instant-read thermometer is highly recommended to monitor the temperature of the chocolate. While the seeding method is forgiving, temperature still plays a role.
- Scale: A kitchen scale is helpful for measuring the seed chocolate accurately, though approximations can work for small batches.
Using these tools, you can effectively perform the easy chocolate tempering seeding method and achieve excellent results.
Step-by-Step Guide: Tempering Chocolate Using the Seeding Method
Step 1: Melting the Chocolate
Begin by finely chopping about 2/3 to 3/4 of your total chocolate quantity. The finer the chop, the more evenly it will melt. Place this portion in a heatproof bowl. Gently melt the chocolate using either a double boiler or a microwave.
If using a double boiler, ensure the bottom of the bowl does not touch the simmering water, and stir frequently. If using a microwave, heat in 20-30 second intervals, stirring thoroughly after each interval, until the chocolate is almost completely melted. A few small lumps are okay, as residual heat will melt them. Be careful not to overheat the chocolate; the target maximum temperature depends on the type: around 45-50°C (113-122°F) for dark chocolate, 40-45°C (104-113°F) for milk or white chocolate.
Overheating chocolate can burn it or make it difficult to temper properly. Gentle, indirect heat is key. Stirring helps distribute the heat evenly and prevents hot spots. Once the chocolate is mostly melted and smooth, remove it from the heat source (or microwave) and continue stirring until any remaining lumps dissolve and the temperature is within the initial melting range. This step ensures all existing cocoa butter crystals are destroyed, giving you a blank slate for forming the desired stable crystals using the seeding method.
Step 2: Adding Seed Chocolate
Take the remaining 1/4 to 1/3 portion of your chocolate and finely chop or grate it. This is your "seed" chocolate. Add about half of this seed chocolate to the bowl of melted chocolate. Stir continuously and gently with your spatula. The seed chocolate will begin to melt, and as it does, it will introduce stable Form V crystals into the mixture.
Continue stirring. The temperature of the melted chocolate will start to drop as the cooler seed chocolate melts. This cooling is essential for allowing the introduced stable crystals to proliferate. Add more seed chocolate gradually, stirring constantly, until the chocolate mixture cools down to the working temperature range. This range is typically around 31-32°C (88-90°F) for dark chocolate, and 29-30°C (84-86°F) for milk or white chocolate. You may not need to use all of the seed chocolate; stop adding it when the chocolate reaches the target temperature and appears slightly thickened.
Step 3: Stirring and Temperature Monitoring
Consistent stirring is vital during the seeding process. Stirring helps distribute the seed crystals evenly throughout the melted chocolate and encourages the formation of new stable crystals as the mixture cools. Use your thermometer to monitor the temperature frequently. As you add seed chocolate and stir, you will notice the temperature dropping. Your goal is to bring the temperature down to the specific working temperature range for the type of chocolate you are using.
Continue stirring until the temperature is stable within the target range and the chocolate appears smooth and slightly thickened. If the temperature drops too low and the chocolate becomes too thick to work with, you may need to gently warm it very slightly to bring it back into the working range (see Step 5). The active stirring and temperature monitoring are key to ensuring the easy chocolate tempering seeding method is successful, guiding the cocoa butter to crystallize correctly.
Step 4: Testing for Temper
Before using your chocolate, it's crucial to test if it is properly tempered. The easiest way to do this is the "spatula test" or "parchment test." Dip the tip of a clean spatula, a piece of parchment paper, or a knife into the tempered chocolate. Scrape off any excess chocolate so you have a thin layer.
Set the dipped item aside at room temperature (ideally around 20-22°C or 68-72°F). A piece of parchment paper works particularly well because you can easily observe it. Properly tempered chocolate should begin to set within 3-5 minutes and fully set within 10-15 minutes. It will look glossy and firm, and when gently touched, it should not leave a smear. If it sets quickly with a beautiful shine and snap, your chocolate is tempered and ready to use. If it remains soft, streaky, or doesn't set within 10-15 minutes, it is not tempered, and you may need to re-temper it.
Step 5: Maintaining the Temper
Once your chocolate is tempered and ready to use, you need to maintain its temperature within the working range (e.g., 31-32°C for dark chocolate) while you work. If the chocolate cools too much, it will become too thick and may fall out of temper as too many crystals form. If it gets too hot, the stable Form V crystals will melt, and you'll lose the temper.
To maintain the temper, you can keep the bowl over a very gently warm water bath (off the heat, just warm water) or use a warming pad designed for chocolate. Stir occasionally. If the chocolate starts to thicken slightly while you're working, you can often bring it back into the working range by gently stirring it over the warm water bath for a few moments, ensuring the temperature doesn't exceed the top of the working range. This careful temperature maintenance is key to successfully using your tempered chocolate for dipping or molding.
Troubleshooting Common Chocolate Tempering Issues
Chocolate Seizing: Prevention and Recovery
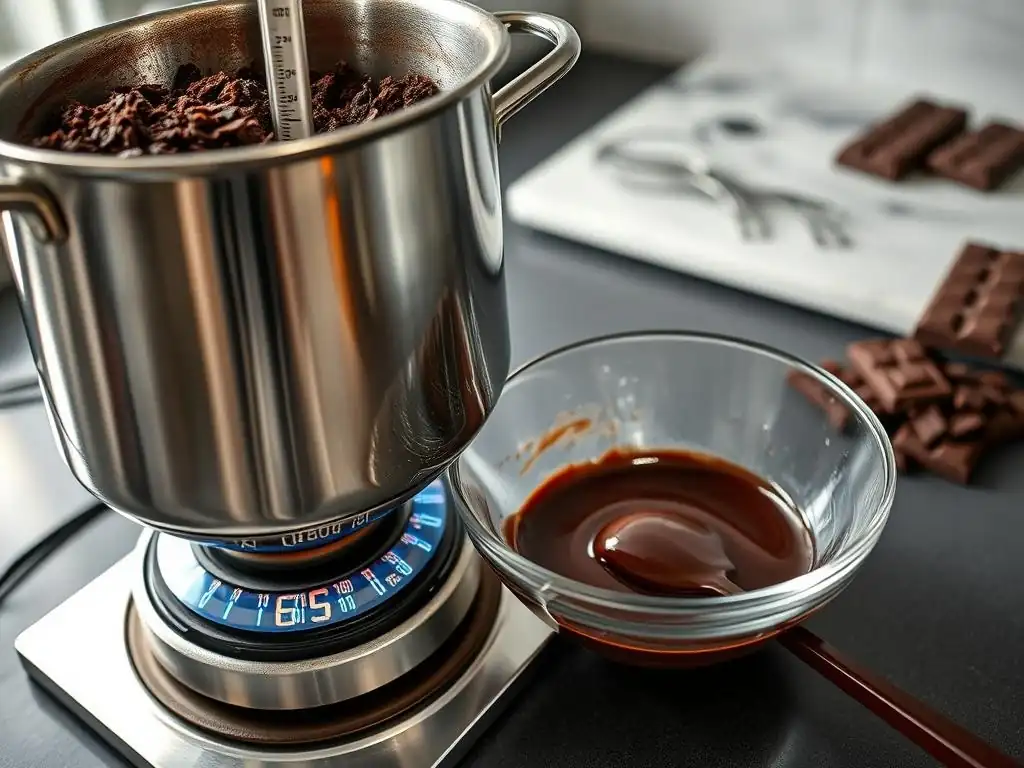
Chocolate seizing is a common and frustrating issue where melted chocolate suddenly turns from a smooth, liquid state into a thick, lumpy, and unworkable paste. This typically happens when even a tiny amount of water or steam comes into contact with the melted chocolate. The sugar crystals in the chocolate immediately attract the water, causing them to clump together and create a seized mass.
Prevention is the best strategy: ensure all your equipment is completely dry, avoid using lids on double boilers (which can trap steam), and keep water away from the melting chocolate. If your chocolate does seize, it's difficult to fully recover for tempering purposes.
However, you can sometimes make it usable for other applications (like ganache or baking) by stirring in a tablespoon or two of hot liquid (like melted butter, vegetable oil, or cream) per cup of seized chocolate until it becomes smooth again. Note that this recovered chocolate will not be tempered and should not be used for dipping or molding where temper is required.
Dealing with Streaky or Dull Chocolate
If your finished chocolate products are streaky, dull, or develop a grayish bloom, it means the chocolate was not properly tempered. This indicates that unstable cocoa butter crystals formed during cooling. The primary reasons for this are usually incorrect temperatures during the tempering process (either not reaching the correct cooling temperature or exceeding the working temperature) or insufficient cooling time after tempering.
To fix this, you'll need to re-temper the chocolate. Gather the untempered chocolate, break it into pieces, and start the seeding method process again from Step 1. Ensure you are using accurate temperature readings and that you are stirring adequately during the cooling phase to encourage stable crystal formation. Also, make sure the finished product cools and sets in a cool environment (around 20-22°C or 68-72°F) to allow the stable crystals to set properly.
What to Do if Your Chocolate Over-Crystallizes
Sometimes, especially when using the seeding method, the chocolate can cool down too much and become overly thick or even seize into a solid mass before you've finished working with it. This happens when too many stable crystals form, making the chocolate too viscous to flow properly. This is a sign that the temperature dropped below the ideal working range.
If your chocolate becomes too thick while you're working, you can gently warm it slightly to melt some of the excess crystals and bring it back to the correct working consistency and temperature. Place the bowl over a very gentle warm water bath (off the heat) for just a moment or two, stirring constantly, until it returns to the correct viscosity and temperature (e.g., 31-32°C for dark). Be extremely careful not to overheat it, or you will melt the stable crystals and lose the temper entirely, requiring you to start the seeding method over.
Tips and Tricks for Successful Chocolate Tempering
Choosing the Right Chocolate
The quality and type of chocolate you use significantly impact the success of tempering. For best results with the easy chocolate tempering seeding method, use high-quality couverture chocolate. Couverture chocolate contains a higher percentage of cocoa butter (typically 32-39%), which makes it more fluid when melted and easier to temper because there are more cocoa butter crystals to align. Look for chocolate specifically labeled as "couverture" or with a high cocoa butter content.
Avoid using chocolate chips directly from the bag for tempering. Most chocolate chips contain stabilizers to help them retain their shape when baked, which interferes with the tempering process and makes it very difficult, if not impossible, to achieve a proper temper with shine and snap. Bar chocolate intended for eating or baking is generally a better choice than chips if couverture is unavailable, but ensure it's good quality.
The Importance of Accurate Temperature
While the seeding method is forgiving, accurate temperature monitoring remains crucial for successful tempering. Each type of chocolate (dark, milk, white) has specific temperature ranges for melting, cooling, and working. Using an instant-read digital thermometer is highly recommended to ensure you hit these critical temperatures.
Melting temperature: Dark ~45-50°C (113-122°F); Milk/White ~40-45°C (104-113°F). Working temperature: Dark ~31-32°C (88-90°F); Milk/White ~29-30°C (84-86°F). Cooling temperature (for seeding): You cool the chocolate down to the working temp by adding seed.
Hitting these temperatures helps guide the cocoa butter into the correct crystalline structure. Being within a degree or two is often sufficient for the seeding method, which is why it's considered an easy chocolate tempering seeding method.
Seed Chocolate Quantity: Achieving the Correct Ratio
The amount of seed chocolate you add is important for cooling the melted chocolate to the working temperature and providing enough stable crystals. A good starting point is to use about 1/4 to 1/3 of the total chocolate quantity as seed. Finely chopping or grating the seed chocolate is essential, as it increases the surface area, allowing it to melt more easily and distribute the seed crystals effectively.
Add the seed chocolate gradually, especially as you approach the target working temperature. Stirring actively helps melt the seed and cool the main batch. You may not need to add all of the seed chocolate if your melted chocolate cools down to the working temperature and looks smooth and slightly thickened before you use all the seed. If the chocolate is still too warm after adding all the seed, you can continue stirring vigorously over a cool surface (like a marble slab or even just the countertop) to help it cool down faster while still encouraging stable crystal formation.
Tempering in Small Batches
For beginners, it's often easier to learn and practice the seeding method by tempering small batches of chocolate, perhaps 200-300 grams (about 7-10 ounces) at a time. Smaller quantities are easier to manage, cool down more quickly and evenly, and require less seed chocolate.
Working with small batches also means less waste if a batch doesn't temper correctly. As you gain confidence and experience with the easy chocolate tempering seeding method, you can gradually increase the batch size. Remember that larger batches will take longer to cool down when adding the seed chocolate, so be patient and continue stirring until the correct working temperature is reached.
Storing Tempered Chocolate: Maintaining Quality
Proper Storage Techniques
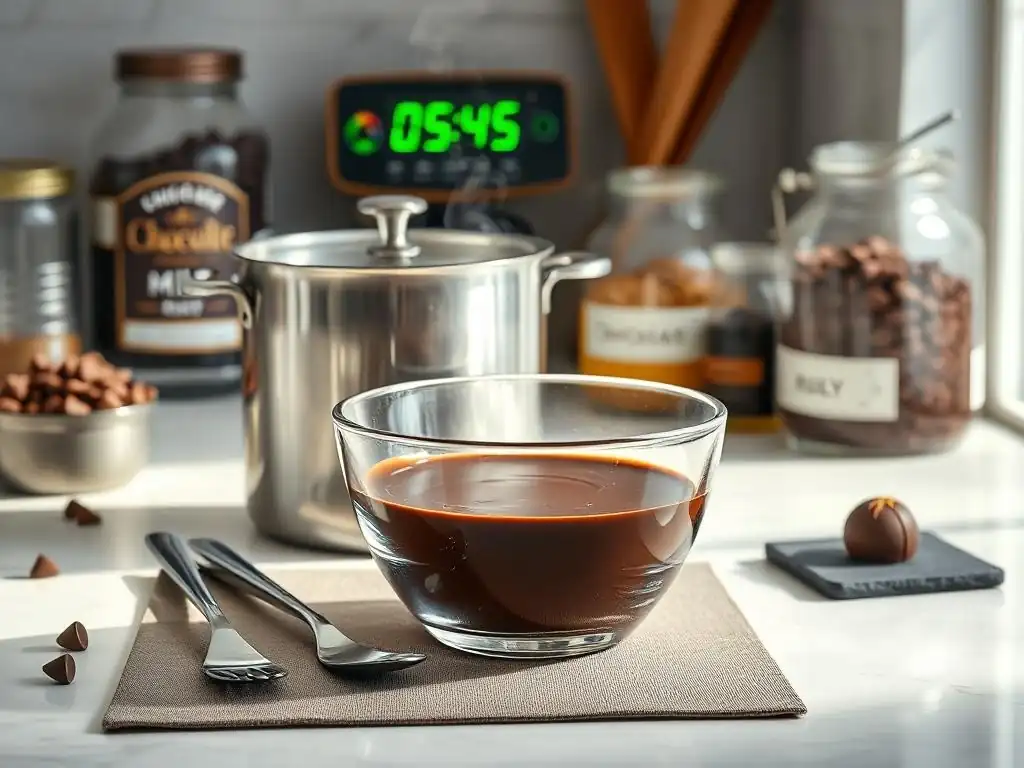
Once chocolate is properly tempered and has fully set, it is relatively stable at room temperature. However, proper storage is still important to maintain its quality and prevent it from losing its temper or developing bloom over time. Store tempered chocolate in an airtight container in a cool, dry place, away from direct sunlight and strong odors.
The ideal storage temperature for tempered chocolate is around 15-18°C (59-64°F). Avoid storing it in the refrigerator, as the humidity and low temperature can cause sugar bloom (a different type of bloom caused by moisture condensing on the surface) and can potentially cause the chocolate to lose its temper over extended periods. If you must refrigerate it due to warm conditions, place it in a tightly sealed container to protect it from moisture.
Shelf Life of Tempered Chocolate
The shelf life of tempered chocolate depends on the type of chocolate and how it is stored. Properly stored dark tempered chocolate can last for a year or even longer, maintaining its temper, shine, and snap. Milk and white tempered chocolate have a shorter shelf life due to their dairy content, typically lasting from 6 months to a year.
While tempered chocolate remains edible past these times, it may start to lose its optimal texture and flavor. The temper itself, the stable crystal structure, will remain intact as long as the chocolate is not subjected to significant temperature fluctuations that cause it to melt and re-solidify improperly. Storing it correctly ensures you can enjoy your perfectly tempered creations for as long as possible, benefiting from the effort you put into the easy chocolate tempering seeding method.
Using Your Perfectly Tempered Chocolate: Applications
Enhancing Desserts with Tempered Chocolate
Tempered chocolate is the secret ingredient for adding a professional touch to a wide range of desserts. Its beautiful shine and crisp texture make it ideal for applications where chocolate is a prominent visual and textural element. Use it for dipping fresh fruits like strawberries or cherries, coating nuts or pretzels, or creating elegant chocolate bark with various toppings.
You can also use tempered chocolate to make decorative elements like chocolate curls, fans, or intricate piped designs that hold their shape and snap beautifully. Drizzle tempered chocolate over cakes, pastries, or ice cream for a glossy finish that sets quickly. The possibilities are vast, and the difference in quality compared to using untempered chocolate is immediately apparent.
Ideas for Using Tempered Chocolate in Bonbons, Bark, and Decorations
- Bonbons and Molded Candies: Tempering is essential for making molded chocolates and bonbons. It ensures the chocolate contracts as it cools, making it easy to release from the molds, and results in a glossy shell with a satisfying snap when bitten into.
- Chocolate Bark: Spreading tempered chocolate thinly on parchment paper and topping it with nuts, dried fruit, candies, or sea salt is a simple yet elegant way to use tempered chocolate. Once set, it breaks into perfect shards.
- Decorations: From simple chocolate shavings made by running a knife along the edge of a tempered bar to complex piped patterns or chocolate collars for cakes, tempered chocolate offers structural integrity and visual appeal that untempered chocolate cannot provide.
Mastering the easy chocolate tempering seeding method allows you to confidently tackle these projects and produce confectionery that looks and tastes like it came from a high-end patisserie.
Conclusion: Tempering Chocolate Made Easy
Recap of the Seeding Method
Tempering chocolate, especially using the seeding method, doesn't have to be intimidating. By gently melting chocolate, cooling it down to a specific working temperature by adding finely chopped seed chocolate, and maintaining that temperature while you work, you can successfully create stable cocoa butter crystals.
This process results in chocolate with a beautiful shine, a firm snap, and resistance to bloom, elevating your homemade treats. The seeding method is particularly beginner-friendly because it uses the stable crystals in the seed chocolate to guide the process, making it an easy chocolate tempering seeding method that relies less on hitting precise temperature points solely through heating and cooling.
Remember the key steps: melt most of your chocolate gently, add chopped seed chocolate while stirring to cool it down to the working temperature, test the temper, and maintain the temperature while using it. With a little practice and attention to detail, you'll be creating professional-quality chocolate confections in no time.
Further Resources for Chocolate Tempering Techniques
To continue your journey in mastering chocolate, explore different types of chocolate and their specific temperature requirements. Practice the seeding method with dark, milk, and white chocolate to understand the slight variations in their behavior. Many online resources, videos, and books dedicated to chocolate work offer visual guides and additional tips.
Consider experimenting with different applications, from simple dipped items to more complex molded shapes. As you become more comfortable with the easy chocolate tempering seeding method, you might even explore other tempering techniques like the tabling method or using a tempering machine, though the seeding method remains a reliable and accessible choice for most home bakers. Happy tempering!
Frequently Asked Questions
What exactly is the "seeding method" for tempering chocolate, and why is it important?
The seeding method involves adding untempered chocolate "seeds" to melted chocolate to help it crystallize properly. This results in a smooth, glossy finish and a crisp snap.
Is the seeding method suitable for all types of chocolate (dark, milk, white)?
Yes, the seeding method can be used with all types of chocolate, but the temperatures will vary depending on the chocolate's composition (cocoa solids, milk solids, etc.).
What happens if I don't temper my chocolate correctly using the seeding method?
If chocolate isn't tempered correctly, it can become streaky, dull, and crumbly. It might also develop a white bloom on the surface, indicating unstable fat crystals.
What's the easiest way to monitor the temperature of the chocolate during the seeding method?
Using a reliable digital thermometer is the easiest and most accurate way to monitor the chocolate's temperature. Aim for the specific temperature ranges recommended for each type of chocolate.
Can I re-temper chocolate that didn't set properly after using the seeding method?
Yes, you can re-temper the chocolate. Simply remelt it to the initial melting temperature and then repeat the seeding process from the beginning, being careful with temperatures.
Final Reflection: The Sweet Science of Effortless Tempering
The art of chocolate tempering, once shrouded in mystery, is now accessible to everyone. Mastering this technique unlocks a world of beautifully shiny, snappable chocolate, transforming homemade treats from good to extraordinary. This simple seeding method proves that achieving professional-quality results doesn't require years of experience or specialized equipment.
The impact of readily available information on techniques like chocolate tempering is profound. It democratizes culinary skills, empowering home bakers and chocolate enthusiasts alike to explore their creativity. The best things in life are simple,
a phrase often used, rings especially true when considering the satisfaction of creating perfectly tempered chocolate using this straightforward method. It's a testament to the power of accessible knowledge and the joy of hands-on creation. The ease of this method encourages experimentation, leading to a wider appreciation for the nuances of chocolate and the artistry of confectionery.
Now, it's your turn. Don't let the fear of failure hold you back. Gather your ingredients, follow the steps outlined in this guide, and experience the thrill of creating your own flawlessly tempered chocolate. The journey from novice to chocolate artisan begins with a single, perfectly seeded batch. Embrace the process, savor the results, and share the sweet success with those you love. The world of delicious, homemade chocolate awaits!
Unlock Your Inner Chocolatier: Master the Seeding Method!
Thanks for joining us on this chocolate-making adventure! You've just learned a simple yet powerful technique to create flawlessly tempered chocolate – a skill that elevates any dessert. Ready to put your new knowledge into practice?
- Craft your dream chocolate creation: Try tempering some chocolate and making your favorite treat, using the seeding method you just learned! Let your creativity flow!
- Share your chocolate triumphs (or ask for help!): Post a picture of your creation on social media and tag #BakeWithEaseSeeding – we’d love to see your results!
- Explore our other easy-to-follow baking recipes: Discover more delicious recipes on BakeWithEase.com to expand your baking repertoire.
So, what delicious treat will you temper first?