
Setting Up Your BainMarie for Easy Chocolate Tempering.

Welcome to BakeWithEase, where baking becomes a joy, not a chore! Ever struggled with perfectly tempered chocolate? Our Bainmarie chocolate tempering guide unlocks the secret to silky smooth, glossy chocolate, ready for anything from elegant desserts to decadent candies. Curious about how this classic technique can elevate your baking? Let's dive in and discover the ease and precision a Bainmarie brings to your kitchen!
- Introduction to BainMarie Chocolate Tempering Guide for Bakers
- Understanding Chocolate Tempering: Basics and Importance
- Essential Equipment and Ingredients for BainMarie Chocolate Tempering
- Step-by-Step BainMarie Chocolate Tempering Guide
- Troubleshooting Common Issues in BainMarie Chocolate Tempering
- Advanced Tips for Perfecting BainMarie Chocolate Tempering Techniques
- Conclusion: Mastering BainMarie Chocolate Tempering for Professional and Home Bakers
-
Frequently Asked Questions
- What exactly is a bain-marie, and why is it important for tempering chocolate?
- What type of container should I use for the chocolate in a bain-marie setup?
- How hot should the water be in my bain-marie when melting chocolate?
- How do I prevent water from getting into my chocolate while using a bain-marie?
- Can I use a microwave instead of a bain-marie for tempering chocolate?
- Final Reflection: Mastering the Art of Chocolate Tempering with Your Bain-Marie
- Unlock Your Chocolate Tempering Secrets!
Introduction to BainMarie Chocolate Tempering Guide for Bakers
Welcome to your essential bainmarie chocolate tempering guide! Mastering the art of working with chocolate can elevate your baked goods from delicious to truly professional. One of the most fundamental techniques for achieving that glossy shine and crisp snap is chocolate tempering. While there are several methods, using a bain-marie, also known as a double boiler, is widely regarded as one of the safest and most controlled ways for home bakers and even many professionals.
This comprehensive guide will walk you through everything you need to know about using a bain-marie for tempering chocolate. We'll cover the basics of what tempering is, why a bain-marie is the preferred tool, and provide a step-by-step process to help you achieve perfect results every time. Whether you're planning to dip candies, create delicate chocolate decorations, or make homemade chocolate bars, understanding and applying these techniques will be invaluable.
Why Use a BainMarie for Chocolate Tempering?
Using a bain-marie, or double boiler, is crucial for chocolate tempering because it provides gentle, indirect heat. Chocolate is notoriously sensitive to heat and can easily burn or seize if exposed to direct high temperatures. A bain-marie setup involves placing a bowl containing the chocolate over a pot of simmering or hot water. The steam from the water heats the bowl from below, melting the chocolate slowly and evenly without the risk of scorching that comes from a pot directly on a burner.
This controlled heating environment is ideal for melting chocolate to its specific temperature ranges required for tempering. For dark chocolate, melting typically occurs around 115°F (46°C), while milk and white chocolate melt at slightly lower temperatures, closer to 105°F (40°C). Reaching these initial melting points precisely is the first critical step in the tempering process, and the gentle heat of a bain-marie makes hitting these targets much more manageable than direct heat methods, which can overshoot temperatures rapidly.
Benefits of Mastering Chocolate Tempering with a BainMarie
Mastering the bainmarie chocolate tempering guide leads to several significant benefits for your finished confections. Properly tempered chocolate is visually appealing, possessing a beautiful, high-gloss shine that catches the light. This is a hallmark of professional-quality chocolate work and instantly elevates the perceived value and artistry of your baked goods or candies.
Beyond aesthetics, tempered chocolate has a desirable texture and structure. It sets firmly with a satisfying, clean snap when broken, unlike untempered chocolate which can be soft, crumbly, or greasy. Furthermore, tempered chocolate is more stable at room temperature and less prone to developing "bloom" – those unappealing gray or white streaks or patches that appear on the surface due to fat or sugar crystallization. For example, when dipping truffles or coating biscuits, tempered chocolate ensures a smooth, hard shell that protects the interior and provides a delightful textural contrast, maintaining its quality for longer.
Understanding Chocolate Tempering: Basics and Importance
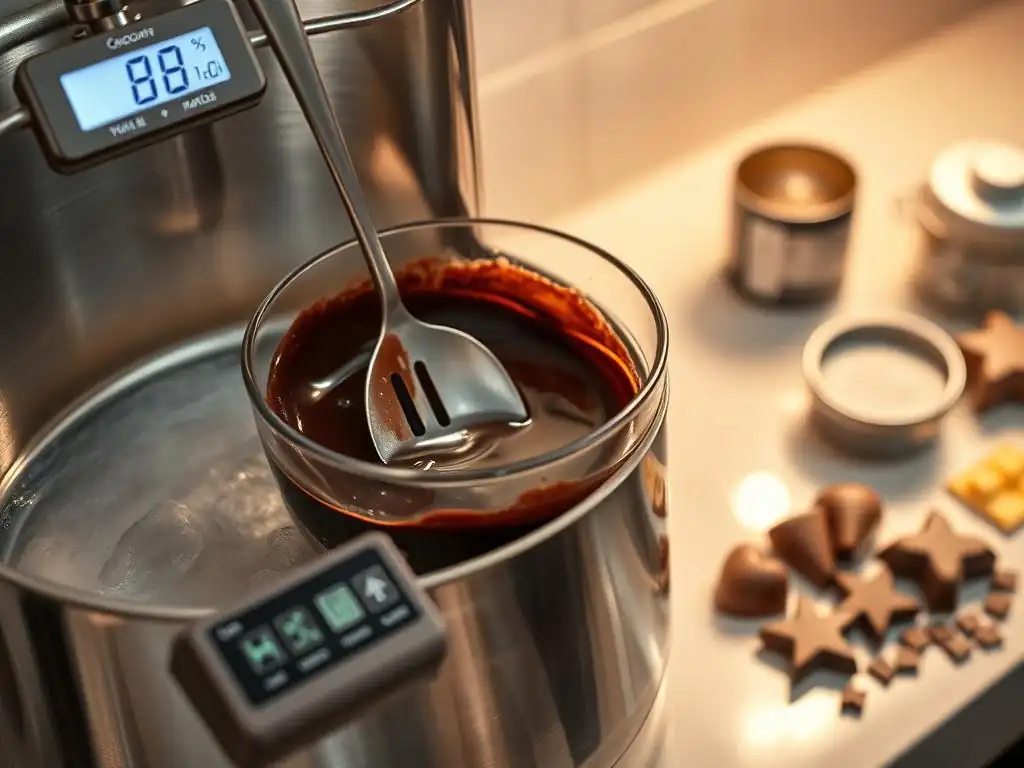
Chocolate tempering is a fundamental technique in confectionery that involves carefully controlling the temperature of melted chocolate to stabilize the cocoa butter crystals. Cocoa butter can crystallize into six different forms, but only one, the 'Beta' crystal (Type V), provides the desired characteristics of properly tempered chocolate: gloss, snap, and smooth texture. Without tempering, the cocoa butter forms less stable crystal structures, leading to dull, soft, and bloomed chocolate.
The process typically involves melting the chocolate completely, cooling it down to a specific temperature where the stable Beta crystals can form, and then gently reheating it slightly to the working temperature. This precise temperature control encourages the cocoa butter to solidify into the correct crystalline structure. Understanding this crystalline behavior is key to successful tempering and is why tools like a bain-marie and thermometer are indispensable.
What is Chocolate Tempering?
Chocolate tempering is essentially a controlled crystallization process for the cocoa butter within the chocolate. When chocolate is melted, the cocoa butter crystals are broken down. As it cools and solidifies naturally (without tempering), the cocoa butter recrystallizes randomly, forming a mix of unstable crystal types. This results in chocolate that is dull, soft, melts easily in your hand, and often develops bloom over time.
Tempering manipulates the temperature of the chocolate to guide the cocoa butter into forming predominantly stable Beta (Type V) crystals. This is achieved by melting the chocolate fully to destroy all existing crystals, cooling it to a specific temperature range where Beta crystals begin to form, and then warming it slightly to a working temperature that keeps these stable crystals intact while allowing you to work with the chocolate. The presence of a high proportion of these stable crystals gives tempered chocolate its desirable properties.
How Proper Tempering Affects Chocolate Texture and Shine
Proper tempering has a dramatic impact on the final quality of chocolate. Visually, well-tempered chocolate boasts a beautiful, high-gloss sheen. This is because the stable Beta crystals are tightly packed and uniformly structured, creating a smooth surface that reflects light evenly. Untempered chocolate, with its disordered crystal structure, appears dull and often streaky.
Texturally, tempered chocolate is firm and breaks with a clean, audible snap. This crispness is due to the strong, stable structure of the Beta crystals. Untempered chocolate, lacking this structure, tends to be soft, crumbly, or waxy. For instance, a chocolate bar made with tempered chocolate will snap satisfyingly when broken, whereas one made with untempered chocolate will likely bend or crumble softly. This textural difference is crucial for applications like chocolate coatings, where a firm shell is desired.
Common Challenges in Chocolate Tempering Without a BainMarie
Attempting to temper chocolate without a controlled heat source like a bain-marie presents several common challenges, primarily related to overheating. Direct heat from a stovetop or microwave can quickly raise the chocolate's temperature beyond the desired range. If chocolate gets too hot, even slightly above its initial melting point after cooling, it can destroy the newly formed stable Beta crystals, rendering the tempering process unsuccessful.
Another major challenge is scorching or burning the chocolate. Chocolate solids and sugars are very sensitive to high heat. Direct contact with a hot pan can cause them to burn rapidly, resulting in a gritty texture and burnt flavor that is irreversible. A bain-marie prevents this by using the gentle heat of steam or hot water, keeping the chocolate's temperature below the scorching point and allowing for more precise control throughout the delicate heating and cooling phases required by any bainmarie chocolate tempering guide.
Essential Equipment and Ingredients for BainMarie Chocolate Tempering
To successfully navigate the bainmarie chocolate tempering guide, you'll need a few key pieces of equipment and, of course, the right type of chocolate. Having the correct tools at hand makes the process smoother, more controlled, and significantly increases your chances of achieving perfectly tempered chocolate. Don't worry, most of these items are standard in a well-equipped kitchen.
The basic setup involves a heat source, a pot for water, and a bowl for chocolate. Beyond the bain-marie itself, precision is paramount when working with chocolate temperatures, so a reliable thermometer is non-negotiable. Other tools like spatulas and scales are also helpful. Choosing the right chocolate is equally important, as not all chocolate is created equal when it comes to tempering.
Choosing the Right BainMarie Setup for Chocolate Tempering
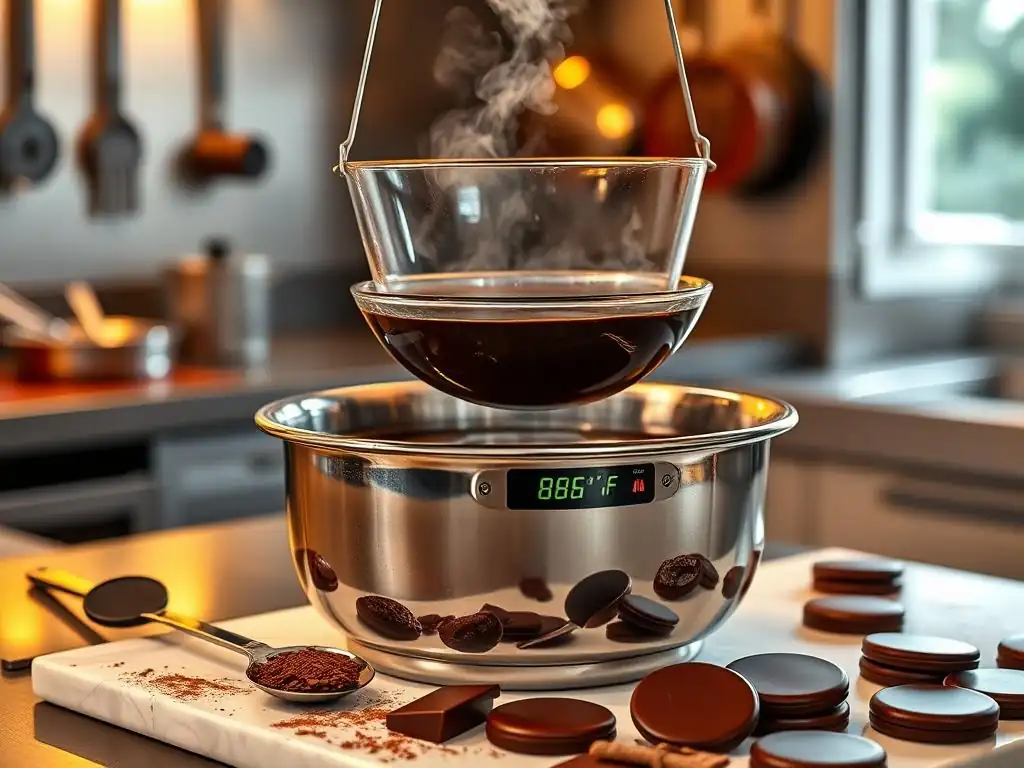
A proper bain-marie setup for chocolate tempering consists of a pot or saucepan and a heatproof bowl that fits snugly over the pot without touching the water level inside. The goal is to melt the chocolate using the steam or radiant heat from the hot water, not direct contact with the water itself. The bowl should be wide enough that its rim rests on the edge of the pot, creating a seal that minimizes steam escape but, crucially, leaves a gap between the bottom of the bowl and the water.
The pot should be filled with just enough water so that when it's simmering, the steam reaches the bottom of the bowl, but the water level is low enough that the bowl doesn't sit in it. Using a glass or stainless steel bowl is recommended over plastic, as they conduct heat more evenly. Ensure both the pot and the bowl are completely dry, as even a single drop of water can cause the chocolate to seize, turning it into a thick, clumpy mess.
Types of Chocolate Suitable for BainMarie Tempering
Not all chocolate is ideal for the bainmarie chocolate tempering guide. The best chocolate for tempering is real chocolate that contains cocoa butter as its primary fat. This includes couverture chocolate, which has a high percentage of cocoa butter (typically 32-39%), making it ideal for tempering due to its fluidity and stability. High-quality baking chocolate bars or chips that list cocoa butter in the ingredients are also suitable.
Avoid using compound chocolate or confectionery coating, which is often labeled as "chocolatey" or "for melting." These products contain vegetable oils (like palm kernel oil) instead of cocoa butter and do not require tempering to set. While they melt easily, they won't achieve the same glossy finish or crisp snap as tempered chocolate made with real cocoa butter. Always check the ingredient list to ensure you are using genuine chocolate for tempering.
Additional Tools to Enhance the Tempering Process
Beyond the bain-marie setup, several other tools significantly enhance the bainmarie chocolate tempering process. A digital instant-read thermometer or a candy thermometer is essential for monitoring the chocolate's temperature accurately throughout the melting, cooling, and rewarming stages. Precision in temperature is key to encouraging the stable Beta crystals to form.
Other helpful tools include a rubber spatula or silicone scraper for stirring the chocolate gently and evenly as it melts and cools, ensuring consistent temperature throughout the mass. A bench scraper or offset spatula can be useful for spreading and testing the chocolate. Using a kitchen scale to weigh your chocolate ensures you have the correct amount for your recipe and helps with consistency, especially if you're using the seeding method for tempering.
Step-by-Step BainMarie Chocolate Tempering Guide
Now that you understand the 'why' and 'what' of tempering and have your equipment ready, let's dive into the practical steps of this bainmarie chocolate tempering guide. Following these steps carefully will set you on the path to perfectly tempered chocolate. Remember that patience and precise temperature control are your best friends here.
The process involves melting the chocolate gently, cooling it down while agitating it to promote crystal formation, and then bringing it back up to a specific working temperature. Each step is crucial and contributes to the final structure and appearance of your tempered chocolate. Pay close attention to the temperatures for the type of chocolate you are using (dark, milk, or white).
Preparing Your BainMarie for Optimal Temperature Control
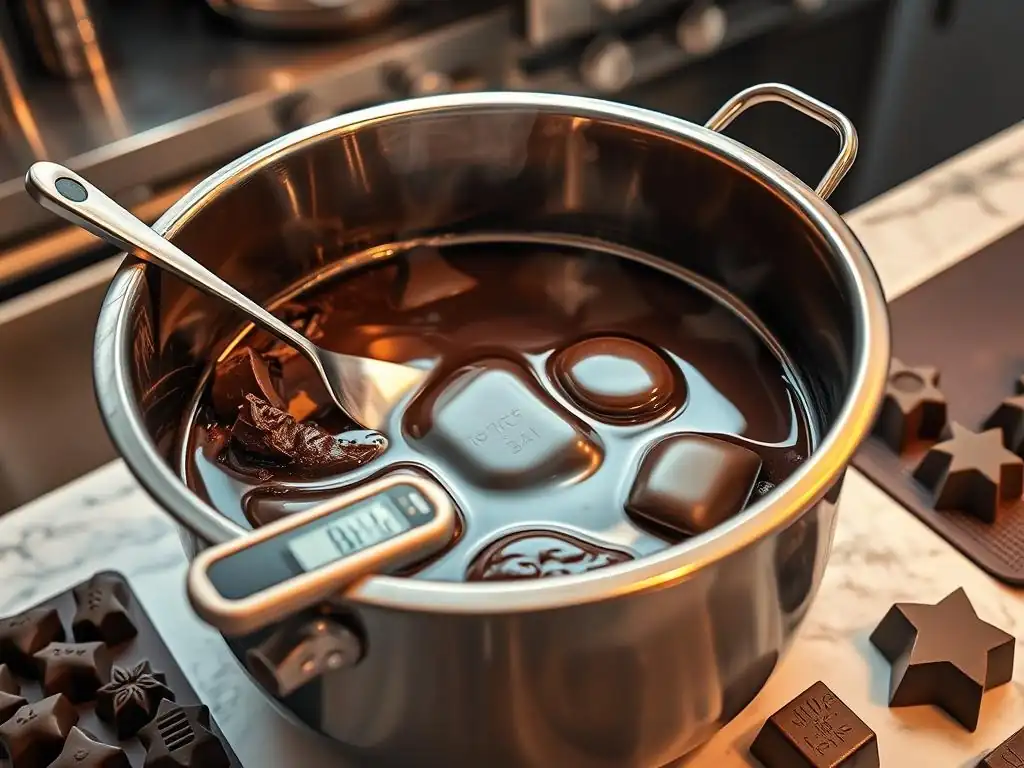
To prepare your bain-marie, fill a medium saucepan with about 1-2 inches of water. The exact amount depends on the size of your bowl, but the key is that the water level should not touch the bottom of the bowl when it's placed on top. Bring the water to a gentle simmer over low to medium heat. Once simmering, reduce the heat to low or even remove the pot from the heat source entirely – the residual heat and steam are often sufficient, especially for smaller batches.
Place your heatproof bowl, ensuring it is completely dry inside and out, over the pot. The bowl should fit snugly, creating a relatively sealed environment for the steam. Break or chop your chocolate into small, uniform pieces. Smaller pieces will melt more quickly and evenly, reducing the time the chocolate is exposed to heat. Add the chocolate to the dry bowl. Your bain-marie is now ready for melting.
Melting Chocolate Using the BainMarie Method
With the bain-marie set up and the chopped chocolate in the bowl, place the bowl over the gently simmering or hot water. Stir the chocolate occasionally with a dry rubber or silicone spatula. Avoid stirring too vigorously, as this can incorporate air bubbles. The chocolate will begin to melt from the edges inwards. Continue to stir gently as it melts.
Monitor the temperature with your thermometer. The goal is to melt the chocolate completely until it is smooth and fluid, reaching a specific temperature range: around 115°F (46°C) for dark chocolate, and around 105°F (40°C) for milk and white chocolate. Once fully melted and at temperature, immediately remove the bowl from the bain-marie. Ensure no condensation from the pot gets into the chocolate. Wipe the bottom of the bowl dry.
Cooling and Agitating Chocolate to Achieve Proper Crystallization
Once the chocolate is fully melted and removed from the heat, the next critical step in the bainmarie chocolate tempering guide is cooling and agitation. This is where the stable Beta crystals begin to form. There are two common methods: the seeding method or the tabling method (though tabling is less common for home bakers and requires a cool surface). For the seeding method, add finely chopped, untempered chocolate (seed chocolate) to the melted chocolate. A general ratio is about 25-30% of the total chocolate weight as seed.
Stir the melted chocolate continuously as it cools. The seed chocolate helps to cool the melted chocolate and provides stable Beta crystals that encourage the melted cocoa butter to crystallize correctly. Continue stirring until the chocolate cools to the target temperature range for crystallization: around 80-82°F (27-28°C) for dark chocolate, and 78-80°F (26-27°C) for milk and white chocolate. The chocolate will thicken slightly as it cools.
Testing Chocolate Temper for Perfect Results
After cooling and stirring, the final step in the bainmarie chocolate tempering guide is to bring the chocolate back up to its working temperature and test its temper. Place the bowl back over the warm (not simmering) water of the bain-marie for just a few seconds, stirring constantly. The goal is to raise the temperature slightly to melt any unstable crystals that may have formed while leaving the stable Beta crystals intact. The working temperature range is typically 88-91°F (31-33°C) for dark chocolate and 84-86°F (29-30°C) for milk and white chocolate.
To test the temper, dip a small piece of parchment paper, the tip of a knife, or a spoon into the chocolate. Scrape off the excess and let it sit at room temperature (ideally around 68-70°F or 20-21°C). Properly tempered chocolate should set within 3-5 minutes, appearing glossy and snapping cleanly when hardened. If it sets slowly, is dull, or remains soft, it is not properly tempered, and you may need to repeat the cooling and warming steps.
Troubleshooting Common Issues in BainMarie Chocolate Tempering
Even with a reliable bainmarie chocolate tempering guide, you might encounter issues. Chocolate tempering can be finicky, but most problems are fixable if you understand the underlying cause, usually related to temperature control or moisture. Don't get discouraged if your first attempt isn't perfect; troubleshooting is part of the learning process.
Common problems include chocolate that becomes grainy or seizes, develops bloom after setting, or simply doesn't set with a good shine and snap. Identifying the problem is the first step to fixing it. Often, the solution involves carefully reheating or recooling the chocolate to realign the crystal structure.
How to Fix Grainy or Seized Chocolate
Grainy or seized chocolate is most often caused by the introduction of moisture or overheating. If a single drop of water or steam gets into the melted chocolate, the sugar particles will clump together, causing the chocolate to seize into a thick, unusable paste. Unfortunately, seized chocolate due to water is very difficult to recover for tempering purposes, though it can sometimes be salvaged for other uses like ganache by stirring in warm liquid like cream or butter, changing its composition significantly.
If the chocolate becomes grainy but doesn't seize into a paste, it might be due to insufficient melting initially (some sugar crystals remain) or improper cooling causing large fat crystals to form. In some cases of graininess (not seizing from water), you can try carefully reheating the chocolate back up to its initial melting temperature (115°F/46°C for dark, 105°F/40°C for milk/white) in the bain-marie to fully melt all crystals, then restart the cooling and tempering process from scratch, ensuring careful temperature control throughout.
Adjusting Temperature to Prevent Chocolate Bloom
Chocolate bloom, appearing as gray or white streaks or patches on the surface, is caused by fat or sugar crystals rising to the surface. Fat bloom occurs when the cocoa butter separates and recrystallizes in an unstable form, often due to improper tempering (not enough stable Beta crystals) or storage at fluctuating temperatures. Sugar bloom occurs when moisture condenses on the chocolate's surface, dissolving sugar crystals which then recrystallize as fuzzy white spots when the moisture evaporates.
Preventing bloom relies heavily on proper tempering and storage. Ensure your chocolate is correctly tempered according to the bainmarie chocolate tempering guide, hitting the correct melting, cooling, and working temperatures. Once tempered and set, store chocolate in a cool, dry place with a consistent temperature, ideally between 60-68°F (15-20°C), away from humidity fluctuations. If bloom occurs, you can sometimes re-melt and re-temper the chocolate, though severe bloom might affect the final texture.
Tips for Maintaining Consistent Tempering Temperature
Maintaining consistent temperature is paramount throughout the bainmarie chocolate tempering process. Once you've melted the chocolate and removed it from the heat for cooling, continuous gentle stirring is key to ensuring the temperature drops evenly throughout the bowl and promotes even crystal formation. Avoid letting the chocolate sit stagnant during the cooling phase.
When reheating to the working temperature, use the bain-marie cautiously. The water should be warm, not simmering or boiling, and the bowl should only sit over it for brief periods, stirring constantly, until the target working temperature is reached. Removing the bowl from the heat source before it reaches the exact temperature allows for residual heat to bring it up the last degree or two, preventing overshoot. Using a reliable thermometer and checking the temperature frequently (every 30 seconds during heating/cooling phases) is the best way to maintain control.
Advanced Tips for Perfecting BainMarie Chocolate Tempering Techniques
Once you've mastered the basic bainmarie chocolate tempering guide, you can refine your techniques for even better results and efficiency. These advanced tips focus on precision and smart practices that professional chocolatiers use to ensure consistent, high-quality tempered chocolate, batch after batch.
Incorporating these tips can help you achieve a more stable temper, work more efficiently, and ensure your finished chocolate creations maintain their beauty and snap for longer periods. They build upon the foundational steps by adding layers of control and understanding of the chocolate's behavior.
Using a Thermometer for Precision Temperature Management
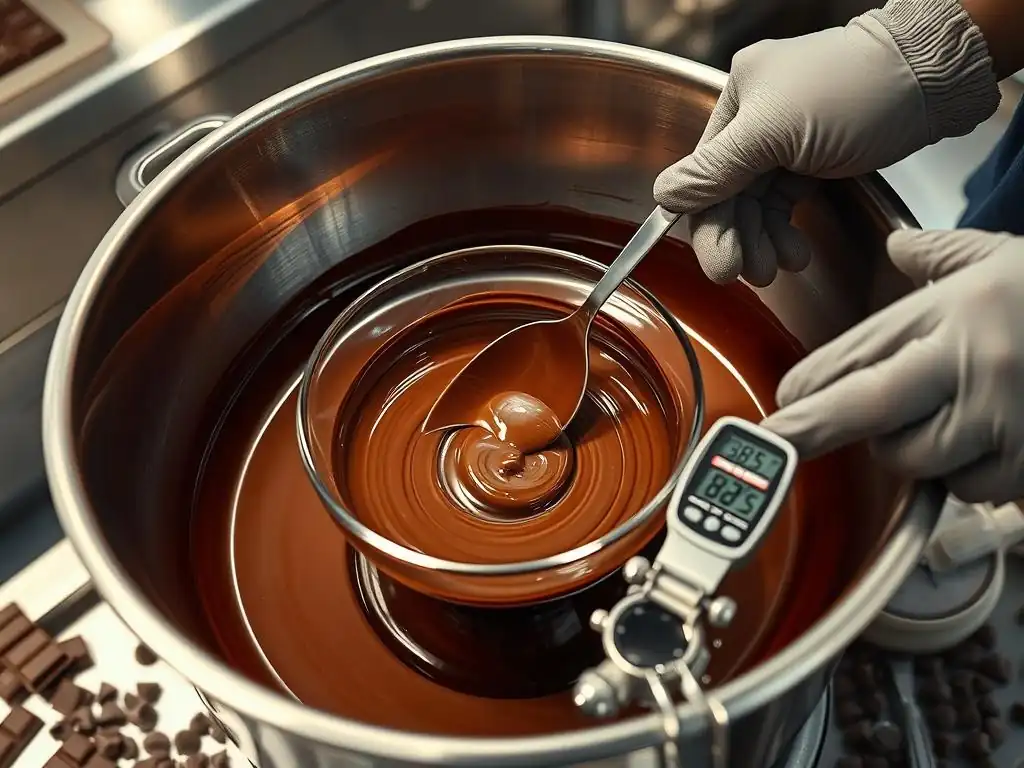
A digital thermometer is not just a helpful tool; it's essential for precision in bainmarie chocolate tempering. Relying on guesswork or touch can easily lead to errors in the delicate temperature ranges required for successful tempering. For instance, the difference between perfectly tempered dark chocolate and chocolate that will bloom is often only a few degrees during the cooling or reheating phases.
Measure the temperature of the chocolate frequently, especially as you approach the critical cooling and working temperature ranges. Insert the thermometer probe into the center of the chocolate mass, ensuring it's not touching the bottom or sides of the bowl, which might be hotter or cooler than the chocolate itself. Knowing the exact temperature allows you to make informed decisions about when to stop cooling, when to reheat, and when the chocolate is ready to use, significantly increasing your success rate compared to tempering without precise temperature readings.
Incorporating Seed Chocolate for Faster Tempering
The seeding method, where you add finely chopped, untempered chocolate (seed) to the melted chocolate, is a highly effective way to temper chocolate using a bain-marie. This method is faster and more reliable than simply letting the melted chocolate cool on its own. The seed chocolate contains stable Beta crystals, which act as templates, encouraging the liquid cocoa butter in the melted chocolate to crystallize into the desired form as it cools.
A typical ratio is to melt about 70-75% of your total chocolate and then stir in the remaining 25-30% as finely chopped seed chocolate. Stir continuously as the chocolate cools and the seed melts, until the mixture reaches the target crystallization temperature (e.g., 80-82°F for dark). The presence of the seed accelerates the formation of stable crystals compared to cooling without it, making the process more efficient and the temper more robust. Ensure the seed chocolate is also real chocolate containing cocoa butter.
Storing Tempered Chocolate for Best Shelf Life and Quality
Once you have successfully tempered chocolate using your bainmarie chocolate tempering guide and used it for your confections (like dipping or molding), proper storage is key to maintaining its quality and preventing bloom. Tempered chocolate, when stored correctly, can retain its shine and snap for several months, depending on the type of chocolate.
Store finished tempered chocolate items in a cool, dry place with a consistent temperature, ideally between 60-68°F (15-20°C). Avoid refrigeration, as the humidity and temperature fluctuations can cause sugar bloom and dull the shine. Keep the chocolate away from strong odors, as it can absorb smells. Store in airtight containers to protect from moisture and odors. For example, chocolate-covered strawberries should be stored in a single layer in an airtight container in a cool pantry rather than the humid environment of a refrigerator vegetable drawer.
Conclusion: Mastering BainMarie Chocolate Tempering for Professional and Home Bakers
Mastering the bainmarie chocolate tempering guide is a valuable skill for anyone serious about baking and confectionery. It's the secret behind the beautiful, glossy finish and satisfying snap of professional-quality chocolate. While it requires patience and attention to detail, particularly regarding temperature control, using a bain-marie provides a gentle and effective method suitable for bakers of all levels.
We've covered the fundamental principles, the essential equipment, a step-by-step process, and troubleshooting tips. From understanding why a bain-marie is the tool of choice to the specific temperature ranges for different types of chocolate and how to test your temper, this guide provides a solid foundation. Remember that practice makes perfect, and each attempt will build your confidence and skill.
Recap of Key Steps in the BainMarie Chocolate Tempering Guide
Let's quickly recap the essential steps in this bainmarie chocolate tempering guide to reinforce the process. First, set up your bain-marie with hot (not boiling) water and a dry bowl that fits snugly above the water level. Chop your real chocolate into small pieces and melt it gently in the bowl over the bain-marie, stirring occasionally, until it reaches its initial melting temperature (approx. 115°F dark, 105°F milk/white).
Next, remove the melted chocolate from the heat, wipe the bowl dry, and cool it down while stirring constantly. The seeding method is highly recommended here, adding 25-30% seed chocolate and stirring until the chocolate reaches its crystallization temperature (approx. 80-82°F dark, 78-80°F milk/white). Finally, gently reheat the chocolate over the warm bain-marie for just a few seconds, stirring, until it reaches its working temperature (approx. 88-91°F dark, 84-86°F milk/white). Test the temper, and if it sets quickly and glossily, it's ready to use.
Encouragement to Experiment and Perfect Your Tempering Skills with BainMarie
Don't be intimidated by the prospect of tempering chocolate! While it seems technical, following a reliable bainmarie chocolate tempering guide like this one breaks it down into manageable steps. The bain-marie method is forgiving because it minimizes the risk of overheating compared to direct heat. Your first few attempts might not be absolutely perfect, but the more you practice, the better you will become at reading the chocolate and controlling the temperatures.
Experiment with different types of chocolate and small batches to get a feel for the process. Pay close attention to the temperature readings and how the chocolate behaves at each stage – its viscosity, how it cools, and how it sets during the test. With persistence and the gentle control offered by the bain-marie, you'll soon be confidently tempering chocolate for all your baking needs, achieving that professional shine and snap that will impress everyone. Happy tempering!
Frequently Asked Questions
What exactly is a bain-marie, and why is it important for tempering chocolate?
A bain-marie is essentially a hot water bath. It's crucial for tempering chocolate because it provides gentle, indirect heat, preventing scorching and ensuring even melting, vital for stable crystal formation.
What type of container should I use for the chocolate in a bain-marie setup?
Use a heat-resistant bowl, preferably glass or stainless steel, that fits snugly but doesn't touch the bottom of the pot. This ensures even heat distribution and prevents direct heat contact that can ruin the chocolate.
How hot should the water be in my bain-marie when melting chocolate?
The water should be simmering, not boiling. Aim for a temperature around 120°F (49°C). This gentle heat is key to preventing the chocolate from overheating and seizing up.
How do I prevent water from getting into my chocolate while using a bain-marie?
Make sure the bowl fits snugly over the pot, creating a good seal. Avoid overfilling the pot with water. Also, be careful when stirring to prevent condensation from dripping into the chocolate.
Can I use a microwave instead of a bain-marie for tempering chocolate?
While possible, a microwave offers less control over the melting process. A bain-marie provides gentler, more even heating, which is critical for achieving properly tempered chocolate and preventing bloom.
Final Reflection: Mastering the Art of Chocolate Tempering with Your Bain-Marie
The precise control offered by a bain-marie remains crucial for achieving perfectly tempered chocolate, a skill vital for professional and home bakers alike. The ability to create smooth, glossy, and snappable chocolate is not just about aesthetics; it's about ensuring the longevity and quality of your creations. This is more relevant than ever in a world increasingly focused on artisanal food and the pursuit of culinary excellence.
The journey of mastering chocolate tempering, using the bain-marie method, is a testament to patience and precision. It's a process that demands attention to detail, but the reward – that satisfying snap and luxurious sheen – is undeniably worth the effort. This technique, passed down through generations of chocolatiers, continues to shape the landscape of confectionery, influencing everything from elegant bonbons to simple chocolate bark. The secret to good chocolate is in the tempering,
a renowned pastry chef once said, and I believe this statement holds true even in our modern age of advanced technology.
Now, it's your turn. Consider the techniques outlined in this guide, and experiment with your own bain-marie setup. Don't be afraid to adjust the heat, to monitor the temperature closely, and to embrace the learning process. The path to mastering chocolate tempering is a rewarding one, leading to the creation of exquisite treats that will delight your senses and impress your loved ones. Embrace the challenge, and you'll discover the magic that lies within each carefully tempered piece of chocolate.
Unlock Your Chocolate Tempering Secrets!
Thanks for taking the time to learn about setting up your bain-marie for perfect chocolate tempering! You're now one step closer to creating flawlessly smooth and shiny chocolate creations. Ready to put your new knowledge into practice?
- Temper your first batch of chocolate today! Use the method outlined in the article and see the amazing difference a properly set bain-marie makes.
- Share your tempered chocolate triumphs (or challenges!) with us in the comments below. Let's learn from each other's experiences!
- Experiment with different types of chocolate to discover your favorite for tempering.
What unique chocolate creation will you be tempering first?