
How Different Flours Affect Your Bread (and Troubleshooting)

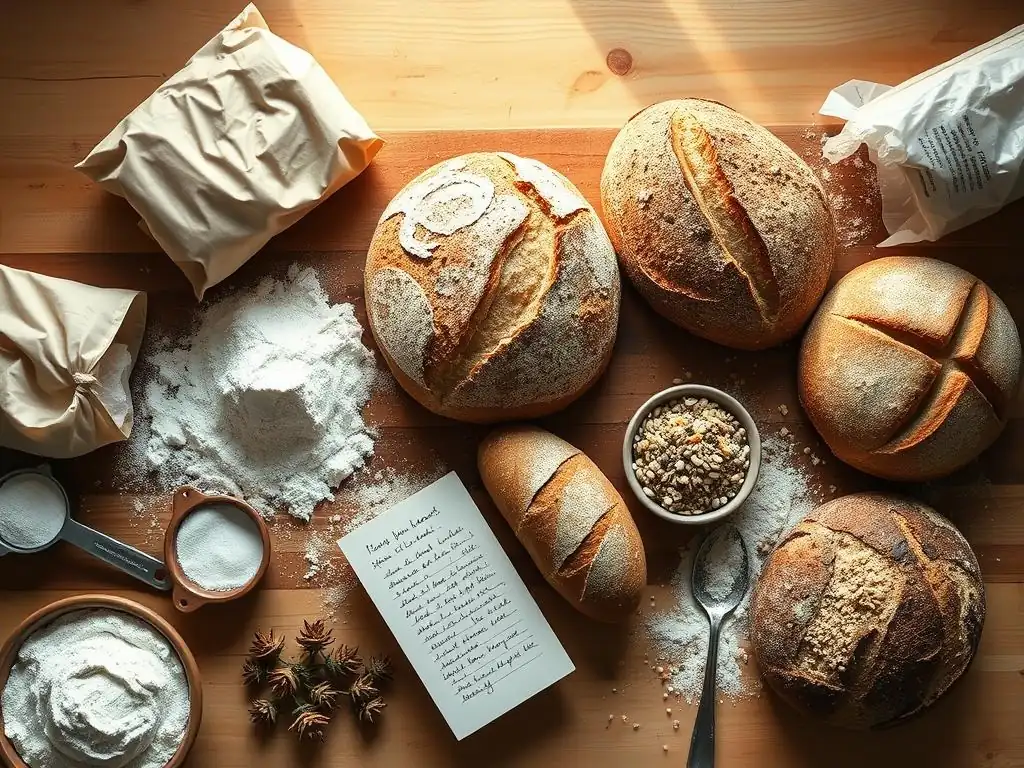
Welcome to BakeWithEase, your kitchen companion for all things baking! Ever wondered how choosing the right flour can transform your bread from bland to brilliant? Dive in and discover the secrets behind different flour types for bread baking in our latest guide. We'll unlock the mysteries of gluten development, texture, and flavor, helping you bake the perfect loaf every time. Curious to know which flour holds the key to that artisan crust you've always dreamed of? Let's get started!
Why Flour Choice Matters in Bread Making
Choosing the right flour is arguably the most critical decision you make when baking bread. Flour provides the foundational structure, flavor, and texture for your loaf. Different flour types bread baking offer vastly different protein levels, gluten-forming potential, and starch content, all of which directly impact how your dough behaves and the final qualities of your baked bread. Using a flour designed for delicate cakes in a hearty sourdough recipe, for instance, would lead to a flat, dense disaster because it lacks the necessary protein for a strong gluten network.
The subtle differences between various flour types bread baking can mean the difference between a light, airy crumb and a dense, heavy one, or a crisp crust versus a soft one. For example, a typical all-purpose flour might have around 10-12% protein, while bread flour often boasts 12-14% or even higher. This seemingly small difference in protein content dramatically affects the dough's ability to trap gases produced by yeast, leading to significant variations in loaf volume and internal structure. Understanding these nuances is key to consistently successful bread baking.
Key Properties of Flour Affecting Bread Texture and Structure
Several key properties within flour are responsible for its behavior in bread making. The most significant is protein content, specifically the gluten-forming proteins (glutenin and gliadin). When flour is mixed with water and kneaded, these proteins link together to form gluten, a stretchy, elastic network that gives dough its structure and allows it to rise and hold its shape. Higher protein flours generally develop stronger gluten networks, which is essential for chewy, well-risen breads like baguettes or ciabatta.
Beyond protein, starch content and ash content also play roles. Starch comprises the majority of flour and provides food for the yeast, contributing to fermentation and browning. Ash content, which refers to the mineral content left after burning a sample, is an indicator of how much of the bran and germ (mineral-rich parts of the wheat kernel) are included. Higher ash content often means more whole grain components are present, affecting flavor, color, and water absorption. The particle size of the flour grind also influences hydration rates and dough handling.
- Why Flour Choice Matters in Bread Making
- Key Properties of Flour Affecting Bread Texture and Structure
- All-Purpose Flour: Versatile but Not Always Ideal
- Bread Flour: The Go-To for Structure and Gluten Development
- Whole Wheat Flour: Adding Nutrients and Flavor
- Rye Flour: For Distinct Flavors and Textures
- Gluten-Free Flour Blends: Baking Bread Without Gluten
- Semolina Flour: The Secret to Artisan Loaves
- What are the main differences between different types of flour used in bread baking?
- How does using cake flour impact the texture of bread compared to using bread flour?
- What is the best type of flour for a beginner baker just starting to experiment with bread baking?
- Can I substitute different types of flour in a bread baking recipe? What adjustments might I need to make?
- What happens if I use a flour type that is too strong or too weak for the bread baking recipe I'm following?
The Impact of Different Flour Types on Bread Baking
All-Purpose Flour: Versatile but Not Always Ideal
All-purpose flour is the most common flour found in home kitchens, milled from a blend of hard and soft wheat varieties to achieve a moderate protein level, typically ranging from 10% to 12%. Its versatility makes it suitable for a wide range of baked goods, from cookies and cakes to biscuits and some breads. It provides enough protein for a decent gluten structure in many bread recipes, especially simpler ones or those enriched with fats and sugars.
However, for artisan loaves requiring significant rise and chewiness, or for recipes relying heavily on gluten development for structure (like a lean sourdough), all-purpose flour may not provide sufficient protein. While it can be used for bread, the resulting crumb might be slightly denser, and the loaf volume potentially lower than if a higher-protein flour were used. Bakers often turn to specialized flour types bread baking when seeking specific textural outcomes.
All-Purpose Flour and Bread: Common Issues and Solutions
One common issue when using all-purpose flour for bread is a lack of sufficient gluten strength, leading to dough that is sticky, hard to handle, and loaves that don't rise as high as desired, resulting in a somewhat flat or dense crumb. This is particularly true for recipes designed for bread flour. The moderate protein level means the gluten network developed is weaker and less elastic.
To mitigate this when using all-purpose flour, you can try a few techniques. Increasing kneading time slightly can help develop the available gluten more fully. Reducing the hydration level (less water) compared to a recipe designed for bread flour can also make the dough more manageable.
Alternatively, you can add a small amount of vital wheat gluten (about 1-2 teaspoons per cup of flour) to boost the protein content and improve structure. Using techniques like autolyse (mixing flour and water and letting it rest before adding yeast and salt) can also aid in gluten development even with lower protein flour.
Bread Flour: The Go-To for Structure and Gluten Development
Bread flour is specifically milled from hard wheat varieties and contains a higher protein content than all-purpose flour, typically between 12% and 14% or even higher. This elevated protein level, rich in glutenin and gliadin, makes it the ideal choice for most yeast-leavened breads. The stronger gluten network that develops with bread flour provides the necessary elasticity and strength for dough to trap carbon dioxide gas produced during fermentation, resulting in excellent oven spring and a well-structured, airy crumb.
Using bread flour significantly improves the texture and volume of your bread. Dough made with bread flour is often easier to handle after proper kneading; it feels smooth, elastic, and less sticky than dough made with lower-protein flours. This strength is crucial for long fermentation periods, multiple proofs, and shaping techniques that require the dough to hold its structure. It's the standard choice for classic loaves like sourdough, challah, brioche, and traditional sandwich bread.
Using Bread Flour for Optimal Bread Baking Results
To get the best results with bread flour, ensure adequate kneading to fully develop the robust gluten network. This can be done by hand or machine; look for the "windowpane test" where a small piece of dough can be stretched thin enough to see light through it without tearing. Proper hydration is also key; bread flour absorbs more water than all-purpose flour, so you might need slightly more liquid to achieve the desired dough consistency, especially in high-hydration recipes like ciabatta (which can be 80% hydration or more).
Bread flour's strength also makes it forgiving during fermentation and proofing. It can withstand longer fermentation times, which often leads to more complex flavors. However, be mindful not to over-knead, as even strong gluten can break down. Pay attention to the dough's feel – it should be extensible but also snap back slightly when poked. Using bread flour is a fundamental step towards mastering classic flour types bread baking techniques for achieving superior texture and volume.
Whole Wheat Flour: Adding Nutrients and Flavor
Whole wheat flour is milled from the entire wheat kernel, including the bran, germ, and endosperm. This inclusion of all parts of the grain makes it more nutritious than refined flours, offering higher levels of fiber, vitamins, and minerals. It also imparts a distinct nutty, earthy flavor and a darker color to bread, which many bakers appreciate. However, baking with 100% whole wheat flour presents unique challenges due to the presence of bran and germ.
The sharp edges of the bran particles can physically cut the developing gluten strands, hindering the formation of a strong network. Additionally, the germ contains fats that can sometimes interfere with gluten development and reduce shelf life. This often results in loaves that are denser and have less volume compared to those made with white flour. Many recipes blend whole wheat flour with white bread flour to balance flavor, nutrition, and structure.
Troubleshooting Dense Bread with Whole Wheat Flour
Density is a common issue when baking with a high percentage of whole wheat flour. The bran interferes with gluten development, making it harder for the dough to rise effectively.
- Solution 1: Increase Hydration: Whole wheat flour absorbs more water than white flour due to the bran and germ. Dough might feel stiff and dense if not adequately hydrated. Try adding a little more water than you would for a white flour recipe (perhaps an extra 5-10%).
- Solution 2: Autolyse: Allowing the flour and water to rest for 20-60 minutes before adding yeast and salt helps the flour hydrate fully and enzyme activity begin to break down starches and proteins, promoting better gluten development despite the bran.
- Solution 3: Sift the Bran (Optional): For a lighter loaf while retaining some whole wheat character, you can sift out the largest bran particles, develop the gluten with the finer flour, and then add the bran back in during the final stages of kneading or shaping.
- Solution 4: Blend with White Flour: Using a mix, such as 50% whole wheat and 50% bread flour, is a very effective way to achieve a good balance of flavor, nutrition, and structure.
Rye Flour: For Distinct Flavors and Textures
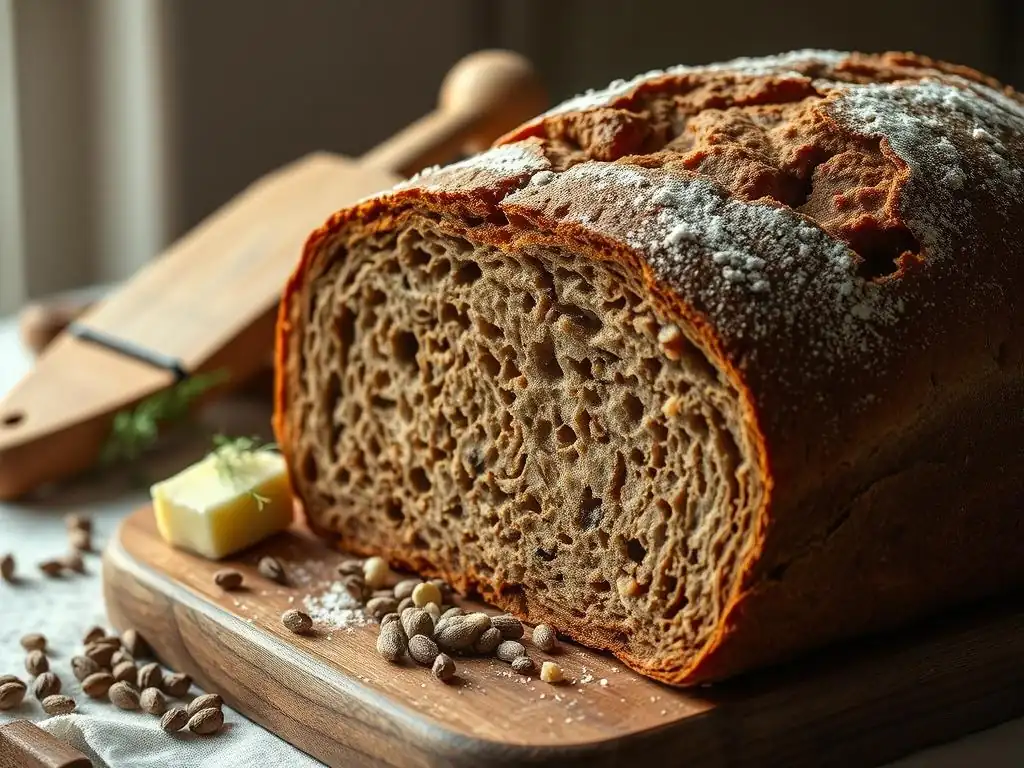
Rye flour is milled from rye grain and is known for imparting a distinctive, slightly tangy or sour flavor and a dense, moist texture to bread. Rye contains gluten-forming proteins, but in different proportions than wheat, and it also contains pentosans, complex carbohydrates that absorb large amounts of water and contribute significantly to the dough's viscosity and the bread's moist crumb.
Unlike wheat gluten, rye gluten is not as elastic or extensible. This means that rye dough doesn't develop a strong, airy structure like wheat dough. Breads made with high percentages of rye are typically denser and have a tighter crumb. The amount of rye flour used varies greatly; some recipes use a small percentage for flavor, while others use 50% or more for traditional rye loaves like pumpernickel or Jewish rye.
Baking with Rye Flour: Challenges and Solutions
Baking with rye flour presents unique challenges because its gluten doesn't behave like wheat gluten, and its high pentosan content makes the dough very sticky and less elastic. Doughs with a high percentage of rye can be difficult to handle and shape conventionally.
- Challenge 1: Sticky Dough: Rye dough is notoriously sticky due to pentosans absorbing a lot of water.
- Solution: Avoid adding excessive flour during kneading. Work with wet hands or a dough scraper. Embrace the stickiness; it's normal for rye dough.
- Challenge 2: Dense Crumb: High rye content leads to a dense structure because the gluten network isn't strong enough to trap gas effectively.
- Solution: Blend rye flour with a higher-protein wheat flour (like bread flour) to provide structural support. Use a sourdough starter (especially a rye starter) as the acidity helps manage the pentosans and enzyme activity, leading to a slightly better structure and classic rye flavor. Don't expect the same airy crumb as wheat bread; rye bread is naturally denser.
- Challenge 3: Short Fermentation/Proofing: Rye ferments faster than wheat.
- Solution: Monitor fermentation closely. Rye bread often has shorter proofing times. Over-proofing can lead to collapse.
Gluten-Free Flour Blends: Baking Bread Without Gluten
Gluten-free flour types bread baking are designed for individuals with celiac disease or gluten sensitivity. These blends combine various flours made from grains or starches that do not contain gluten, such as rice flour (brown, white, sweet), sorghum flour, millet flour, buckwheat flour, tapioca starch, potato starch, and cornstarch. Since there's no gluten to provide structure, these blends often include binders like xanthan gum or psyllium husk to mimic some of gluten's properties, helping the dough hold together and providing some elasticity.
Baking gluten-free bread is a different process than traditional wheat bread. The dough often behaves more like a thick batter than an elastic dough. Achieving a good rise and texture requires careful balancing of the different flours and starches in the blend, as well as proper hydration and the correct amount of binder. Results can vary significantly depending on the specific blend used and the recipe.
Achieving Success with Gluten-Free Bread Flour Mixes
Successfully baking gluten-free bread often involves managing hydration and understanding the role of binders. Gluten-free flours absorb liquids differently than wheat flour, and the ideal hydration level can vary significantly between blends. Too little liquid results in dry, crumbly bread, while too much can lead to a gummy texture.
- Use a reliable, tested gluten-free bread recipe specifically designed for the type of blend you are using (e.g., a blend with or without xanthan gum).
- Ensure your blend contains a binder (xanthan gum, psyllium husk, or guar gum) or add it according to the recipe. Typically, 1-2 teaspoons of xanthan gum per cup of gluten-free flour blend is needed for bread.
- Gluten-free dough often benefits from minimal handling after the initial mix. Overworking isn't an issue like with wheat flour; instead, focus on ensuring ingredients are well combined.
- Proofing times might differ; some gluten-free doughs benefit from shorter or longer proofs depending on the leavener (yeast or baking powder/soda). A visual check for increased volume is key.
- Baking in a loaf pan is often recommended for structural support, as gluten-free dough doesn't hold its shape as well as wheat dough. Baking at the correct temperature and time is critical to avoid a gummy interior.
Semolina Flour: The Secret to Artisan Loaves
Semolina flour is a coarse flour milled from durum wheat, the hardest type of wheat. It has a high protein content, similar to or even higher than bread flour, but its unique characteristic is its granular texture and slightly yellowish hue. Traditionally used for making pasta, semolina is also a fantastic addition to bread dough, particularly for achieving a rustic, chewy crumb and a beautiful golden crust.
When used in bread, often blended with bread flour or all-purpose flour (e.g., 25-50% semolina), it contributes to a stronger structure and a slightly sweeter, nuttier flavor. Its coarse texture can make dough slightly different to handle initially, but it yields loaves with excellent volume and a satisfying chew, characteristic of many Italian and Mediterranean breads.
Using Semolina Flour to Enhance Bread Crust and Flavor
Incorporating semolina flour into your bread recipe can significantly enhance both the crust and the internal structure. For a crispier, more robust crust, you can:
- Replace a portion of your regular bread or all-purpose flour with semolina. Starting with 20-30% substitution is a good way to see the effects without drastically changing your usual recipe.
- Use extra fine semolina (often labeled "semolina rimacinata" or "double-milled semolina") for a smoother dough texture, though coarser semolina also works and adds a rustic feel.
- Due to its granular nature, semolina benefits from adequate hydration and potentially a slightly longer mixing time or an autolyse period to fully absorb the liquid.
- Semolina is also excellent for dusting your work surface or proofing basket instead of regular flour, which helps prevent sticking and contributes to a beautiful, rustic crust finish.
Dense and Heavy Bread: Flour Quality and Gluten Development
Dense and heavy bread is a common frustration, often stemming from issues related to the flour itself or how its gluten is developed. If your loaf fails to rise properly and feels like a brick, consider the flour's protein content; using a low-protein flour (like cake flour) in a recipe designed for bread flour will likely result in poor volume. Insufficient kneading is another major culprit; without proper mixing, the gluten network doesn't develop the strength needed to support the rise.
Other factors include using stale flour (which can have reduced protein quality and lower enzyme activity), or issues with the leavener (dead yeast, inactive starter). Even if using the correct flour types bread baking, if the gluten is not adequately hydrated or developed through kneading and fermentation, the structure will be weak, trapping less gas and resulting in a dense crumb.
Flat Bread: Insufficient Gluten Strength or Proofing Issues
Flat bread, where the dough spreads outwards rather than rising upwards during baking, usually points to insufficient structural support. This is often due to a weak gluten network that can't hold the dough's shape and trap gases effectively. Possible flour-related causes include using flour with too low a protein content for the recipe's demands, using poor quality or old flour where the protein has degraded, or not developing the gluten sufficiently during kneading.
However, flat bread can also be a proofing issue unrelated to the flour's potential strength. Over-proofing, where the dough rises too much and the gluten network becomes overstretched and begins to collapse before baking, is a frequent cause. Under-proofing can also contribute if the dough hasn't built enough internal structure and gas production before hitting the oven. Ensuring you're using the appropriate flour types bread baking for the desired loaf structure and managing your proofing times are critical.
Crumbly Bread: Too Much or Too Little Flour
Crumbly bread, where the interior falls apart easily rather than holding together in a cohesive slice, can be a sign of incorrect flour usage or measurement. Using too much flour is a very common cause; excess flour leads to a dry dough with insufficient hydration to bind the ingredients properly, resulting in a dry, brittle crumb. This is especially true in recipes requiring precise hydration levels.
Conversely, while less common as a primary cause of crumbly texture (it usually leads to gummy or dense), using too little flour relative to the liquid can also disrupt the balance needed for proper structure formation. Additionally, using flour types bread baking that are naturally lower in gluten, like many gluten-free blends without sufficient binder, can result in a crumbly texture if the recipe isn't specifically designed for that blend or if binders are omitted. Accurate measurement, preferably by weight, is crucial to avoid using too much flour.
Gummy Texture: Improper Baking or Flour Hydration
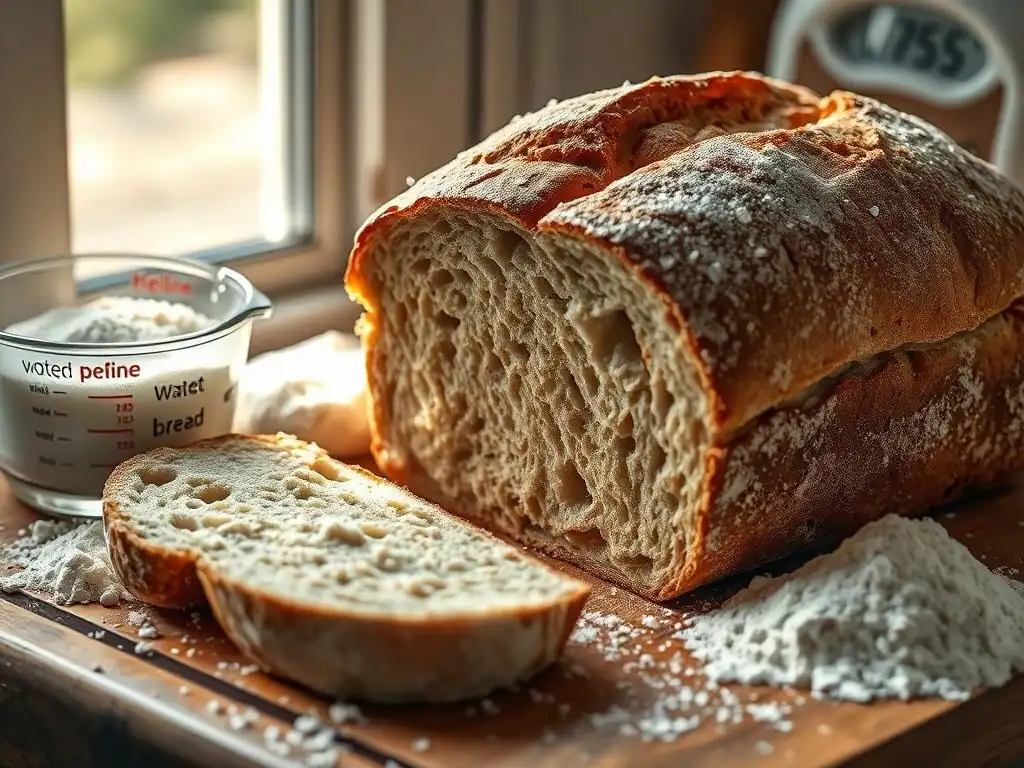
A gummy or pasty texture inside the bread is highly unpleasant and often indicates that the starches in the flour haven't fully cooked or gelatinized properly. This can happen if the bread didn't reach a high enough internal temperature during baking, often because it was removed from the oven too soon. The exterior might look done, but the interior remains undercooked and doughy.
Another cause can be related to flour hydration or recipe balance. Using too much liquid for the amount of flour can lead to a very wet dough that is difficult for heat to penetrate and cook through evenly. Some flour types bread baking, particularly those high in pentosans like rye, can also contribute to a moist, almost gummy texture if not handled correctly or balanced with other flours. Ensuring the bread is baked to the correct internal temperature (typically 190-210°F or 88-99°C depending on the type of bread) is key.
Tough Crust: Over-Baking or Incorrect Flour Type
A tough, overly hard crust can result from several factors, including baking for too long or at too high a temperature, especially in ovens that run hot. However, the type of flour used and how the bread is treated during baking also play a role. Lean doughs made primarily with high-protein bread flour and water (like baguettes or sourdough) are intended to have a substantial, crisp crust.
If you desire a softer crust for a sandwich loaf, using a recipe that includes fat (like butter or oil) and/or milk or eggs (like challah or brioche) helps tenderize the crust. These enriched doughs, often using a blend of all-purpose and bread flour, naturally develop a softer crust. Additionally, controlling steam in the oven during the initial phase of baking helps the crust expand properly before hardening, leading to a thinner, crisper (but not necessarily tough) crust. Without steam, the crust forms too quickly and can become thick and tough.
Flour Storage and Its Effect on Bread Baking
Best Practices for Storing Flour to Maintain Quality
Proper flour storage is essential for maintaining its quality and ensuring consistent baking results. Flour is susceptible to moisture, pests, and oxidation, which can degrade its structure, flavor, and leavening potential over time. The ideal storage environment is cool, dry, and dark. Heat and humidity are the enemies of flour, promoting spoilage and rancidity, especially in whole wheat flour due to the presence of germ oils.
Store flour in airtight containers (plastic, glass, or metal) to protect it from moisture and pests. Original paper bags are often breathable but should be placed inside a sealed container, particularly if storing for more than a few weeks. For longer storage, especially for whole wheat or specialty flour types bread baking, the refrigerator or freezer is highly recommended. Freezing flour can extend its shelf life significantly, preventing rancidity and insect infestation. Just be sure to let it come to room temperature in its sealed container before using to avoid condensation.
Recognizing and Addressing Stale Flour in Bread Recipes
Using stale flour can negatively impact your bread, leading to poor rise, off-flavors, and inconsistent texture. Flour doesn't necessarily "go bad" in the sense of becoming unsafe (unless mold is present), but its quality degrades. White flour can become bland and its protein structure weaken, while whole wheat flour can develop a distinctly unpleasant, bitter or rancid smell and taste due to the fats in the germ oxidizing.
Signs of stale flour include:
- An "off" smell – anything other than a fresh, neutral aroma (especially rancidity in whole wheat).
- Poor performance in baking – dough that doesn't rise as expected, feels lifeless, or results in dense bread even when the recipe and technique are followed correctly.
- Visual signs of clumping (though this can also be due to humidity) or discoloration.
If you suspect your flour is stale, particularly whole wheat flour with a rancid smell, it's best to discard it. For white flour that might just be old and less potent, you might attempt to use it in less structure-dependent recipes, but for reliable bread baking results, fresh flour is always recommended. Buying flour in quantities you can use within a few months (or storing it properly in the freezer) is the best way to avoid staleness.
Advanced Flour Techniques for Expert Bread Baking
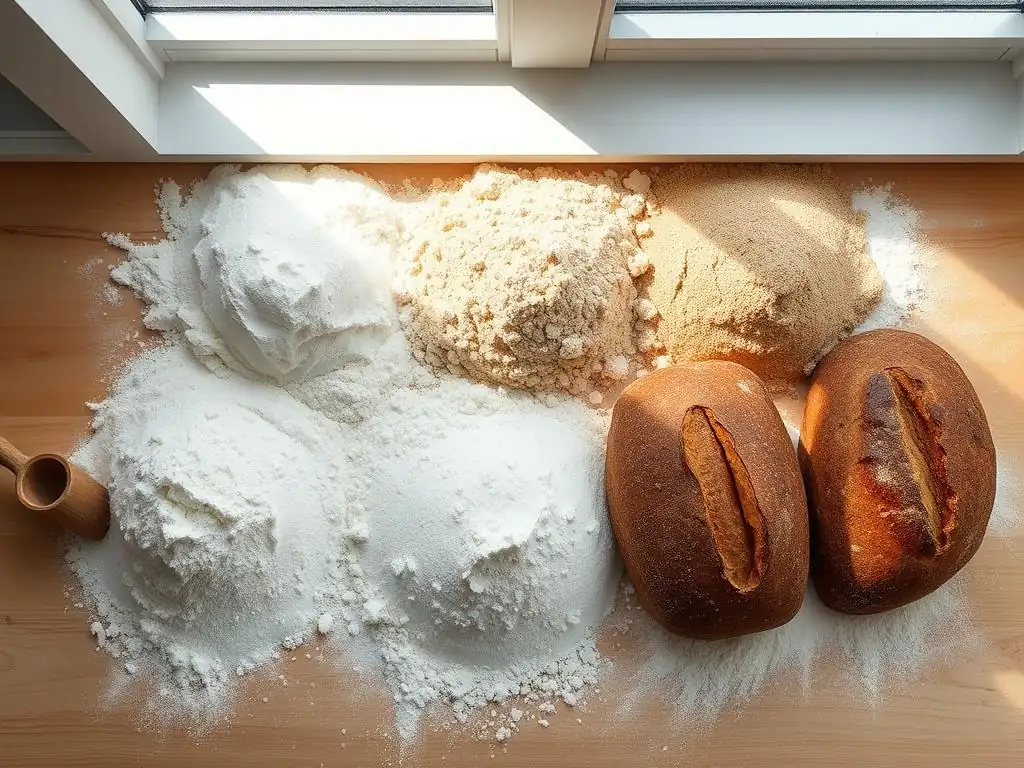
Autolyse: Enhancing Flour Hydration and Gluten Development
Autolyse (pronounced auto-leez) is a technique where you mix only the flour and water from a bread recipe and let it rest for a period, typically 20 minutes to an hour, before adding the salt and yeast (or starter). This simple step, popularized by Professor Raymond Calvel, allows the flour to fully hydrate and gives enzymes naturally present in the flour (protease and amylase) time to begin their work.
During the autolyse, protease enzymes start breaking down some of the protein, making the dough more extensible and easier to knead. Amylase enzymes convert some starch into sugars, which provides more food for the yeast later.
The rest period also allows the gluten-forming proteins to start linking up on their own without the interference of salt (which tightens gluten) or yeast activity. The result is dough that requires less kneading to reach optimal gluten development, is easier to handle, and can lead to better volume and crumb structure, especially beneficial when working with harder flour types bread baking like whole wheat or high-protein bread flour.
Adjusting Hydration Levels Based on Flour Type
Understanding how different flour types bread baking absorb water is crucial for consistently successful results. Hydration refers to the ratio of water to flour in a recipe, usually expressed as a percentage (water weight / flour weight * 100). A standard sandwich loaf might be around 60-65% hydration, while a wet ciabatta dough could be 80% or higher. Different flours have varying absorption rates.
- High-protein flours (Bread Flour, Durum/Semolina): These absorb more water than lower-protein flours due to their higher protein content and sometimes coarser grind. Recipes using these often require higher hydration percentages.
- Whole Wheat Flour: Despite having protein, the bran and germ absorb a significant amount of water, often requiring higher hydration than white flour. However, the bran also interferes with gluten, so finding the right balance is key; too much water can make the dough a sticky, unmanageable mess.
- Rye Flour: Very high in pentosans, rye flour absorbs a lot of water and creates a very sticky, viscous dough. Hydration levels might look high on paper, but the dough will feel different than wheat dough at the same hydration.
- Gluten-Free Blends: Hydration varies wildly depending on the mix of flours and starches. Follow specific recipe guidelines or adjust based on the blend's behavior.
Learning to adjust hydration by feel, rather than strictly sticking to a number, is a mark of an experienced baker. The dough should feel pliable and slightly tacky, but not overly sticky or dry.
Conclusion: Mastering Flour Types for Perfect Bread Every Time
Frequently Asked Questions
What are the main differences between different types of flour used in bread baking?
Different flours vary in protein content, which directly impacts gluten development. Higher protein flours like bread flour create stronger, chewier bread, while lower protein flours result in softer textures.
How does using cake flour impact the texture of bread compared to using bread flour?
Cake flour has a significantly lower protein content than bread flour. This results in a less gluten development, yielding a bread that is more tender and crumbly, rather than chewy.
What is the best type of flour for a beginner baker just starting to experiment with bread baking?
For beginners, all-purpose flour is often recommended. It's a versatile flour that provides a good balance of protein content and gluten development, making it easier to work with and forgiving for new bakers.
Can I substitute different types of flour in a bread baking recipe? What adjustments might I need to make?
Yes, but it requires adjustments. Substituting a high-protein flour for a low-protein flour, or vice versa, will change the bread's texture. You may need to adjust the hydration levels or kneading time to achieve the desired result.
What happens if I use a flour type that is too strong or too weak for the bread baking recipe I'm following?
Using too strong of a flour (e.g., bread flour for a delicate pastry) can lead to a tough, dense result. A flour that is too weak (e.g., cake flour for a crusty loaf) may result in a flat, crumbly bread that lacks structure.
Final Reflection: The Flour Power Within Your Loaf
Understanding the nuances of different flours is not just a baker's whim; it's the key to unlocking truly exceptional bread. The seemingly simple act of choosing flour profoundly impacts the texture, flavor, and overall success of your bake. This article explored the diverse world of flours, from the familiar all-purpose to the more specialized options like whole wheat and rye, highlighting their unique properties and how they contribute to the final product. Mastering this knowledge empowers you to troubleshoot common baking issues and consistently achieve delicious results.
The journey of understanding flour's impact on bread baking is a continuous one, mirroring the ever-evolving landscape of culinary arts. It's a journey of experimentation, discovery, and a deep appreciation for the simple ingredients that create something so profound. As we delve deeper into the science and artistry of baking, we uncover not just recipes, but stories – stories of tradition, innovation, and the enduring human connection to the act of creating sustenance. Bread is the staff of life,
a simple phrase, yet it encapsulates the profound significance of this staple food and the intricacies involved in its creation.
Now, it's your turn. Consider the flour you typically use and the results you achieve. Are you ready to experiment? Perhaps try substituting a small percentage of your usual flour with a different type – a touch of whole wheat for added nutrition, or a sprinkle of rye for a deeper, more complex flavor. Embrace the process of learning, of trial and error, and of discovering the flour that best suits your palate and baking style. The journey to perfect bread is a personal one, and the rewards are immeasurable.
Unlock Your Baking Potential: Master Flour & Bread!
Thanks for taking the time to explore the fascinating world of flours and their impact on your bread! We hope you gained valuable insights into achieving that perfect loaf. Now, let's put your newfound knowledge to the test:
- Bake a new bread recipe using a flour you've never tried before! Challenge yourself with a rye, spelt, or even a unique blend. Document your experience—you might discover your new favorite!
- Share your baking triumphs (and even your flour-related fails!) in the comments below. Let's build a supportive baking community!
- Consider experimenting with different hydration levels to further understand your flour of choice.
What unique flour will you use to create your next masterpiece?